

The Dawntreader quest in Avowed is filled with some tough decisions surrounding the Oracle, Sargamis, and his large statue. I played through this quest a few different times to find out what the consequences are of various choices. As such, I can recommend what to do when it comes to the Splinter of Eothas, dealing with the statue, speaking with the Voice, and more.
Let’s dive in and discuss how to complete the Dawntreader quest, as well as the different outcomes available to you.
SPOILERS AHEAD: Since this is a guide, this page is full of spoilers for the Dawntreader quest. If you don’t want anything spoiled don’t read any further.
How to complete the Dawntreader quest

While in Dawnshore, enter the city of Paradis and go to the southern-most side of the Aedryan Embassy building. Here, you will find a distraught man named Ofryc. He explains that his brother, Caedmon, and a group of scouts were sent to investigate a Temple of Eothas, but haven’t returned. Ofryc tasks you with checking on the team and learning what became of Caedmon.
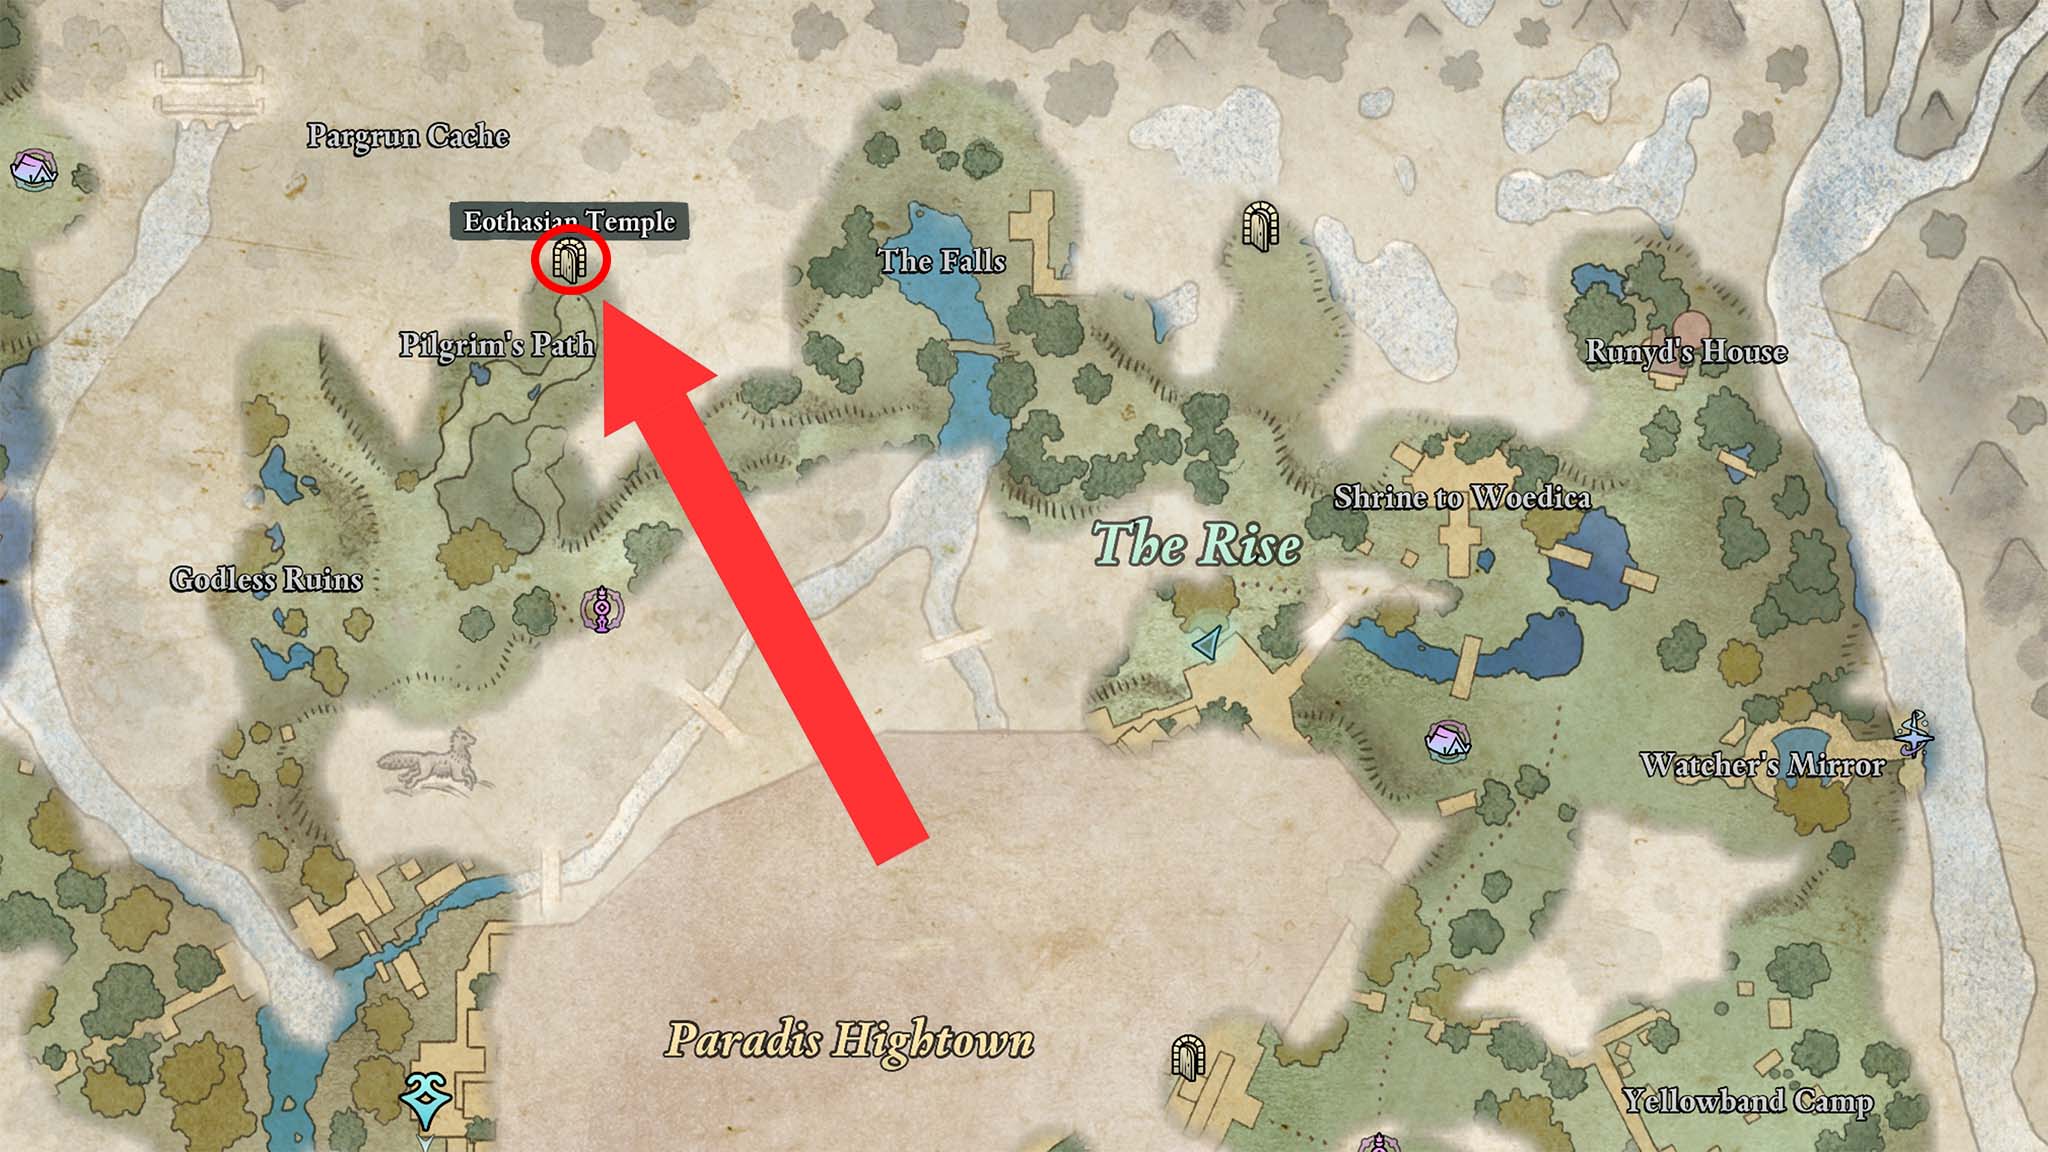
To reach this Temple of Eothas, you’ll need to leave Paradis and travel northeast of the city. Walk up the Pilgrim’s Path and you’ll find two NPCs bickering near a rock pass. One way or another, convince them to let you by. Then, go and enter the cave to travel to Eothasian Temple.
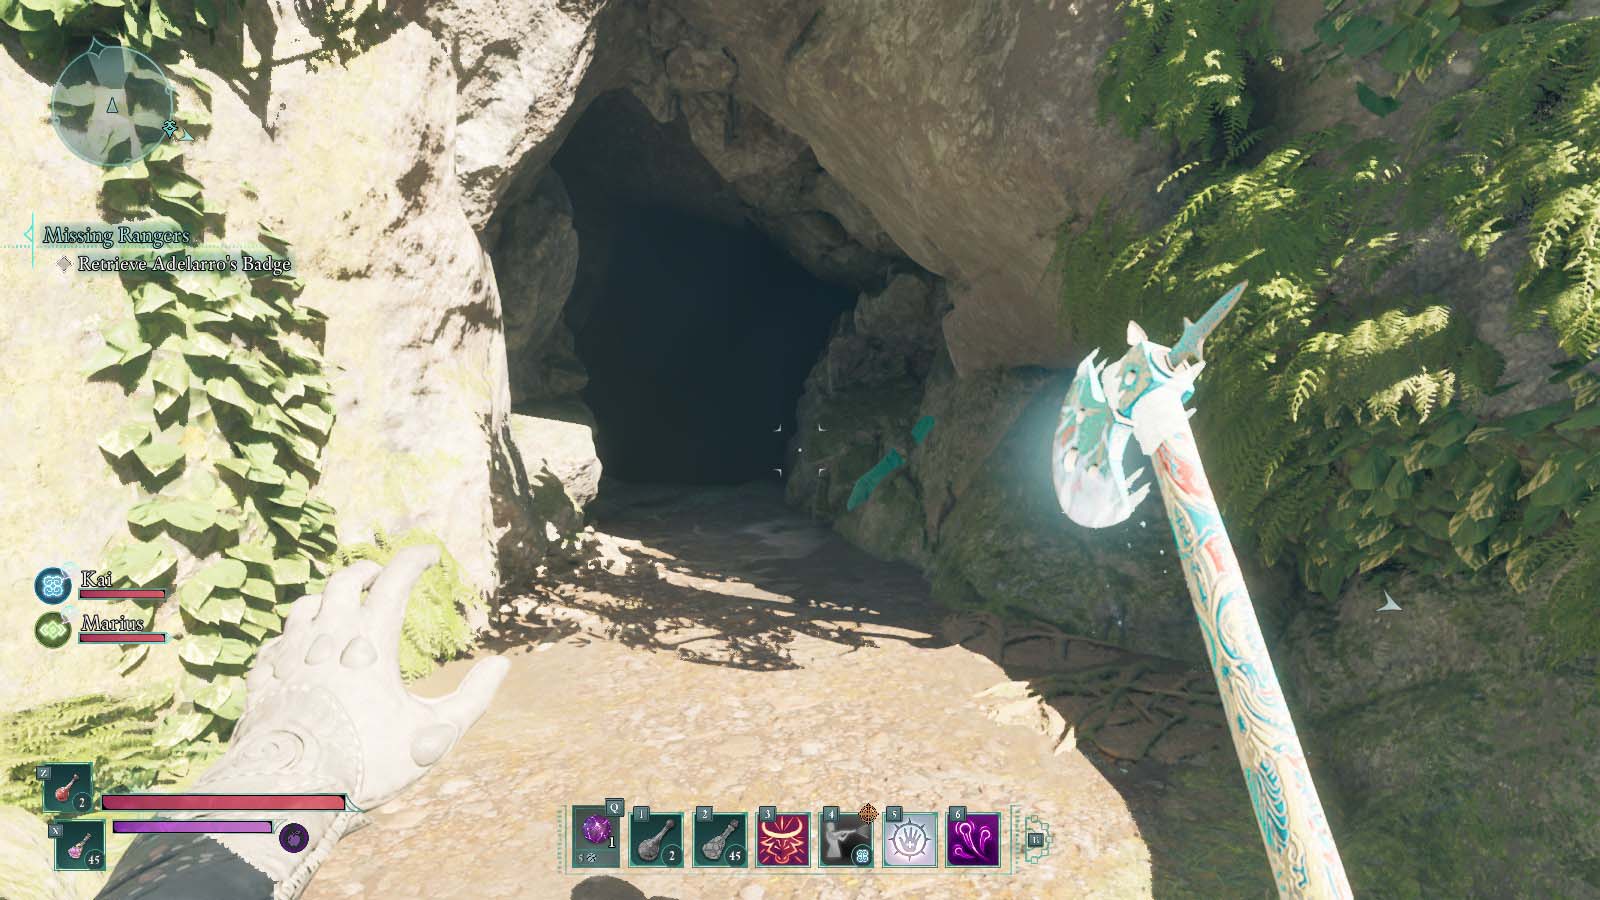
As mentioned in our Avowed review, this game provides plenty of rewards to those who go exploring and solving puzzles. As such, there are a lot of treasure chests and goodies hidden in various areas as you traverse through these caves, so keep your eyes open and investigate any areas you can get to. I won’t be explaining where to find each and every reward or enemy in this guide.
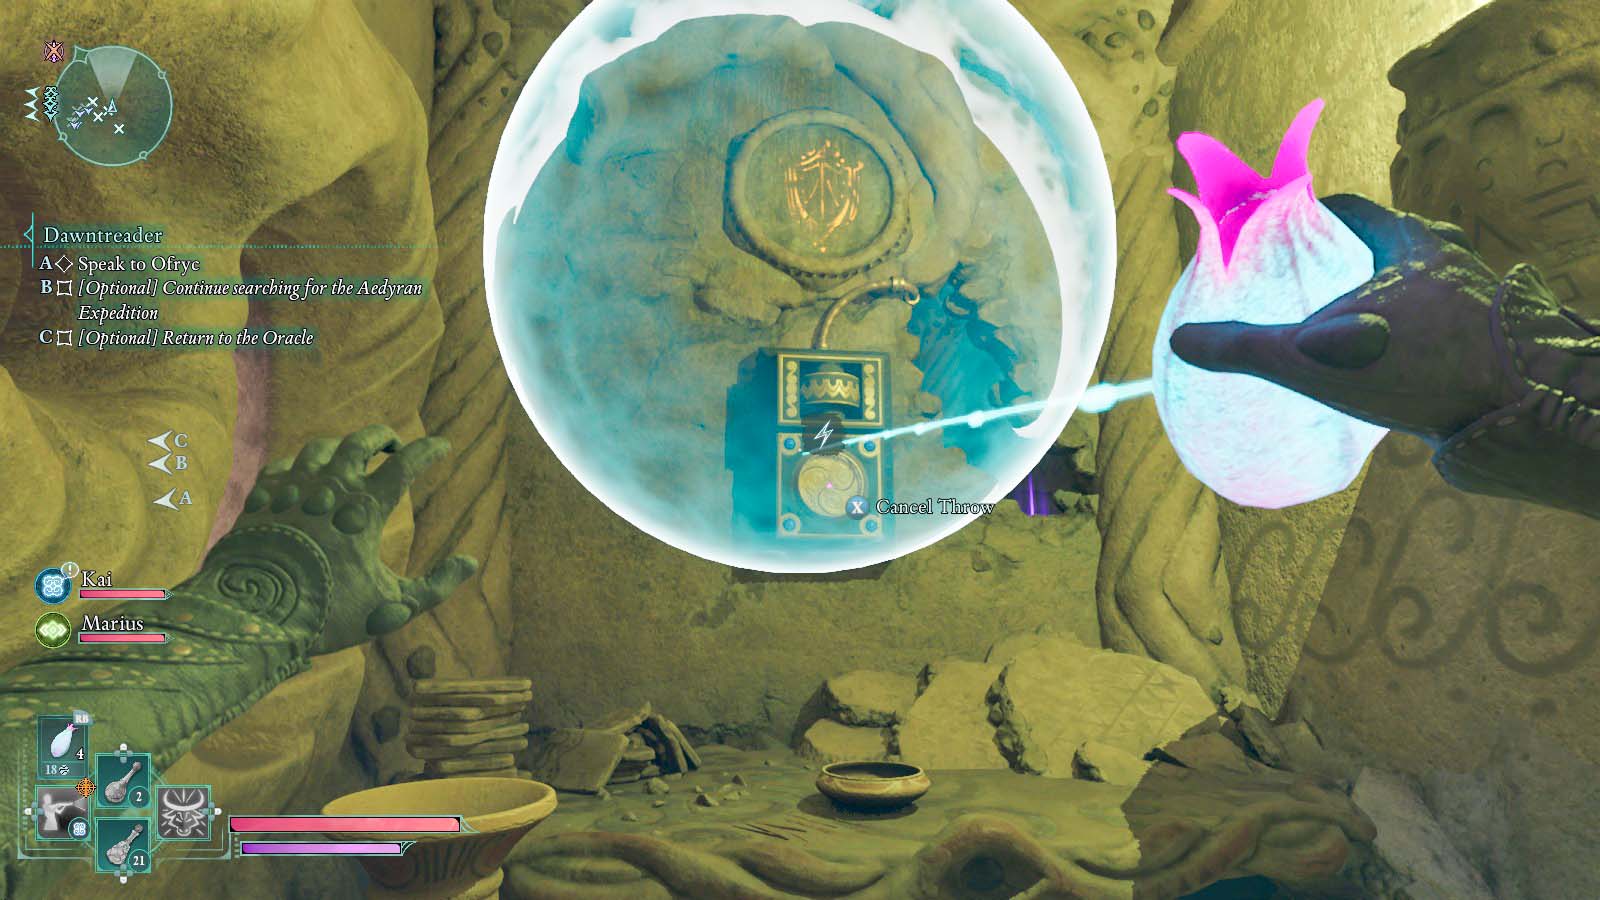
There’s a small puzzle to solve in the first cavern. To open the gate, you’ll need to electrify the two Essence Generator mechanisms on either side of the door using either an Electric Lily Seed or a weapon that causes electric damage. A few skeleton enemies and goodies are waiting for you in the room beyond if you do this.

When you’re ready, continue further into the cave by passing the speared bear and heading right. Progress further into the caverns, defeating enemies and collecting rewards as you go.
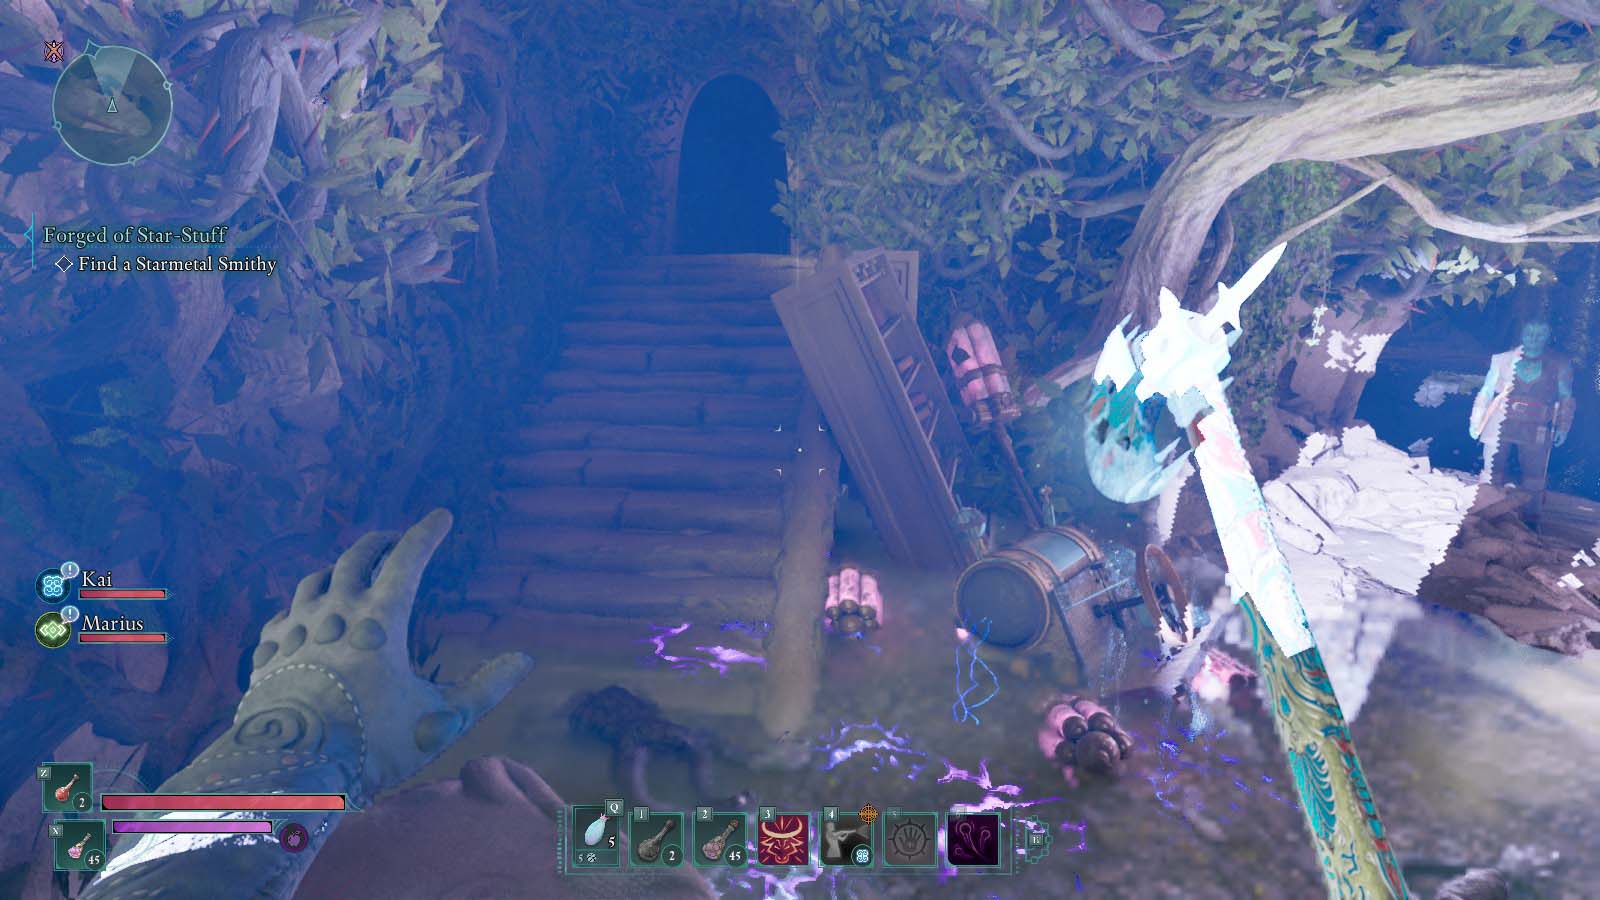
Eventually, you’ll find yourself next to a waterfall with a cavern that glows purple beyond it. When you get closer, you’ll see there’s a pool of water here that has been electrified by fallen equipment. To avoid getting electrocuted, jump onto the table within this cavern, then jump on the stairs and head up.
Up here, you’ll find Ofryc’s brother, Caedmon, and discover that his team left him behind when he got injured. You have the option of healing him with a potion. I went ahead and did this since there was a replacement bottle in the room behind me. He then asks you to check on his team who continued on ahead.
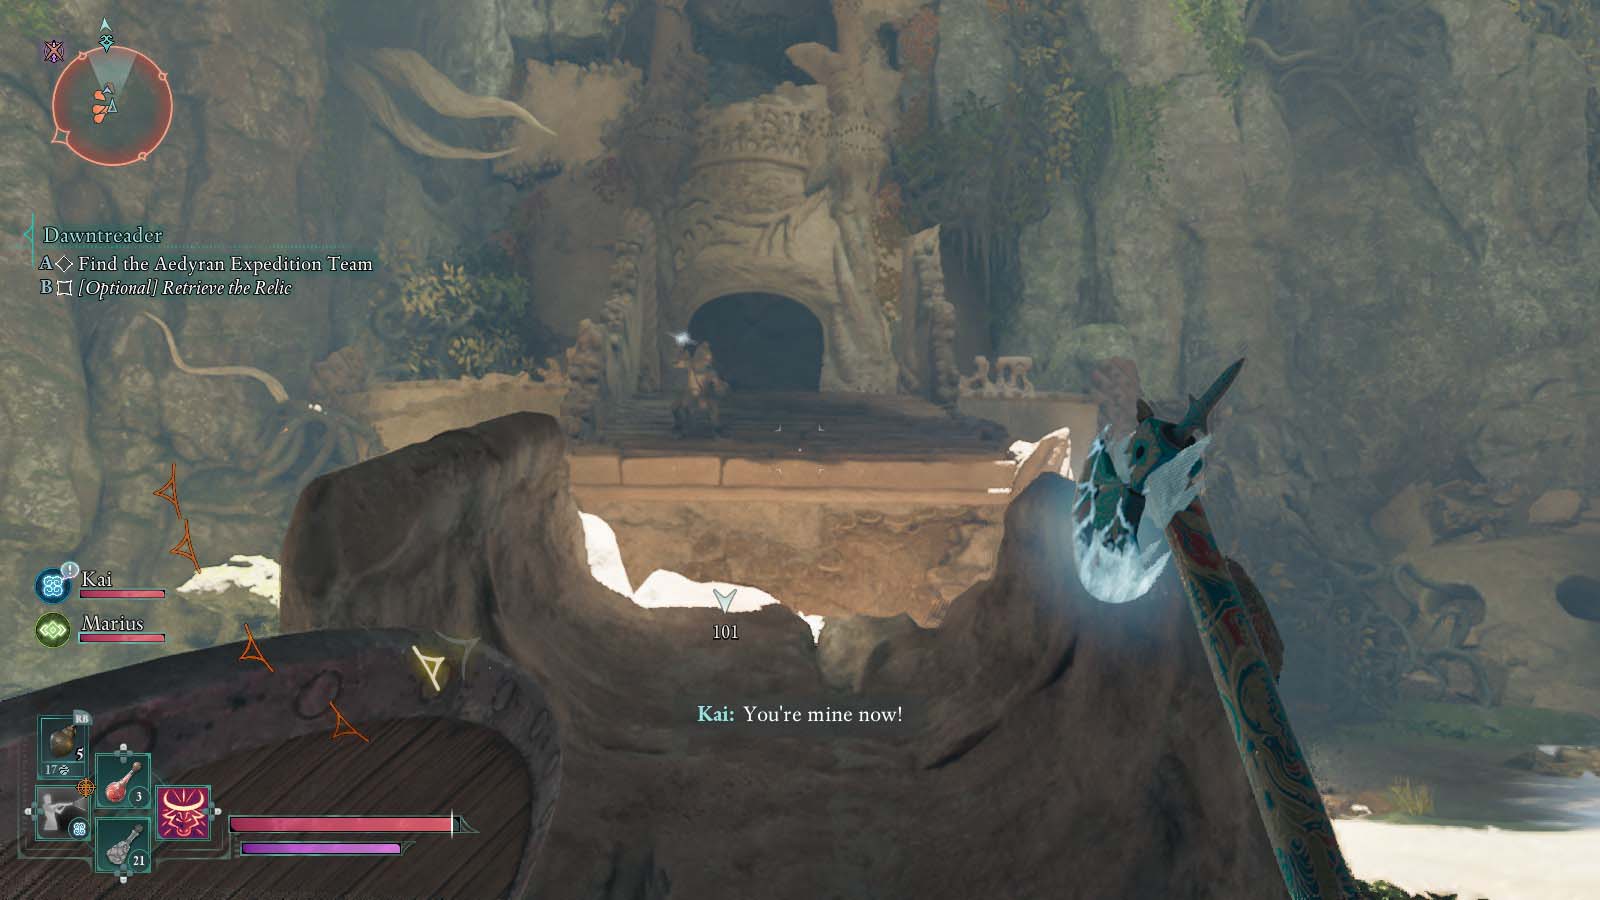
Go up the ramp past Caedmon and traverse the various ledges while traveling further into the cave. After crossing a wood bridge, you’ll come upon a more open area with a ring of dirt at its center and a large statue with scaffolding connected to it. Here, you’ll meet the golden godlike Oracle, Saragamis.

When asked, the Oracle claims that he hasn’t seen the expedition team. However, he asks you to travel further into the cave and retrieve a relic, the Splinter of Eothas. He also suggests that you might come across the missing explorers while getting this item.
His answers at this point will seem kind of suspicious, so you do have the option to attack him. That said, I recommend holding off until later unless you really want to fight right now.
Image 1 of 4
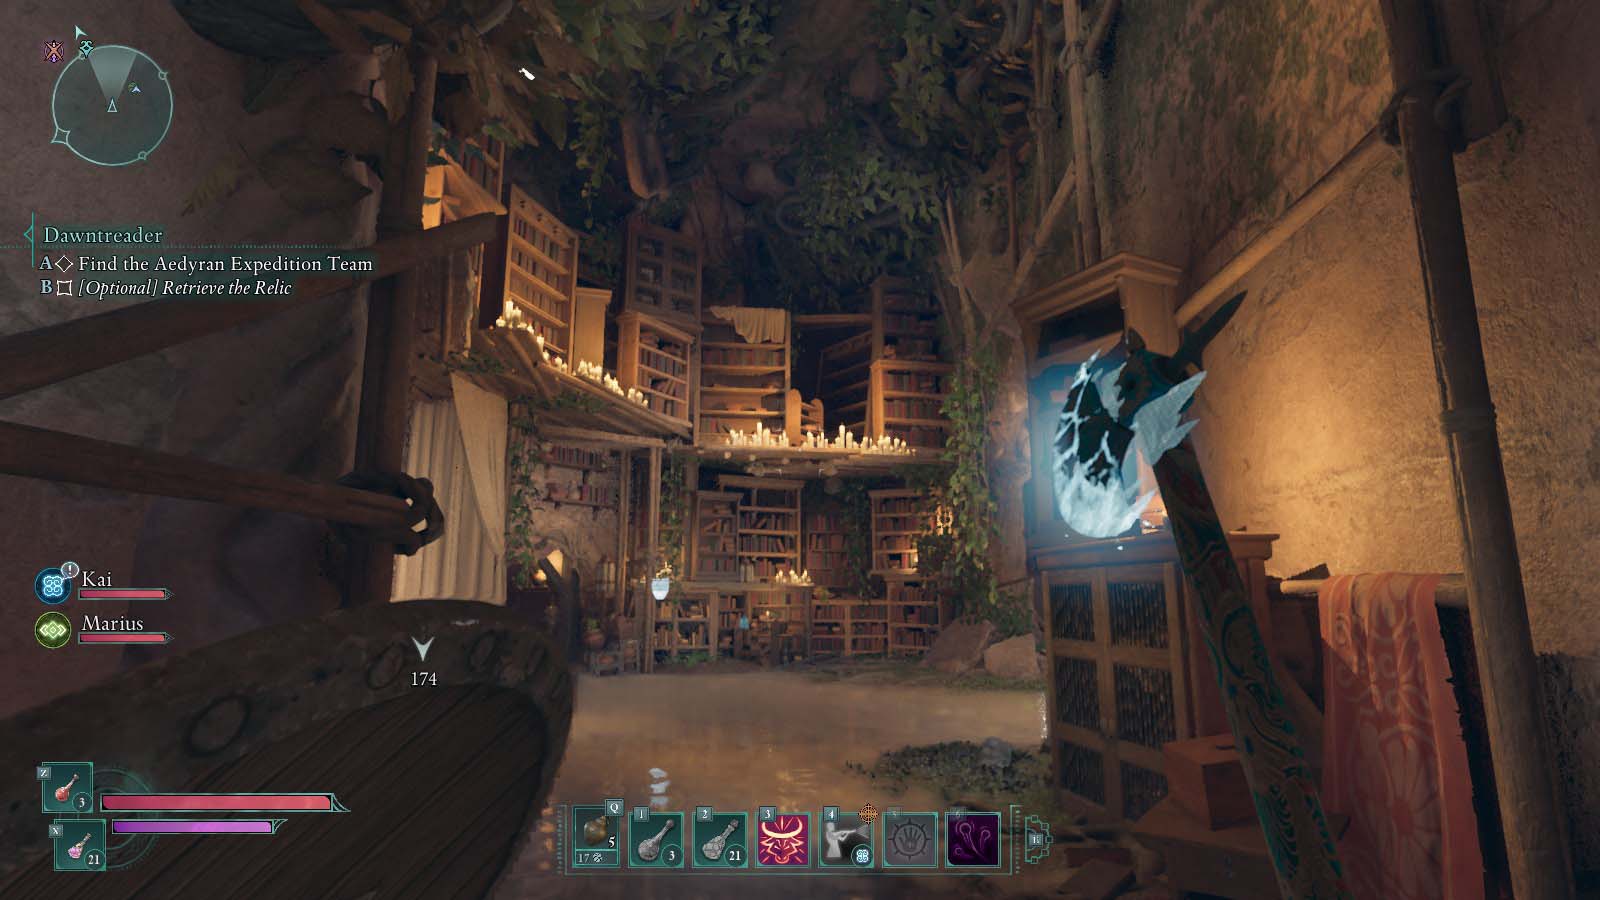
Go up the stairs, walk through the puddle, and collect the Electric Lily Seed. then enter the hallway that leads to the flooded chamber. Jump in the water and continue forward until you can come up for air in the next cavern. Progress forward until you find yourself in a small library. Defeat all of the spidery enemies in here.
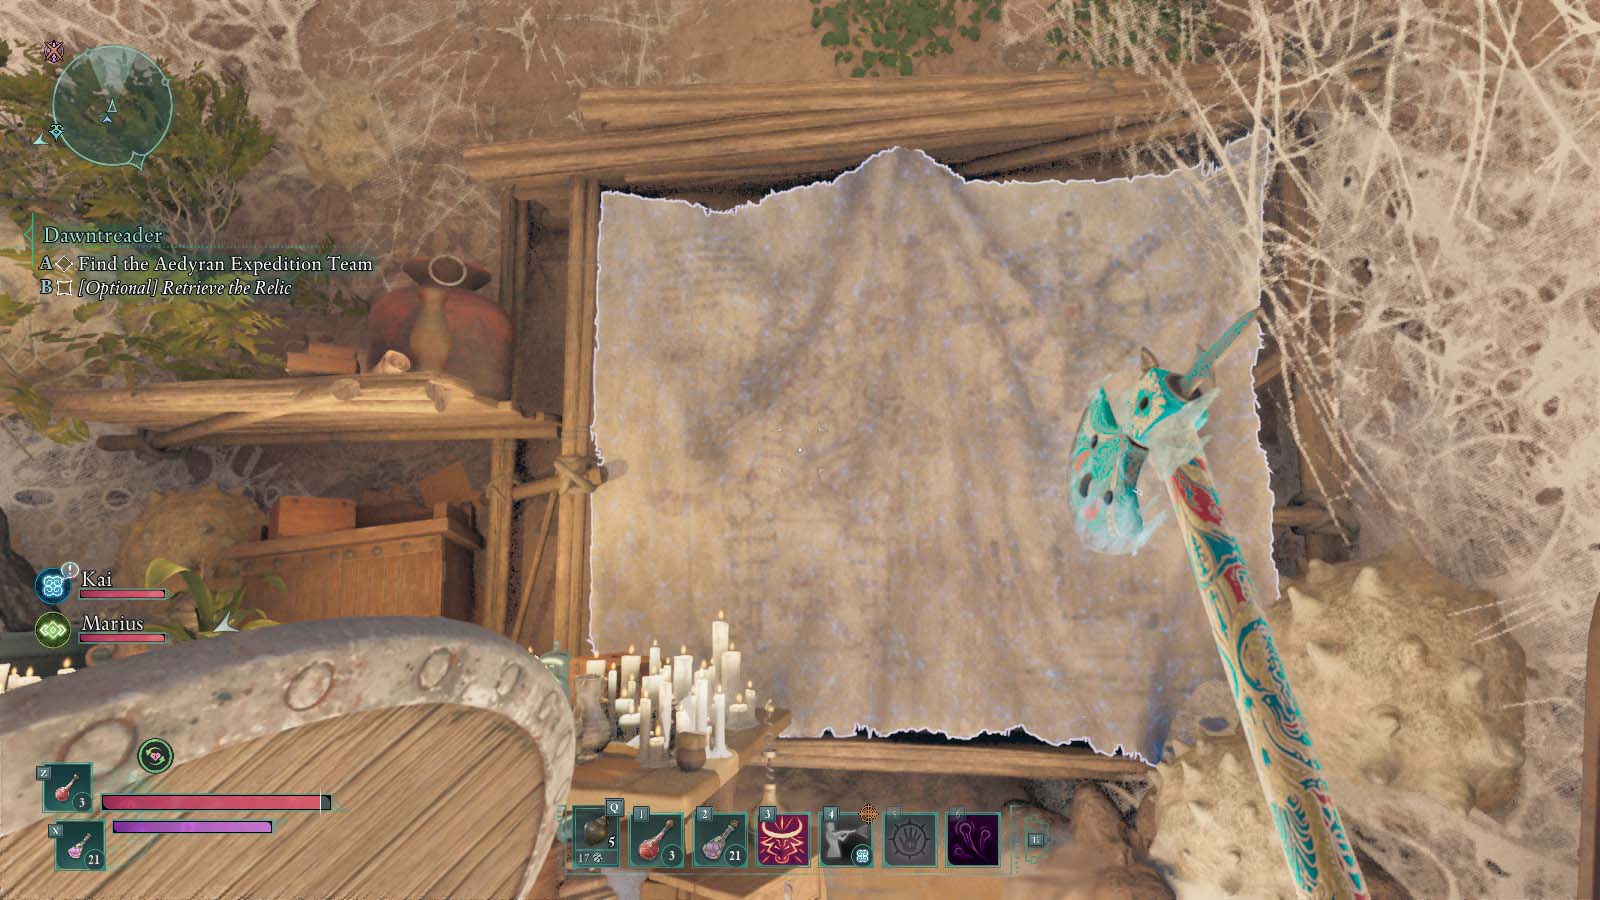
Note the large canvas on the far wall with schematics of the statue you saw with the Oracle. Ignite the large spiderweb to your left using Kai, throwing Magran’s Fury, or a fiery weapon. Then, continue forward.
Image 1 of 1
You’ll come into a new cavern that has water trickling in. There are a few goodies here so look around and collect them. After that, continue straight ahead and you’ll come upon some enemies. Defeat them to make this area safer.
Next, use the ramp (Godless architecture) to jump onto the stairs and pass through the entryway above.
Image 1 of 2


If you head straight up the next set of stairs and to the pedestal, you’ll see the Spliter of Eothas. Pick up the Relic. When you remove it, a small cutscene will ensue and some skeleton enemies will appear.
After the first wave of skeletons, a Godless Executioner boss will appear. Make sure you first defeat the Skeleton Priest that also appears or else he’ll keep healing the boss, which is infuriating. Use your best weapons to defeat everyone.
There’s a small puzzle in this room that requires you to activate two mechanisms via electricity. You’ll find the first mechanism down the stairs and in the small cavern with a hole in the wall. Meanwhile, the second mechanism is to the left of the pedestal. When both are activated, a door in the room will open and you can loot a Sarcophagus. When I did this, I found 1x Turquoise, 3x Pelt, 1x Iron Chunk, and 1x Beetle Shell.
Note that you can find additional goodies and enemies if you crawl through the opening in the wall to the right of the pedestal. There are pots in the way, but just smash these to continue forward.

Exit this area and you’ll find that the previous cavern flooded when you removed the Splinter of Eothas. You might want to go exploring back the way you initially came into this cavern to acquire some goodies. Otherwise, jump on top of the platforms and make your way further into the caves.
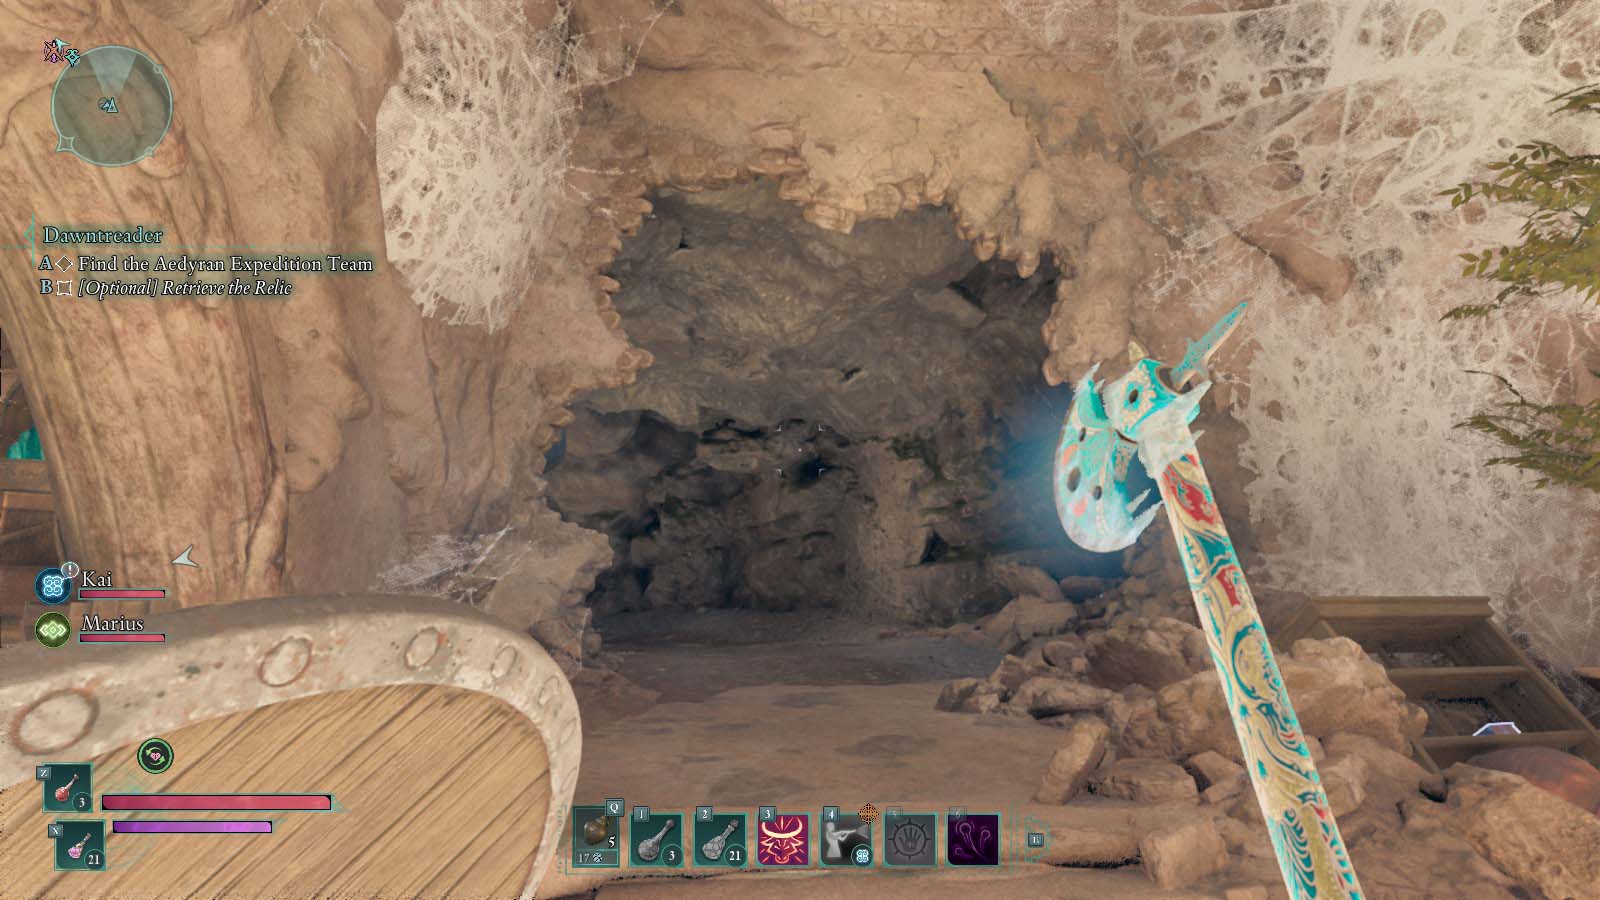
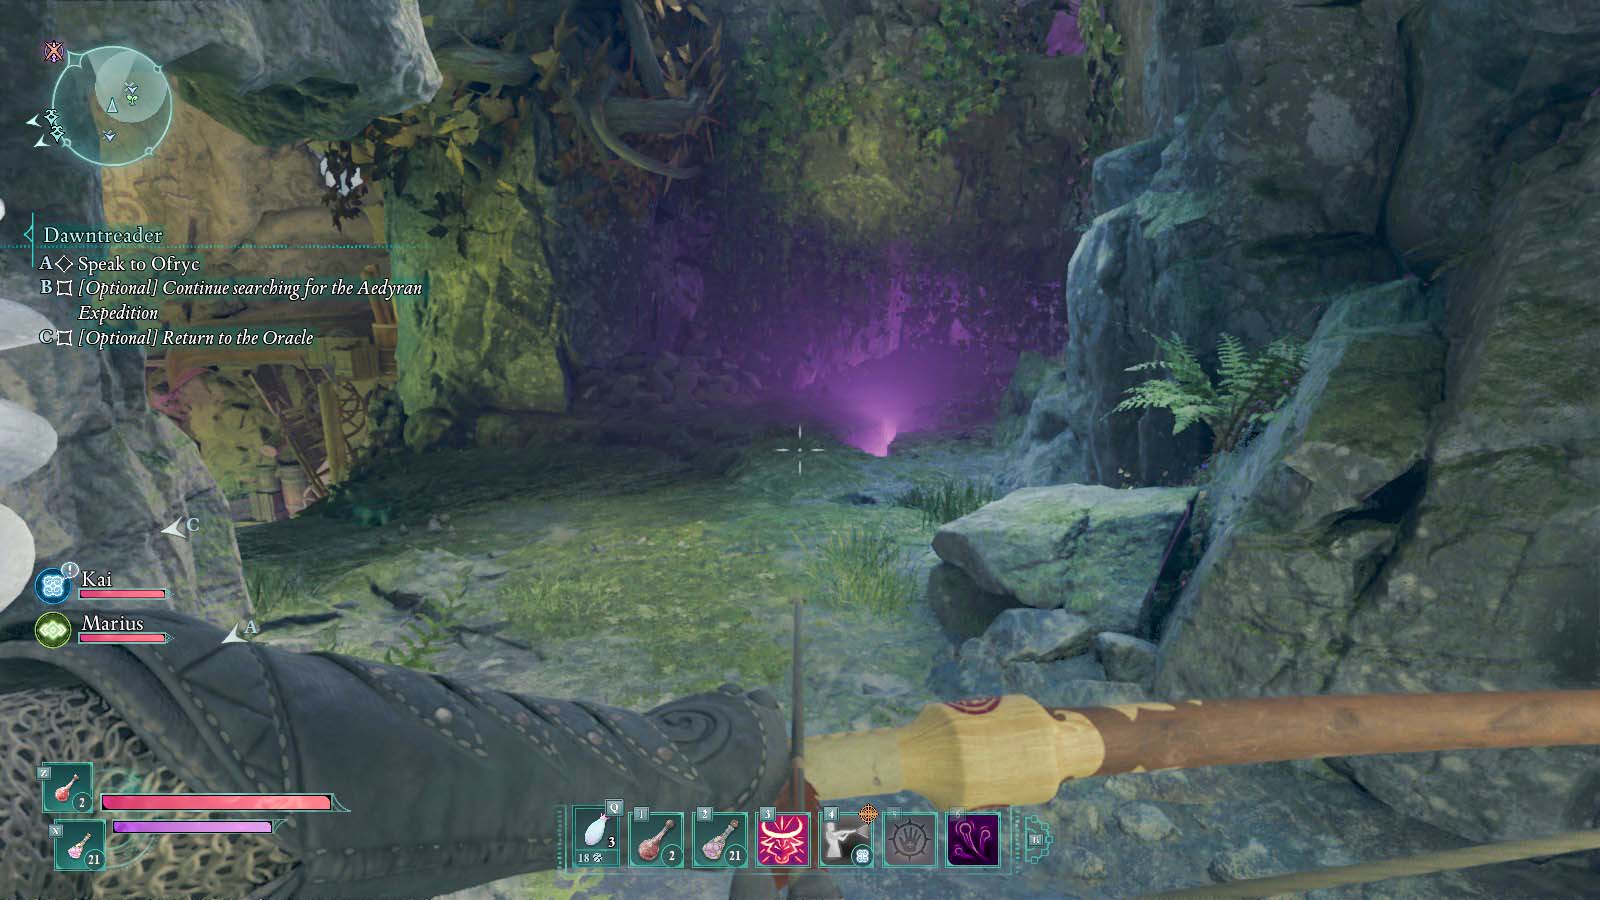
When you get to an area that has a rock with a small wooden plank on it, turn right and clamber up the ledges. Once on top, duck into the cave on the right that is next to the glowing purple crack and then drop down the hole.
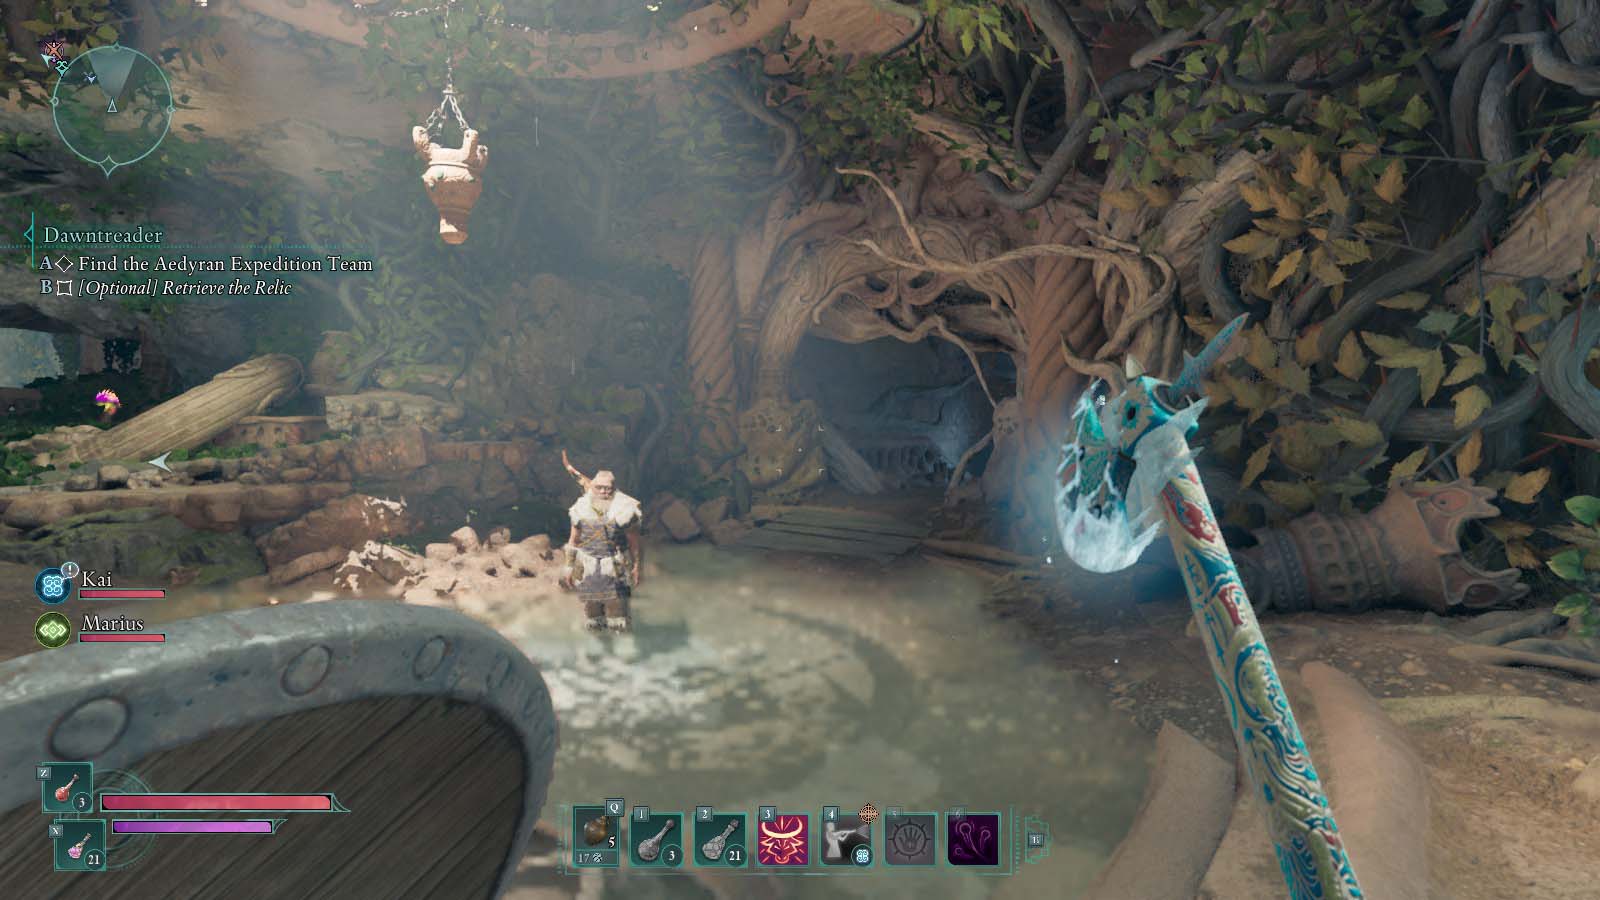
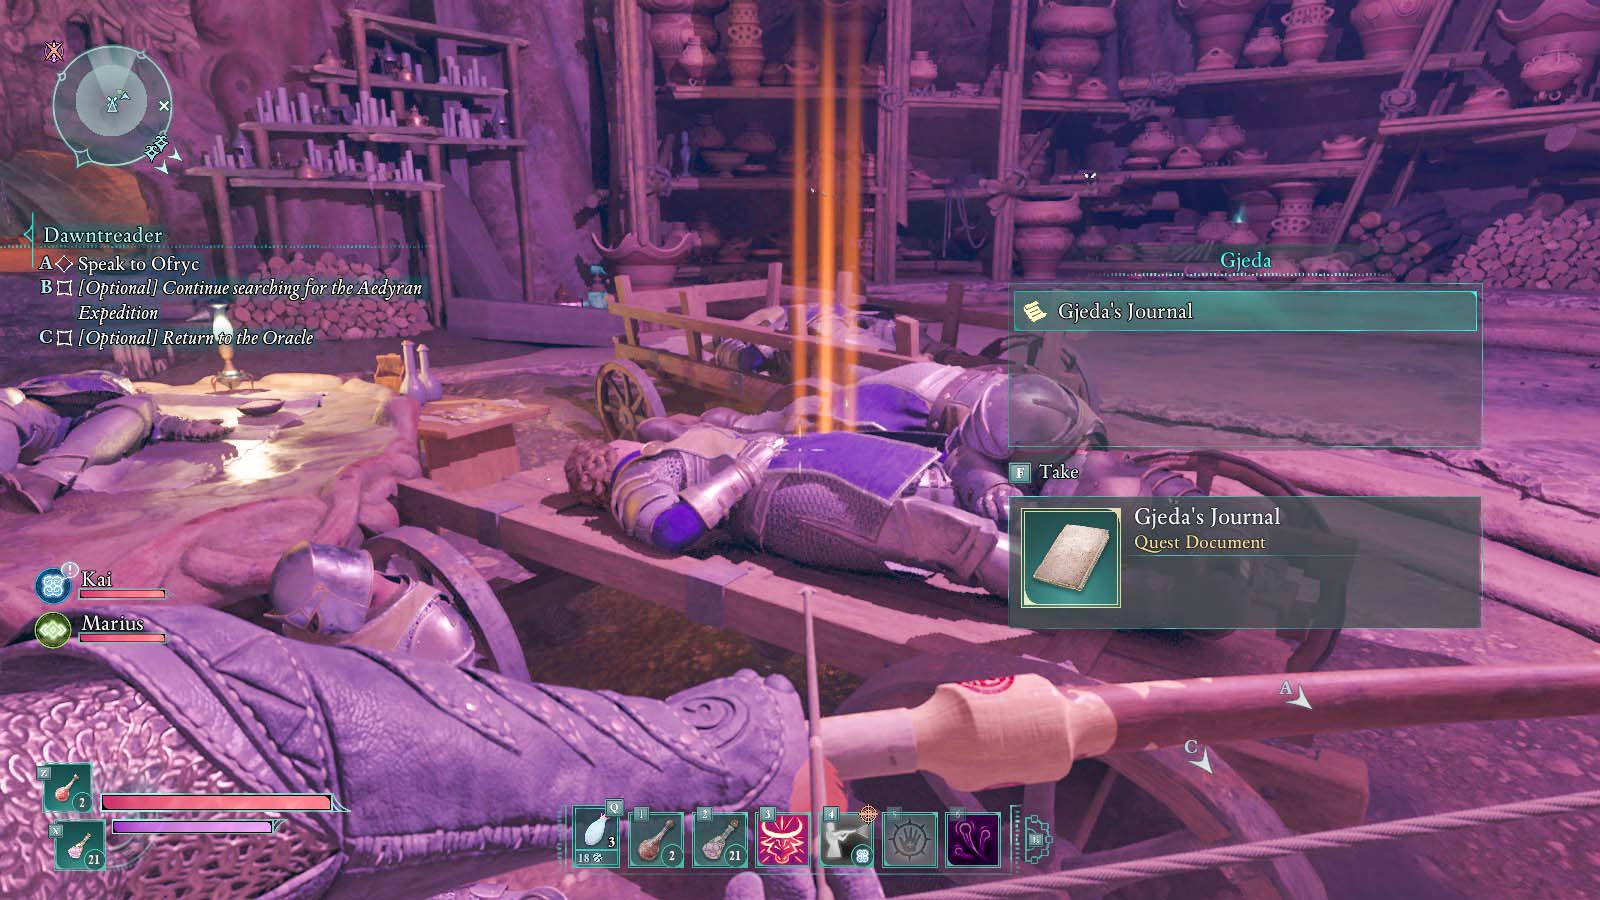
Here, you’ll discover a creepy lab. Grab Gjerda’s Journal to initiate a cutscene that explains that the expedition was murdered. Talk to your companions as you see fit.
Image 1 of 2
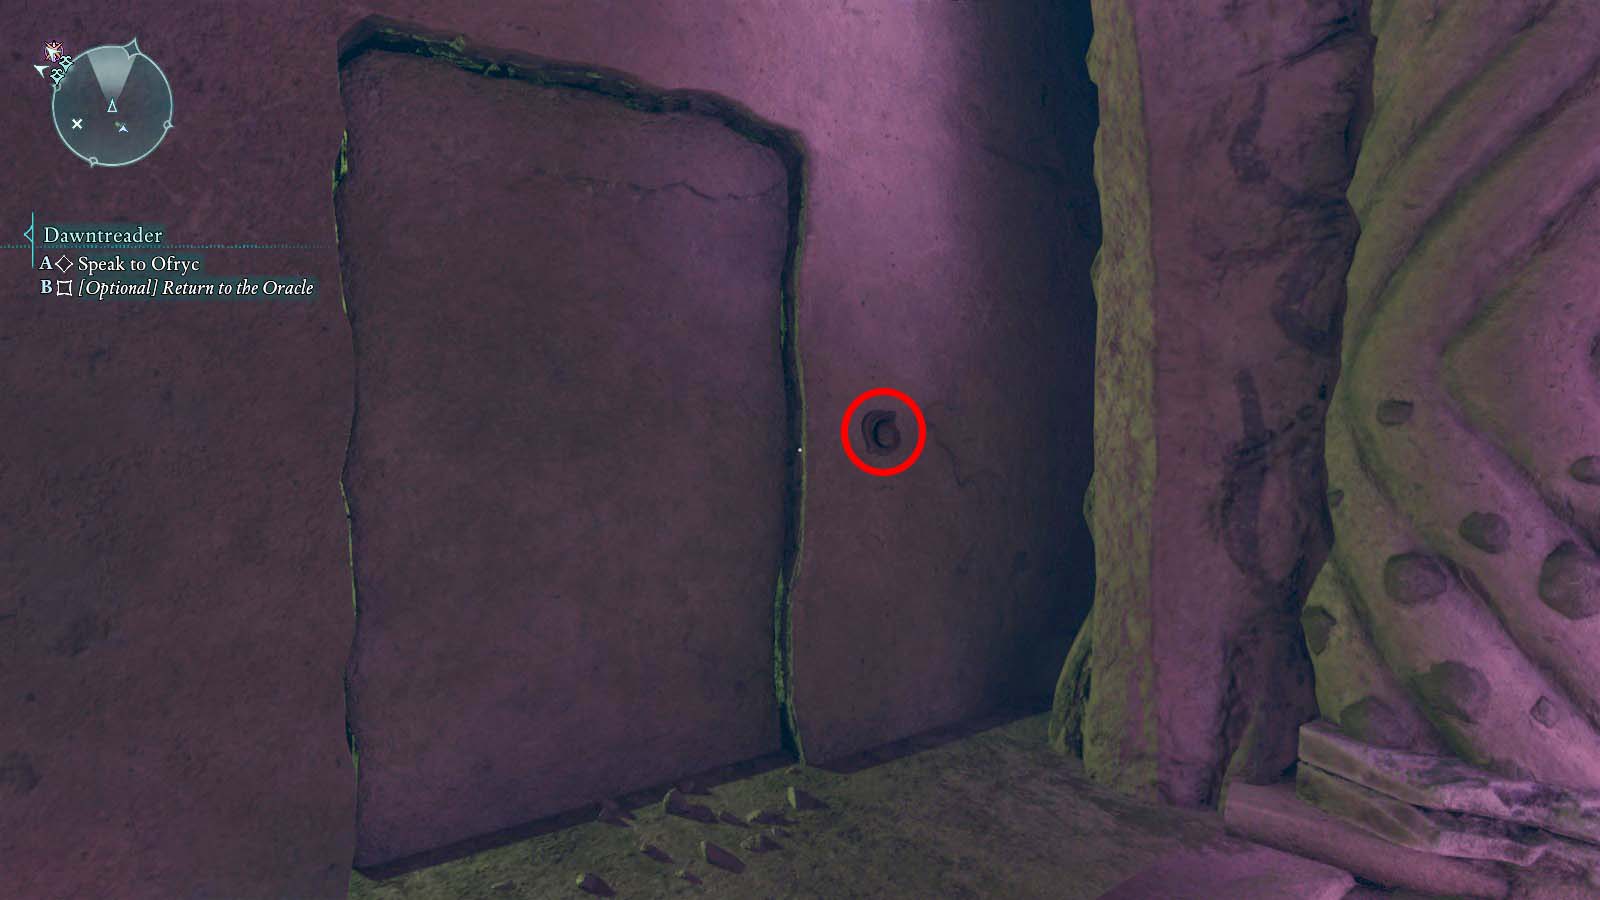
Next, head into the previous room and push the button on the wall to open the door. From there, head up the stairs and open the barred door. You’re basically back to the Oracle at this point. Head over to him.
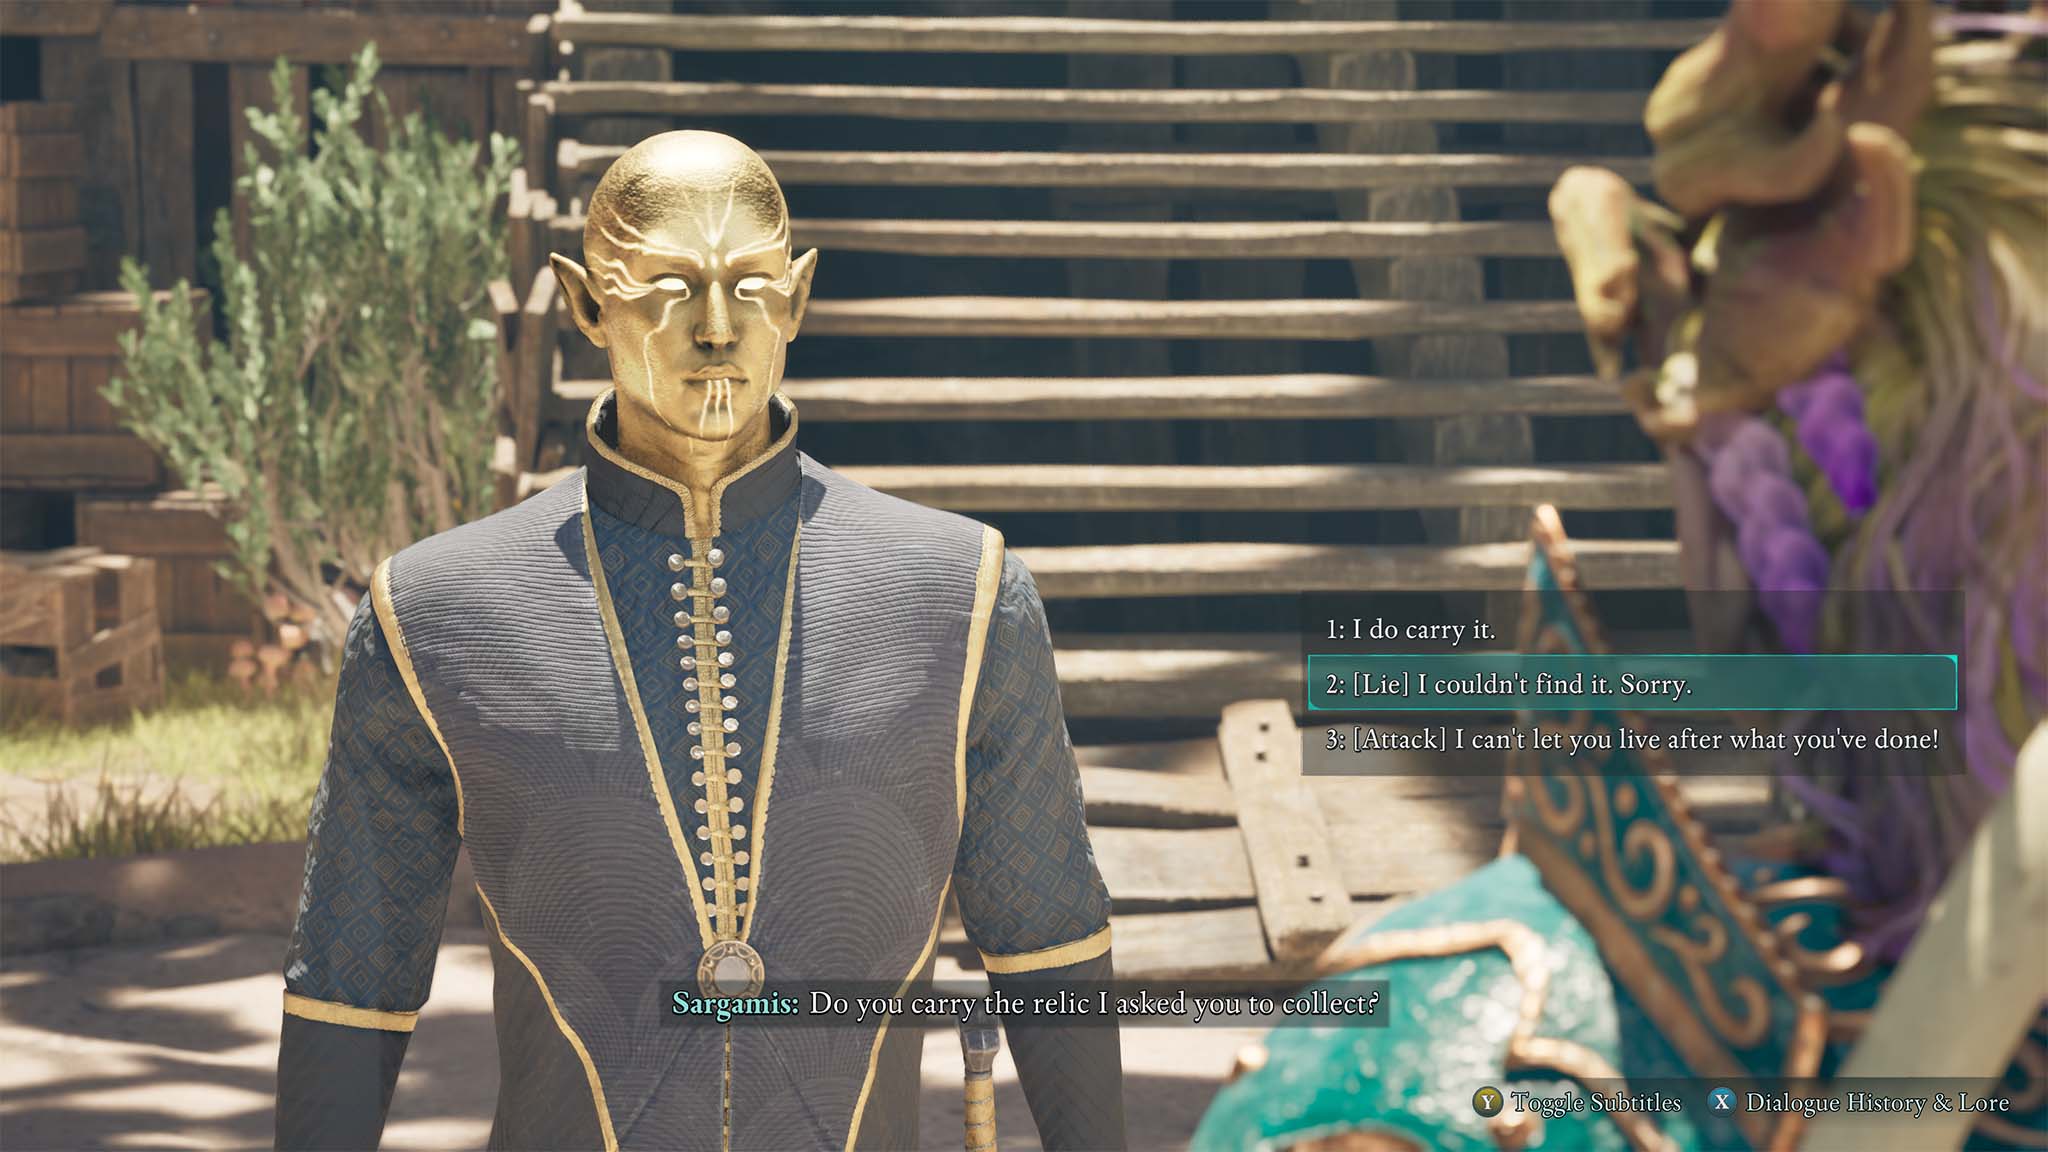
Talk to Sargamis. This conversation can play out in a number of different ways [SPOILERS AHEAD].
Depending on how you talk to him, Sargamis will ask if you obtained the relic. He also might explain that the splinter was stolen from Eothas and that he hasn’t heard the god speak to him in a long time. He killed the expedition in order to power the statue, but he wants you to put the Splinter of Eothas Relic into the statue to tie the god to it and make him atone for his past deeds.
Should I lie to Sargamis in Avowed?
No. The Oracle, Sargamis, will be able to sense that you have the Splinter of Eothas, even if you tell him you don’t have it. So, lying isn’t helpful.
Should I put the Splinter of Eothas relic in the statue in Avowed?
Play as you will, but I recommend putting the Splinter of Eothas into the statue since it opens up more dialogue options and doesn’t immediately result in any major consequences. After putting the Relic in the statue, you’ll be asked to pull a lever on the ground floor only to discover that the experiment doesn’t work. At this point, you’ll have additional choices to make and one of them feels like poetic justice.
Otherwise, you can refuse to put the relic in the statue and fight Sargamis instead if that feels like a better choice to you.
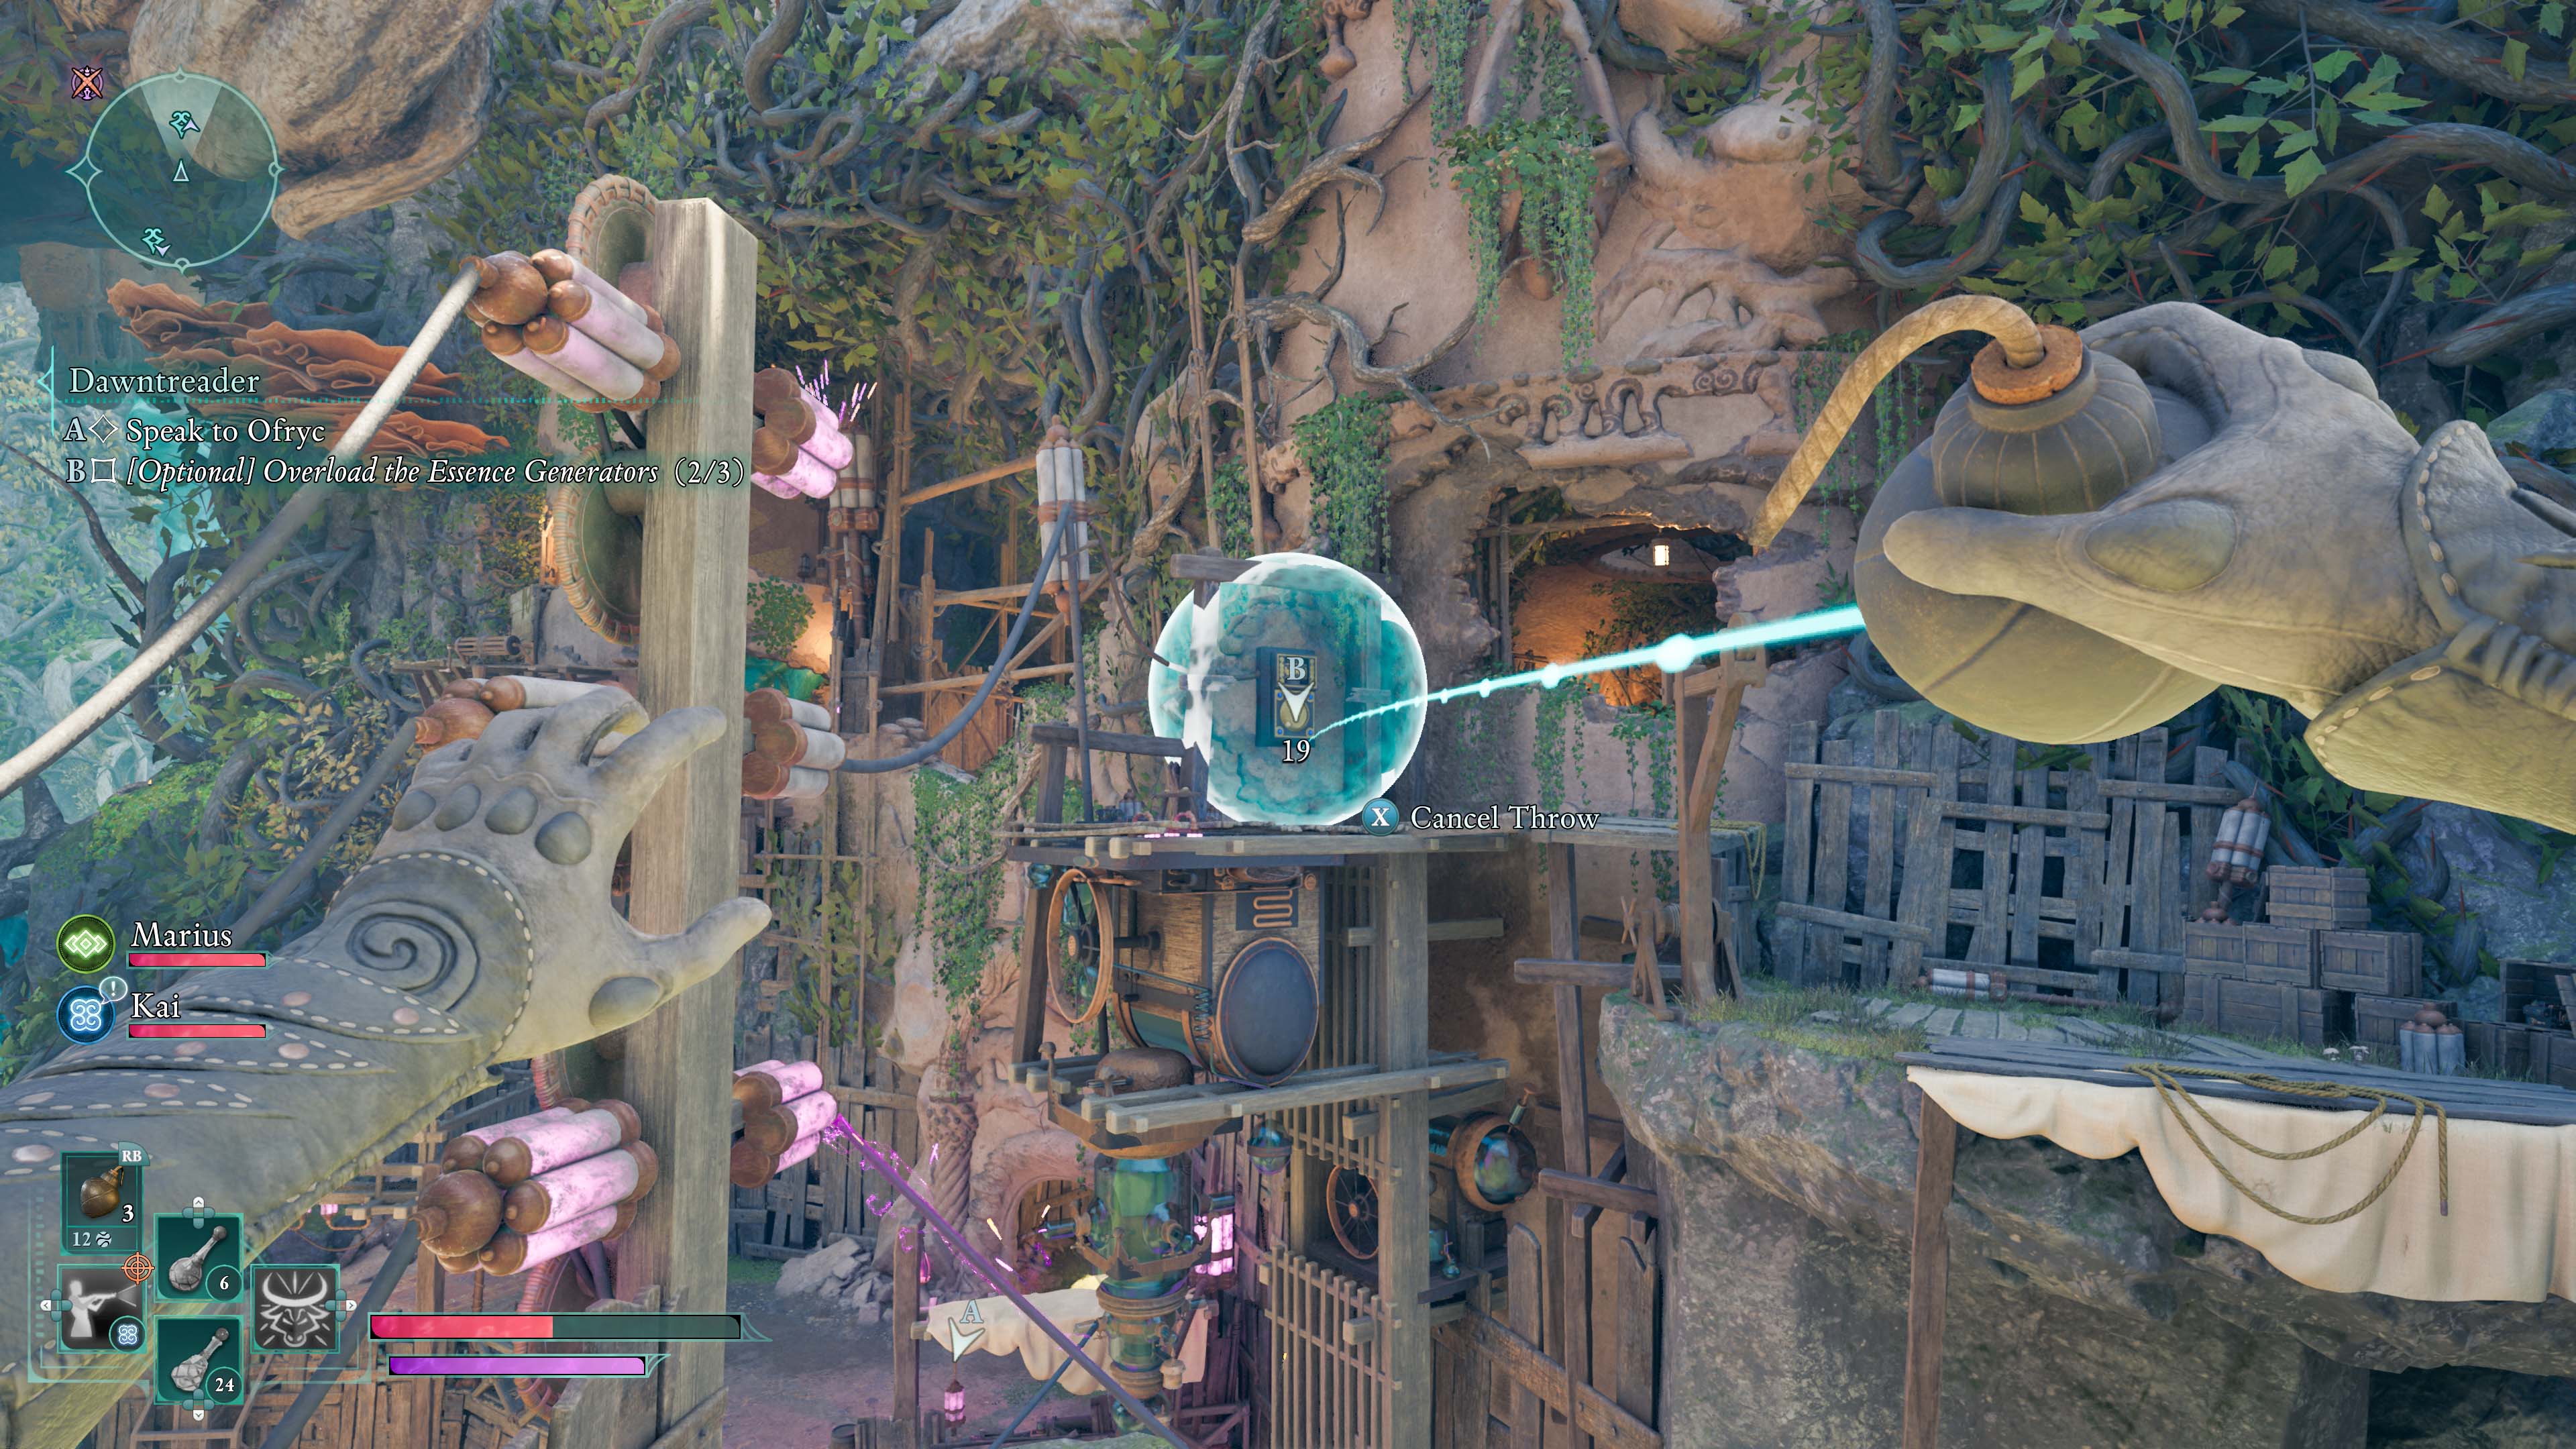
Alternatively, you can tell Sargamis that you will put the relic in the statue, but then locate the three Essence Generators in the room and overload them with electricity to destroy the statue. This will also lead to a boss fight with Sargamis.
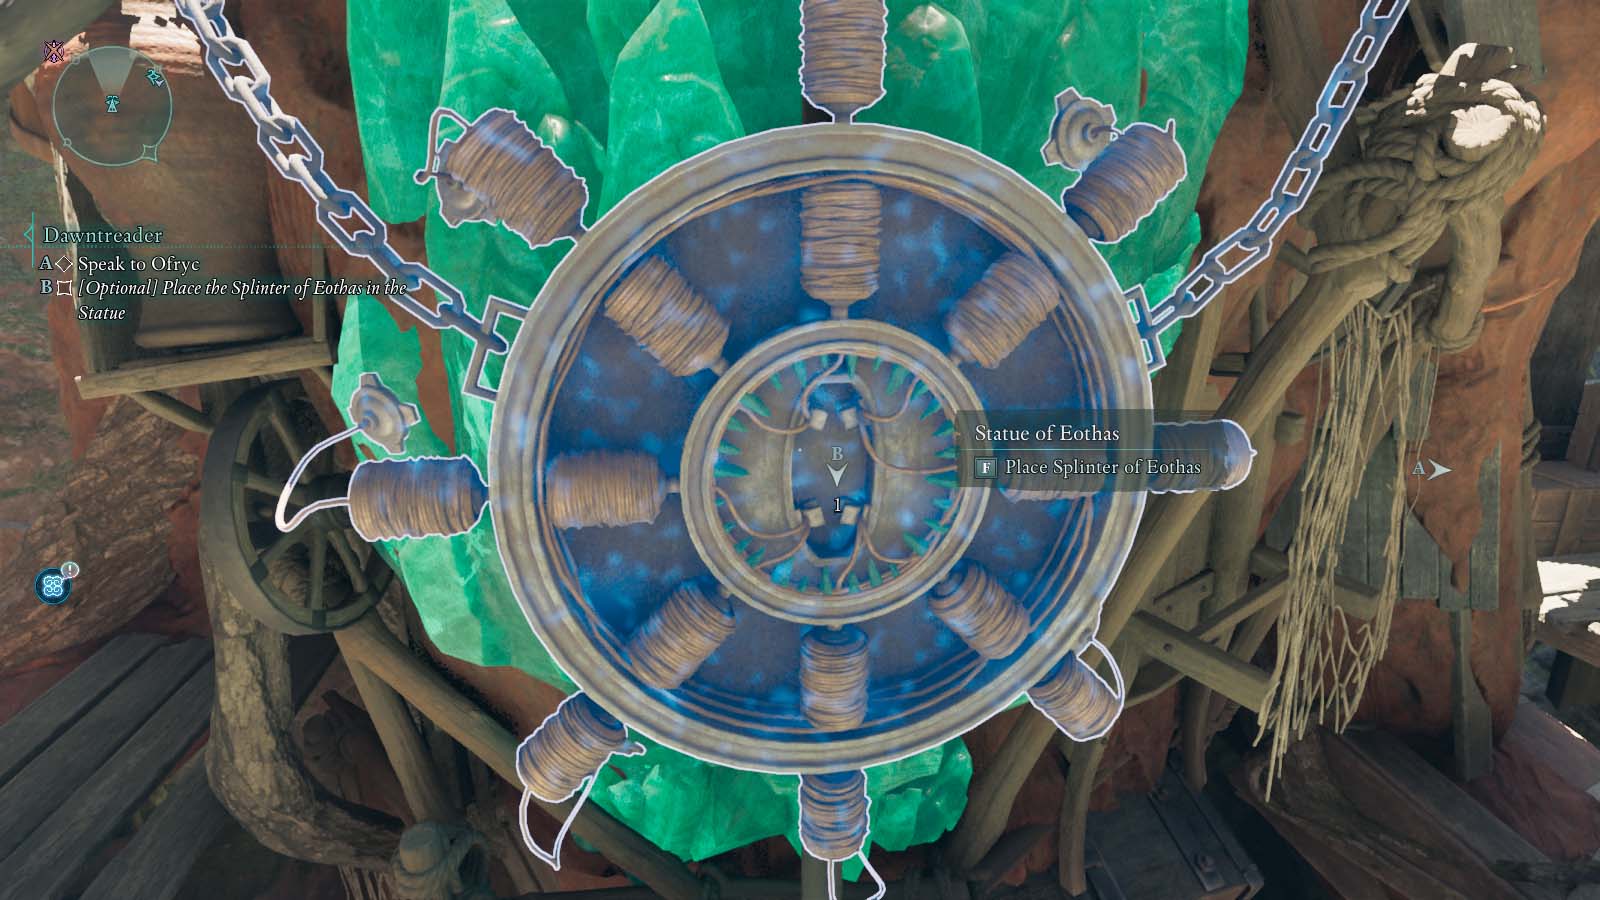
If you choose to put the Relic in the statue, do so and then talk to Sargamis again. He’ll ask you to put your own soul into the statue.
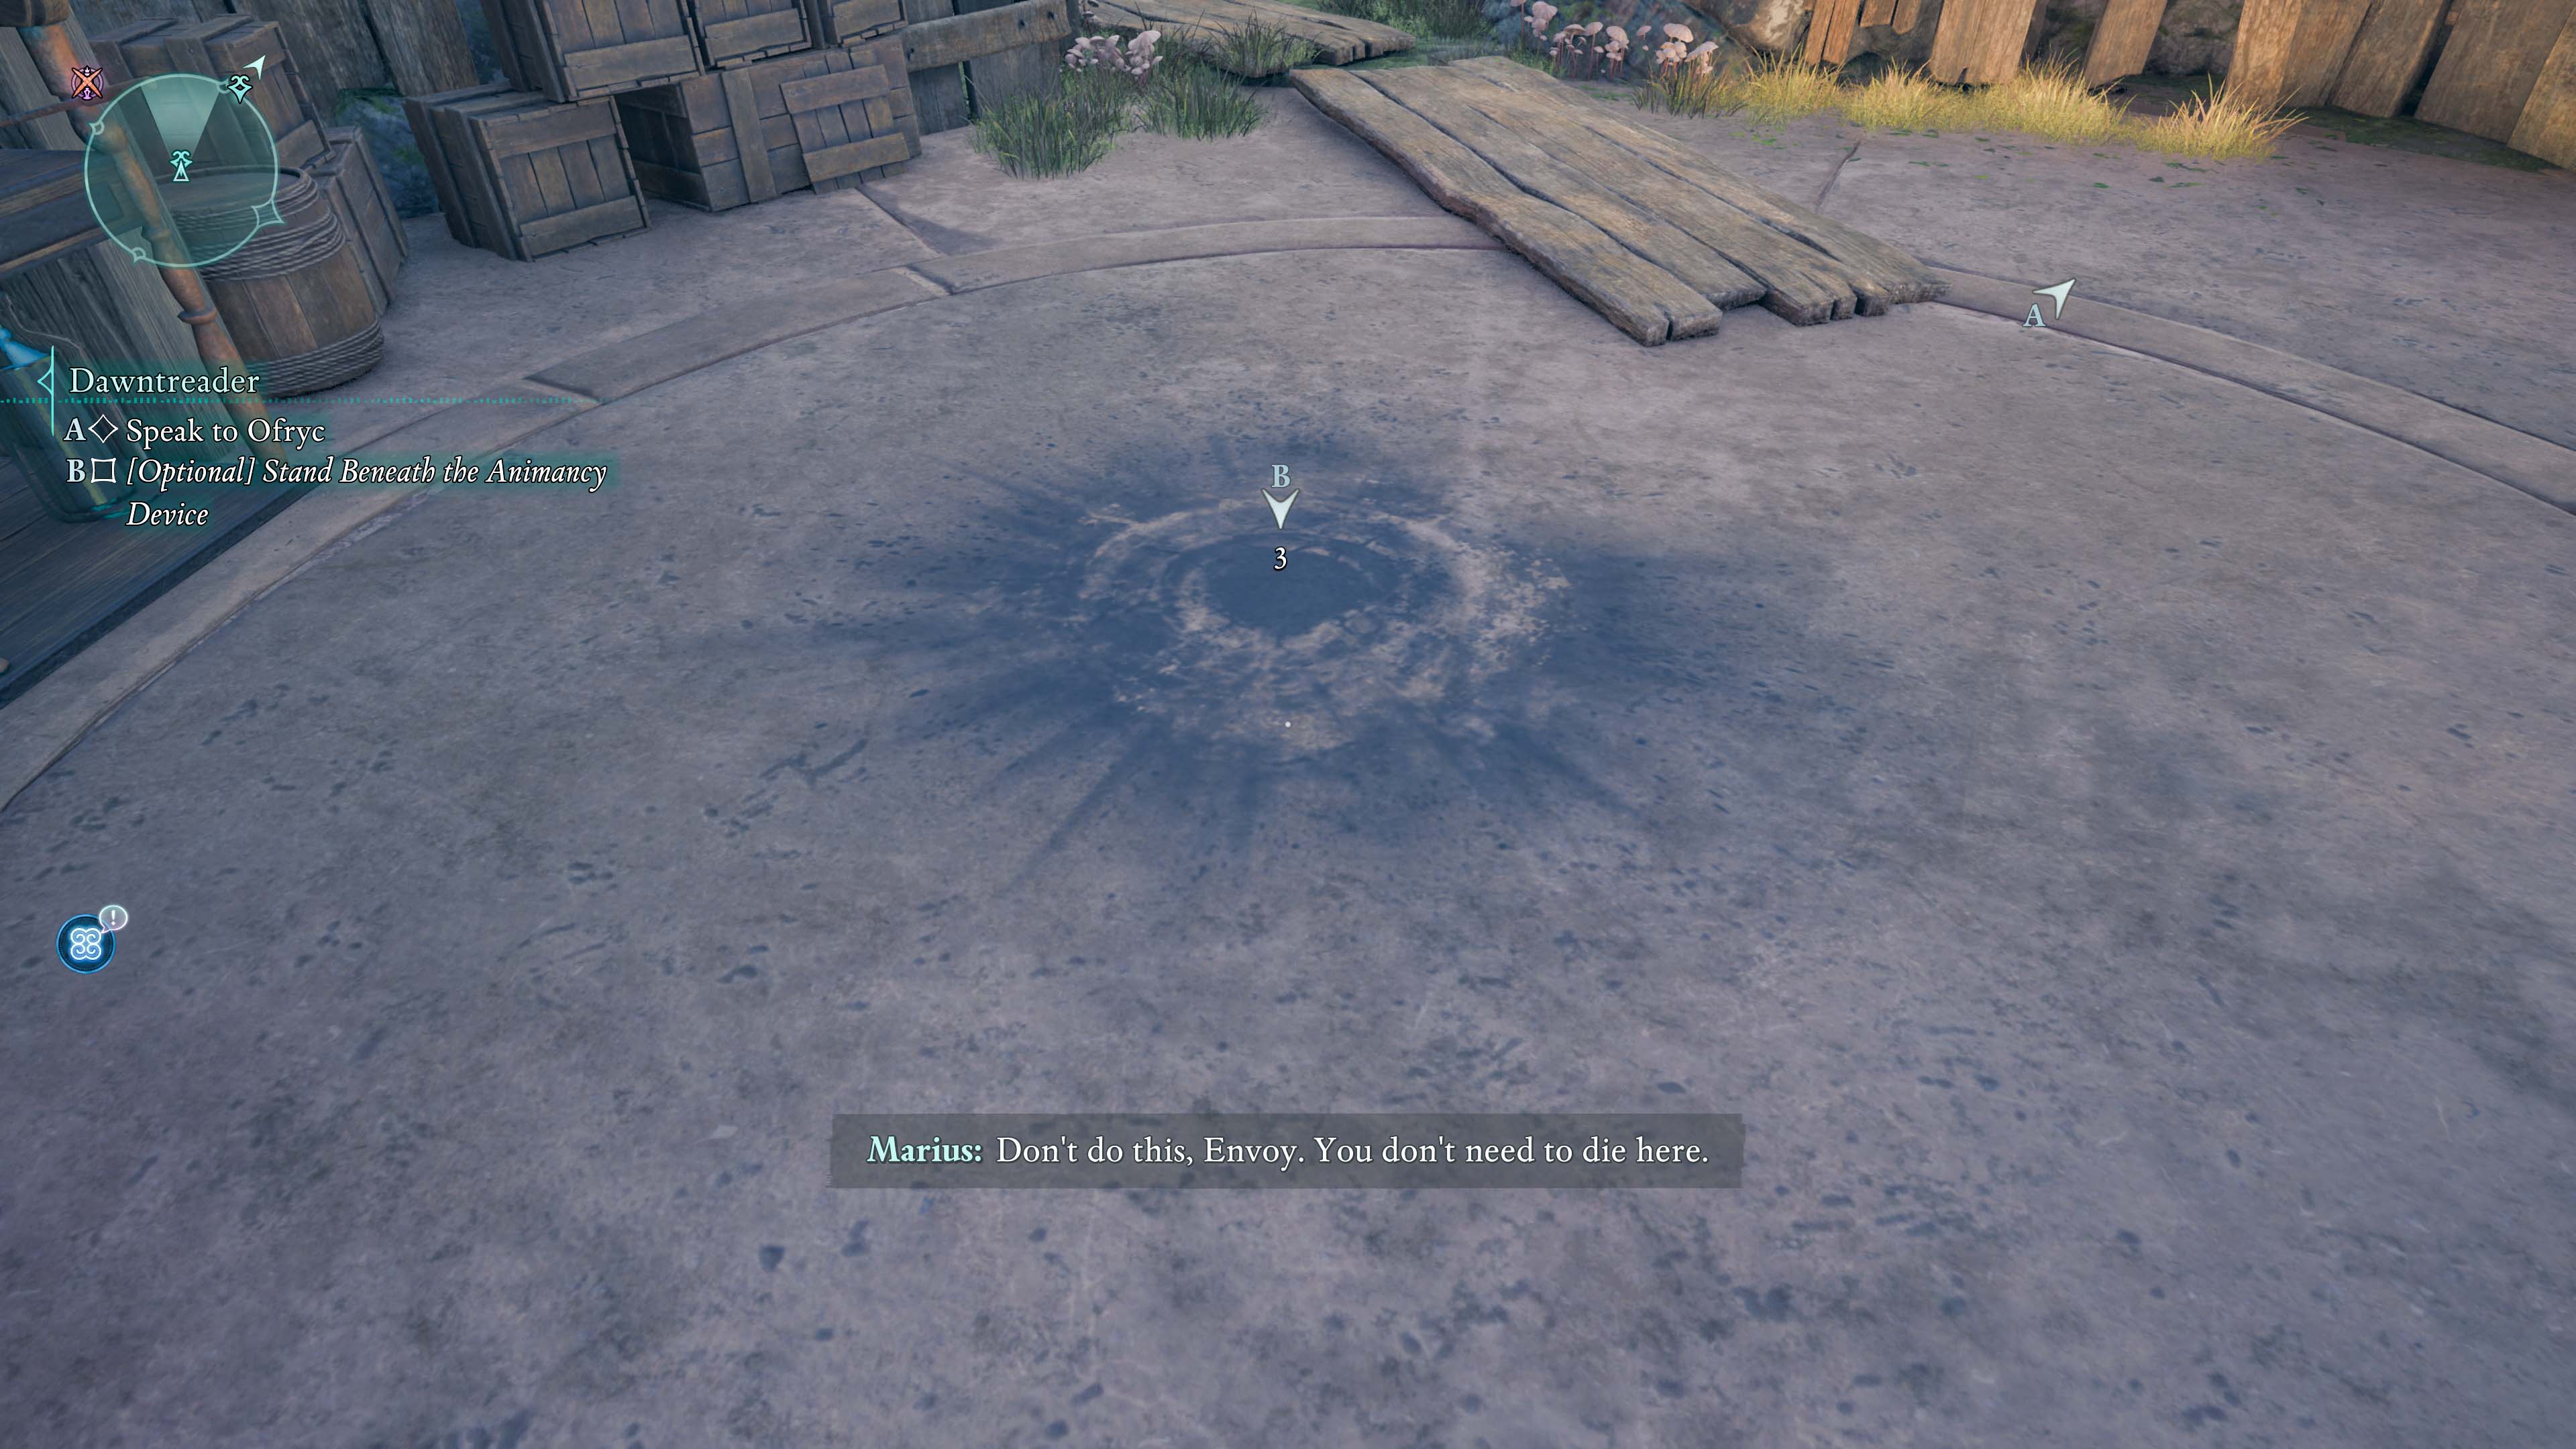
What happens if I put my soul in the Oracle’s statue in Avowed?
If you do what Sargamis asks and put your soul in the statue, you will die and get a game over. Plus, the experiment will fail.
If you press Sargamis further before making this decision, it beomes apparent that he’s tried and failed to animate the statue many, many times. So you sacrificing yourself is just another fruitless attempt.
Should I attack Sargamis in Avowed?
Fighting and killing Eothas’ Oracle, Sargamis, is a completely valid action if you feel it’s what you want to do. When you defeat him, you’ll get XP and can loot Last Light of Day, a one-handed melee weapon from him.
That said, I think there’s a better choice to go with rather than killing him outright.
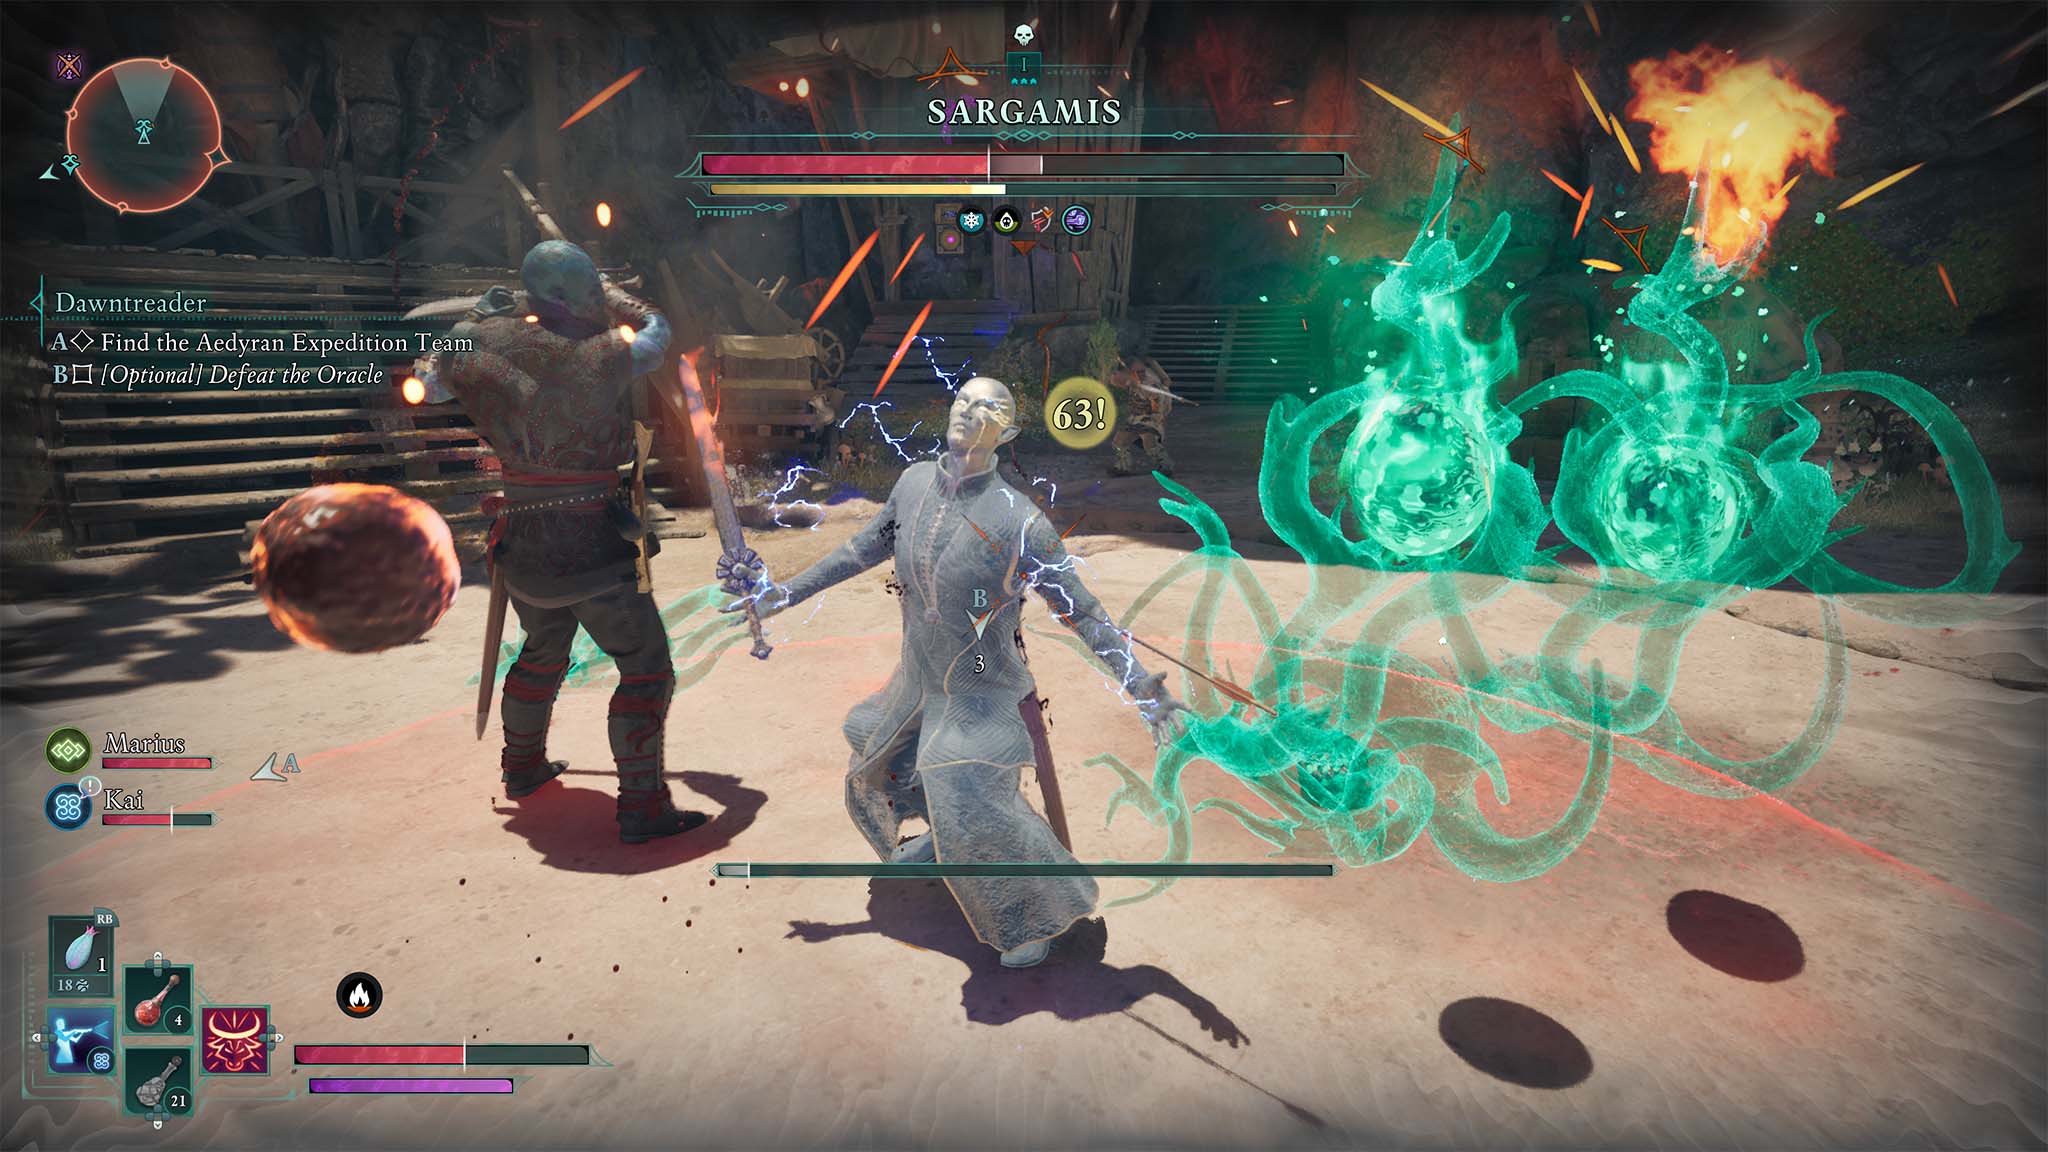
If you choose to fight Sargamis, he will pull out his flaming sword, and two green specters will fight alongside him. Use a shield or your weapon to block his attacks when necessary. Otherwise, dodge away from him to avoid taking damage, and hit him with your own attacks as often as you can.
As long as you are at a good level, you should be able to defeat him rather easily. I was personally at level 7 when I did this quest.
What should I do with Sargamis in Avowed?
Since putting your own soul in the statue results in a game over, you basically have to choose something different to progress the game.
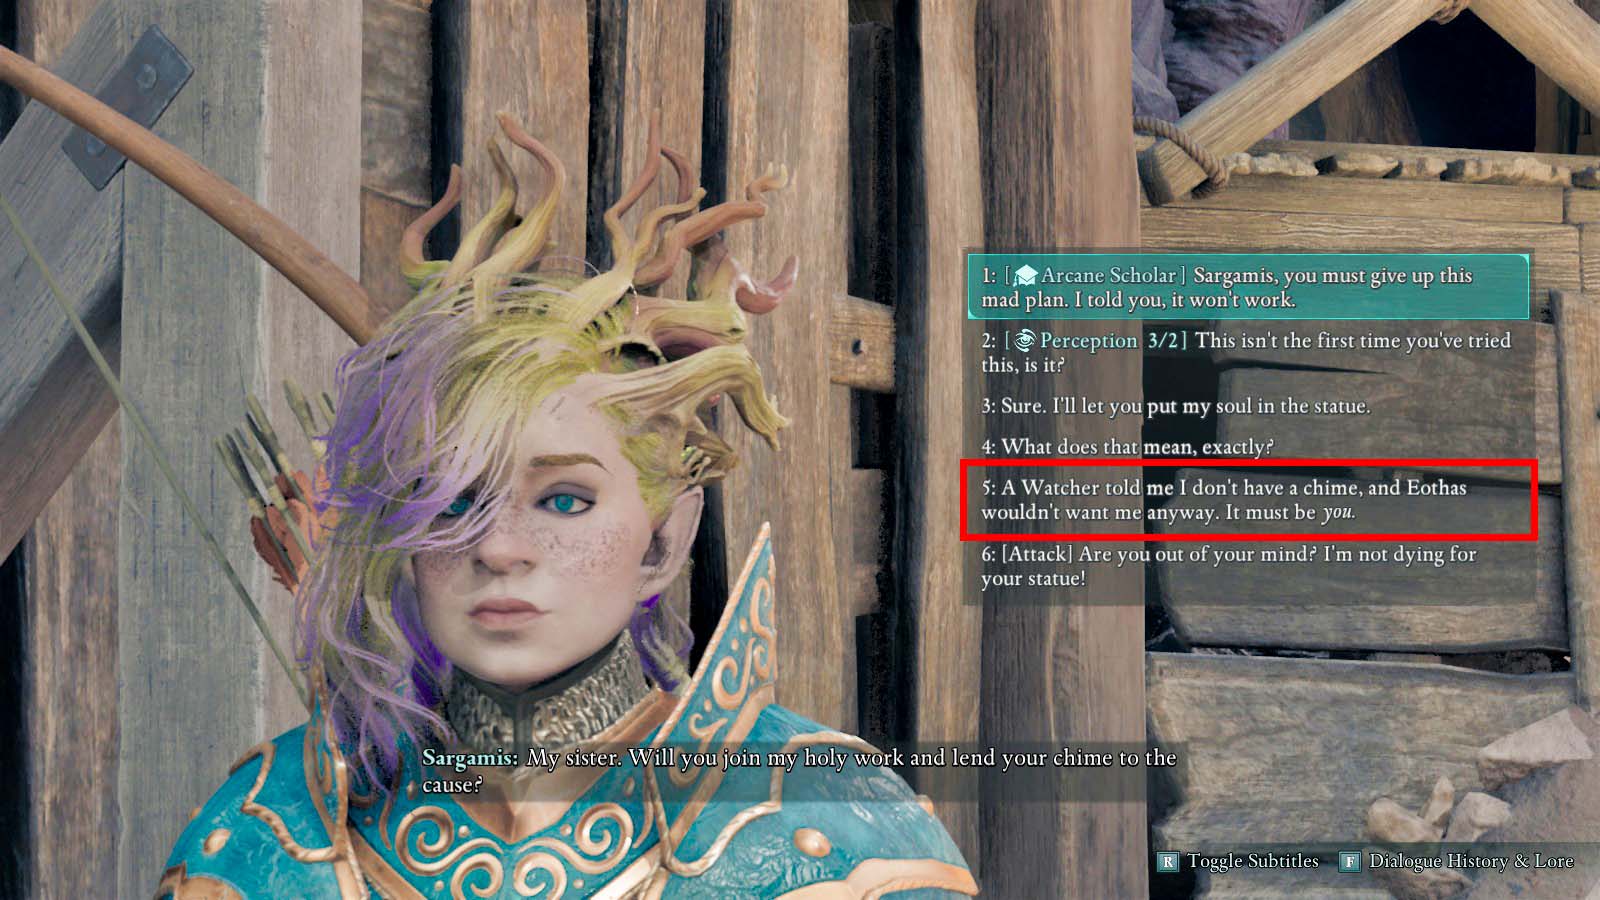
Rather than putting your own soul in the statue or fighting Sargamis, I recommend going with a third option that is far more satisfying. Answer Sargamis with, “A Watcher told me I don’t have a chime, and Eothas wouldn’t want me anyway. It must be you.”
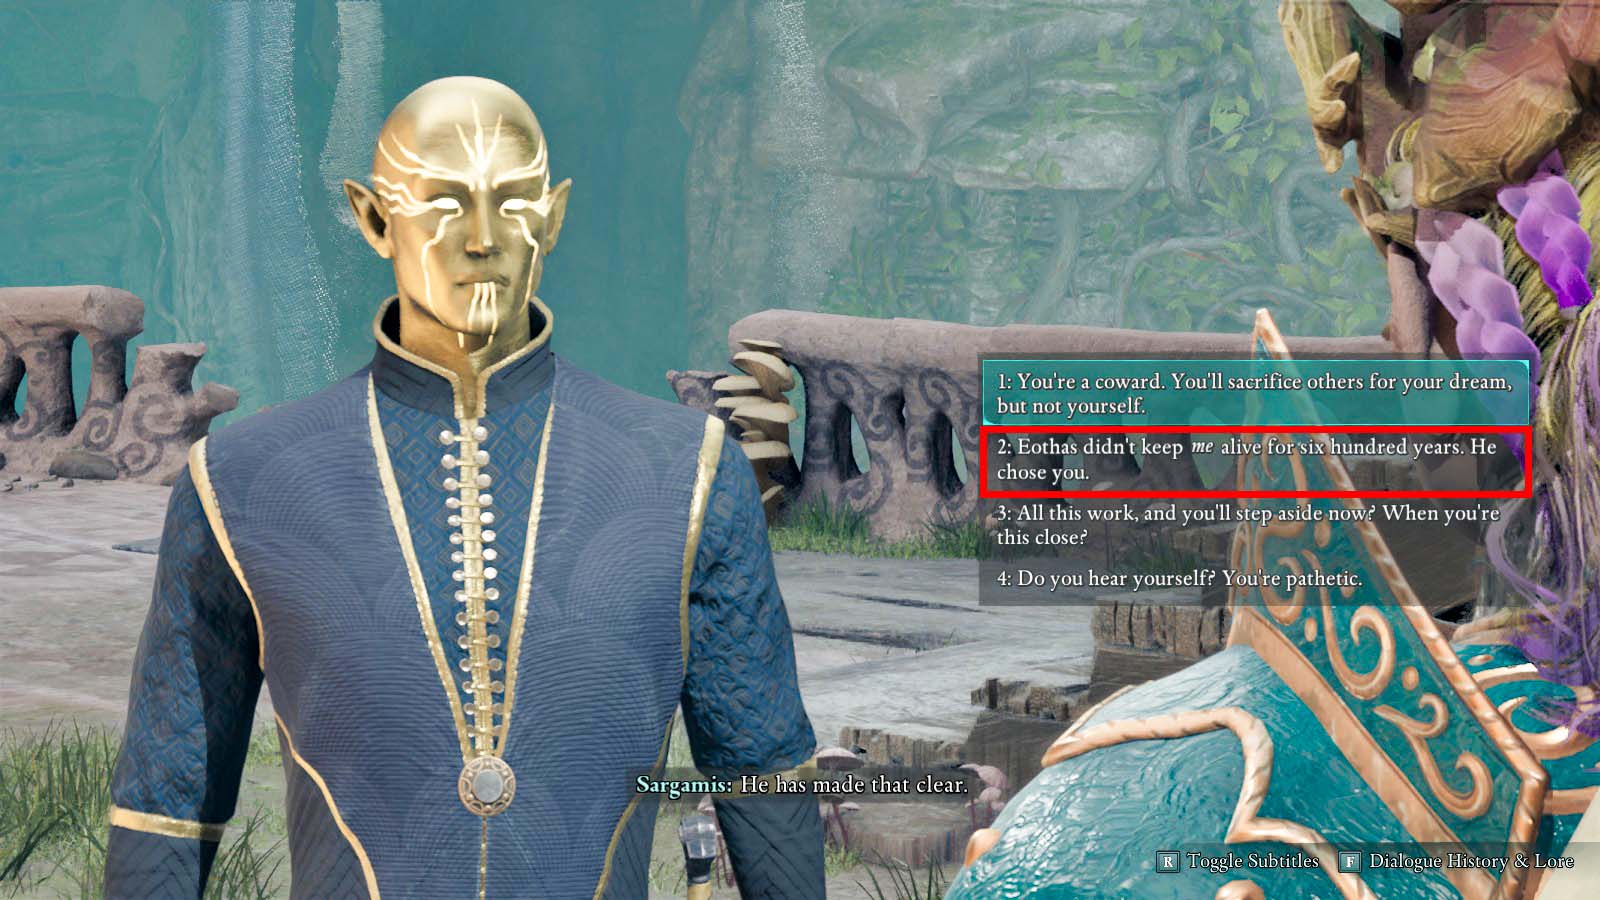
Follow that up with, “Eothas didn’t keep me alive for six hundred years. He chose you.” This will make Sargamis put his own soul in the statue. You’ll just need to pull the lever, and he’ll get zapped to death.
After that, you’ll earn XP and can loot the Last Light of Day one-handed melee weapon from him. In case you were wondering, if you throw the statue lever after zapping the Oracle, the experiment will fail once again. But with Sargamis gone, he won’t be able to continue his murderous experiments.
Image 1 of 2
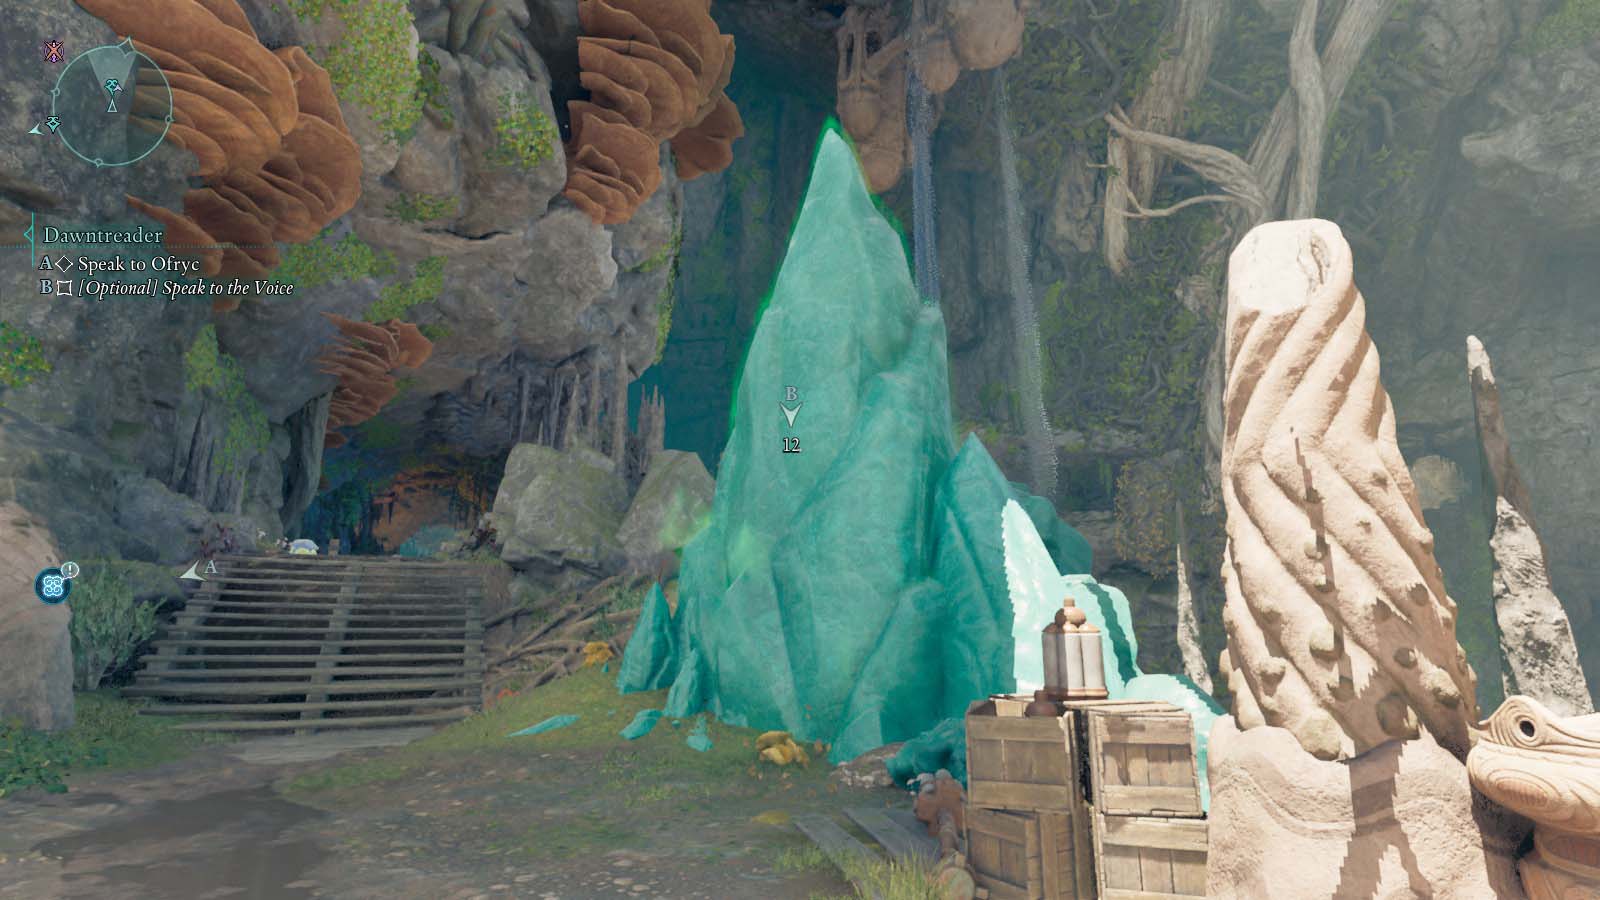
After you’ve dealt with Sargamis, the Voice will talk to you. If you want, head to the blue Adra crystal and interact with it to speak to the Voice. At this point, the Voice will ask that you not destroy the statue and promise they can have it as a potential vessel to return to this world with. Now it’s time to make a decision.
Should I give the statue to the Voice in Avowed?
This choice is really up to you. If you refuse, the Voice will become upset and will tell you it will remember this. If you’re being wary of the Voice in your playthrough, choose this option.
Alternatively, if you agree to give the Voice the statue, then the unknown figure will sound grateful and state that it will remember this, but in a more positive way. If you want to get on well with the Voice, choose this option.
Should I destroy the statue in Avowed?
This choice is ultimately up to you. If you are playing a more upright character, it makes sense to destroy the statue so no one else can abuse it.
However, if you want to gain favor with the mysterious Voice that keeps talking to you, then you should not destroy it.
Where are the three Essence Generators to destroy the statue in Avowed?
Each Essence Generator is hidden behind wooden planks, so you’ll need to break these before you can sabotage the mechanisms. You overload (break) the Essence Generators by throwing Electric Lily Seed at them.
1.) The first Essence Generator is to the right of the statue in the wooden structure.
2.) The second Essence Generator is to the left behind the statue next to the cave and across the gap.
3.) The third Essence Generator can be reached by climbing on top of the statue and facing the platform above the soul lever.
After you’ve made your decisions, head to the elevator that’s at the right of the statue and throw the lever to head up to the world above. You’ll find some goodies in a cavern so loot it to your heart’s desire.

From here, you’ll want to make your way back to Paradis and talk to both Ofryc and Caedmon who are both standing in front of the Aedyrn Embassy. Tell them that the Oracle killed their friends but that you avenged the expedition.
You’ll be given a ring called Delver’s Caution and earn XP for completing the quest. Delver’s Caution provides +1 Dexterity and +15% Parkour Speed when equipped.
Now you’ve completed the Dawntreader quest
The Dawntreader quest sets up the vibe for the rest of the game by providing players with multiple decisions with varying consequences. While I certainly feel more satisfied with specific choices, you should play the way that feels best for you.
If you’re playing as a character that holds up truth and justice, then you might want to attack Sargamis and destroy the statue. However, I find it far more satisfying to trick the Oracle into sacrificing himself to the statue. He won’t be able to hurt anyone else, and you’ll still earn XP.


