After you’ve put a significant amount of time into Hogwarts Legacy, you’ll eventually come upon a quest titled, “The Final Repository.” This quest leads into the game’s big boss fight with Ranrok. This will be a challenging multi-phase battle, so you need to come prepared before setting out on the quest.
Hogwarts Legacy has a very robust battle system, which is partially why it’s one of the best PC games and best Xbox games out there. The final boss will be challenging, but it’s also fair and can be really fun. In this final boss fight, there are a few tells to look out for that let you know what kind of attack Ranrok is about to do. I’ll go over what exactly you need to do to defeat him and discuss tactics for taking Ranrok down faster.
Hogwarts Legacy: How to prepare for the final Ranrok boss battle
Hogwarts Legacy‘s Ranrok boss fight can be a long, challenging affair and as such, you’re going to want to come prepared. If you’re having issues defeating Ranrok, then you might want to choose “Abandon Quest” on the Quest Failed screen and take some time to get stronger or stock up on items before attempting the battle again. Here are some thing to do to make the Ranrock boss fight easier.
- Max out your potion inventory: Hopefully, you’ve learned by now that potions can seriously help you defeat enemies faster by giving stat boosts. Not to mention, they’re important for reviving your health bar when it’s low. You can experience the effects of multiple potions at once, so bring them to the Ranrok boss fight and drink Focus, Maxima, and Edurus Potions at the same time to raise your stats.
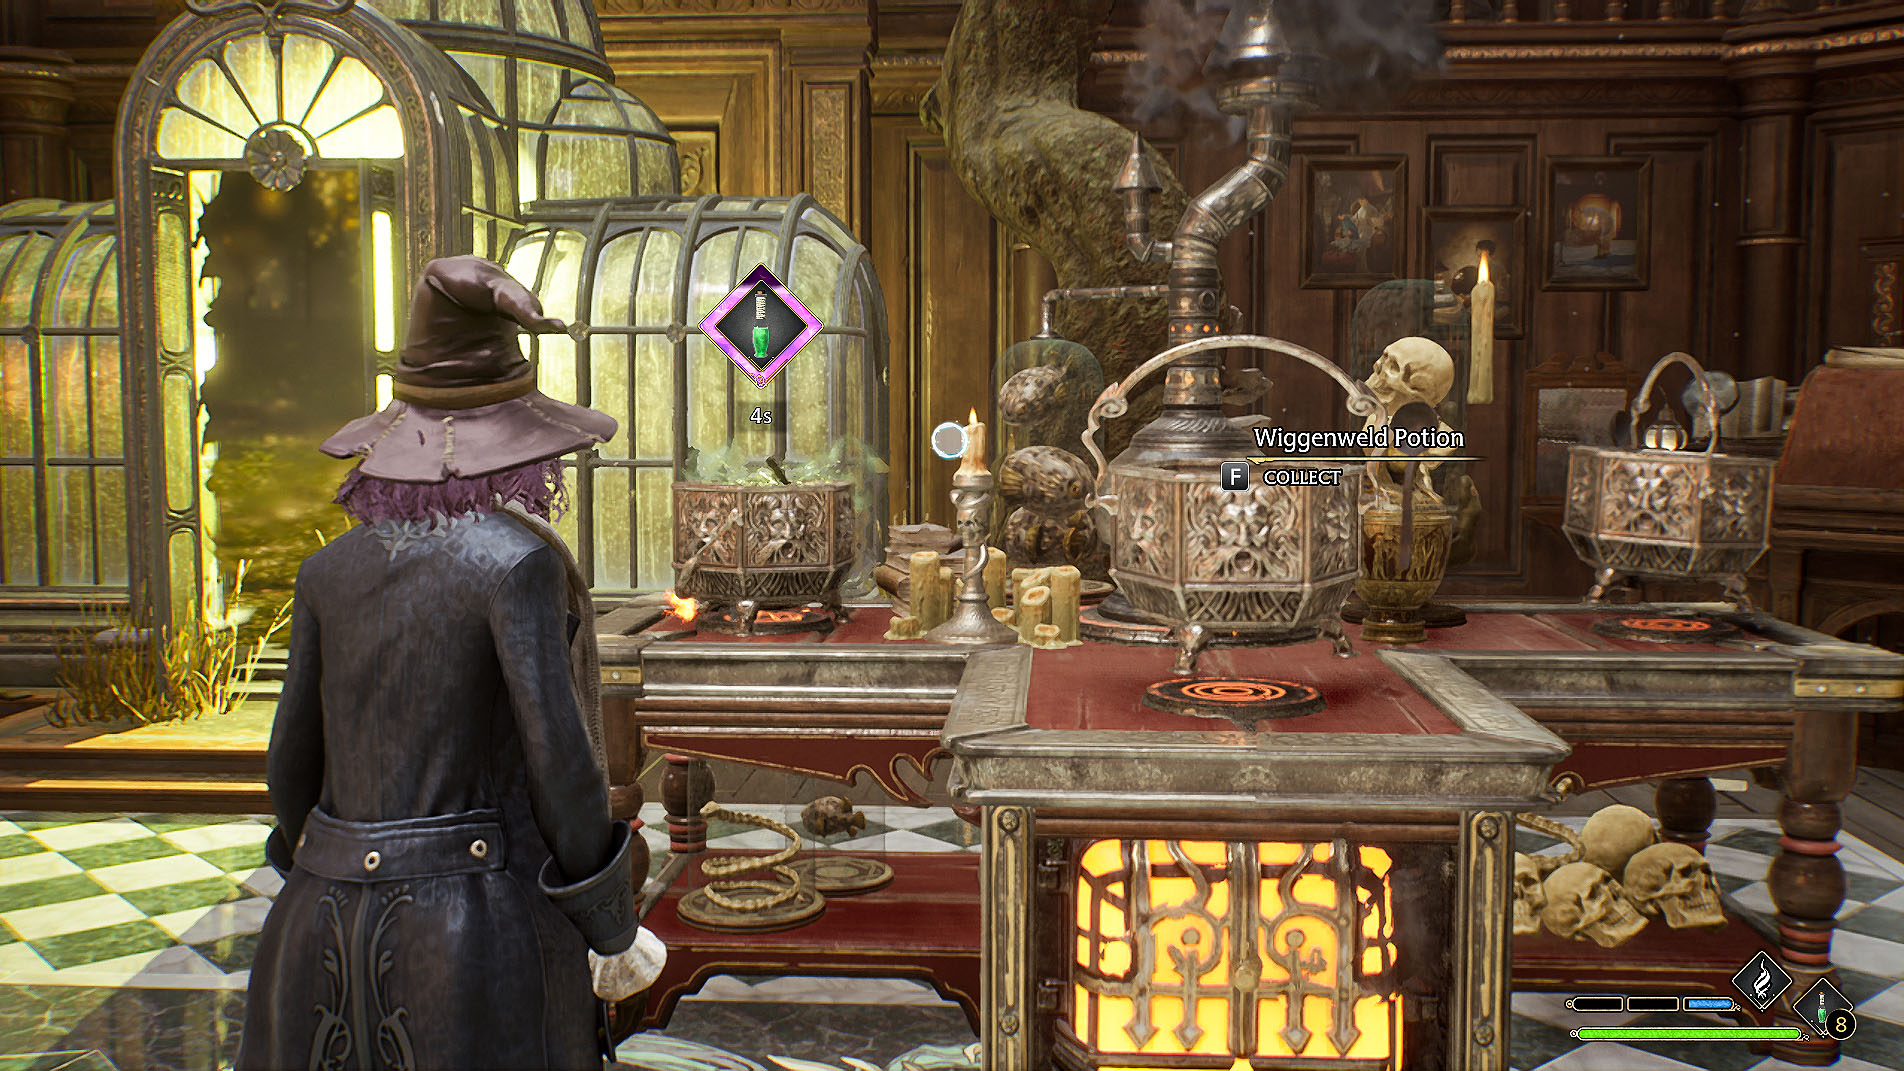
- Wiggenweld Potions: You can hold up to 25 of these health potions and I suggest you brew this many in The Room of Requirement before starting the battle. Then use them as needed.
- Focus Potions: A Focus Potion reduces your spells’ cooldown time for as long as the potion remains in effect. Meaning, that you can launch your most powerful attacks more frequently. So stock up on these before facing the final boss.
- Maxima Potion: Increases the amount of damage your spells inflict for a short amount of time. Drinking this will make you more powerful against Ranrok so you can chip his health down faster.
- Edurus Potion: By turning you into a stone version of yourself, this potion increases your defense for a short amount of time. You’ll take less damage from Ranrok while it’s in play.
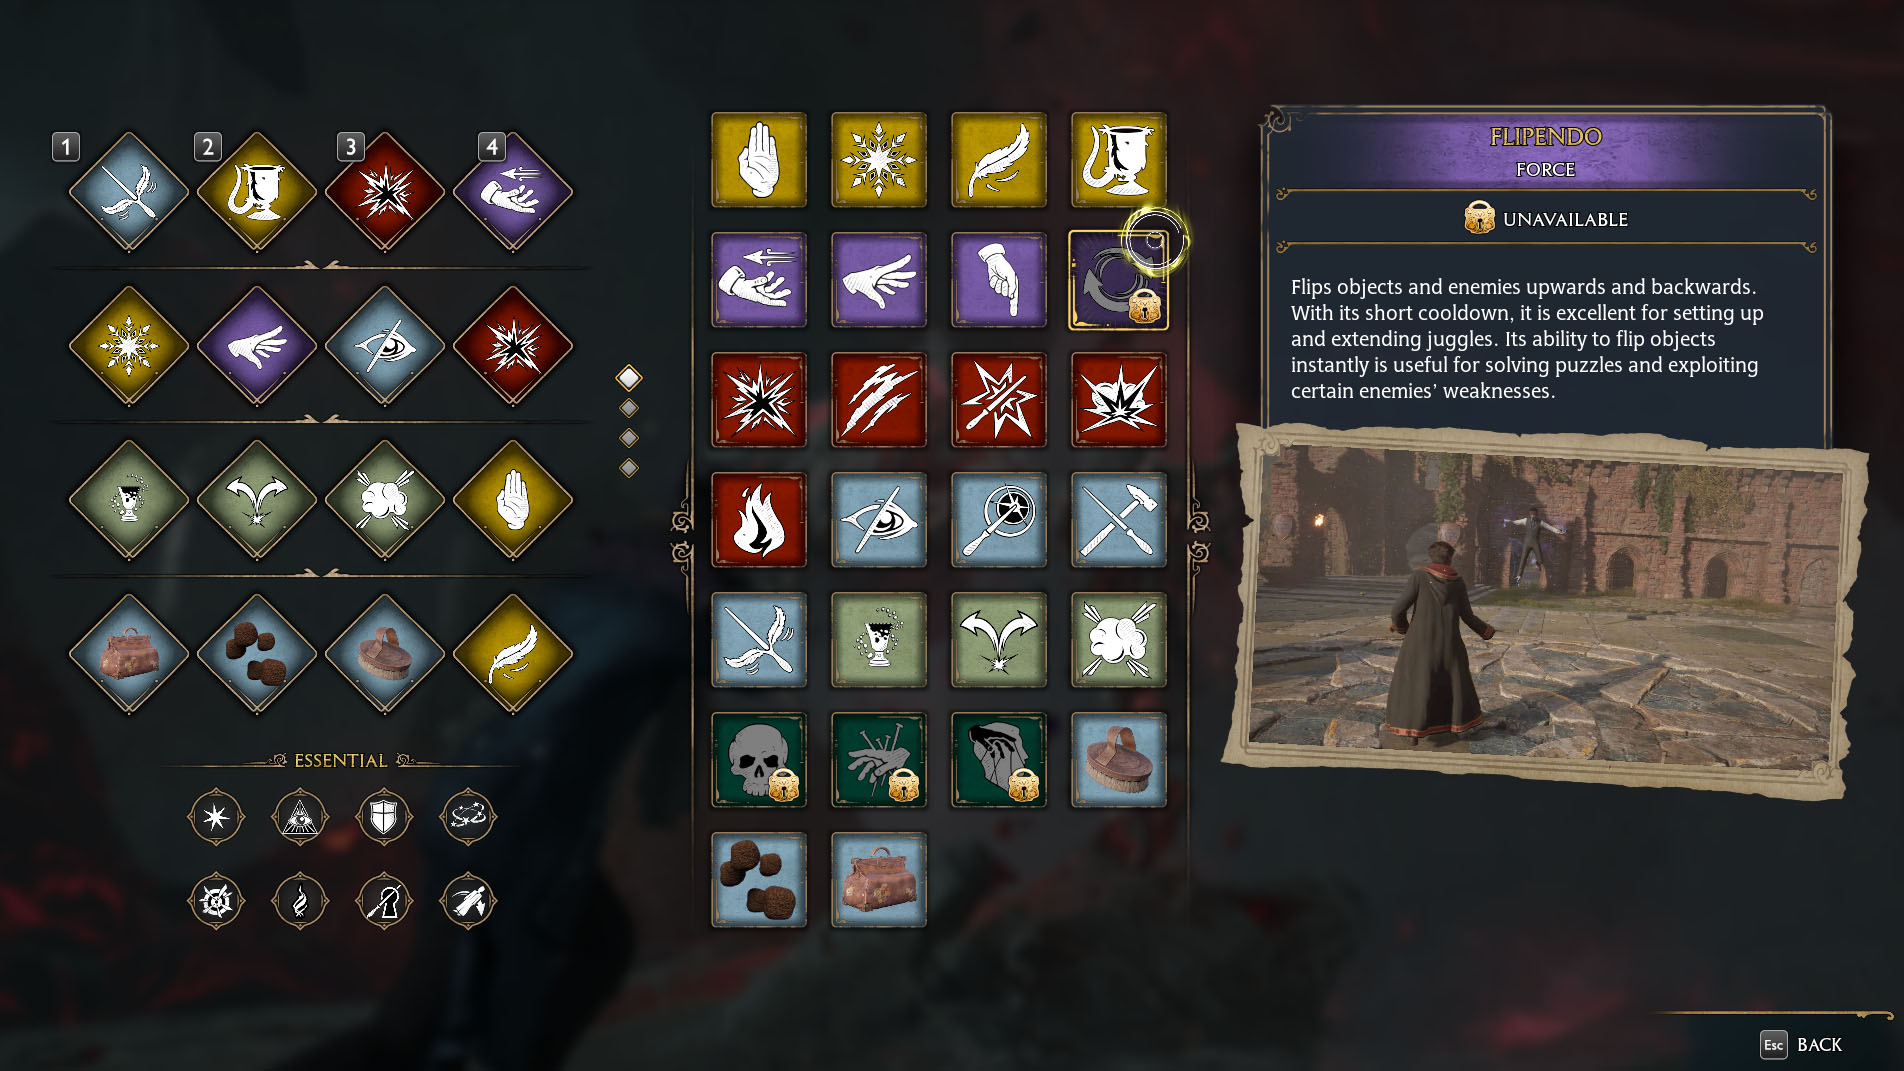
- Unlock all spells: Make sure you’ve unlocked all spells you want access to during the final boss. Some spells will do more attack damage than others, but all yellow, purple, and red spells can come in handy in this fight. If you can still learn additional spells then you might want to take the time to complete the sidequests that lead to them. It might just give you the extra umph you need to take down Ranrok.
- Note: It’s up to you if you learn the Unforgivable Curses: Imperio, Crucio, and Avada Kedavra.
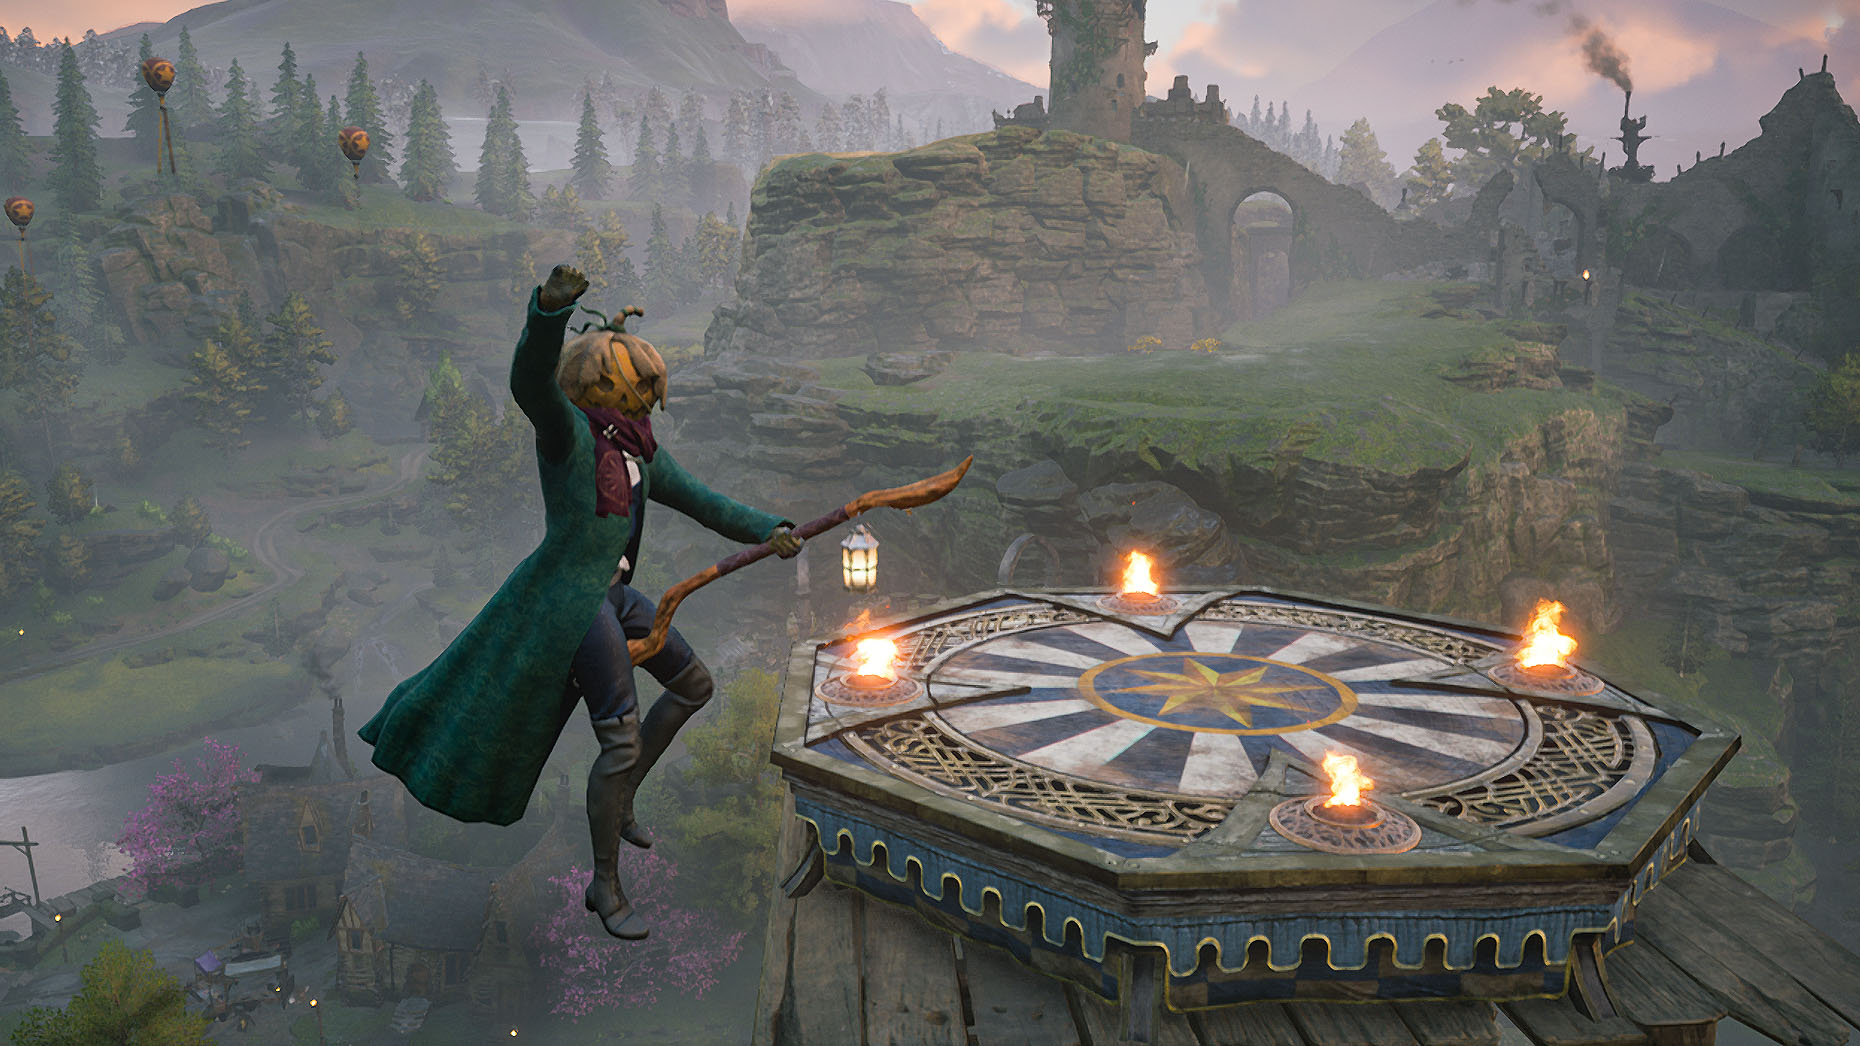
- Level up more: Ranrok is level 30, so it will be a whole lot easier to take him down if you yourself are Level 30 or higher. You can gain additional experience by doing several things such as:
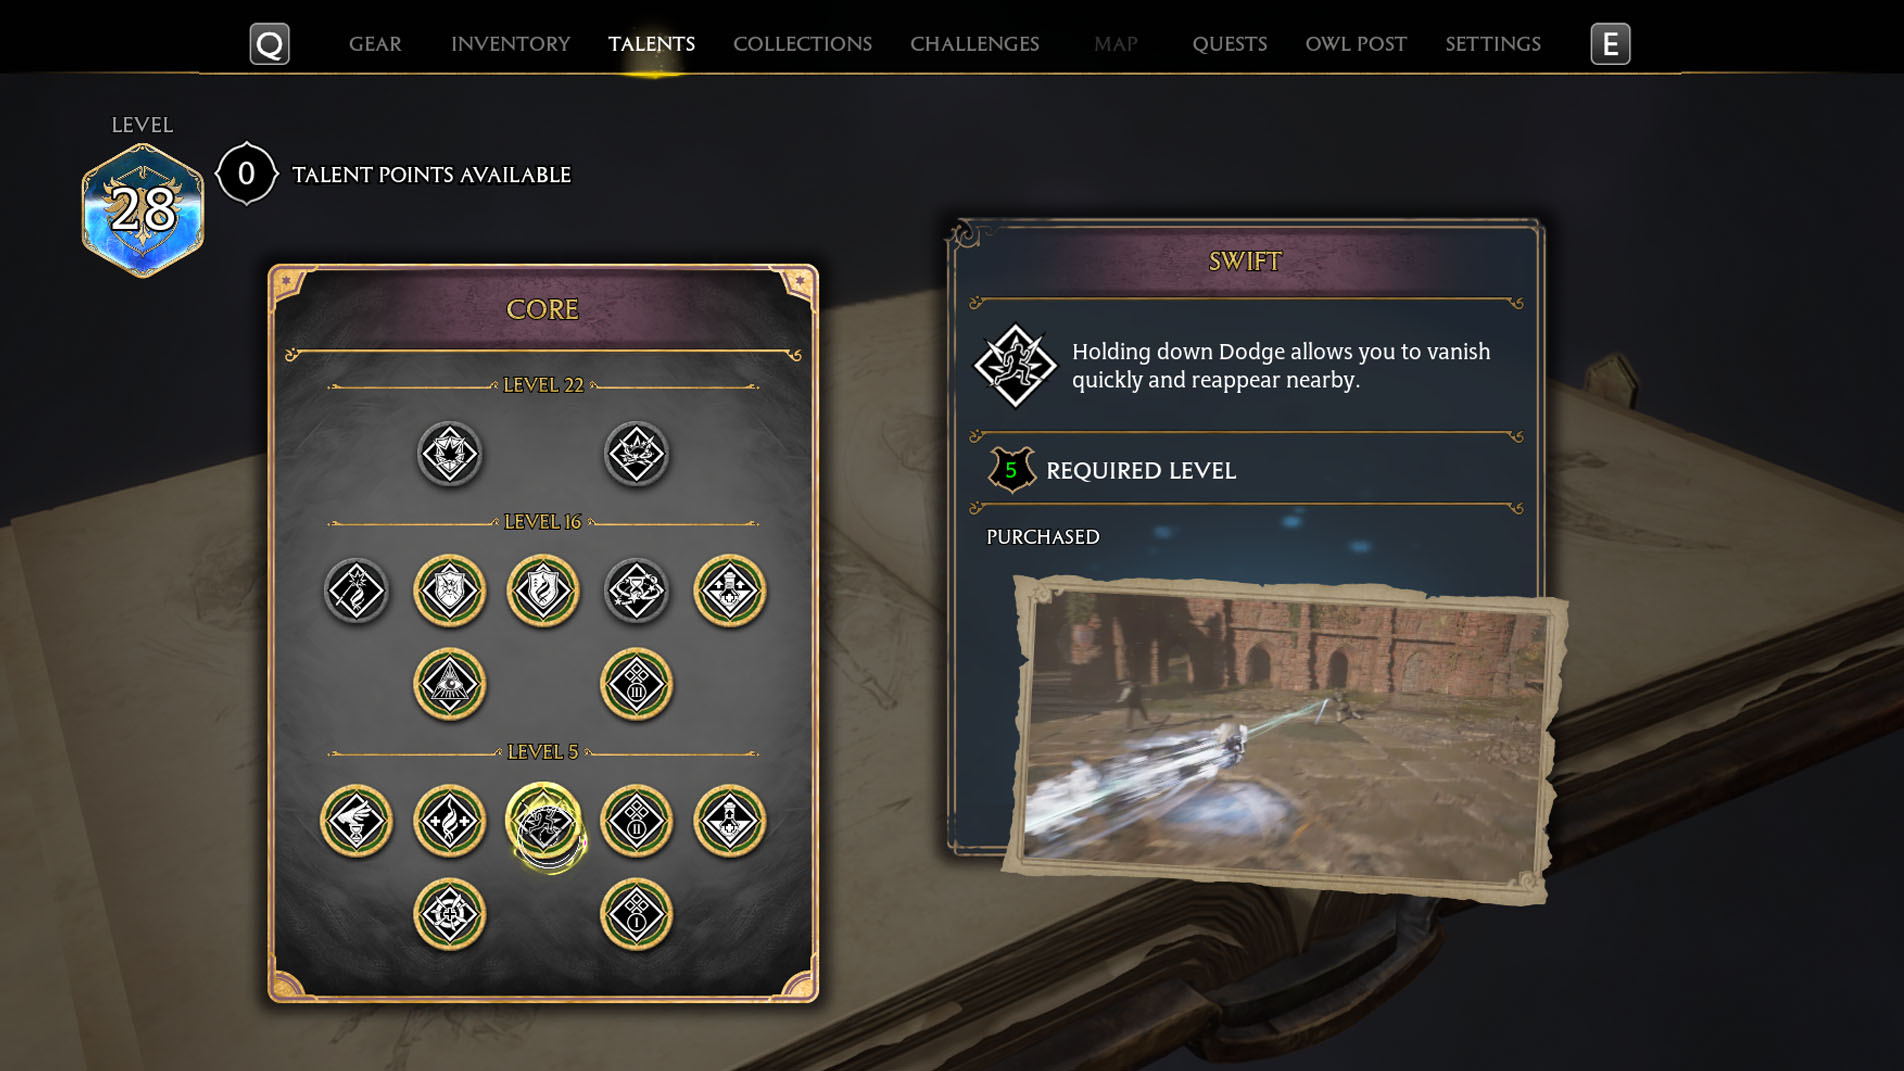
- Spend available Talent Points. Each time you level up, you’ll gain a Talent Point, which you can use to upgrade one of your skills in the menu. I highly recommend you have the following unlocked before fighting Ranrok:
- Core → Basic Cast Mastery
- Core → Swift
- Core → Spell Knowledge 1, 2, & 3
- Core → Wiggenweld Potency 1 & 2
- Core → Ancient Magic Throw Expertise
- Core → Evasion Absorption
- Core → Protego Expertise
- Spell → Bombarda Mastery
- Spell → Confringo Mastery
- Spell → Incendio Mastery
- Spell → Diffendo Mastery
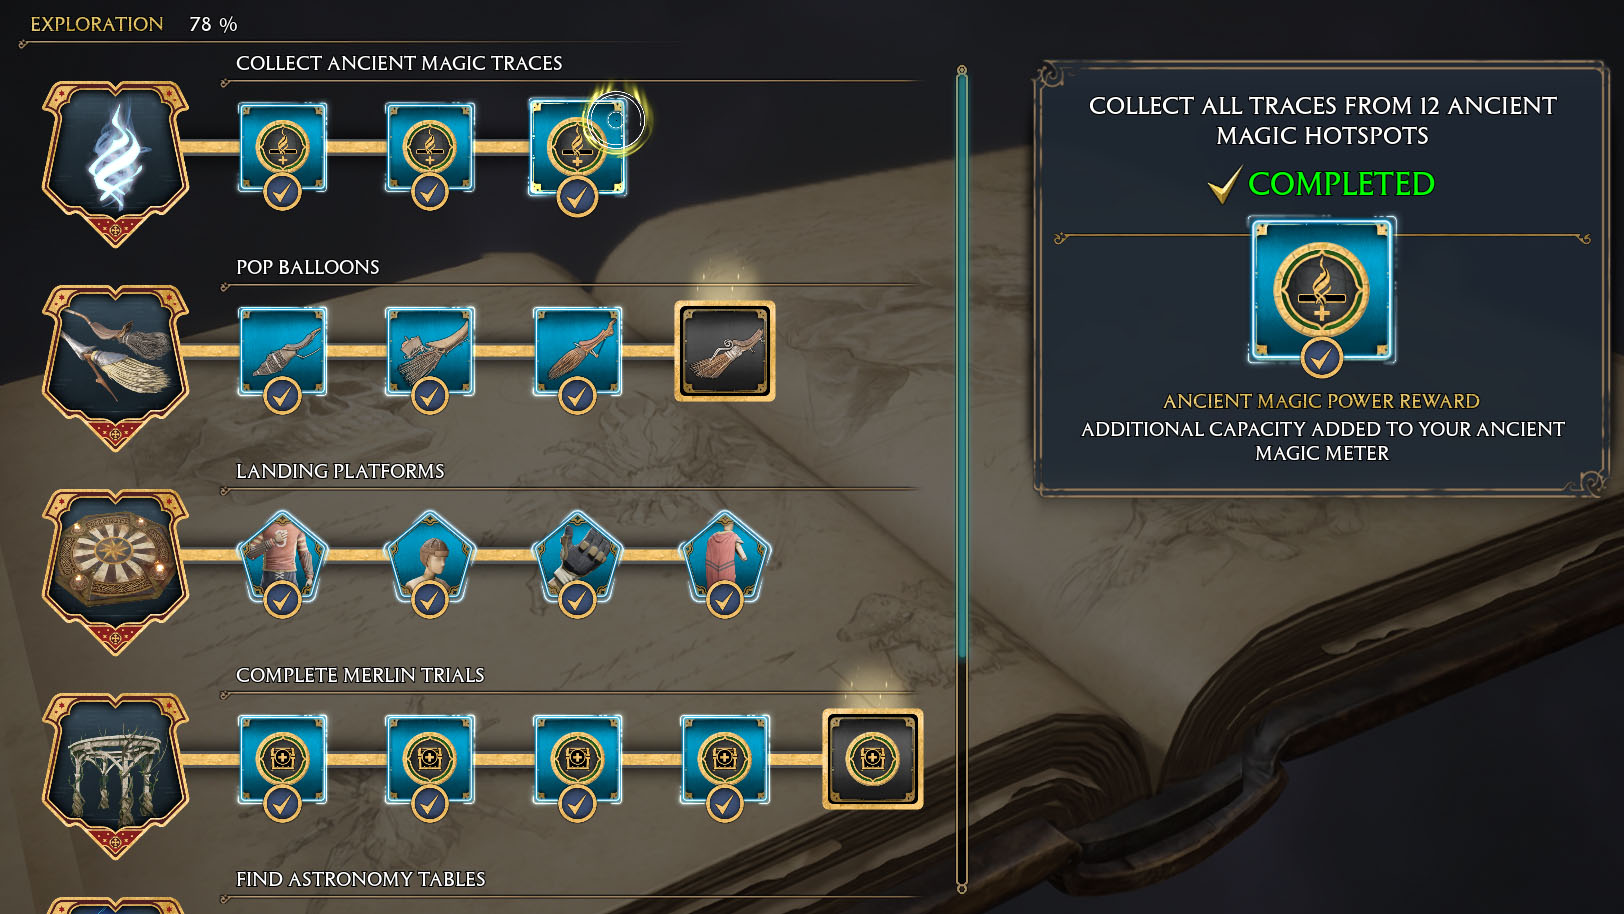
- Increase your Ancient Magic Meter: If you take the time to track down all Ancient Magic Hotspots in Hogwarts Legacy, you’ll be able to unlock additional ancient magic meter gauges, which means you’ll be able to unleash more of your best ancient magic attacks during this boss fight. Just make sure you go into your Collections menu and redeem the additional ancient magic meter gauges once you’ve completed all the hotspots.
Hogwarts Legacy: How to complete The Final Repository quest
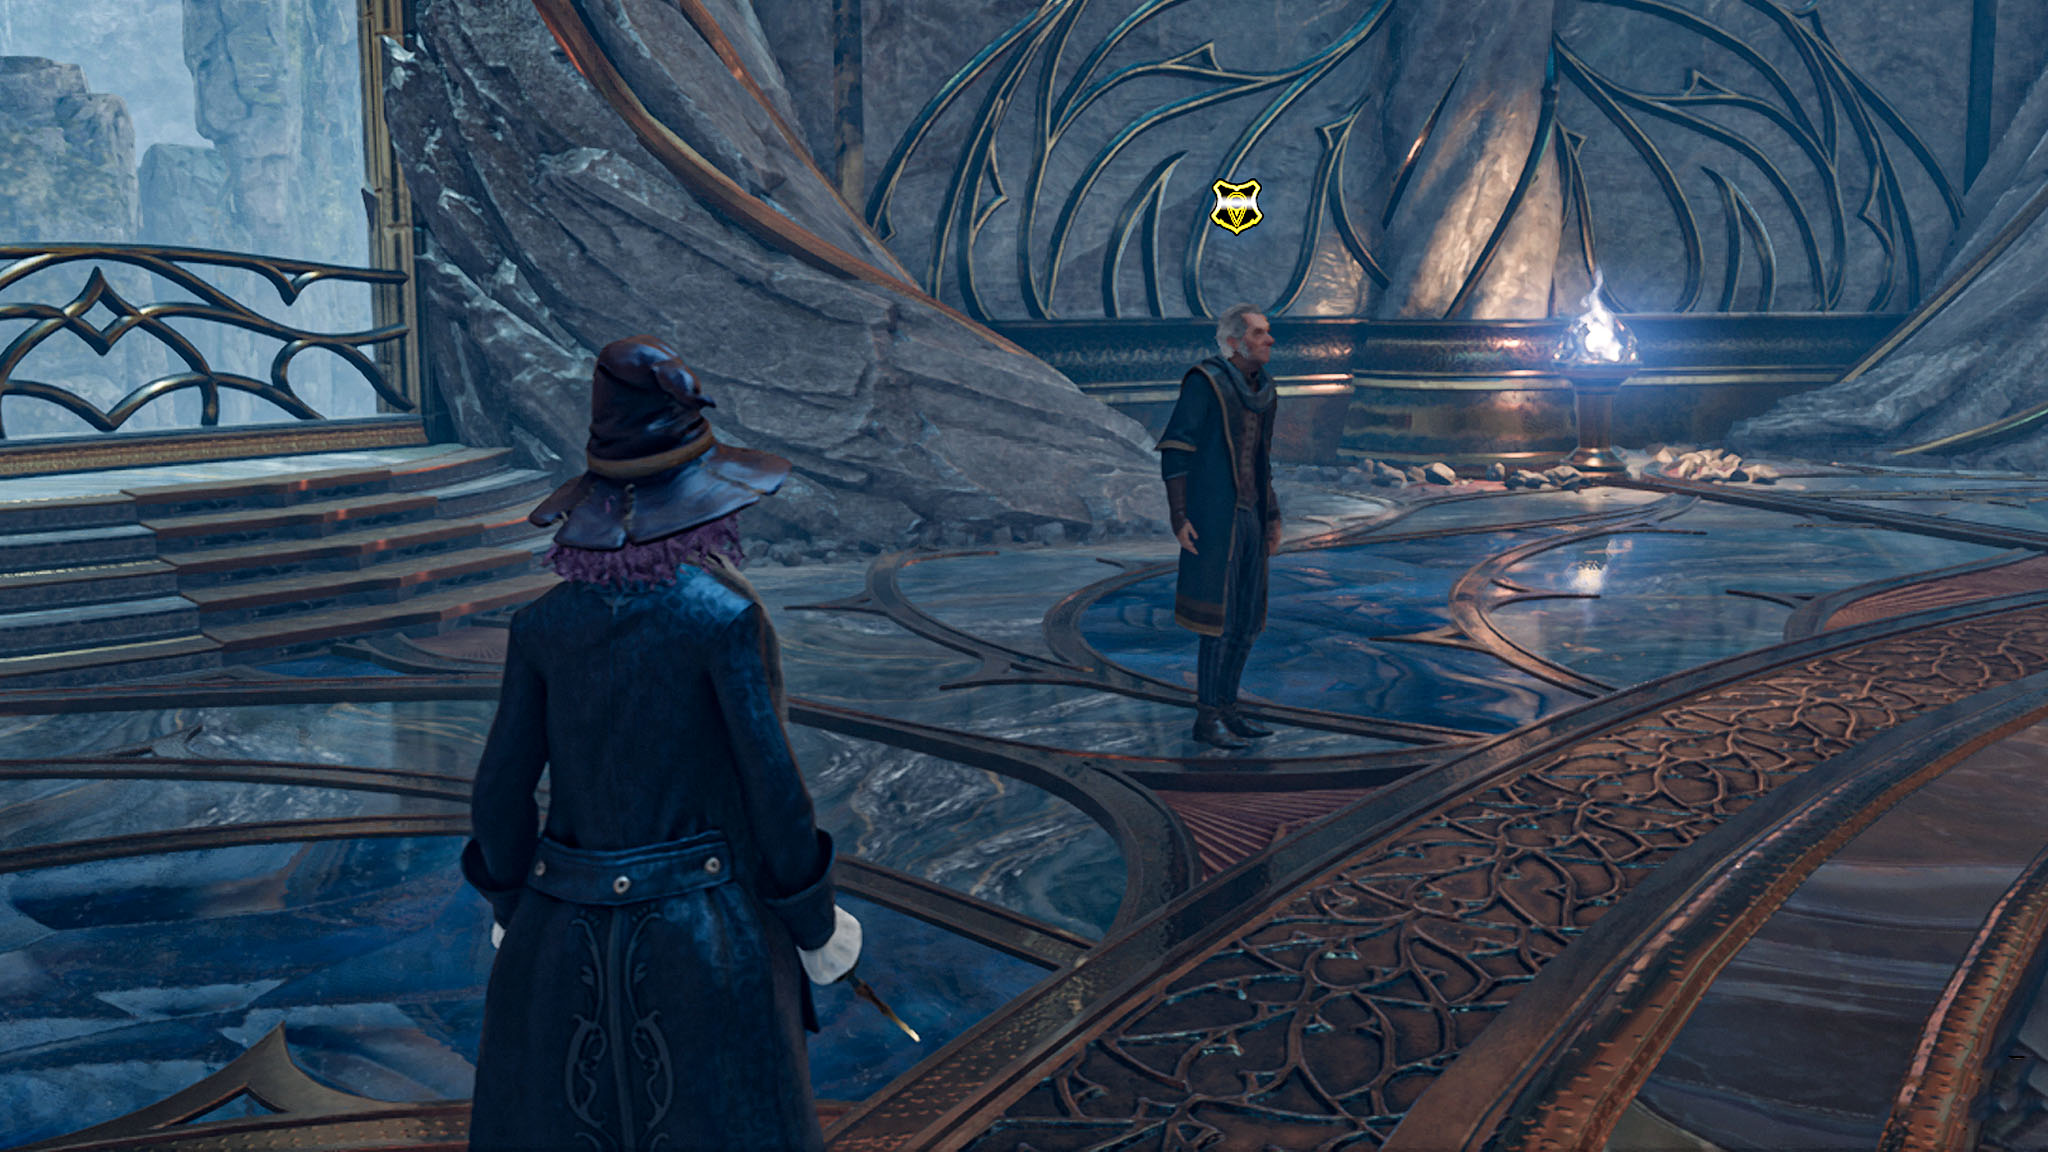
Return once more to the Map Room and talk to Professor Fig to start this quest. After talking with The Keepers, the floor in the middle of the room will magically recede revealing a hidden door. Walk down the stairs and head through the doorway beyond that.
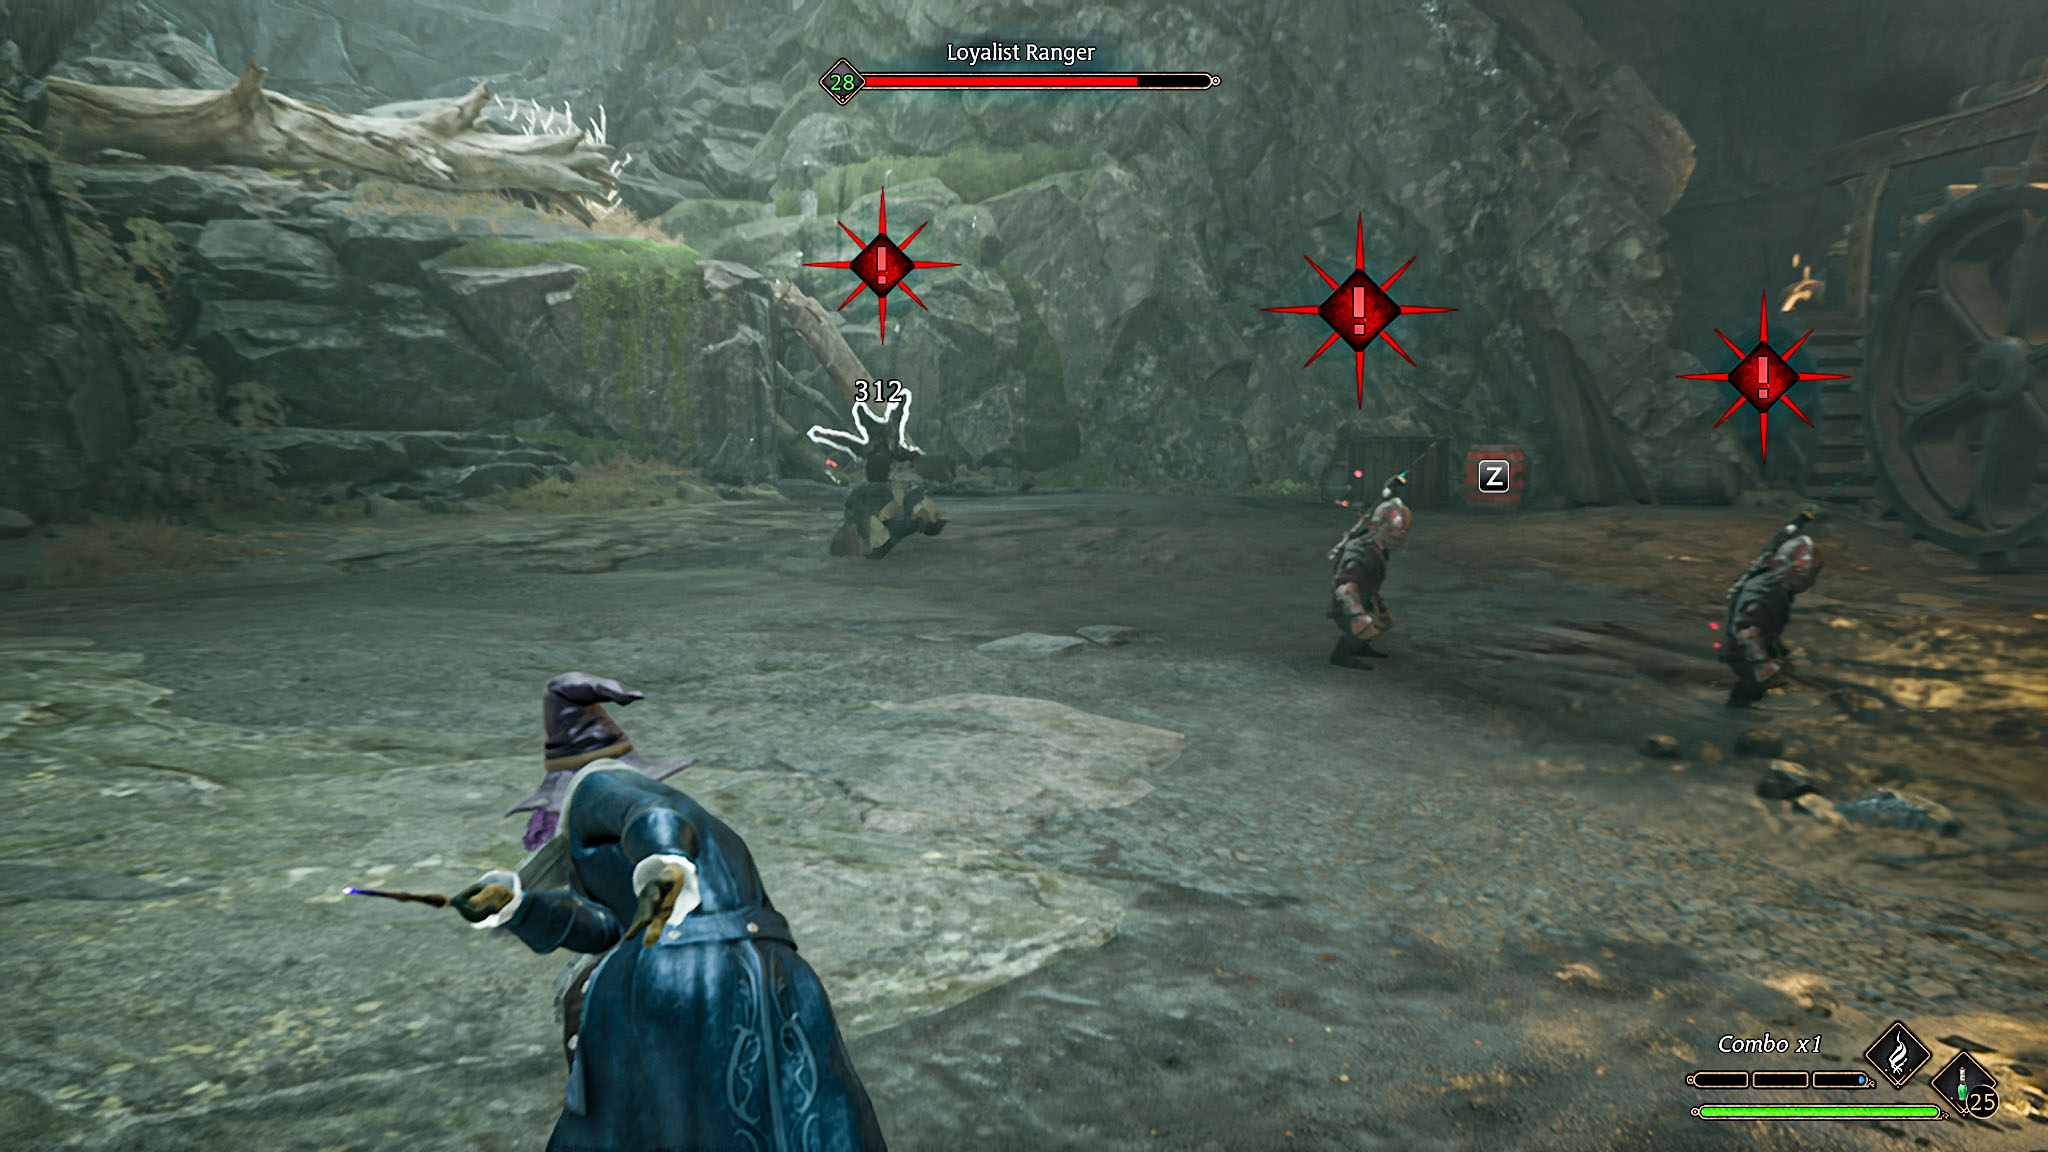
Ranrok’s goblins have coincidentally broken into the hidden chamber just as you walked into it. Run down the path and destroy all of the goblins you come across. This will lead Professor Fig to move the drill that blocks your path. Continue onward.
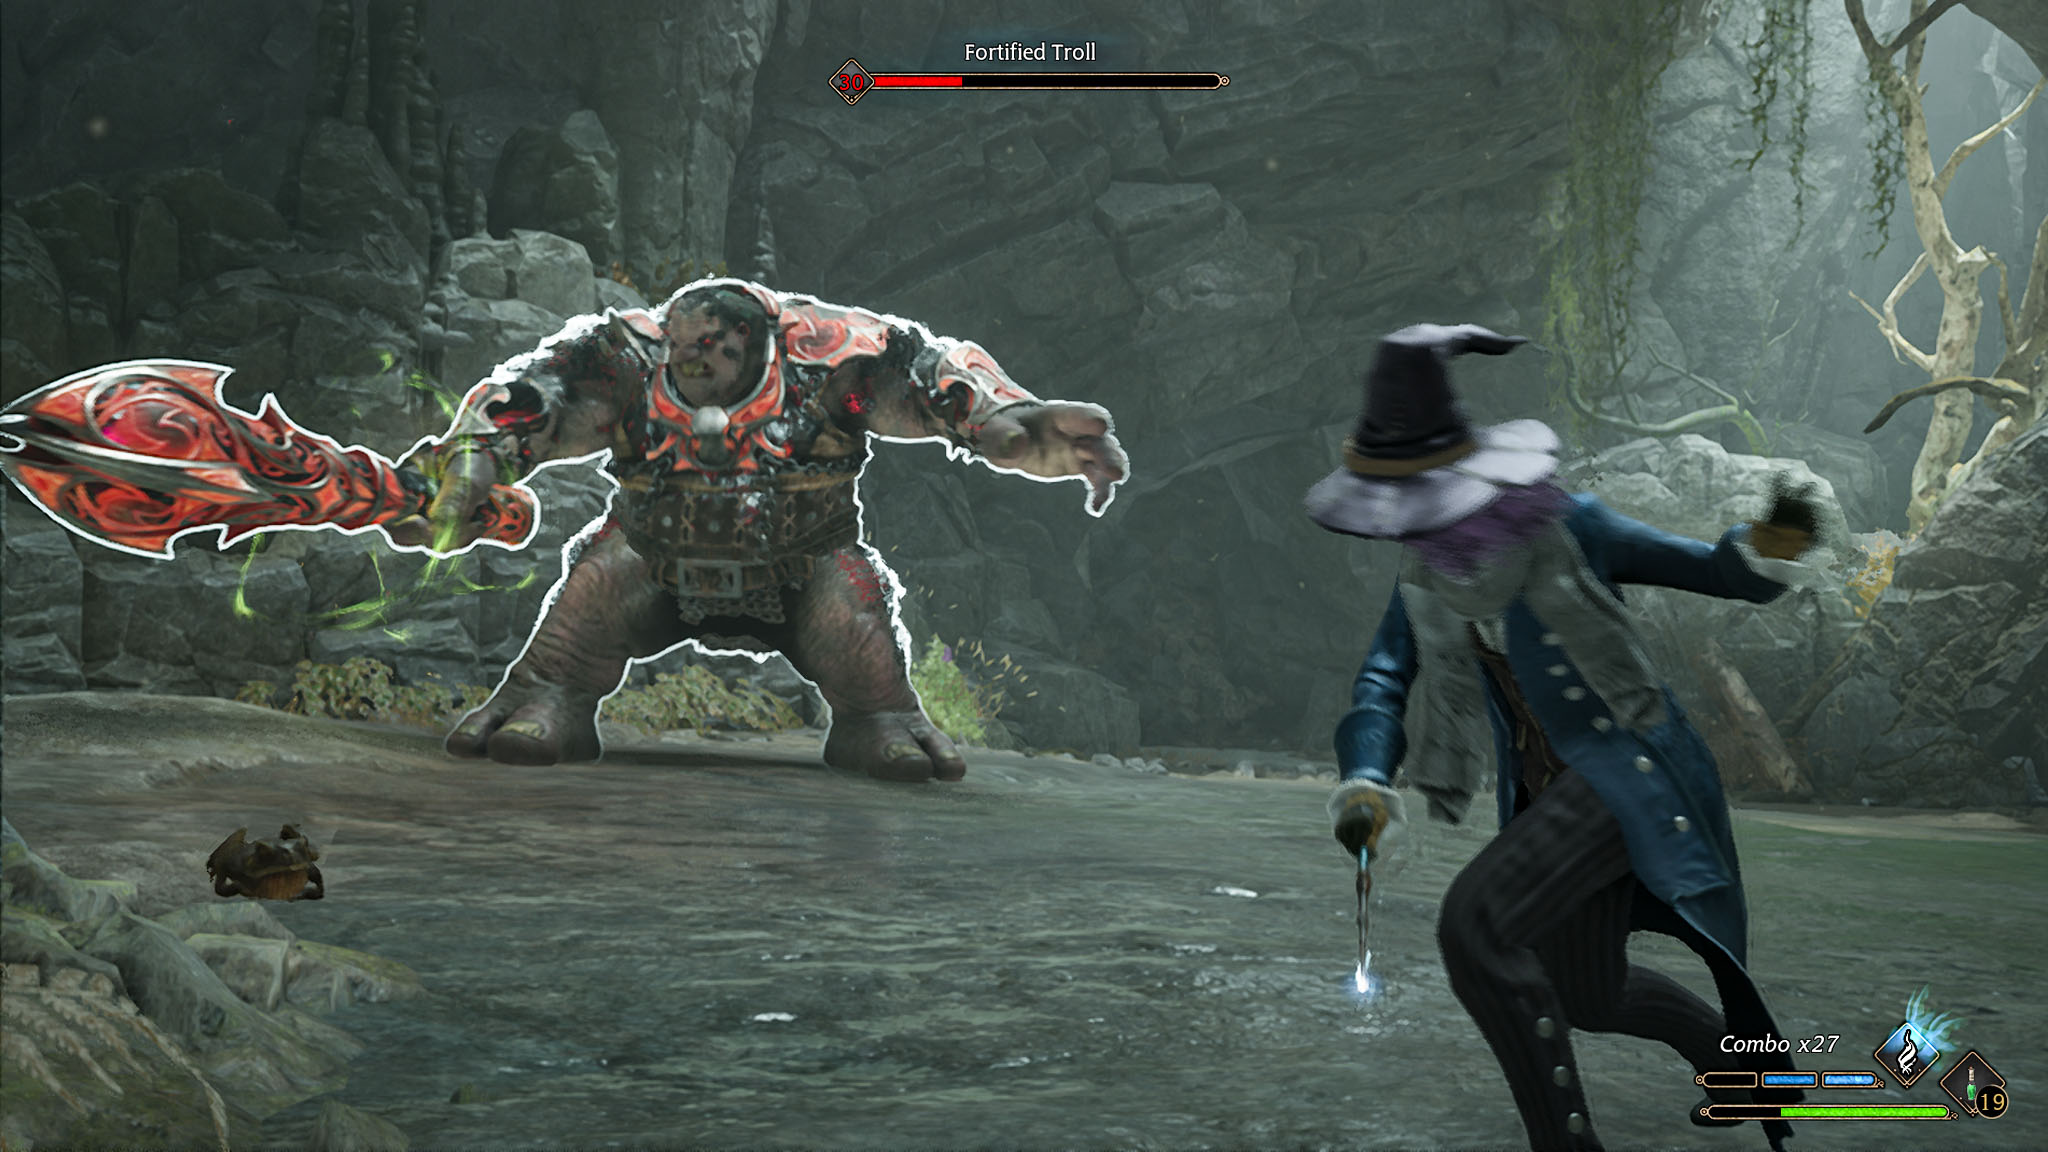
Next, you’ll come across a sort of mini-boss area where you’re forced to take on several goblins as well as two armored trolls. You want to focus on getting rid of the goblins first so you can focus your attention better on the larger enemies. To make this easier, use Transformation on the goblins as often as you can and if they turn into explosive barrels then lob these at the trolls to whittle their health down a large amount.
After you defeat one troll more goblins will appear. As before, focus on clearing away the goblins before going after the troll in earnest. Whenever possible, you should consider doing one of your powerful ancient magic attacks on the troll to get its health down quickly.
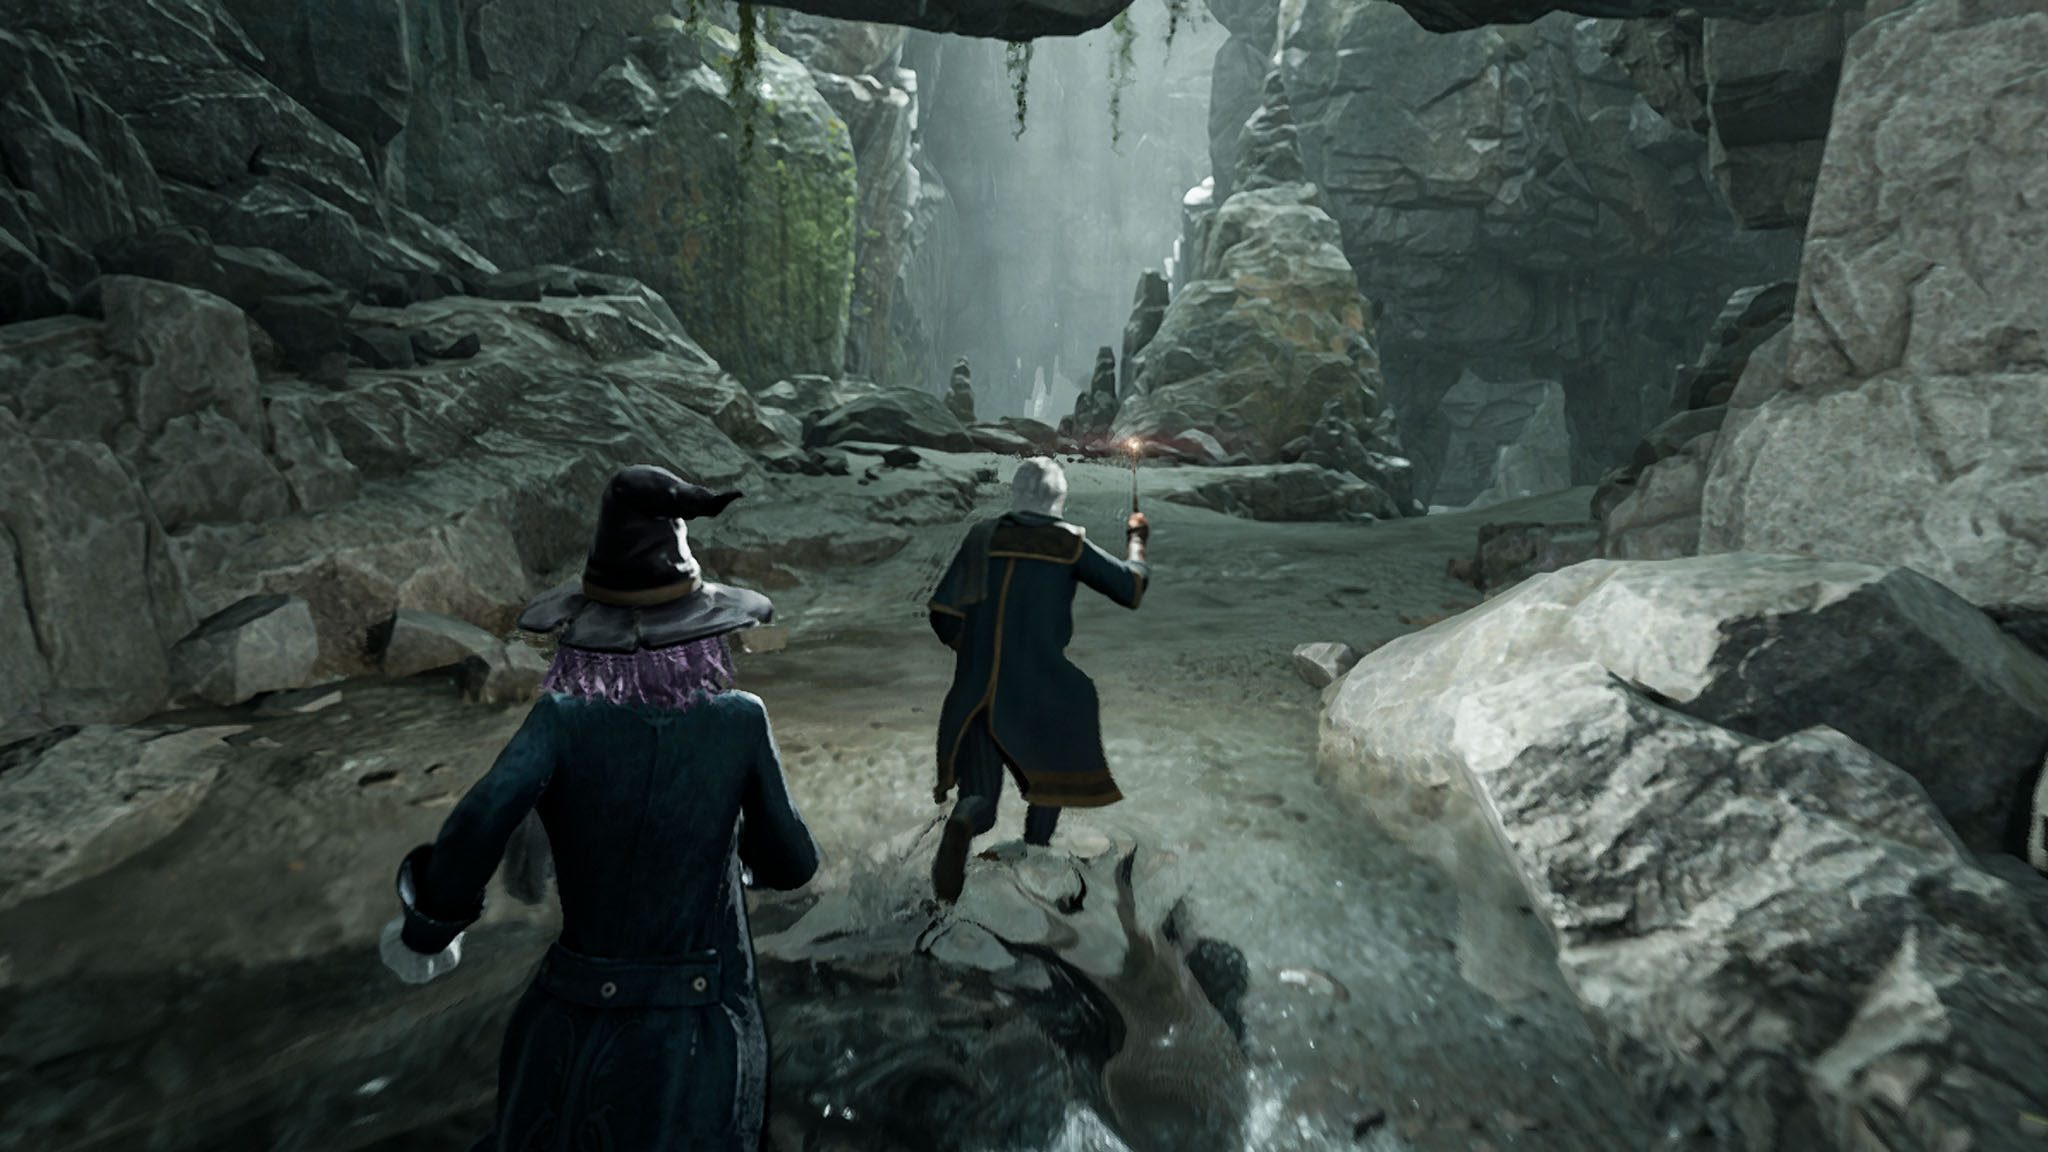
Look on the opposite side of the cavern from where you entered and you’ll find a section of wall with a crack in it that is glowing with ancient magic. Profressor Fig will blast it open and you can continue further into the tunnels.
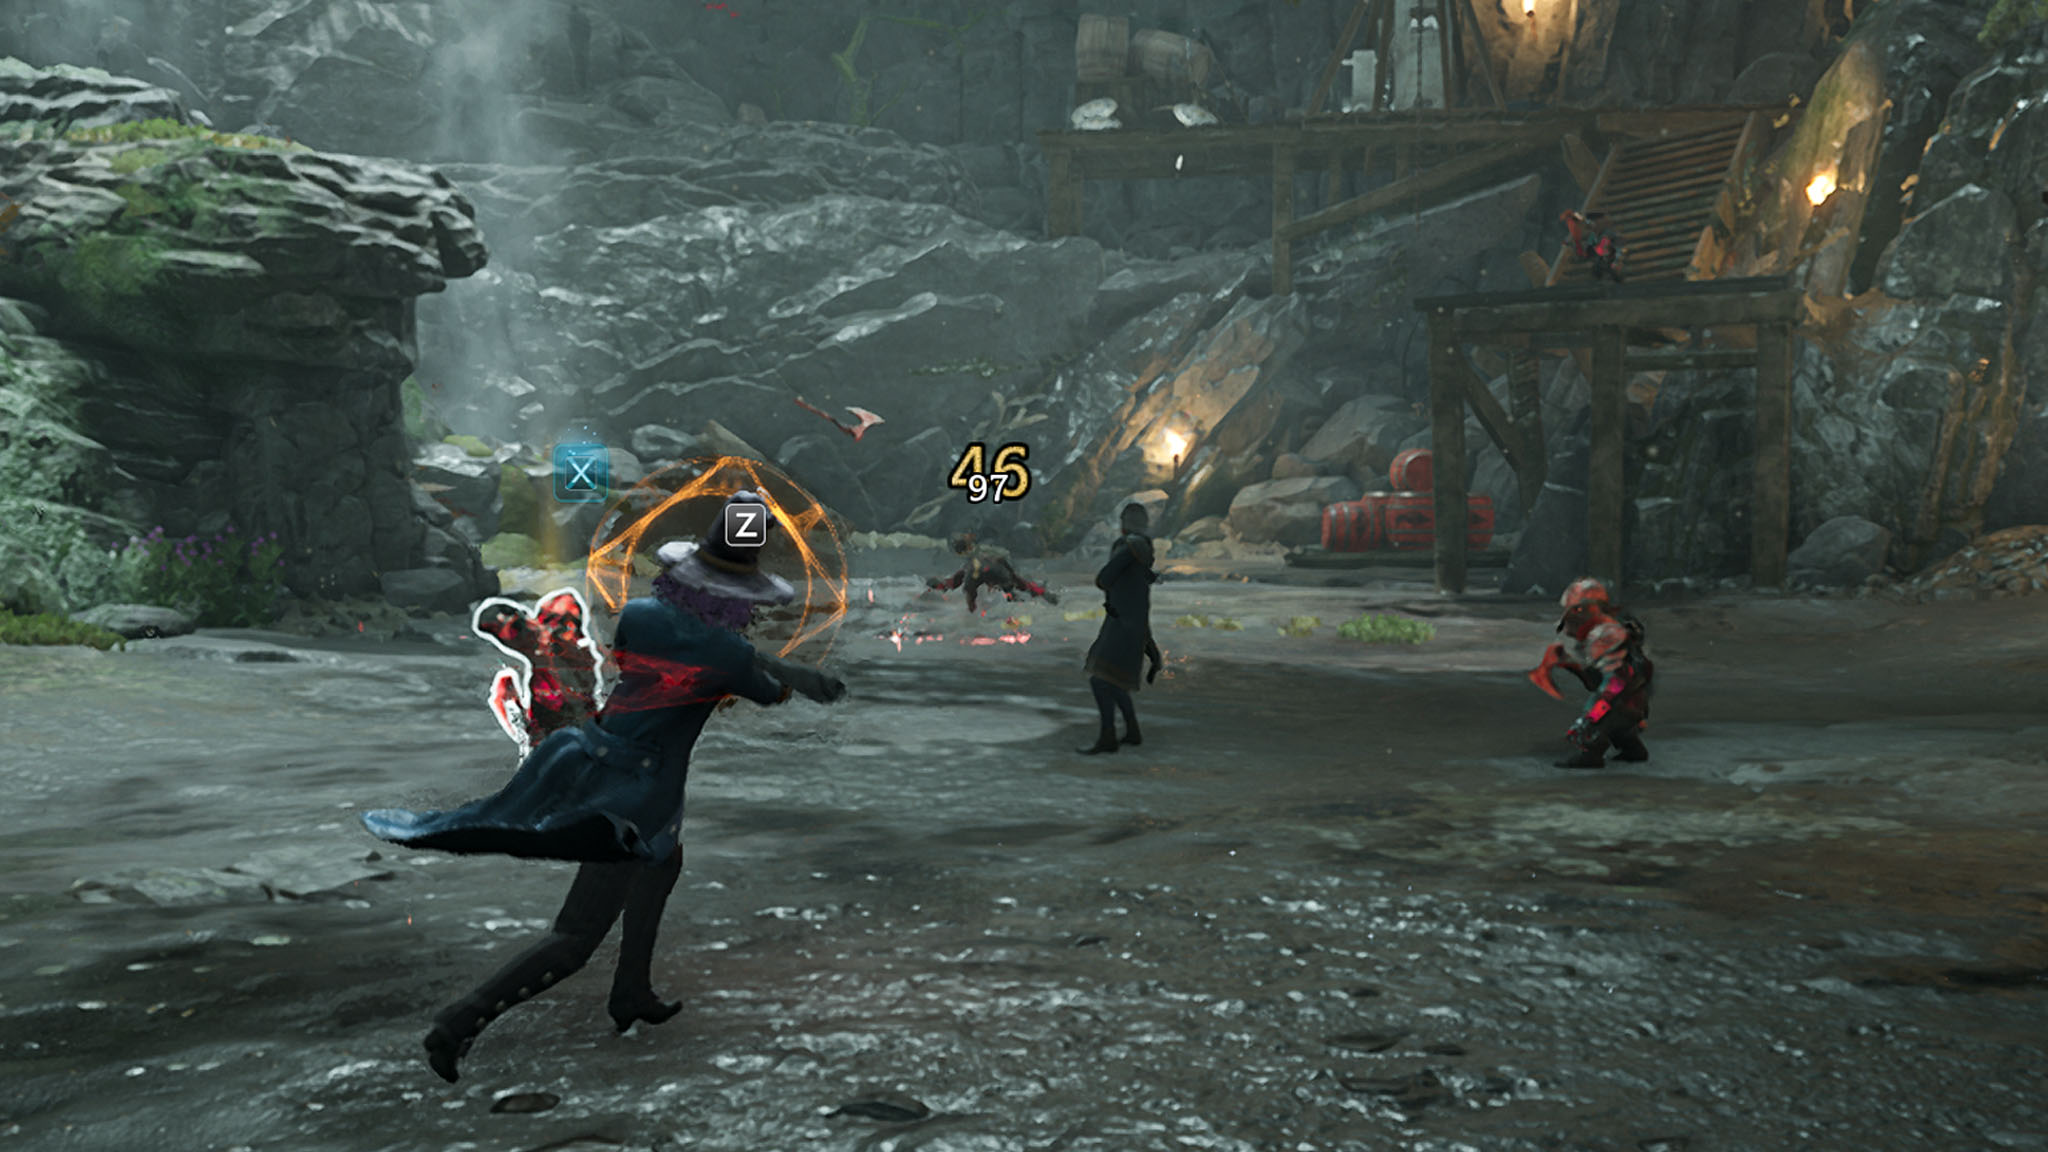
You’ll come across yet another group of goblins. Once you defeat the initial wave, a second group will appear. Do the same tricks as usual to defeat them. When they’re all defeated continue through the crack in the wall.
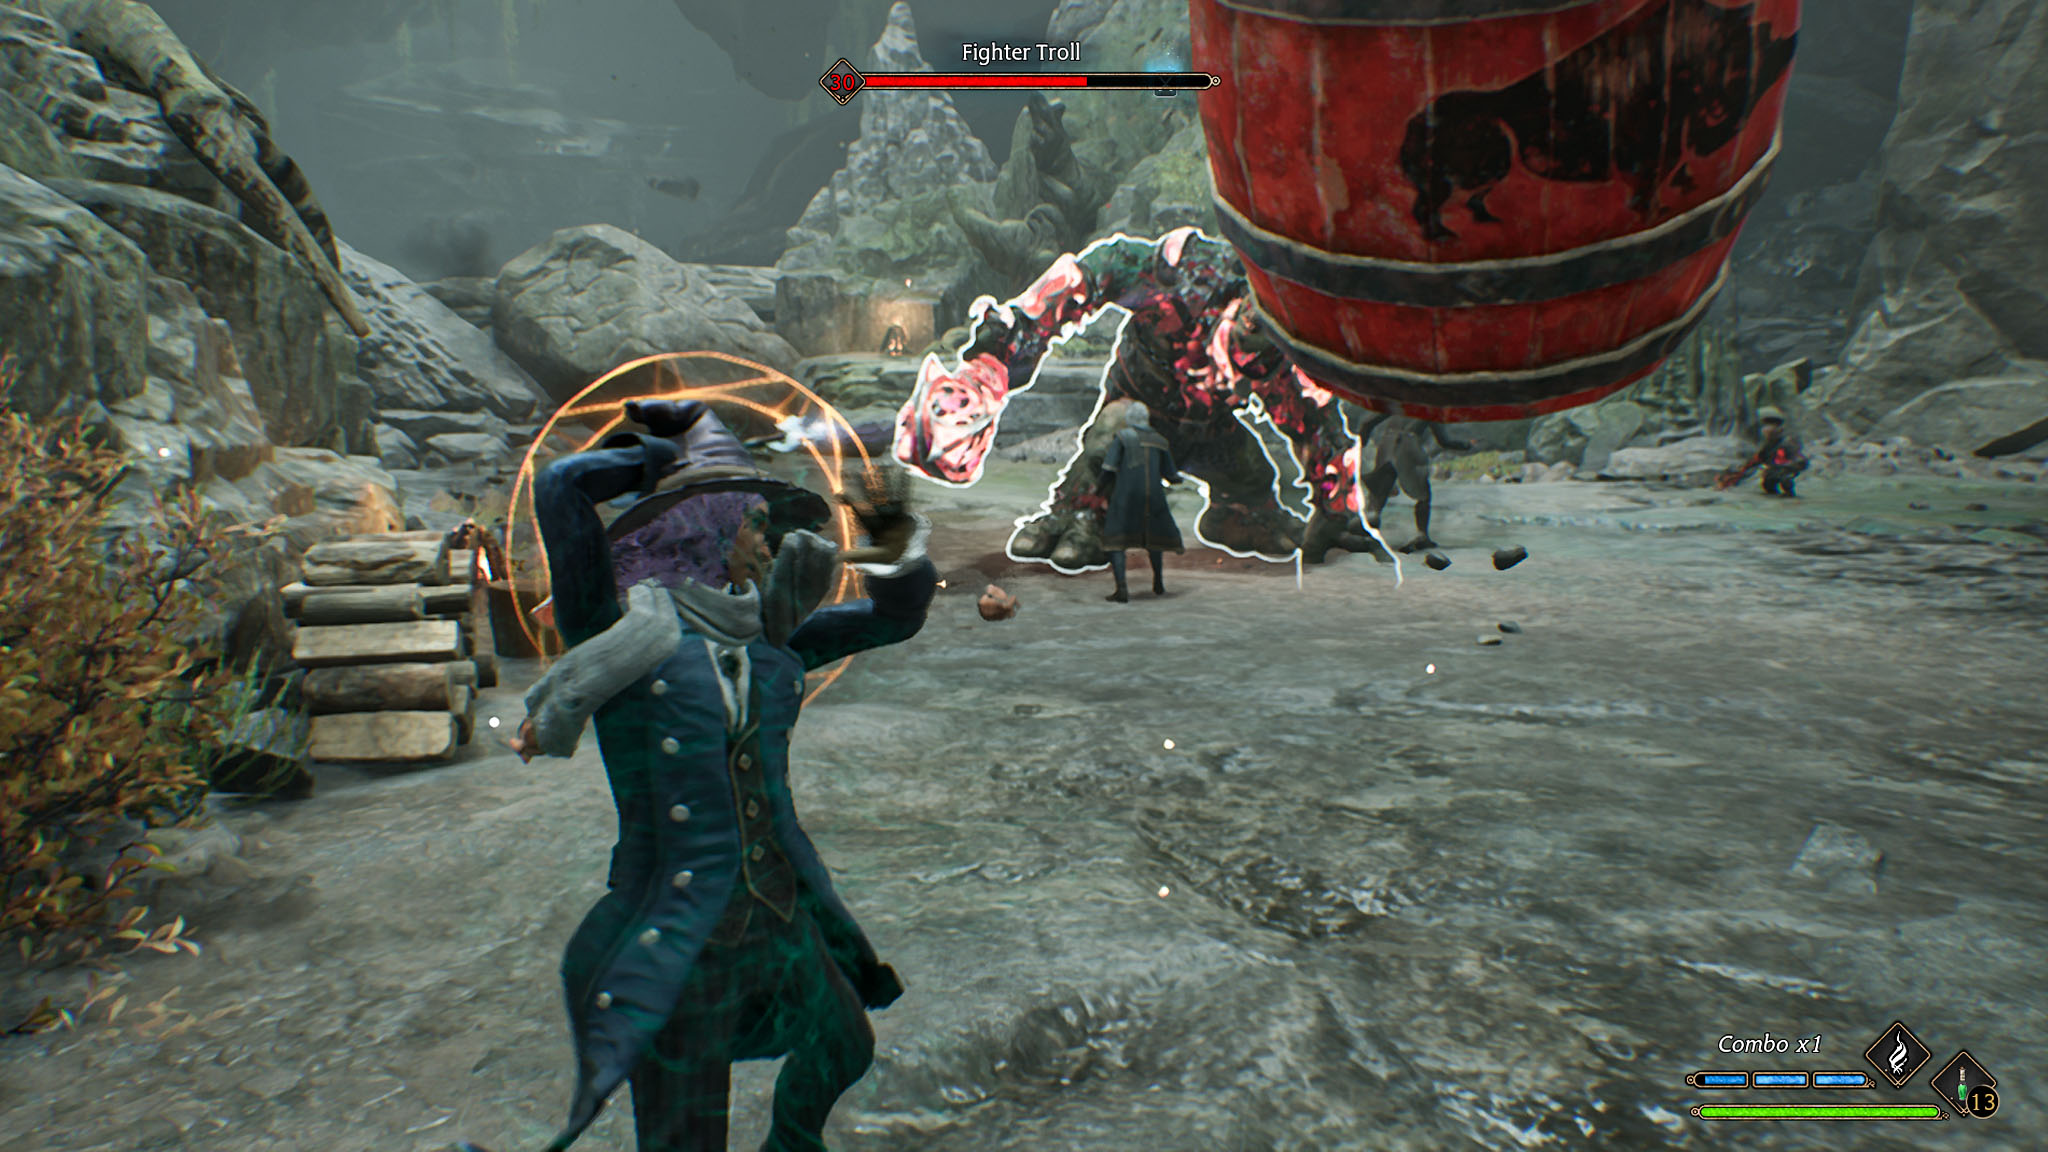
Keep going and then the Hogwarts professors will all show up to help fight. Run along the path until you cannot go any further and you’ll be compelled to defeat another group of goblins. When they’re all gone, a troll will come bursting through some rock and you’ll need to defeat it.
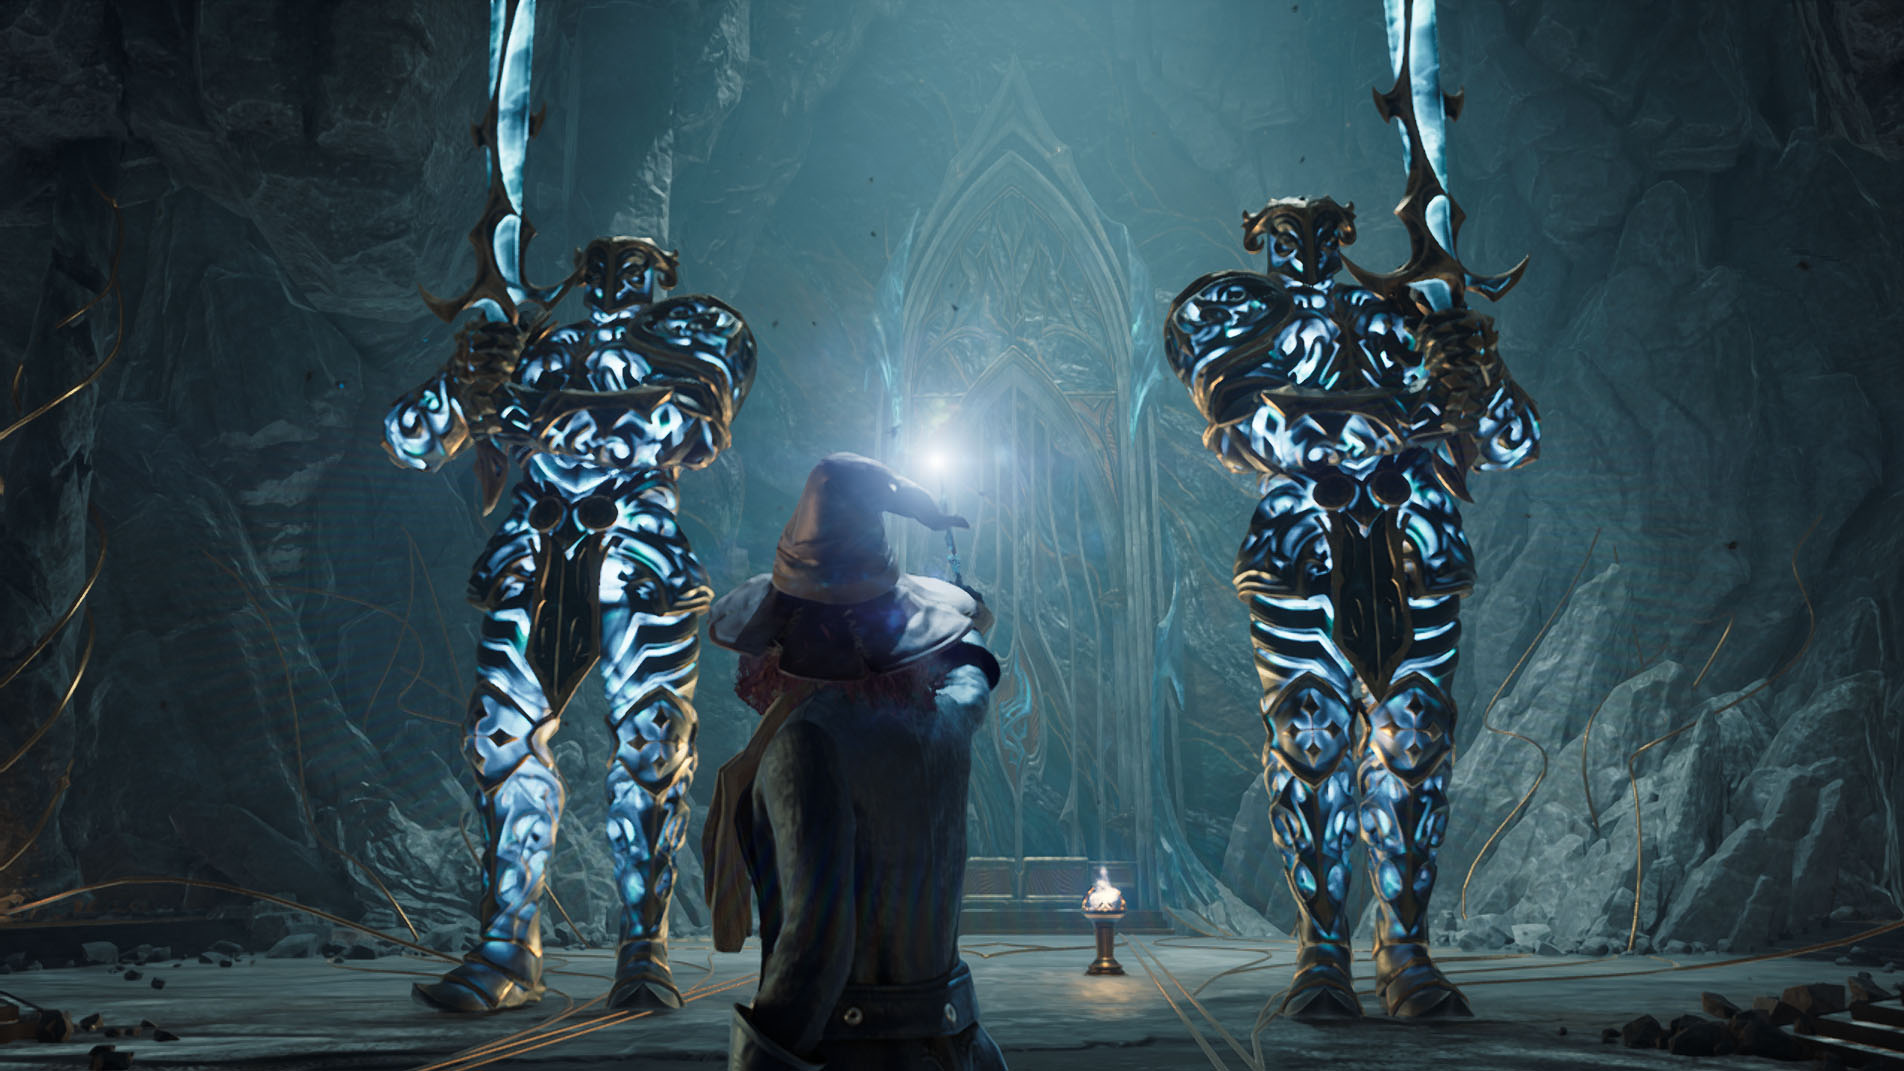
As the Hogwarts teachers take on the goblins that appear, you’ll just need to run forward and dodge around the cavern until you get to the area with the two Pensieve Guardians who wield massive swords. This will lead into a cutscene in which you use the special wand to open the door that conceals the magical Repository. You’ll be given the choice to either keep the Repository sealed and hidden or you can tell Fig that you plan on using it.
Should I open the Repository in Hogwarts Legacy?
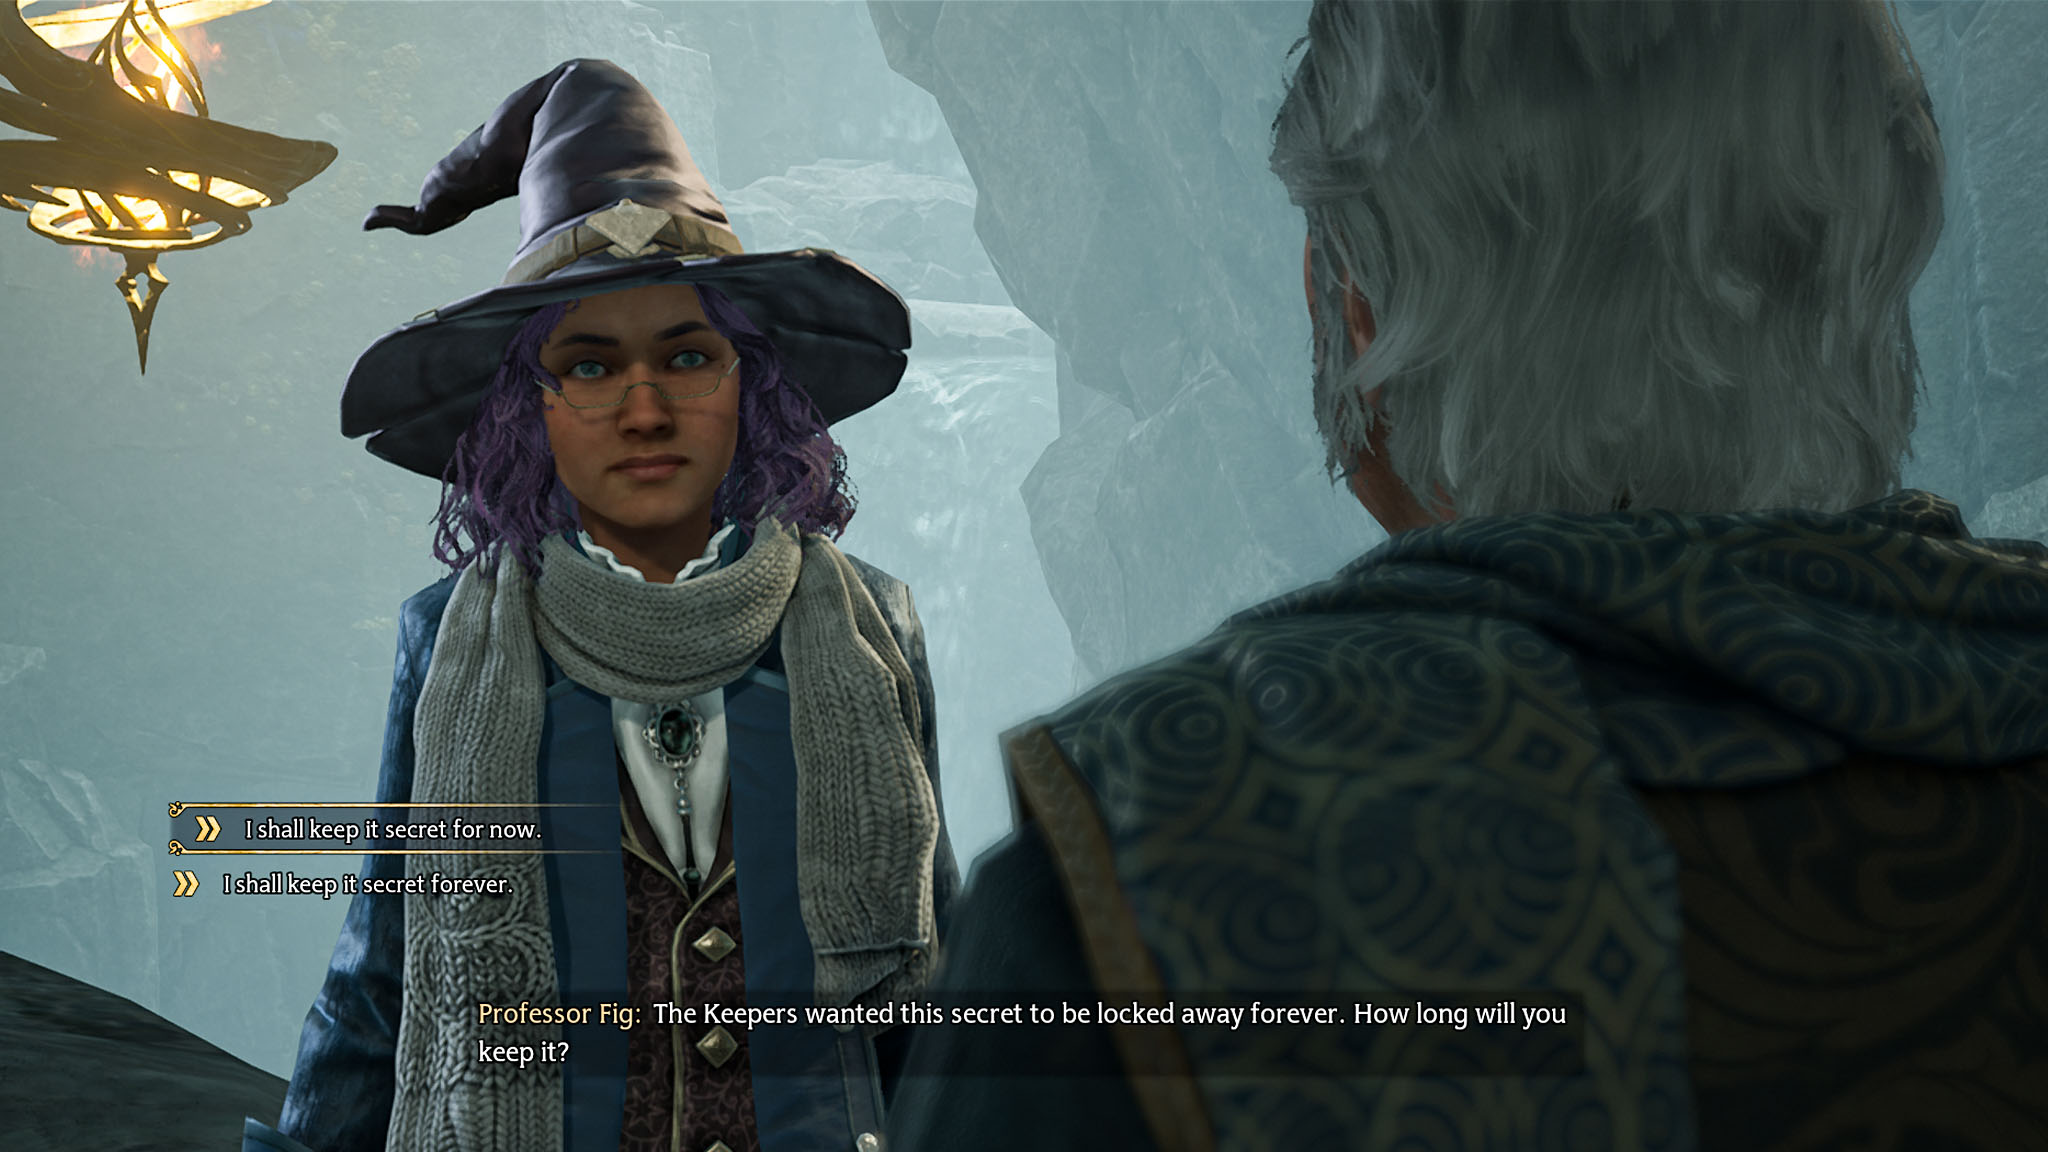
You’ll get different cutscenes depending on your Hogwarts Legacy Repository choice. Spoiler Warning: We’ll go over what the differences are between the two options, but this will lead to some important plot development spoilers. If you don’t want things ruined for you, skip this section.
- Keep the Repository closed (Good Ending): Your character will choose not to use the magic contained within the Repository, meaning you won’t use it against Ranrok. However, this will result in Professor Fig getting injured and dying after you defeat Ranrok.
- Open the Repository (Evil Ending): Your character will use the power contained in the Repository to fight Ranrok. You’ll be given a second chance to rethink your choice here with Fig, but can still go through with your initial plans. Professor Fig will also end up getting injured and die after your battle with Ranrok if you choose this option, but his death will have more depth to it.
- What should I do?: It really depends on how you want things to finish. If you’ve been playing the part of a hero up until now, it makes sense to go with the Good Ending and keep the Repository closed. However, if you’ve been playing more of a malicious student, then it makes sense to open the Repository and go for the Bad Ending. Just note that regardless of what you do, Professor Fig will die. Do you want him to end things on a positive note with you or a negative one?
Hogwarts Legacy: Ranrok Dragon Boss Fight — Phase 1
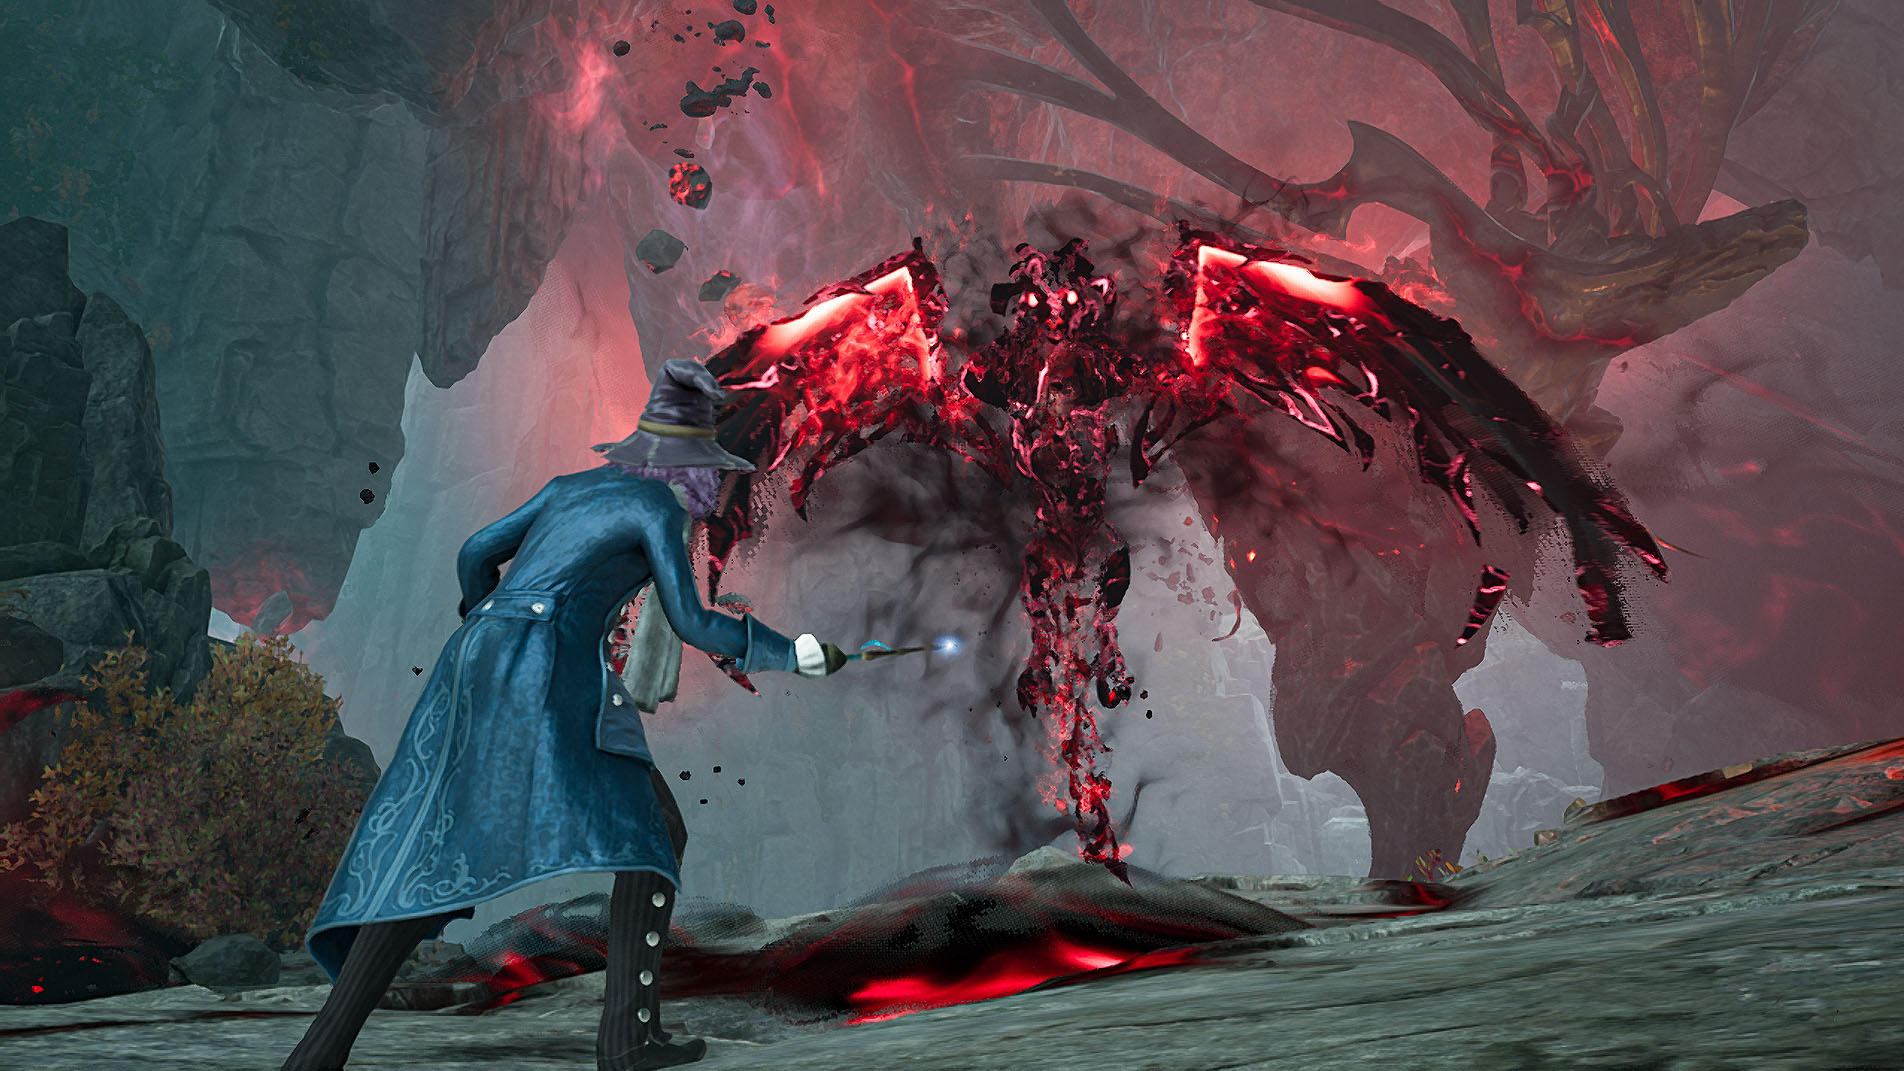
After making your decision about the Repository, Ranrok will appear and after a short cutscene, he will turn into a magical dragon. Ranrok in dragon form, a.k.a. Ranrok Dragon, is a very powerful enemy that will take a while to defeat. His health bar is broken into three separate phases and each phase takes place in a different area, progressively getting more difficult.
The good news here is that if you manage to whittle Ranrok Dragon’s health down into another phase, you’ll have the option of starting over from the same phase you left off from instead of starting completely over if you die. For instance, if you make it to the third phase and he defeats you then selecting “Try Again” in the quest failed screen will bring you back to the start of the phase 3 part of the battle with full health.
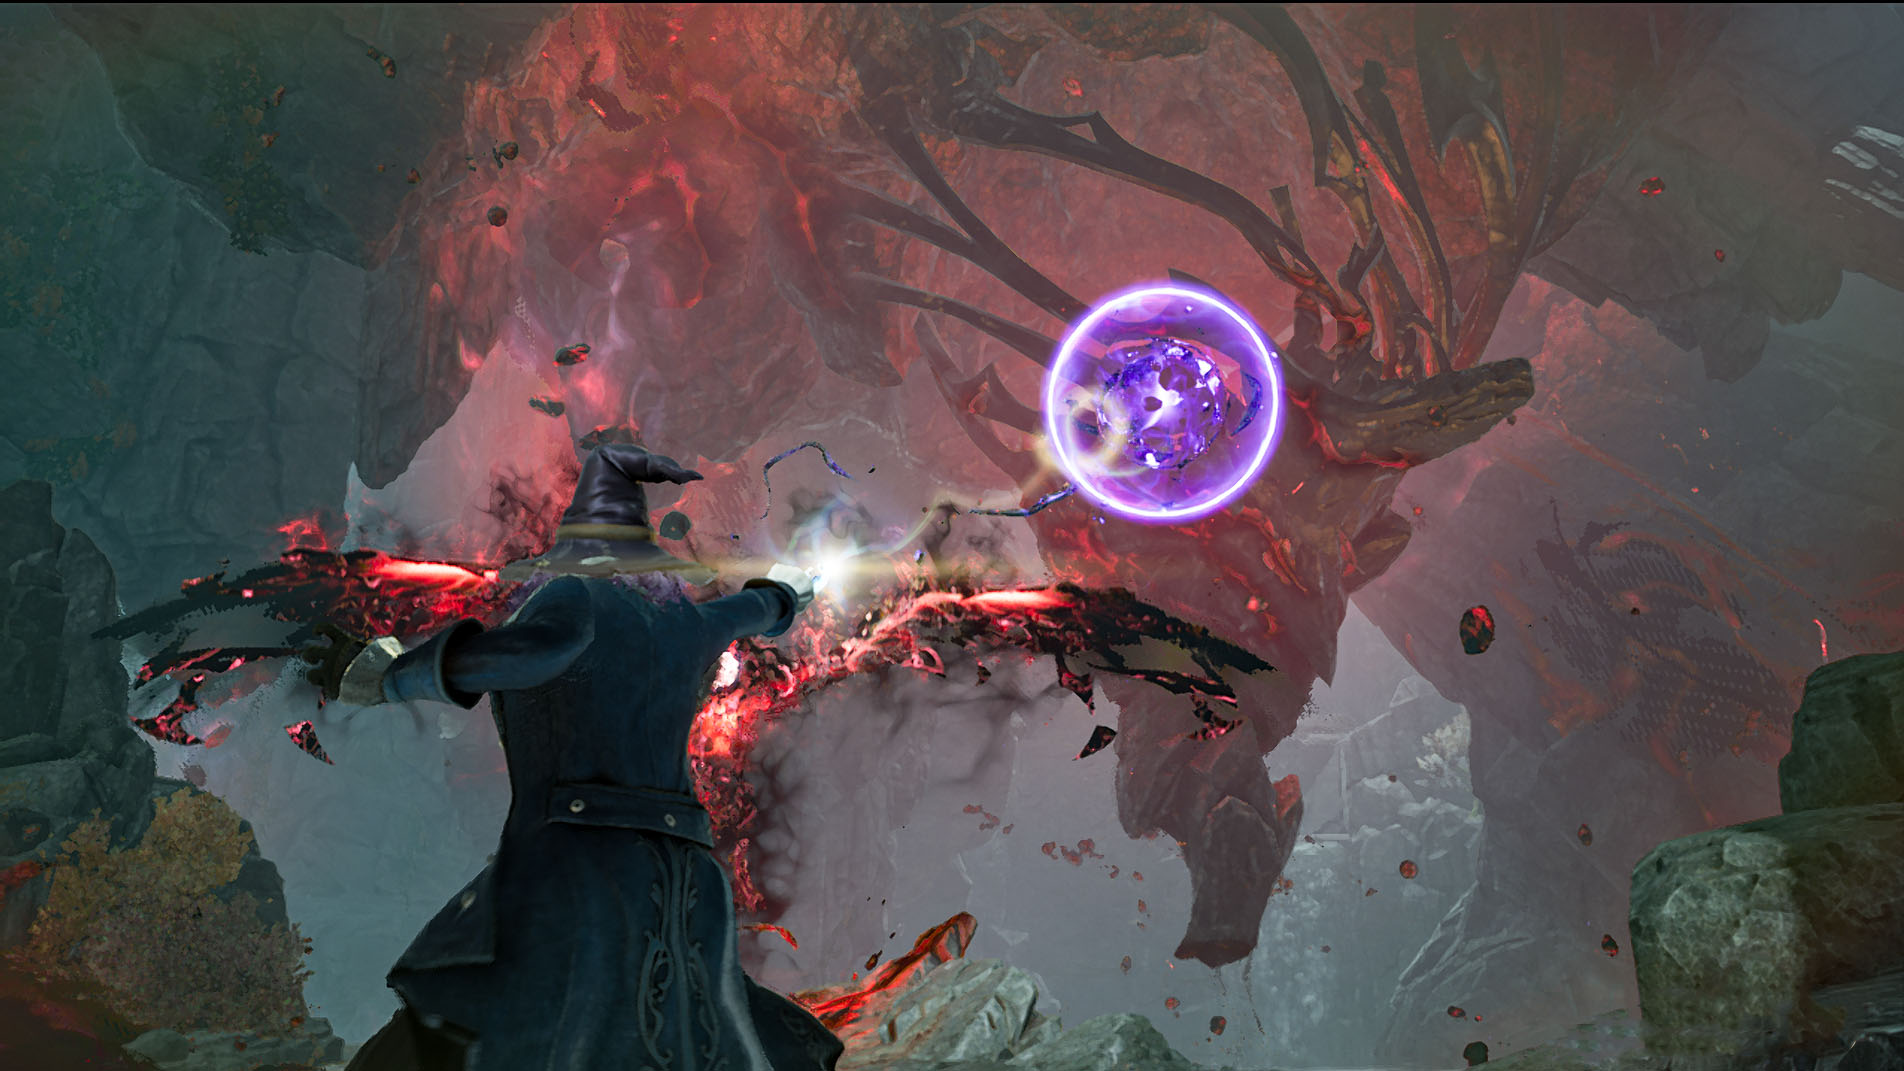
Break that shield: Ranrok cannot be damaged until you break the shield protecting him. To do this, you need to locate the spell sphere floating in the air and destroy it using a spell of the same color.
- Purple spell sphere: Accio, Depulso, Descendo, or Flipendo
- Yellow spell sphere: Arresto Momentum, Glacius, Levioso, or Transformation
- Red spell sphere: Incendio, Confringo, Expelliarmus, Diffindo, or Bombarda
Cast your best attacks: Once Ranrok’s shield has been destroyed, you’ll have a few seconds to launch your best attacks at him before he regains his composure and attempts to damage you. Cast your most powerful attacks intermingled with your basic attacks to chip away at that large health bar. Your most powerful attacking spells tend to be your red spells as well as your ancient magic attacks, so you’ll want to launch these at him as often as you can. Note that it will be hard to hit him with Incendio, so don’t use it. Additionally, only cast your ancient magic attacks when Ranrok’s shield is down or you’ll waste this powerful attack.
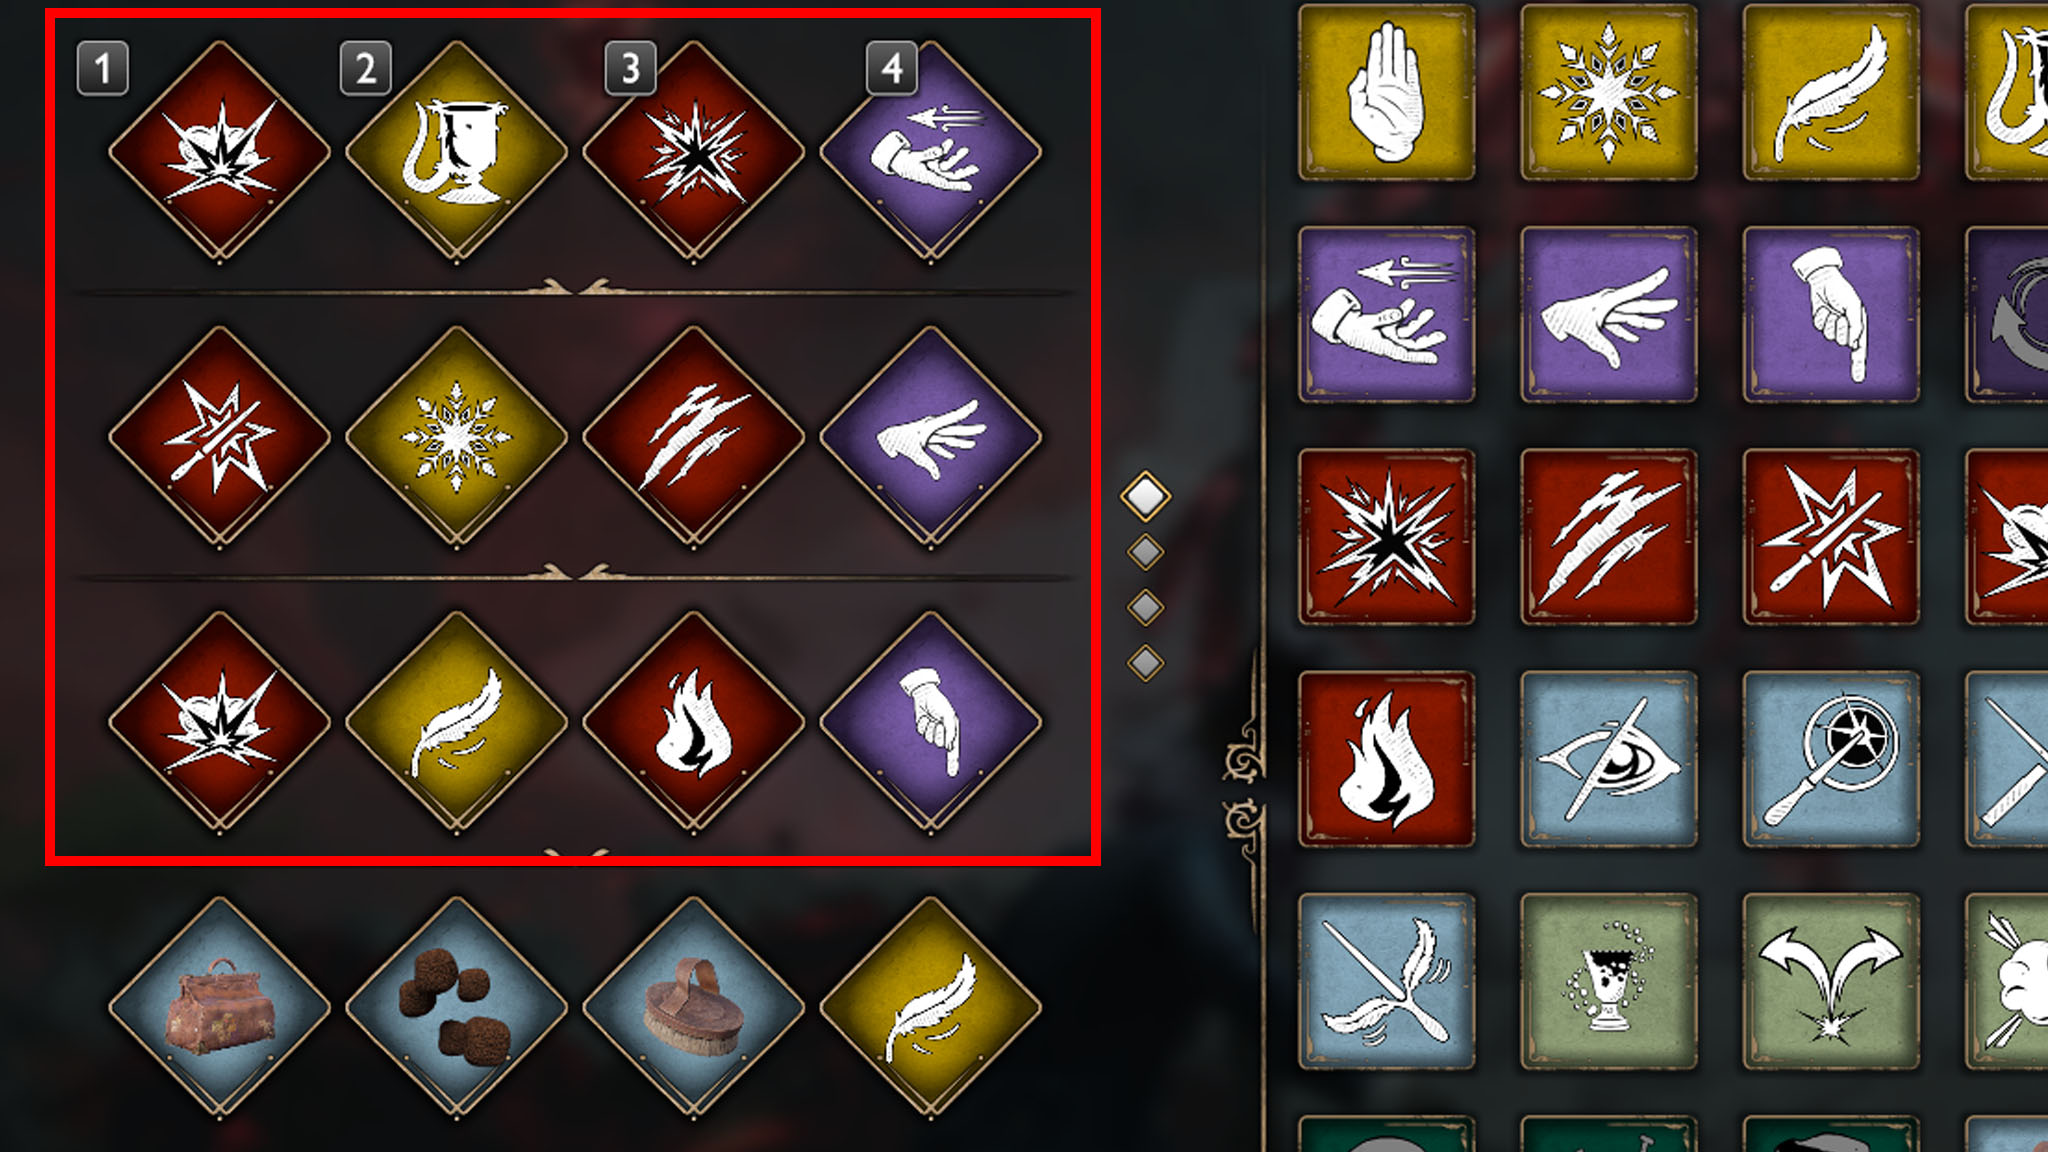
Swap Spell Sets: Since you need quick access to specific-colored spells, you should take a moment to rearrange your Spell Sets (if you haven’t already) so that you can easily launch a different red, purple, and yellow spell from each one. For instance, if you aim at a purple spell sphere but it vanishes before your Accio spell strikes it and then the purple sphere reappears to your left, you can quickly swap Spell Sets without waiting for Accio’s cooldown to complete and hit the sphere with Flipendo without having to scramble around too much. It helps to keep the same color spell in the same slots for easy access. Since your red spells tend to do the most damage, it’s a good idea to have two red spells on each Spell Set so you can hurl these at Ranrok whenever possible.
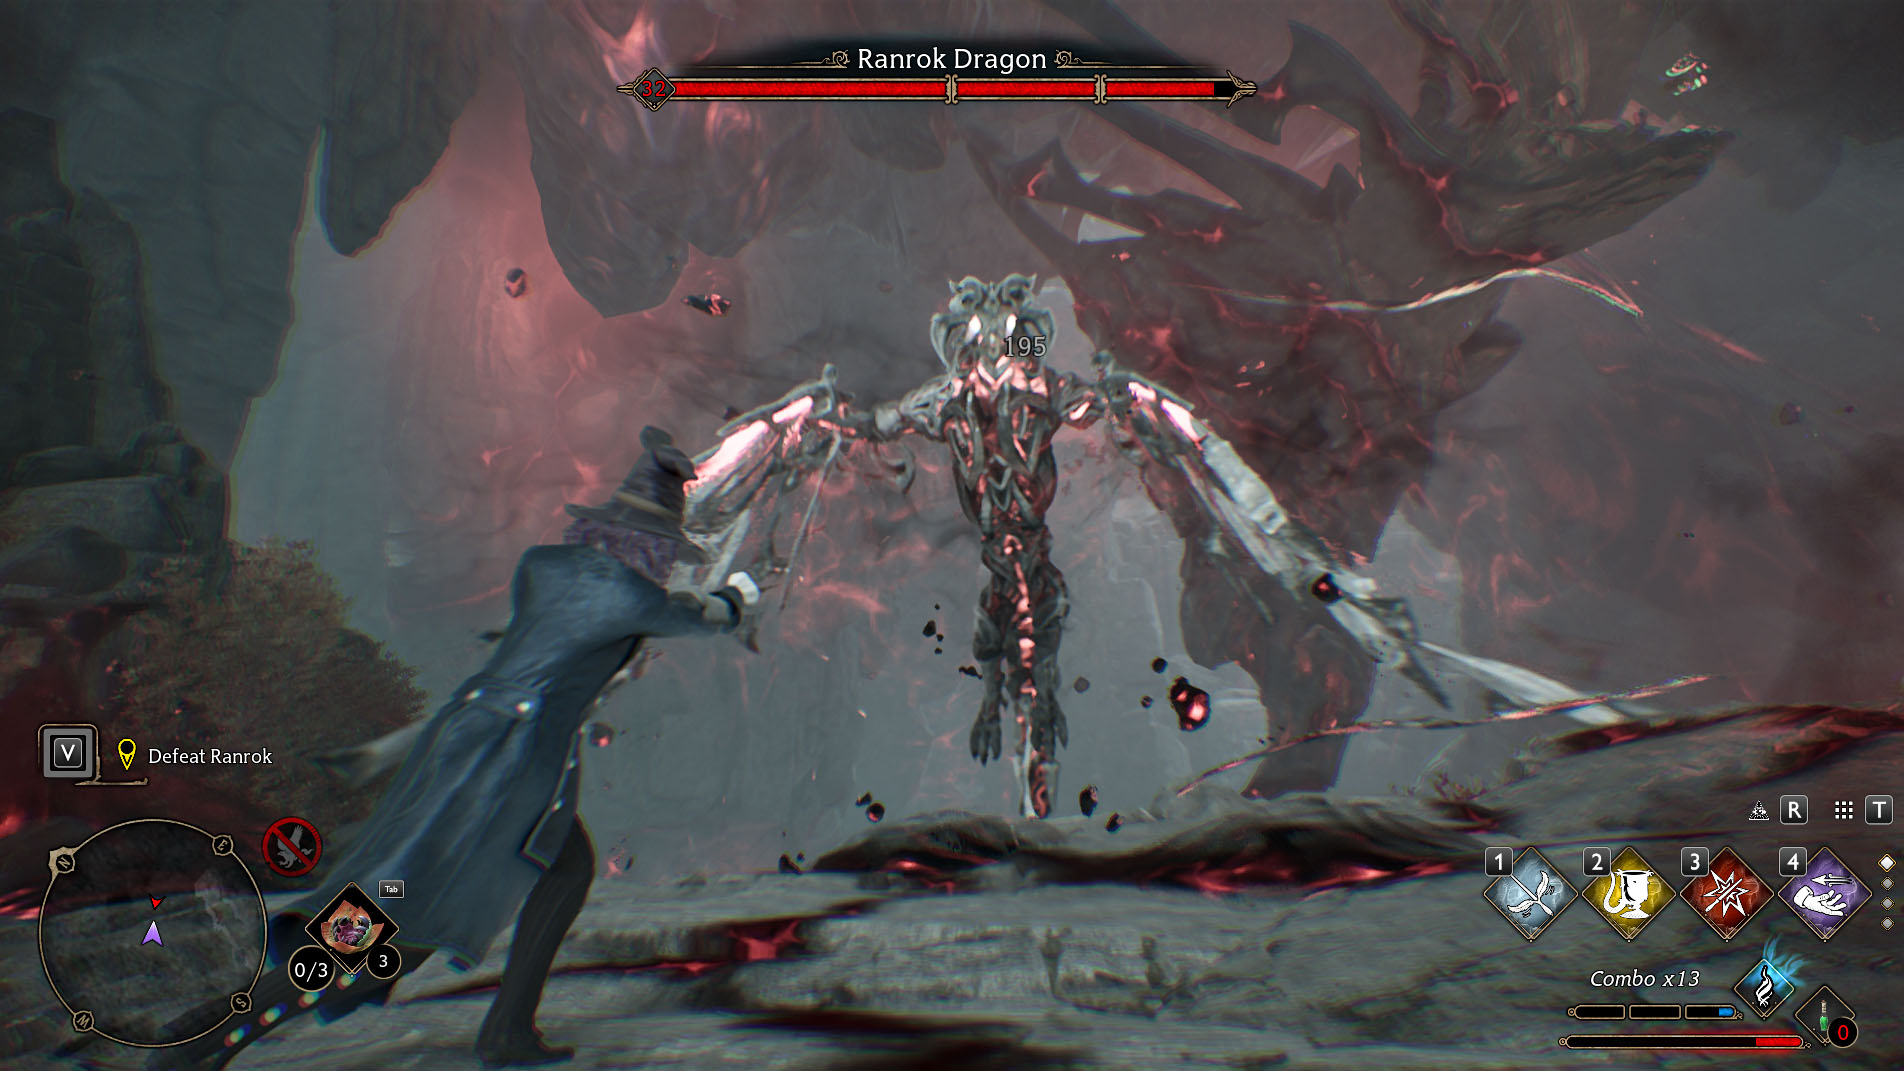
Dodge and counter often: Ranrok will attempt to pummel you with high-damage attacks. Get your fingers ready to Dodge or use Protego often in order to avoid taking damage. If you’ve unlocked Swift in the Core Talents menu then it will help you zip around and get away from danger a whole lot faster. Remember, that a red indicator around your head means you have to dodge or you’ll take damage while a golden orange indicator around your head means you can deflect (and maybe even counter) the attack.
Hurl projectiles back at Ranrok: Sometimes Ranrok will launch a projectile at you. If you’re quick, you can grab these and launch them back at him (you must have unlocked Magic Throw Expertise in the Core Talents menu). Flinging projectiles back at Ranrok will knock his health down in decent chunks allowing you to defeat him faster.
Watch out for fire breath: When Ranrok pulls his head back slightly, he’s about to breathe mystical fire. This attack is typically launched right after he recovers from you breaking the magical sphere shield. You cannot use Protego against this fire-breathing attack, so just dodge away from the flames and do not roll into them or you will take damage.
Hogwarts Legacy: Ranrok Dragon Boss Fight — Phase 2
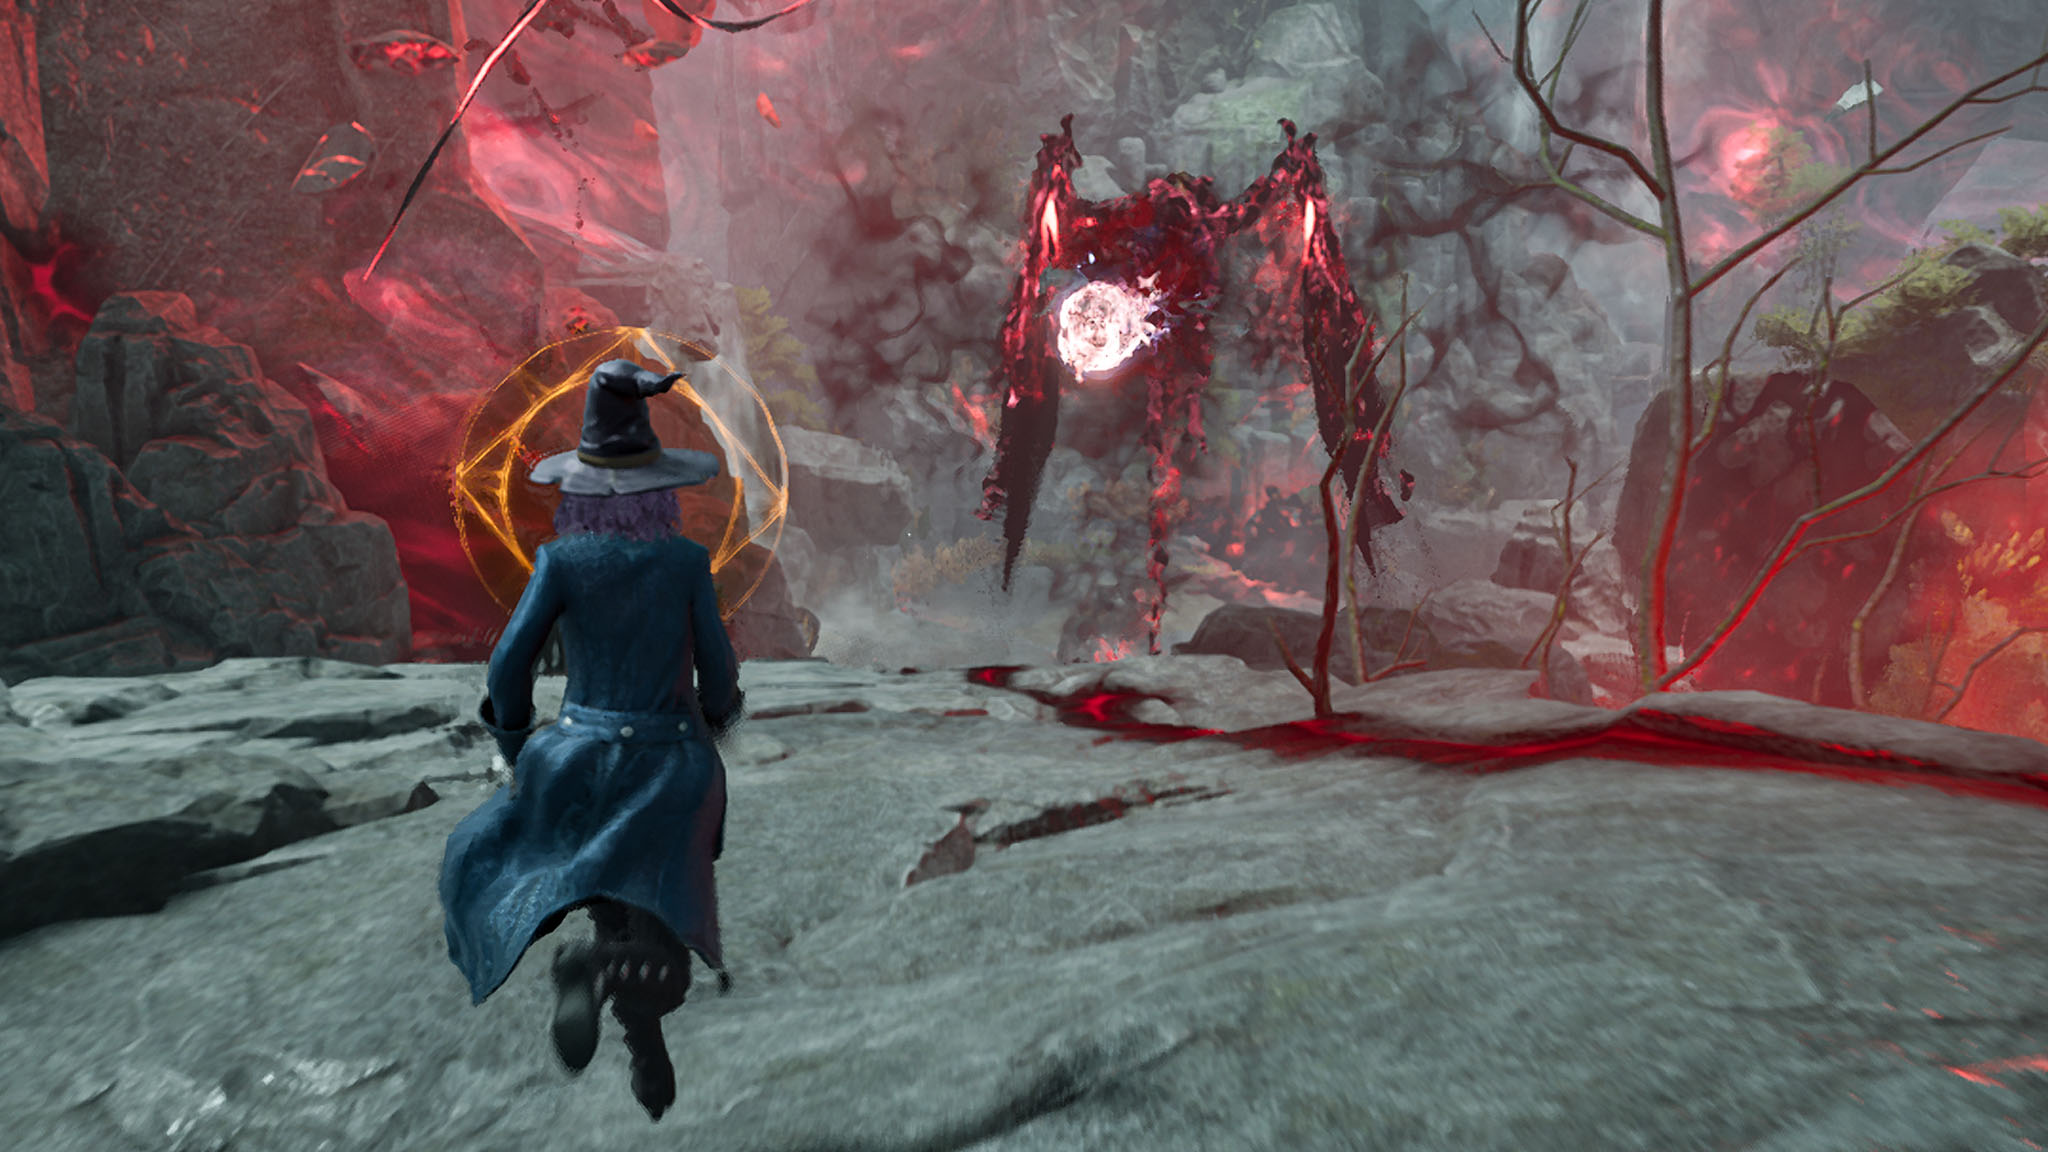
Get to the battle area: Once you break into the second gauge of Ranrok Dragon’s health bar, he’ll retreat and you’ll have to follow him down the rocky path that opens up to you. But watch out, as you work to make your way to the actual boss fight area he’ll hover in front of you and attempt to hit you with projectiles. Dodge these objects or use Protego and quickly make your way to the battle area at the end of the path.
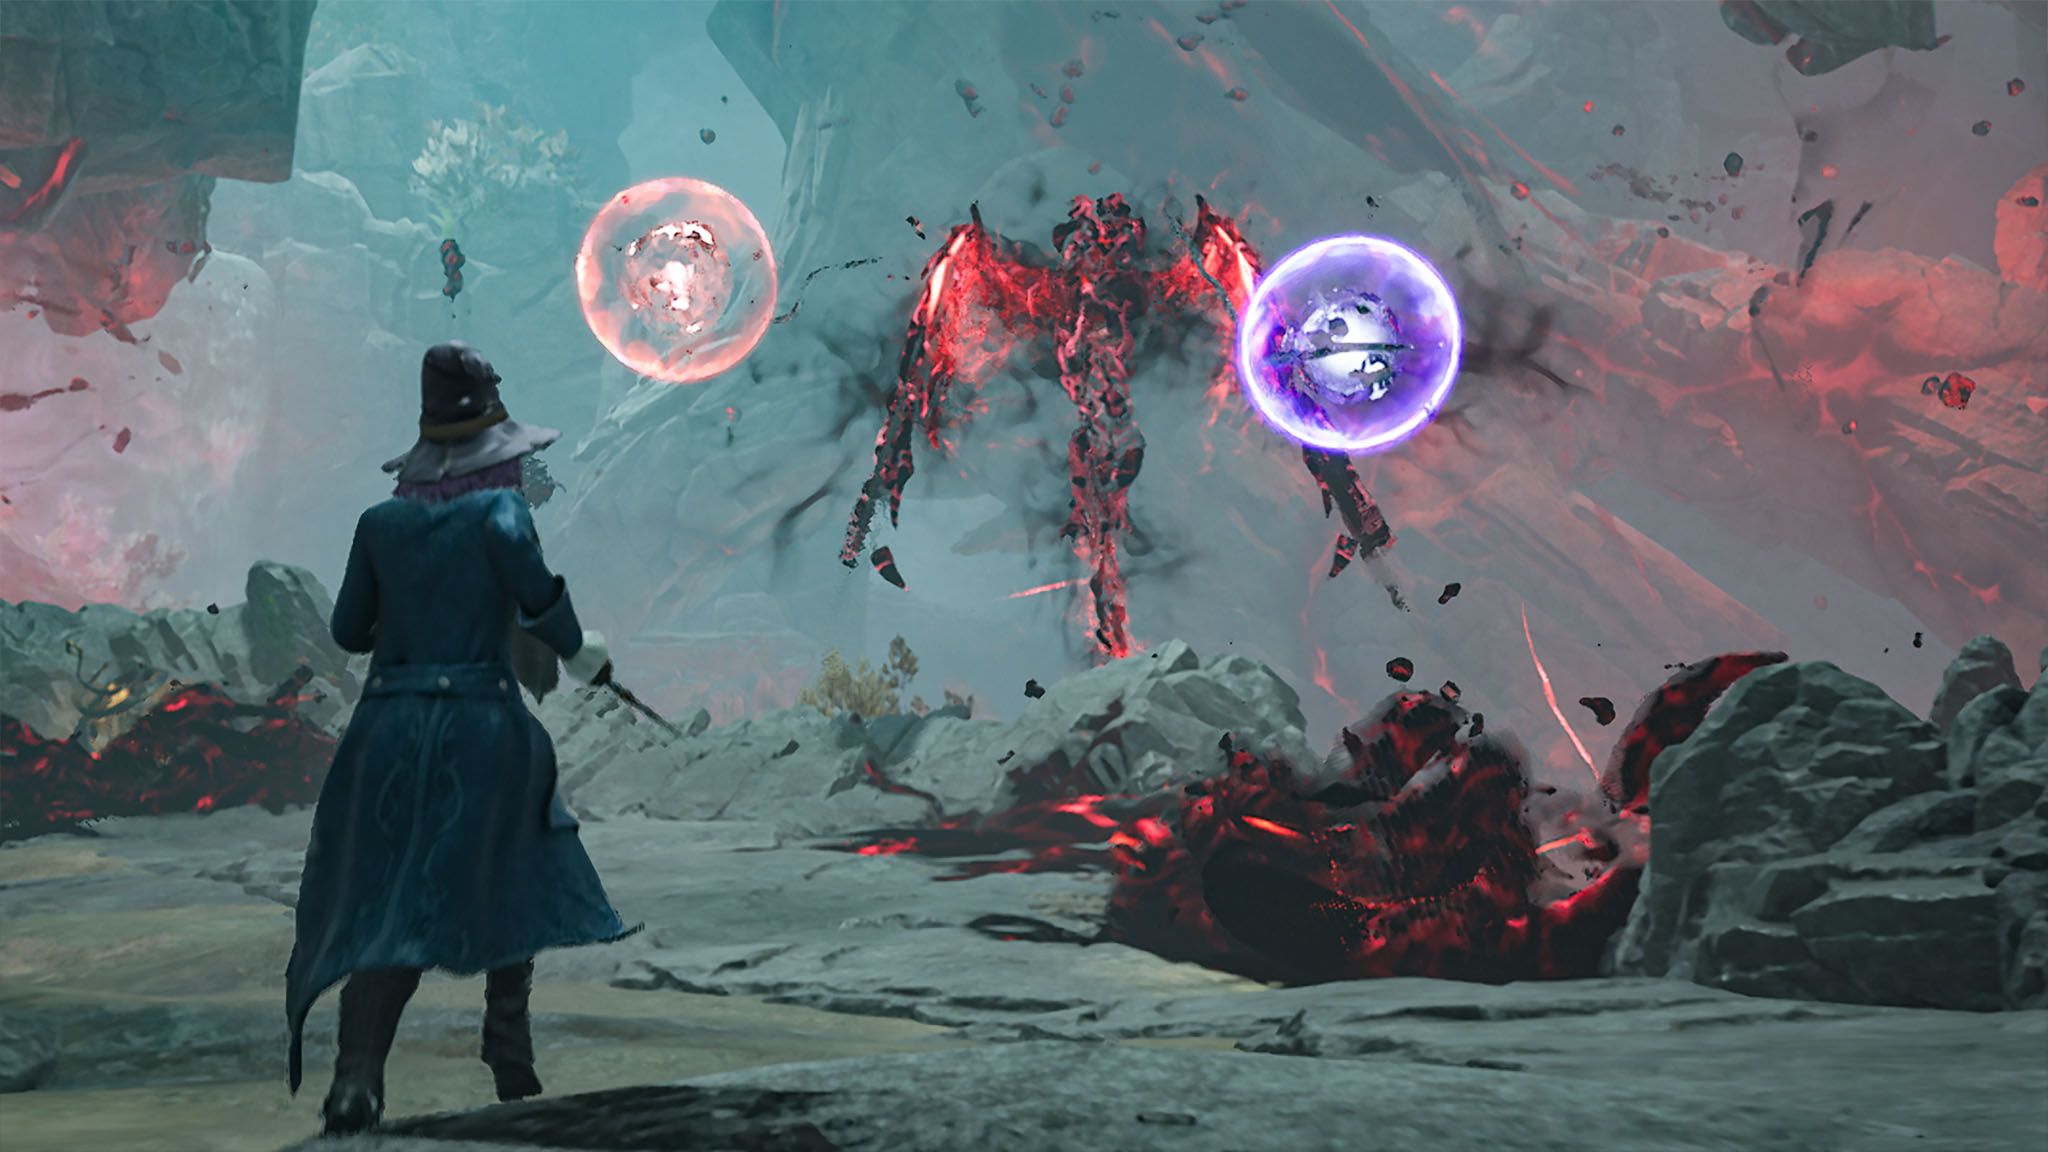
Destroy the spell spheres (again): During the second phase, Ranrok Dragon will have two spell orbs to protect his shield. You’ll need to once more use the proper matching-color spell to destroy these spell spheres before you can inflict any damage on him. However, you must be quick as these spell shield orbs will disappear and relocate after a while.
Run away from his big aura attack: At times, Ranrok will draw his wings in and prepare for a big pink attack that covers a good chunk of the battle area. When he starts preparing for this, run to the back of the battle area and out of reach so that it doesn’t effect you.
Take your potions: If the battle has proven tough so far, take advantage of your stat-boosting potions such as Maxima, Edurus, and Focus Potion. Remember, Focus Potion reduces the amount of time it takes for spell cooldowns to complete. So if you’re not wanting to swap Spell Sets that much, you really ought to take a Focus Potion during the second and third phases of the Ranrok Dragon boss fight. Maxima Potion increases the amount of damage your spells inflict on Ranrok while Edurus increases your defense so you take less damage.
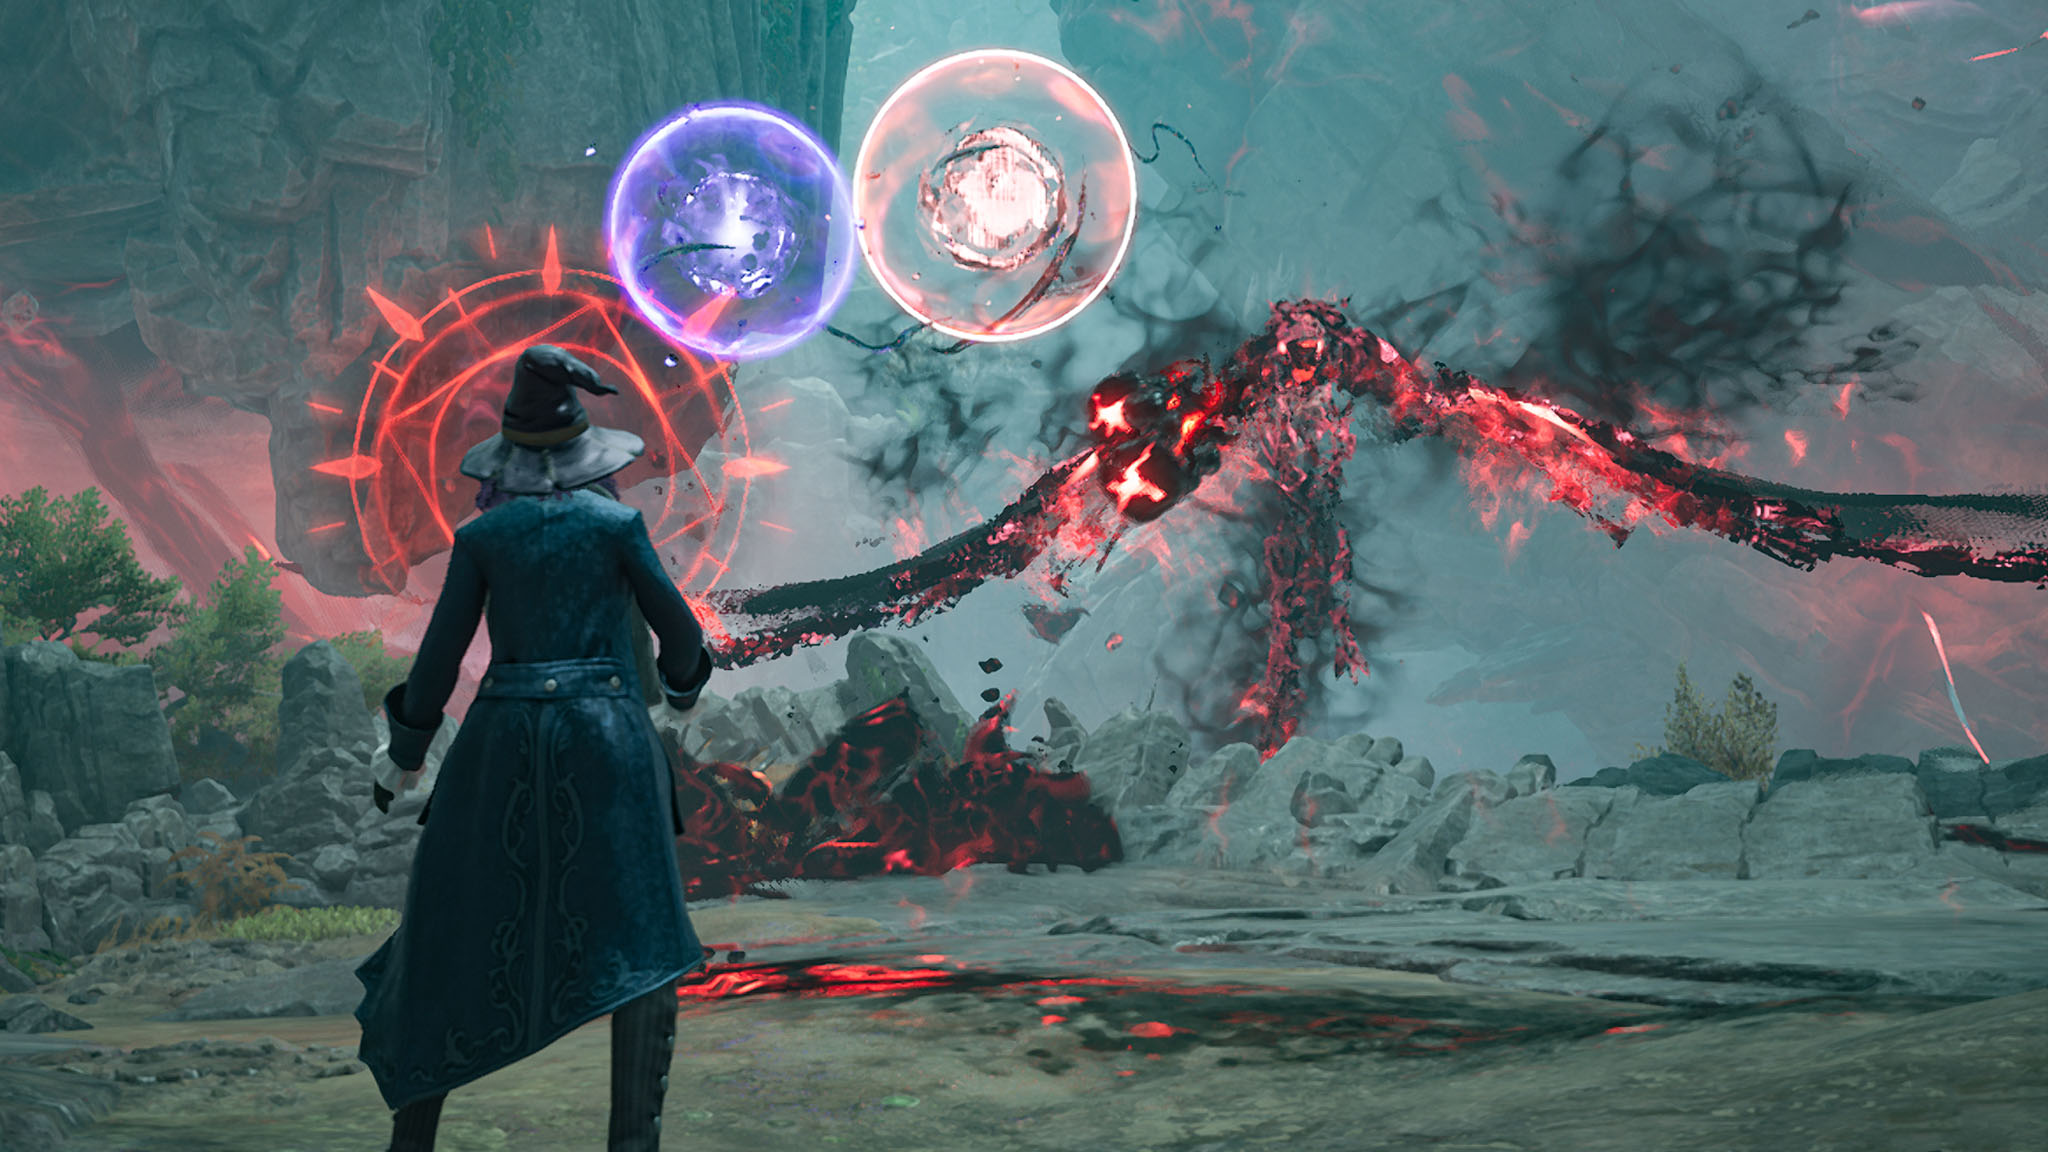
Take time to collect Ancient Magic: As you strike Ranrok, he’ll occasionally drop bits of glowing ancient magic. It might seem like a bad idea to go after these at times, but it’s to your benefit to dodge around and safely collect them. Ancient magic drops can help you regain a small amount of health, but more importantly, they fill up your ancient magic meter gauge which will allow you to unleash very powerful attacks on Ranrok and take huge chunks out of his health. If you have Swift unlocked in the Core Talents menu then you’ll be able to zip to ancient magic drops and away from them relatively easily.
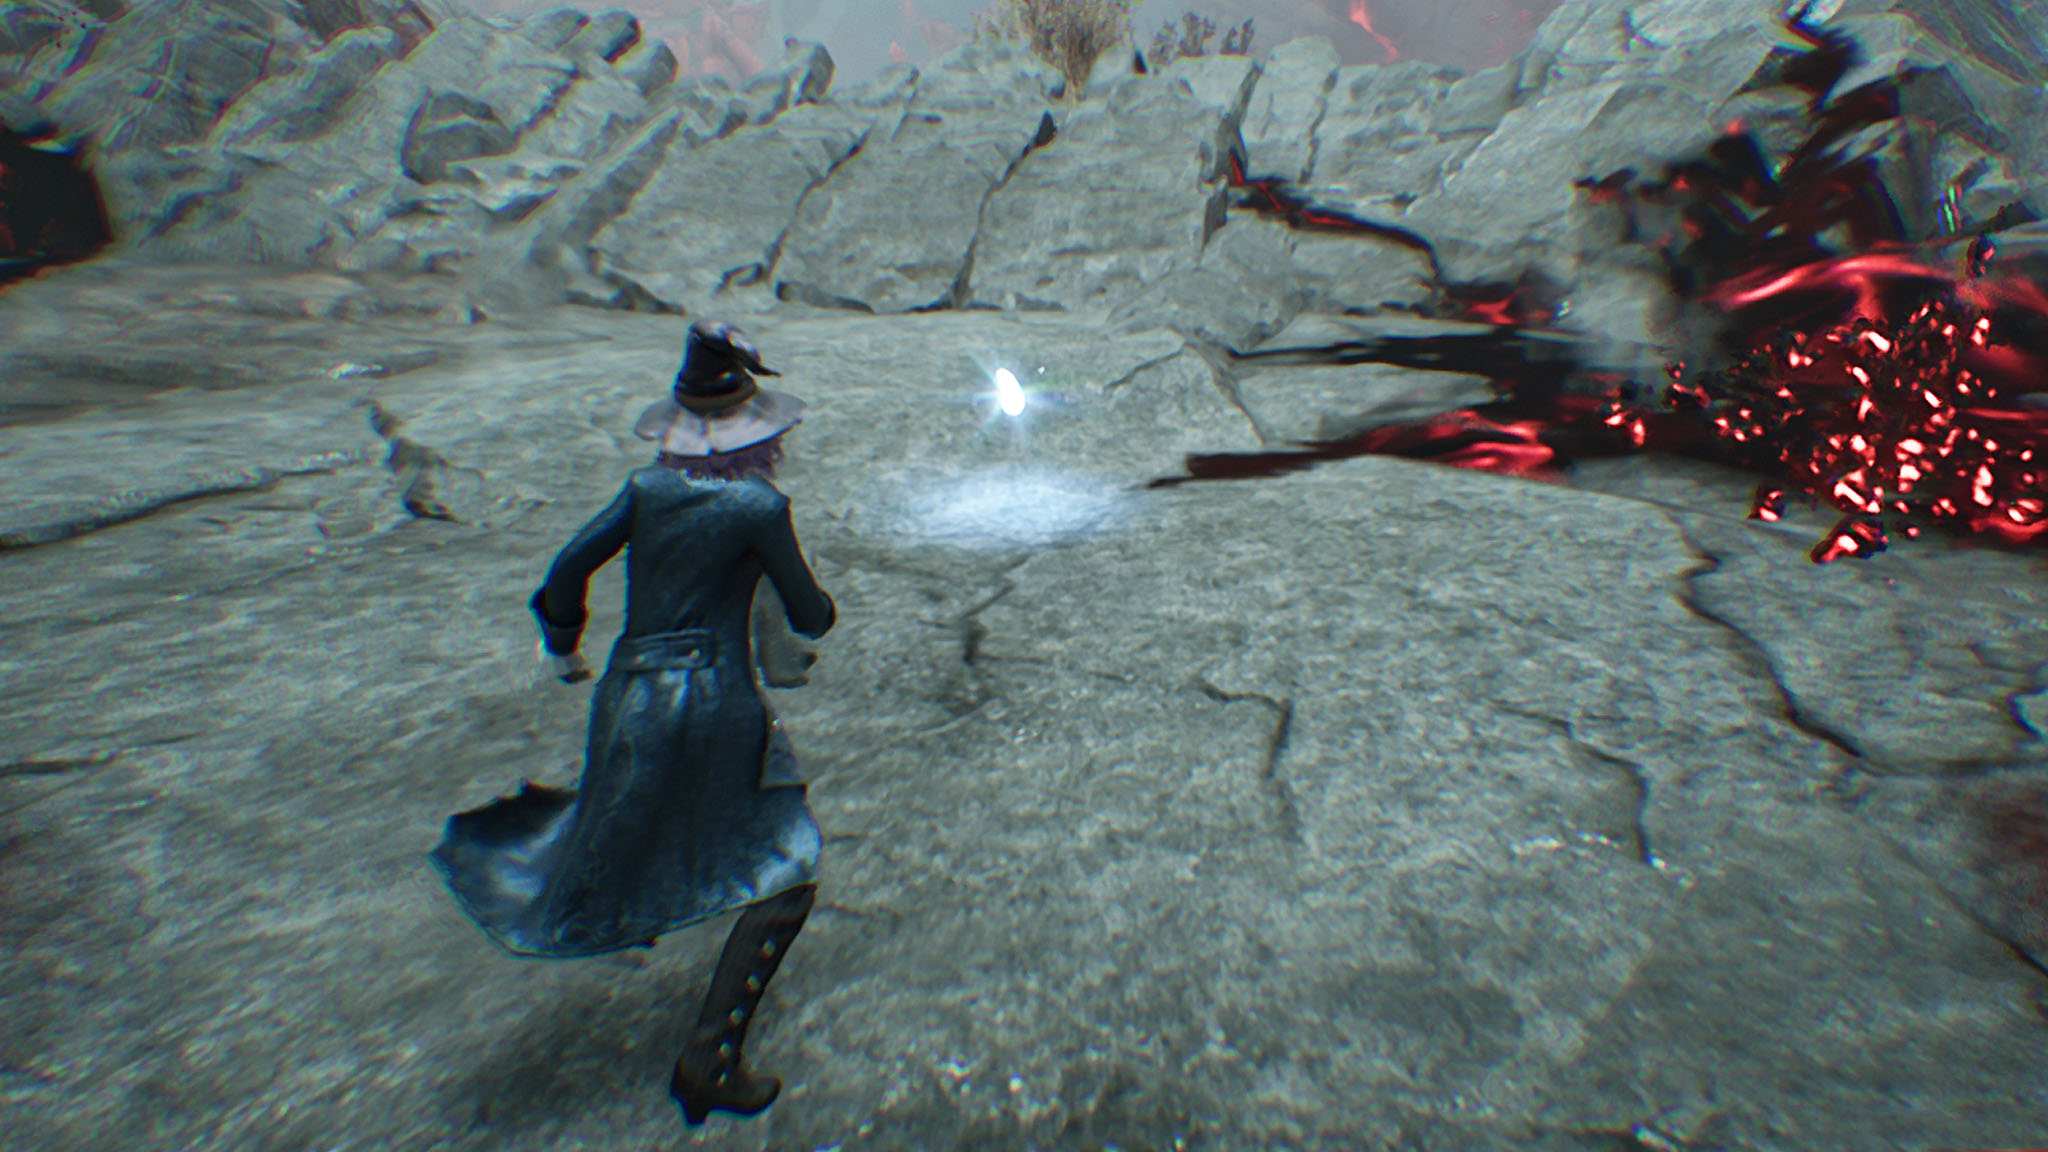
Continue to dodge, block, and hurl objects: This second phase of the Ranrok Dragon battle is like a slightly ramped-up version of the previous one. Continue to keep your fingers ready to dodge and cast your best attacks as you need to. Some of Ranrok’s projectiles can be grabbed and thrown back at him. Take advantage of this whenever possible to slice big sections of his health down.
Continue to blast away at Ranrok’s health until the second section of his health bar is depleted and he once more retreats. Follow him around the corner of rock and slide down the black and red ramp to get to the final battle area.
Hogwarts Legacy: Ranrok Dragon Boss Fight — Phase 3
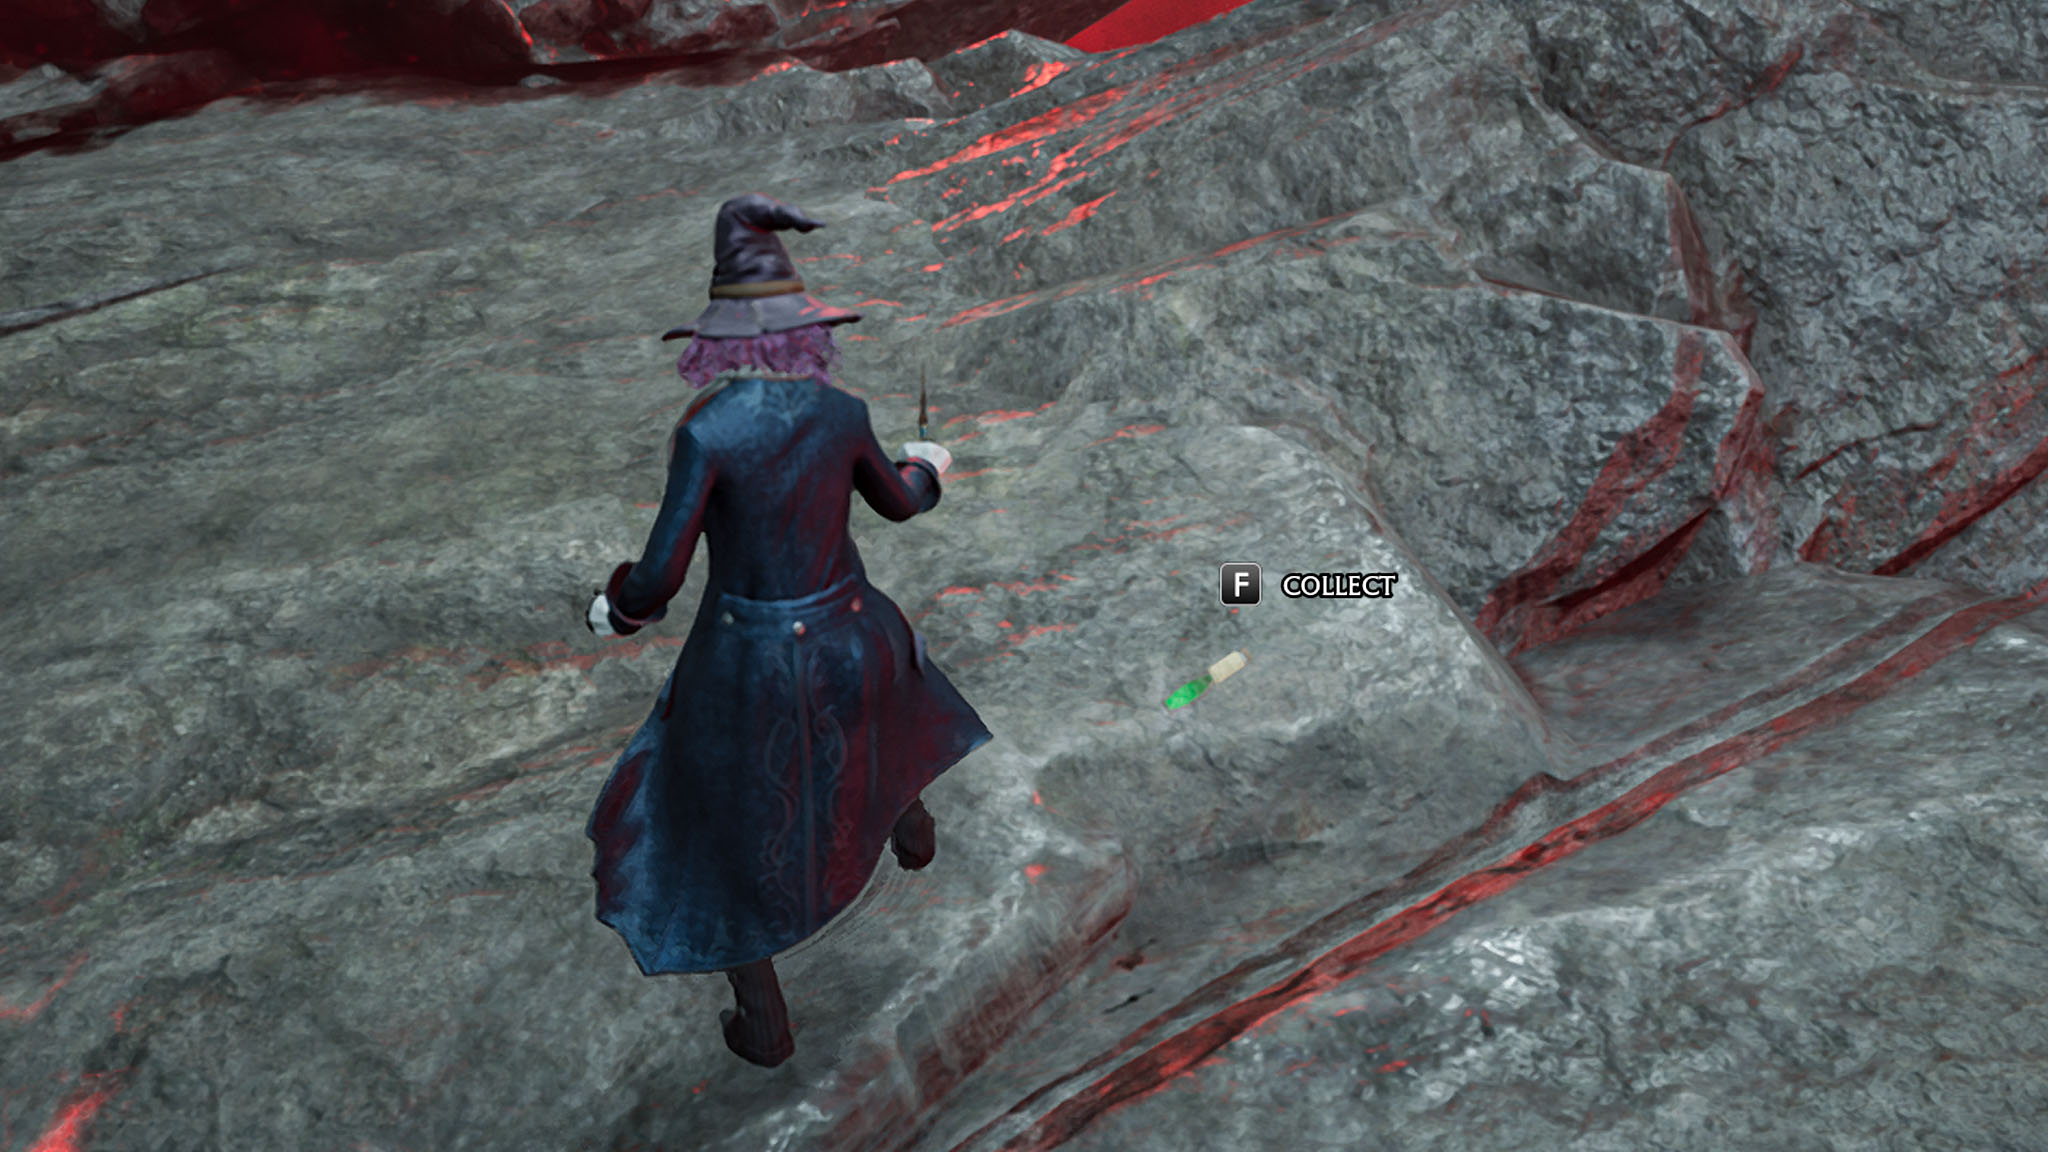
Grab some more health potions: If you managed to deplete your Wiggenweld Potion stock a fair amount before coming to the third phase of this boss battle, then you’ll want to take a moment and run around the outer ring of the battle area as there are a few Wiggenweld Potions lying around down here. You’ll have to be pretty close before you can actually see them, but snatch them all up and then prepare for the final fight.
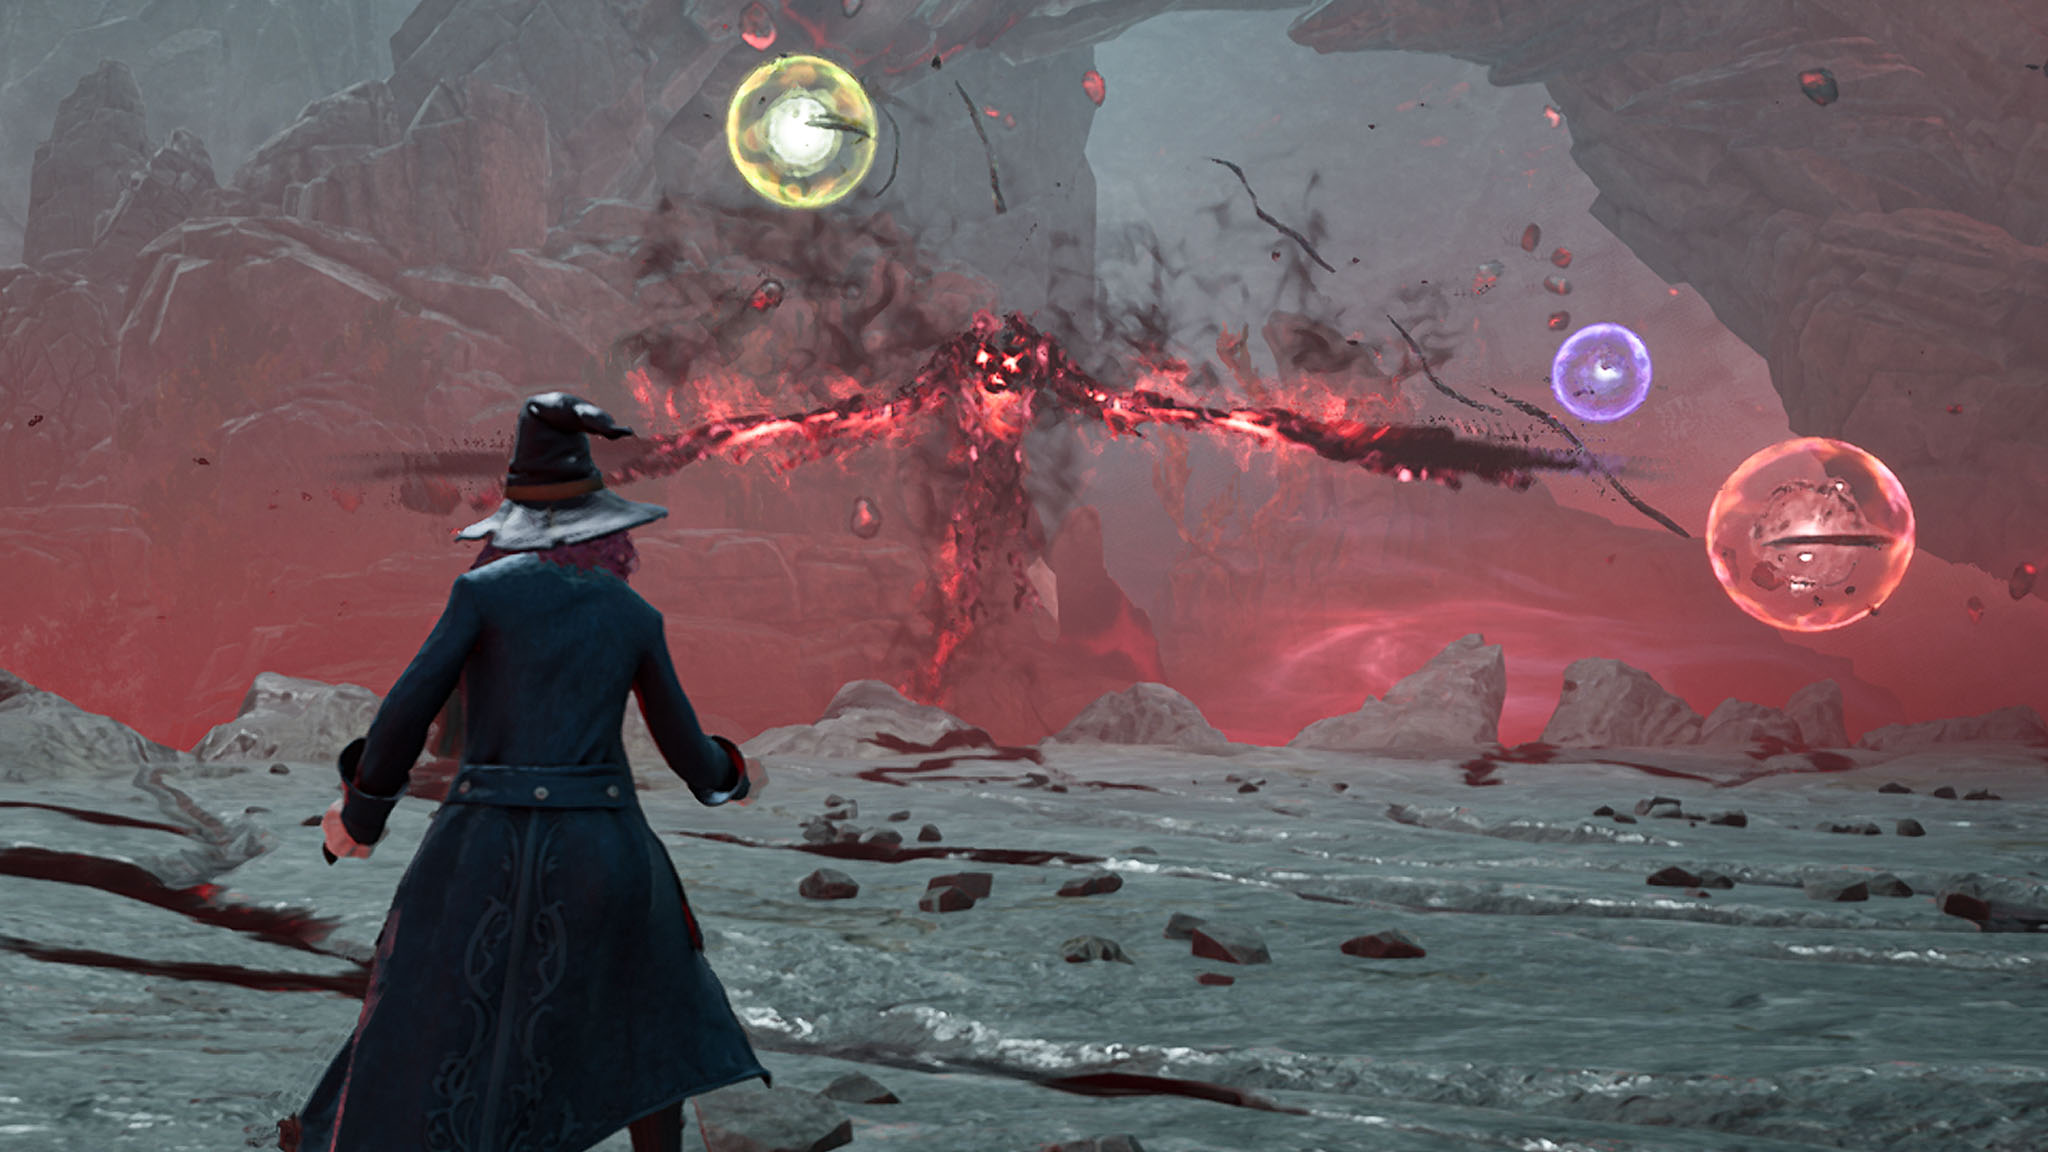
Destroy three spell spheres (and dodge): In this final phase of the battle, Ranrok now has three spell spheres keeping his shield in place. These won’t stay in the same place for long, so you need to quickly get within range and blast them with the same-colored spell to destroy them. Additionally, Ranrok’s attacks will come more rapidly now, so you’ll want to attack a sphere, dodge, attack another sphere, and dodge to prevent from taking damage. Once all spell spheres have been knocked out, Ranrok Dragon’s shield will drop and you can have at him.

Keep away from that pink aura attack: We’ve seen this high-damage attack before, but now Ranrok will use it a lot more frequently. Get safely out of range whenever he starts ramping it up and then come back at him when the attack has finished. Alternatively, if you have Edurus Potion, you can withstand it and continue attacking.
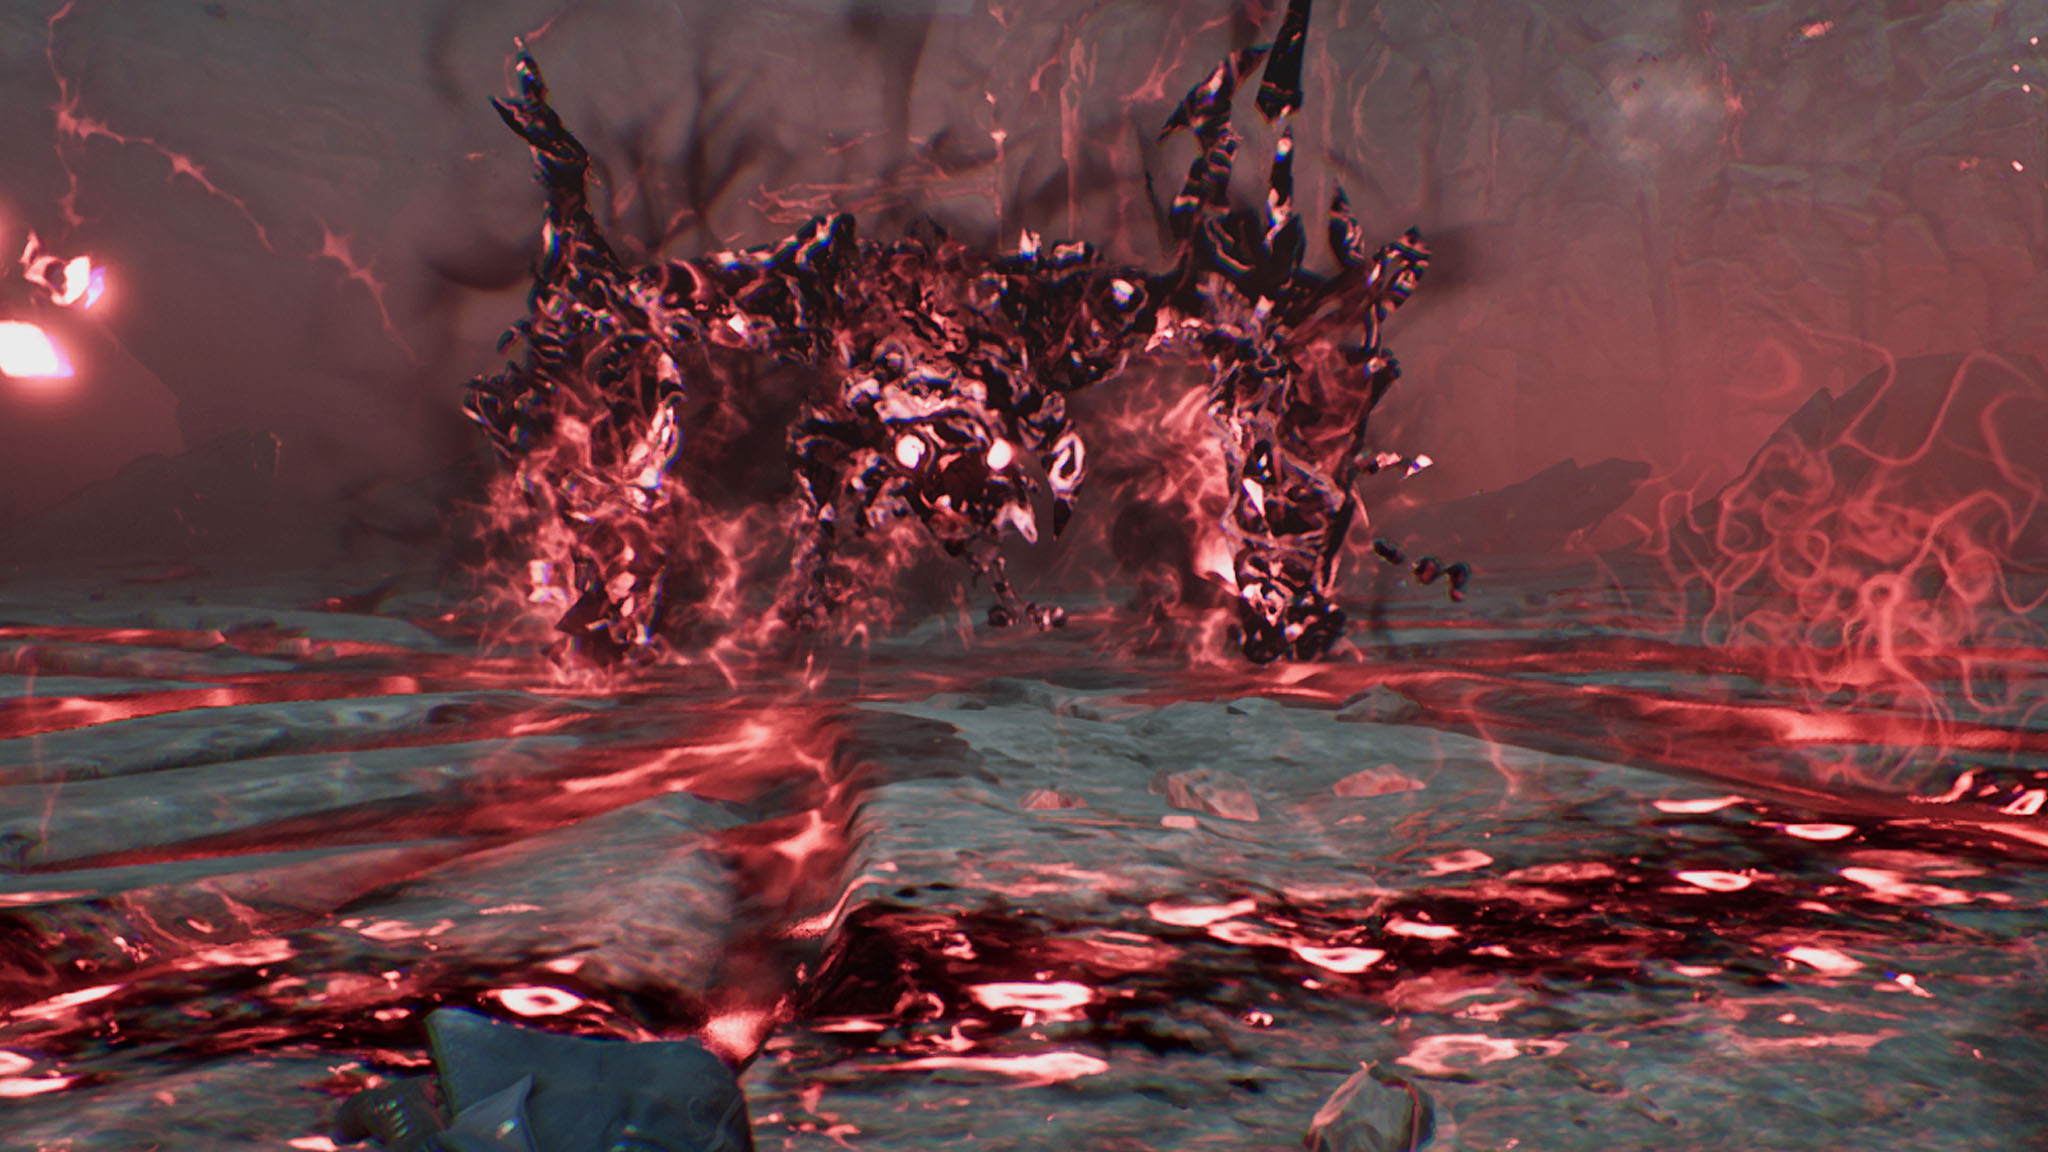
Continue to dodge Ranrok Dragon’s attacks: When you’ve gotten Ranrok Dragon’s health down about a fourth of the way, he’ll drop to the ground. At this point, he’ll still launch projectiles from his mouth which you’ll need to dodge. He’ll also run at you (kind of like the Graphorn) and can hit you with his tail, so be prepared to dodge often.
Mix your potions: This is the hardest part of the battle, so you should consider taking your Maxima, Edurus, and Focus Potions all at once. This will reduce your spell cooldown time, give you extra defense, and make your spells more powerful for as long as the potions last. Of course, you should take any Wiggenweld Potions potions as needed to replenish your health as well.
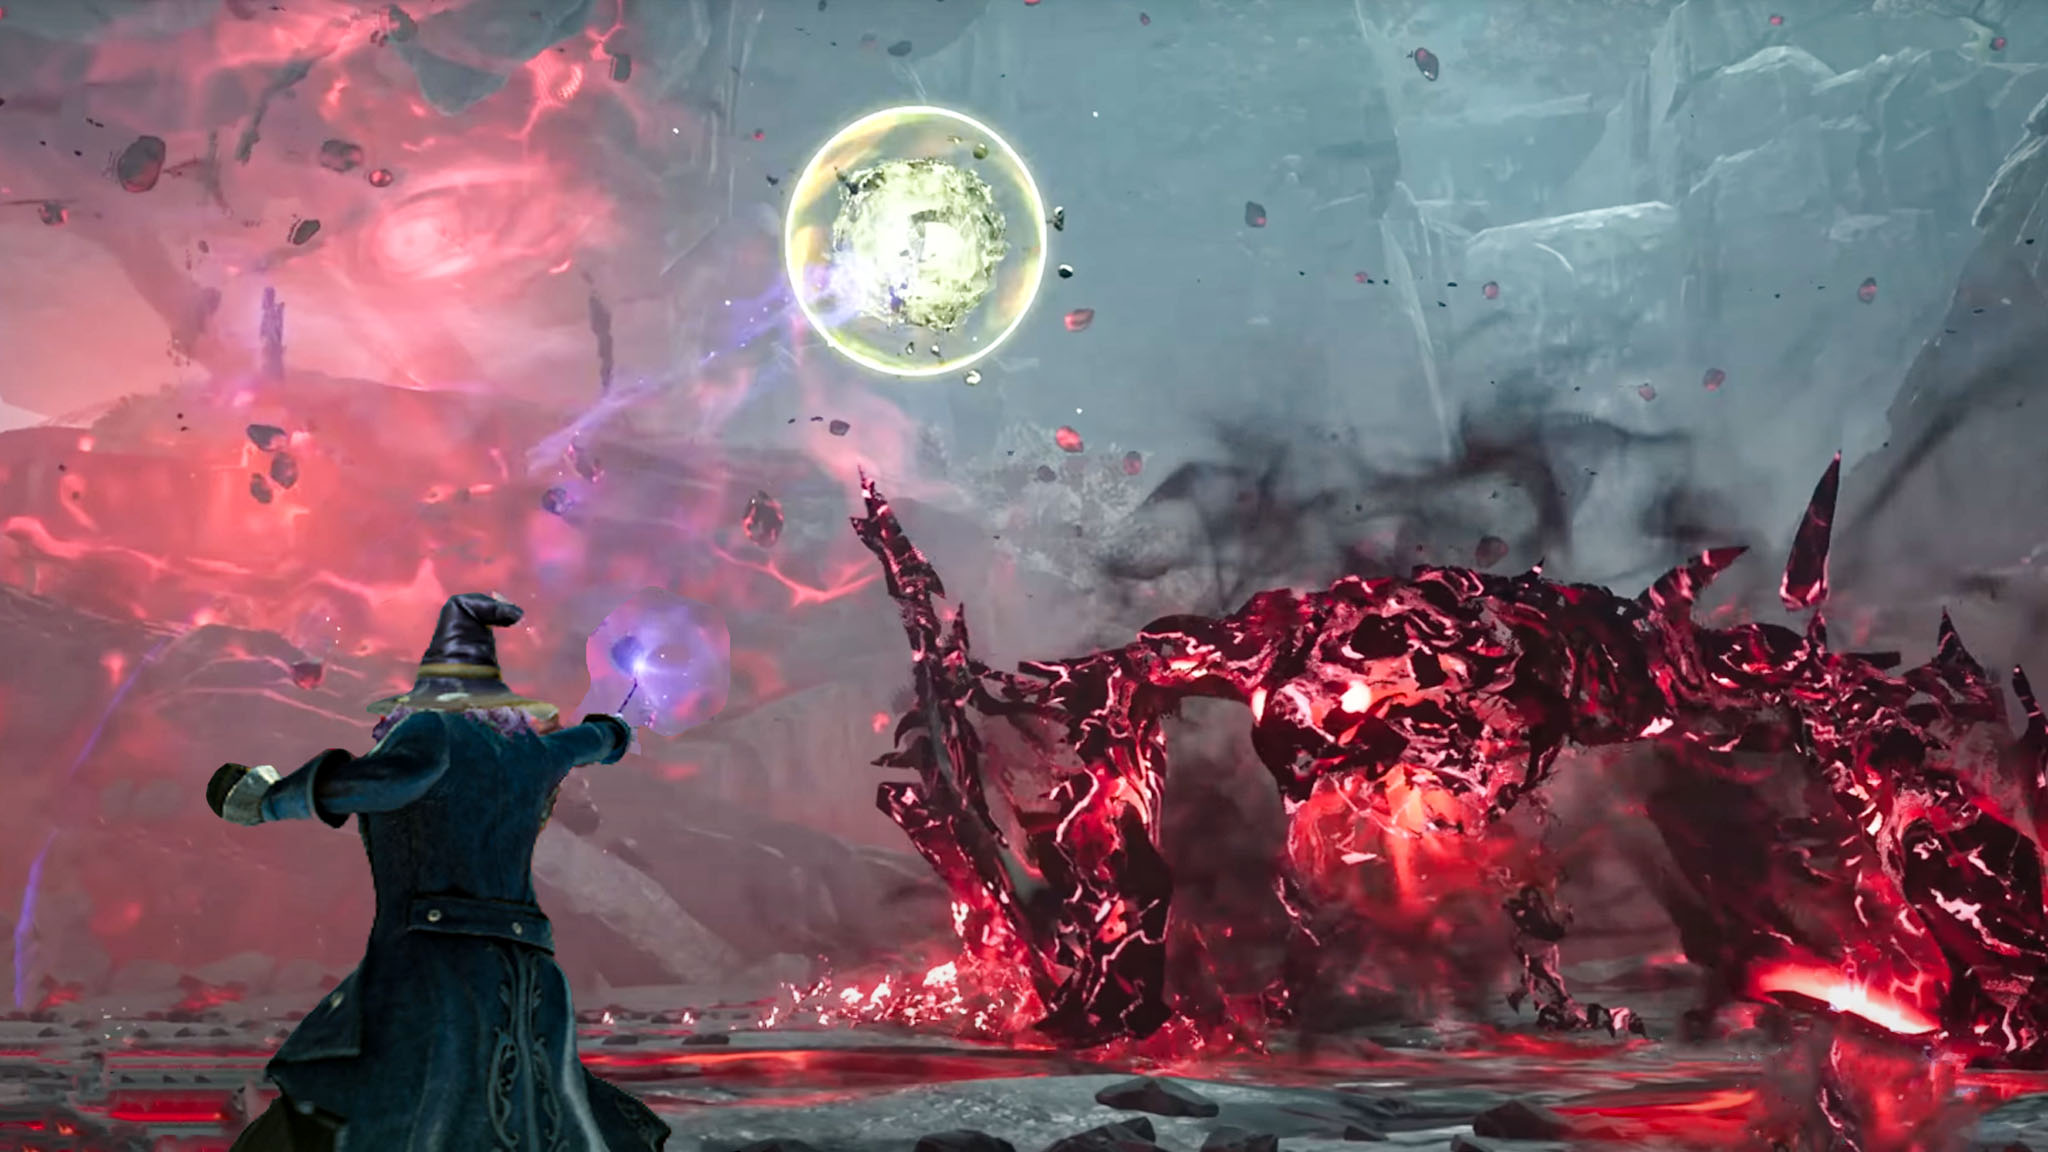
Continue going after the spell spheres: Those three spell spheres will continue to show up in the air around Ranrok, so continue to take them out with the proper-color spell then you can work on attacking the dragon when its shield is down.
Keep collecting Ancient Magic drops: At this point, you want to do everything you can to get Ranrok’s health down to zero. Your ancient magic attacks will be very helpful in doing that. Zoom around the stage collecting any ancient magic drops that come from Ranrok Dragon and then launch those powerful attacks at him as often as you can (but make sure his shield is down before you do or you’ll waste the attack).
Once you’ve knocked Ranrok’s health down all the way, you’ll be treated to a well-earned cutscene. This also wraps up The Final Repository quest. But while the big boss has been defeated, the game isn’t over yet.
Even dragons have their endings
It will take some work, but if you focus the proper attacks on the spell spheres that appear in the sky around Ranrok and then blast his dragon form with your best spells whenever you get the chance, you’ll walk away from this Hogwarts Legacy boss fight in now time. The experience will go a lot easier if you have plenty of Wiggenweld Potions on you, take advantage of your ancient magic attacks, and dodge Ranrok’s many assaults.
If you’ve attempted the dragon fight multiple times and you’re just not making it anywhere, you might need to abandon the quest for now and come back when you’ve either leveled up, gathered more potions, or unlocked more Talents in the menu. All of these things will give you more power and will allow you to take enemies down more easily including the Ranrok dragon.


