Smart homes are great when everything is working, but can be frustrating when things go wrong. If your HomeKit devices are reporting “No Response” in Apple’s Home app or Siri tells you the device is not responding, try some of the fixes below to solve the problem.
1 Ensure Wi-Fi and Bluetooth Are On
This sounds basic, but it’s always a good one to check first. Some HomeKit devices require both Wi-Fi and Bluetooth to be enabled on your iPhone, so if you’ve disabled either the fix may be very simple! For example, my mobile phone bill arrives as a text link, but the link only works when using mobile data, so I need to switch off Wi-Fi to access it. If things are hectic, it can be easy to forget that I did this.
If you have more than one Wi-Fi network in your home, then things will fail if your iPhone is connected to a different network to your home hub. One way this can happen is if your main Wi-Fi network fails briefly, your iPhone may then connect to the wrong one, and not switch back when the main one is back.
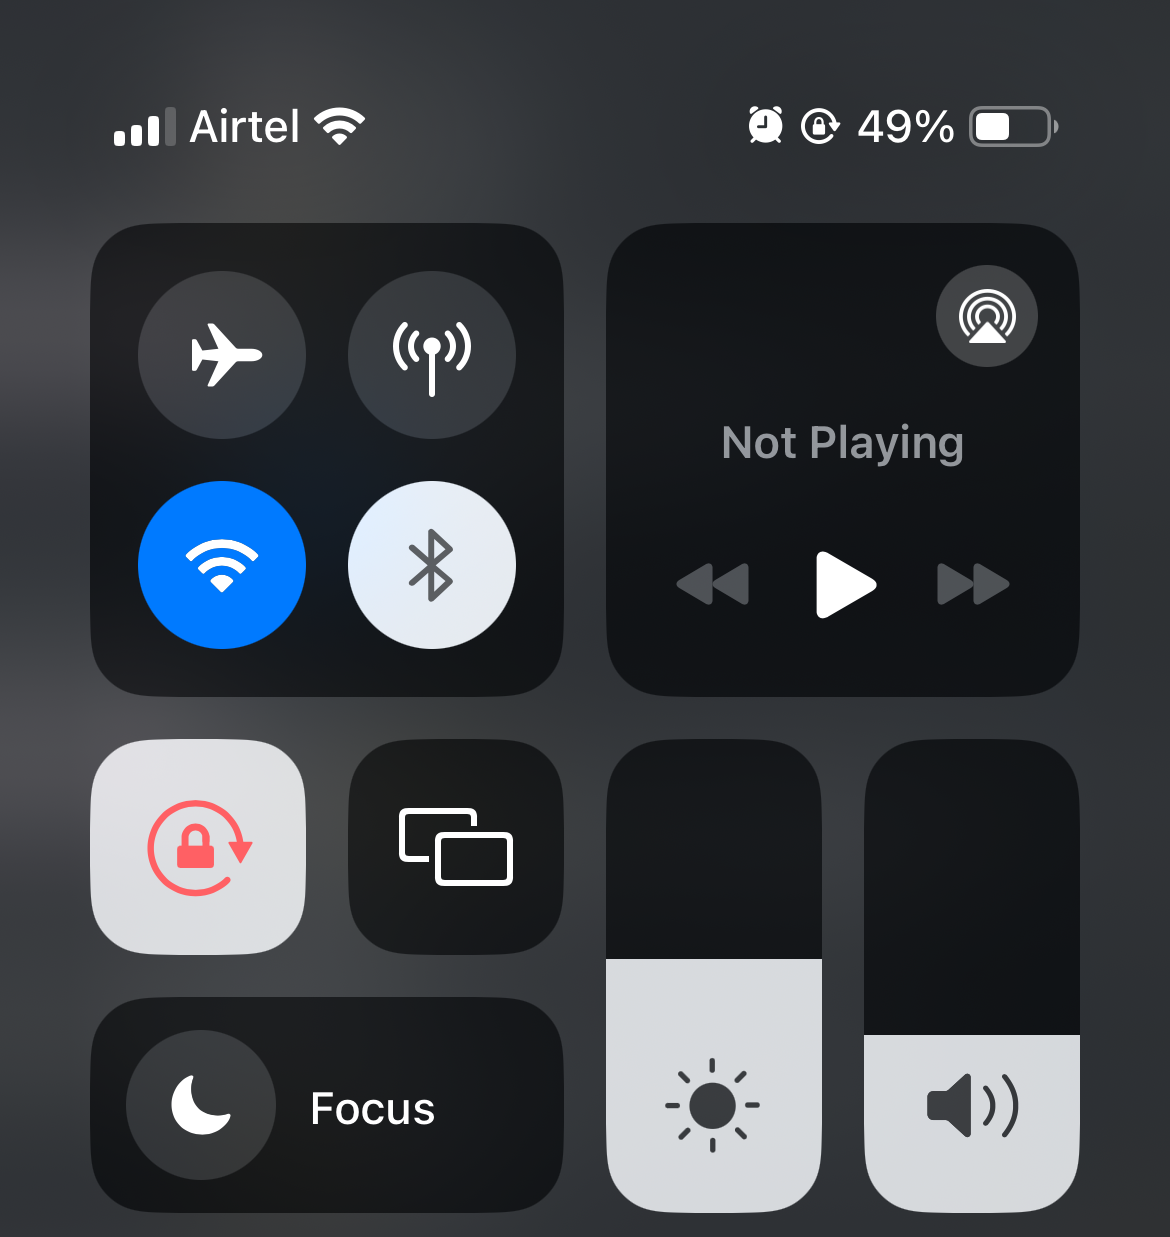
Check under Settings > Wi-Fi to see which network you’re connected to, or flick down and long press the Wi-Fi button (twice) in Control Center.
2 Restart Your Home Hub and Your iPhone
Perhaps the most common source of multiple HomeKit devices failing to respond is an issue with the home hub. This is the device that controls all your HomeKit devices, and—frustratingly—Apple doesn’t let us choose it.
HomePods and Apple TV units are automatically set as home hubs when they are connected, and you can also manually add an iPad as a hub provided that it always remains within the home. However, which of those devices is used as the home hub at any given time is something we can’t control, and will change from time to time on a seemingly random basis.
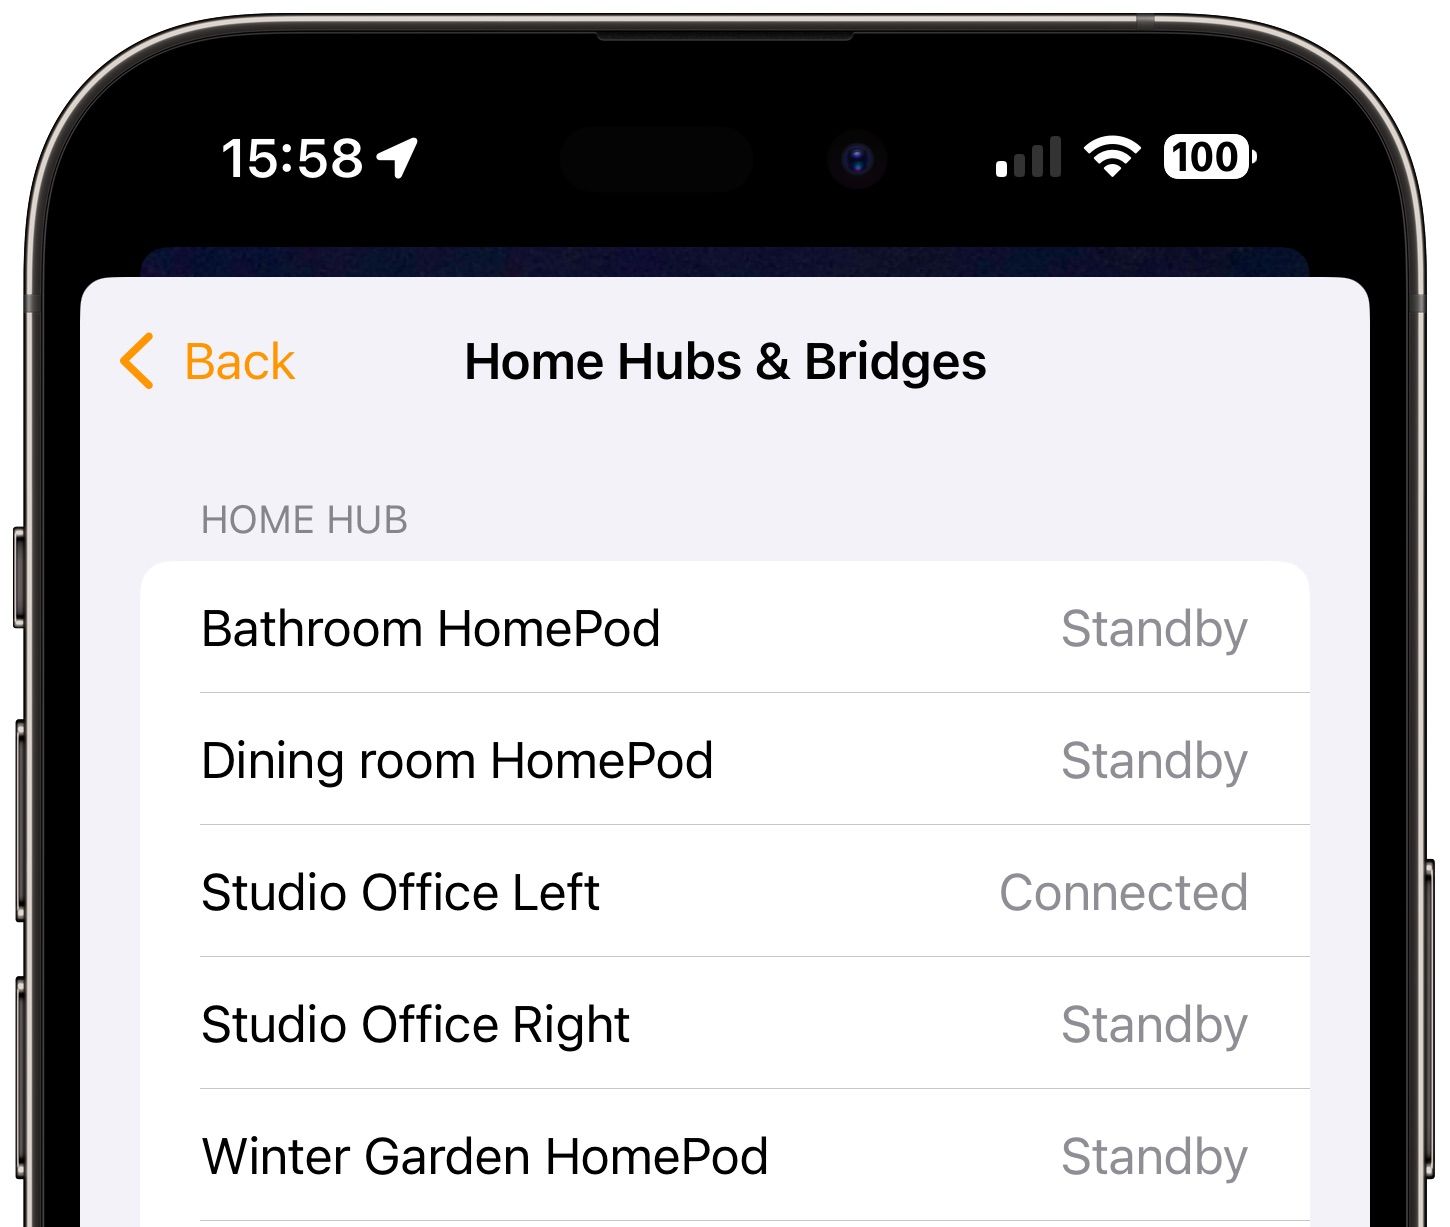
To check which device is your current active hub, open the Home app and tap the three-dot menu button top-right, then Home Settings > Home Hubs & Bridges. In the example below, you can see that Studio Office Left (a HomePod speaker) is my current home hub, so that’s the device I need to check.
The easiest way to reboot it is to simply unplug it from power, wait 10 seconds, then plug it in again. This will likely also result in the Home app picking a different device as the current hub.
Restarting your iPhone is another quick and easy thing to try if rebooting the hub doesn’t work.
3 Reboot an Unresponsive Device
If it’s instead a single HomeKit device that is failing to respond, then rebooting the device will often resolve it.
For a smart plug, simply unplug it, wait 10 seconds, then plug it in again. Bear in mind that it may then take another minute or two before it comes back online.
For bulbs, it depends on whether or not you have hardwired smart switches controlling them. Most people don’t, as smart switches are most commonly used to control dumb bulbs. In that case, just switch off the physical switch providing power to the circuit, wait 10 seconds, then switch it back on. Again, allow one to two minutes for it to finish rebooting. This step will also reveal whether someone has cut power by using the manual switch.
If a bulb is on a circuit controlled by a smart switch, then the issue could be with either the bulb or the switch. In this case, the best bet is to use the circuit breaker to cut power to the circuit for ten seconds. In this case, it may take a little longer for everything to come back online, so give it a few minutes.
4 Reboot Your Router and Bridges
If the above steps don’t work, then the next thing to try is to reboot both your wireless router and the wireless bridges connected to it.
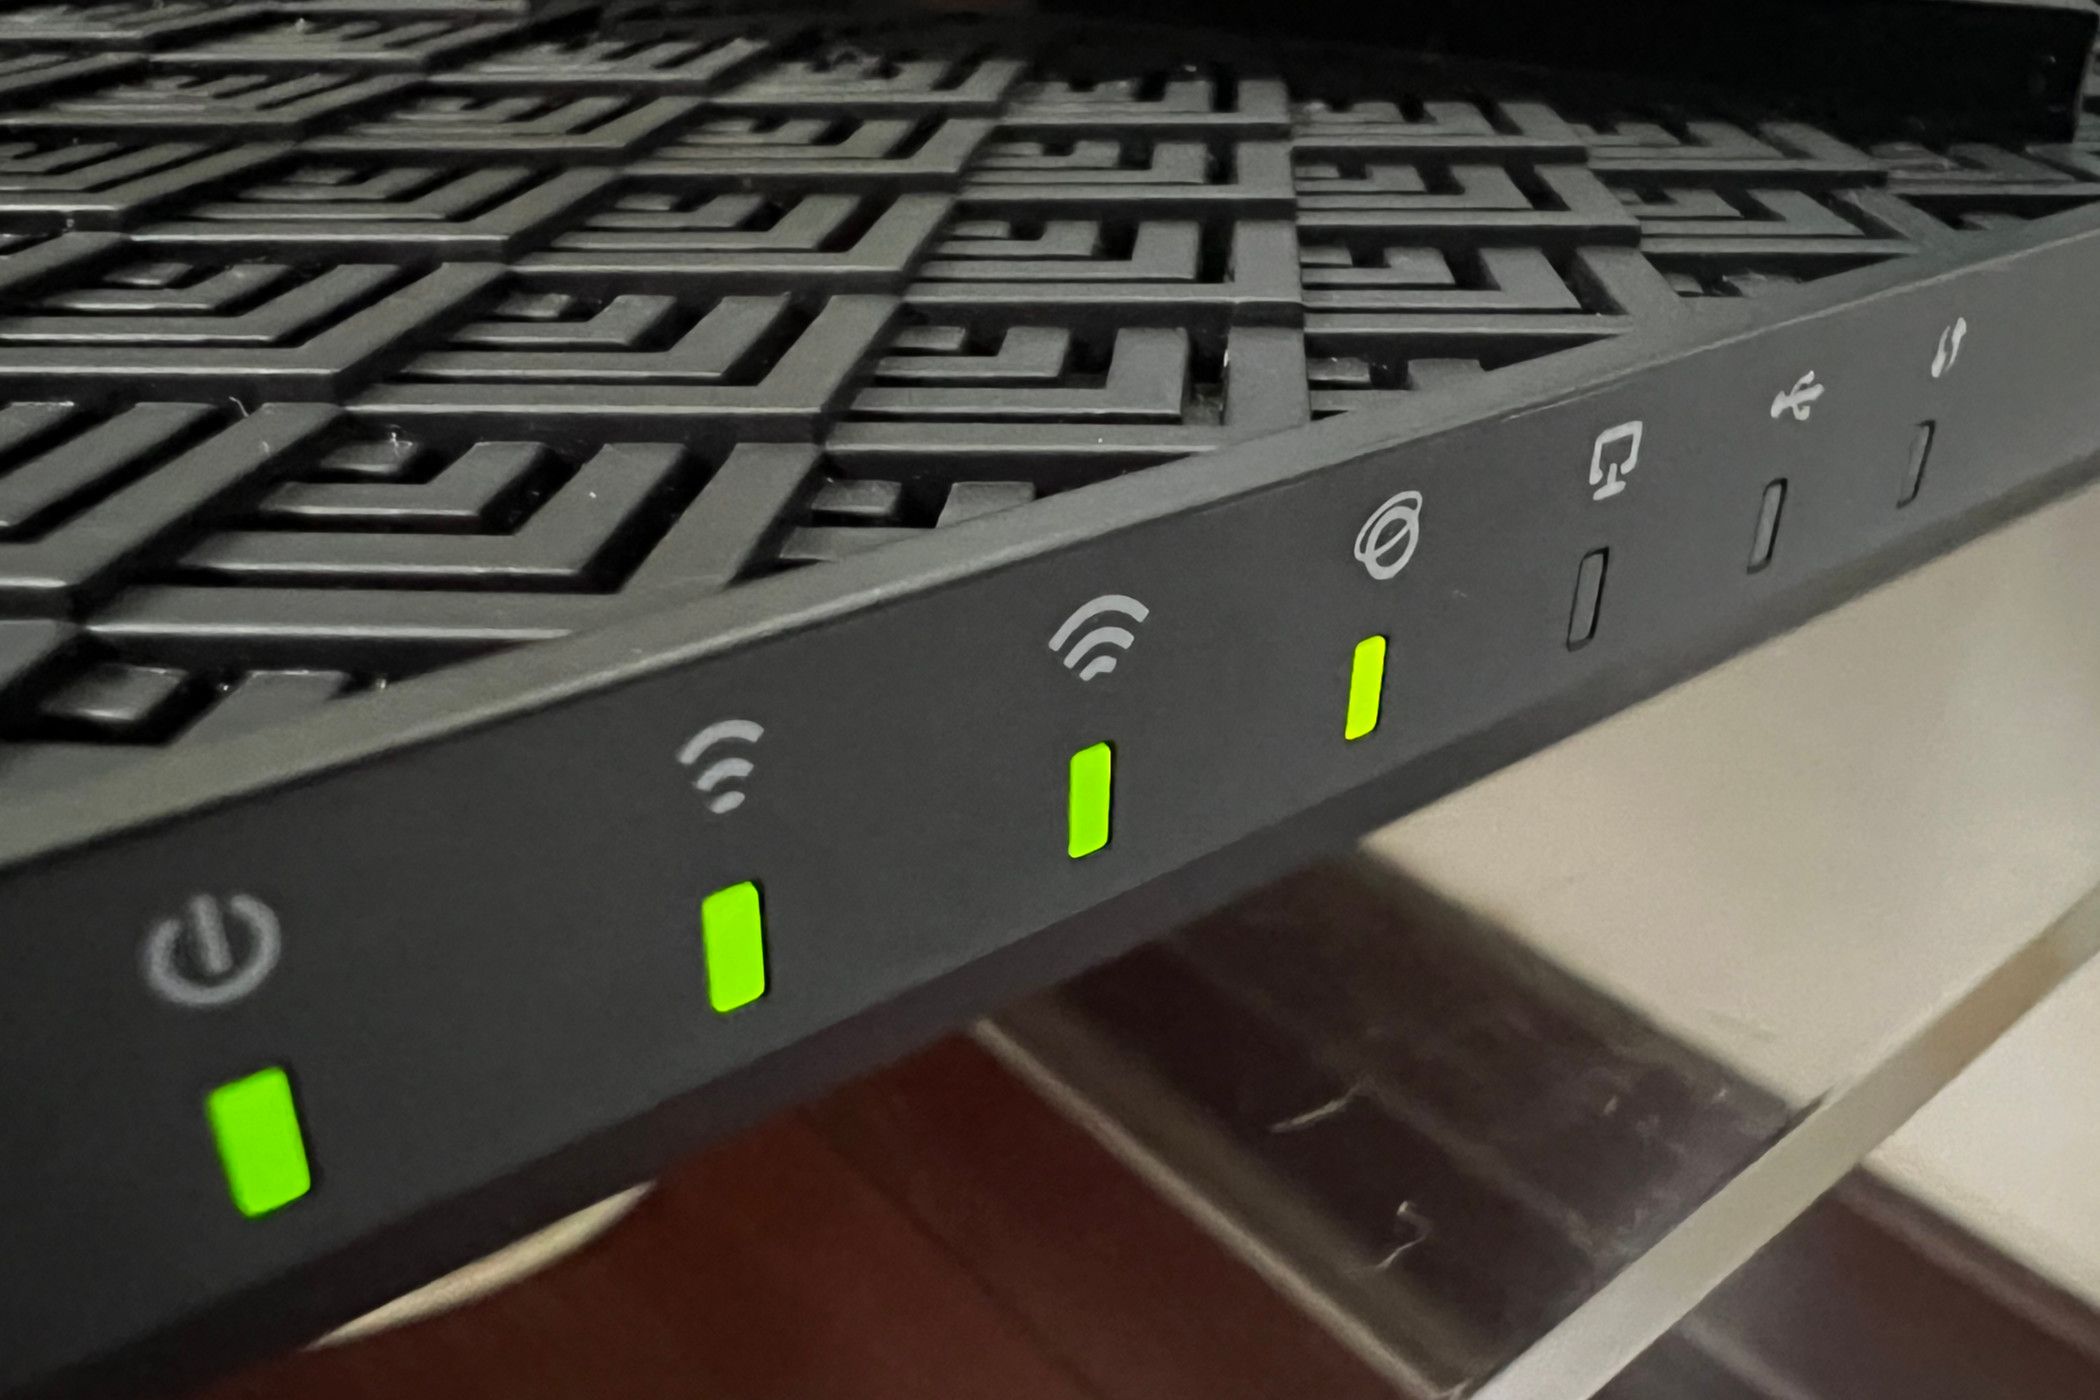
Start with the Wi-Fi router. By now, you know the drill: unplug it from mains power, wait 10 seconds, plug it in again and wait a few minutes for it to come back online. If this doesn’t work, then do the same with each of the wireless bridges.
In some cases, the unresponsive devices will give a solid clue as to the culprit. For example, if all your Philips Hue devices are unresponsive, but other things still work, then the Hue Bridge is the most likely suspect, so you can start by rebooting that.
5 Choose a Different Wi-Fi Channel
From this point on, things get a little more involved, so double-check that you have tried all of the above steps before going any further.
One common problem with wireless devices is congestion or conflicts on the Wi-Fi channel. If you frequently experience problems with either HomeKit devices or other Wi-Fi connections, then changing the channel may well be the answer.
The process for doing this will depend on your router, so check the instructions that came with it, or search the web for the steps for your router, but here is a common example.
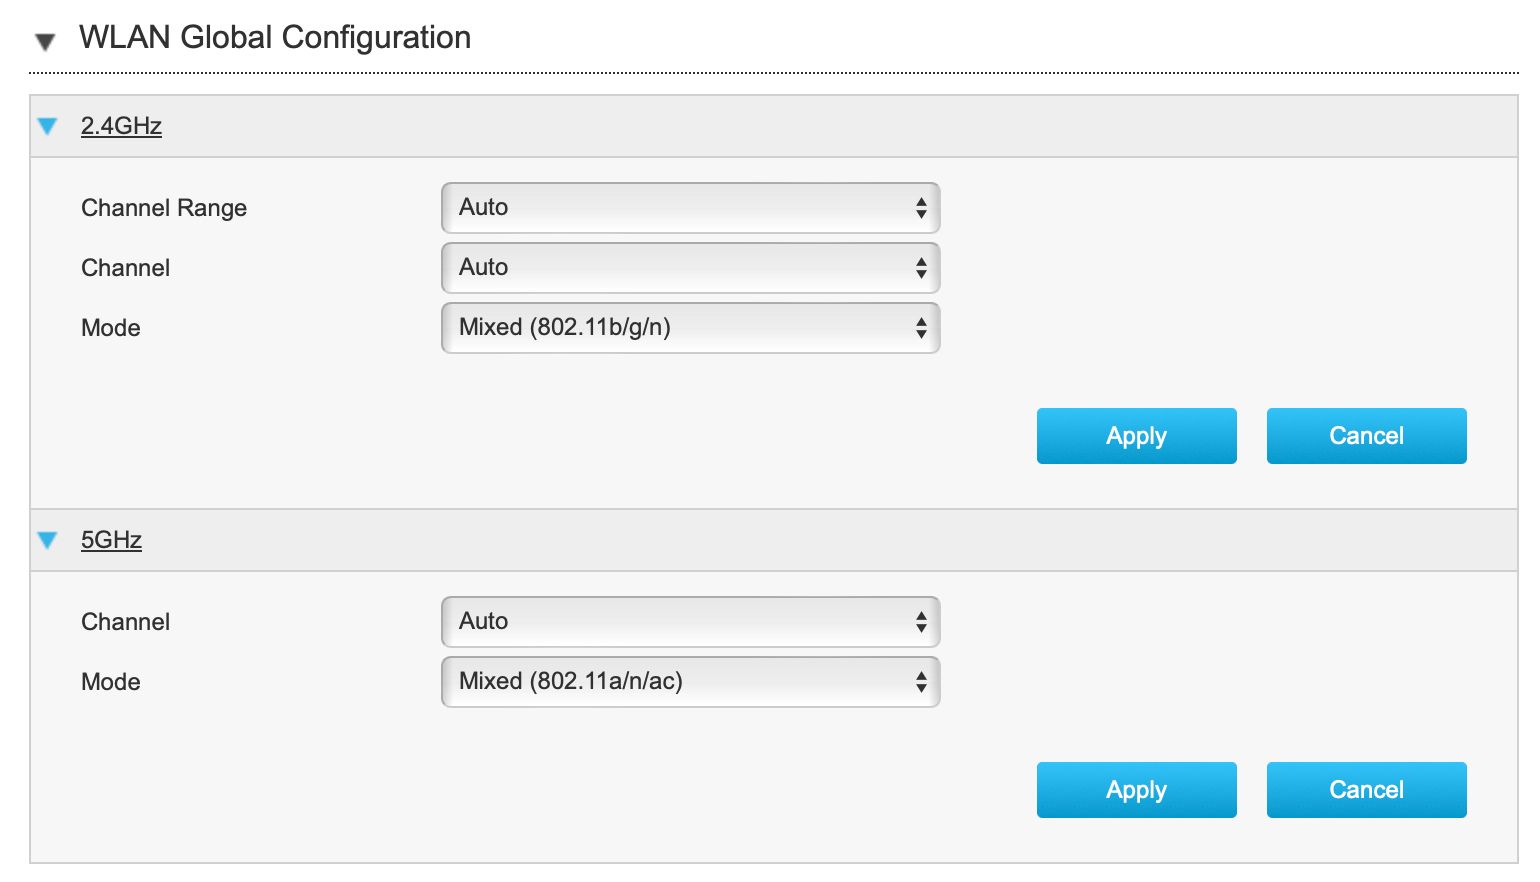
By default, your router may be set to choose the channel automatically. In the example below, we need to first change the top dropdown from “Auto” to “Manual” and can then choose the channel. You can find guidance here on how to identify the best channel to use.
You can see above that the option is available for 2.4GHz and 5GHz networks, but note that almost all smart home devices operate on 2.4GHz, so this is the one we want to change.
6 Make Sure Everything Is Updated
Next up is to make sure that all devices are running the latest firmware. This means:
- Your wireless router
- Your home hubs
- Your bridges
- Your smart home devices
This is a tedious step, I know, but it’s surprising how often it will fix a persistent or recurring problem.
Again, consult the manufacturer’s instructions for details of how to do this. For Philips Hue devices, for example, you open the Hue app and tap Settings. Scroll down to the Advanced section and tap “Software Update.” This will show a list of all your devices. If an update is available for any one of them, a green dot will appear to the right of it, and there will be some text telling you that an update is available. In this case, it shows “New Version Available” for the bridge.
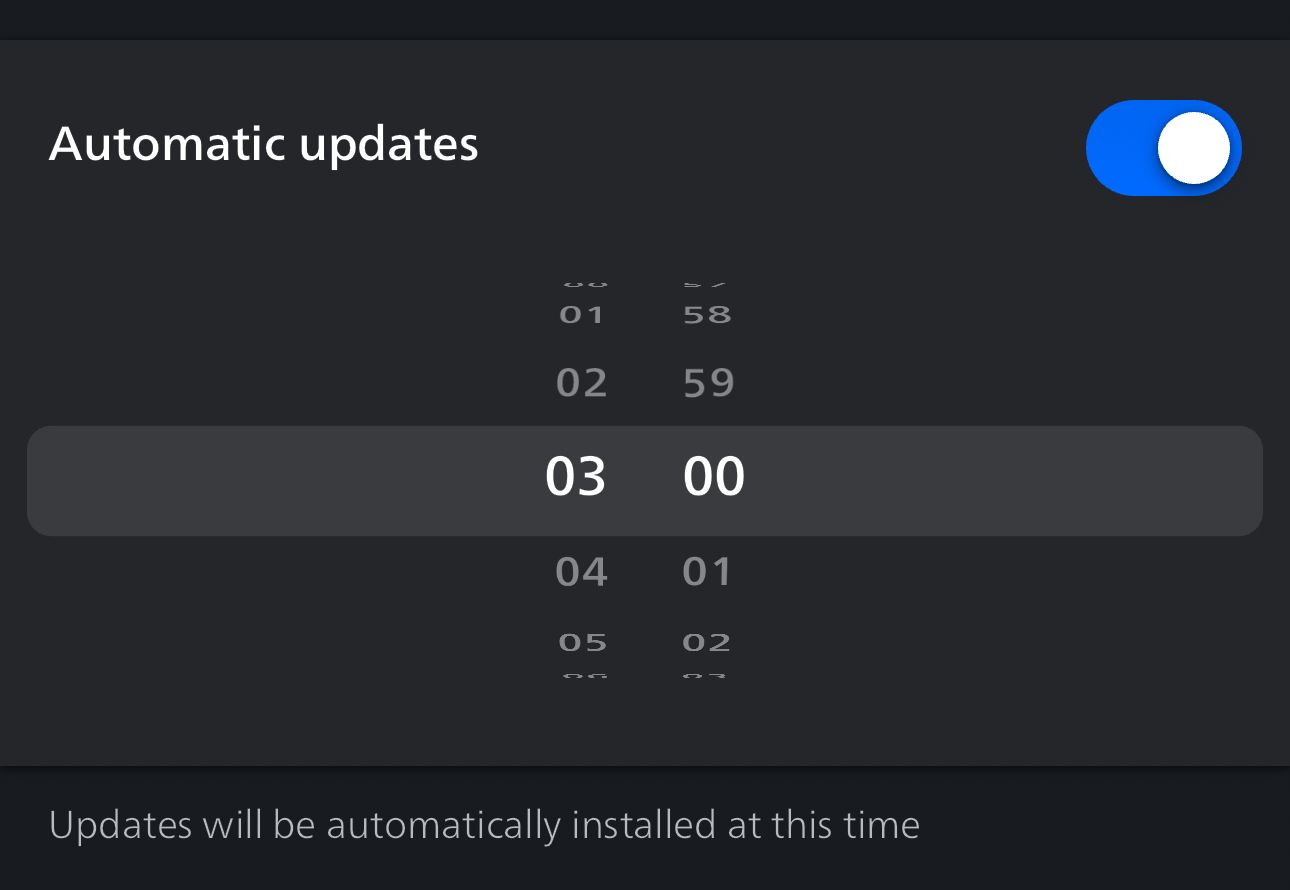
You can eliminate this step for many devices by selecting automatic updates. Again, for Hue devices, it’s Settings > Advanced > Software Update and then flick on the “Automatic Updates” toggle. Note that the bridge will not be included in automatic updates, so you’ll need to do this manually when required.
7 Reposition Your Router or Home Hub
In some cases, the issue may be that devices are not getting a good wireless connection to the router or home hub device. You can fix this by relocating your router.
Moving a router after installation may not be a trivial exercise, but you’d be surprised how much difference can sometimes be made by a very small change in position. Similarly, with home hub devices: some HomeKit users have reported improvements with small changes like moving a HomePod by just a few inches, or even rotating the speaker to face a different direction! Wireless antennae can be sensitive things, and interference can often be just a matter of inches.
8 Remove Devices and Add Them Again
Yes, this one is also a pain, as resetting a device will lose all of its settings, which will also mean re-adding it to any scenes or automations. Again, make sure you’ve tried the above options first.
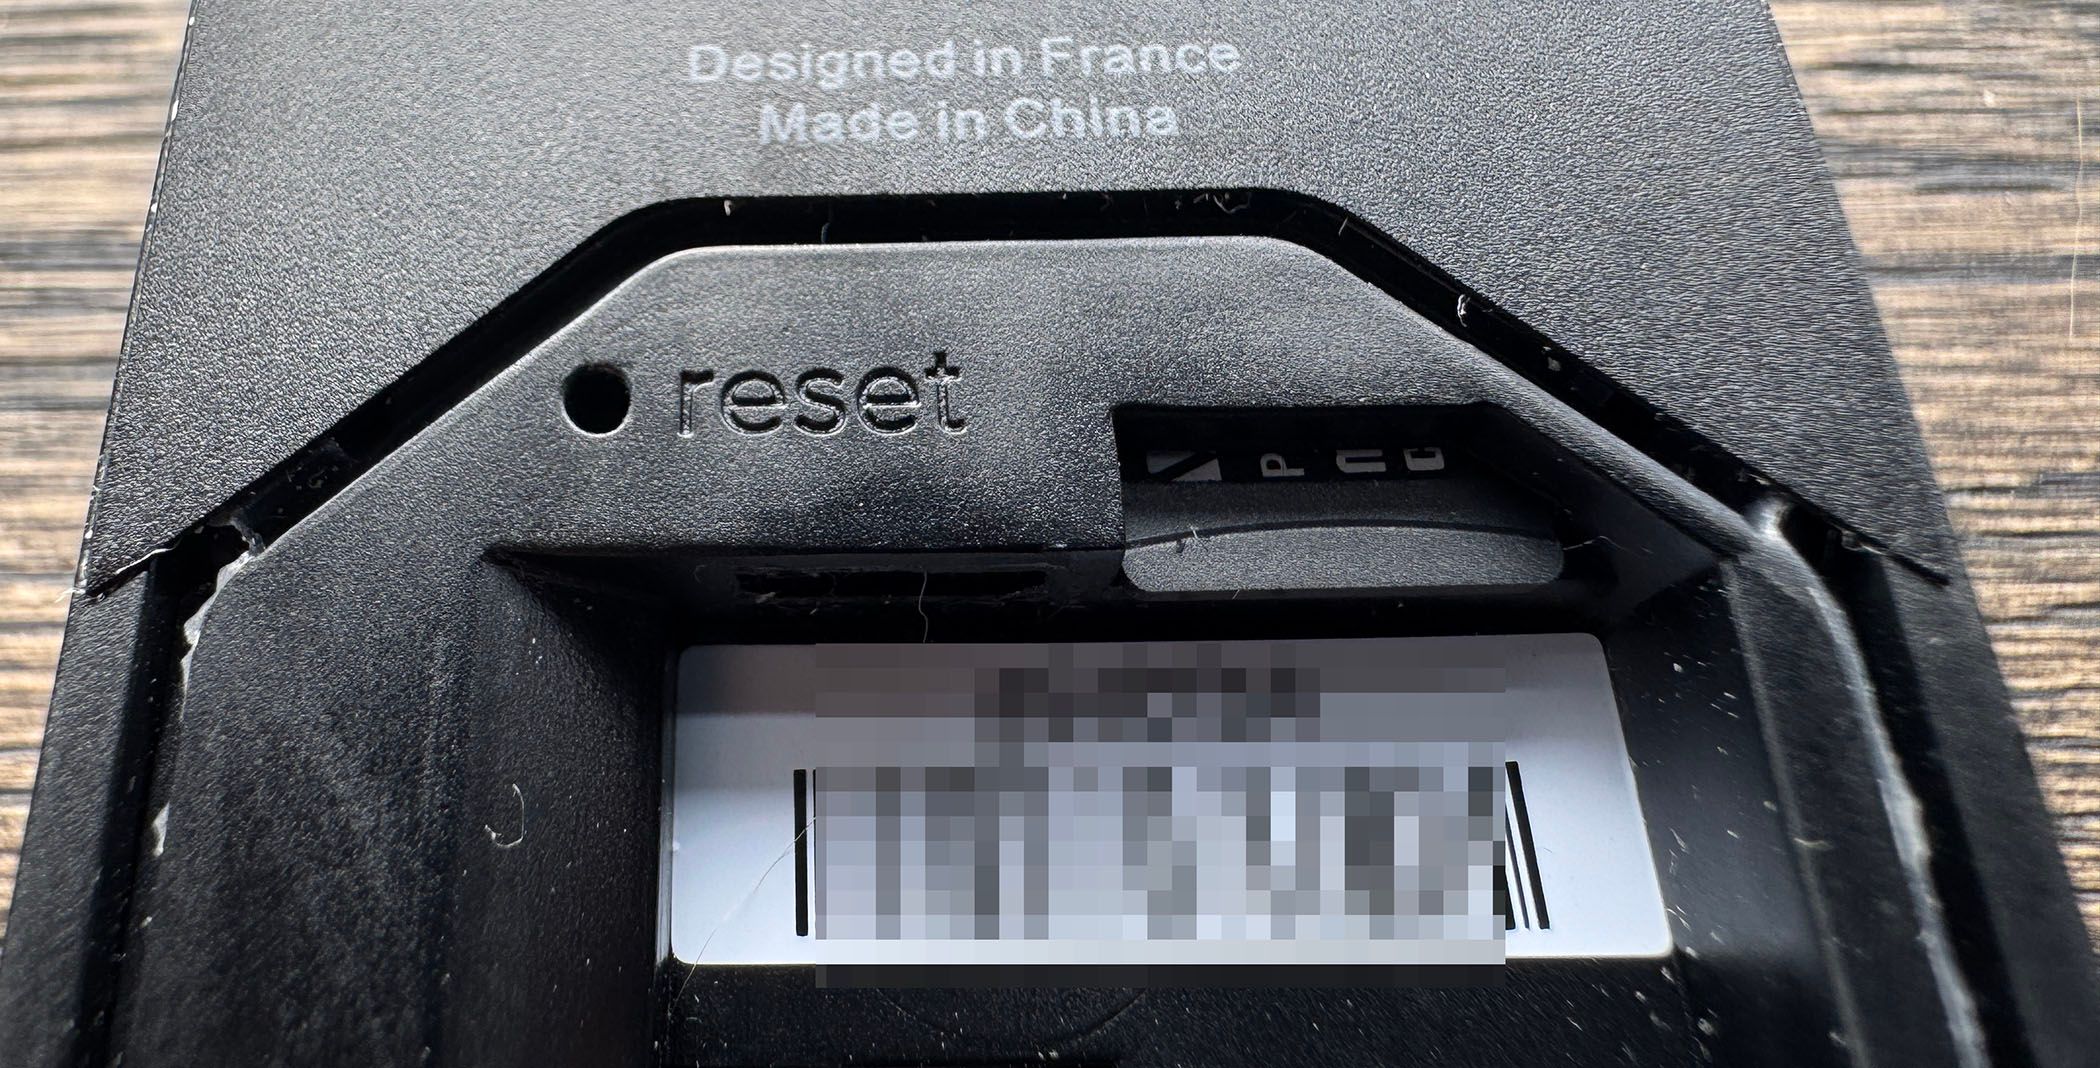
But if it is necessary, most HomeKit devices have a physical reset switch, often inside a tiny hole:
You’ll typically need to use a paperclip, or a SIM removal tool, to press this button. It will often be deeper into the device than you might expect and you should feel resistance when you press it. You’ll usually need to hold it in for a few seconds (a good rule of thumb is to count to 10 before releasing).
9 The Thermonuclear Option
The final step involves resetting your entire HomeKit home. This one you definitely don’t want to do unless your problems are persistent, and all else has failed. Make absolutely certain you’ve tried everything else on the list first, because if you do this, you’re going to lose all your settings, your scenes, your automations, your switch functions, everything.
You’re then going to have to manually add absolutely every device to your home, which in some cases is going to take hours. But if you really can’t avoid it, open the Home app, tap the three-dot menu button top-right, then tap “Home Settings”, scroll all the way to the bottom, and tap “Remove Home.”
You can then start again from scratch.
One of the above is sure to fix the problem, but always start with the quick and easy things first, by working your way down the list in order. Good luck!


