Key Takeaways
- While you can use Photos and Image Capture to import photos or videos from a connected device to your Mac, Photos doesn’t let you save items outside the app.
- With Image Capture, you can import photos or videos to any folder on your Mac and delete items on the connected device.
- To get started, connect your device to your Mac (and unlock it or enter USB mode if necessary) and open the Image Capture app.
Photos and Image Capture are two macOS apps that can import photos and videos from any device to your Mac. However, Photos has a huge limitation. Hence, I use Image Capture to import photos to my Mac.
Photos Is No Good for This
When you import photos or videos from a device to your Mac using Photos, it saves them to the app’s library. You don’t get an option to save the items outside the Photos app.
As such, if you want to have all your photos or videos saved to a folder on your Mac’s local storage to move them around easily, you’ll have to export them from the Photos app, which is a time-consuming act. Image Capture, on the other hand, saves you this hassle.
How to Use Image Capture to Import Photos
Using Image Capture to import photos and videos to your Mac is straightforward. Here’s what the process looks like.
Connect the device (like a smartphone, camera, or memory card) from which you want to import photos or videos to your Mac. Use the original cable if it’s available to avoid running into any issues.
Now, depending on the connected device, you may need to authenticate or change USB mode. If it’s an iPhone, unlock it and trust the device. On the other hand, if it’s an Android phone or a digital camera, change the USB mode to “File Transfer” or similar, respectively.
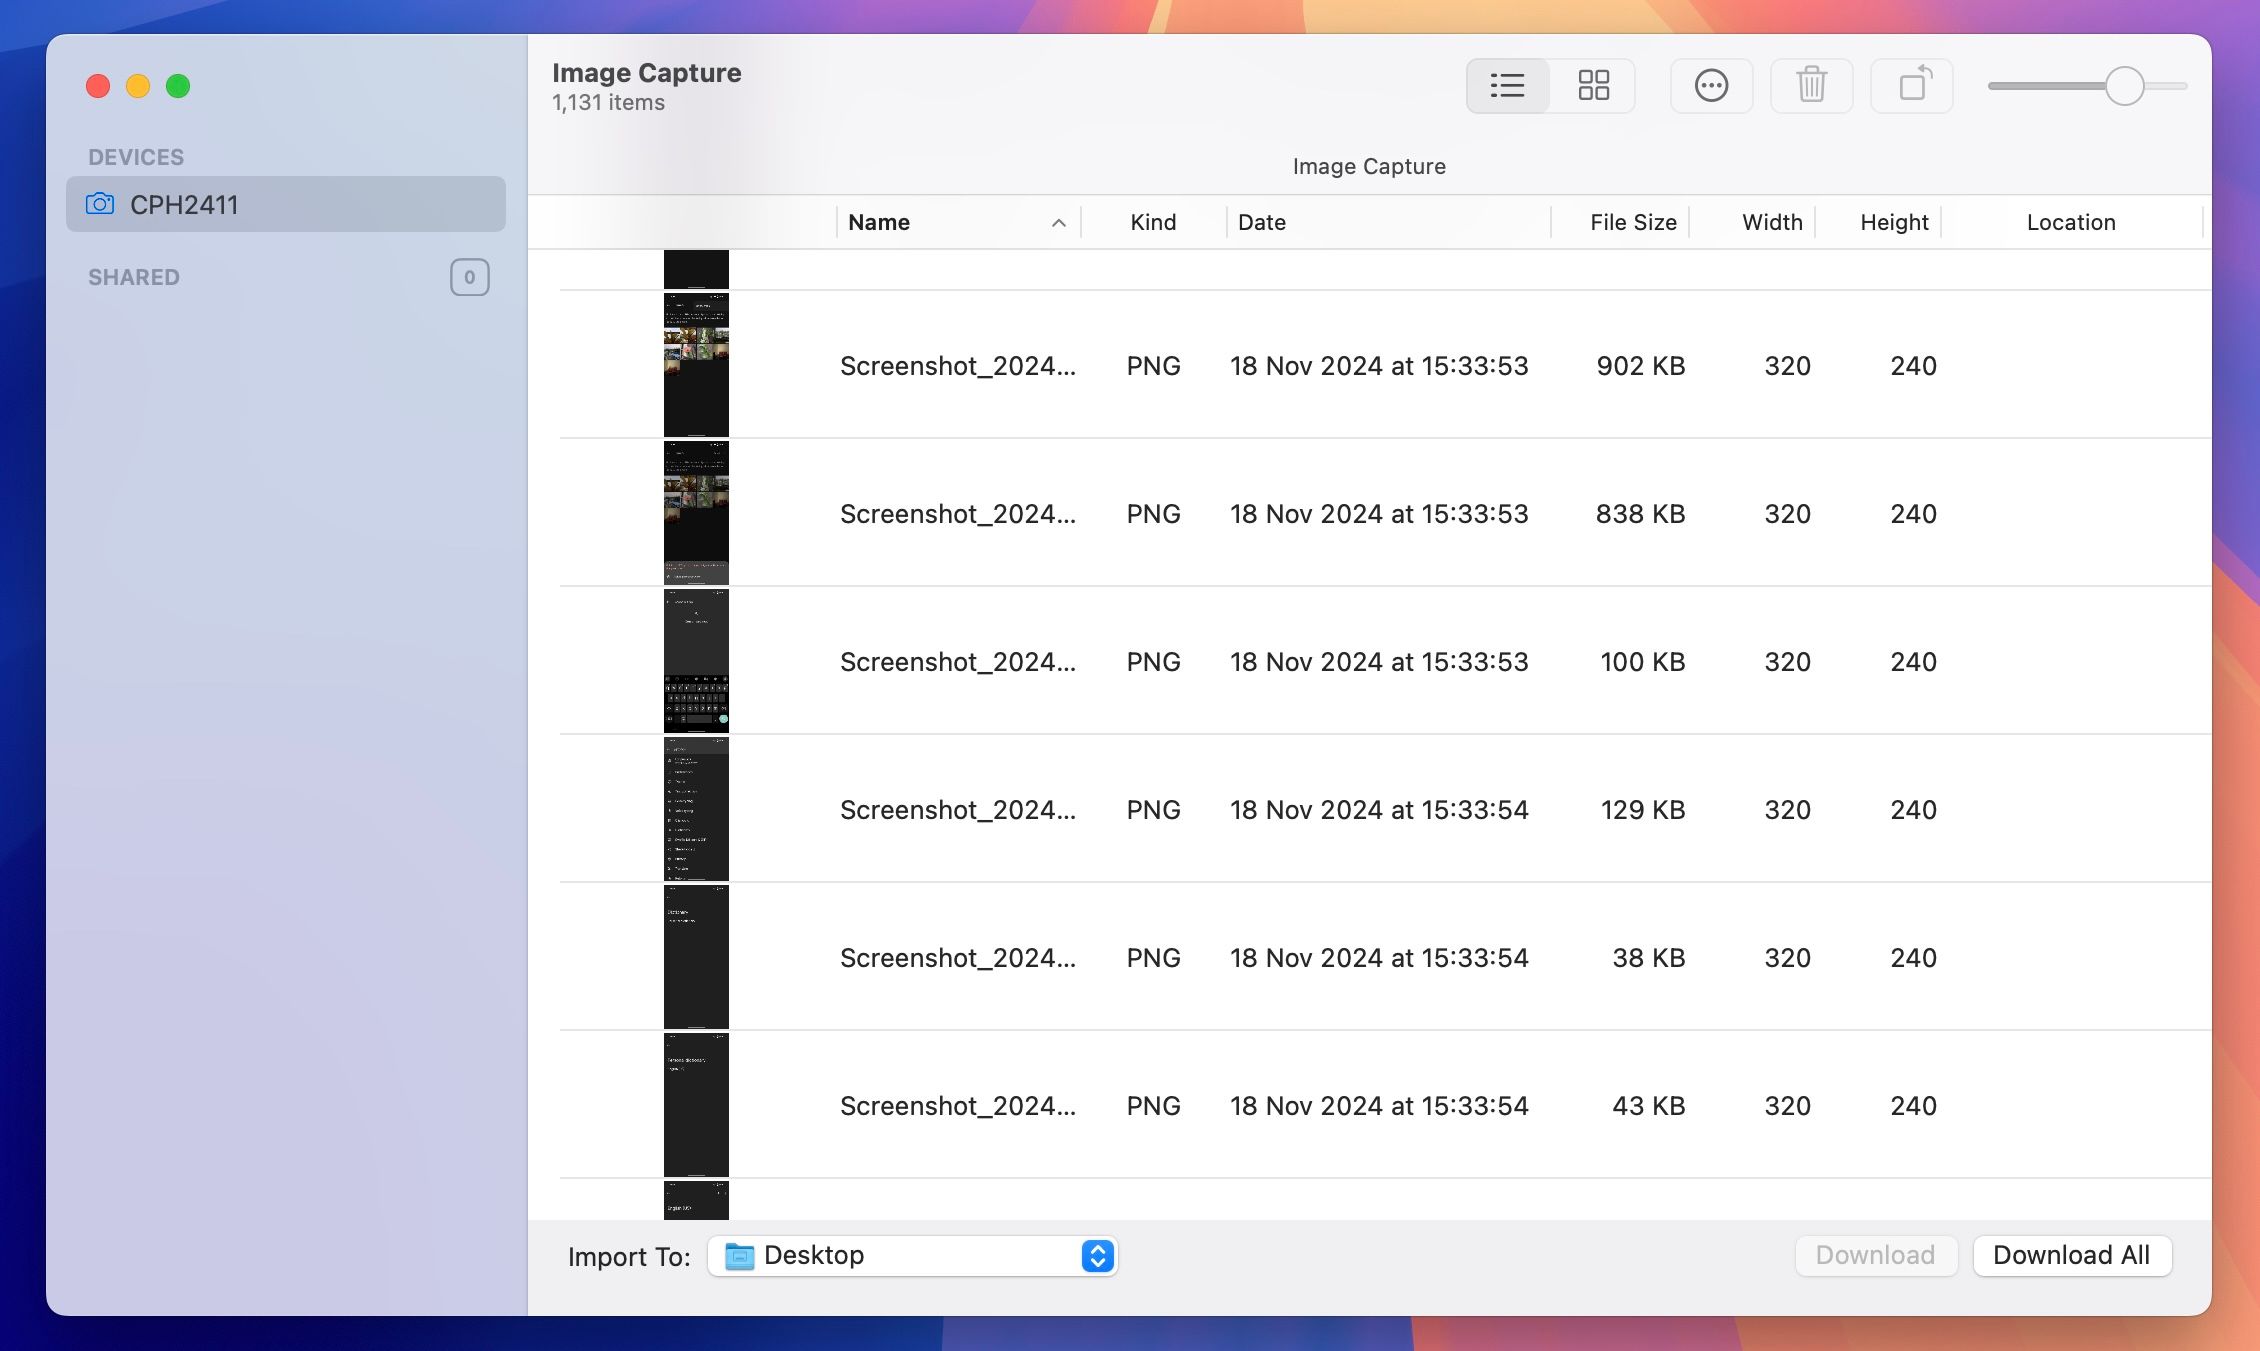
Next, launch the Image Capture app on your Mac (try hitting Command+Spacebar then typing its name followed by Return). You should now see the connected device under the “Devices” section in the left sidebar. Click it, and it’ll begin loading all the photos and videos.
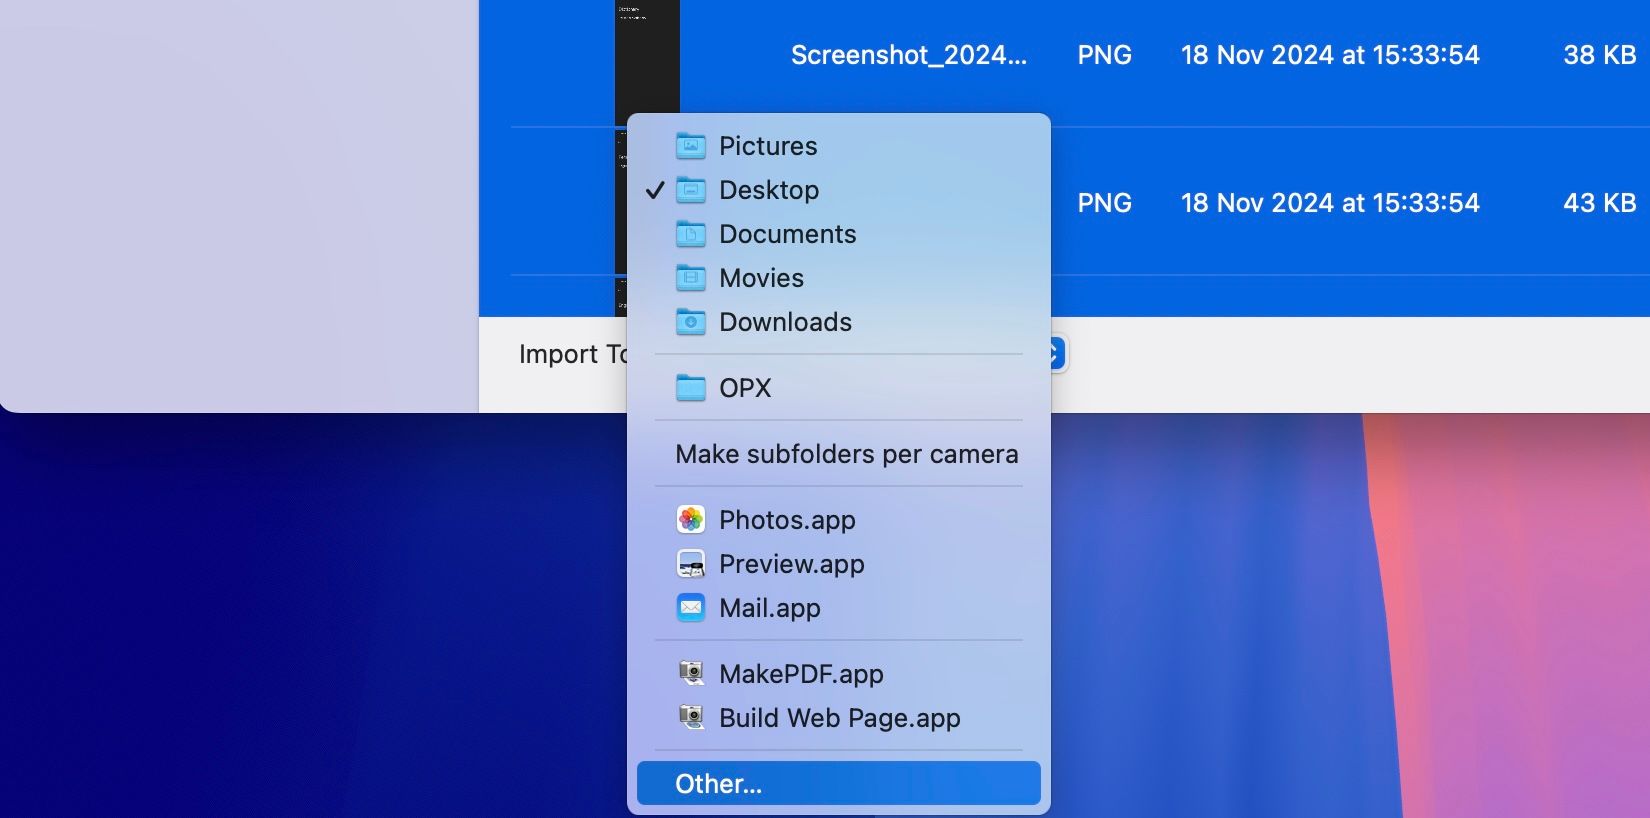
Once it’s done, click the drop-down button next to “Import To” and select the folder to which you want to import photos or videos. If you want to save items to a new folder, click “Other,” navigate to the location where you want to create it, hit “New Folder,” and click “Choose” to select it.
Finally, hit the “Download All” button to download all the photos or videos on the connected device.
Alternatively, if you want to import select items only, click the items you want to import while pressing the Command key on your keyboard to select them and hit “Download.”
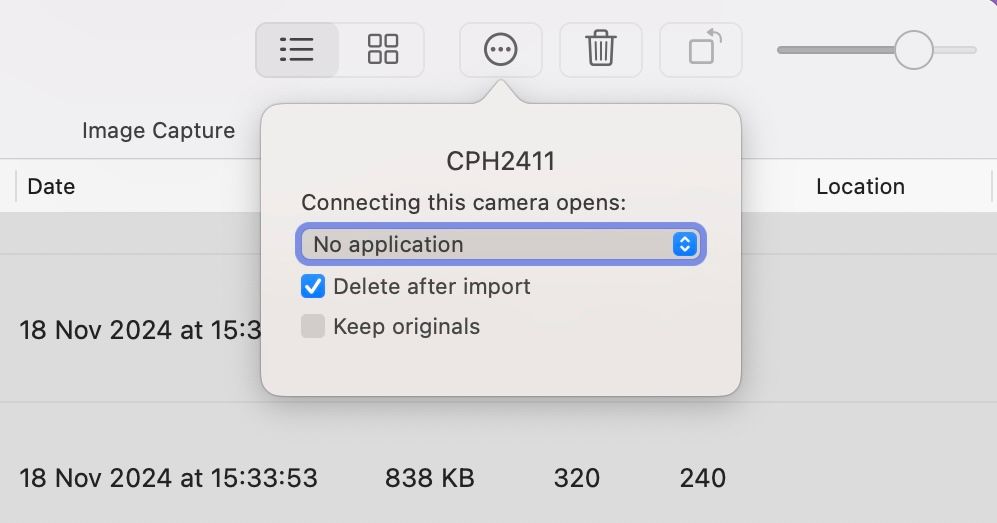
By default, when you import photos or videos to your Mac, Image Capture will keep them intact on the connected device. However, you can change this behavior if you plan on cleaning up the device. To do this, before hitting the “Download” or “Download All” button, click the action button (ellipsis circle icon) in the toolbar and check off the “Delete After Import” option.
Once you begin the import process, wait for Image Capture to download all the items to your chosen folder. Once finished, open the Finder app on your Mac and navigate to the folder to view the imported items.
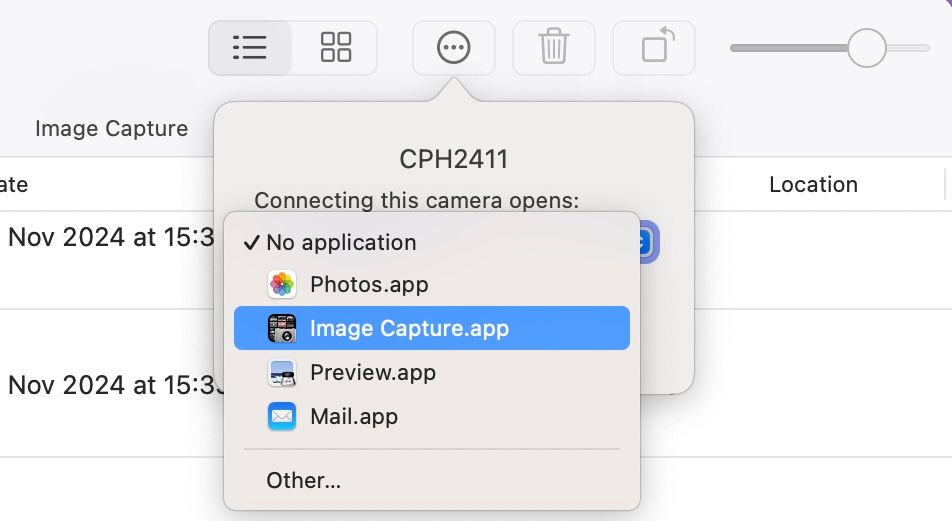
If you think you’ll have to import photos or videos from the connected device regularly, you can make Image Capture open automatically as soon as you plug in the device. Just click the action button, click the drop-down for “Connecting This Camera Opens,” and select “Image Capture” from the list.
Image Capture is another one of those nifty built-in macOS apps that can make your life easier. It’s reliable and easy to use. Unlike Photos, it lets you pick where files go and offers to delete photos and videos on your connected device. It’s a shame that Apple doesn’t publicize such gems extensively.


