Key Takeaways
- Kustom suite offers full-scale customization on Android for widgets, lock screens, and more.
- Use KWGT to create custom widgets from scratch or edit pre-made widgets.
- Use KLCK to make custom lock screens by adding images, changing text, and designing elements to your liking.
Many Android enthusiasts are familiar with basic personalization through launchers and custom icon packs, but that barely scratches the surface of just how much you can customize on Android. Here’s your beginner’s guide to exploring the world of advanced Android customization.
What This Guide Covers
With custom launchers and icon packs, you can change the look of your home screen very easily. However, that’s just the tip of the Android-theming iceberg. Kustom is a suite of Android tools that lets you make your own beautiful widgets, lock screens, wallpapers, and more. They work without root, and they’re all free to use.
Kustom Widget Maker (KWGT) lets you create your own widgets from scratch with total control of every single design element. Think of it as Rainmeter but for Android. Kustom Live Widget Maker allows you to create sophisticated interactive widgets.
If you’ve grown bored with the stock lock screen on your Android, try the Kustom Lock Screen Maker (KLCK). You can create entire screens from scratch using every kind of UI element you can think of. Or tweak preset lock screens exactly to your liking.
Kustom also has a thriving community of Android enthusiasts where they create resources, help each other with troubleshooting, and share their awesome designs (themes, code, widgets, live wallpapers, lock screens, and more). You can import their designs into your device or edit to your liking before use.
The Kustom suite offers powerful and full-scale customization on Android. Your imagination is the only limit. That’s why it comes with a learning curve, which can be intimidating at first. There’s so much these apps can do that it’ll be impossible to cover it all in a single guide (or even a dozen).
Happily, you don’t need to know everything to get started. To help you do that, I’ll demonstrate how you can create a custom home screen and lock screen using Kustom apps.
You only need the Kustom Widget Maker (KWGT) app to get started. KWGT lets you create custom widgets from scratch or edit pre-made widgets using its advanced editor. Here are some widgets the Kustom community has designed.
First, install the KWGT app from the Play Store. When you first open the app, it’ll ask you to set things up. Tap “Let’s Go.”
Tap “Next” twice, and grant location access. Your phone’s automatic battery optimization might interfere with Kustom, so I recommend turning off battery optimization for this app. Tap “Open Settings”, scroll down to Battery Saver, and select “No Restrictions.” Then go back to the KWGT app.
To complete the setup, we’ll create a folder to save our Kustom assets. Tap “Select Folder” to land on your phone’s file explorer, tap the three-dot menu, and create a new folder. Name it “Kustom” and finally tap the big “Allow Access to Kustom” button at the bottom. Now your app is ready to go. Tap “Close” to close the app.
To use or apply custom widgets, we’ll work with the built-in widget selector in Android. Long-press anywhere on your home screen to bring up the Widgets menu. Scroll through the list and tap Kustom Widget. You’ll find a bunch of blank widgets with different dimensions.
I’m going to drag and drop a 3×1 blank widget onto my home screen. You can drag it to reposition and long-press to freely resize the blank widget. It should look something like this.
Now for the fun part! Tap the blank space you created and KWGT will take you to the app’s landing page. The app comes preinstalled with a pack of 22 widgets. The community also creates and shares widget packs (some free, some paid) available in the Discover tab. You can work with any pack that catches your eye. I’m using Feast KWGT for this demonstration.
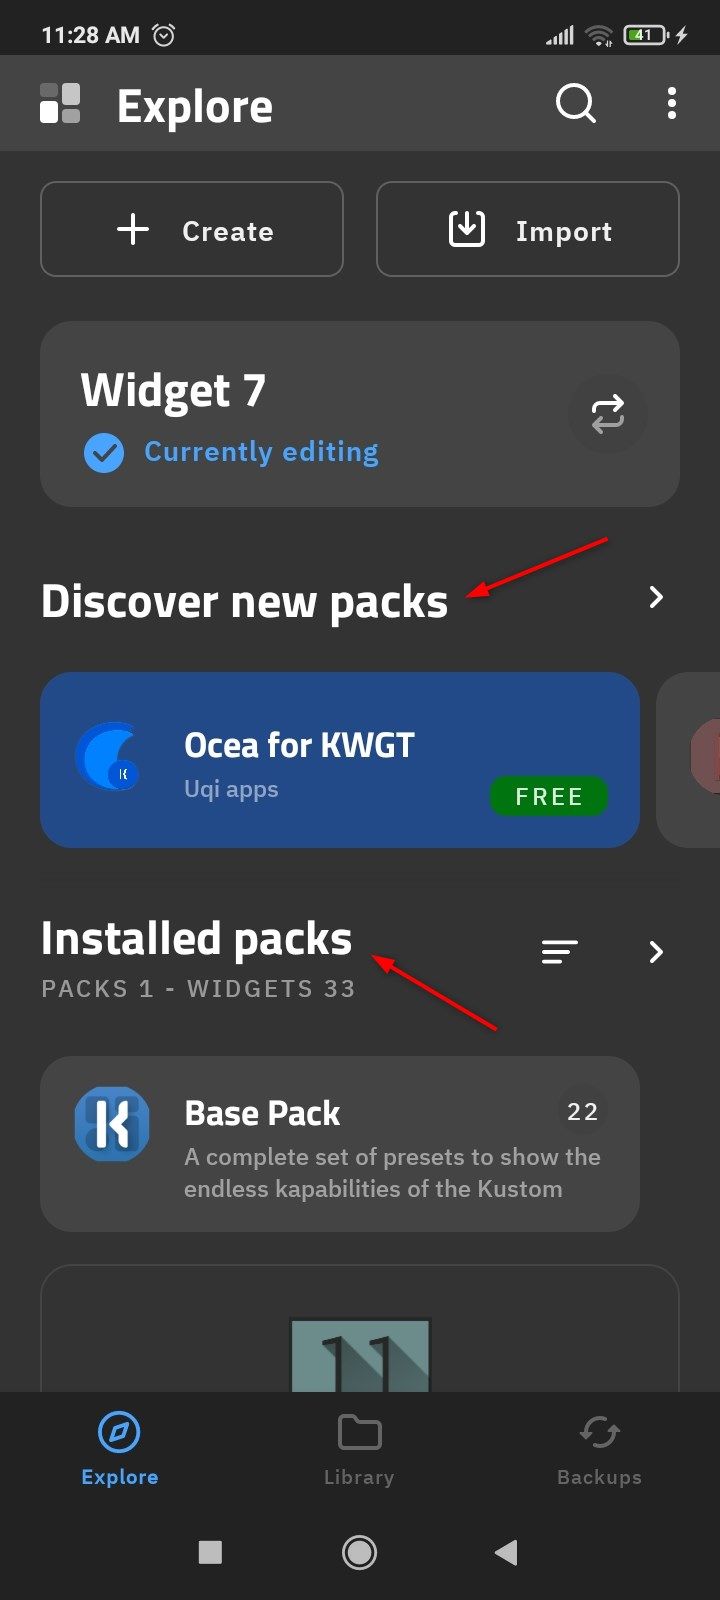
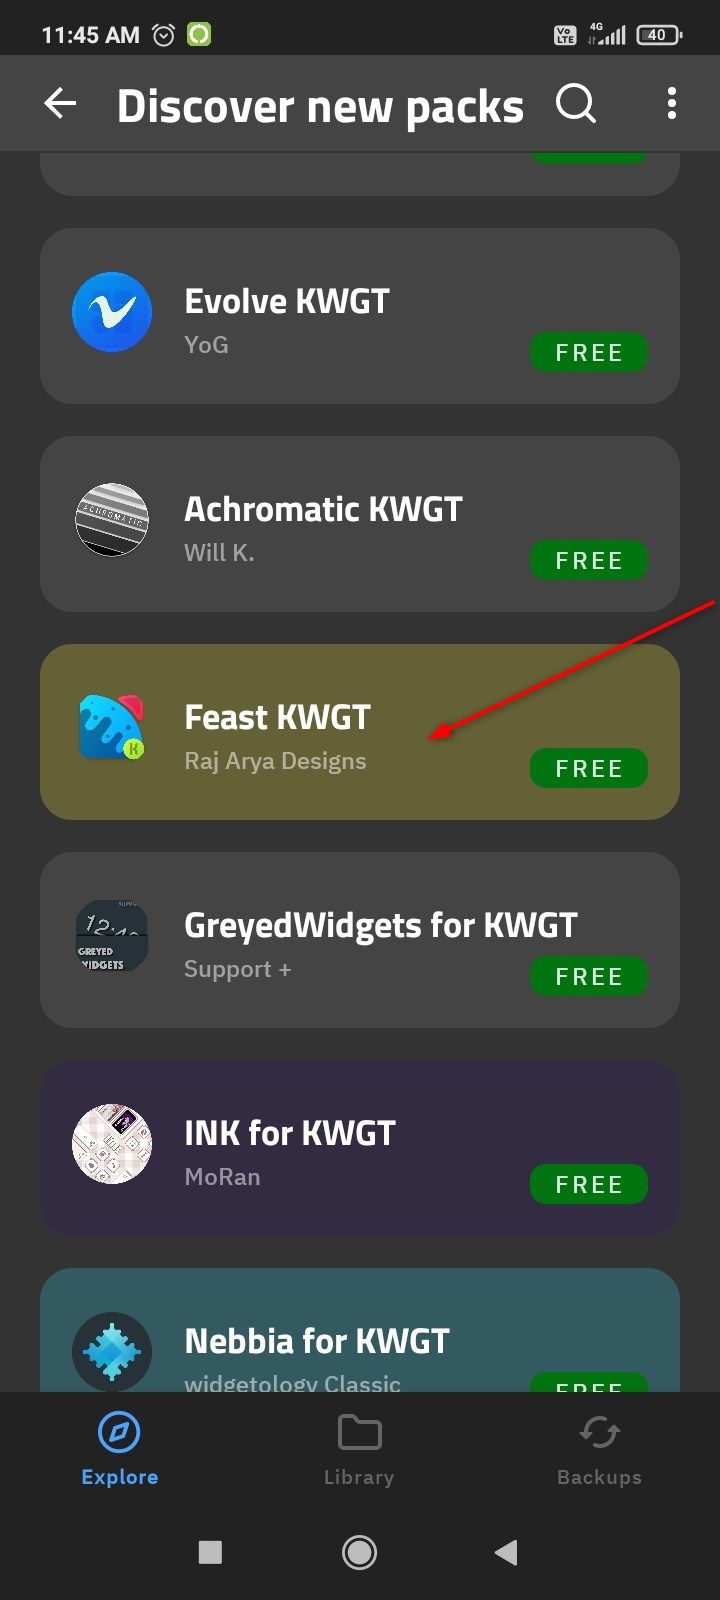
When you tap a widget pack, it’ll drop you on the relevant Play Store page. Tap “Install” and go back to the Explore page. You’ll find your new widget pack under the Installed Packs tab. Scroll through the pack and tap any widget you want to use.
The selected widget will open inside the Kustom editor. Here you can edit every single element you see: text, font, color, size, shapes, layout, animations, layers, or anything else you can name. To use the widget as it is, tap the save icon on the top. Now go to your home screen and the blank widget will have been replaced.
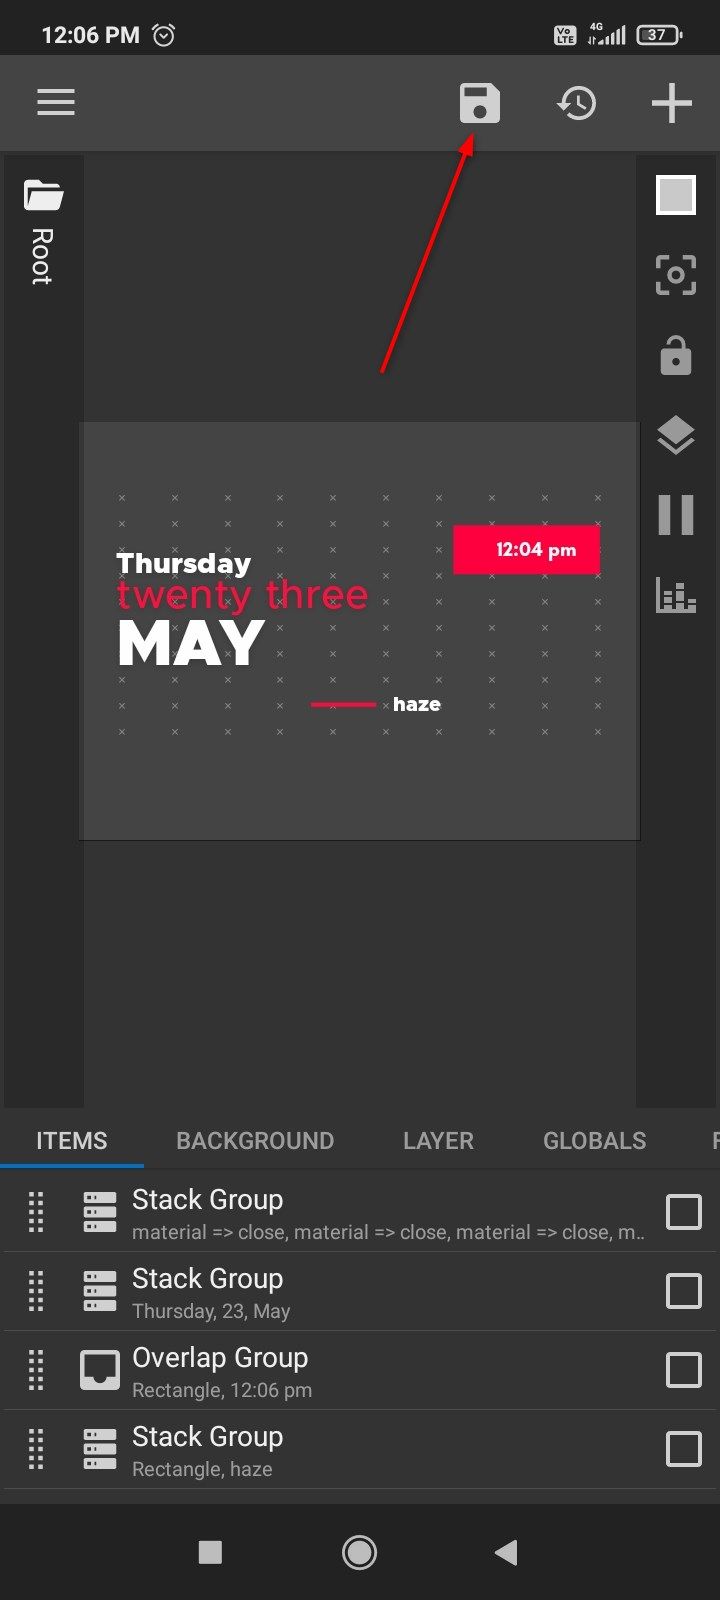
It looks good so far, but I would like the accent colors to match my wallpaper, and I would like my weather info to be more detailed. To do that, I tap the widget to open the Kustom editor once again. I tap “Globals” and open the color picker. Here, I’ll use the color wheel, spectrum, or the hex code to change the red accents to orange. Tap “Apply” when you’re ready.
The colors look right. Next, I want to replace the air quality with the current weather. Go back to the “Items” tab. And look for the stack with the weather info inside it. Tap it and select “Text.” Select “Text” again to launch the formula editor. Tap “Current Weather” and long-tap any formula you want.
These are just a few edits you can make to any given widget. You can mess around with the Kustom editor to add, modify, or remove any UI elements to truly make it your own.
How to Make a Custom Lock Screen
Next up is Kustom Lock. Now that you’ve gotten a taste of the Kustom Widget Maker, using the rest of the tools in the suite should be easier. Kustom Lock (KLCK) has the same setup as the Kustom Widget Maker (KWGT). You can refer to the section above for the step-by-step.
Select the same Kustom folder for Kustom Lock (KLCK) storage.
The KLCK landing page also looks identical to the one on KWGT. Here, you can install new packs or use lock screens from the preloaded basepack. I’ll be using Swipe Dark from the basepack for this demonstration. Simply tap it to launch the editor.
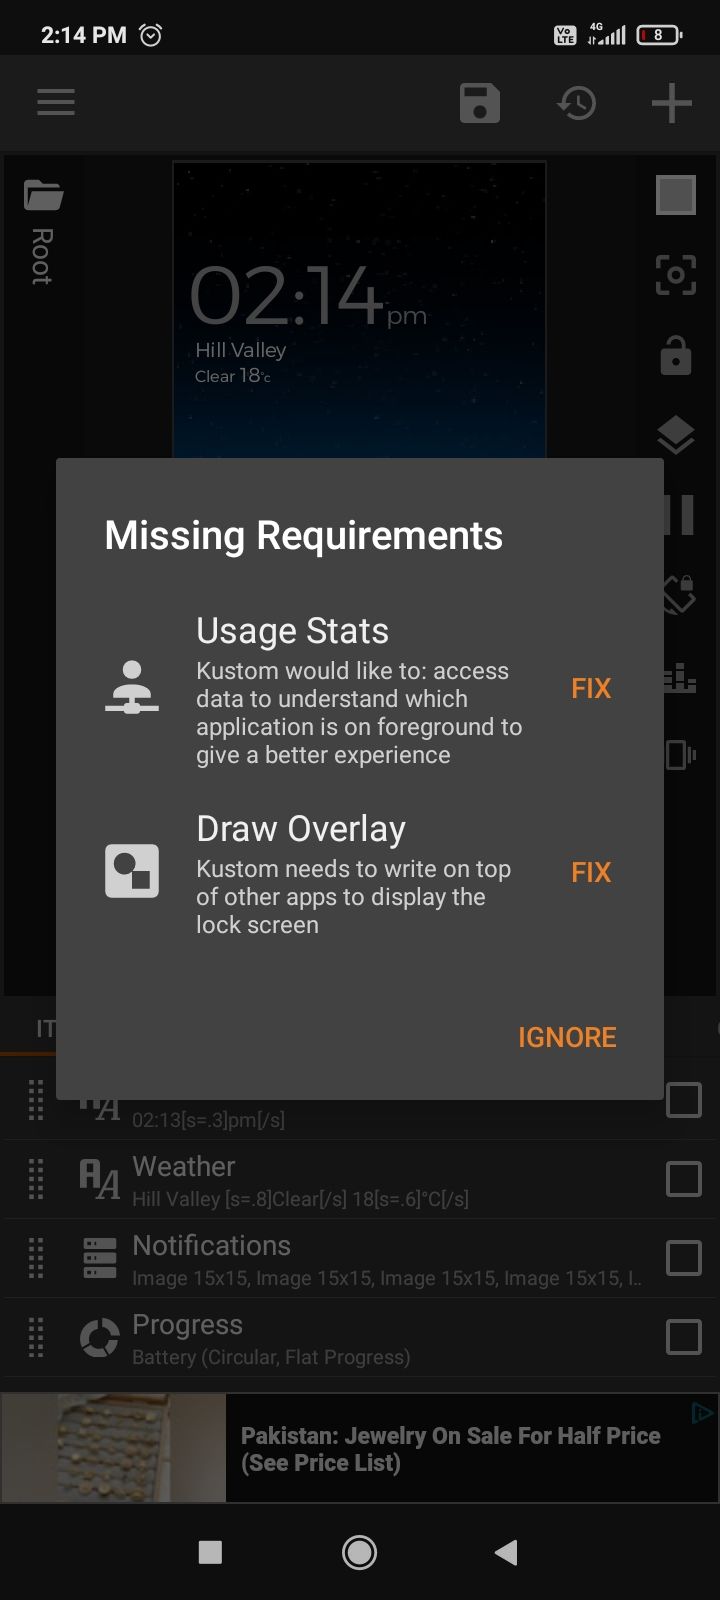
Before you begin, fix any missing requirements that pop up. Tap “Fix Now” and then tap the individual “Fix” buttons to grant necessary permissions.
First, we’ll add a background image to our lock screen. Tap “Background” and select “Image” for the Type. Then tap “Pick Image” and select the right image from the wallpaper folder.
I don’t like this “Unlock” text here, so I’m going to get rid of it. To delete any stack or layer, select that stack. Tap the delete icon on top.
I’ll replace it with a battery indicator. To do so, tap the “+” button on top, and choose Progress. It’ll automatically place a progress bar in the center of the lock screen. You’ll also find a progress bar in the “Items” menu. Tap it and select “Battery” under the Progress menu.
From here, you can design the progress bar to your taste. I’m making it purple to match my background. You can make it one solid color, turn it into a gradient, or more. Keep it linear or make it circular. It doesn’t even have to be a battery indicator. Experiment your heart out. To go back to the main menu, tap the Root folder.
Lastly, I want to change the font. While on the root page, hop onto the “Globals” menu and select a font for Bold and Thin. Kustom apps give you a wide selection of fonts built right into the app.
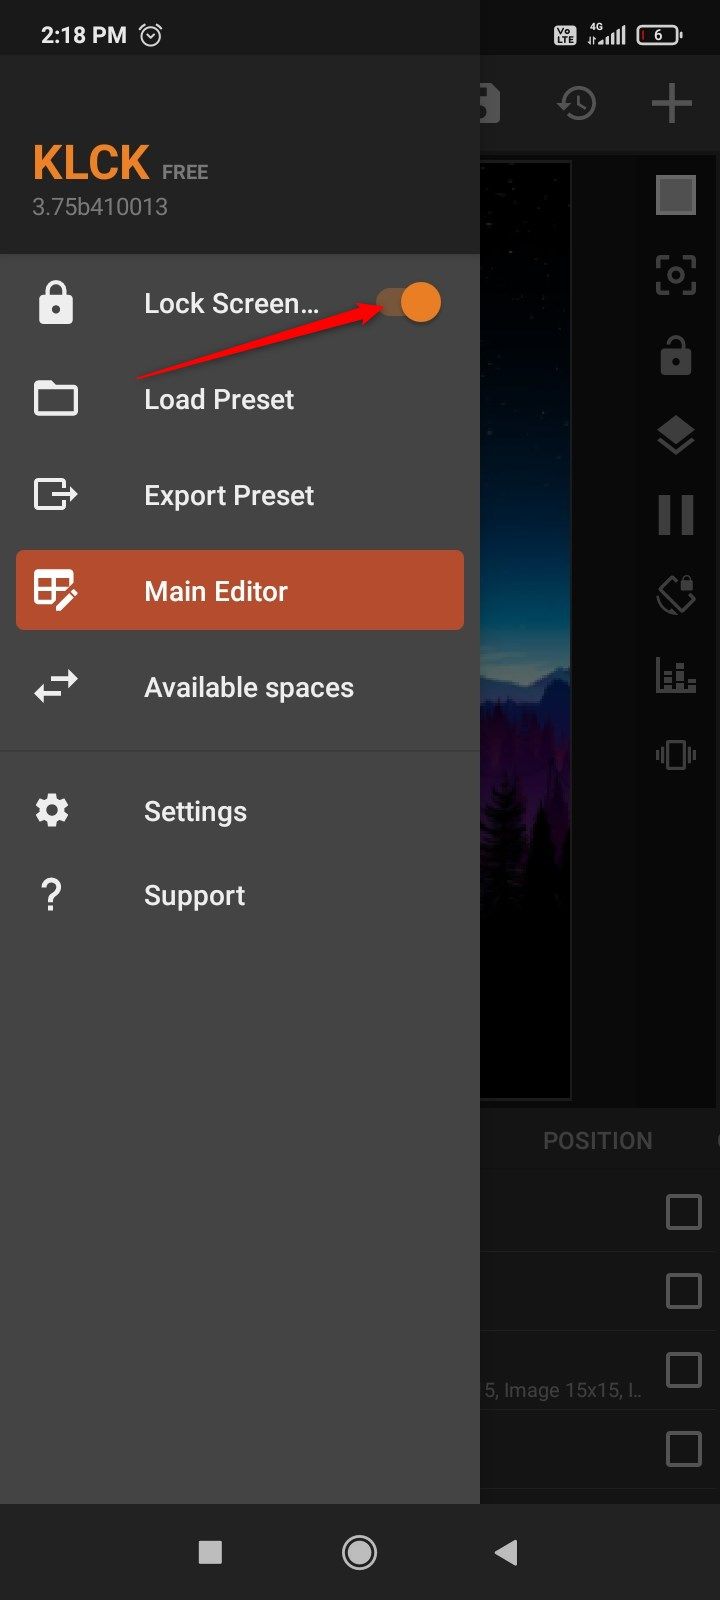
When you’re done, tap the save icon and grant any permission requirements. Once it’s successfully saved, swipe right to open the menu and tap the Lock Screen toggle to enable your newly created lock screen.
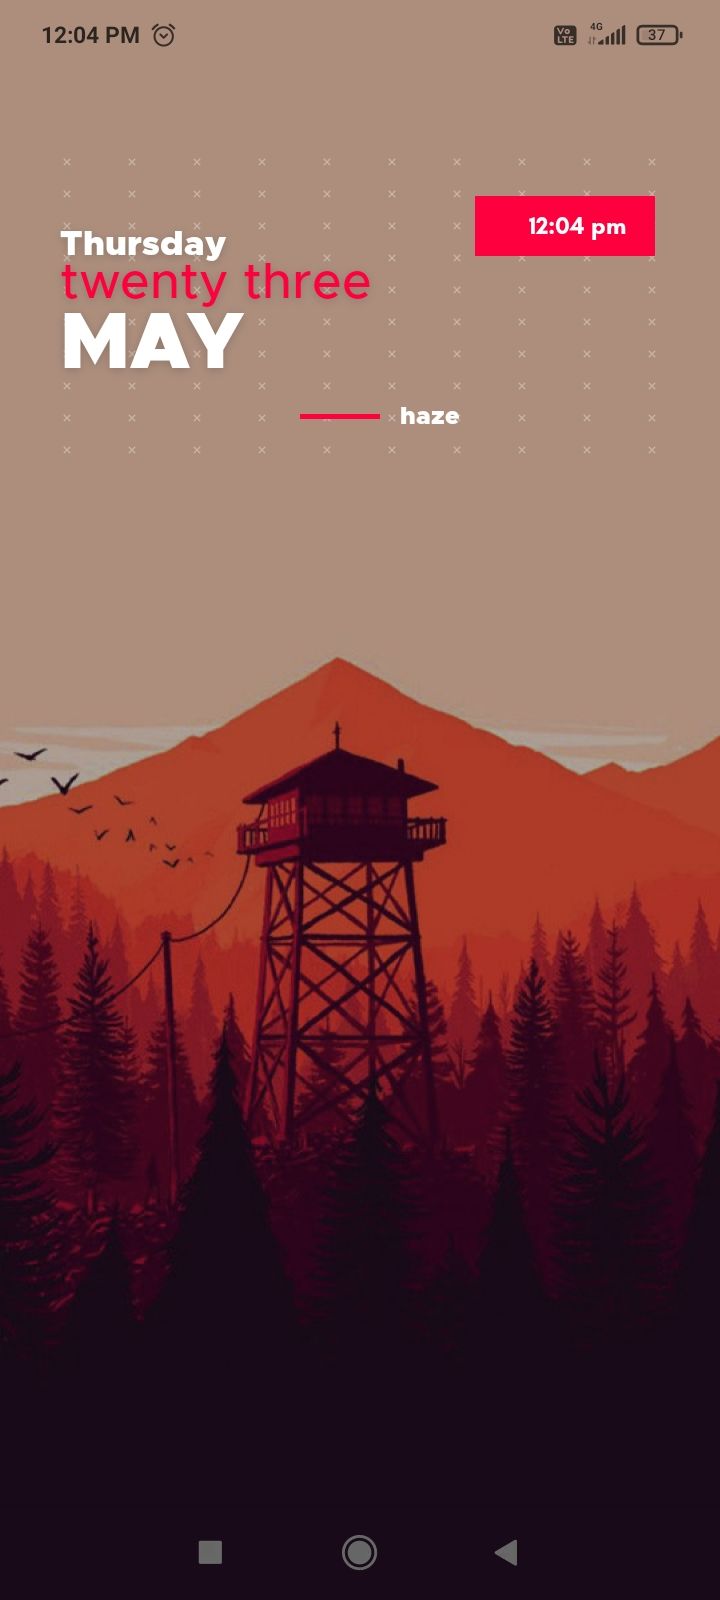
Here is the final look of the home screen and the lock screen.
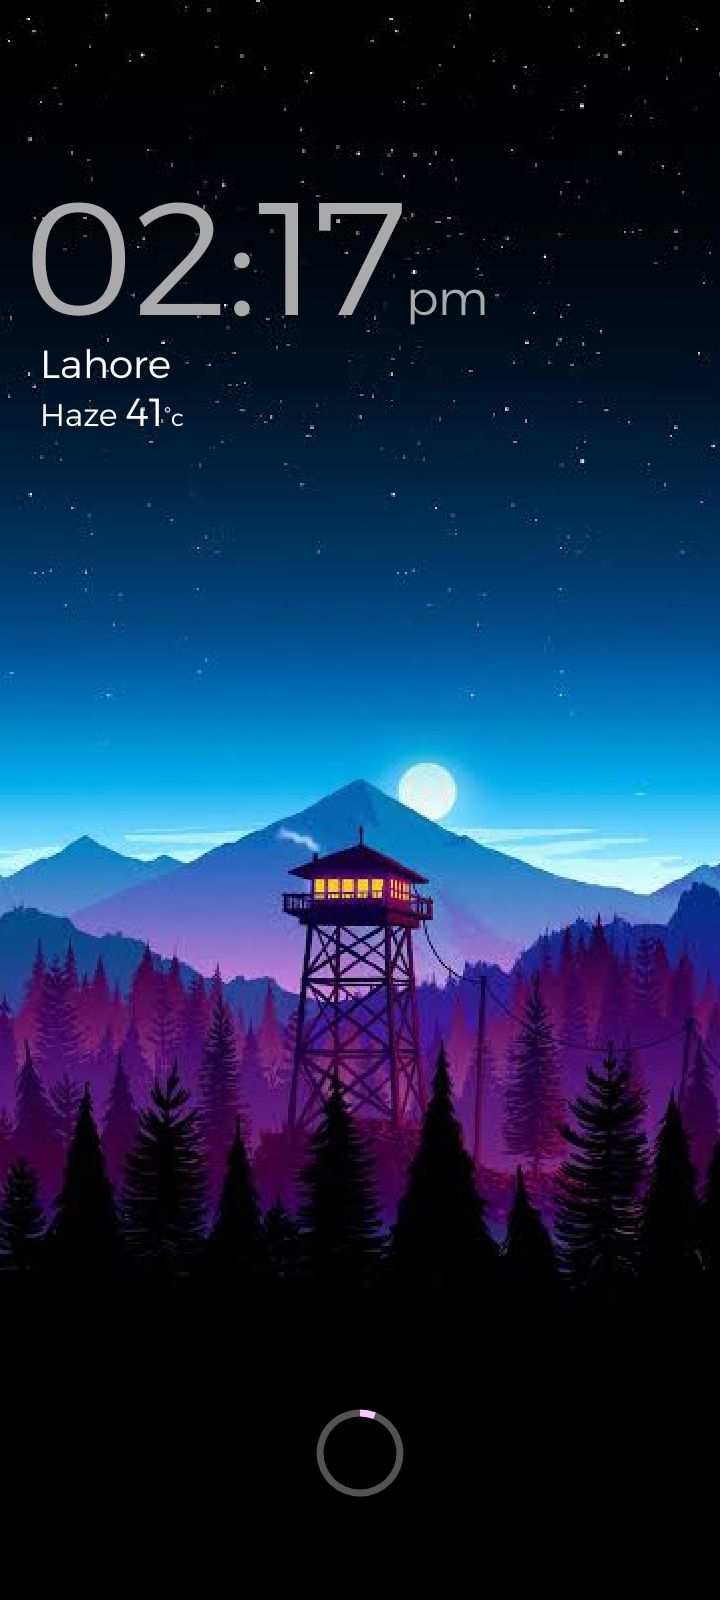
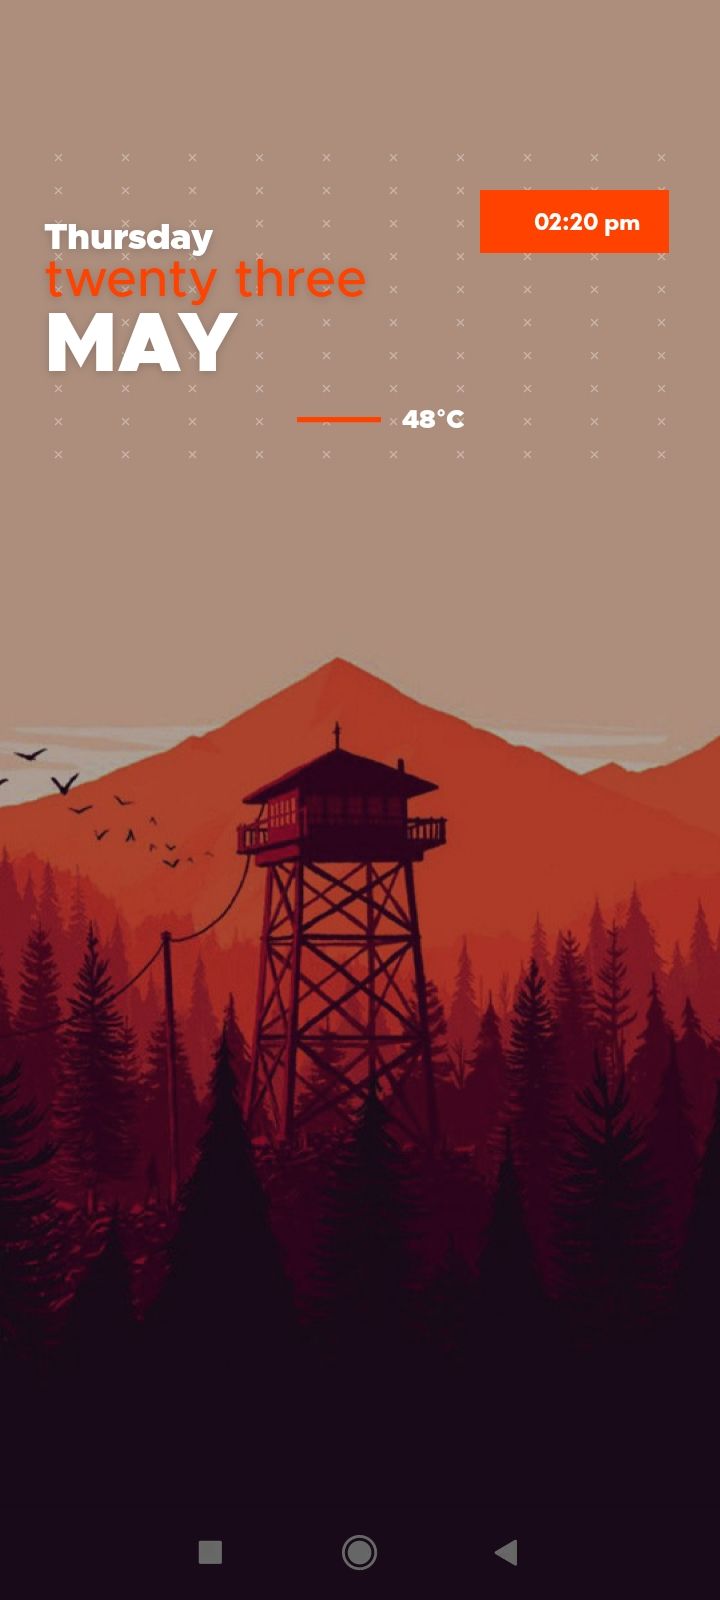
There you have it, you just used the Kustom Widget Maker and Kustom Lock Screen to create your own theme.


