Summary
- Home Assistant can use Google Gemini to describe who is at the door based on a snapshot from the video doorbell.
- You’ll need to install LLM Vision, get a Google Gemini API key, and have the Home Assistant app for notifications.
- LLM Vision can be used for other purposes, such as keeping a count of parked cars.
When AI chatbots first appeared, they were limited to text inputs. The only way to get a response out of a chatbot was to type a response into it. Nowadays, however, many AI models are multimodal, meaning they can handle much more than just text.
You can now use AI to analyze images, for example, generating detailed descriptions of what the image contains. It’s possible to get Home Assistant to harness this ability to describe who is at the door based on an image from your video doorbell, with often hilarious results.
What You’ll Need
If you’re already using Home Assistant and have your smart video doorbell connected, then you’ve probably got most of the things you need set up. You need to be running Home Assistant with your video doorbell added via an integration. Home Assistant will take a snapshot of your video doorbell and pass it to Google Gemini for analysis. This will then generate a description of who is at your door.
You’ll need to install the LLM Vision integration. This is the Home Assistant integration that takes your doorbell snapshot, passes it to Gemini to analyze, and then saves the response into a variable that you can use within Home Assistant.
You also need an API key for Google Gemini, which allows you to use Gemini’s models to analyze your images. I’m using Google Gemini because it offers some API use for free, unlike most other models. However, you’ll need a Google account to create your API key.
To receive notifications on your phone, you’ll need the Home Assistant app installed on your phone and connected to your Home Assistant server. Your phone should then appear as a destination for notifications sent from Home Assistant.
Generating an API Key for Google Gemini
Creating an API key is incredibly quick and easy to do through Google AI Studio. Go to the Google AI Studio website and sign in to your Google account. Click the “Get API Key” button and then click “Create API Key.” A unique API key will be generated, and it will be saved to your Google account so you can come back and find it at a later date if you need it. You can click the “Copy” button to copy the API key at any time.
Once you’ve generated the API key, leave Google AI Studio open so that you can come back and copy the API key when you need it.
Installing the LLM Vision Integration
Now that you’ve got an API key you can use, you need to install the LLM Vision integration. This is a custom integration that has been created for Home Assistant. It’s designed to allow you to analyze images, videos, and live feeds using multimodal AI models. The information extracted by these AI models is then made available in Home Assistant for you to use in your automations.
LLM Vision is not an official integration, so you need to install it via the Home Assistant Community Store (HACS). This is a platform for installing custom Home Assistant integrations created by the community that offer features beyond the official set of integrations. If you don’t already have HACS installed, you can follow the official installation instructions.
Once HACS is installed, open it and search for LLM Vision. Select the LLM Vision integration and click the “Download” button to download it. Restart Home Assistant.
Setting Up LLM Vision
Once you’ve installed the LLM Vision integration, you need to add it to Home Assistant and set it up with the API key you’ve generated.
Once Home Assistant has restarted, go to Settings > Devices & Services. In the “Integrations” tab, click the “Add Integration” button, search for “LLM,” and select “LLM Vision.”
In the “Provider” dropdown, select “Google” and click “Submit.” Copy and paste your Google Gemini API key into the “API key” field and click “Submit.”
LLM Vision is now set up to use Google Gemini to analyze the images from your video doorbell.
Creating an Automation to Send a Descriptive Notification
The reason I set this up was to get a quick description of who was at the door whenever a person was detected. By sending this as a notification to my phone, I could see at a glance whether it was someone delivering a parcel, my kids running outside to play, or someone acting suspiciously outside my home. Since I was using generative AI to describe the images, it also meant I could ask it to make them a little snarky, to provide some entertainment every time someone came to the door.
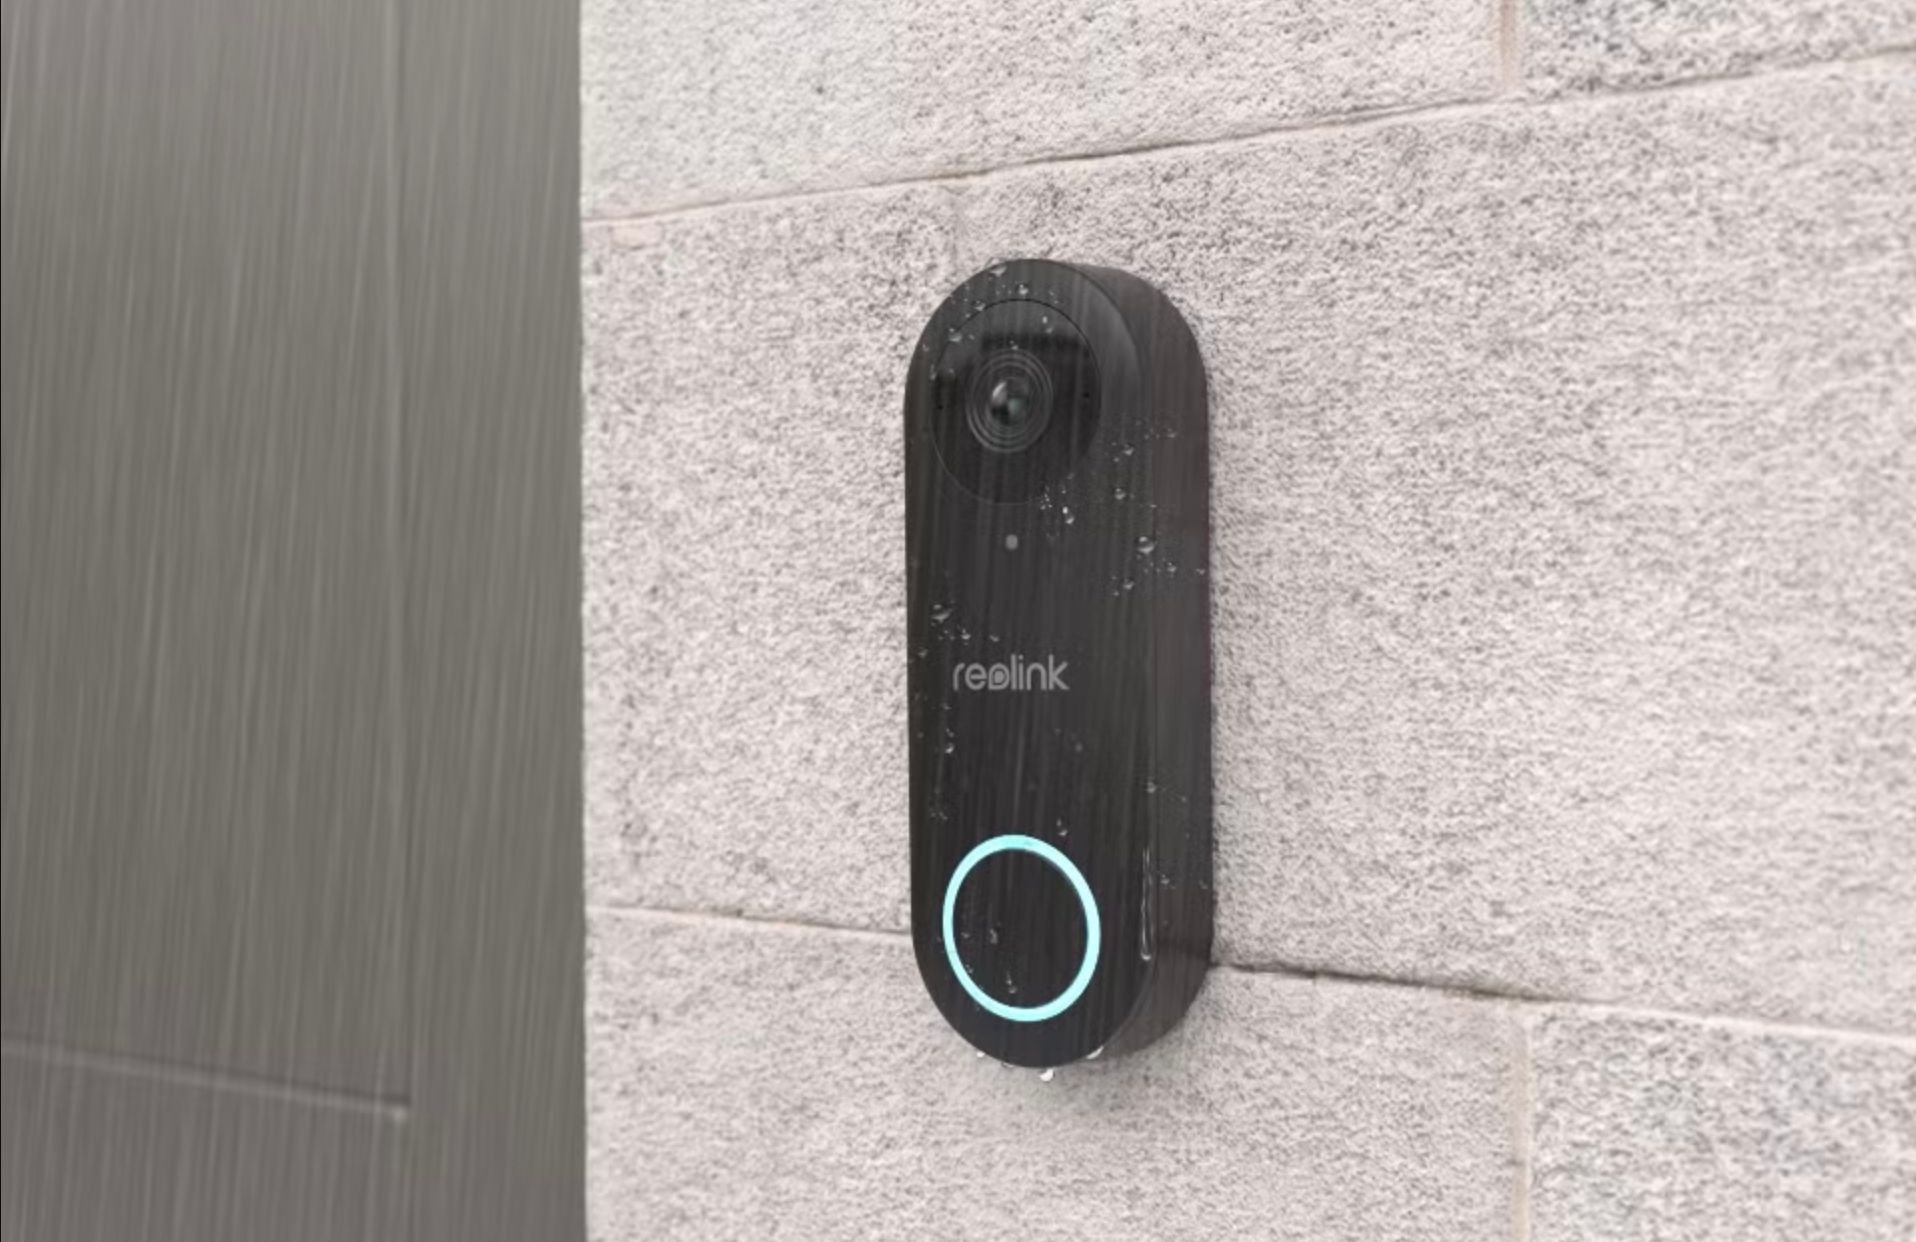
I created an automation that is triggered when a person is detected at my door. The exact trigger will be different depending on the type of doorbell you’re using and the events that the doorbell’s Home Assistant integration exposes. In this example, I’m using a Reolink doorbell. Some video doorbells, such as Ring models, may be more complicated to set up as they don’t easily allow you to take a snapshot of the camera feed.
Go to Settings > Automations & Scenes. In the “Automations” tab, click “Create Automation.” Select “Create New Automation.”
Click “Add Trigger” and choose “Device.” Click the “Device” field, start typing the name of your doorbell, and select it from the results. Click the “Trigger” dropdown and select a trigger that detects motion. In this example, with a Reolink doorbell, I’ll use “Reolink Front Door Person turned on.”
The next step is to take a snapshot of the view from your video doorbell once motion is detected. This still image will be sent to the Gemini to analyze, and a description of the snapshot will be returned.
Click the “Add Action” button, select “Camera,” and choose “Take Snapshot.” Click the “Choose Device” button and select your video doorbell. Enter a path to save the snapshot; I’m saving the snapshots to “/config/www/reolink_snapshot/last_snapshot_doorbell.jpg” which I can then pass to LLM Vision.
Click “Add Action” and type “LLM.” Select “LLM Vision: Image Analyzer” from the results. In the “Provider” field, select “Google Gemini.” If you want to use a more capable model, enter “gemini-1.5-pro” in the “Model” field. This is a more powerful model, but you are limited to 50 requests a day compared to 1500 a day with the default model of gemini-1.5-flash.
In the “Prompt” field, enter a prompt asking Gemini to analyze the image from your doorbell. It’s best to ask for a single sentence so that your notification doesn’t get too long. I asked for the responses to be cheeky, which makes them more entertaining, but you don’t need to do the same. My prompt was as follows:
Describe the image in a single sentence. If you see a person, describe them. If you see multiple people, give a count of the number of people and describe them. Try to determine if they are arriving or leaving and state which if you can. Make the description a bit cheeky.
In the “Image File” field, enter the location of the snapshot that you created in the steps above. In the “Response Variable” field, enter a name for the response from Gemini. You will refer to this name to add the response to your notification. I’m using “doorbell_description.”
Click “Add Action,” type “Notification,” and select the option to send a notification to your mobile. You’ll need to have the mobile app installed for this option to appear. In the “Data” field, type “image: /local/” followed by the folder and file name for your doorbell snapshot. In this example, In the “Data” field, I’ll enter the following:
"image: /local/reolink_snapshot/last_snapshot_doorbell.jpg"
Select the “Message” field and start typing “{{ which should make a message appear stating that the visual editor doesn’t support this configuration. In the code beneath this message, delete the text that’s already there and replace it with the following:
"{{doorbell_description.response_text}}"
Ensure that you include the quotes at the start and finish. You should replace “doorbell_description” with whatever name you gave the response in the LLM Vision action.
Click “Save,” give your automation a name, and click “Save” again. Now go and run outside and stand in front of your video doorbell.
If everything is set up correctly, you should receive a notification on your phone with a snapshot from your doorbell and a description of the scene.
Other Ways to Use LLM Vision
The method above sends a notification describing who is at the door, even if the person doesn’t ring the doorbell. It’s useful for knowing when people have left the house, for letting you know if someone is hovering near your front door without ringing the bell, or just for informing you that someone has dumped a package on your doorstep.
However, you might prefer to only receive a notification if someone actually rings the doorbell. If this is the case, you can create the same automation, but instead of the trigger being when motion is detected, you would use the trigger “Visitor turned on,” which only triggers when the doorbell is rung.
I have a separate automation set up for when my doorbell is rung rather than simply detecting a person. When the doorbell is rung, it takes a snapshot, analyzes the image using LLM Vision, and then announces that someone is at the door on the smart speakers around my home, along with the description generated by LLM Vision.
That way even if I don’t have my phone on me, I can still get a description of who rings the bell.
LLM Vision can do a lot more, too. It can also analyze video files and live streams and even update sensors based on images. For example, you can use the data analyzer to keep a count of how many cars are parked outside your home and trigger automations if that number hits or drops below a set value.
Running LLM Vision Locally
In this example, I’ve used the free tier of Google Gemini to do the image analysis, as it’s fast, reasonably accurate, and free to use for the limited number of times that people appear at my door. You might not like the idea of sending images of people who come to your door to the cloud, even if this is what video doorbells such as Ring do by default.
If so, and if you have powerful enough hardware, you can host an LLM on your local machine and have all the analysis take place locally. There are local LLM models that can run on less powerful computers, but they’ll struggle to perform image analysis quickly enough to be useful.
Vision LLM supports popular self-hosted options such as Ollama, Open WebUI, and LocalAI, which let you use models such as gemma3 and llama3.2vision to do the analysis.


