You’ve probably noticed more and more ads entering your Roku TV’s menus and popping up where you least expect them. I did too, and I decided to replace them with a less ad-riddled experience. I’ll show you how.
The method I use doesn’t involve any ad-blocking. All I’m doing is sidestepping my TV’s built-in streaming platform and using an external streaming device. That means to do what I did, you’ll need to get a non-Roku brand streaming stick of some kind. It’s up to you which one, but I personally chose a Chromecast 4K. They’re discontinued now, but they’re still getting security updates through September 2025, and the HD models into 2027.
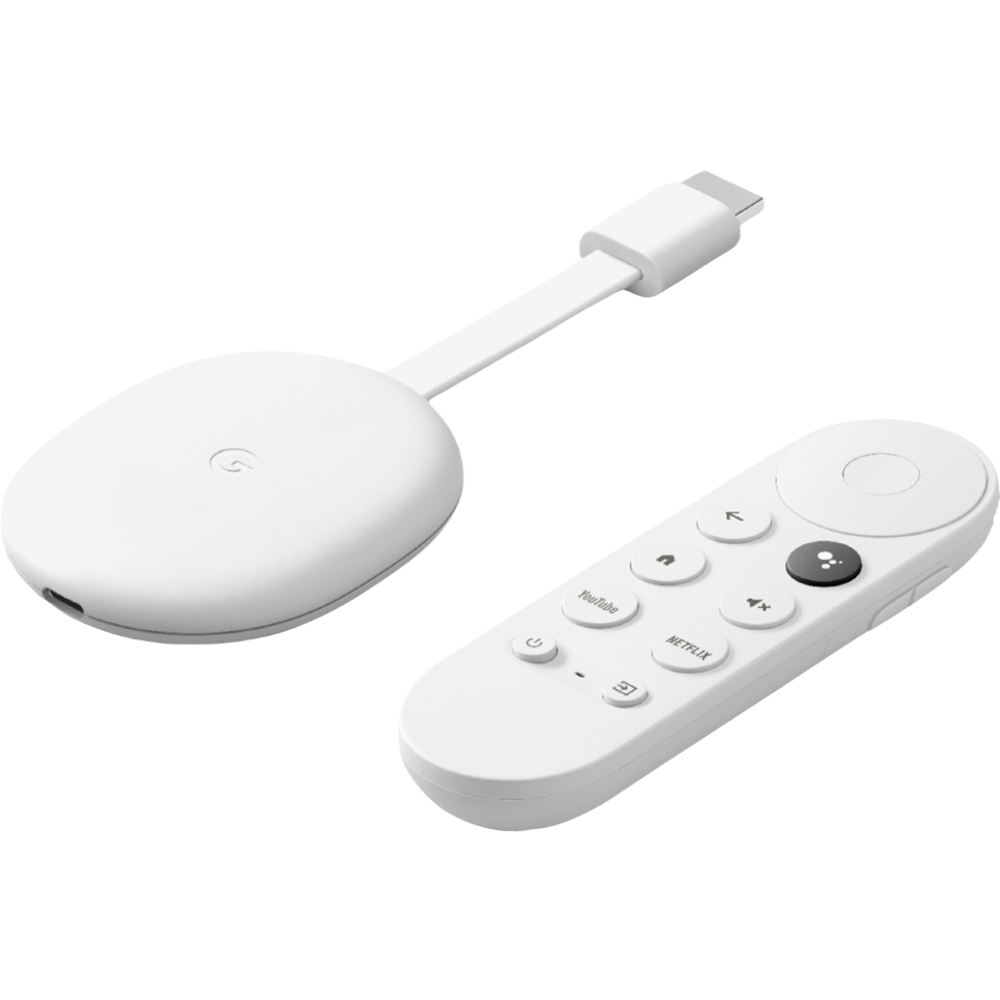
If you’d rather find something else, check out the non-Roku picks in our roundup of the best streaming devices.
Why Watch a Roku TV Without Roku?
I had two reasons to sidestep Roku’s experience on my Roku TV. The first and probably most relatable reason is the advertising. Roku’s business model is advertising-centric, so ads are everywhere, and they keep growing. Just this month Roku announced a new kind of advertising, “pause ads” that show up as soon as you pause your movie or show. That level of invasiveness makes my stomach churn.
It’s not just the ads, though. The other reason is that my Roku TV is simply old, at around eight years now. Its CPU was designed to run apps from almost a decade ago. Streaming software has evolved since then, and my TV’s internals have struggled to keep up. Apps were crashing constantly, and those that weren’t completely unusable were slow and a general pain to interact with. Yet it’s an HDR-enabled 4K panel that still looks crisp, so I have no complaints apart from the app experience.
For those reasons, I set out to replace the Roku part of my Roku TV while still enjoying the TV part.
Drawbacks to Be Aware Of
Of course, this solution comes with some caveats. An annoying fact of life is that I still need to have the TV’s remote on-hand to tweak some elements of the sound and picture. If you find yourself constantly adjusting picture settings based on the content and the atmosphere of the room, this setup might annoy you.
Also, you’re still going to get ads from whatever streaming stick you choose. There are none that I know of that simply don’t have advertising built-in. Google TV, at least, I find a lot less intrusive than Roku. Plus, there’s a trick to making Google TV’s interface even more minimalist, which I’ll explain later.
Before Anything, Check Your Subscriptions
Before doing this, I had subscribed to a couple of streaming services though my Roku account instead of directly through the service itself. If you did that too, you’ll want to cancel those subscriptions and look into resubscribing without Roku.
You can’t log into a Roku-managed account outside of Roku’s platform, and this process will involve leaving the Roku platform behind. Check your streaming services’ guidelines and recommendations to make transitioning to a direct subscription as painless as possible.
Step 1: Disconnect the TV From the Internet
With your new streaming stick and subscriptions in order, you first need to disconnect your Roku TV from the internet.
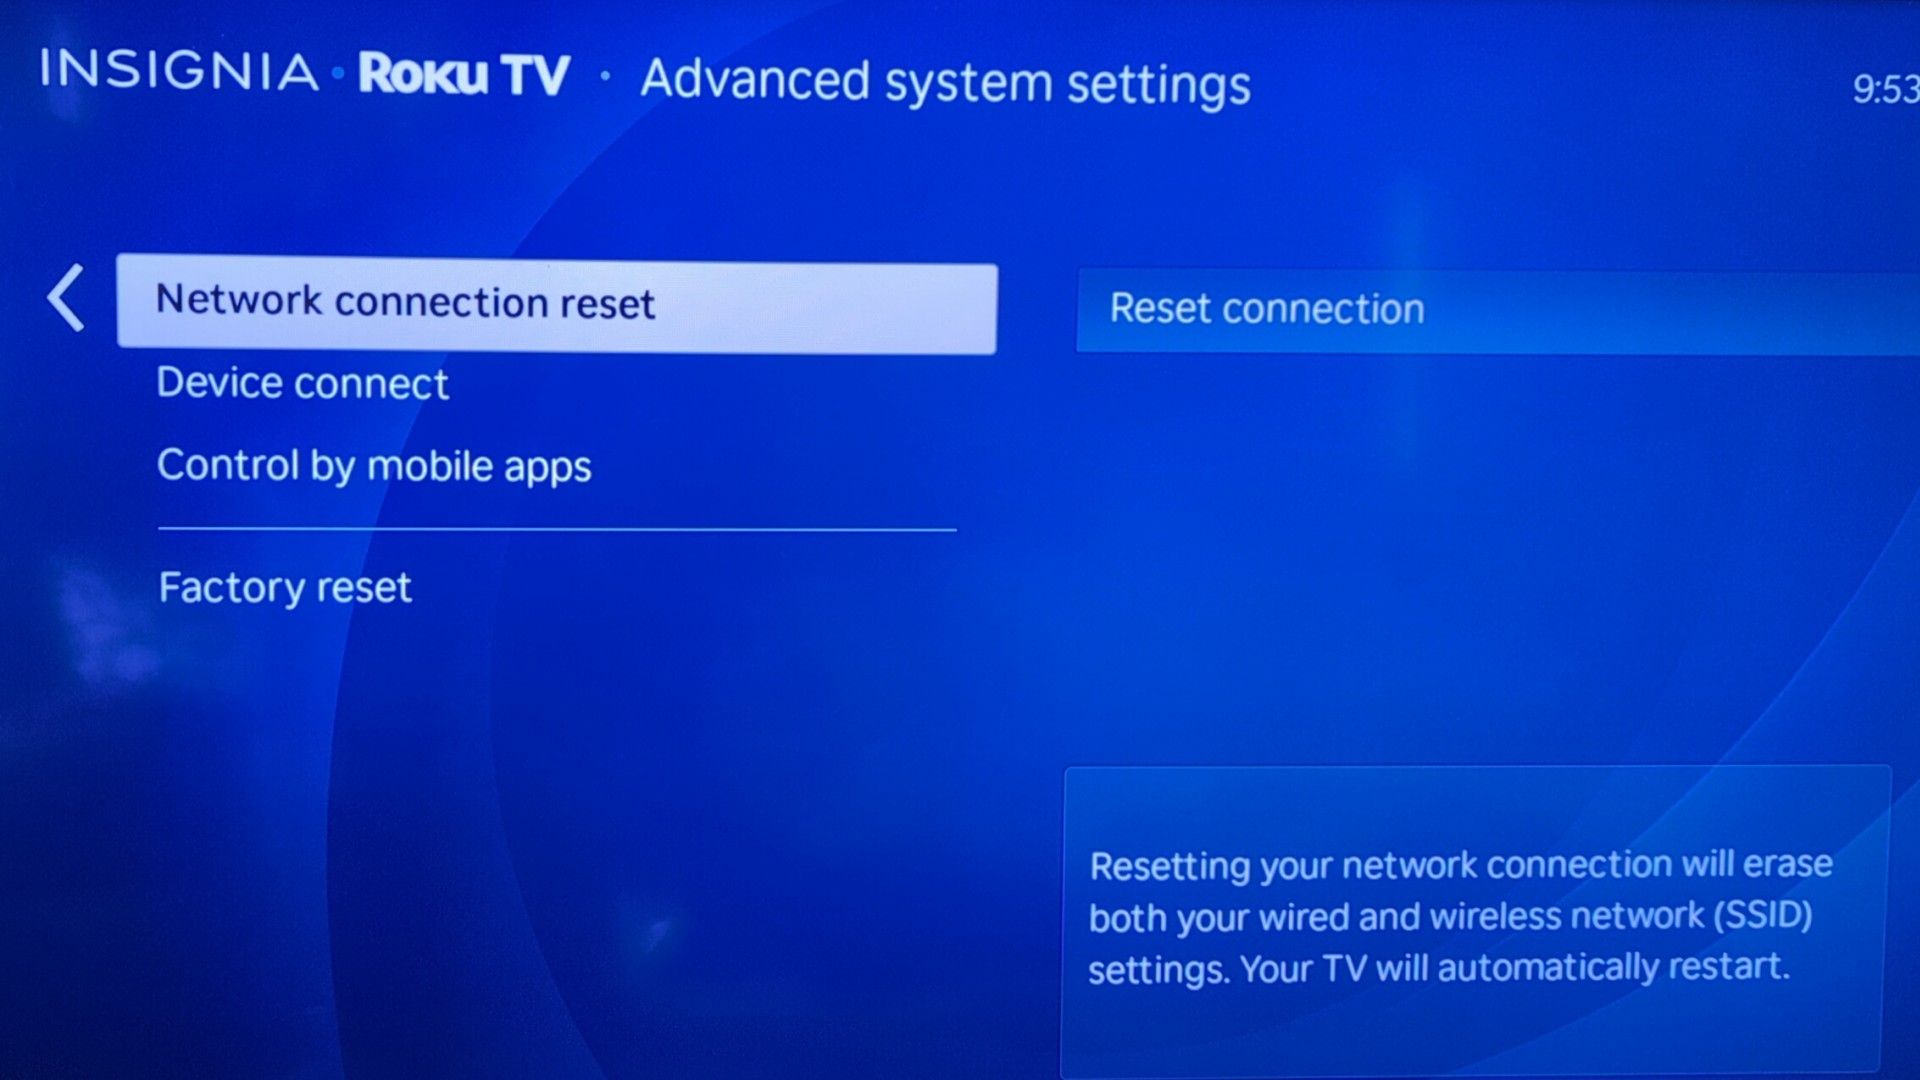
If you’re connected via Ethernet, simply unplug it. If you’re using Wi-Fi, you need to go deep into your settings. From the Home screen, go to Settings > System > Advanced system settings > Network connection reset > Reset connection. My TV rebooted after doing this.
Optionally, Do Factory Reset Too
I also recommend fully factory resetting your TV at this point. That’ll restore it to all the defaults, log you out of your Roku account, and get rid of all apps and caches or anything that might be slowing the TV down. My TV also kept flashing its LED indicator light—I think trying to get me to connect to the internet again—until I did this.
I would skip this, though, if you’re not certain you won’t want to go back to using your Roku TV normally after trying this. Logging back in and getting your apps back might be a pain.
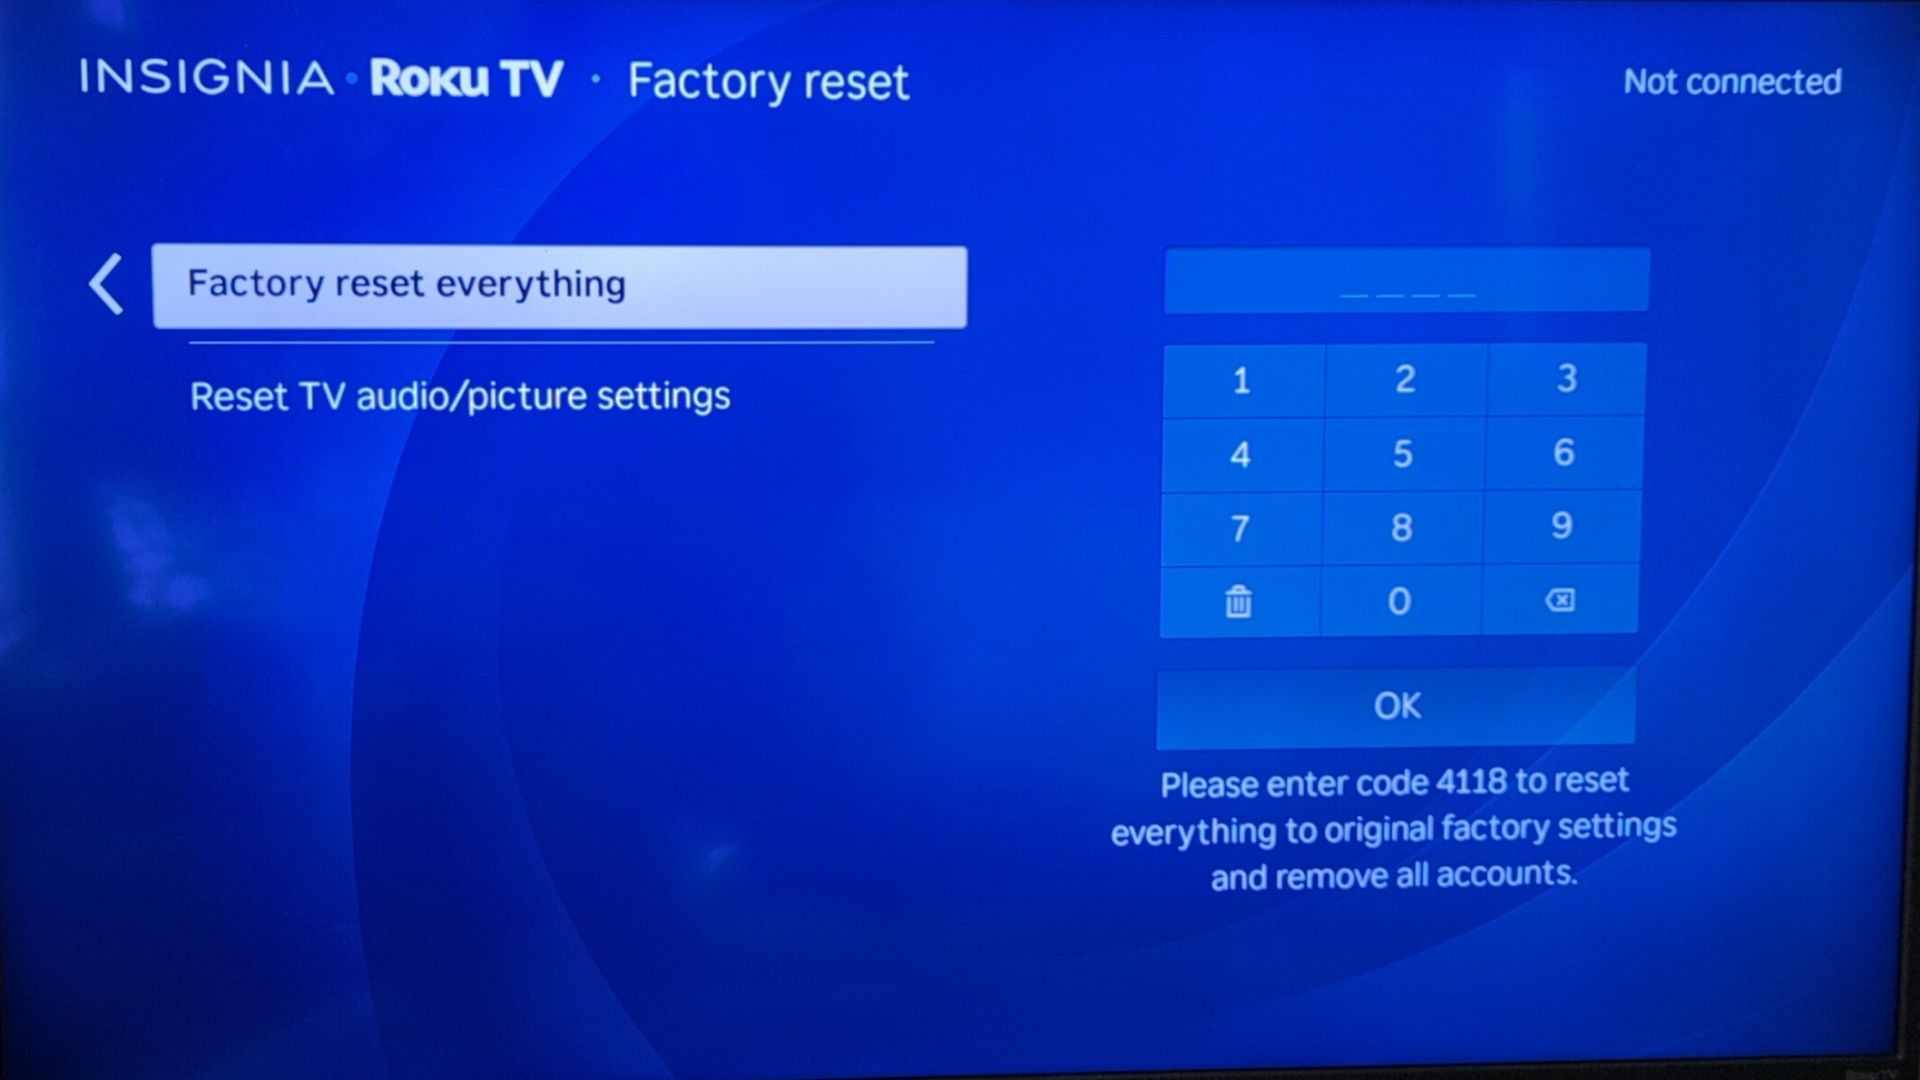
You can do a complete reset by going to Settings > System > Advanced system settings > Factory reset > Factory reset everything. Your TV will ask you to enter a randomly selected PIN to confirm.
After resetting and rebooting, it’ll ask to connect to the internet. Just select that you’ll connect later. It’ll also ask you to connect devices, which leads to the next step.
Step 2: Plug in a Streaming Stick
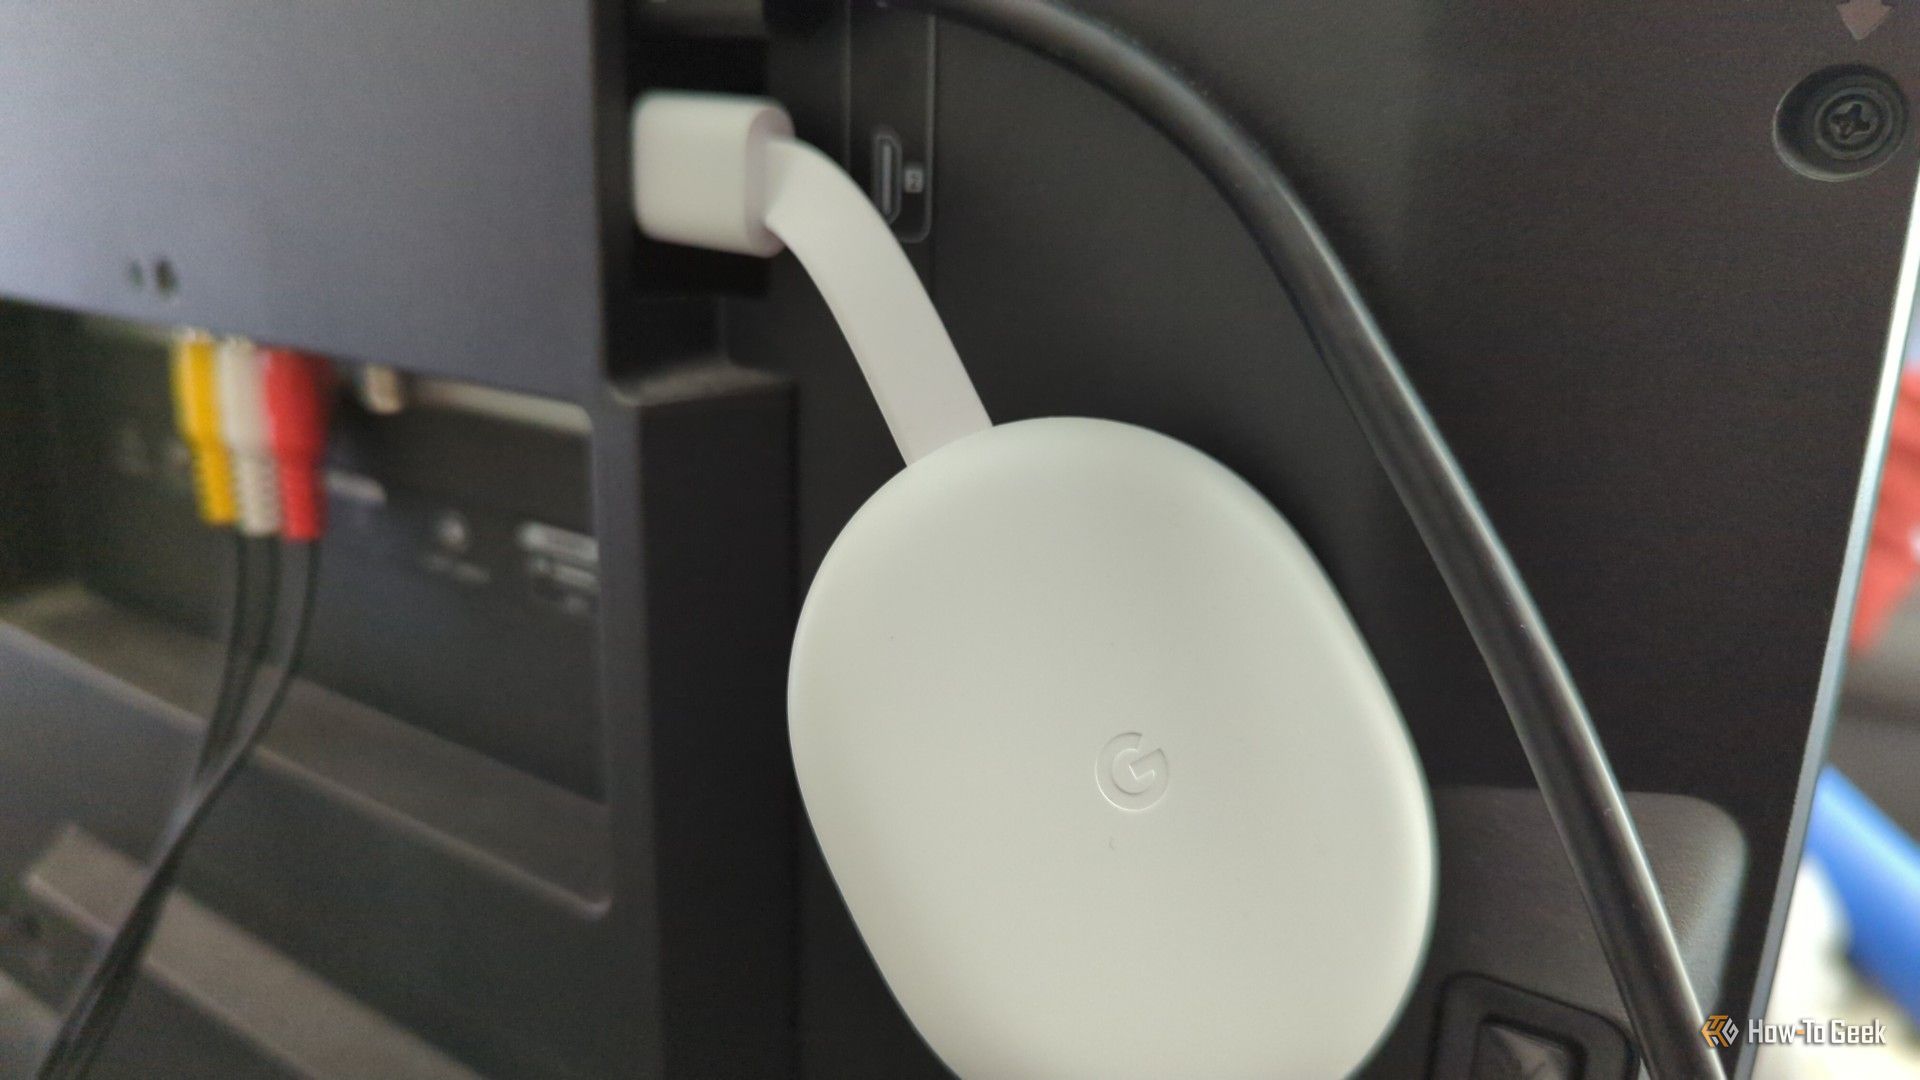
You now need a streaming stick, namely one that isn’t Roku. As I said earlier, I chose a Google Chromecast because it was on sale at the time, and I wanted to try Google TV specifically.
Whichever you choose, plug it into one of the HDMI ports and follow any of your Roku TV’s prompts to configure it. Set up the streaming device itself how you like, with all the apps you need.
Related
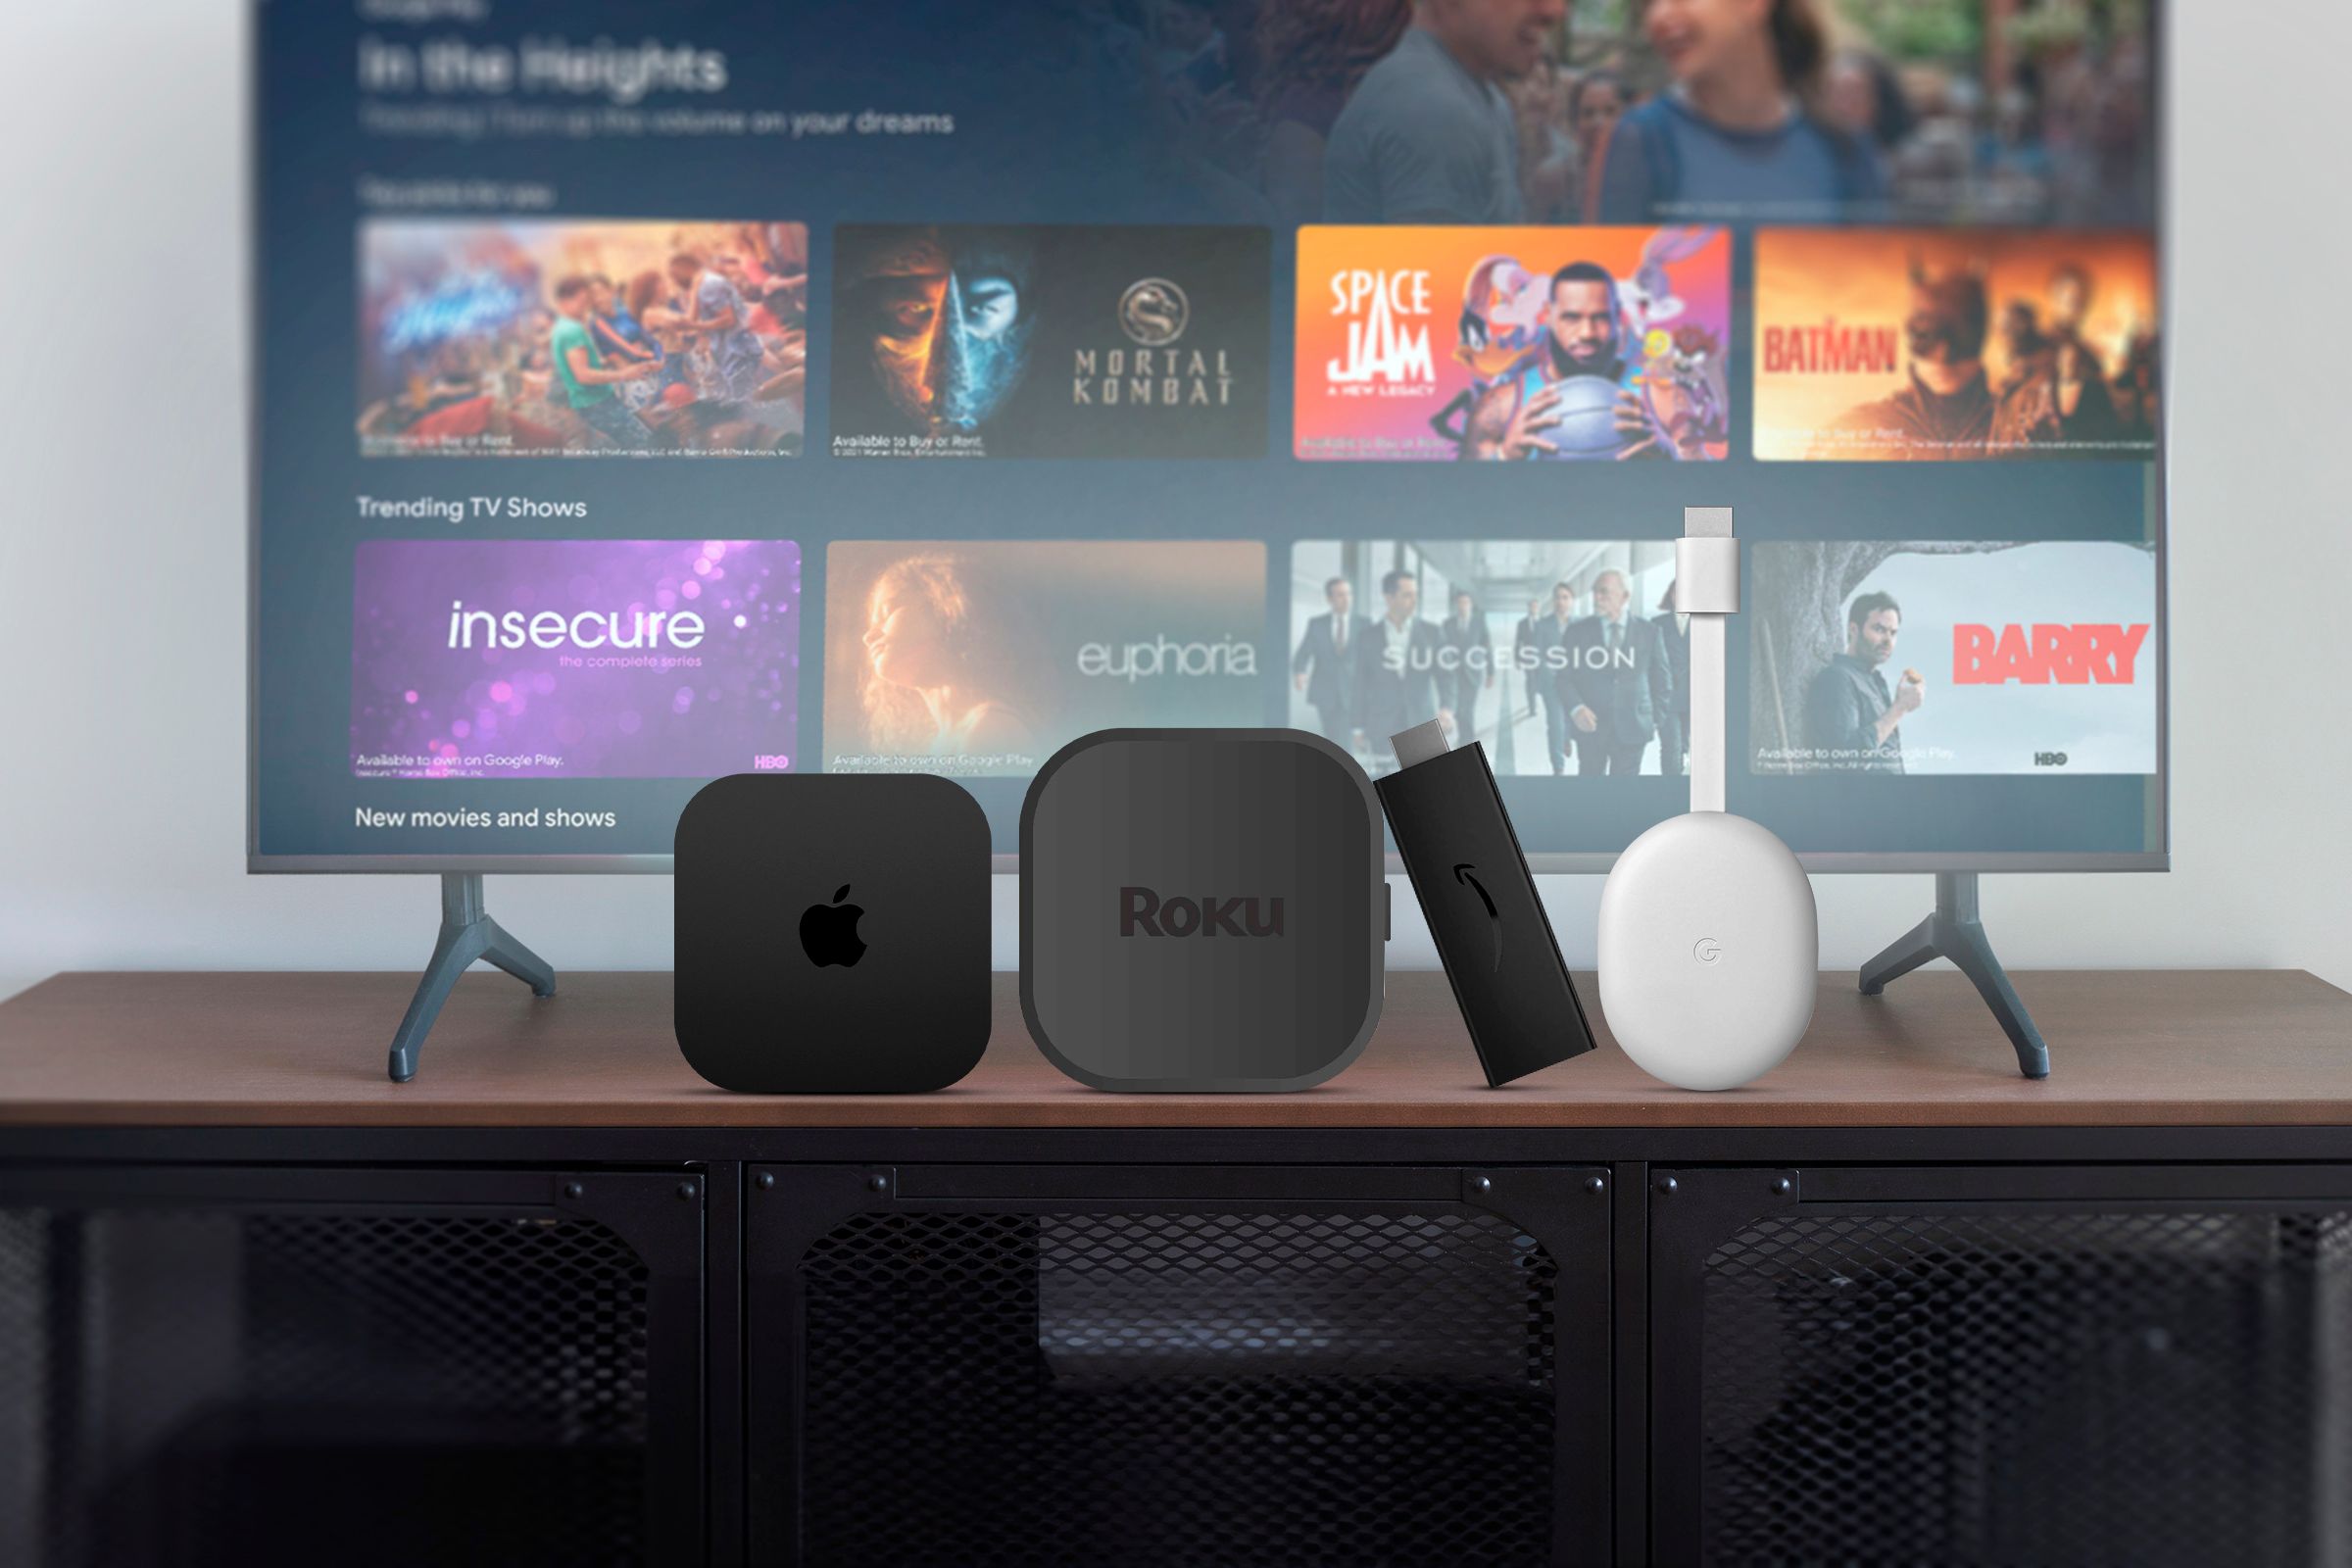
Streaming Box Showdown: Apple TV vs. Roku vs. Amazon Fire TV vs Google TV
It’s no secret that “smart” TVs aren’t really that smart.
Step 3: Optimize TV Settings
Though you’ve disconnected your Roku from the internet and set up your streaming stick, your TV may be more frustrating to use than it needs to be.
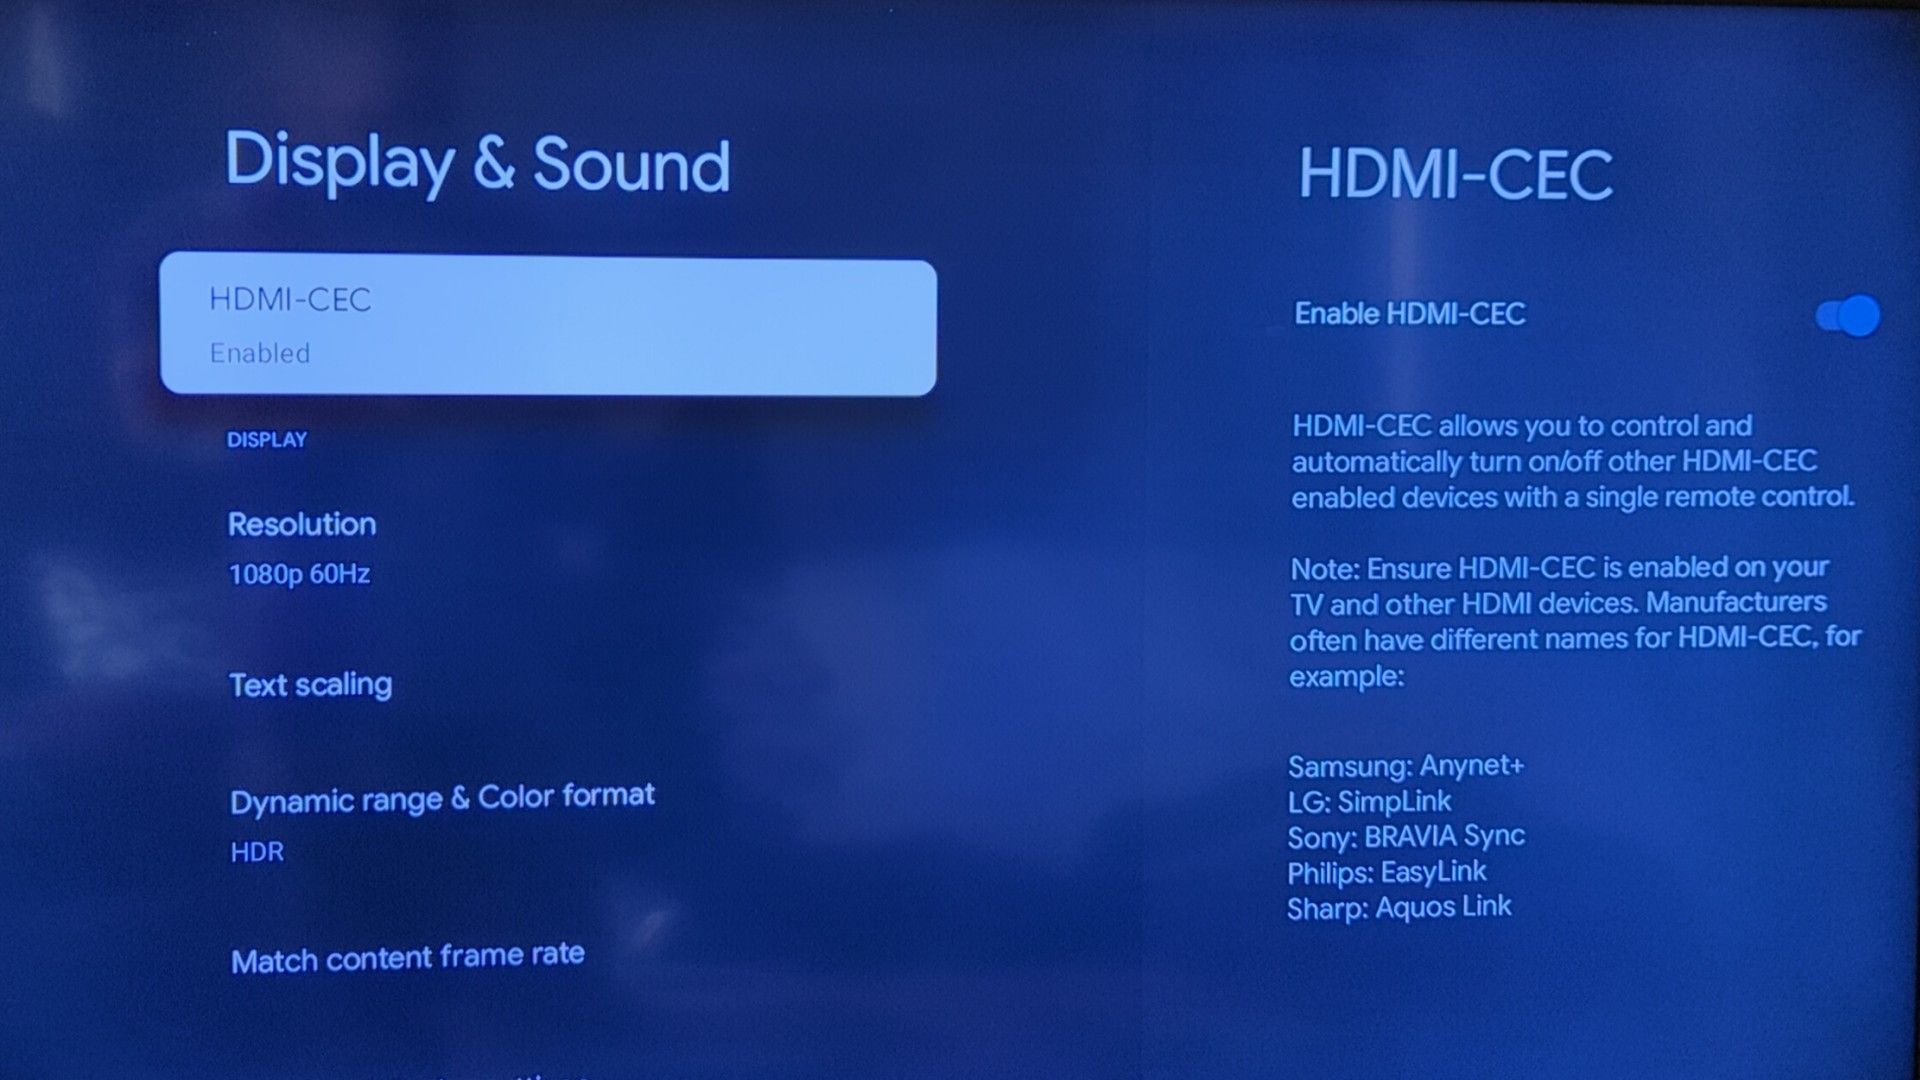
First, you can minimize how many remotes you need to pick up to use your TV by enabling HDMI-CEC. This lets your streaming stick control whether your TV is off or on. That way, when you hit the power button on your streaming stick’s remote, the TV itself turns on, and when you turn the streaming stick off, so goes the TV. That’s a lot simpler than having to alternate remotes.
To do that, find your streaming stick’s HDMI-CEC settings. In my Chromecast, I had to go to Settings > Display & Sound > HDMI-CEC.
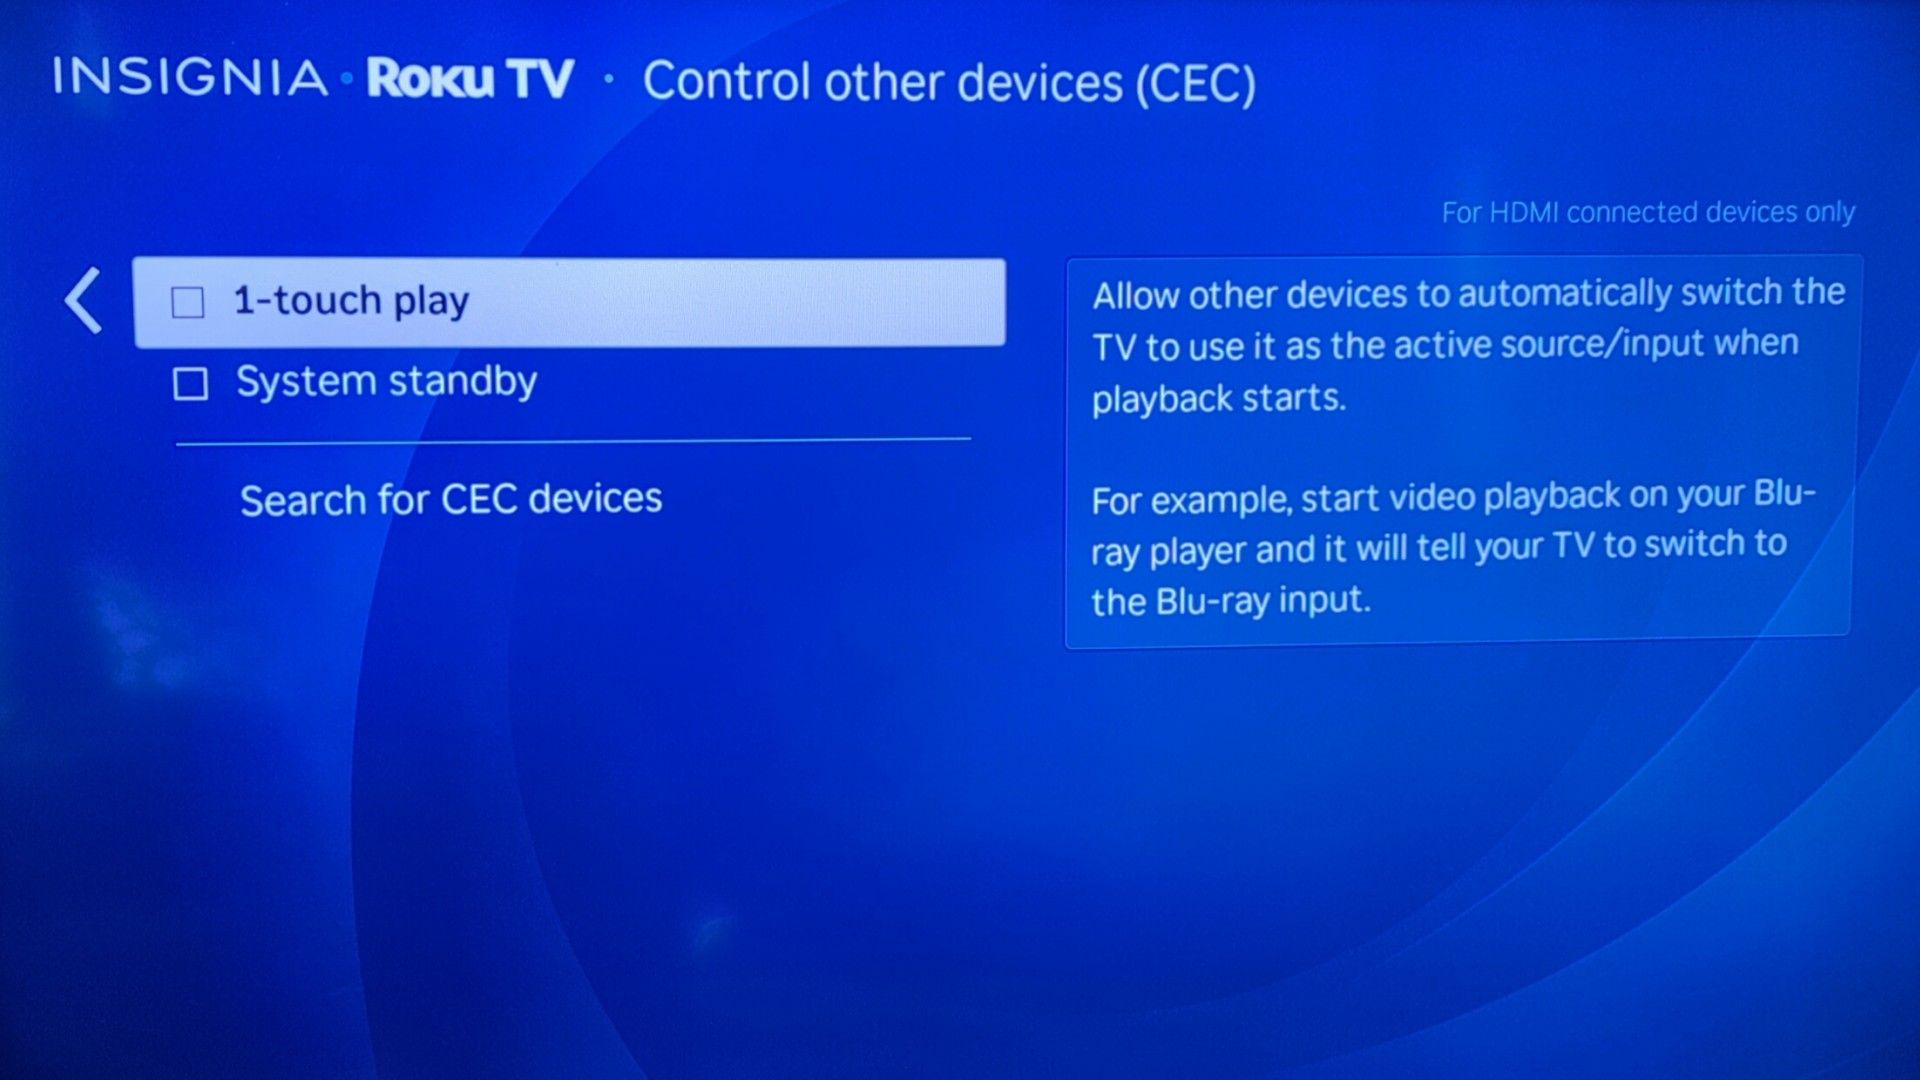
My Roku TV also let me give the Chromecast additional abilities, like the power to switch over to itself as soon as something starts playing, by going to Settings > System > Control other devices (CEC).
One final tweak that I recommend, if you’re using a Google TV device, is enabling Apps Only Mode. It turns your home screen into a simpler and streamlined experience, with fewer promotions cluttering up your view.
That’s how I got away from the ad-laden Roku experience while still using my Roku TV’s still quite capable display hardware. If you don’t decide to follow my lead, though, you may want to look into several ways you can make your Roku more private.


