So, you have a 3D printer, but you’re not super happy with the results of your prints. Well, have no fear! Tuning your printer used to require searching for and downloading tons of models, but OrcaSlicer is here to save the day. Follow me as I walk you through all the steps you’ll need to completely dial in your printer for near-perfect prints every time.
Why Choose OrcaSlicer?
There are many slicers out there, and your 3D printer might even have one that it came with. And, it’s important to note that not all 3D printers support third-party slicers. FlashForge, for example, just gained support for OrcaSlicer, but only on the latest models. So long as your printer supports third-party slicers, you’re good to go!
Now, why did I choose OrcaSlicer over other programs? Well, I didn’t start out with Orca. Originally (and for several years), I used PrusaSlicer. It was the gold standard in my mind. However, when OrcaSlicer came around and a friend of mine introduced me to it, I was hooked. It’s based on PrusaSlicer and Bambu Studio and comes with way more features than those slicers could ever dream of. Okay, maybe not quite that…but it feels like it.
While on the surface Orca seems very similar to both Prusa and Bambu, there’s one key thing that makes all the difference: built-in tuning. Orca has several built-in calibration prints that keep you from having to go to Printables, Thingiverse, or MakerWorld to try and find the “right” way to tune your printer. All the calibration prints are single-click (though you can change some parameters if you’d like), and tuning your printer doesn’t have to take a crazy amount of time anymore, thanks to OrcaSlicer.
Why Spend Time Calibrating Your 3D Printer?
You might be wondering why it’s even important to calibrate your 3D printer. Well, it’s not—but it is. Let me explain.
You don’t have to calibrate your 3D printer. It’s entirely possible just to print objects with stock settings and get a somewhat decent result. However, if you want your prints to look smoother, have a better surface finish, or be more accurate, then calibration is absolutely required.
Also, you typically only have to tune your printer once per filament. Not per filament change, but per filament type/color. I have been known to use the same tuning settings across colors of filament so long as the filament type is the same (PETG, PLA, etc.) with relative success.
Your mileage may vary, of course, but feel free to try tuning once and using those settings across most of your filament colors/brands to see how they work! Worst case, you have to re-calibrate the printer for a new brand, type, or color of filament.
What Calibration Options Does OrcaSlicer Have, and How Do You Use Them?
OrcaSlicer has a very well-put-together and in-depth guide on how to use its calibration methods, so I’m going to direct you there for the bulk of the information. However, I’ll go ahead and go through the settings that I use personally, why I use them, and what you can expect from that aspect of tuning here in this article.
Temperature Tower (always the best starting point)
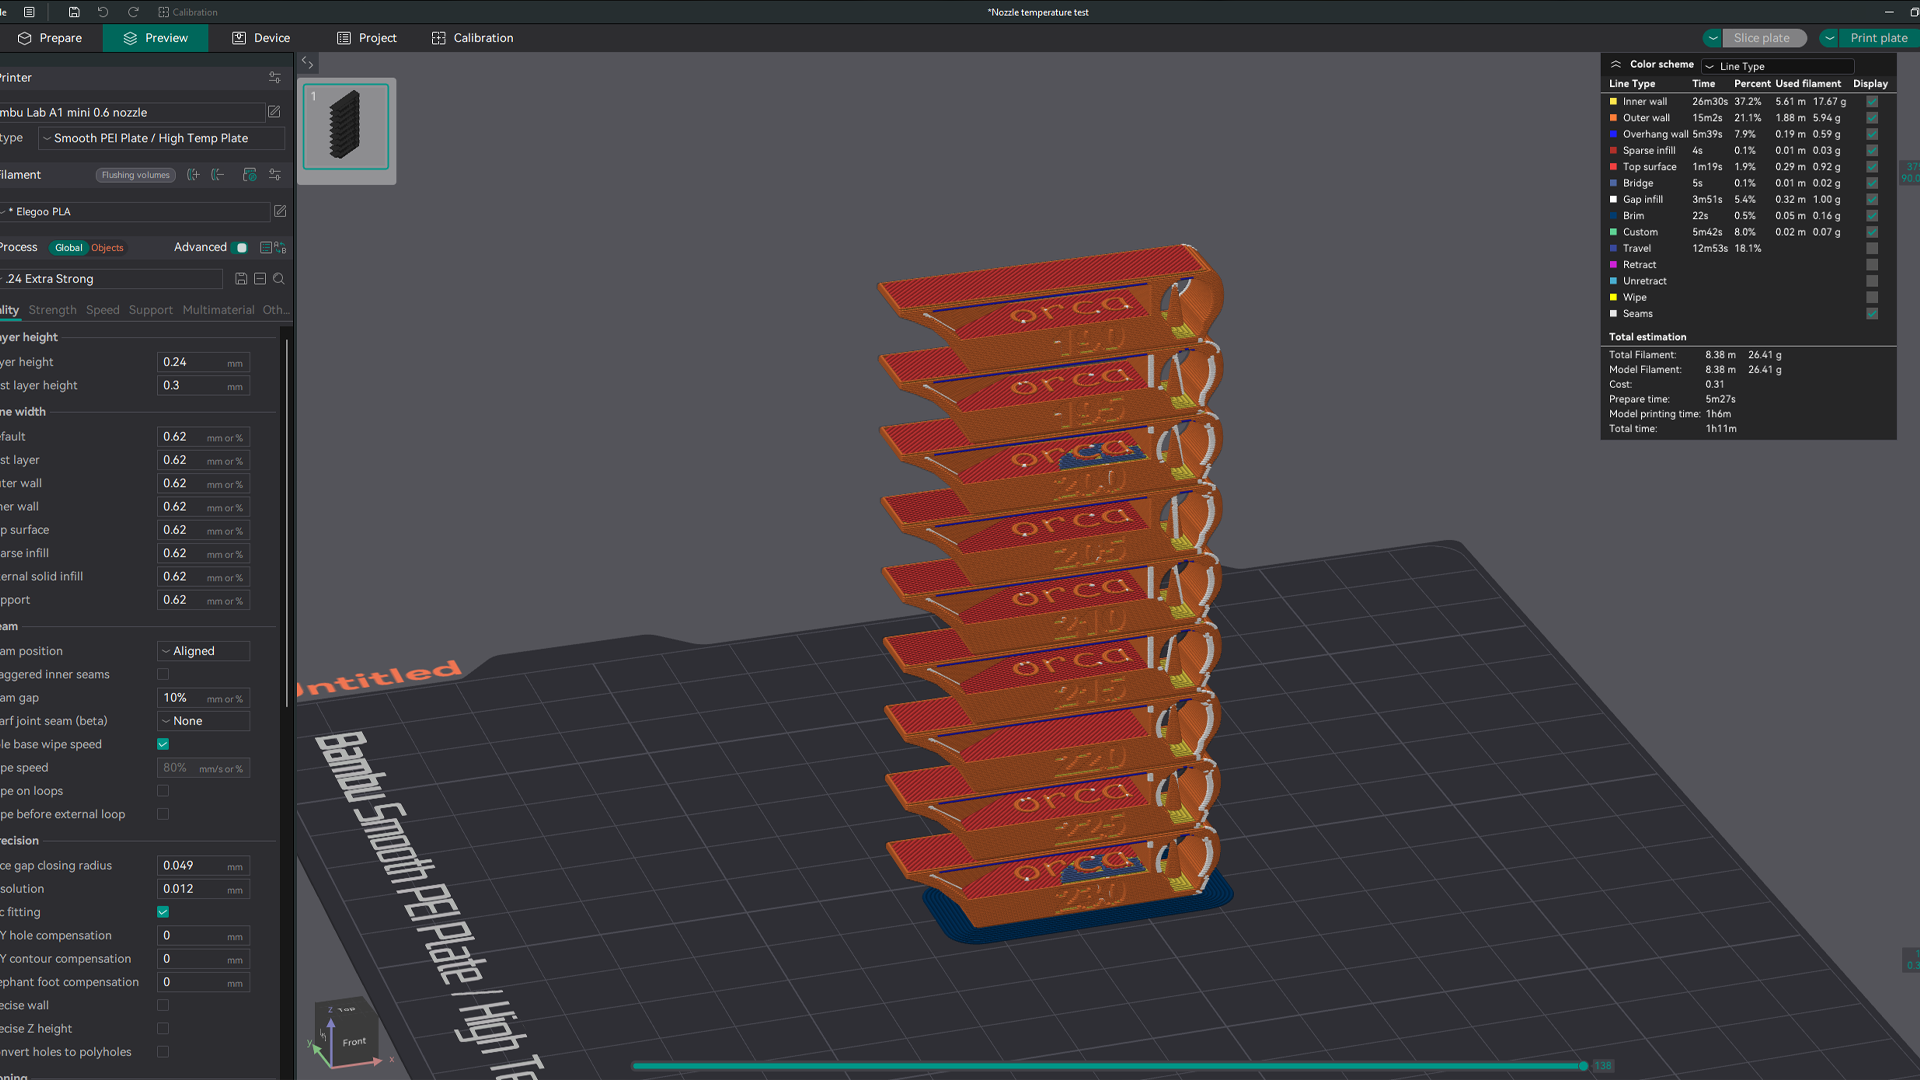
This is a one-and-done print for me, though I should probably do it more than I do. Temperature towers help you find the ideal temperature to print at. The right (or wrong) temperature can make or break a print.
Once the tower is printed, this is simply a “what looks best to you” scenario. There’s no right or wrong, just look for the temperature that prints the cleanest in your eyes. That’s all there is to do. Ideally, you’ll re-run the temperature tower every time you change filament color, brand, or type. However, I rarely do that and just find a decent temperature for PLA and PETG and go with it, and it hasn’t let me down (yet.)
Flow Rate (good top and bottom surface)
This is where the “real” calibration starts to take place. Temperature towers are kinda a staple in the 3D printing world, but going beyond that is something that many haven’t done before.
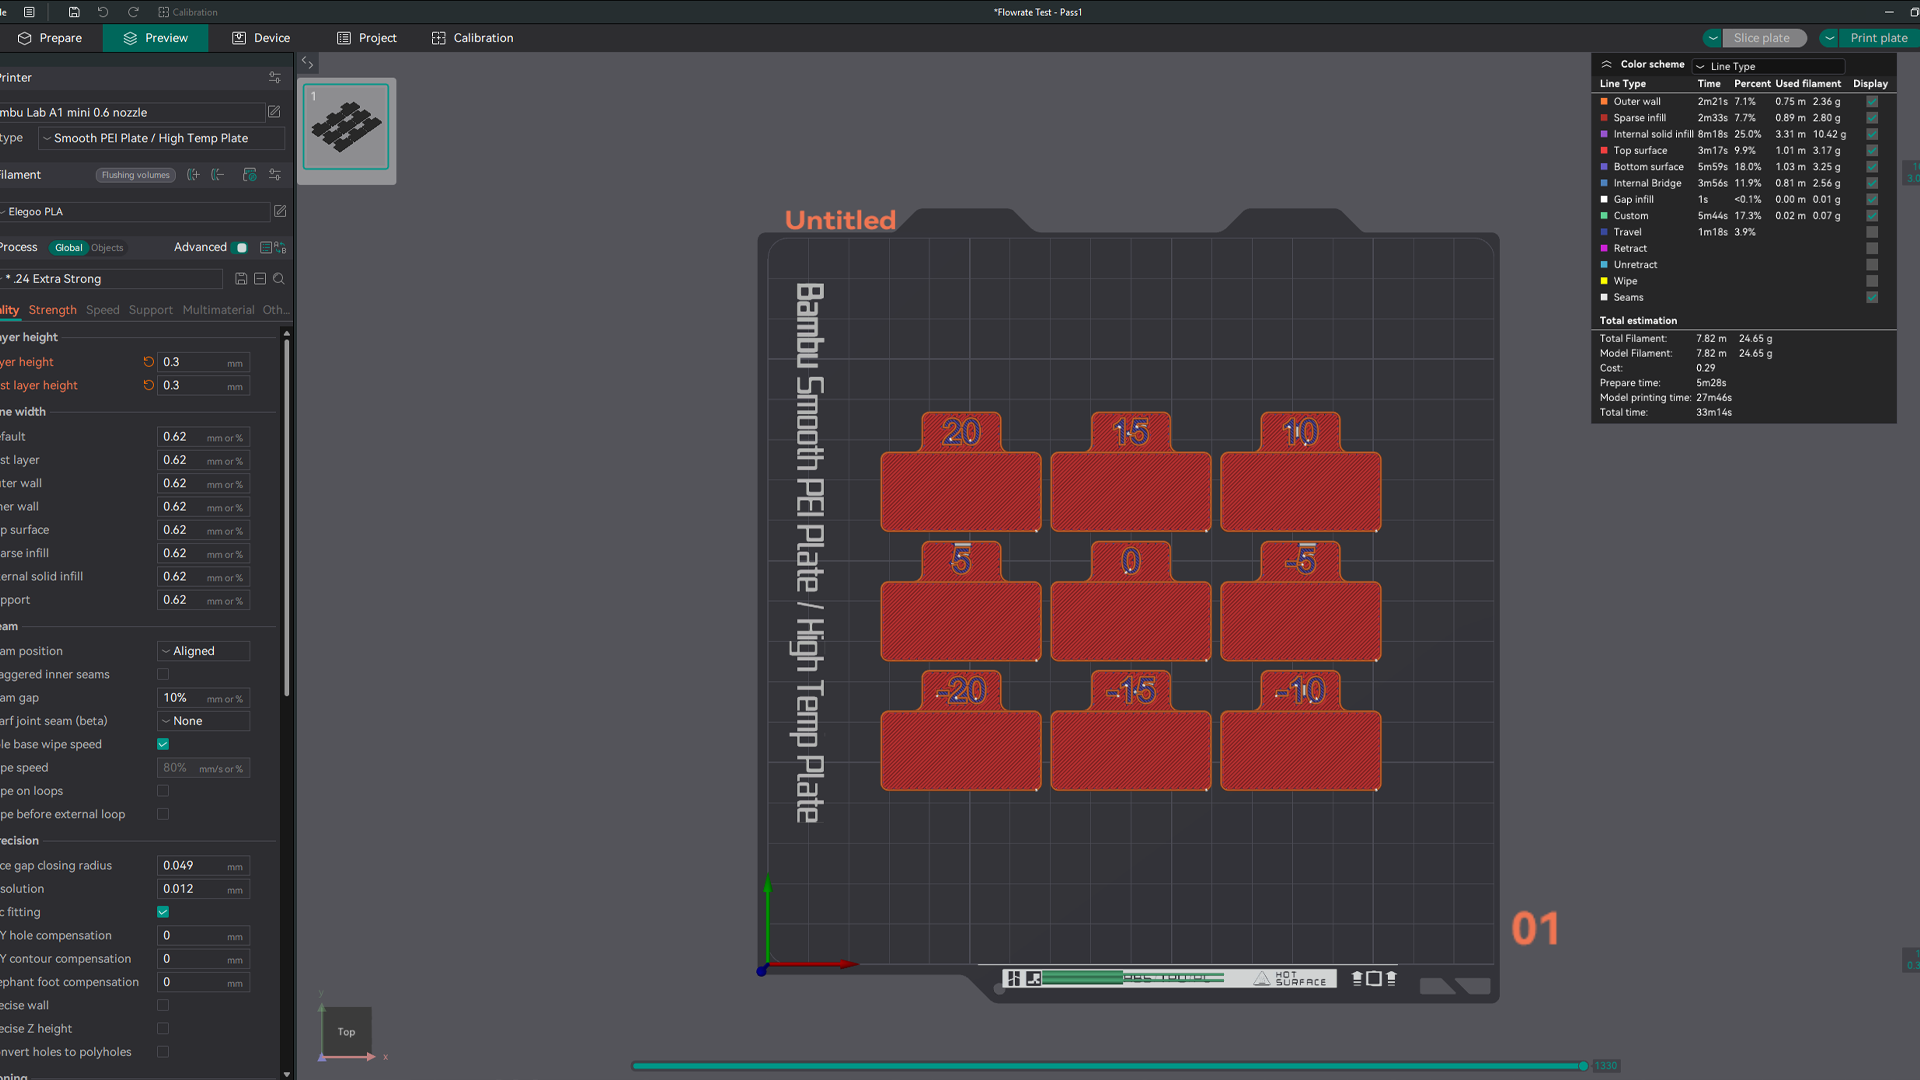
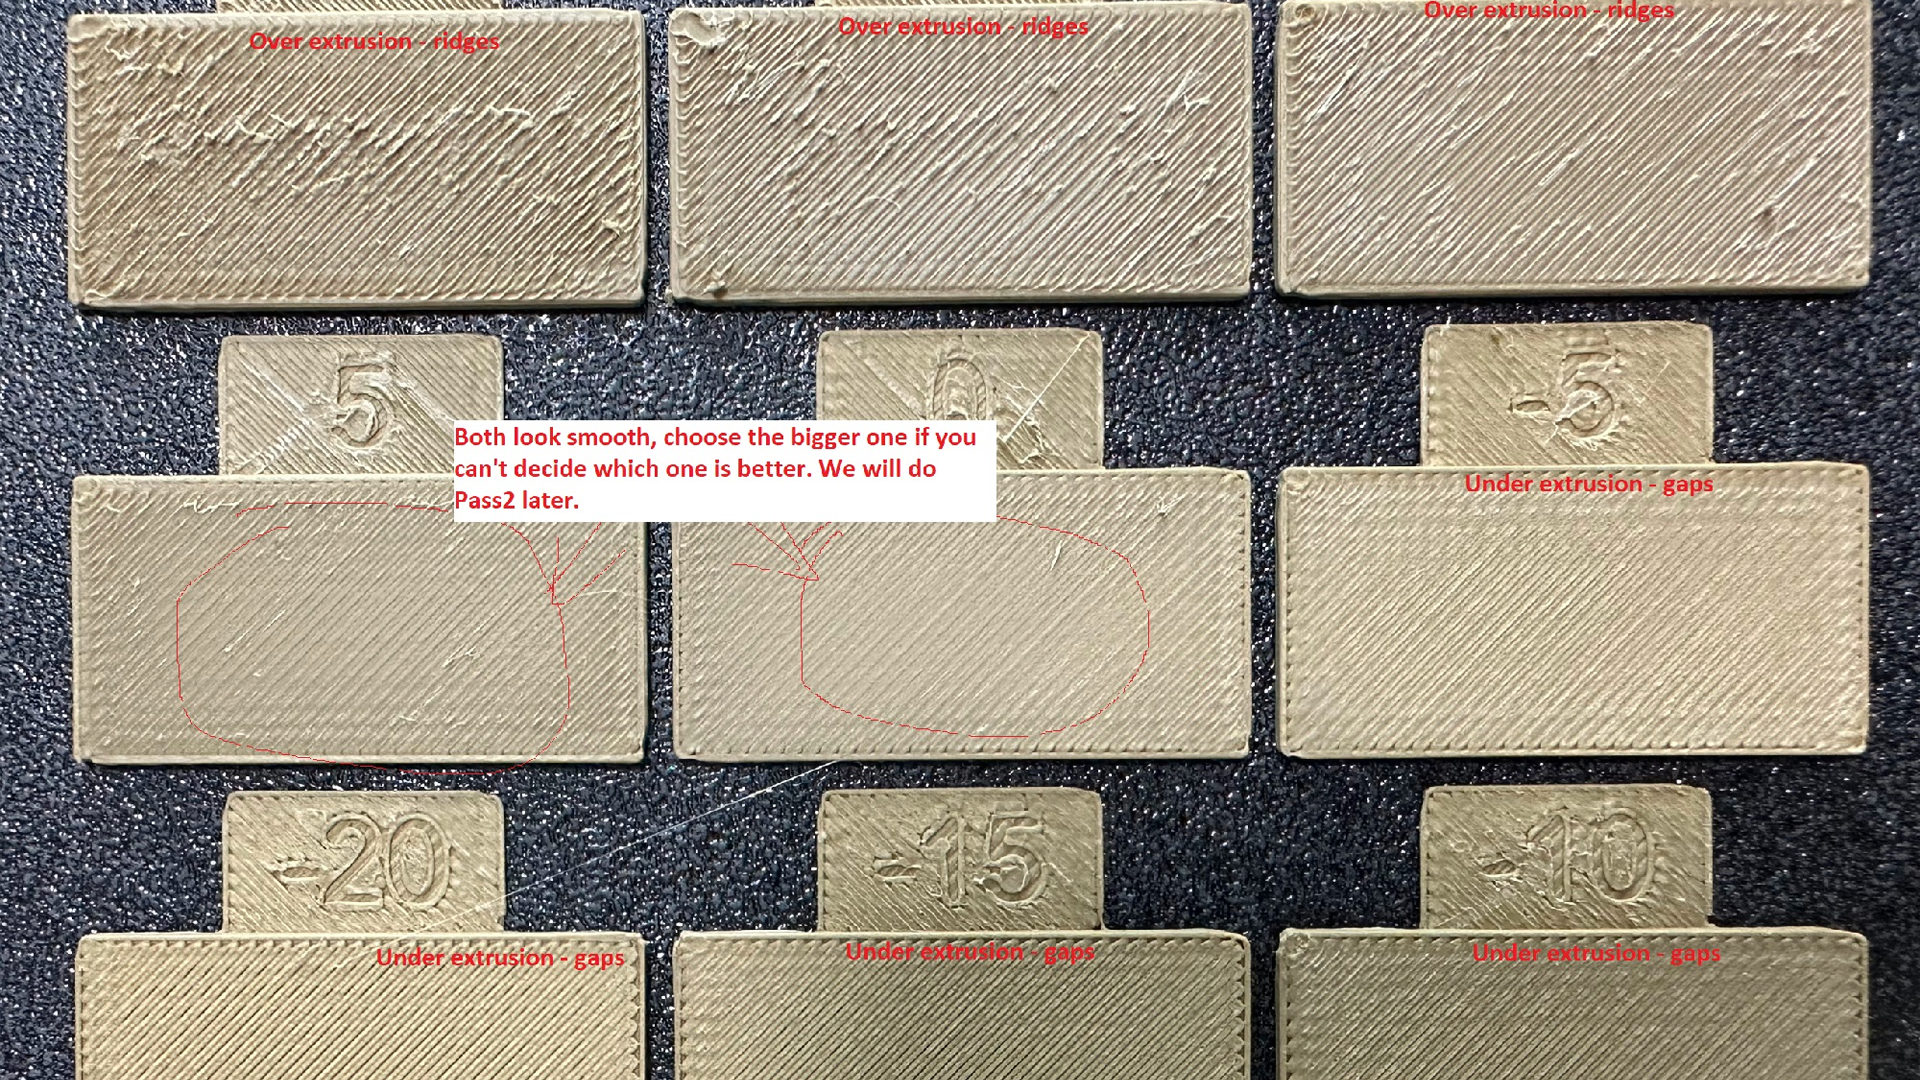
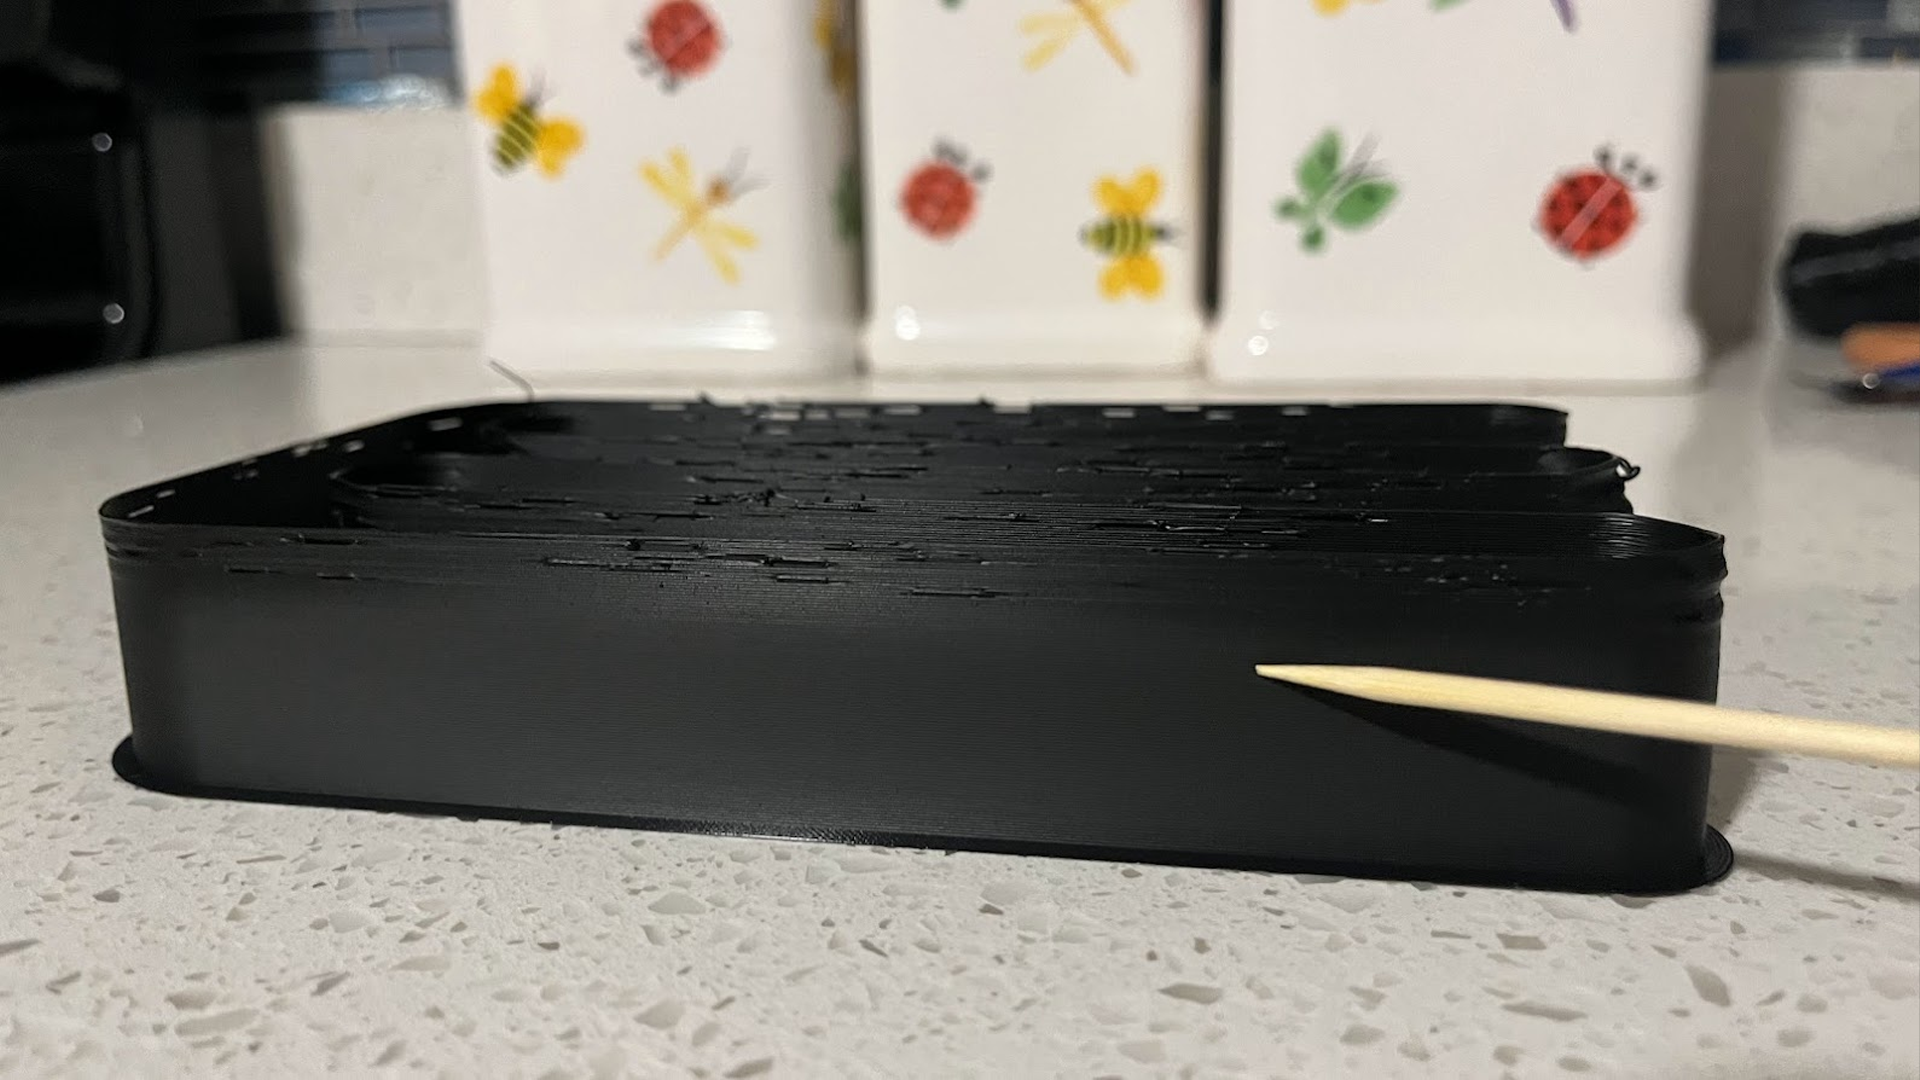
Flow rate determines your flow ratio, which is how you get a nice quality top surface on finished projects. This is one of those things that I never thought about until I had it tuned in. Another name to call this is over/under extrusion.
Stage one is a pretty wide range, going from zero in the middle to +/- 20 for the ratio. Once you do the first print, go ahead and look at the top surface layers to see which one is the smoothest, then use the formula on the Orca Wiki to calculate your new flow ratio. Run stage two (which is more detailed), and you’ll have your flow ratio dialed in and be printing great top surfaces in no time.
Pressure Advance (good for nice corners and lines)
Pressure advance isn’t available on all printers, but most new machines come with this capability. Older Marlin-based printers will require modification to the firmware to be compatible with pressure advance, but it’s still possible.
Pressure advance is something that I really don’t mess with much on my specific printer (the Bambu Labs A1 Mini), but when I was running Ender 3 V2 clones, it was a crucial setting.
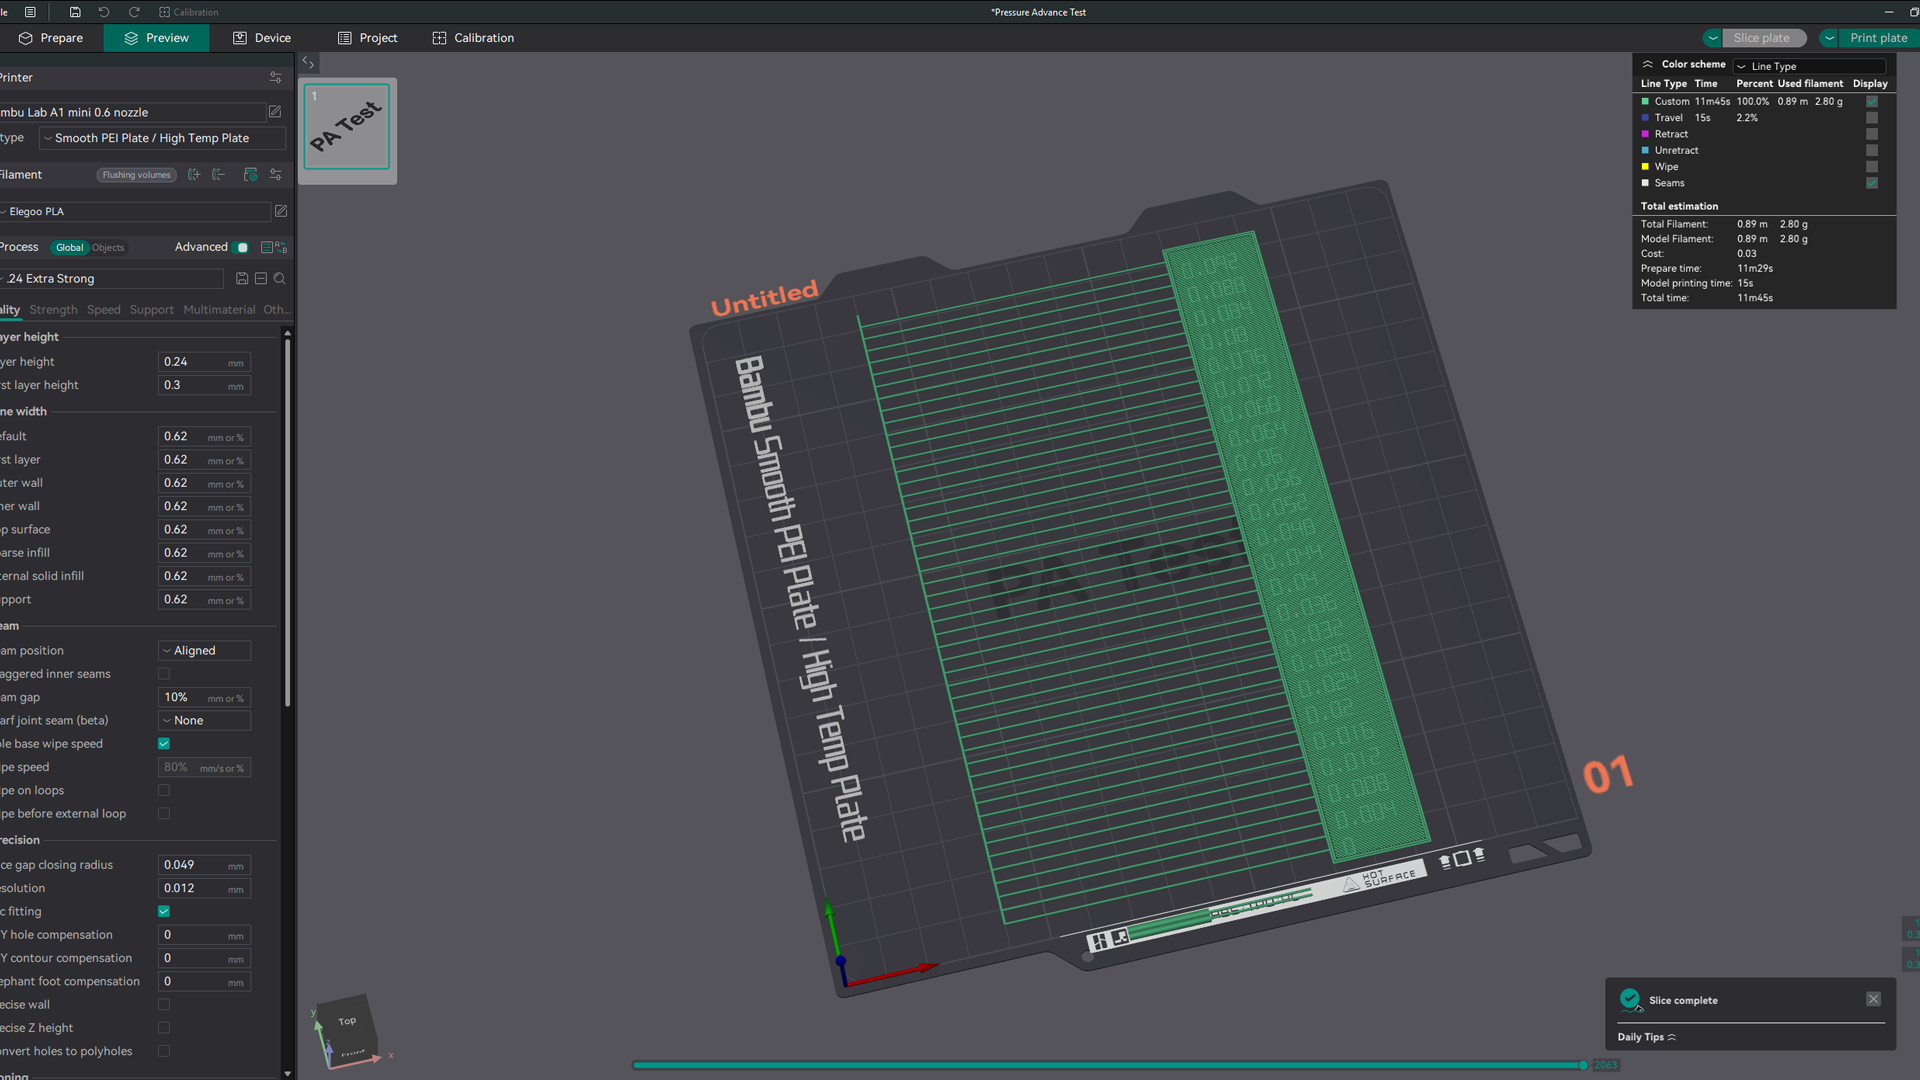
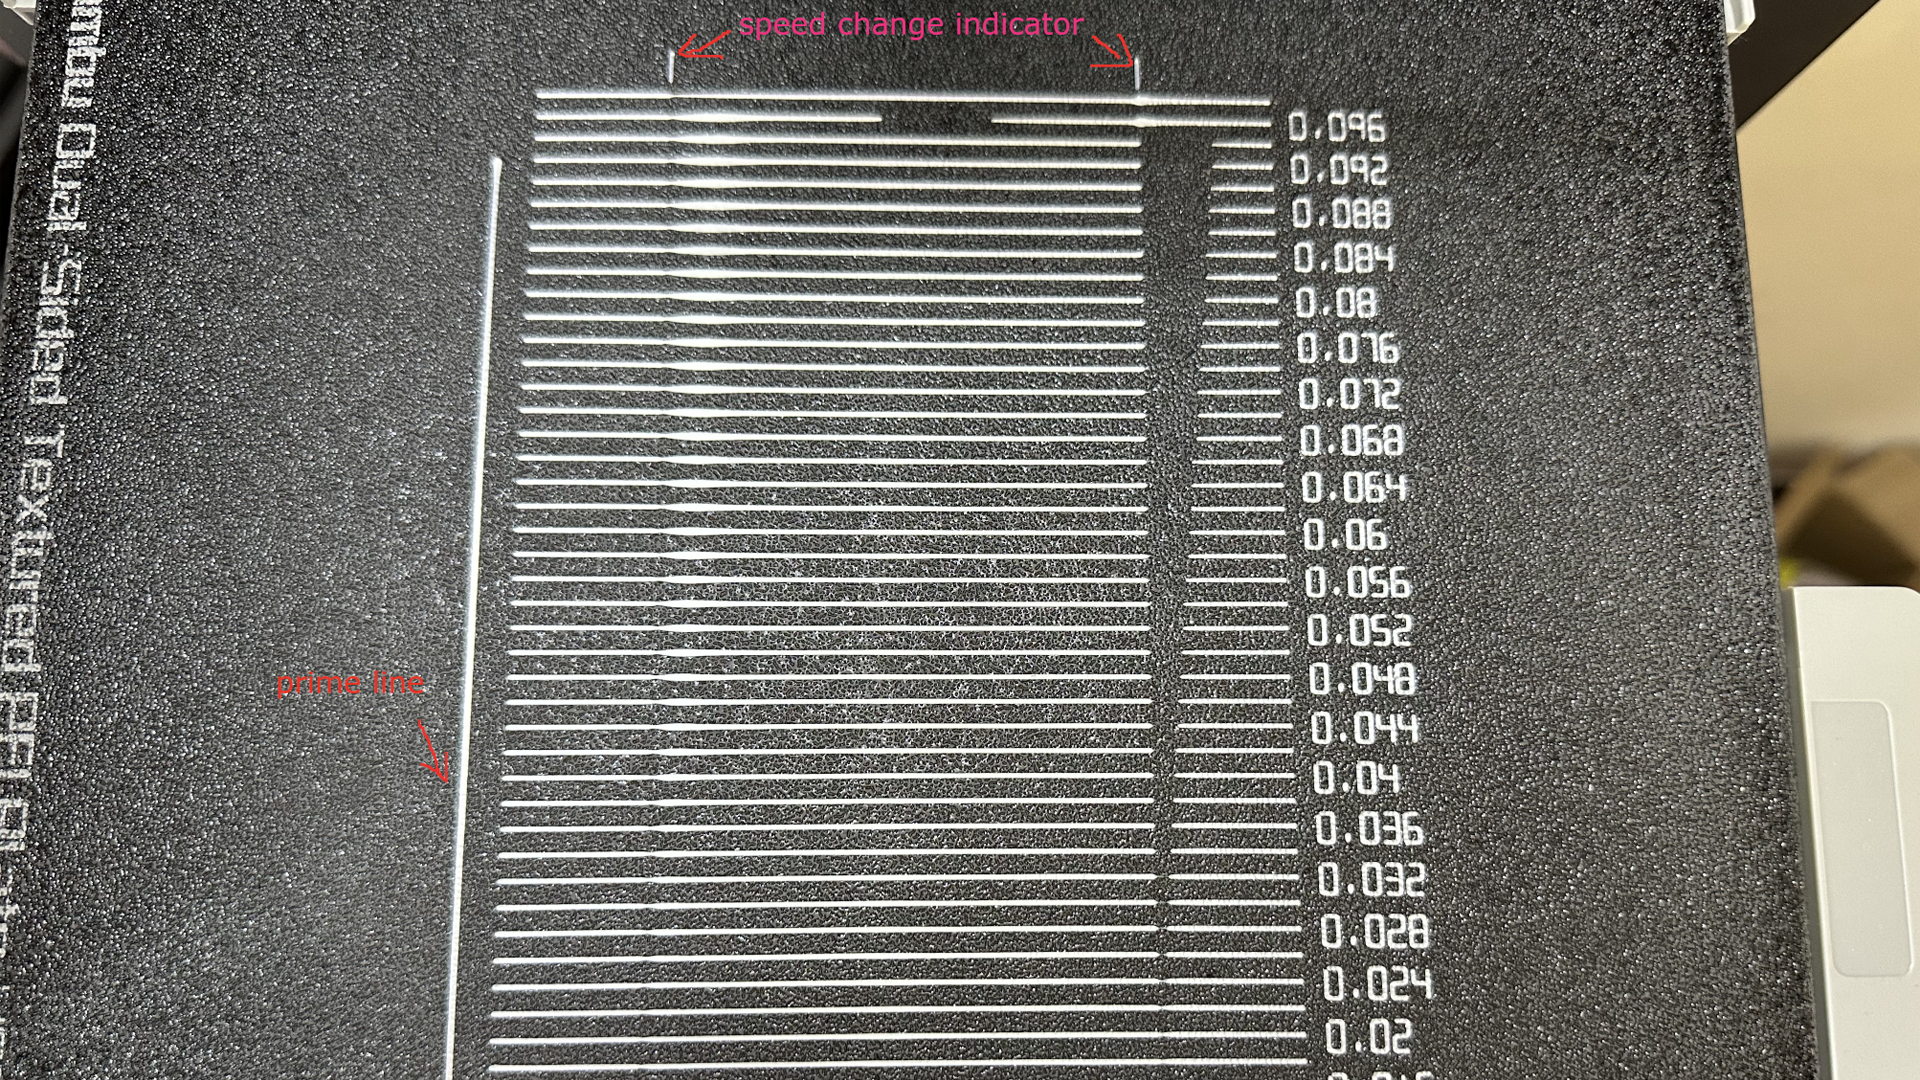
For tuning pressure advance, there are three methods to choose from. Personally, I like the line method, though the pattern method is also pretty decent. You’re essentially looking for an unbroken and complete line from start to finish here. Pressure advance will help with more consistent lines when changing speeds or directions, resulting in a much higher-quality print.
Retraction and Tolerance (I don’t use these often, but they’re nice to have)
I honestly rarely, if ever, run these two tests, which is why I lumped them together. I’ll occasionally run a retraction test if I have a ton of strings, and that’s all you’re trying to solve here. Tolerance is if you want friction-fit parts and print-in-place hinges to be absolutely perfect. Since I do neither of those tasks often, I don’t really worry about tolerance all that much.
However, Orca has great documentation on how to do both tests on their wiki, so be sure to check that out if you’re interested in learning more about either method!
Max Flow Rate (this is how you print fast)
Max flow rate is actually very different from the flow rate that we set above. We were dealing with the flow ratios above, but the max flow rate is intended for the volumetric flow rate of your nozzle. I know Orca could have named this better, but that’s what it is.
Volumetric flow is something you might not have heard of before. Essentially, it’s how fast your nozzle can melt the filament. You can have a printer “capable” of moving at 300mm/s or faster, but if the nozzle can’t melt plastic fast enough for it to move at that speed, you won’t have good results.
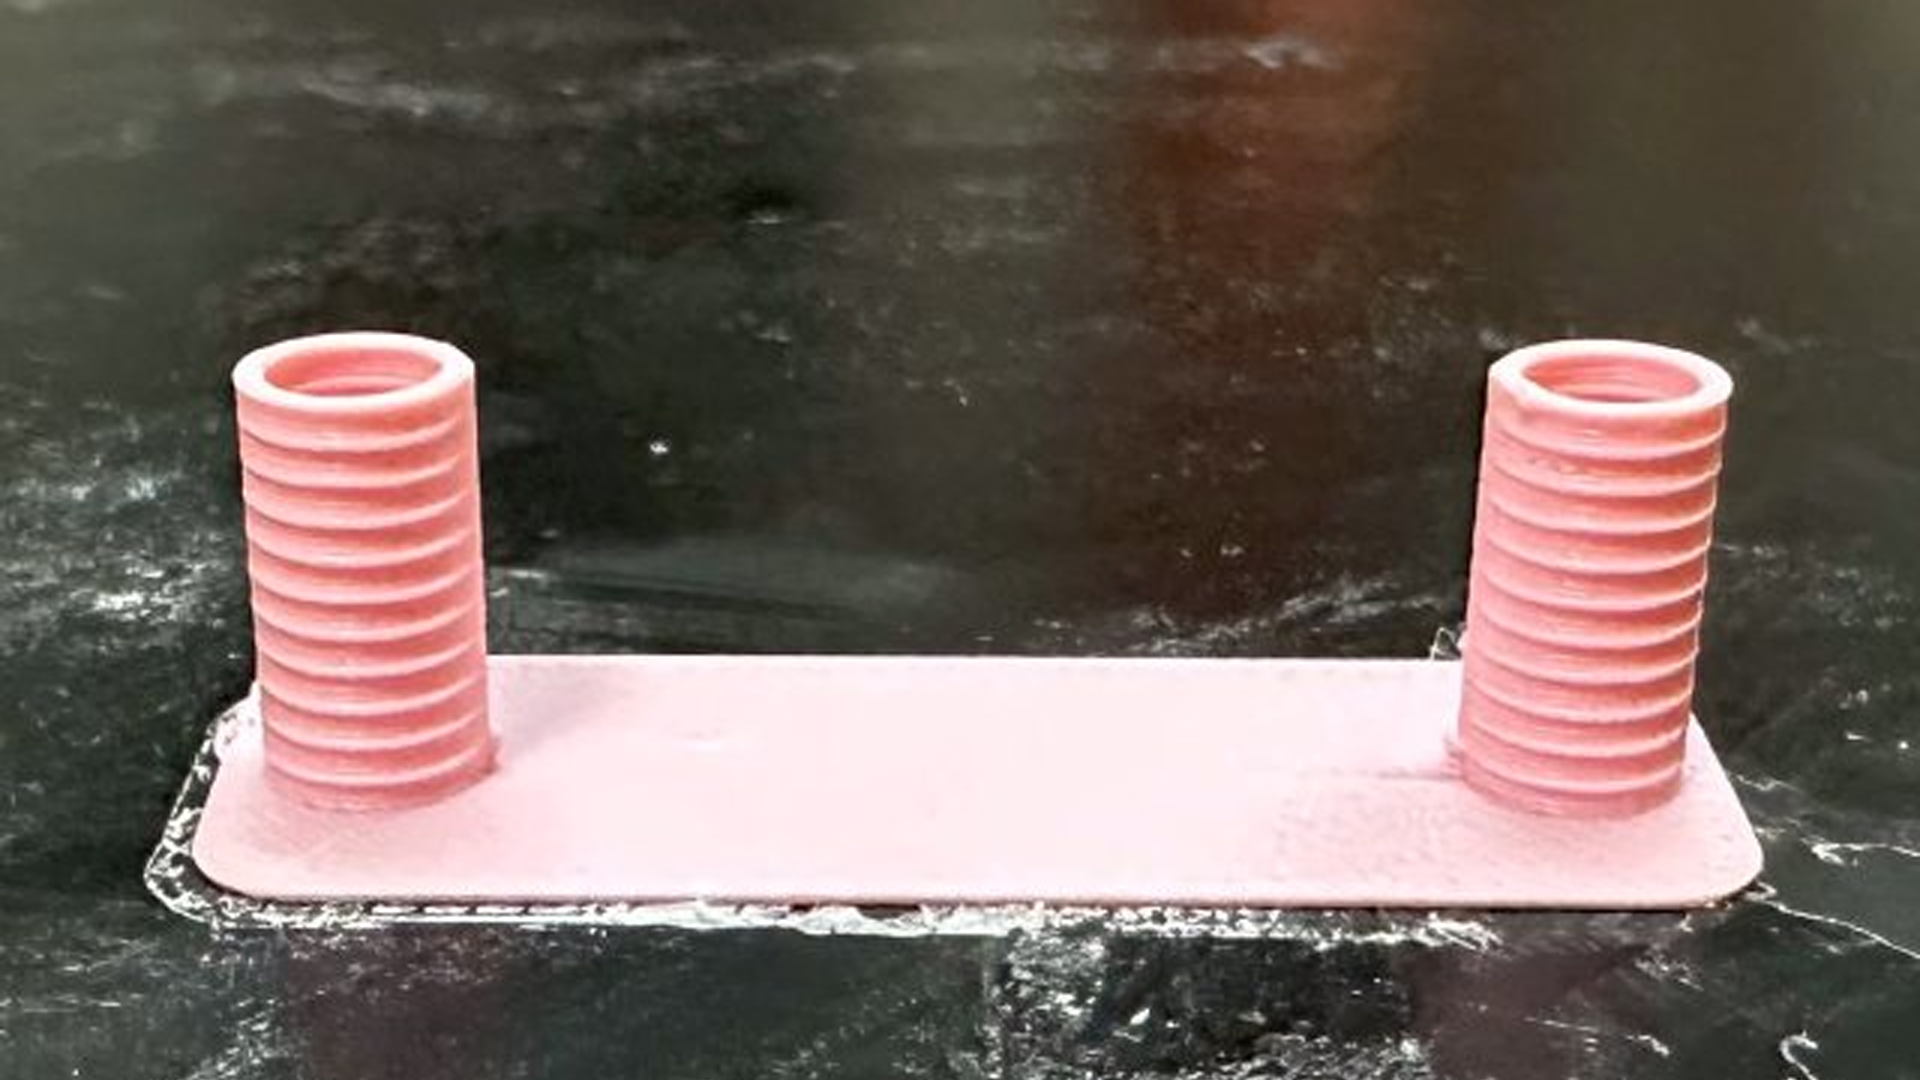
That’s where max flow rate comes in. The test here will print out a single-wall tower at various speeds, and you’re looking at the fastest speed before the tower falls apart. Once you know this speed, it’ll be easy to know exactly how fast your printer can actually go. And it might surprise you. If your printer isn’t moving as fast as you’d like, some companies have higher-wattage nozzles that can help melt more plastic in a shorter amount of time, thus increasing your print speeds.
That’s It, You’re Ready To Print Better Prints!
Once you go through all the calibration steps above, you’re ready to go. Now, you should send your printer through a torture test and see how it comes out on the other side.


