eSIM is a new way for consumers to use their smartphones without the need for a physical SIM card. Popularised by the iPhone 14, especially in the US where you can only buy eSIM variants of Apple’s tech, eSIM functionality isn’t exclusive to the iPhone.
In fact, there’s a growing number of Android smartphones that offer eSIM connectivity, some even offering dual-SIM connectivity alongside a standard physical SIM. It’s a key feature of the Pixel 7 and Pixel 7 Pro, as well as Samsung’s Galaxy S23 range and other popular flagship-level smartphones.
The question is, how do you set up eSIM functionality on Android? While you’re prompted to set up the functionality during the initial setup of the phone, what if you skipped the step? You might be worried that you’ll have to factory reset your phone and set it up again, but hold off from pressing that Erase All Content button.
That’s because there’s an easy way to activate eSIM on an Android smartphone at any point, not just during the initial setup process. If you want to convert to the simplistic eSIM lifestyle, here’s how to activate an eSIM on Android.
Editor’s Note: We’ve used the Google Pixel 7 Pro running stock Android 13 for the purposes of our tutorial. Depending on the manufacturer of your smartphone and whether it uses a custom UI, your steps may vary slightly, but the overall process should be very similar.
What you’ll need:
- A smartphone with eSIM functionality
- An eSIM QR code from your network carrier
The Short Version
- Open the Settings app.
- Tap Network & internet.
- Tap SIMs.
- Tap Download eSIM.
- Tap Next.
- Scan the eSIM QR code provided by your network.
- Tap activate.
How to use an eSIM on Android
-
Step
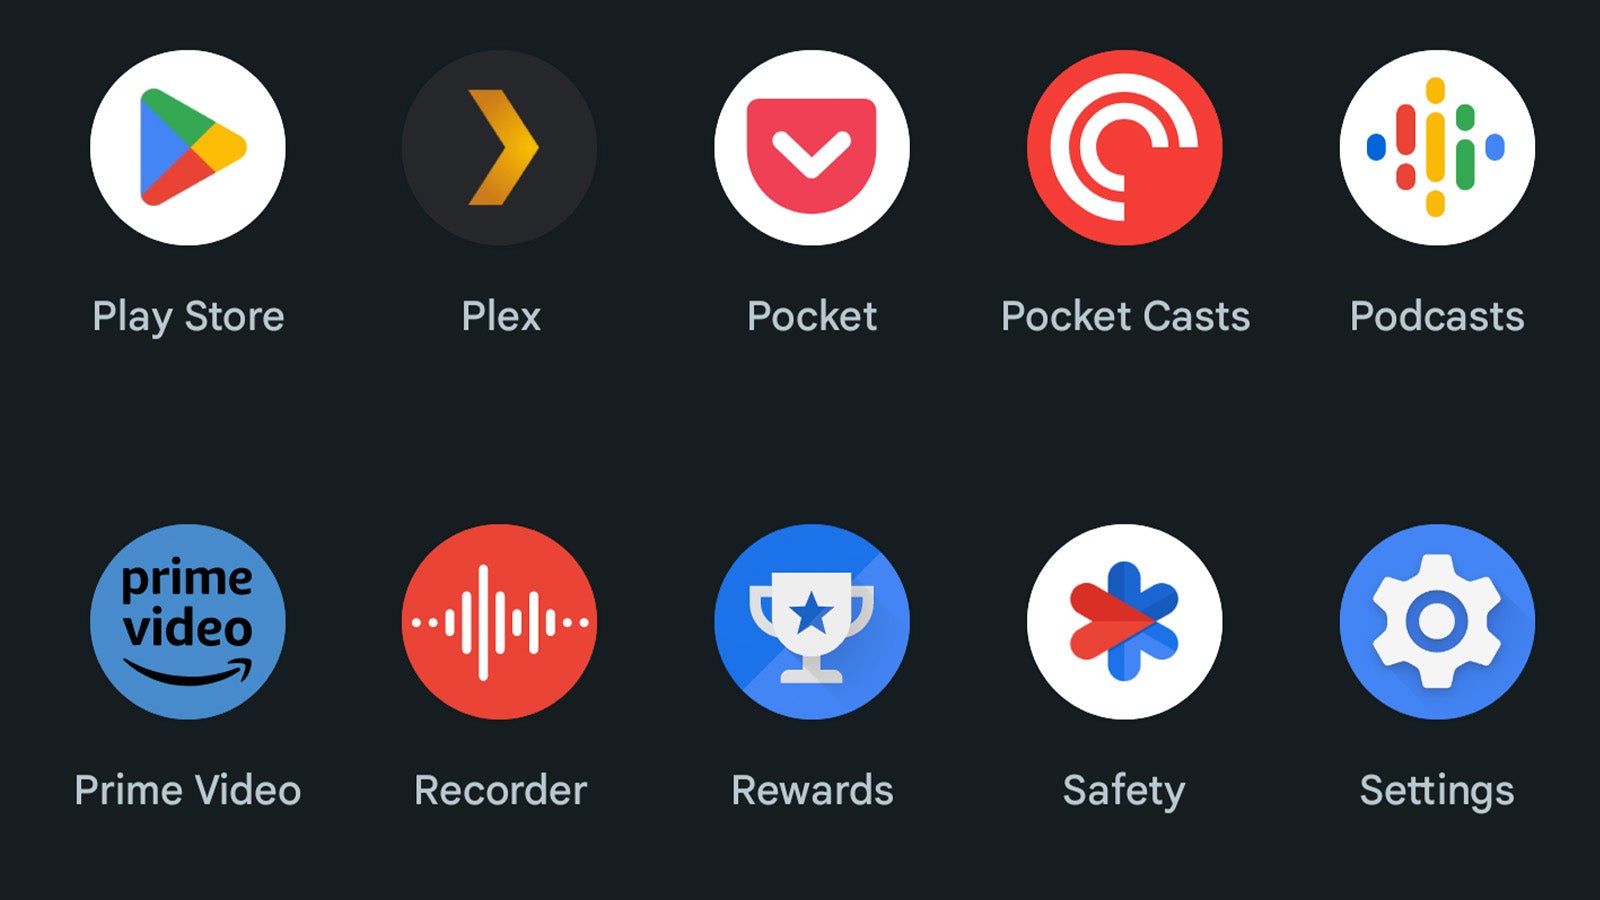
1Open the Settings app
The first step is to head to your phone’s Settings app. While the style of the icon varies depending on the smartphone you use, it’s usually denoted by a mechanical cog wheel.
-
Step
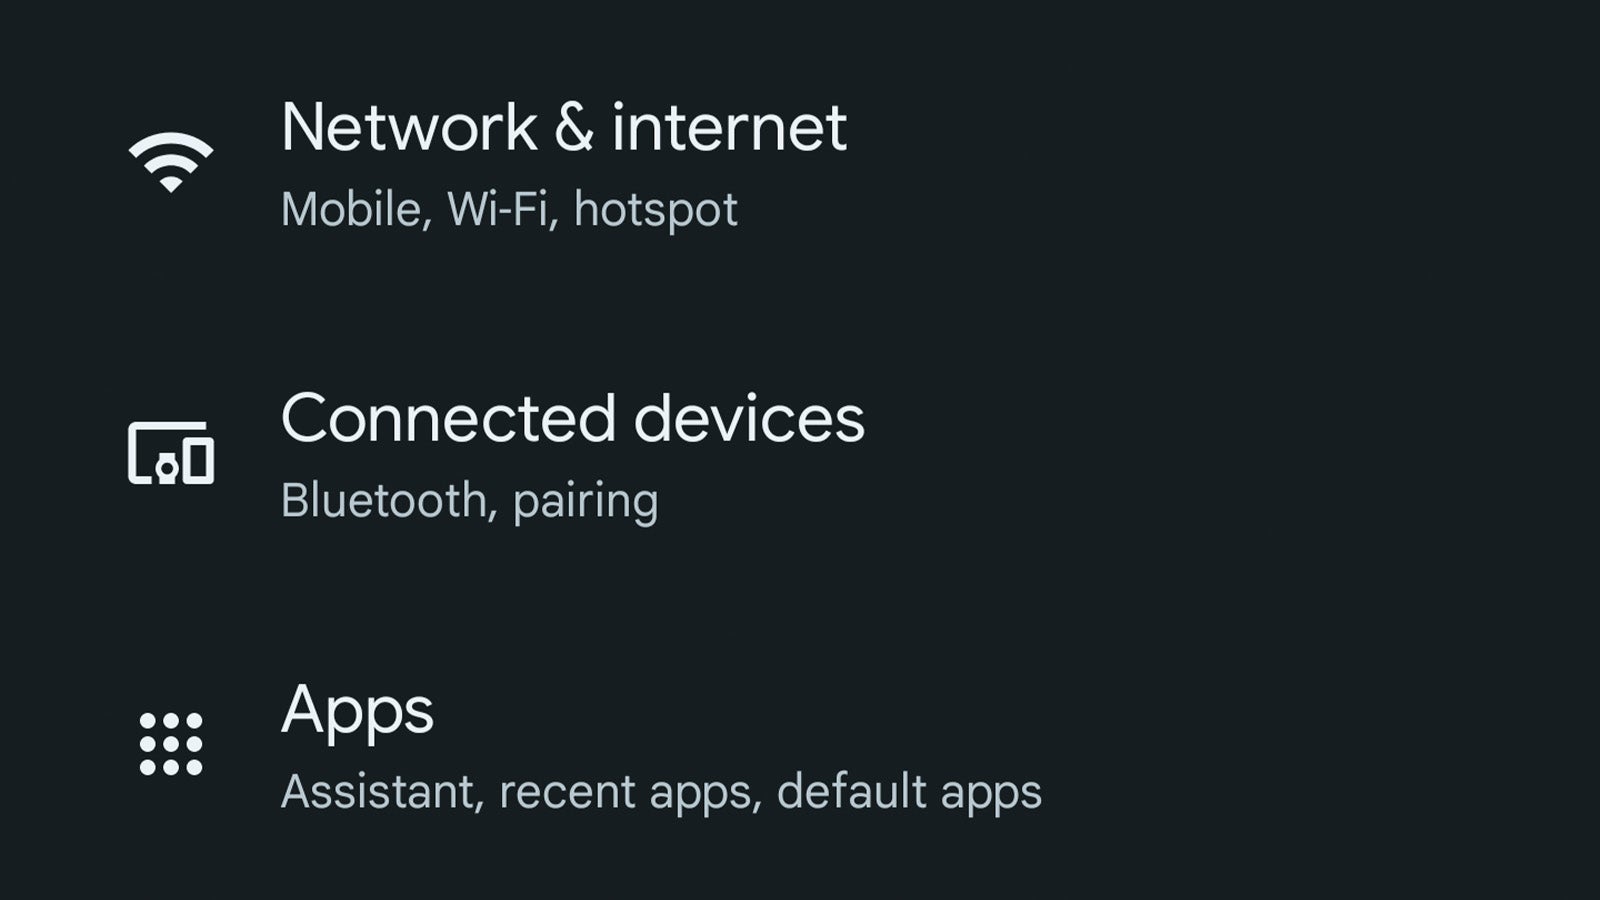
2Tap Network & internet
From the main Settings app menu, tap Network & Internet (right at the top of the app).
-
Step
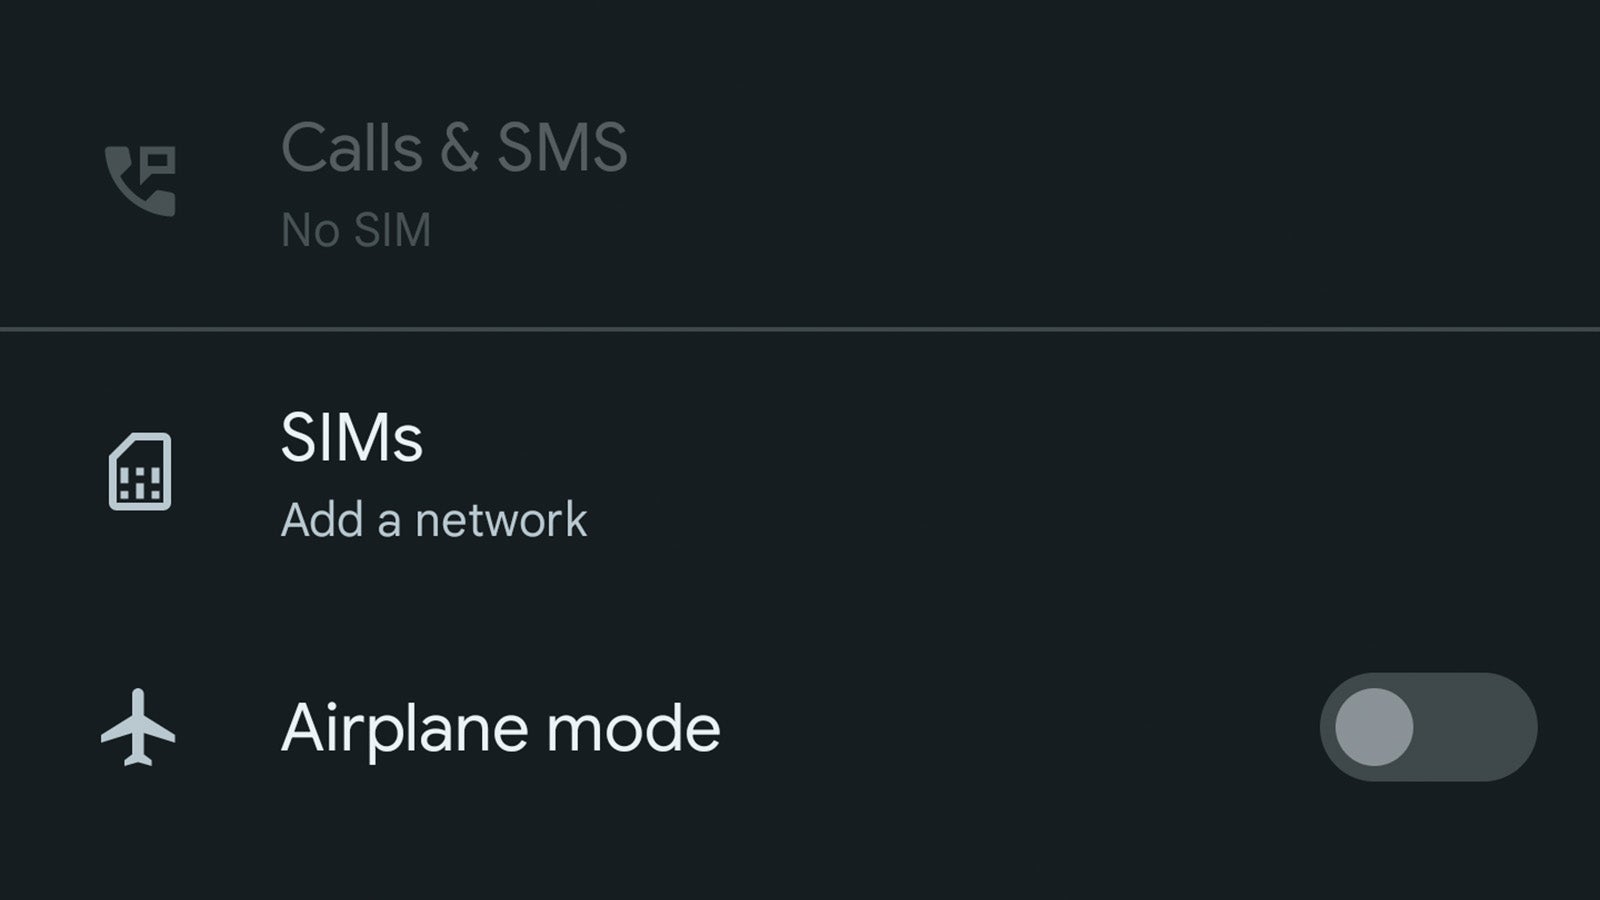
3Tap SIMs
The Network & Internet menu is where you can add a new Wi-Fi network, adjust cellular settings and more. For our eSIM purposes, tap the SIM menu.
-
Step
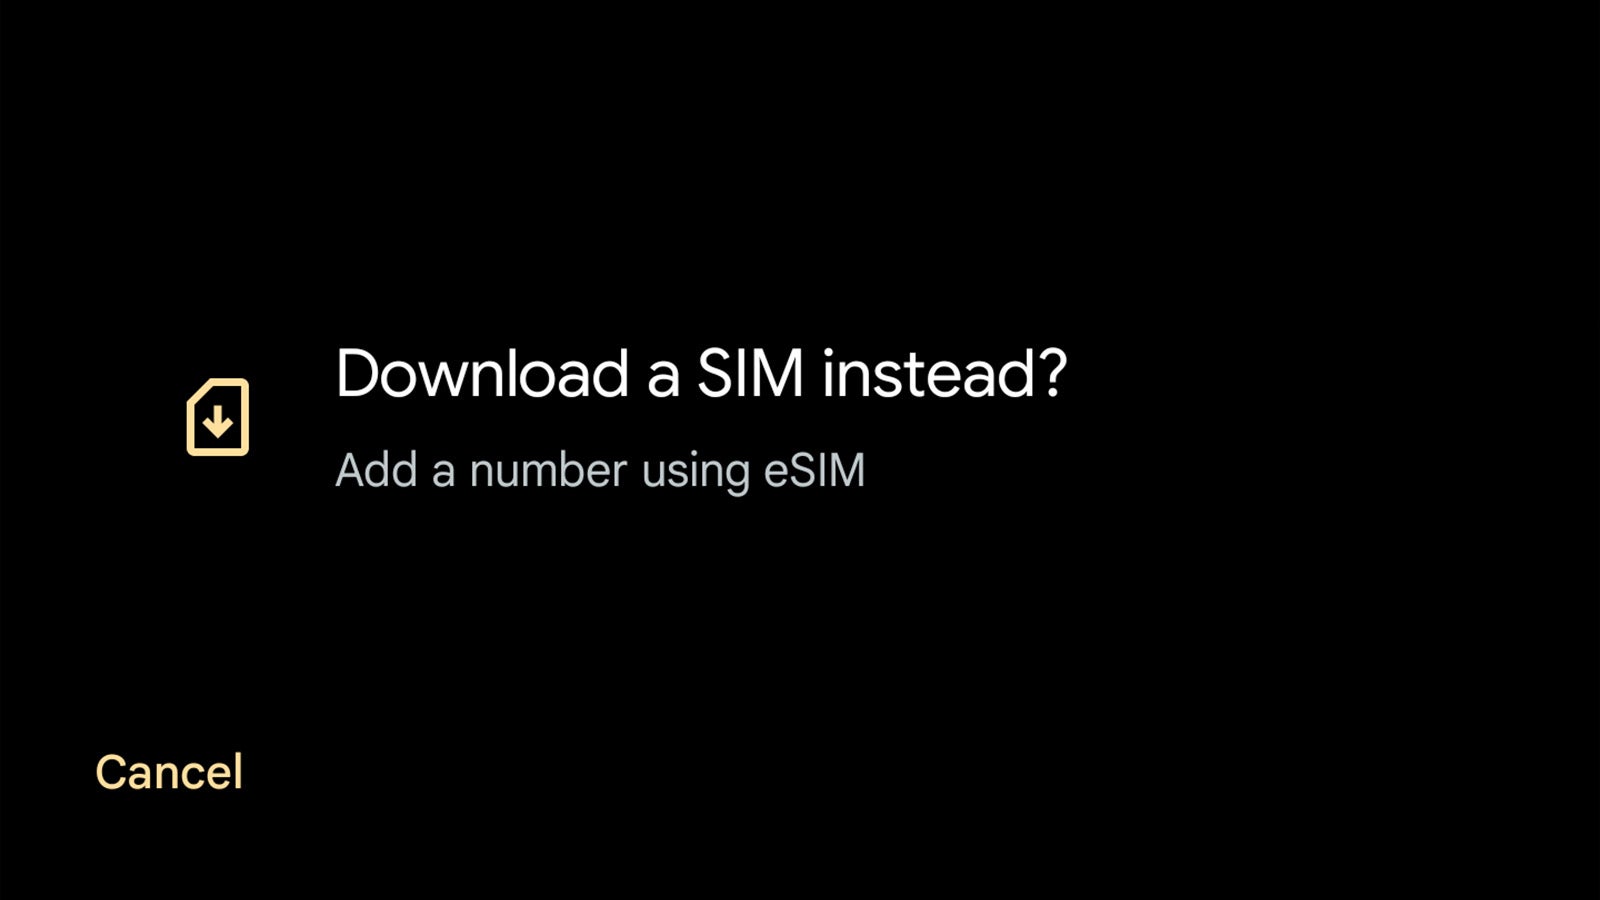
4Tap Download eSIM instead
If you’ve got a physical SIM card in your smartphone, you’ll be able to change specific settings about that SIM’s connectivity. That’s not what we’re interested in, however.
Instead, remove your old physical SIM card from your phone using the supplied SIM ejection tool (if it was in there initially) then head back to the menu and tap ‘Use eSIM instead’ at the bottom of the page to continue setup, and tap Next on the following page.
-
Step
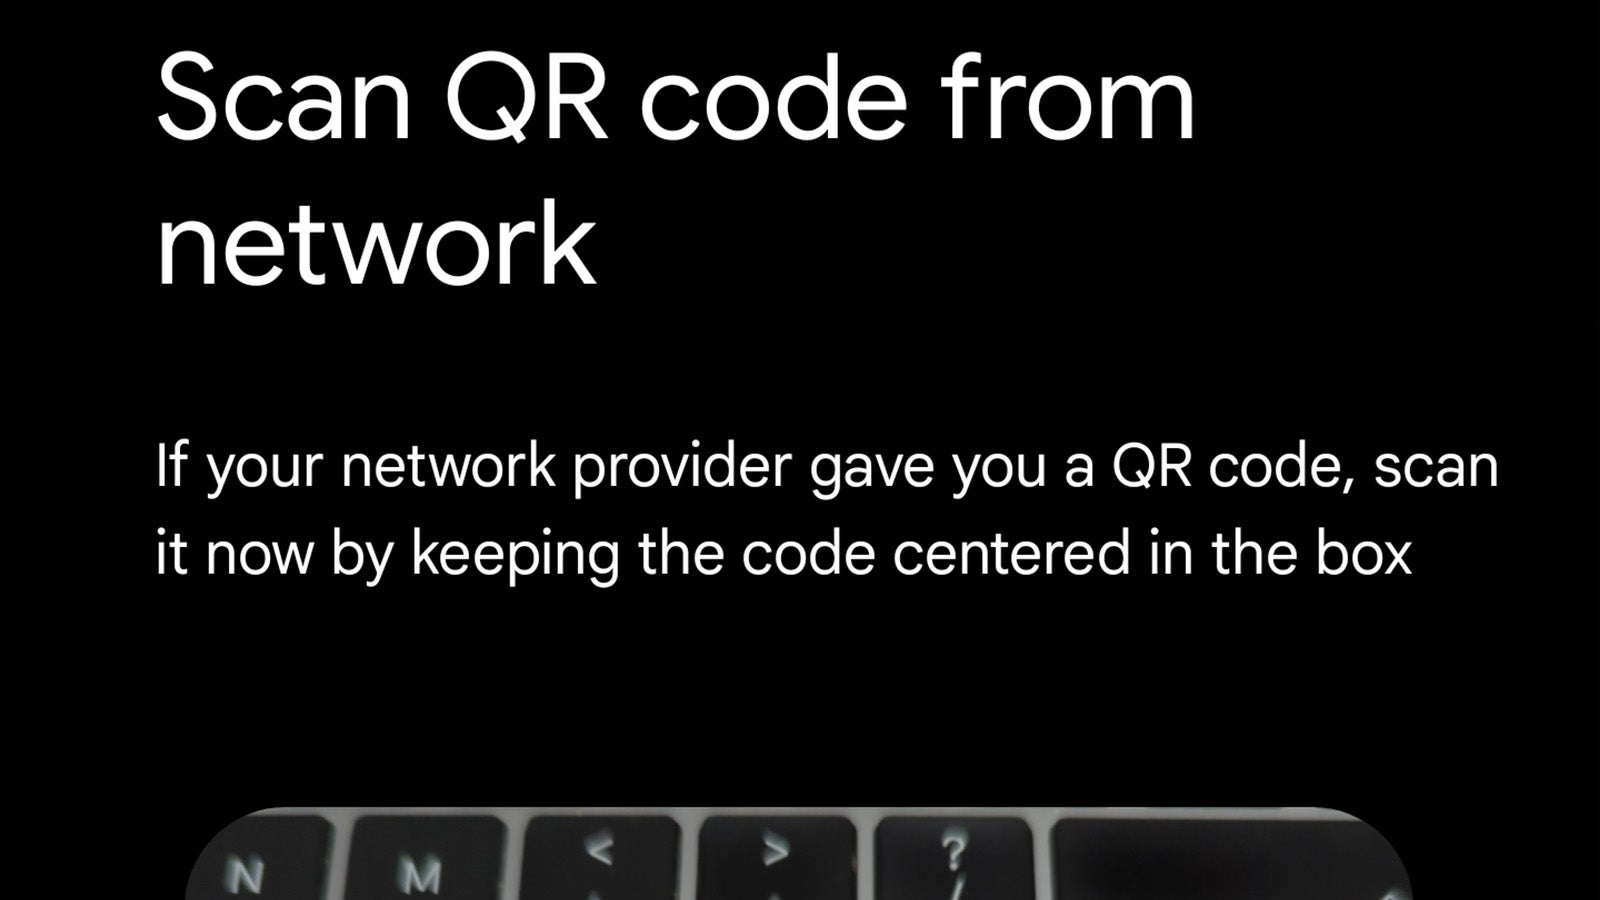
5Scan the eSIM QR code provided by your network
The next step is to use your smartphone to scan the QR code provided by your network carrier when ordering an eSIM or upgrading your contract to an eSIM variant. If you haven’t got a QR code handy, give your carrier a quick call.
If you do have the QR code handy, point your phone at it and ensure that the entire QR code is visible from the camera preview on-screen.
Once the QR code has been scanned and authenticated by your network carrier, simply tap Activate in the bottom right to begin using your new eSIM.
Troubleshooting
The process varies slightly depending on the smartphone manufacturer, with the eSIM functionality on Samsung devices found in Settings > Connections > SIM Card Manager > Add Mobile Plan.
If your phone’s Camera app supports QR code scanning, you can scan the eSIM QR code in the Camera app to start the setup process.


