Key Takeaways
- Use GarageBand on your iPhone to create custom ringtones using audio files stored on your iPhone or in iCloud, or using a song in your Apple Music library.
- Manually trim audio down to 40 seconds or less or let GarageBand take care of this for you.
- Export ringtones from GarageBand so that they appear in the list alongside Apple’s native tones.
Tired of your iPhone’s boring ringtones? Maybe it’s time to set up a custom ringtone or text tone. You don’t even need a computer, just grab your iPhone and get to work.
Start by Installing the GarageBand App
The iPhone uses Apple’s M4R file format for ringtones. Unfortunately, you won’t find too many ringtone websites handing out M4R files, they usually deal with MP3s. And if you’re trying to use a voice recording, a song, or some other generic audio file as your ringtone, it won’t be in the M4R format.
Apple’s free GarageBand app makes it easy to convert audio files to M4R. It’ll also help you set your audio file as a ringtone, which saves you the trouble of digging through your settings. GarageBand should be preinstalled on your iPhone, but you may need to reinstall it from the App Store if you have already deleted it.
Choose or Download a Ringtone
GarageBand can turn nearly any audio file from your iPhone or iCloud storage into a ringtone. So, whether you’re dealing with a voice memo, a ringtone that you downloaded from a website, or a song from your Apple Music library, you’re good to go.
Some websites, like Zedge, offer generic ringtones and meme soundbites for free. If you want something more specific, I suggest using EzMP3 or a similar website to convert YouTube videos into MP3 audio files. The length of the MP3 doesn’t matter as we’ll trim it down in GarageBand
Import Your Audio File Into GarageBand
Open the GarageBand app on your iPhone and start a new project by pressing the “+” button in the top-right corner of your screen. Any instrument is fine, it doesn’t matter which one you pick. I went with the piano because that’s the default instrument.
Once you’re in instrument view, tap the Tracks View icon in the top-left corner of your screen. GarageBand will open a horizontal table and reveal some new controls that weren’t available on the previous screen.
Tap the Loop Browser icon in the top-right corner of your screen. By default, GarageBand will show you a collection of “Apple Loops,” which are preset samples for music production.
We want to pull a file from your iPhone or iCloud storage, so press the “Files” tab at the top of your screen and press “Browse items from the Files app.” Choose the file that you want to turn into a ringtone, and it’ll appear in the Loop Browser (this may take a second if your file is stored in iCloud).
Now, tap and hold your audio file in the Loop Browser. Drag it in any direction, and it’ll fall into GarageBand’s Tracks View.
If you’re trying to use a song from your Apple Music library, go to the “Music” tab instead of the “Files” tab. Find the song, tap and hold it, and drag it in any direction.
Turn Your GarageBand Project Into a Ringtone
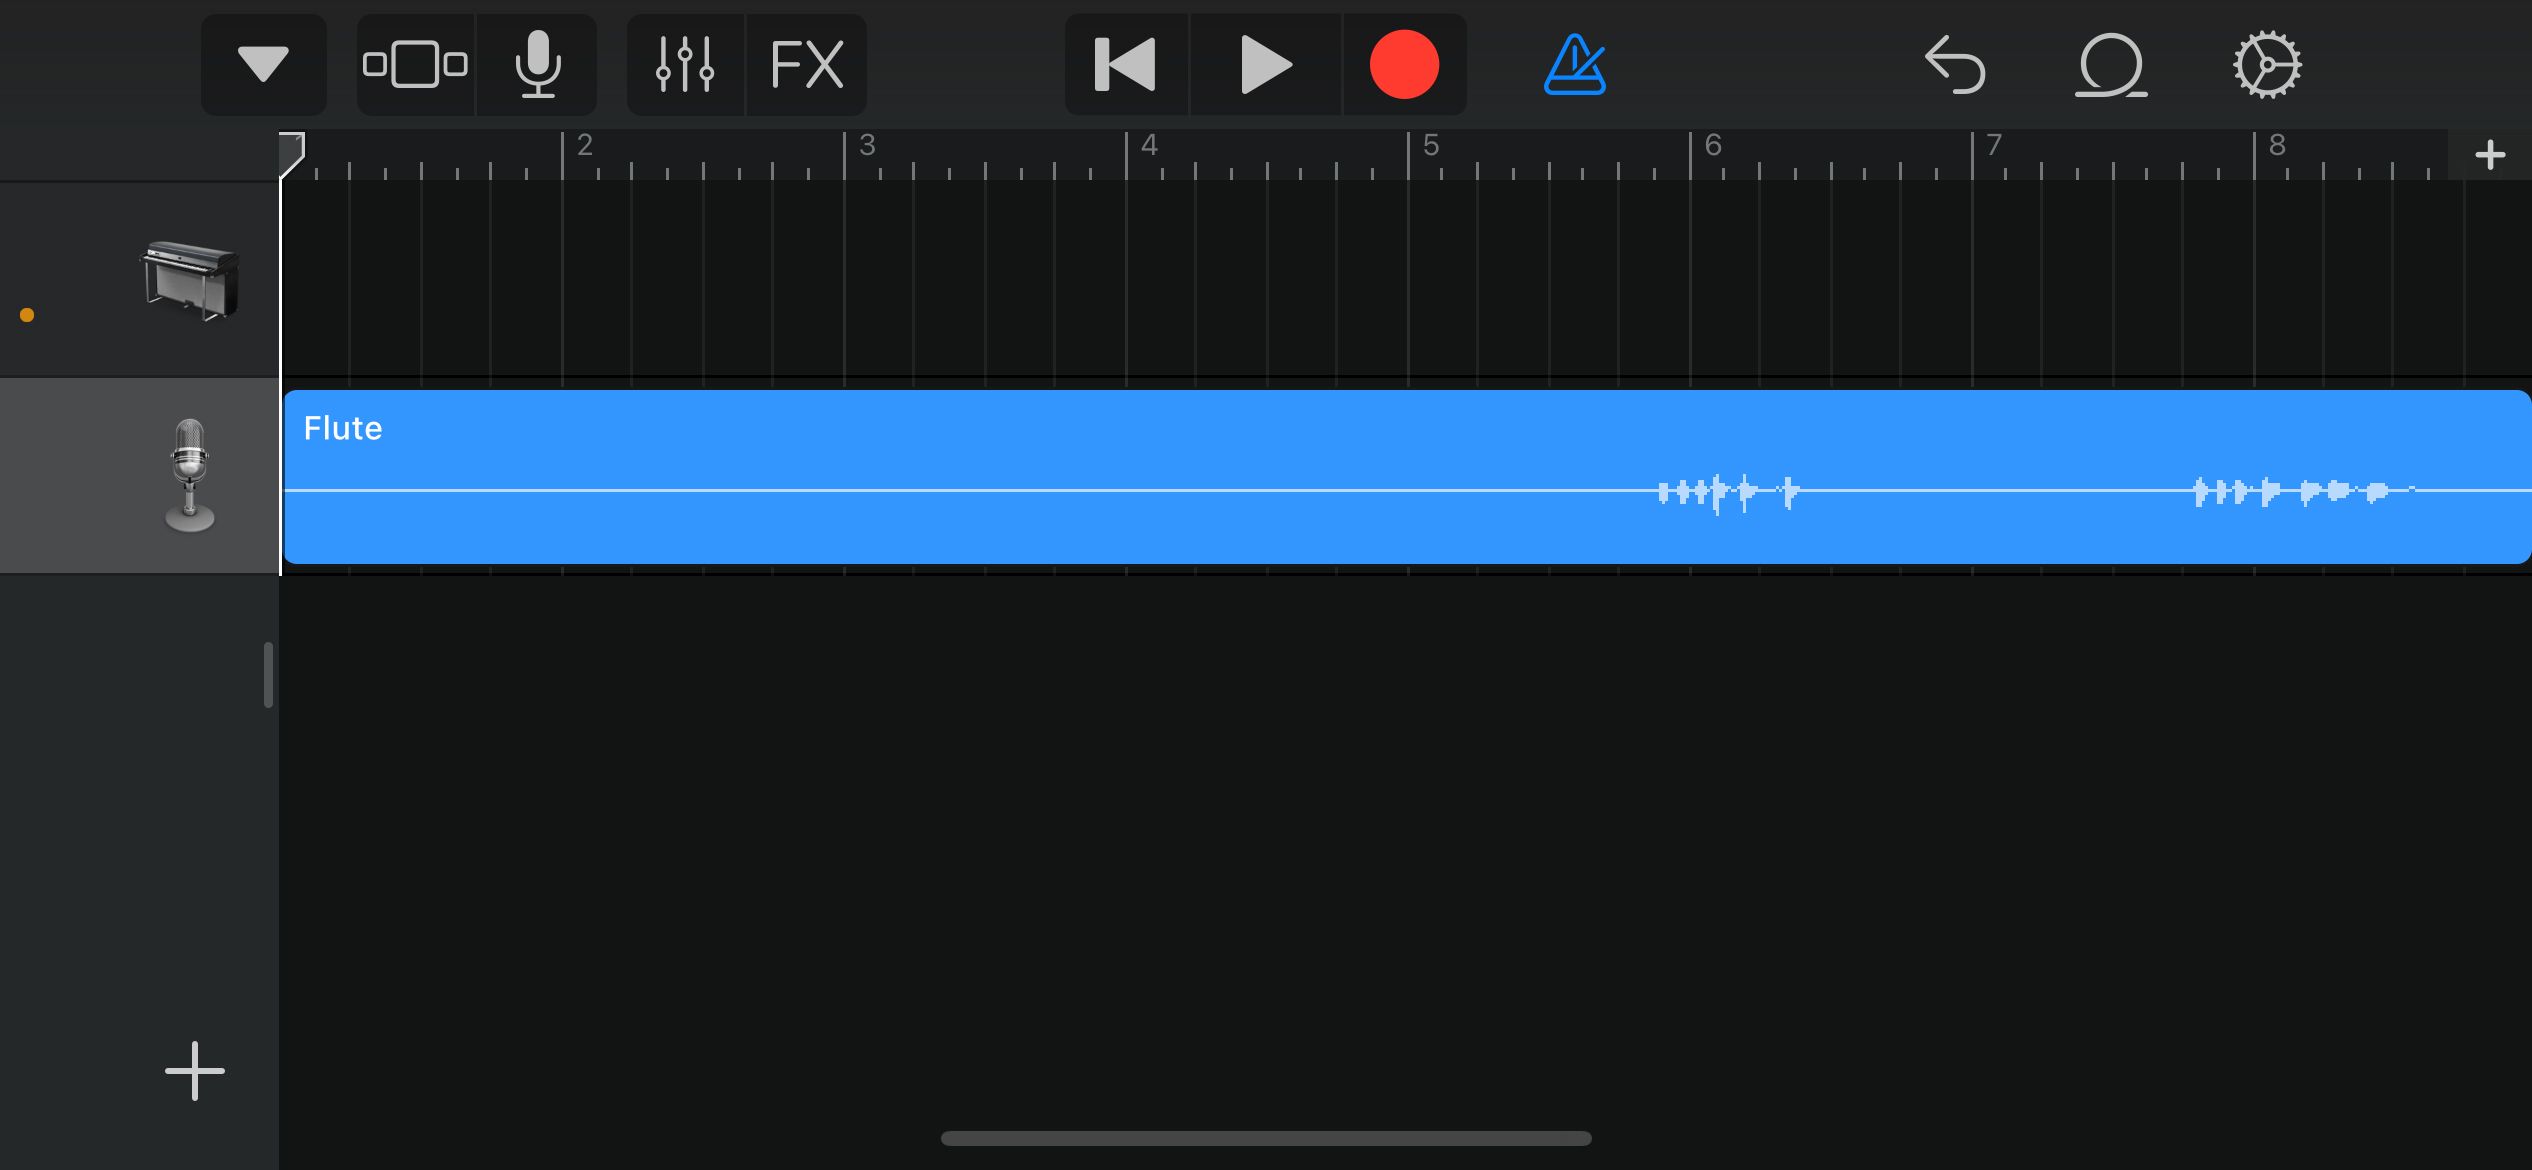
Your audio file should now appear as a track in GarageBand’s horizontal Track View. You just need to trim it down, convert it to the M4R ringtone format, and assign it as your ringtone or text tone.
As a rule, iPhone ringtones cannot be longer than 40 seconds in length. GarageBand will automatically trim your audio down to 40 seconds if you don’t do it yourself—this may be fine in some situations, but if you’re using a song with a quiet intro, it’s best to tighten things up by hand.
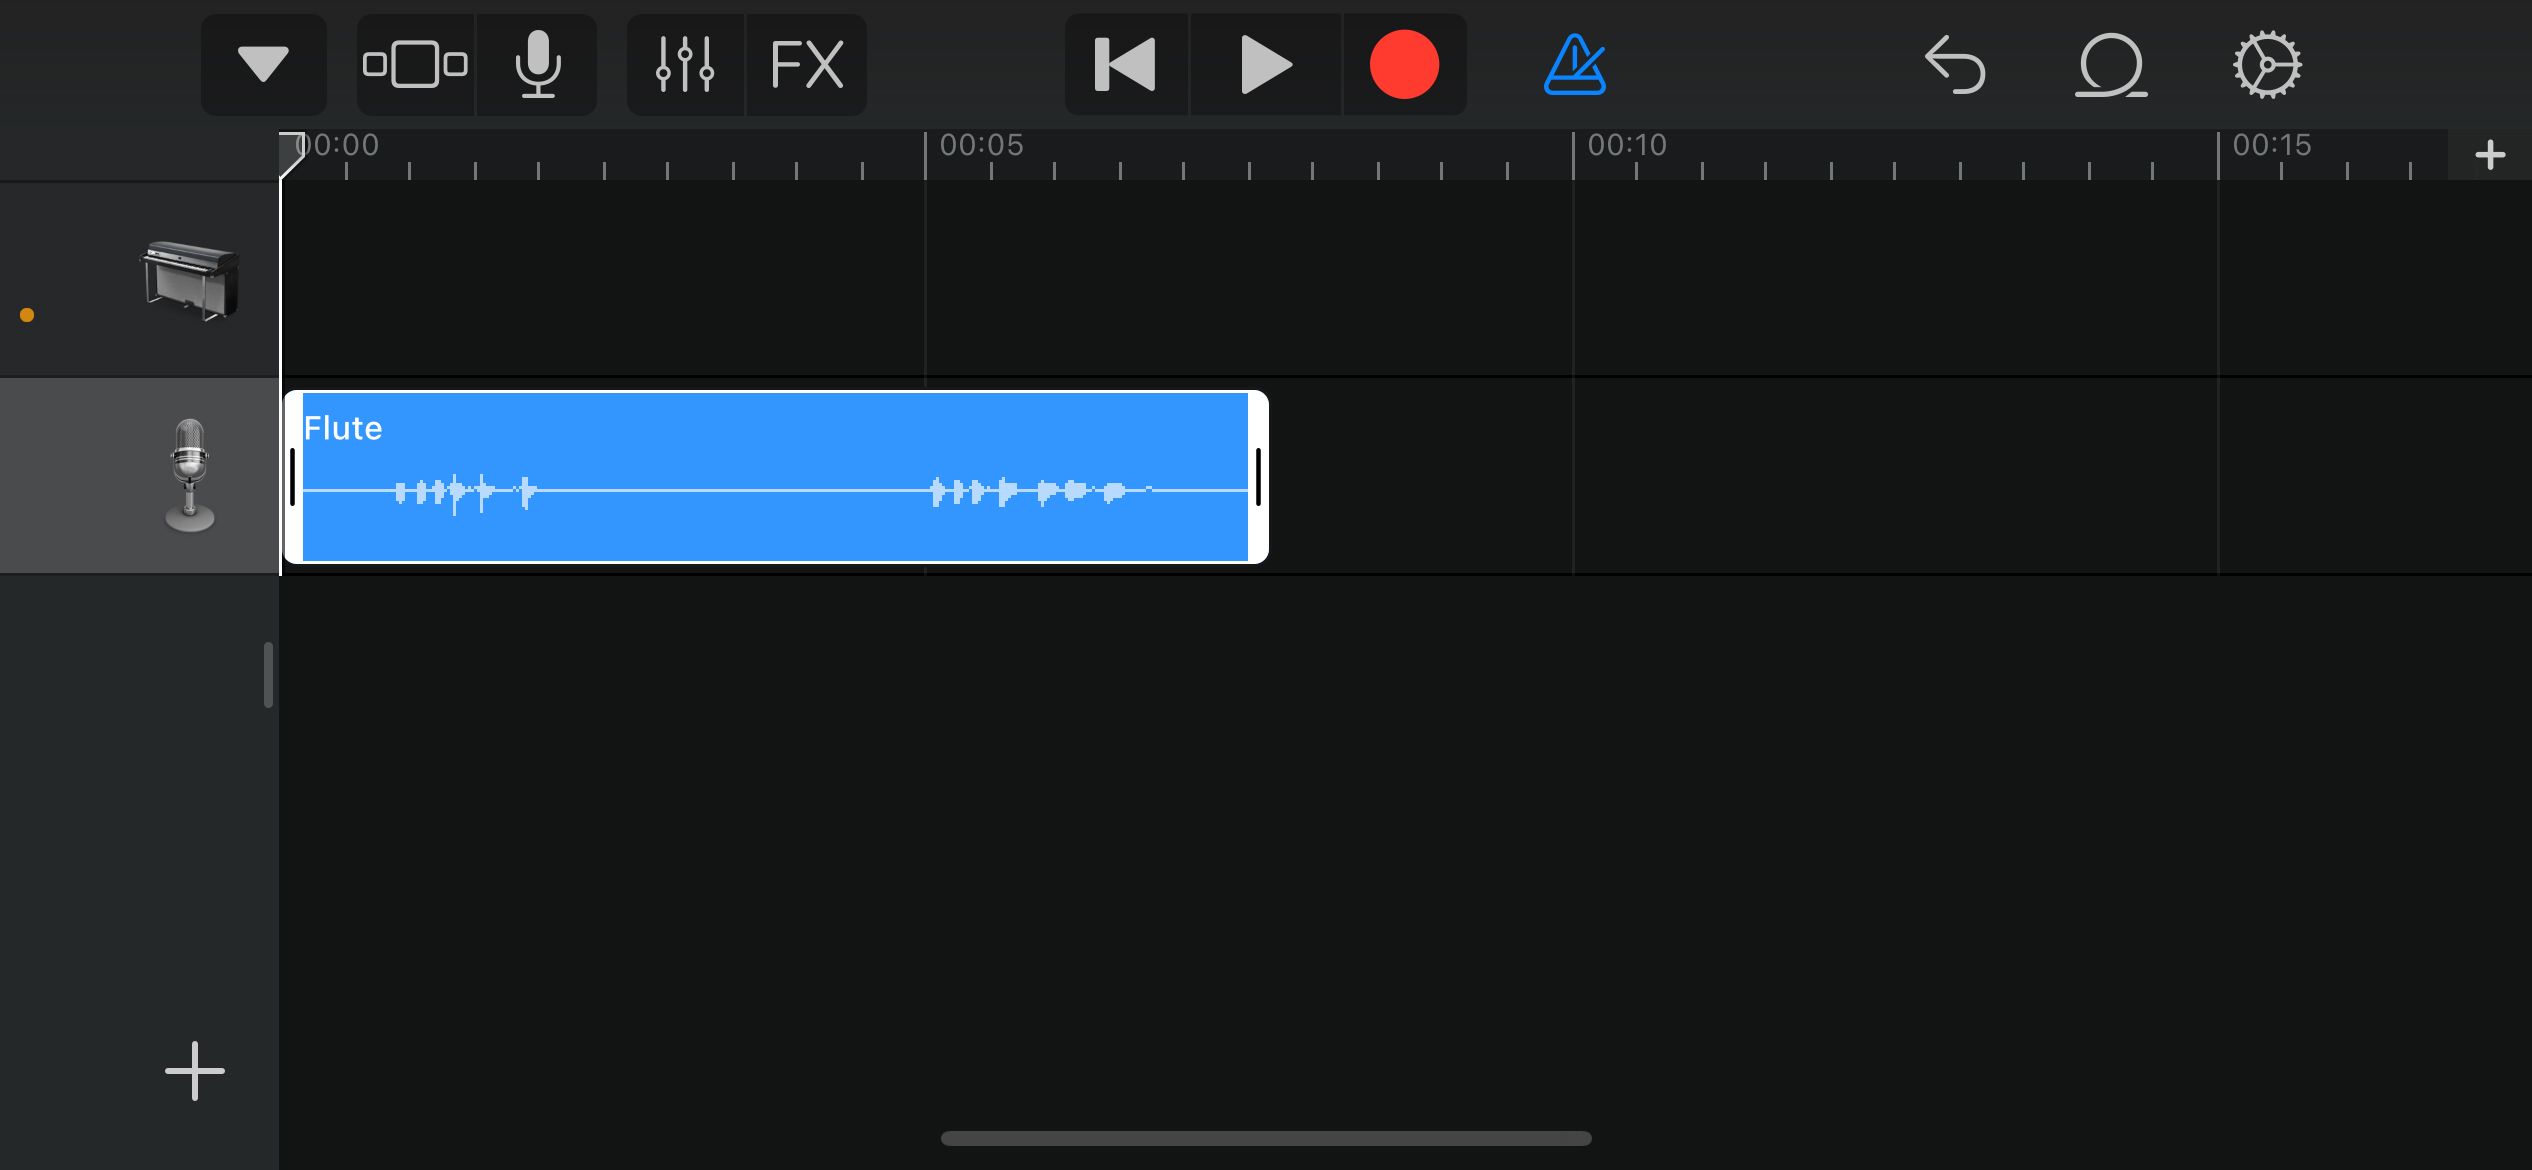
Tap the “Settings” cog at the top-right of GarageBand. Enable “Time Ruler.” GarageBand will now show you the length of your ringtone in seconds.
If you need to manually trim your audio file, tap it and drag the white blocks that appear on its left and right side. After trimming, drag the track to the 00:00 mark and press the “Play” arrow to make sure that it sounds good.
Now it’s time to return to the GarageBand home screen. Tap the dropdown arrow at the top-left corner of your screen and select “My Songs.”
Your project will appear on the GarageBand home screen as “My Song,” “My Song 2,” or something similar. Tap and hold your GarageBand project’s icon to bring up a context menu. Then, tap the “Share” button.
You’ll be met by three big buttons, including one that says “Ringtone.” Select the “Ringtone” option, and you’ll be asked to give your ringtone a name.
After naming your ringtone, press the “Export” button at the top-right corner of your screen.
Your iPhone will say “Ringtone Export Successful.”
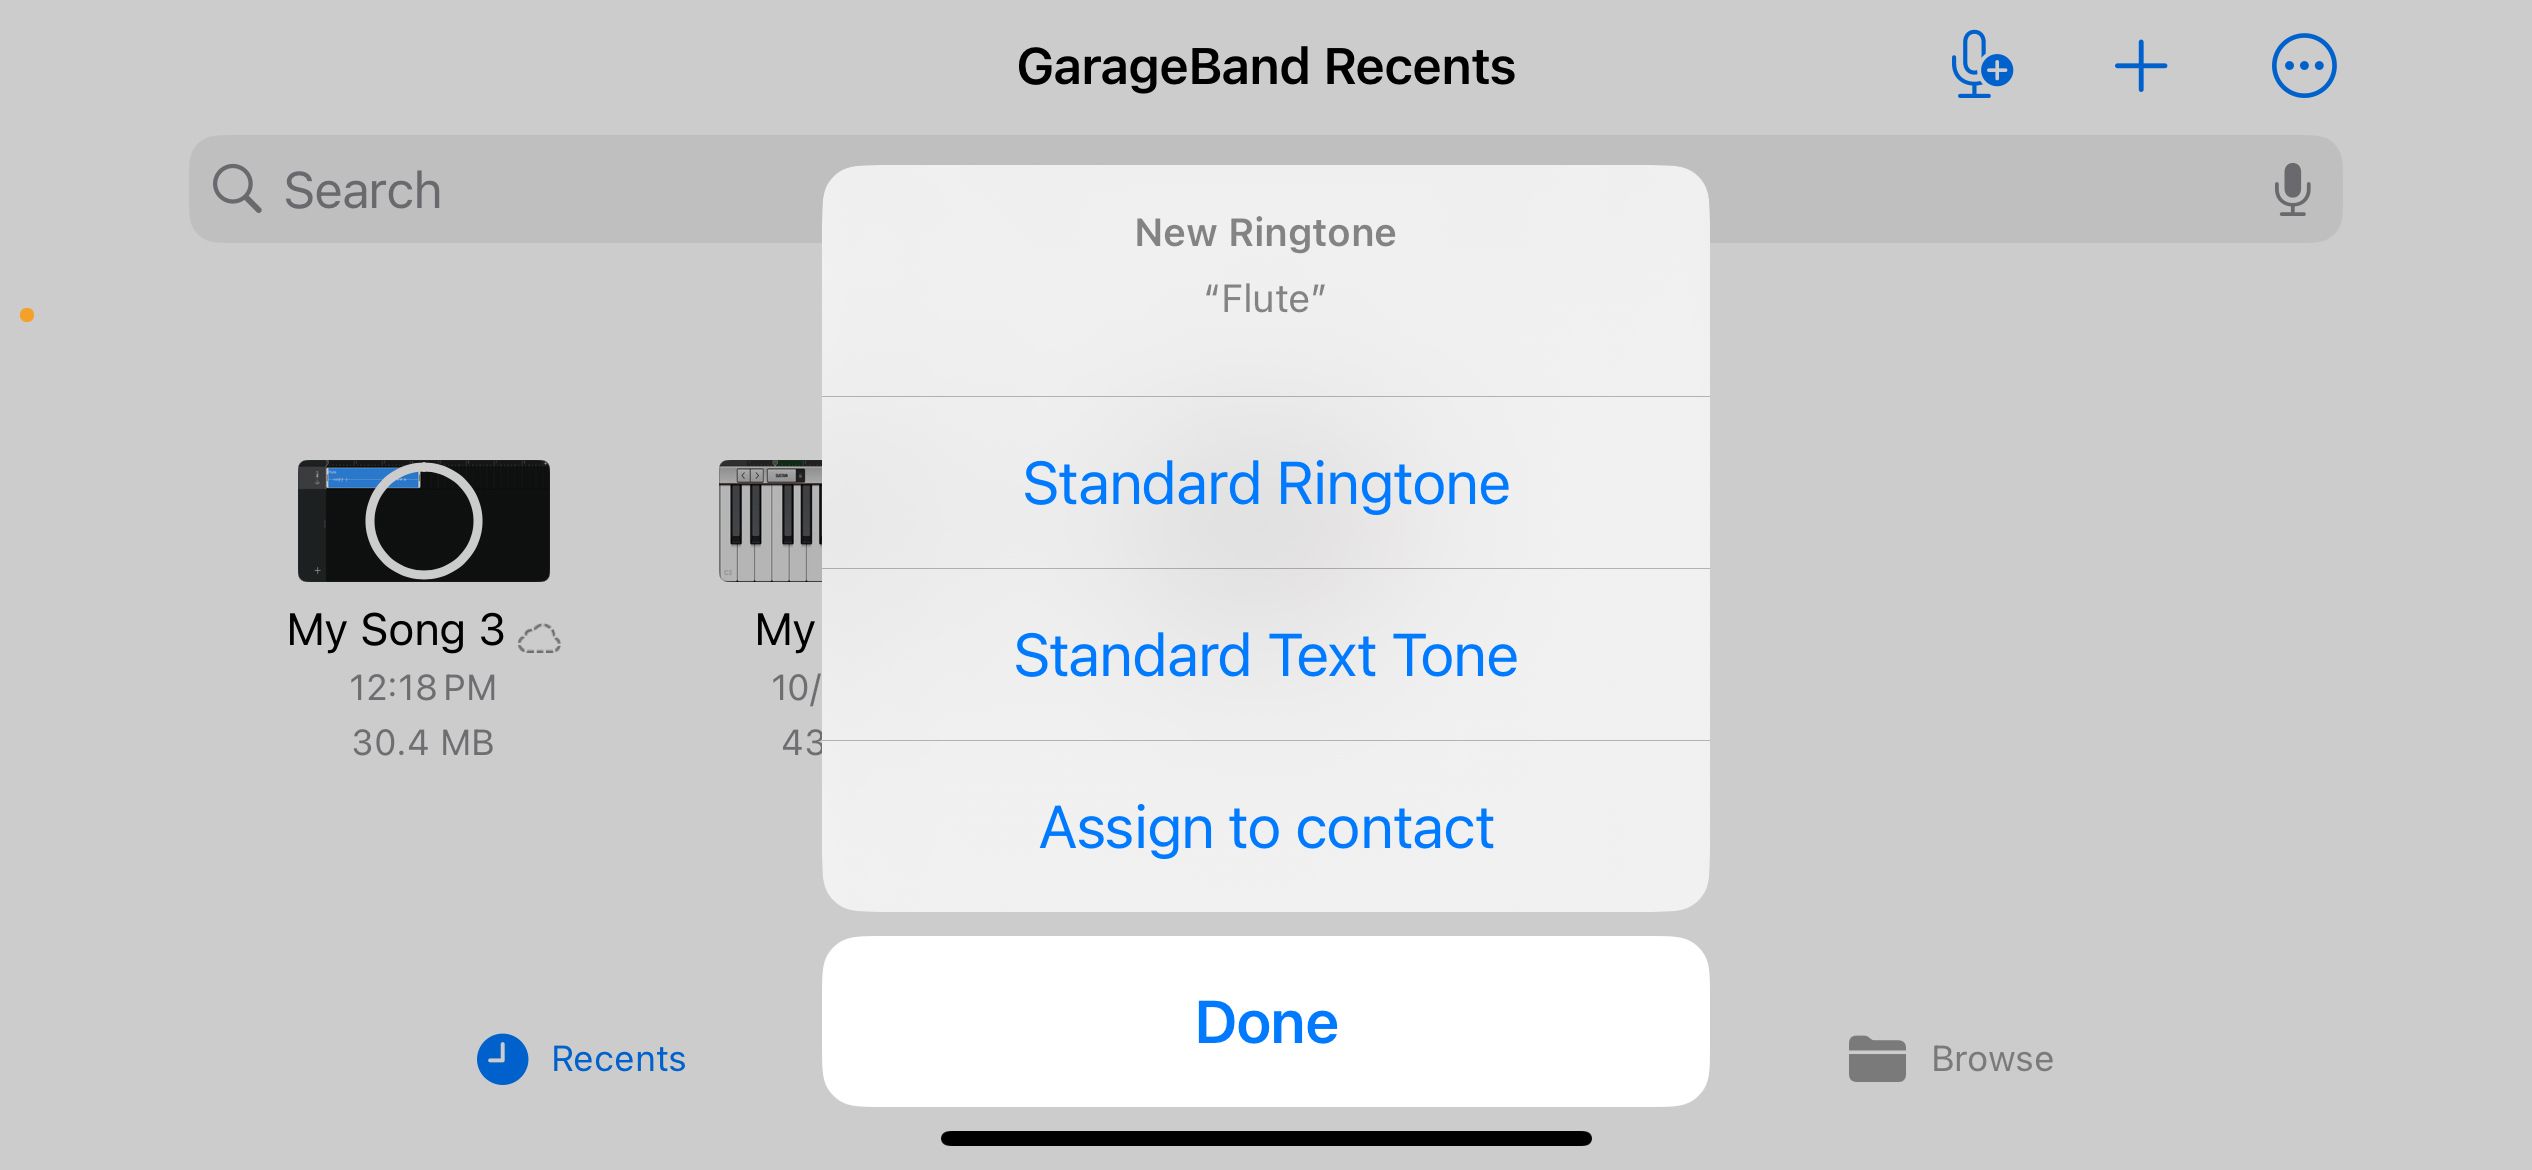
Select “Use sound as…” when prompted, and you’ll see three options for how to use your ringtone. If you want to set it as your standard call tone, choose “Standard Ringtone.” The “Standard Text Tone” option will play your ringtone when you receive a text message, while “Assign to contact” lets you assign the ringtone to a specific person on your contact list.
And that’s it! Any ringtone you export from GarageBand will appear alongside Apple’s default ringtones in the “Sound & Haptics” section of your iOS Settings. In other words, you shouldn’t need to re-export ringtones.


