You can cut and paste on your Mac, but this functionality behaves differently in Finder. This can be jarring for newcomers, and may even bug die-hard Mac users. Thankfully, there’s a small free app that “fixes” this inconsistency.
Cut Files and Folders Using Command X
Command X is a free app that adds Windows-style cutting for files and folders to the Mac. This allows you to hit the Command+X keyboard shortcut to paste a file in a new location, rather than using the default macOS copy and move command instead.
Grab and install the app from the App Store (or grab the non-App Store version from the official website), launch it, and then provide the necessary permissions required to control your Mac by enabling the toggle next to “Command X” under System Settings > Privacy & Security > Accessibility. Now relaunch the app.
You can now use the Command+X keyboard shortcut in Finder to “Cut” items, just like you’d use Ctrl+X in File Explorer on a Windows PC. It works pretty much exactly how you’d expect with one caveat: when you “Cut” a file or folder you’ll hear a “snip” sound, but you won’t see any visible feedback.
“Cut” behavior already exists elsewhere on macOS, like when editing text or when using apps like Affinity Photo to edit photos or DaVinci Resolve to edit video. This app expands this functionality to the macOS Finder. The app’s FAQ states that “the files are not touched until you paste” so there is no risk of data loss if you forget to paste after cutting.
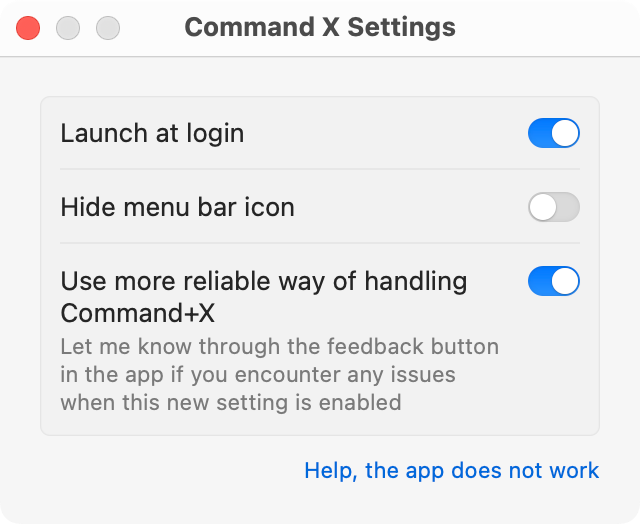
Command X will place a small menu bar item in the top-right corner of the page (which may be automatically hidden by menu bar tidying apps). Click on it and choose Settings to access a few limited preferences, like launching the app at login and hiding the menu bar icon.
You can also rate the app, read the FAQ, visit the website, report bugs, and provide feedback or debugging information for any issues you encounter.
Why Bother With Command X?
This Finder inconsistency is one of the more jarring aspects of moving from a Windows PC to a Mac, so the app may be worth it to switchers. Even if you’re used to Apple’s way of moving files, Command X might still be worth your time.
Copy and paste works almost identically between the two systems, but when it comes to moving a file on a Mac you first have to copy and then move it by remembering a slightly different keyboard shortcut.
There’s no “right” way of doing this of course, and which method you prefer will depend largely on personal preference and what you’re used to. Command X makes it easier to move files around, whereas Apple’s default requires a bit more care which might stop you from moving something by mistake.
In testing the app worked fine with free Mac clipboard manager Maccy, one of many useful single-purpose apps I used every day on my Mac.
You Can Always Use the “Move” Command
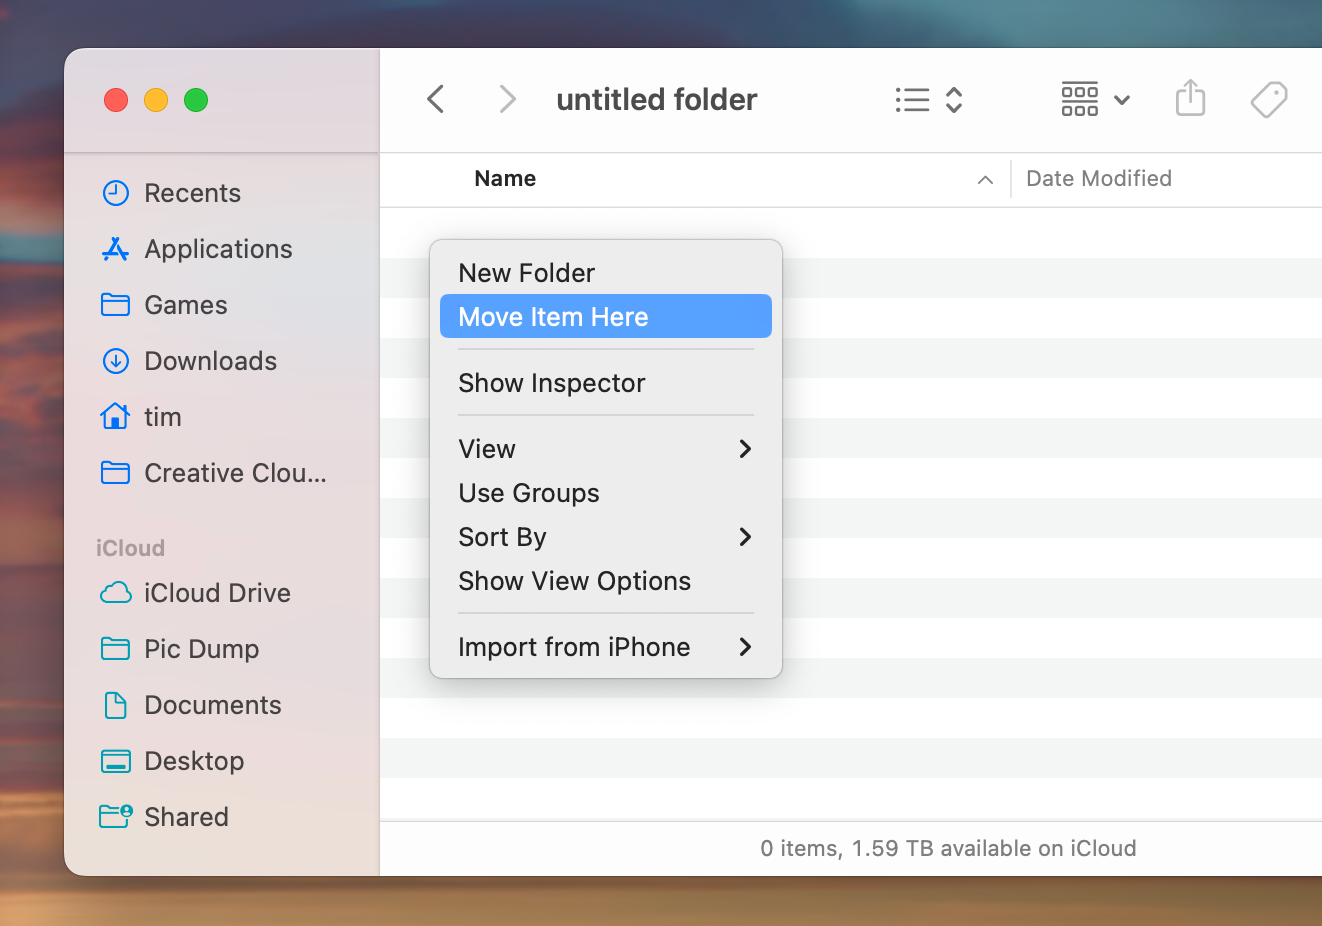
The Command X app isn’t a necessity. You can move files and folders around on your Mac the good old fashioned way: first by copying a file or folder with Command+C (or right-click, then “Copy”), then moving the file with Command+Option+V (or right-click, then hold Option and choose “Move Item Here”).
All that the Command X does is standardize this behavior across the macOS platform. The one drawback that the app introduces is an inability to cut text from a file’s name when renaming a file in Finder (since the app cannot differentiate between text and the folder). This is a bug that can’t be fixed, so if it’s a big deal to you then you might want to stick with Command+Option+V.
Looking for more useful Mac apps? Check out our favorite Mac apps to save time and stay focused, make a few tweaks to macOS to boost your productivity.


