Key Takeaways
- To manually back up sticky notes, head to the “%LocalAppData%\Packages\Microsoft.MicrosoftStickyNotes_8wekyb3d8bbwe\LocalState” path and copy the “plum.sqlite” somewhere safe.
- To sync notes with your Microsoft account, launch the Sticky Notes app, click the gear icon, and choose “Sync Now.”
- You can also manually copy and paste your notes’ contents to make a manual backup.
Backing up your sticky notes ensures you have a safe copy of your data to go back to in case something goes wrong. I’ll show you several methods—both online and offline—to make a backup of sticky notes in Windows 11.
Using File Explorer
The easiest manual way to back up sticky notes in Windows 11 is by using File Explorer. You copy the file containing all your notes and place it somewhere safe.
To do that, launch File Explorer by pressing Windows+E. Select the address bar in File Explorer, paste the following path in the bar, and press Enter:
Another way to get to the below path is by opening Run using Windows+R, typing the path in the open box, and selecting “OK” or pressing Enter.
%LocalAppData%\Packages\Microsoft.MicrosoftStickyNotes_8wekyb3d8bbwe\LocalState
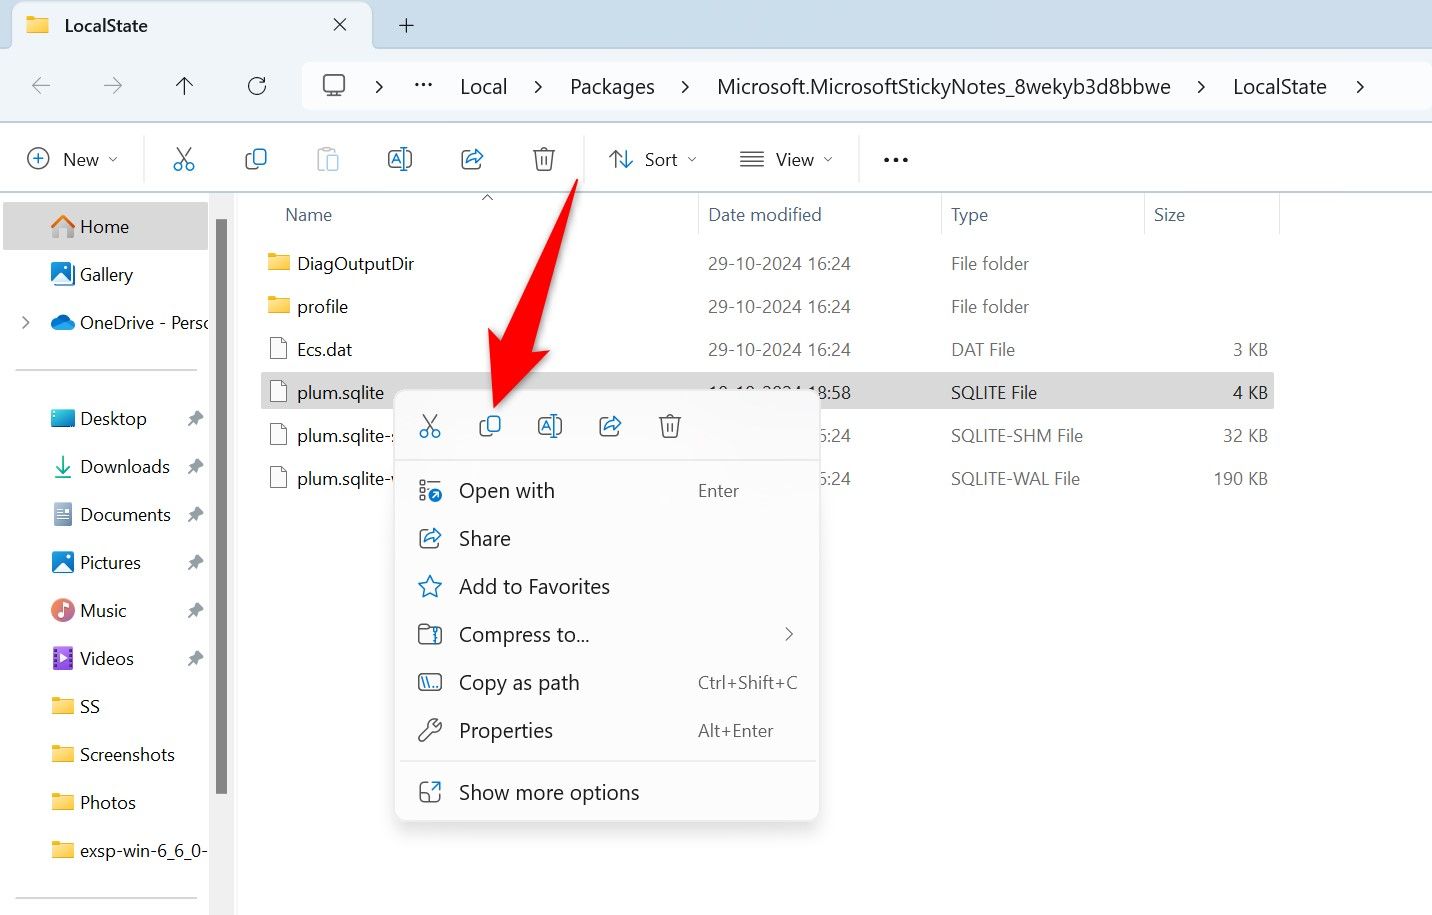
You’ll see the sticky note app files in the open folder. Here, right-click the file that says “plum.sqlite” and choose “Copy.” This is the file containing all your notes.
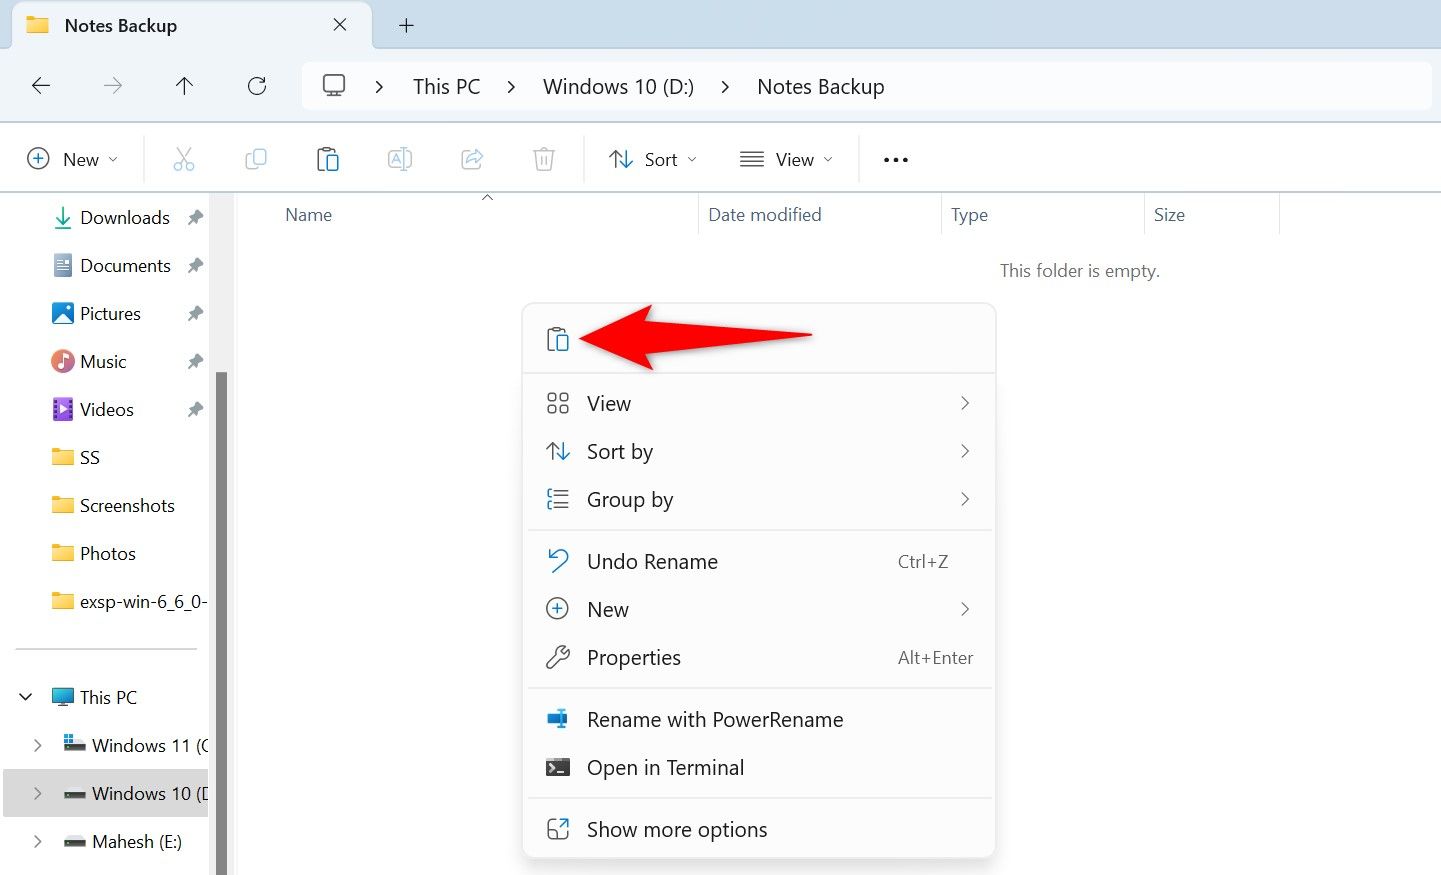
Open the folder where you want to save the backup, right-click anywhere blank, and choose “Paste.”
You can also upload the plum.sqlite file to a cloud storage service, like Google Drive or Dropbox, to create a cloud copy of your notes. This allows you to have a sticky notes backup outside of your PC’s storage, letting you restore notes even when your machine won’t respond.
Later, to restore your notes from the backup, open Run using Windows+R. Type the following in the open box and select “OK” or press Enter:
%LocalAppData%\Packages\Microsoft.MicrosoftStickyNotes_8wekyb3d8bbwe\LocalState
In a new File Explorer window, open the folder containing the plum.sqlite file. Right-click the file and choose “Copy.” Get back to the folder you launched using Run, right-click anywhere blank, and choose “Paste.” Let Windows overwrite the file.
Launch the Sticky Notes app, and your backup will be restored.
Automatically Back Up Sticky Notes With a Script
You can automate backing up sticky notes by creating a batch file and running it at a pre-defined schedule with Task Scheduler. This automates the entire backing up process for you.
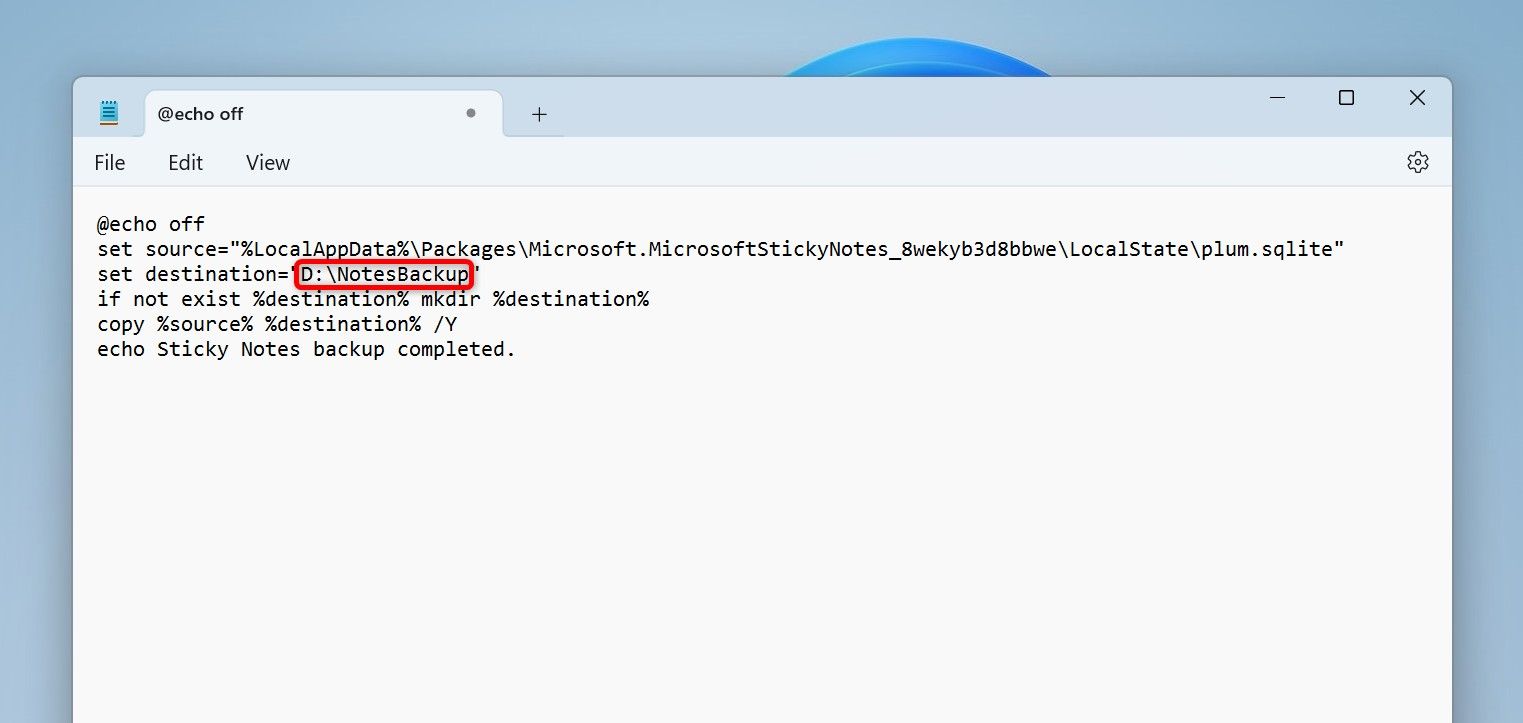
To do that, launch Windows Search, type Notepad, and select the app in the search results. Copy the following code and paste it in your new Notepad document. In the code, replace D:\NotesBackup with the path where you want to save the notes backup.
@echo off
set source="%LocalAppData%\Packages\Microsoft.MicrosoftStickyNotes_8wekyb3d8bbwe\LocalState\plum.sqlite"
set destination="D:\NotesBackup"
if not exist %destination% mkdir %destination%
copy %source% %destination% /Y
echo Sticky Notes backup completed.
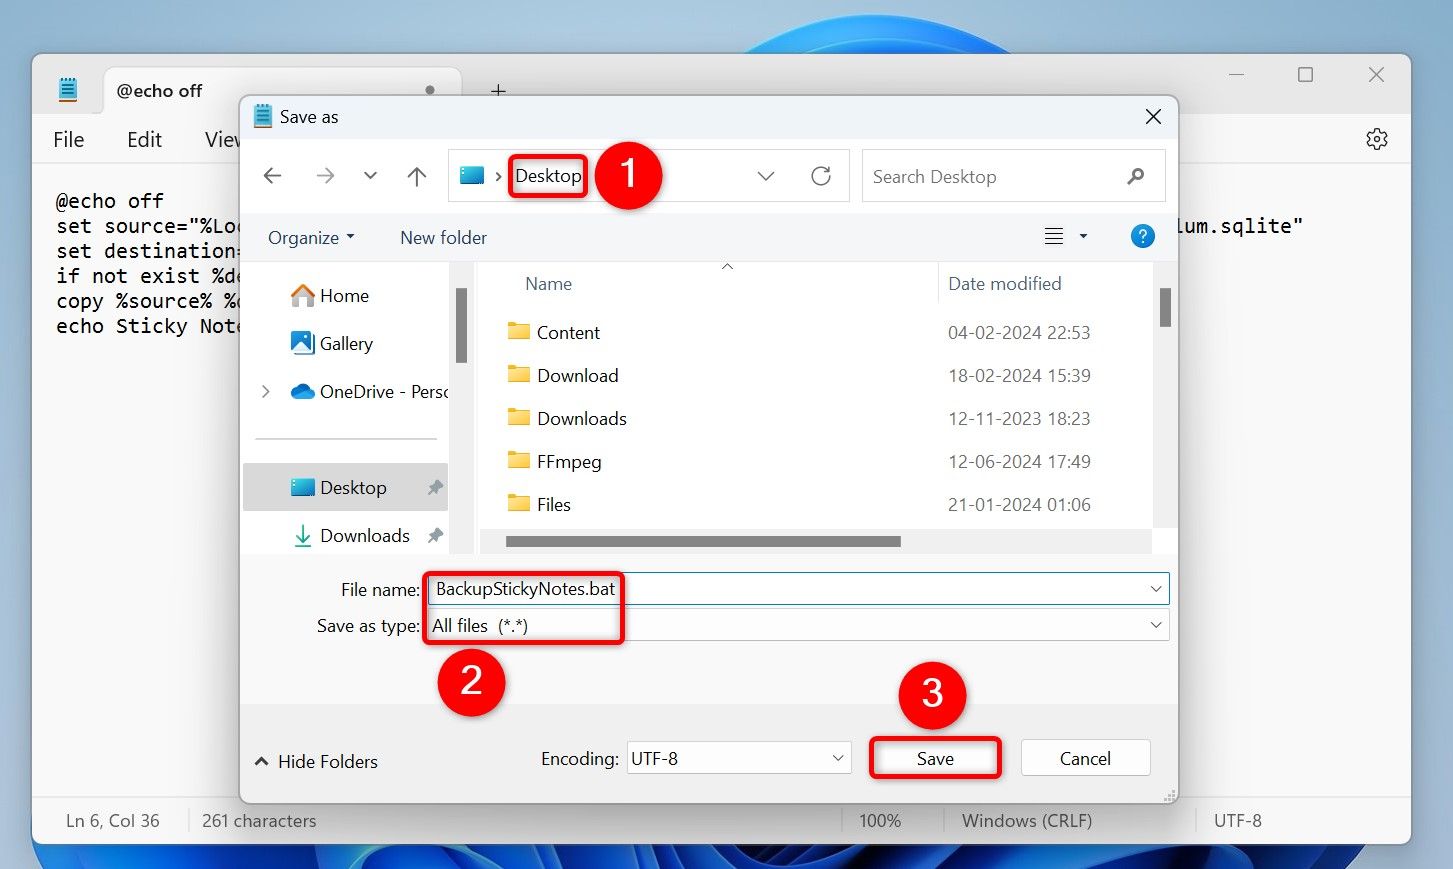
From Notepad’s menu bar, select File > Save As or press Ctrl+Shift+S. On the Save As window, select the folder in which you want to save the batch file. Click the “Save as Type” drop-down menu and choose “All Files.” Click the “File Name” field, type a name for the file, add “.bat” at the end of the name so it’s a batch file, and choose “Save.”
Each time you want to back up your sticky notes, double-click the newly created batch file. To make the file run at a predefined time automatically, launch Windows Search, type Task Scheduler, and open the utility.
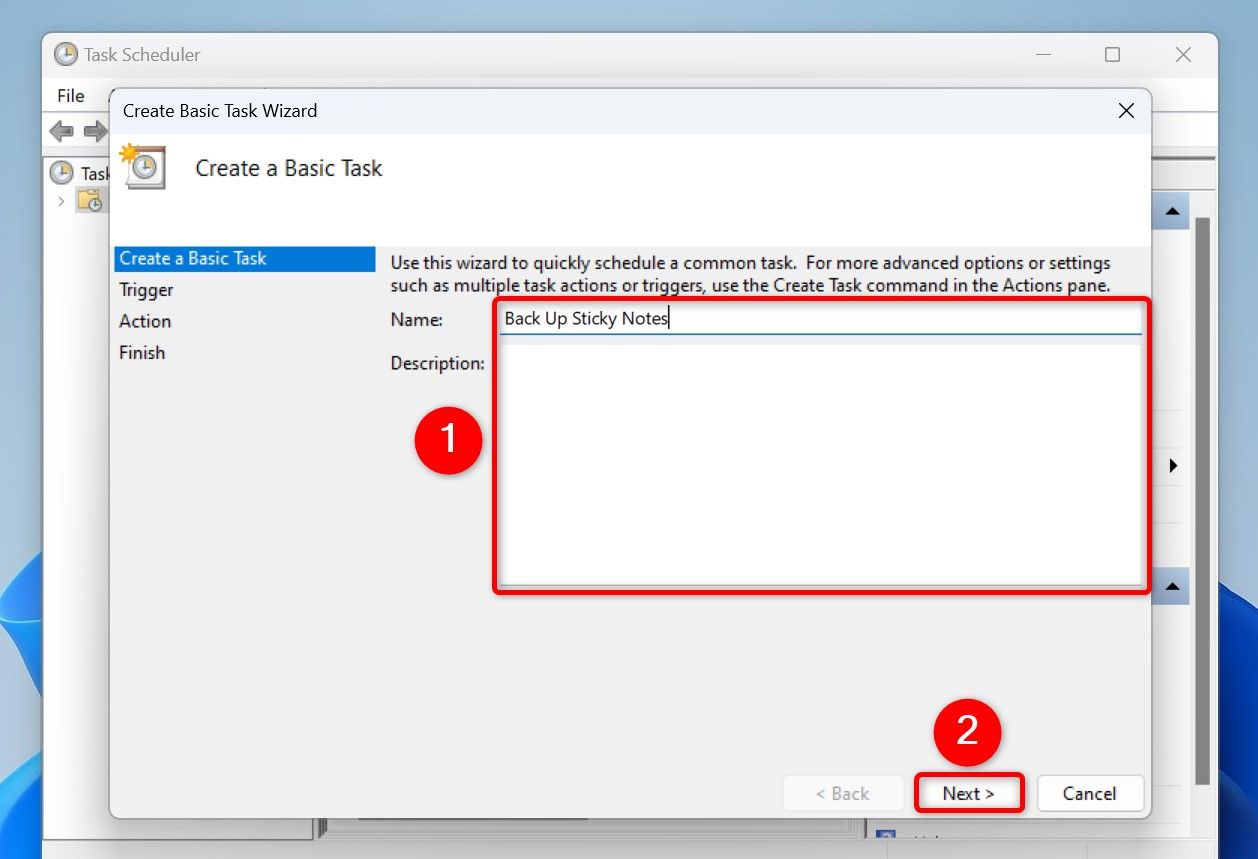
From Task Scheduler’s menu bar, choose Action > Create Basic Task. On the Create Basic Task Wizard, select the “Name” field and type a name for the task. This can be something like “Back Up Sticky Notes.” Optionally, enter a description for the task. Then, click “Next.”
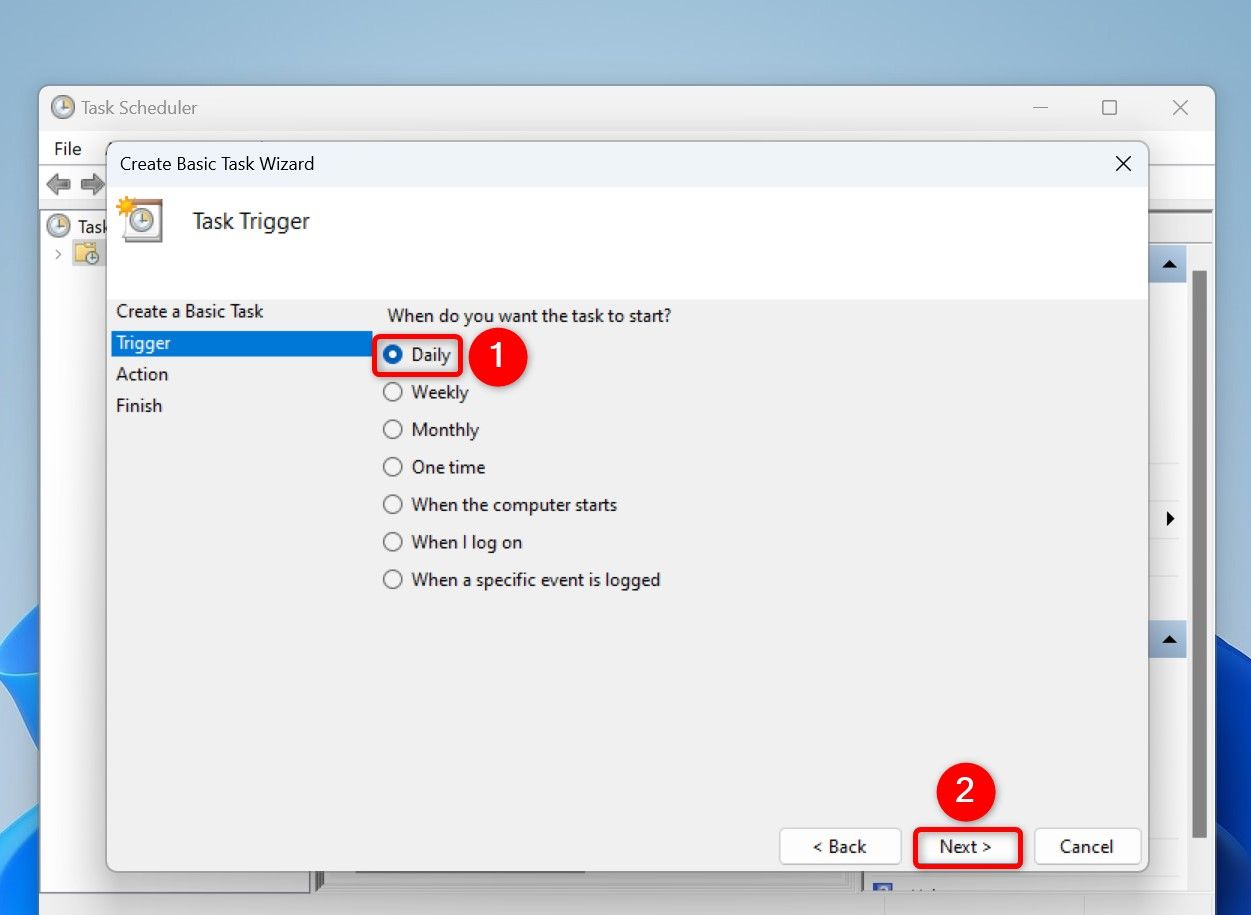
On the screen that follows, choose how often you want to back up your sticky notes. I’ll go for the “Daily” option. Then, click “Next.”
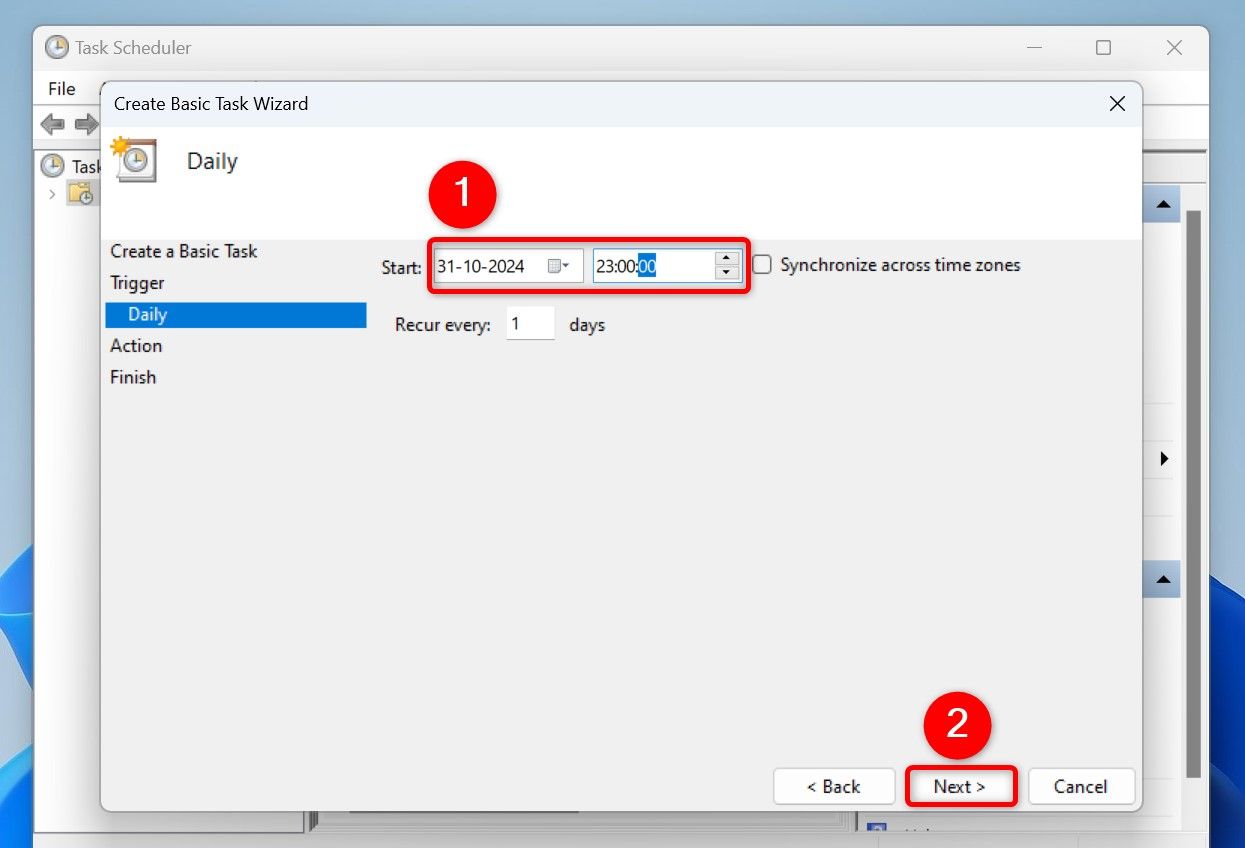
Select when Task Scheduler should run the batch file and make a backup. Then, choose “Next.”
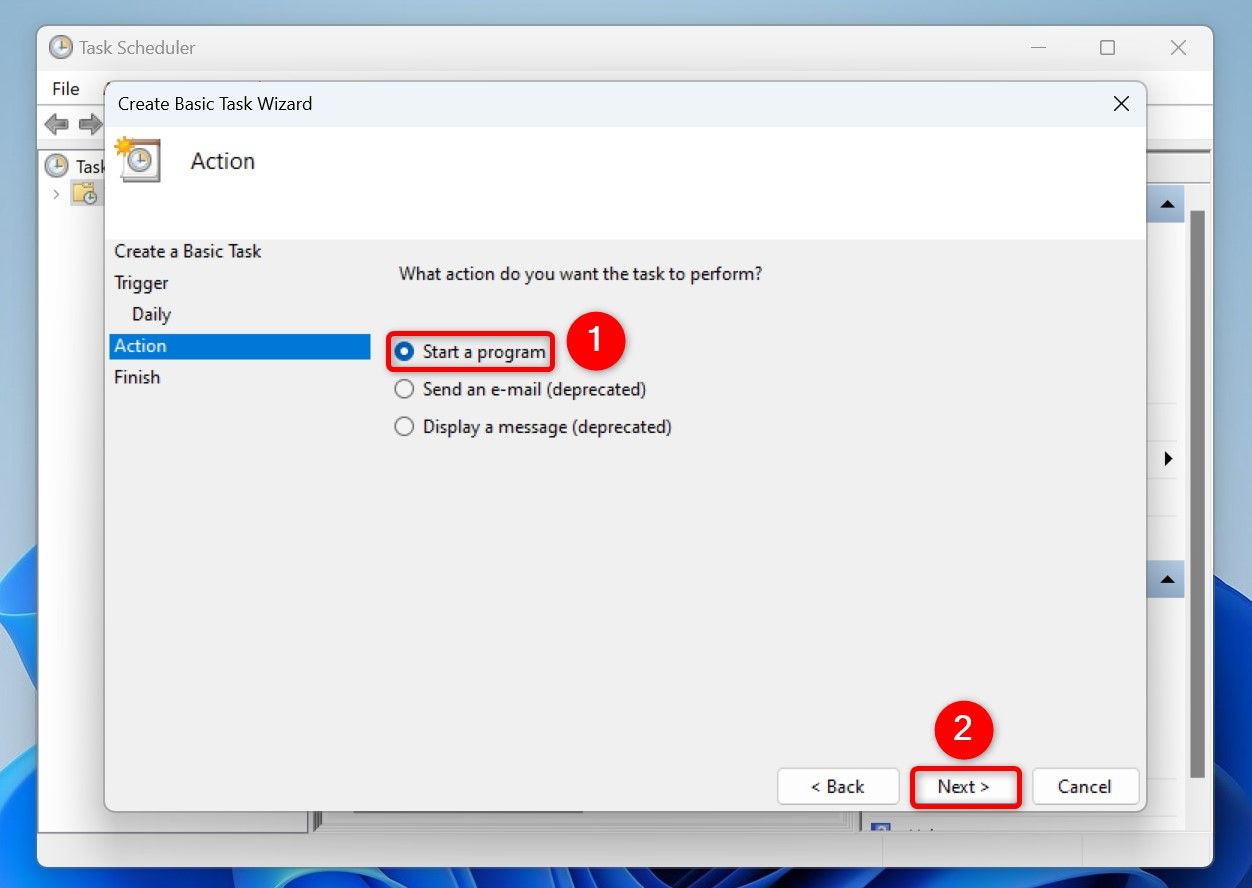
Select “Start a Program” as you want Task Scheduler to launch your batch file. Then, click “Next.”
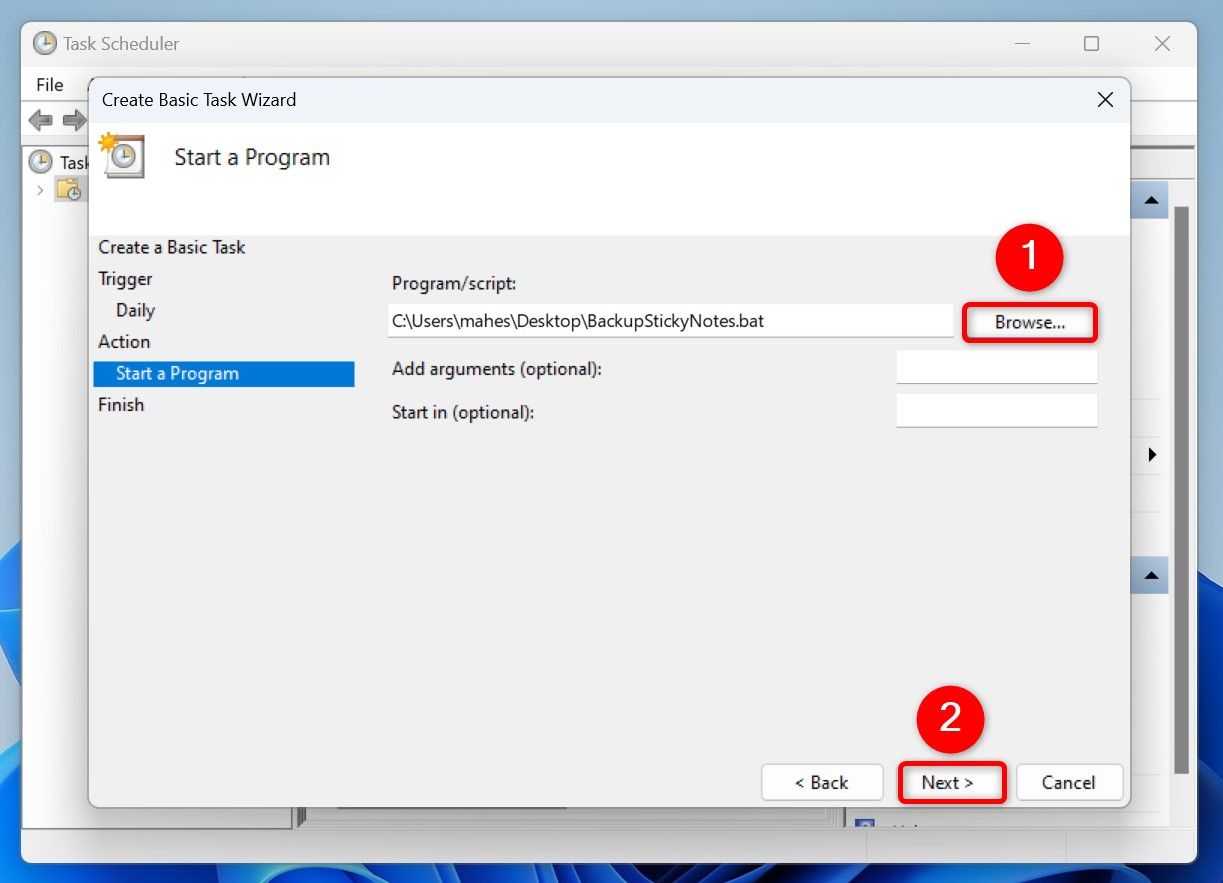
Click the “Browse” button and choose the batch file you created earlier. Then, choose “Next.”
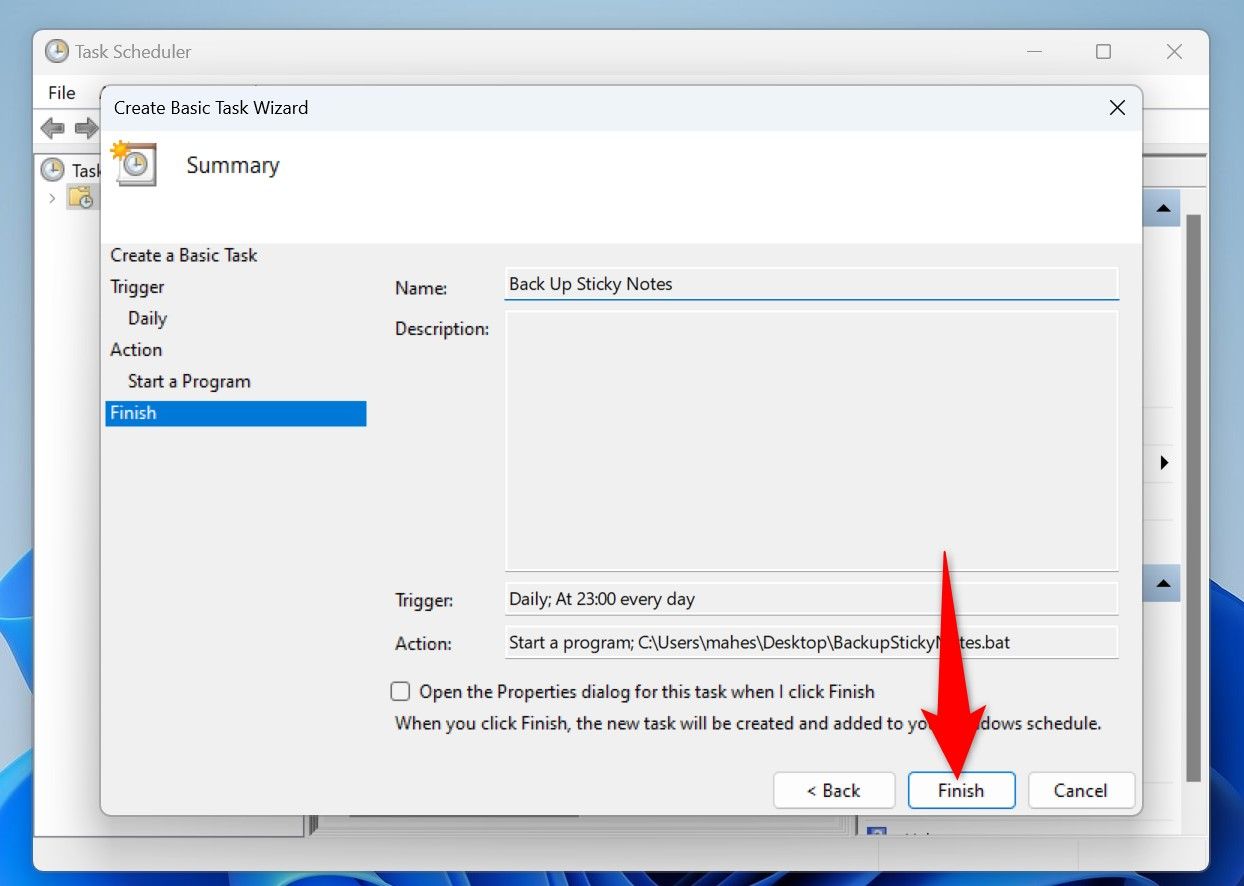
Review the task details on the final screen, then click “Finish” to finish creating the task.
That’s all. From now on, Task Scheduler will automatically run the batch file to create a sticky notes backup. You’re all set.
Back Up to a Microsoft Account
You can back up your sticky notes to your Microsoft account, which allows you to access your notes even on other machines. It’s quick and easy to set this up.
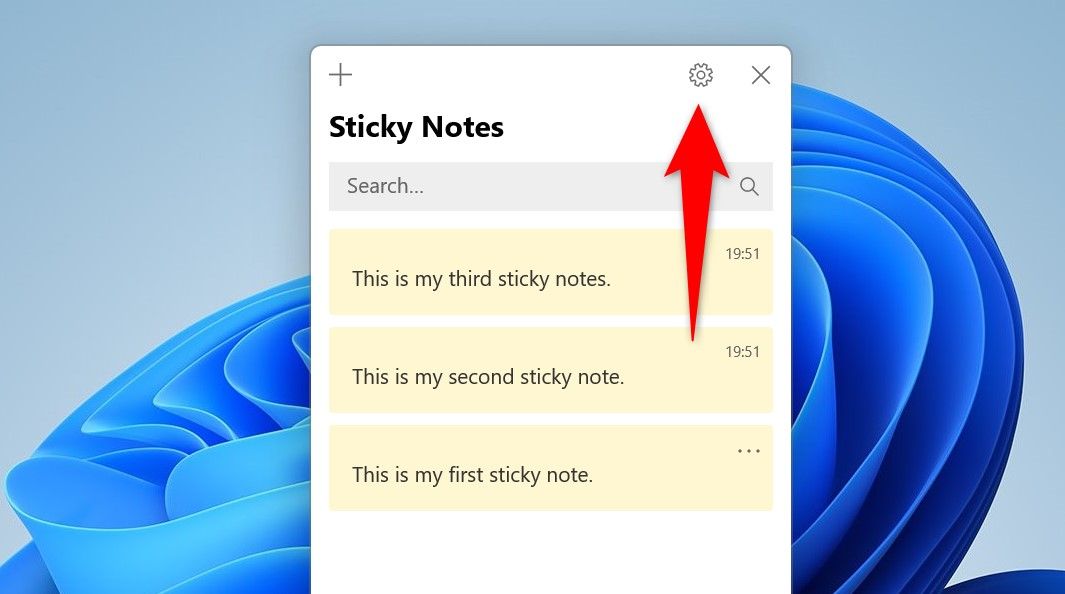
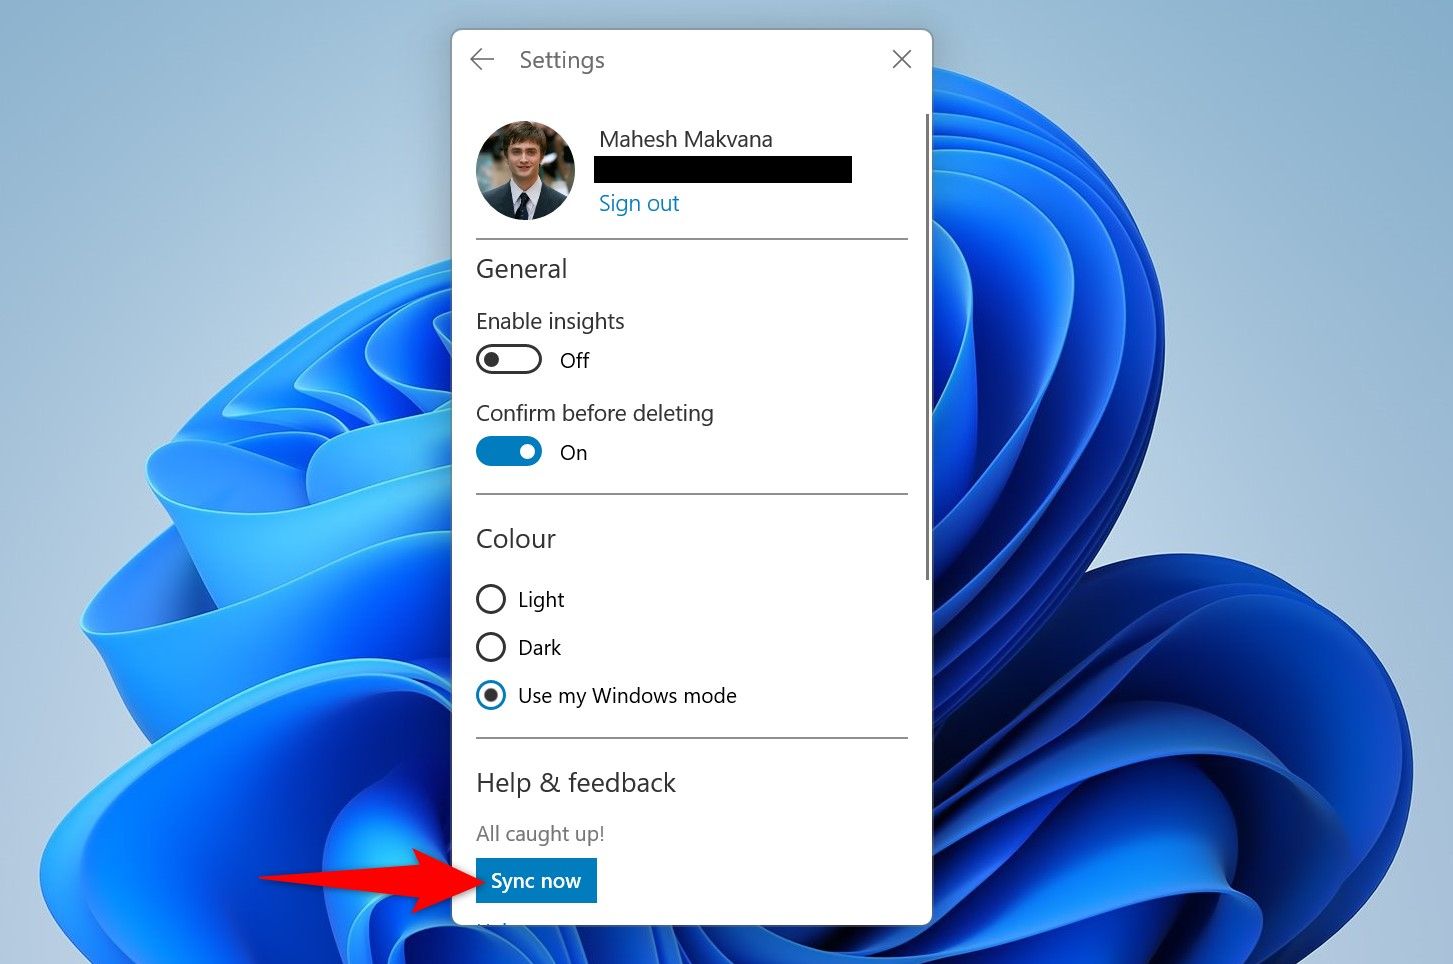
Start by launching the Sticky Notes app. In the app’s top-right corner, click the gear icon to open settings.
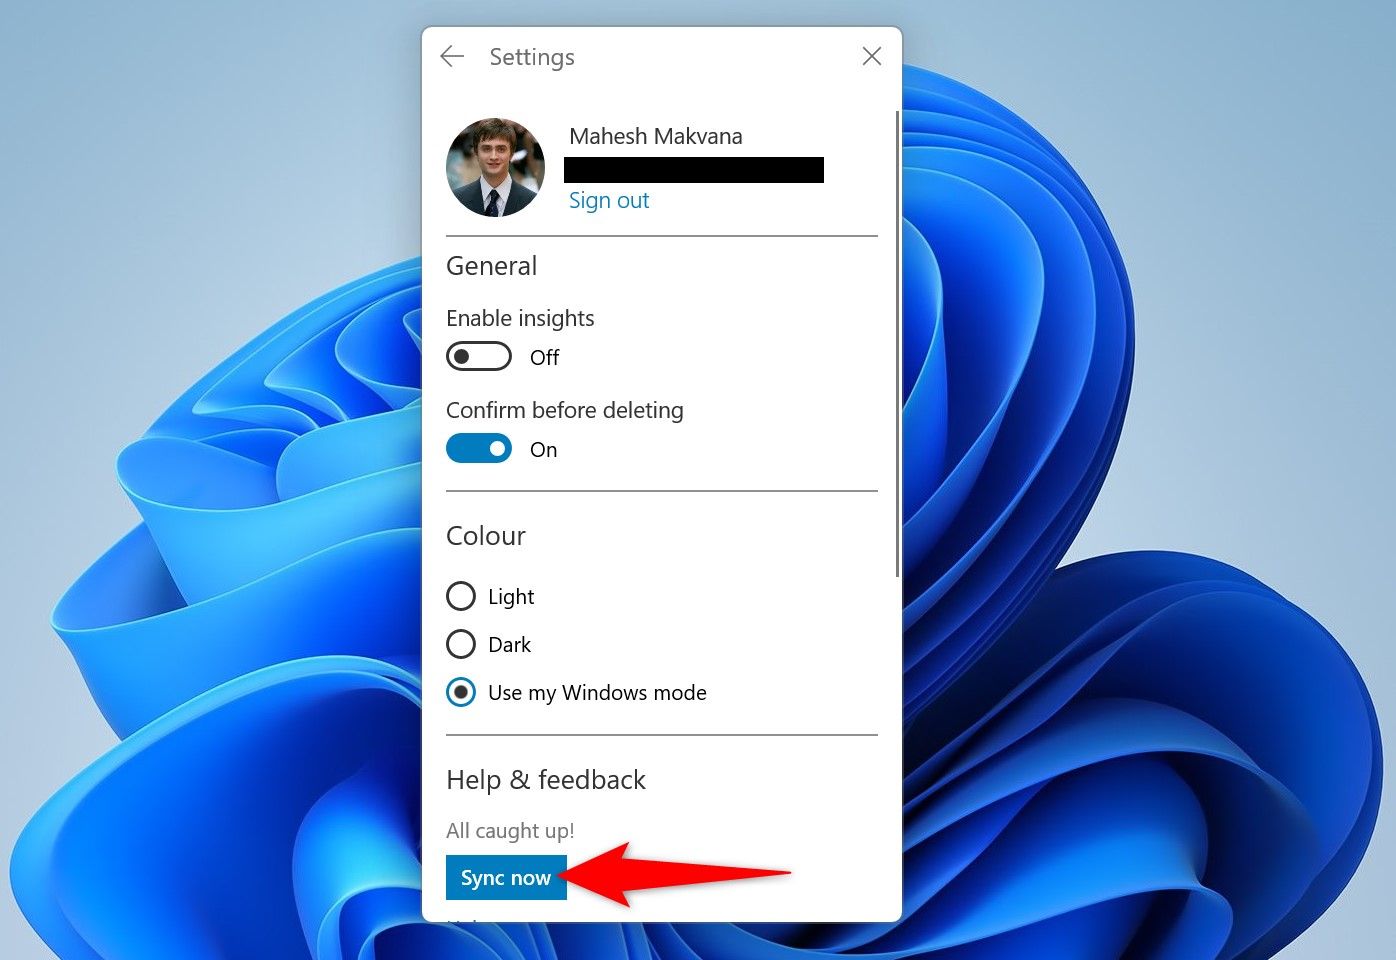
On the Settings screen, click “Sync Now” to sync the current notes with your Microsoft account.
That’s it.
Using Microsoft OneNote
Microsoft’s OneNote app also supports sticky notes, which means you can sync your sticky notes with this app. To do that, launch the Sticky Notes app, click the gear icon in the top-right corner of the app, and choose “Sync Now” to sync the notes.
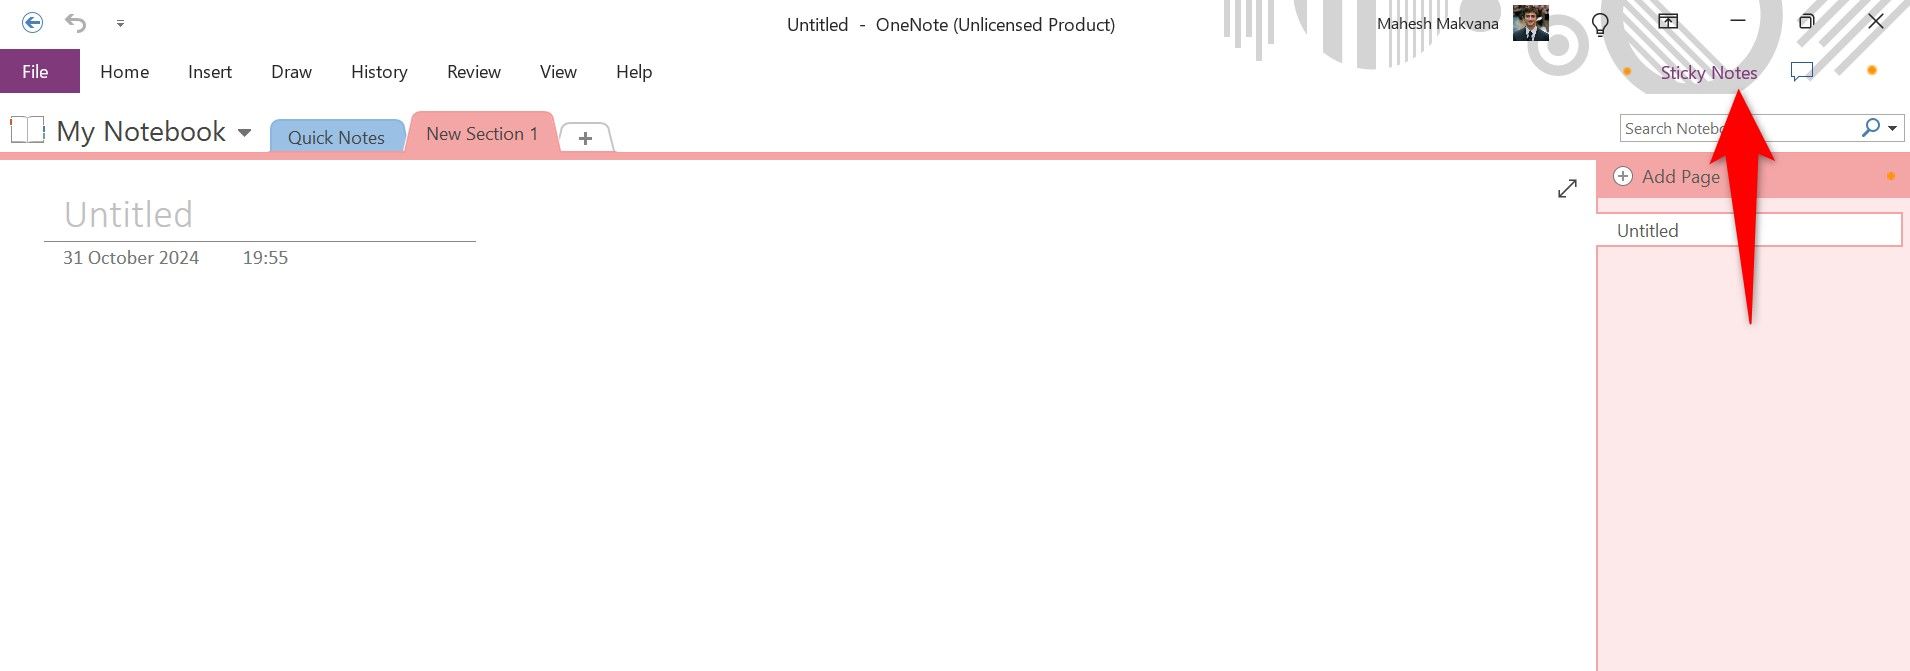
Open the OneNote app and select the “Sticky Notes” option in the app’s top-right corner.
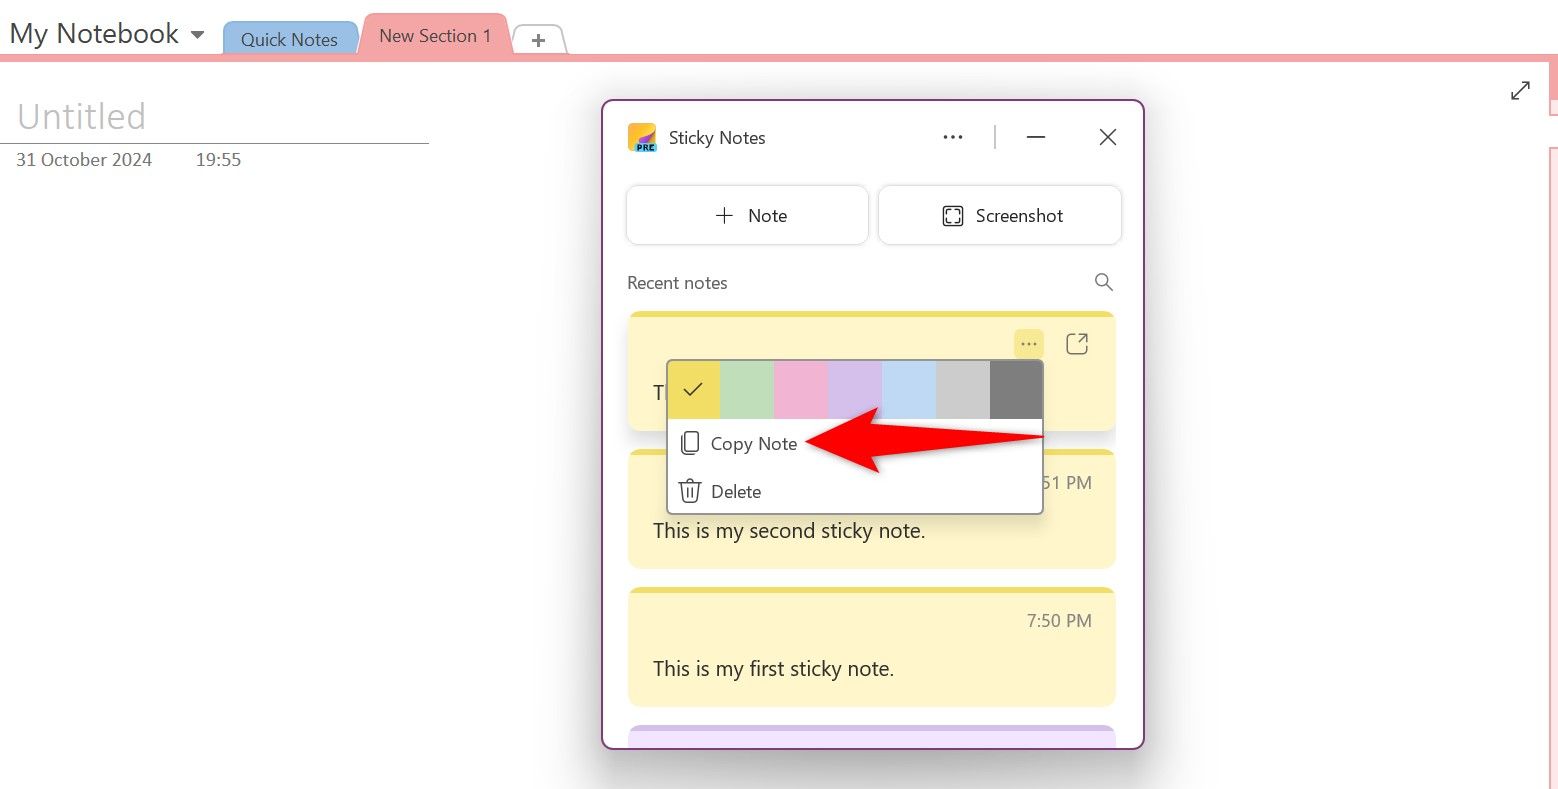
You’ll find all your sticky notes on your screen. To copy a note, click the three dots in a note’s top-right corner and choose “Copy Note.” Then, right-click anywhere blank in a OneNote note and choose “Paste” to paste the note contents.
You’re all set.
Manually Copy and Paste the Notes
If you don’t want to use the sync or other backup methods, you can use the traditional and manual copy-and-paste method. Here, you manually copy your notes’ contents and paste them wherever you like.
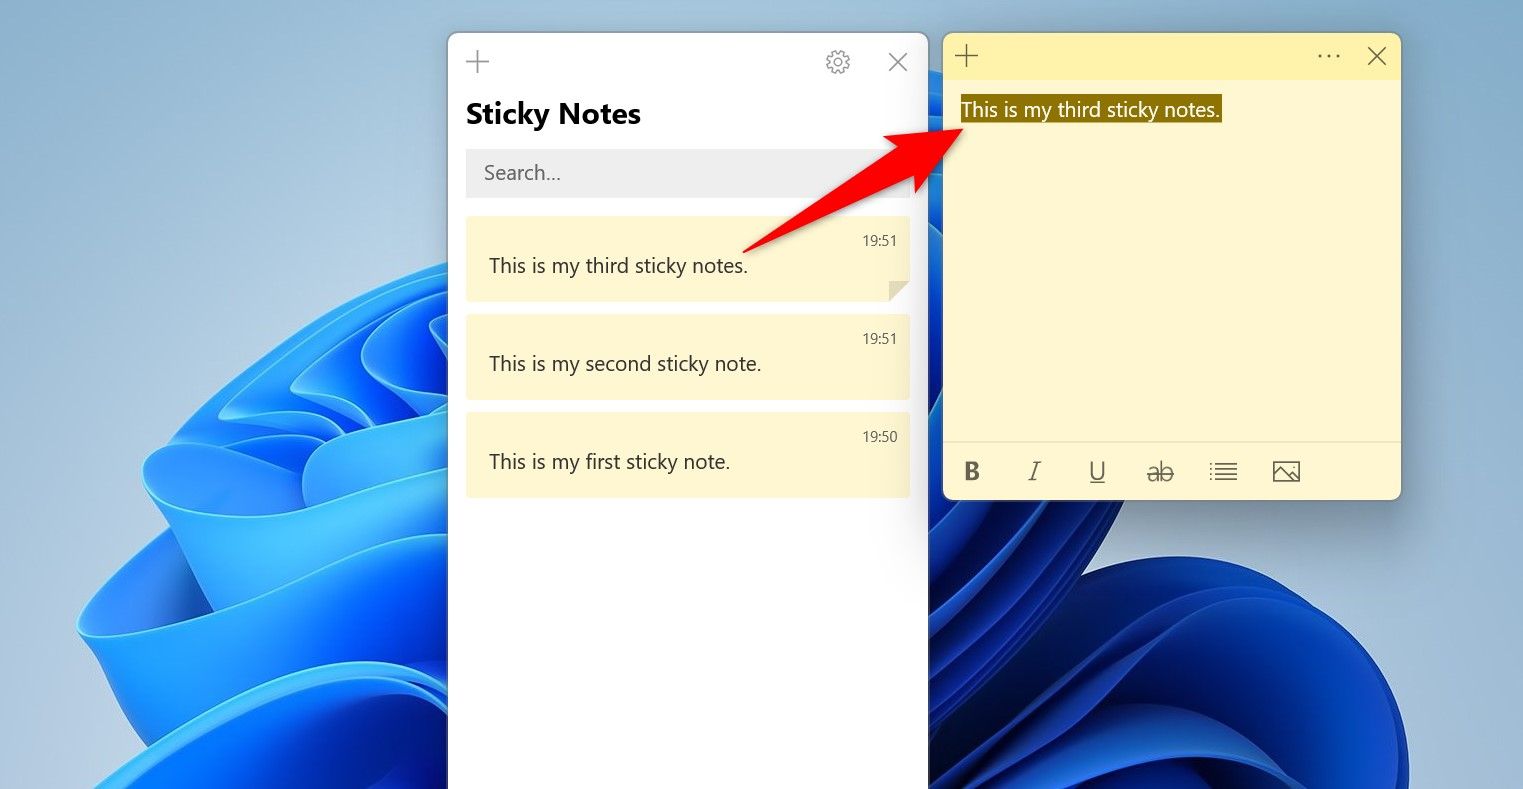
To do that, launch Sticky Notes and access a note. Select all note contents by pressing Ctrl+A, then press Ctrl+C to copy the contents.
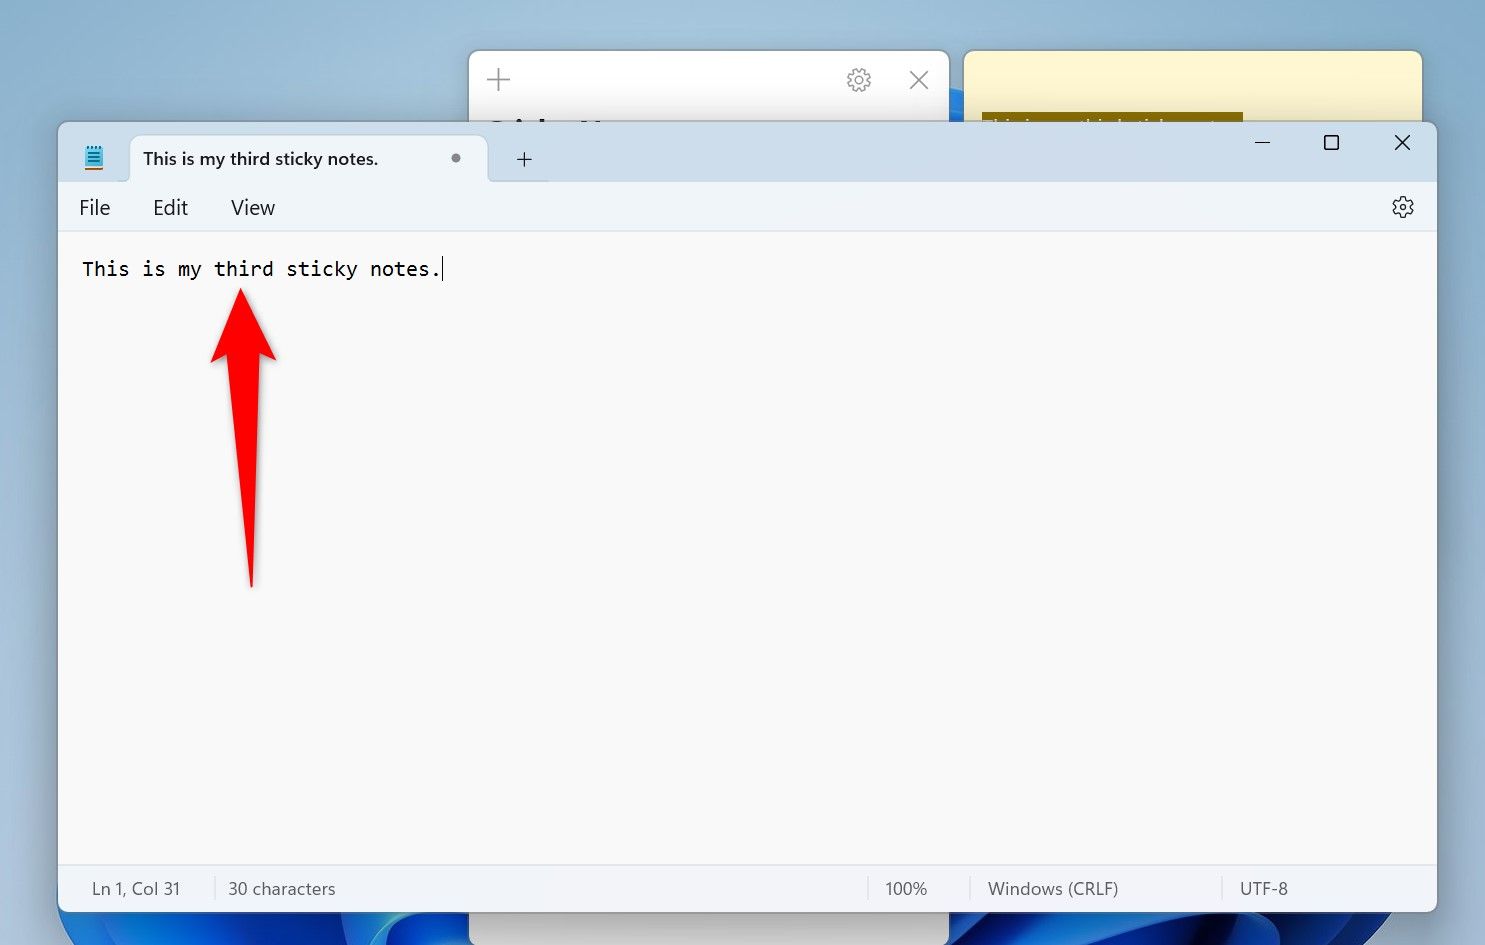
Open an app like Notepad or Microsoft Word where you want to save your notes. Right-click in the new document and choose “Paste” to paste your note contents.
Go back to Sticky Notes, copy another note, and paste it in the same Notepad or Word document. You can create different documents for different notes if you want. Then, save the document locally on your PC or on cloud storage.
And that’s how you safely back up the notes you make using the Sticky Notes app on Windows 11. Very easy!


