

If you plan on printing your Photoshop projects, you need to be aware of DPI and how it can affect your work.
DPI stands for dots per inch and refers to the number of ink droplets a printer will produce per inch when a photography or design project is being printed. More dots equals more detail so it’s important you make sure the DPI is high enough if you want to share a crisp, high-resolution image on paper.
The standard for most photographers and graphic designers is 300 DPI, though the size of the image and printer used means you might need to go higher.
Keep reading to learn how to change the DPI of an image in Adobe Photoshop
What you’ll need:
- Adobe Photoshop
- A Creative Cloud subscription
The Short Version
- Open your image in Photoshop
- Click Image
- Click Image Size
- Adjust the resolution next to Pixels/Inch
- Hit OK
How to change the DPI in Photoshop
-
Step
1Open your image in Photoshop

Or create a new project.
-
Step
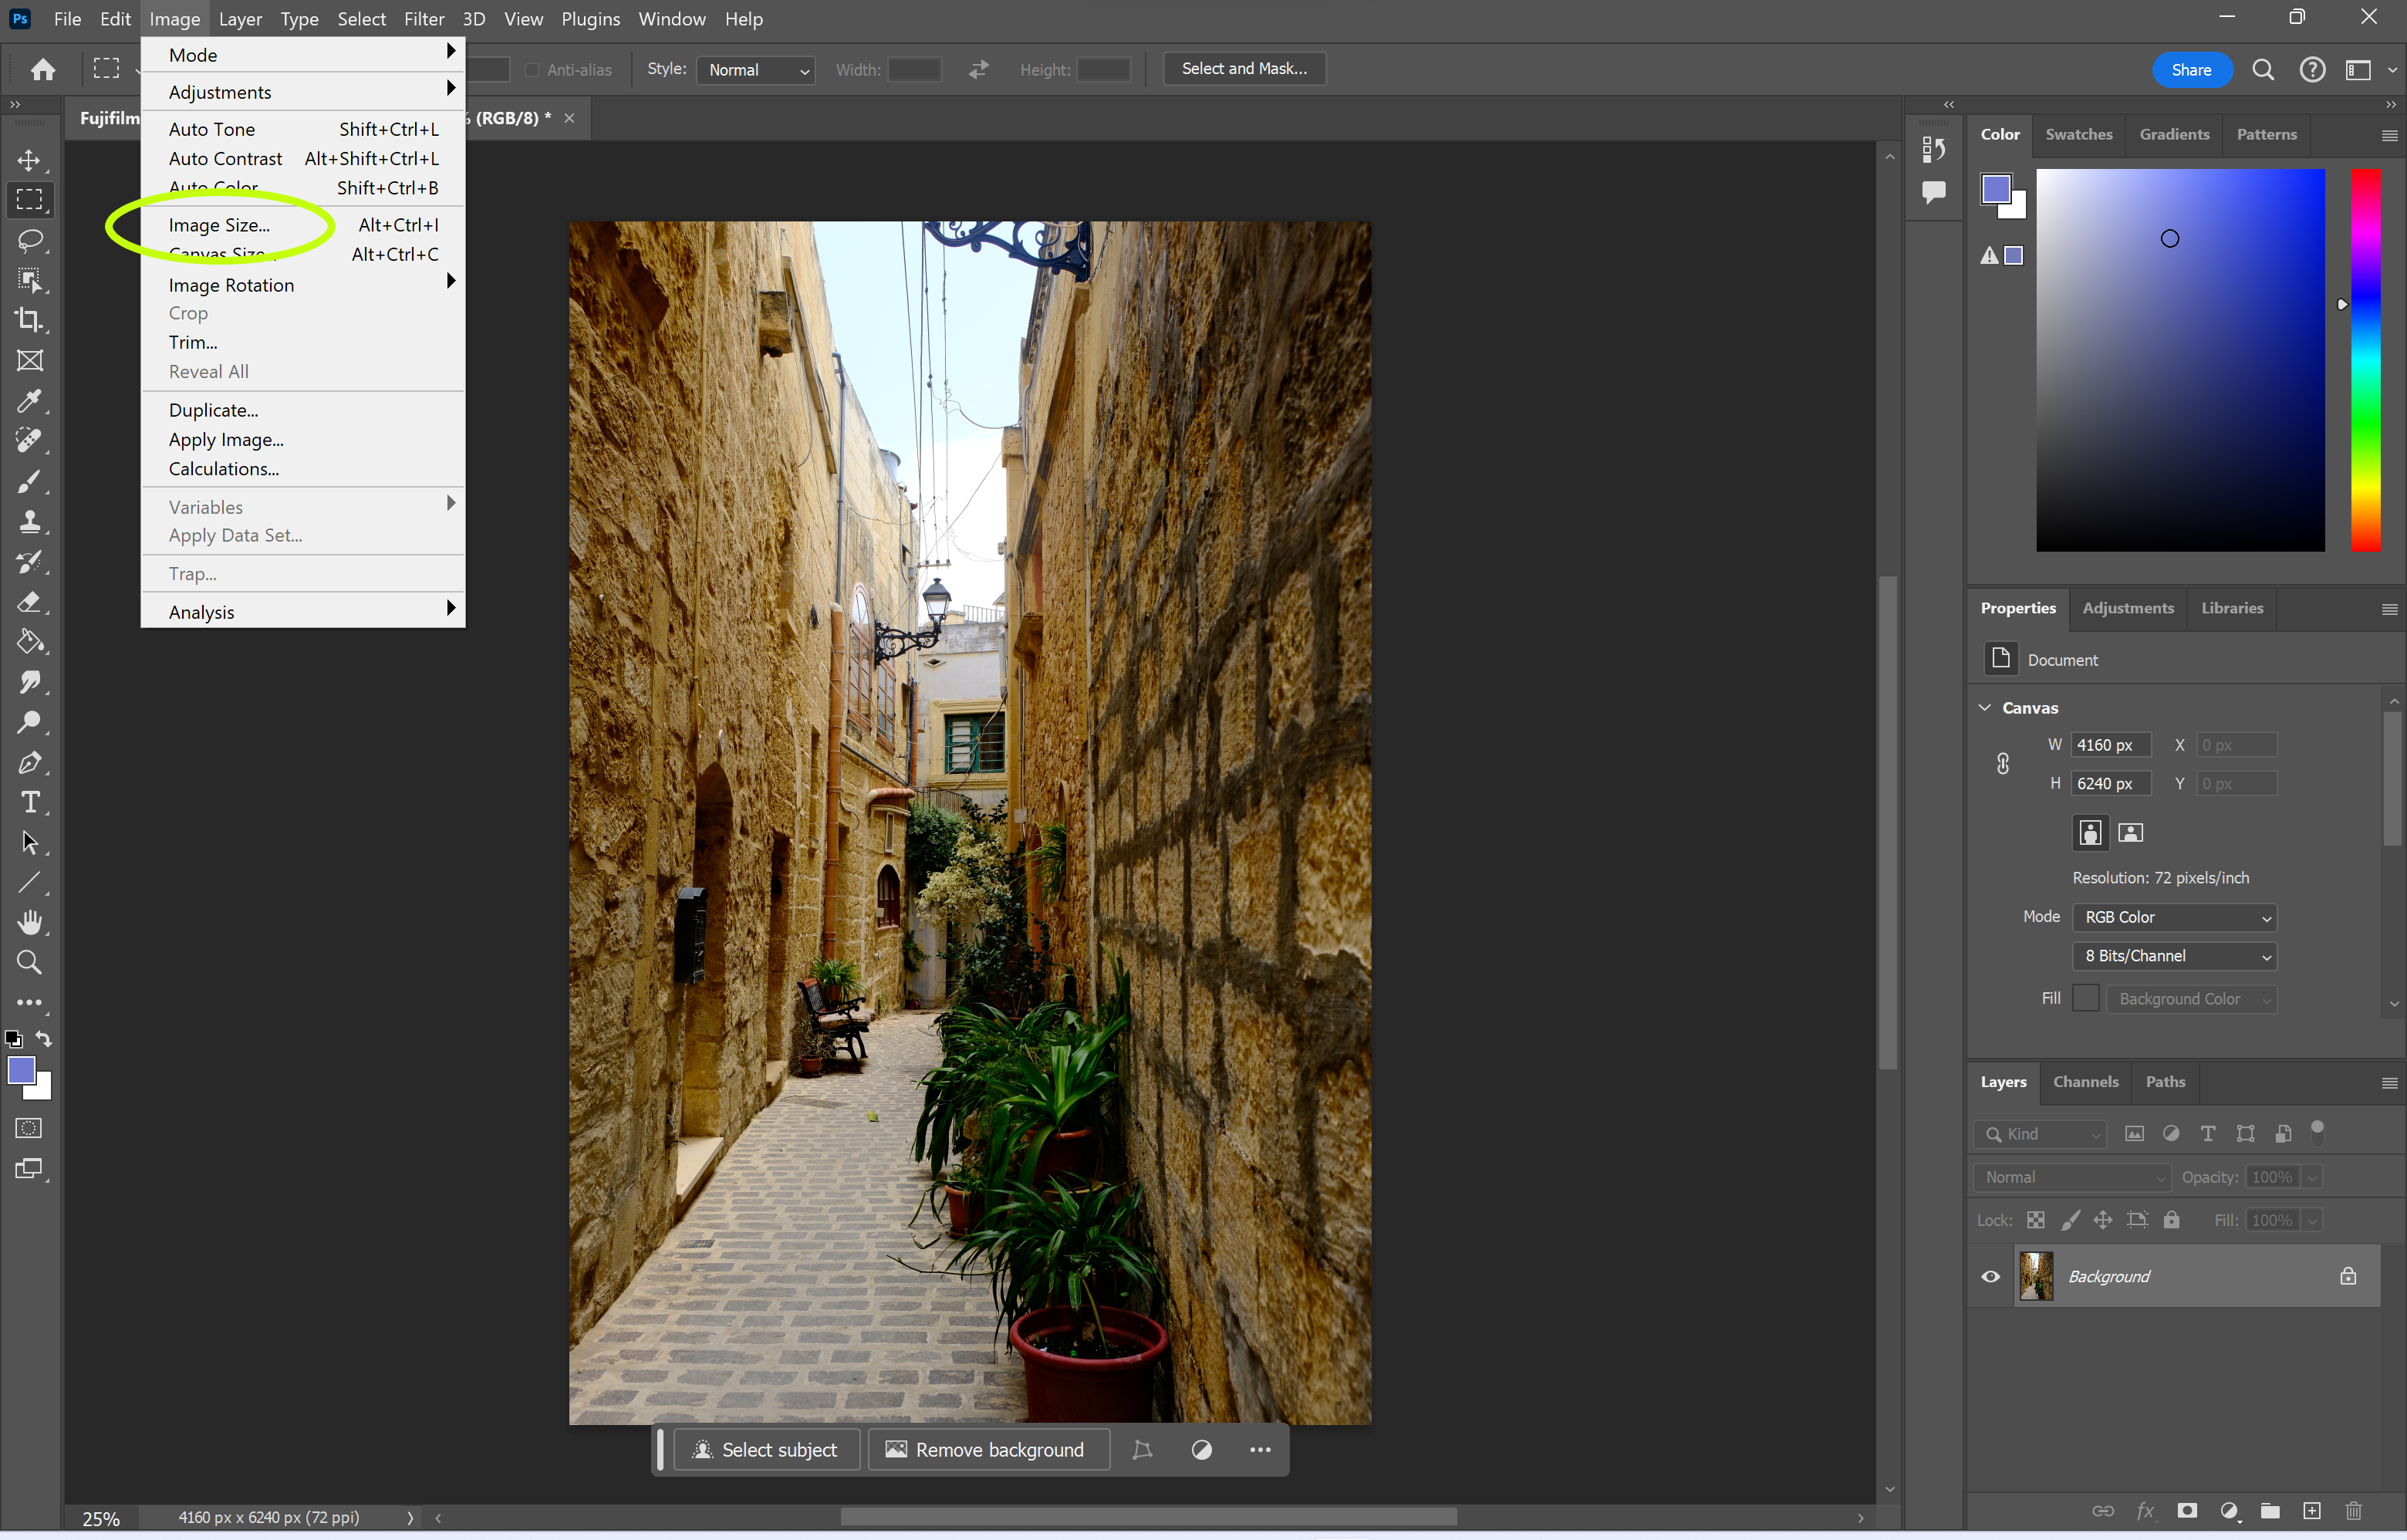
2Click Image
You can find this option in the menu bar at the top of Photoshop.
-
Step
3Click Image Size
This should be directly above Canvas Size in the dropdown menu.
-
Step
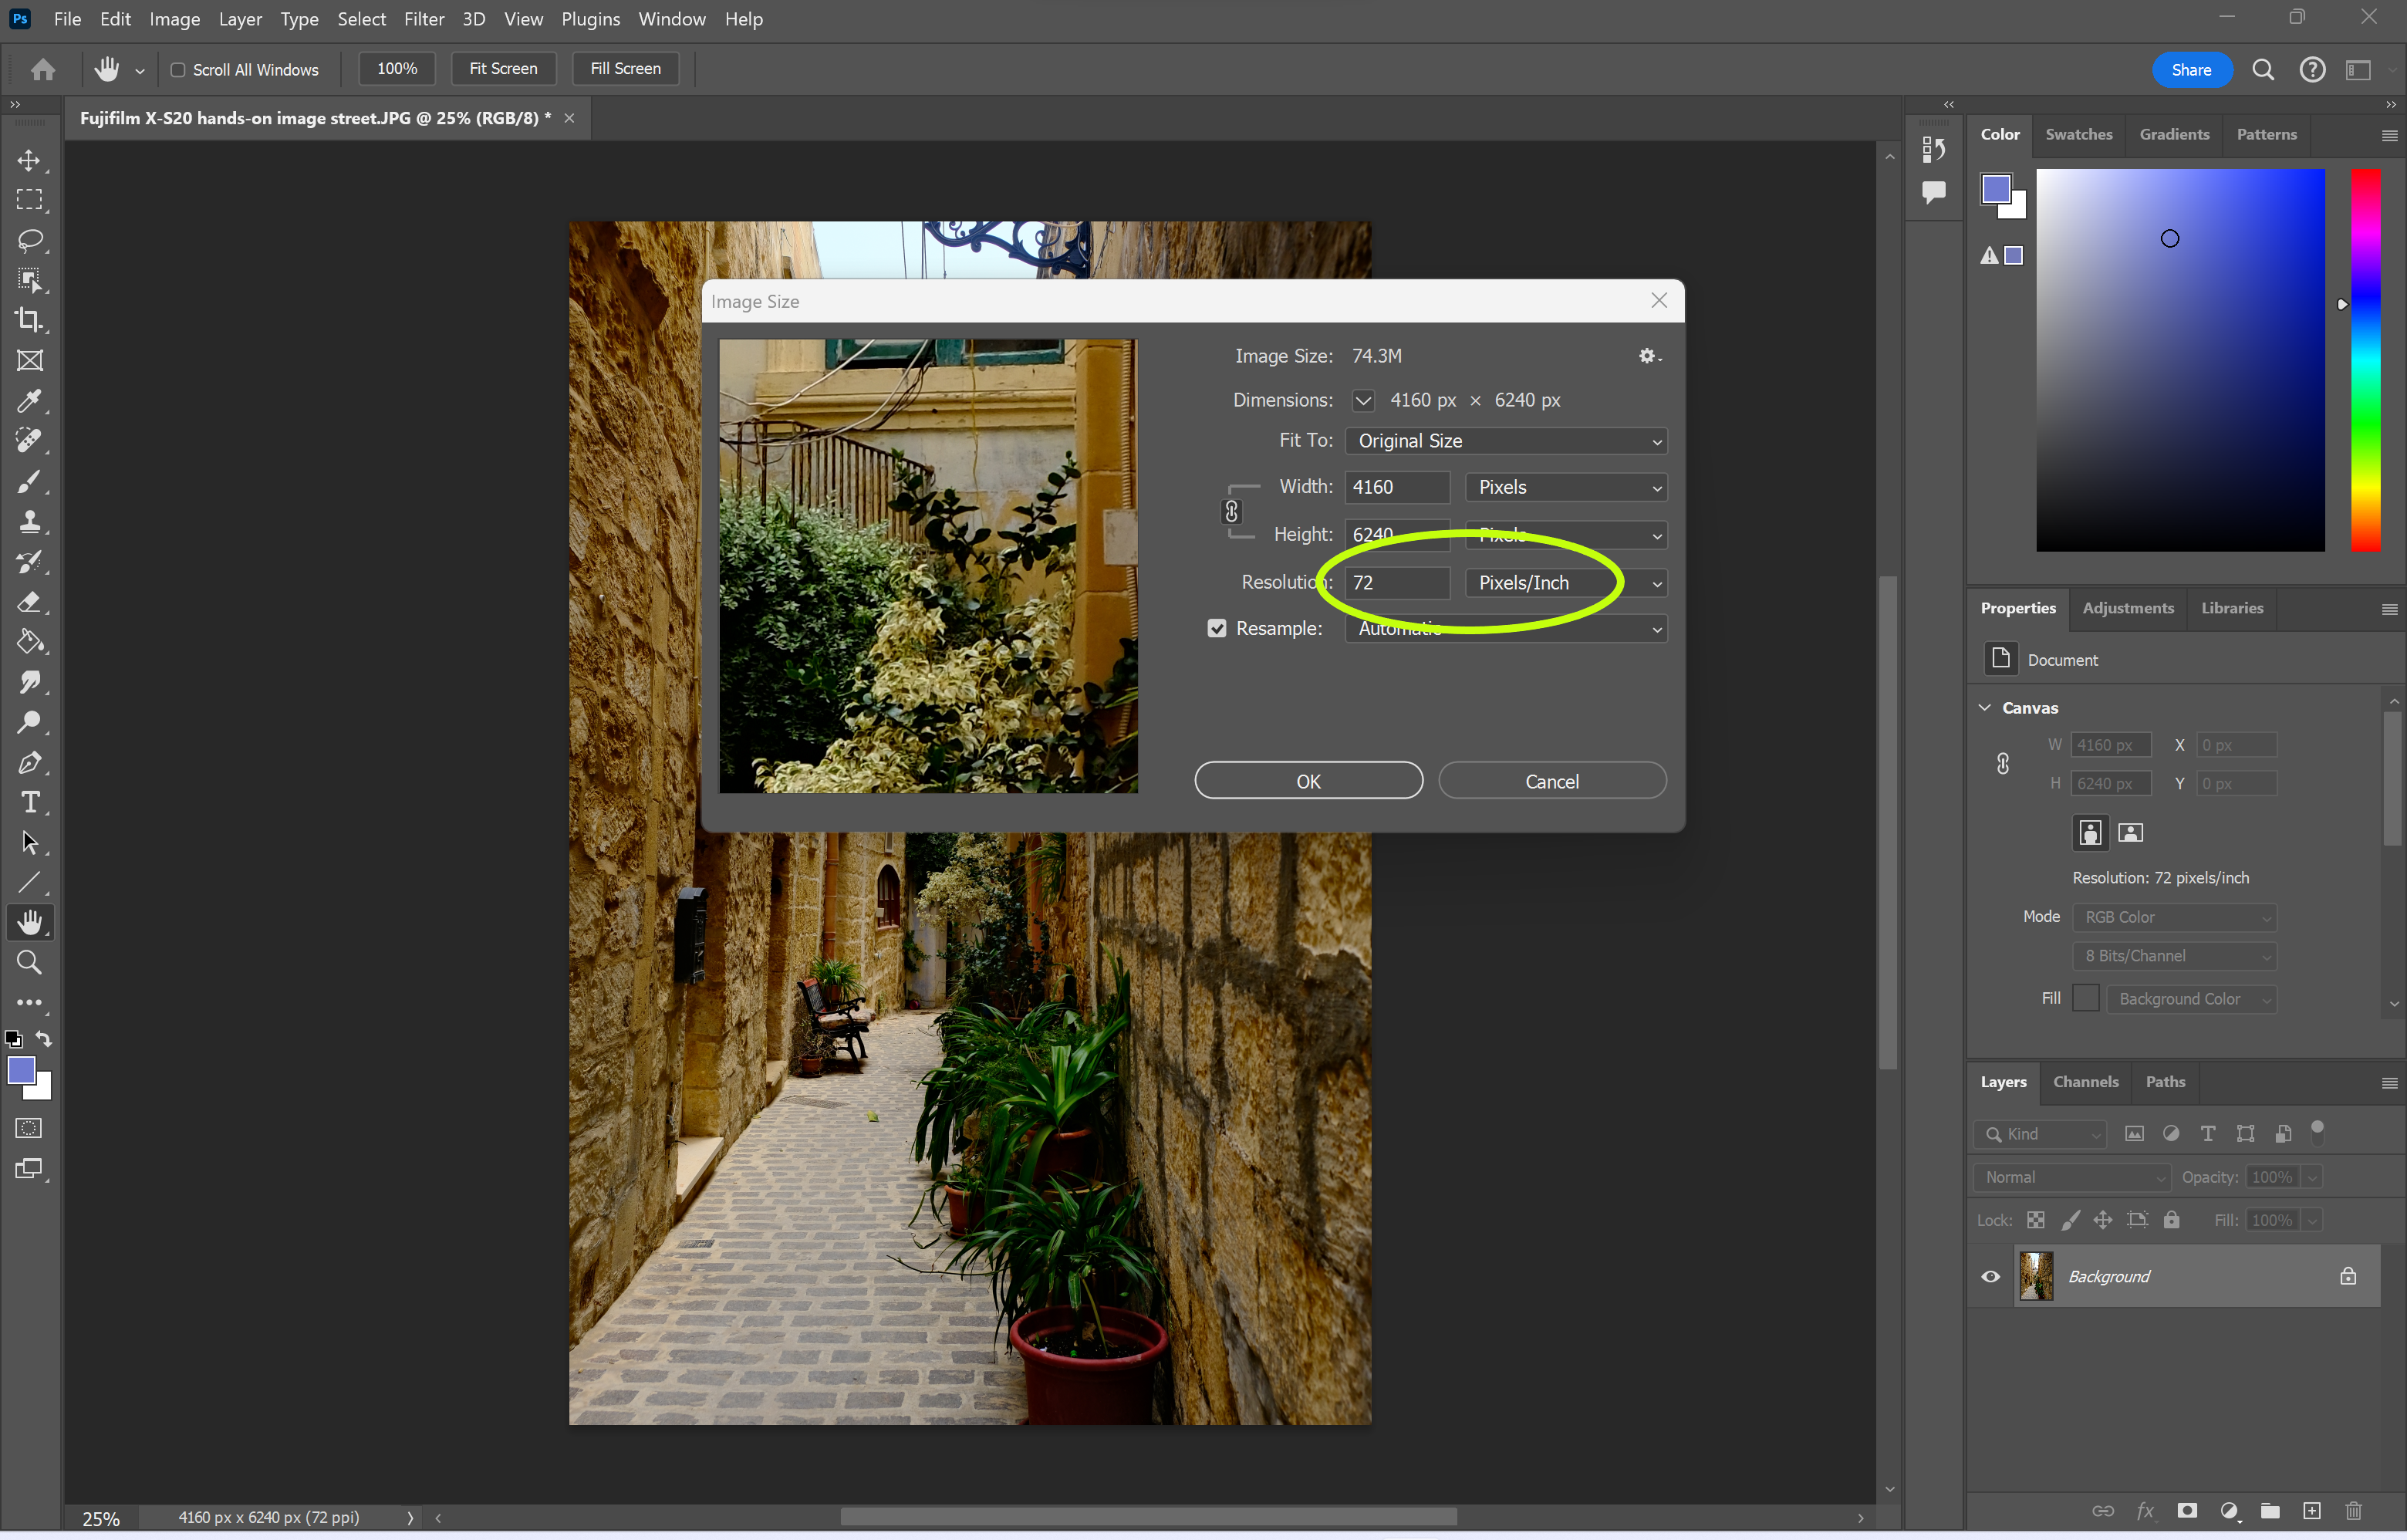
4Adjust the resolution next to Pixels/Inch
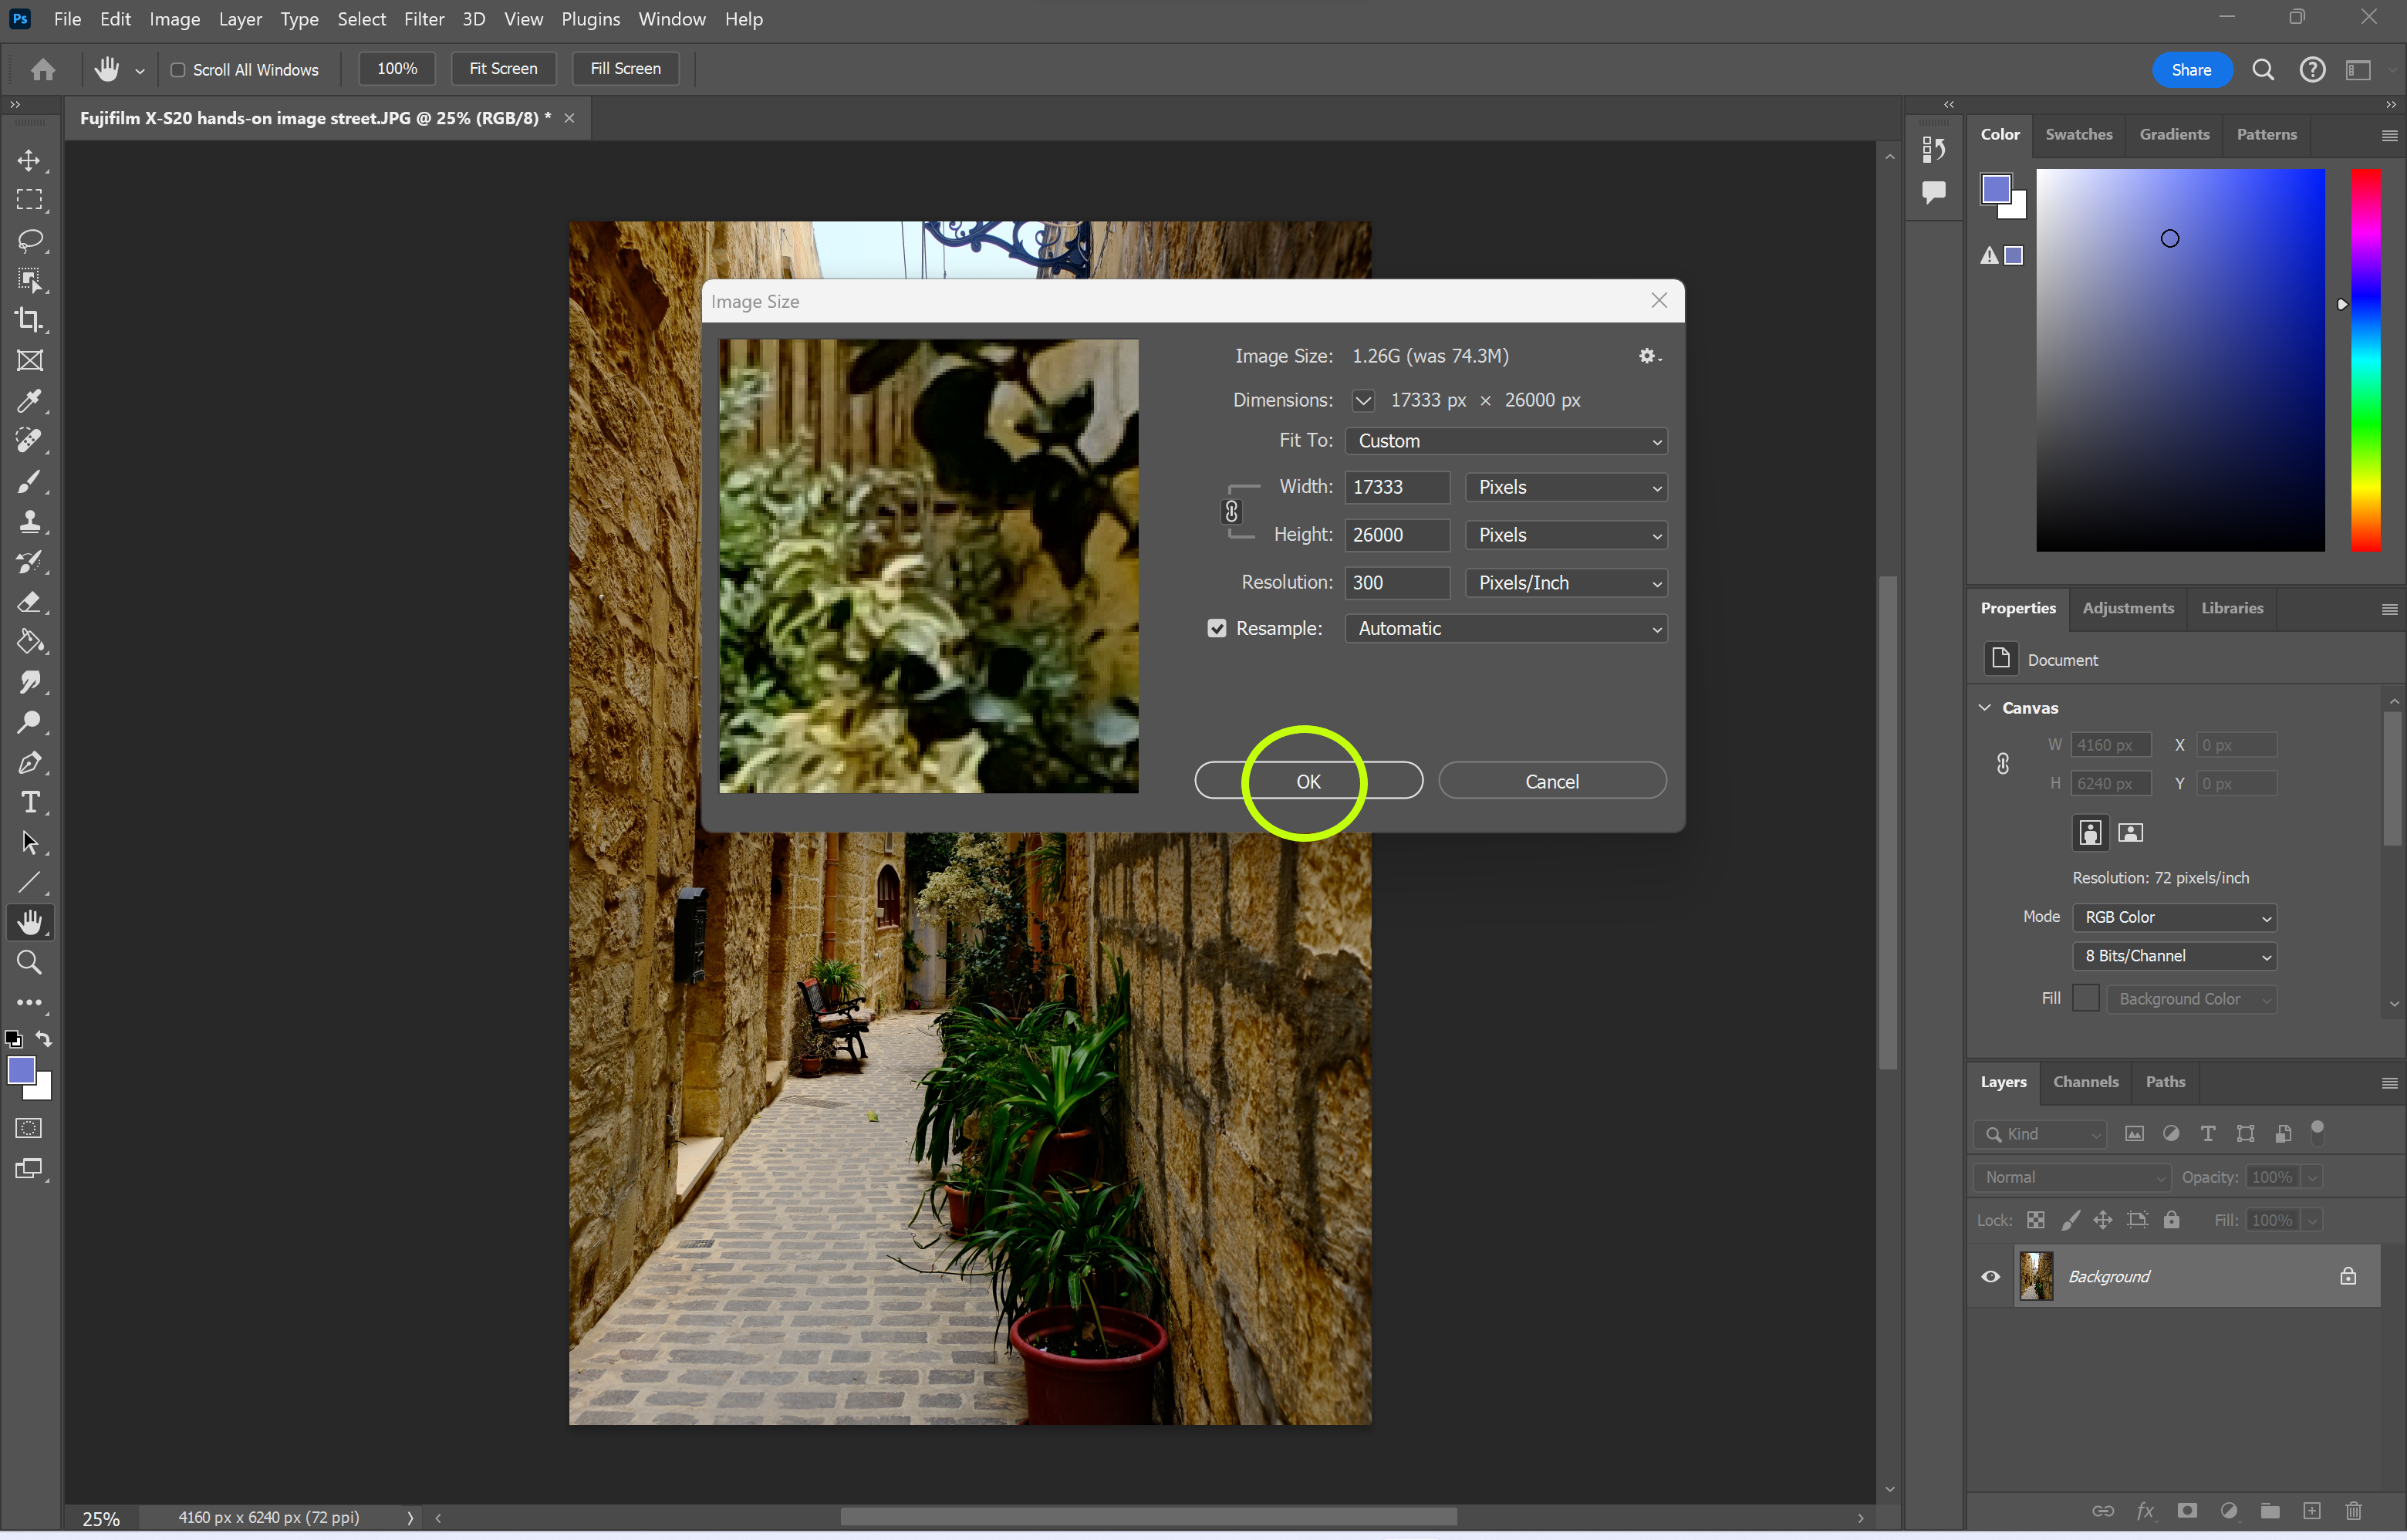
We changed the resolution to 300.
-
Step
5Hit OK
That’s it.

Troubleshooting
DPI is the number of ink droplets a printer that are produced per inch by a printer.
DPI is an abbreviation of dots per inch.


")