

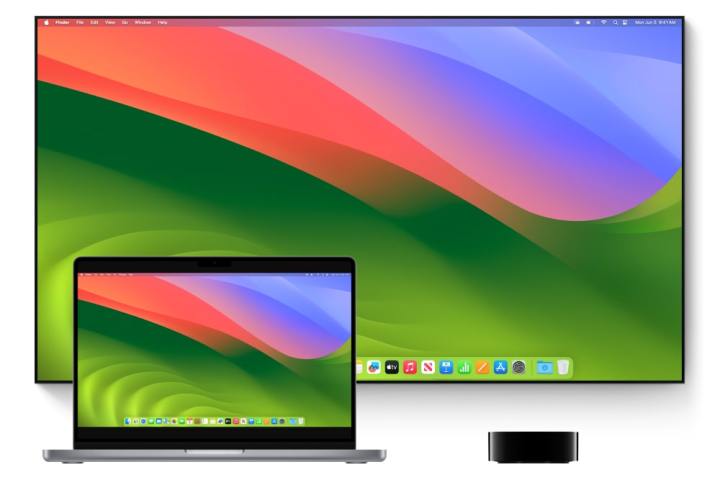
Apple’s MacBooks are excellent content-consumption machines, but even the roomiest 16-inch MacBook Pro can’t compare to viewing your favorite shows on a large TV. Whether you’re watching a movie or playing one of the best Mac games, it’s much better to enjoy it on a spacious TV than on a constrained MacBook display.
But how do you connect your Apple laptop to a TV? Do you need a specific type of MacBook, or a particular variety of cable? Do you even need a cable, or can you do it wirelessly? Our guide is here to answer all those questions and more, so let’s see how it’s all done.
How to connect a MacBook to a TV using a cable
One of the easiest ways of connecting your MacBook to a TV is by using a cable. But although this is a fairly straightforward process, there are a few key things you need to be aware of.
For example, the latest MacBook Pro laptops come with an HDMI slot, and most modern TVs should too. When that’s not the case — such as if you have a MacBook Air or a very old TV — you might need an adapter.
Step 1: To get started, you’ll need either an HDMI, Thunderbolt or Mini DisplayPort cable. Plug one end of your cable into your MacBook and the other into your TV.
Digital Trends
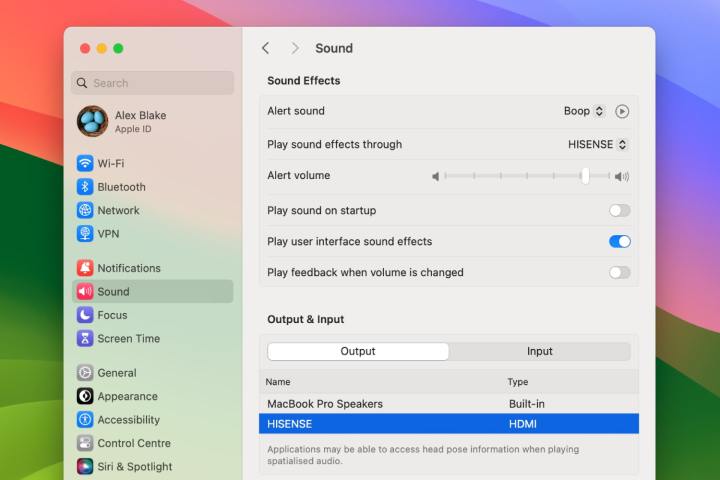
Step 2: After connecting, open the System Settings app and go to Sound > Output. Here, ensure macOS has selected your desired output (whether that’s your TV, your MacBook or a connected speaker).
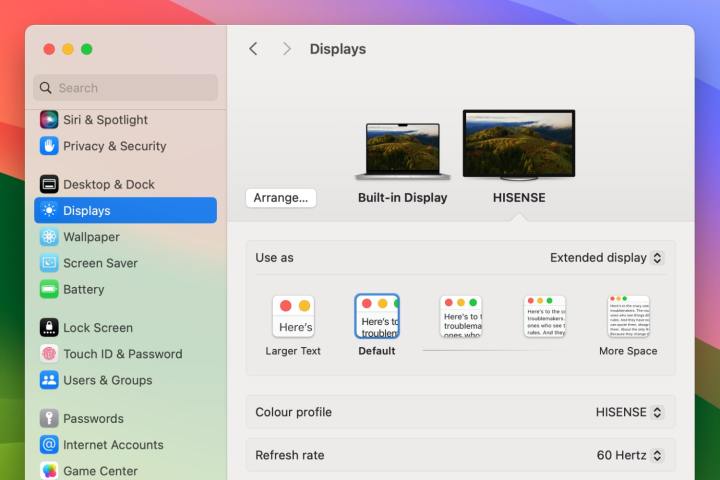
Step 3: You might need to adjust your TV’s resolution. If so, go to System Settings > Displays and pick a resolution, or select Default to have macOS automatically choose the best one.
Digital Trends
Step 4: Stay in the Displays section of System Settings and pick whether you want your TV to mirror your Mac’s screen or extend it. You can also change the arrangement of your TV and MacBook displays, if required.
Step 5: Note that getting audio to route from your MacBook to your TV requires a Mac with an HDMI, Thunderbolt or Mini DisplayPort slot. If you use Mini DisplayPort, you need to ensure your chosen cable supports both audio and video. To do so, go to System Settings > General > About > System Report. In the sidebar, select Hardware > Audio. If you see HDMI Output or HDMI/DisplayPort Output listed, your MacBook’s Mini DisplayPort connection can send audio to your TV.
How to connect a MacBook to a TV using AirPlay
What if you don’t have the right cable or adapter to connect your MacBook to a TV? In cases like that, you can do it wirelessly thanks to a feature in macOS called AirPlay.
This lets you send content over the airwaves without ever having to hook up your devices with cables. It’s simple to use and can be preferable to fiddling about with a tangle of wires. Here’s how you can set it up.
Step 1: First, ensure that both your MacBook and your TV are on the same network.
Step 2: Select the Control Center icon in your Mac screen’s top-right corner, then pick Screen Mirroring and choose your TV from the list.
Apple
Step 3: Here, you might be asked to enter a four-digit code to pair your devices.
Step 4: You can either mirror your Mac’s display onto your TV or extend it (which uses the TV as a separate second screen). To choose, go to Control Center > Screen Mirroring and pick either Mirror Built-in Display (to mirror your Mac) or Use As Separate Display (to extend your Mac’s screen).
As you can see, connecting a MacBook to a TV is a pretty simple process. But there are times when it might not go according to plan. In that case, you might need to do a little troubleshooting.
If you can’t see your MacBook’s desktop on your TV, even though everything seems to be connected as it should be, there’s a method you can try. First, unplug everything and close your MacBook’s lid to send it to sleep, then connect your Mac to power and plug it back in to your TV. Now, connect it to a USB keyboard and mouse (or a wireless set you’ve previously paired with your laptop). Wait a few seconds, then press a key on your keyboard or mouse to wake up your MacBook. Hopefully, that should result in your Mac’s screen appearing on your TV.
What if you can get your TV to display your Mac’s content, but that content doesn’t fill your TV’s screen? In that situation, open System Settings and go to Displays, choose your TV, then select Overscan on the right. Not every TV will have this option, but it’s worth trying if you’re experiencing this problem. Note that overscan will stretch your Mac’s screen beyond the bounds of your TV, so some content might get clipped off-screen.
Editors’ Recommendations


