
In this tutorial, I’ll show you how to turn a USB drive into a macOS Sequoia USB installer. Having a USB installer is useful for performing upgrades to Sequoia across multiple Macs, among other use cases. Watch my full video walkthrough, and be sure to subscribe to 9to5Mac on YouTube for more Mac guides, how-tos, reviews, etc.
Before we begin, it’s important to note that a USB installer is not a requirement to install macOS 15. Upon its release, you’ll be able to use the App Store to download Sequoia or install macOS via Recovery mode. As noted at the beginning, one of the primary benefits of creating a Sequoia USB install drive is that it allows you to install it across multiple Macs.
Choosing a USB drive
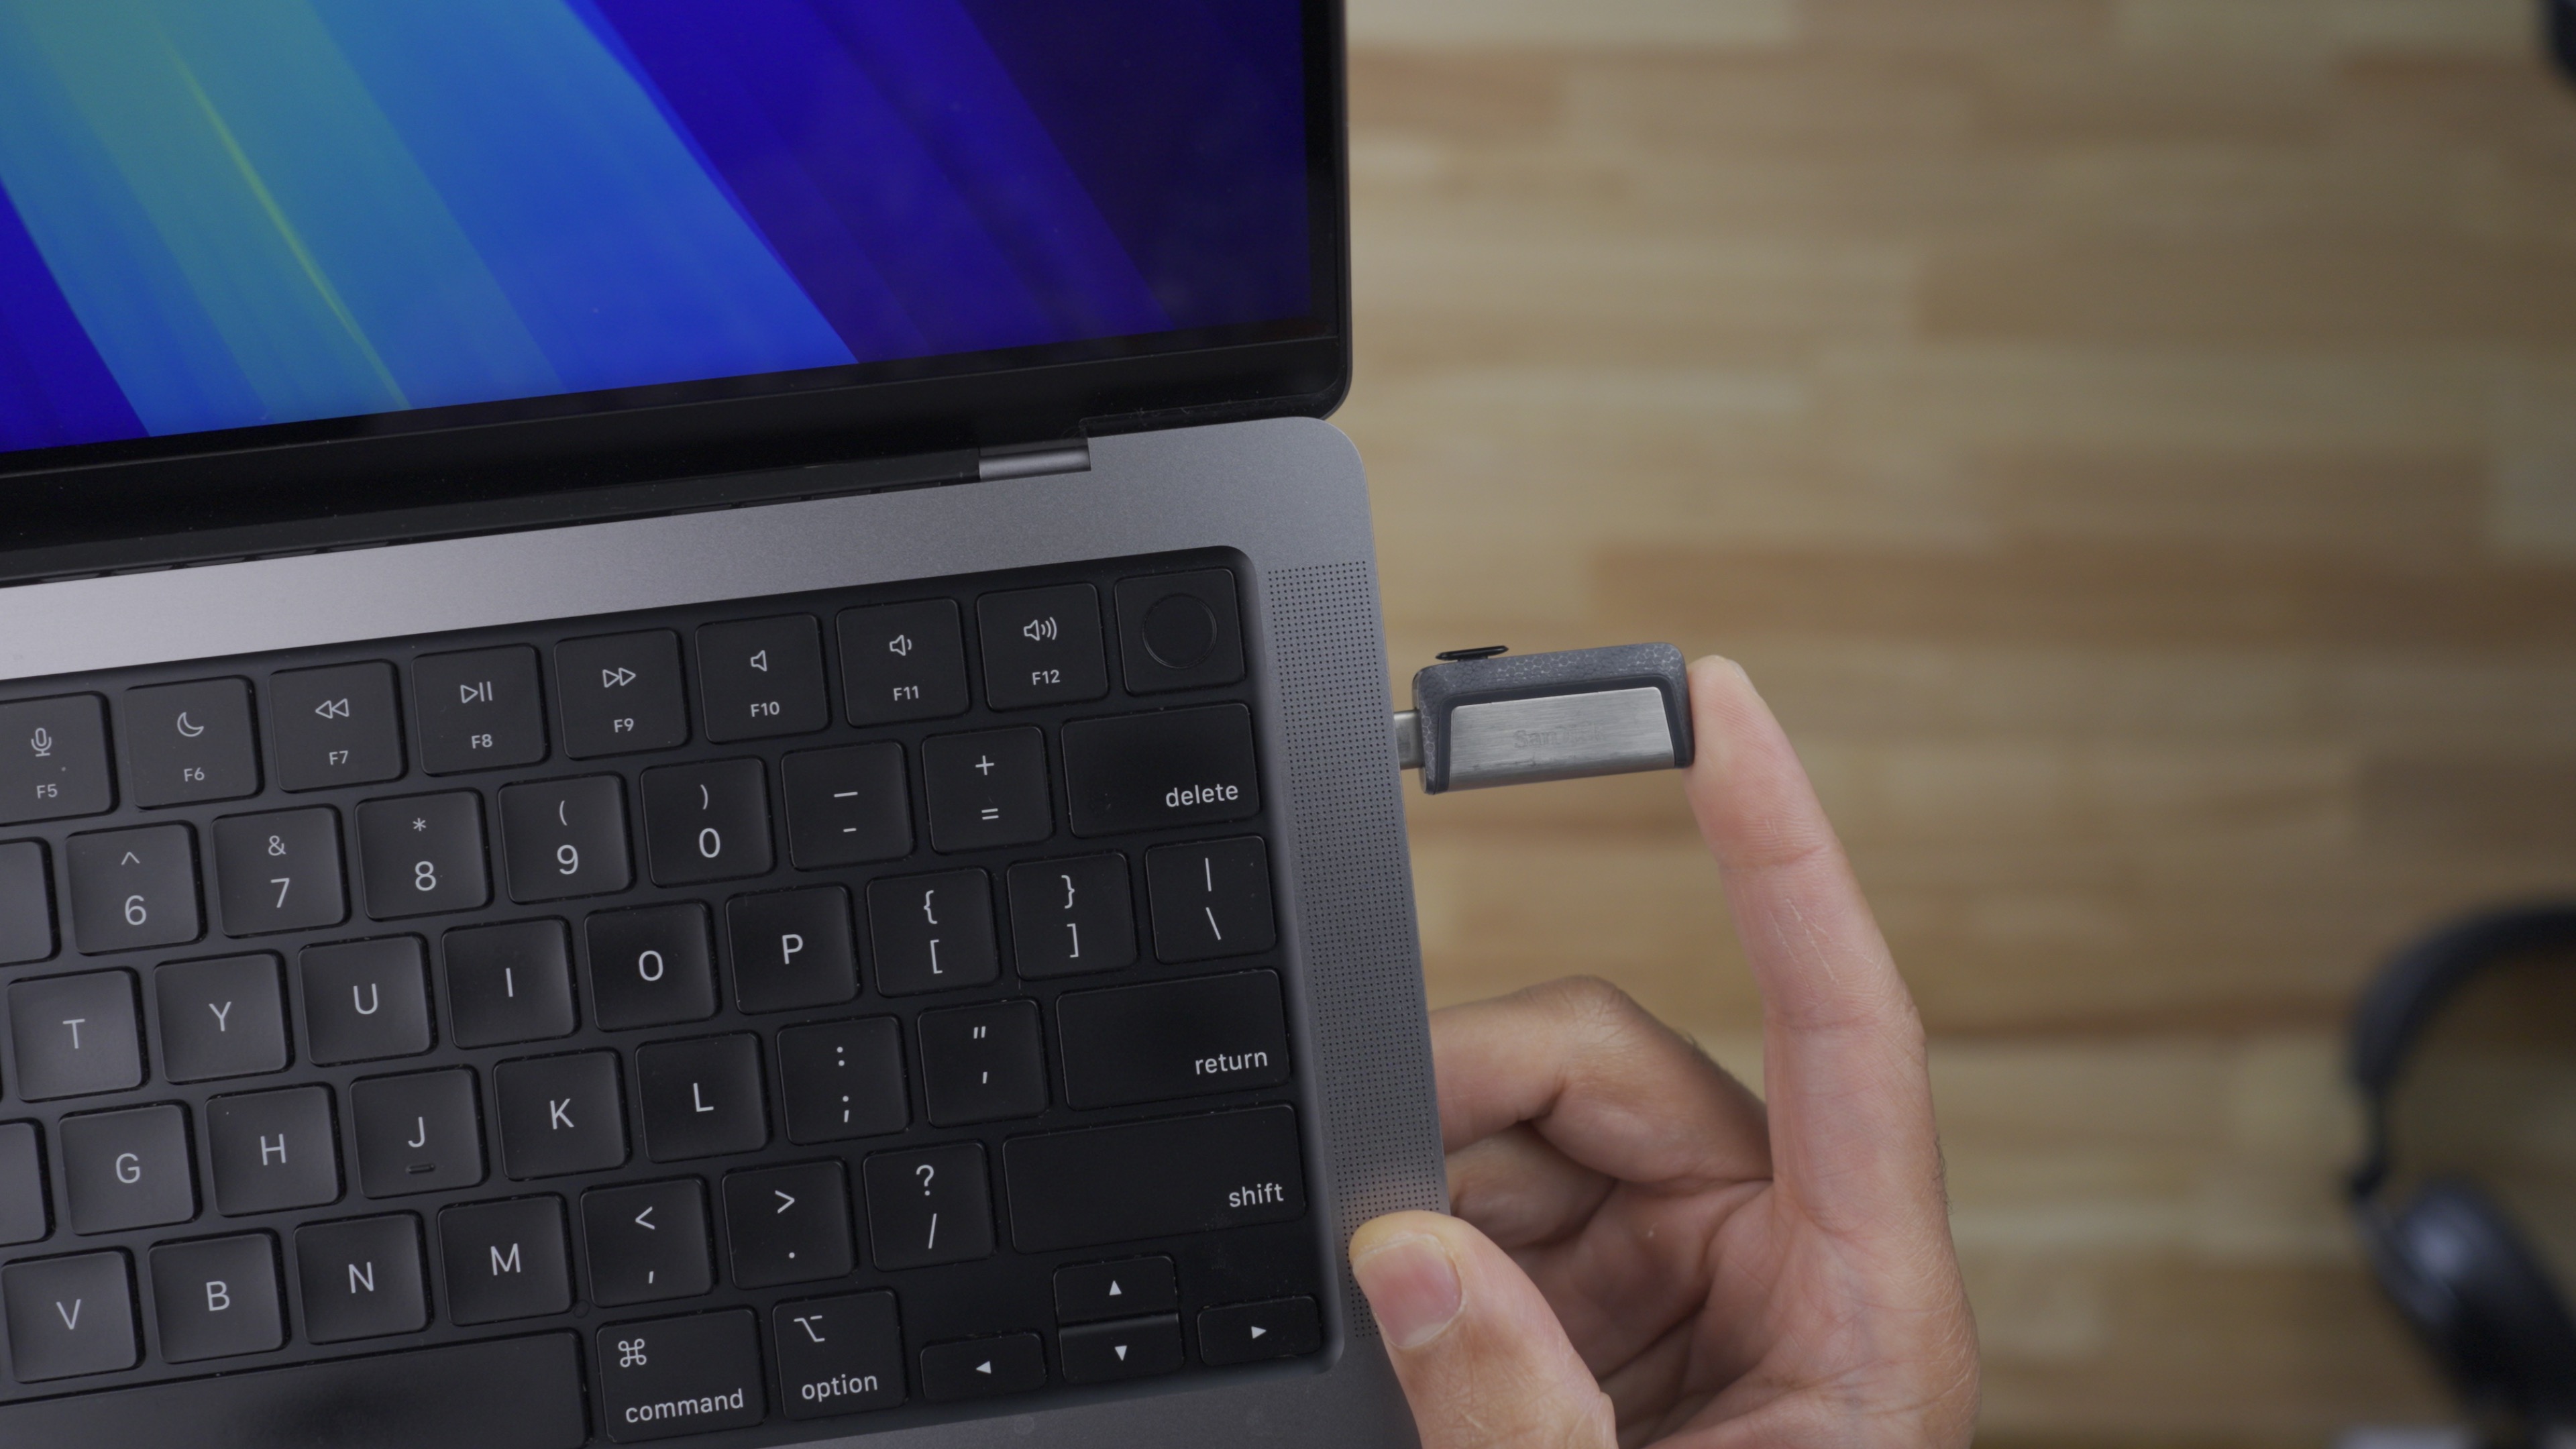
To follow this tutorial, you’ll need access to a USB drive to serve as the install destination. A USB flash drive will work, as long as it has at least 16 gigabytes of storage. I’m using a portable SanDisk flash drive with both USB-C and USB-A connections for added flexibility. You can purchase the same USB flash drive, with 32GB of storage for a very reasonable price.
macOS Sequoia USB installer video tutorial
Subscribe to 9to5Mac on YouTube for more videos
Download the macOS Sequoia installer
You can download the macOS 15 installer in various ways. One of the easiest is to use Terminal’s softwareupdate command, and I prefer this method.
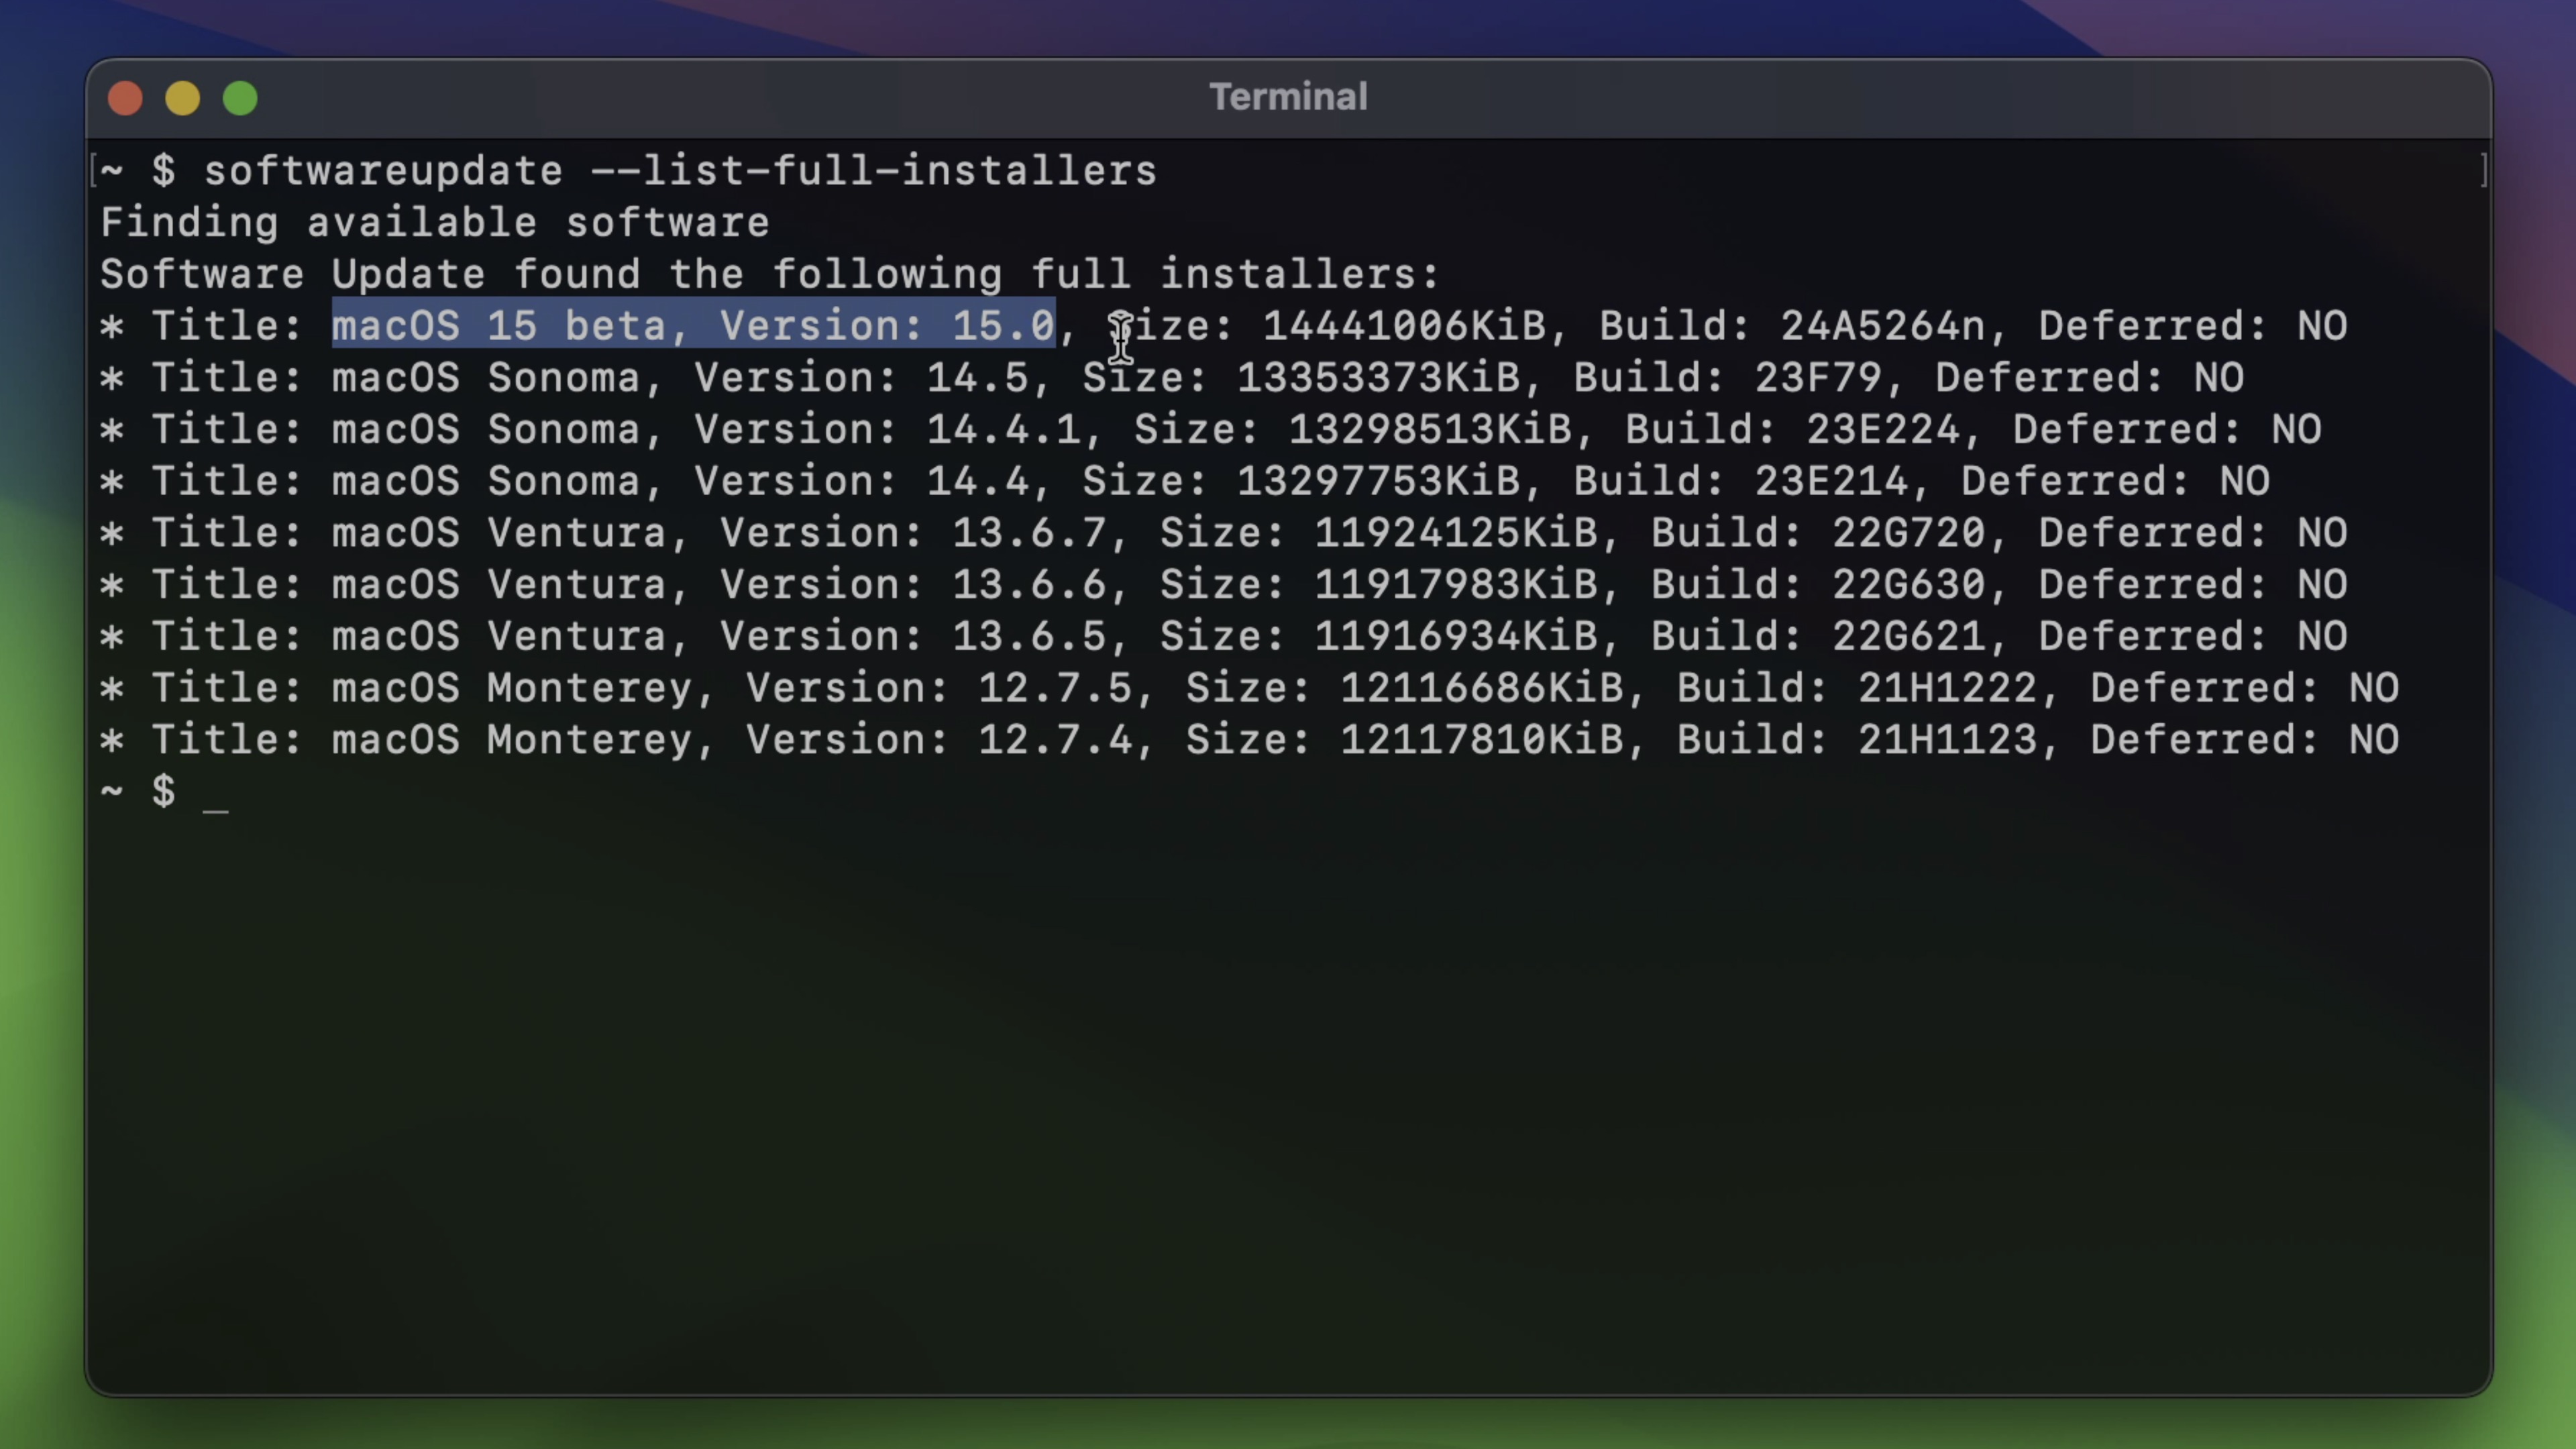
Step 1: Open a new Terminal window by navigating to Applications → Utilities → Terminal. Paste the following command in Terminal:
softwareupdate --list-full-installersPress Return on your Mac’s keyboard to identify the installer you want to download. In this case, it is macOS 15 Sequoia.
Step 2: Paste the following command in Terminal, replacing the version number with the desired version revealed in Step 1, followed by pressing Return on your Mac’s keyboard. This will initiate the download of the macOS installer to your Applications folder.
softwareupdate --fetch-full-installer --full-installer-version 15.0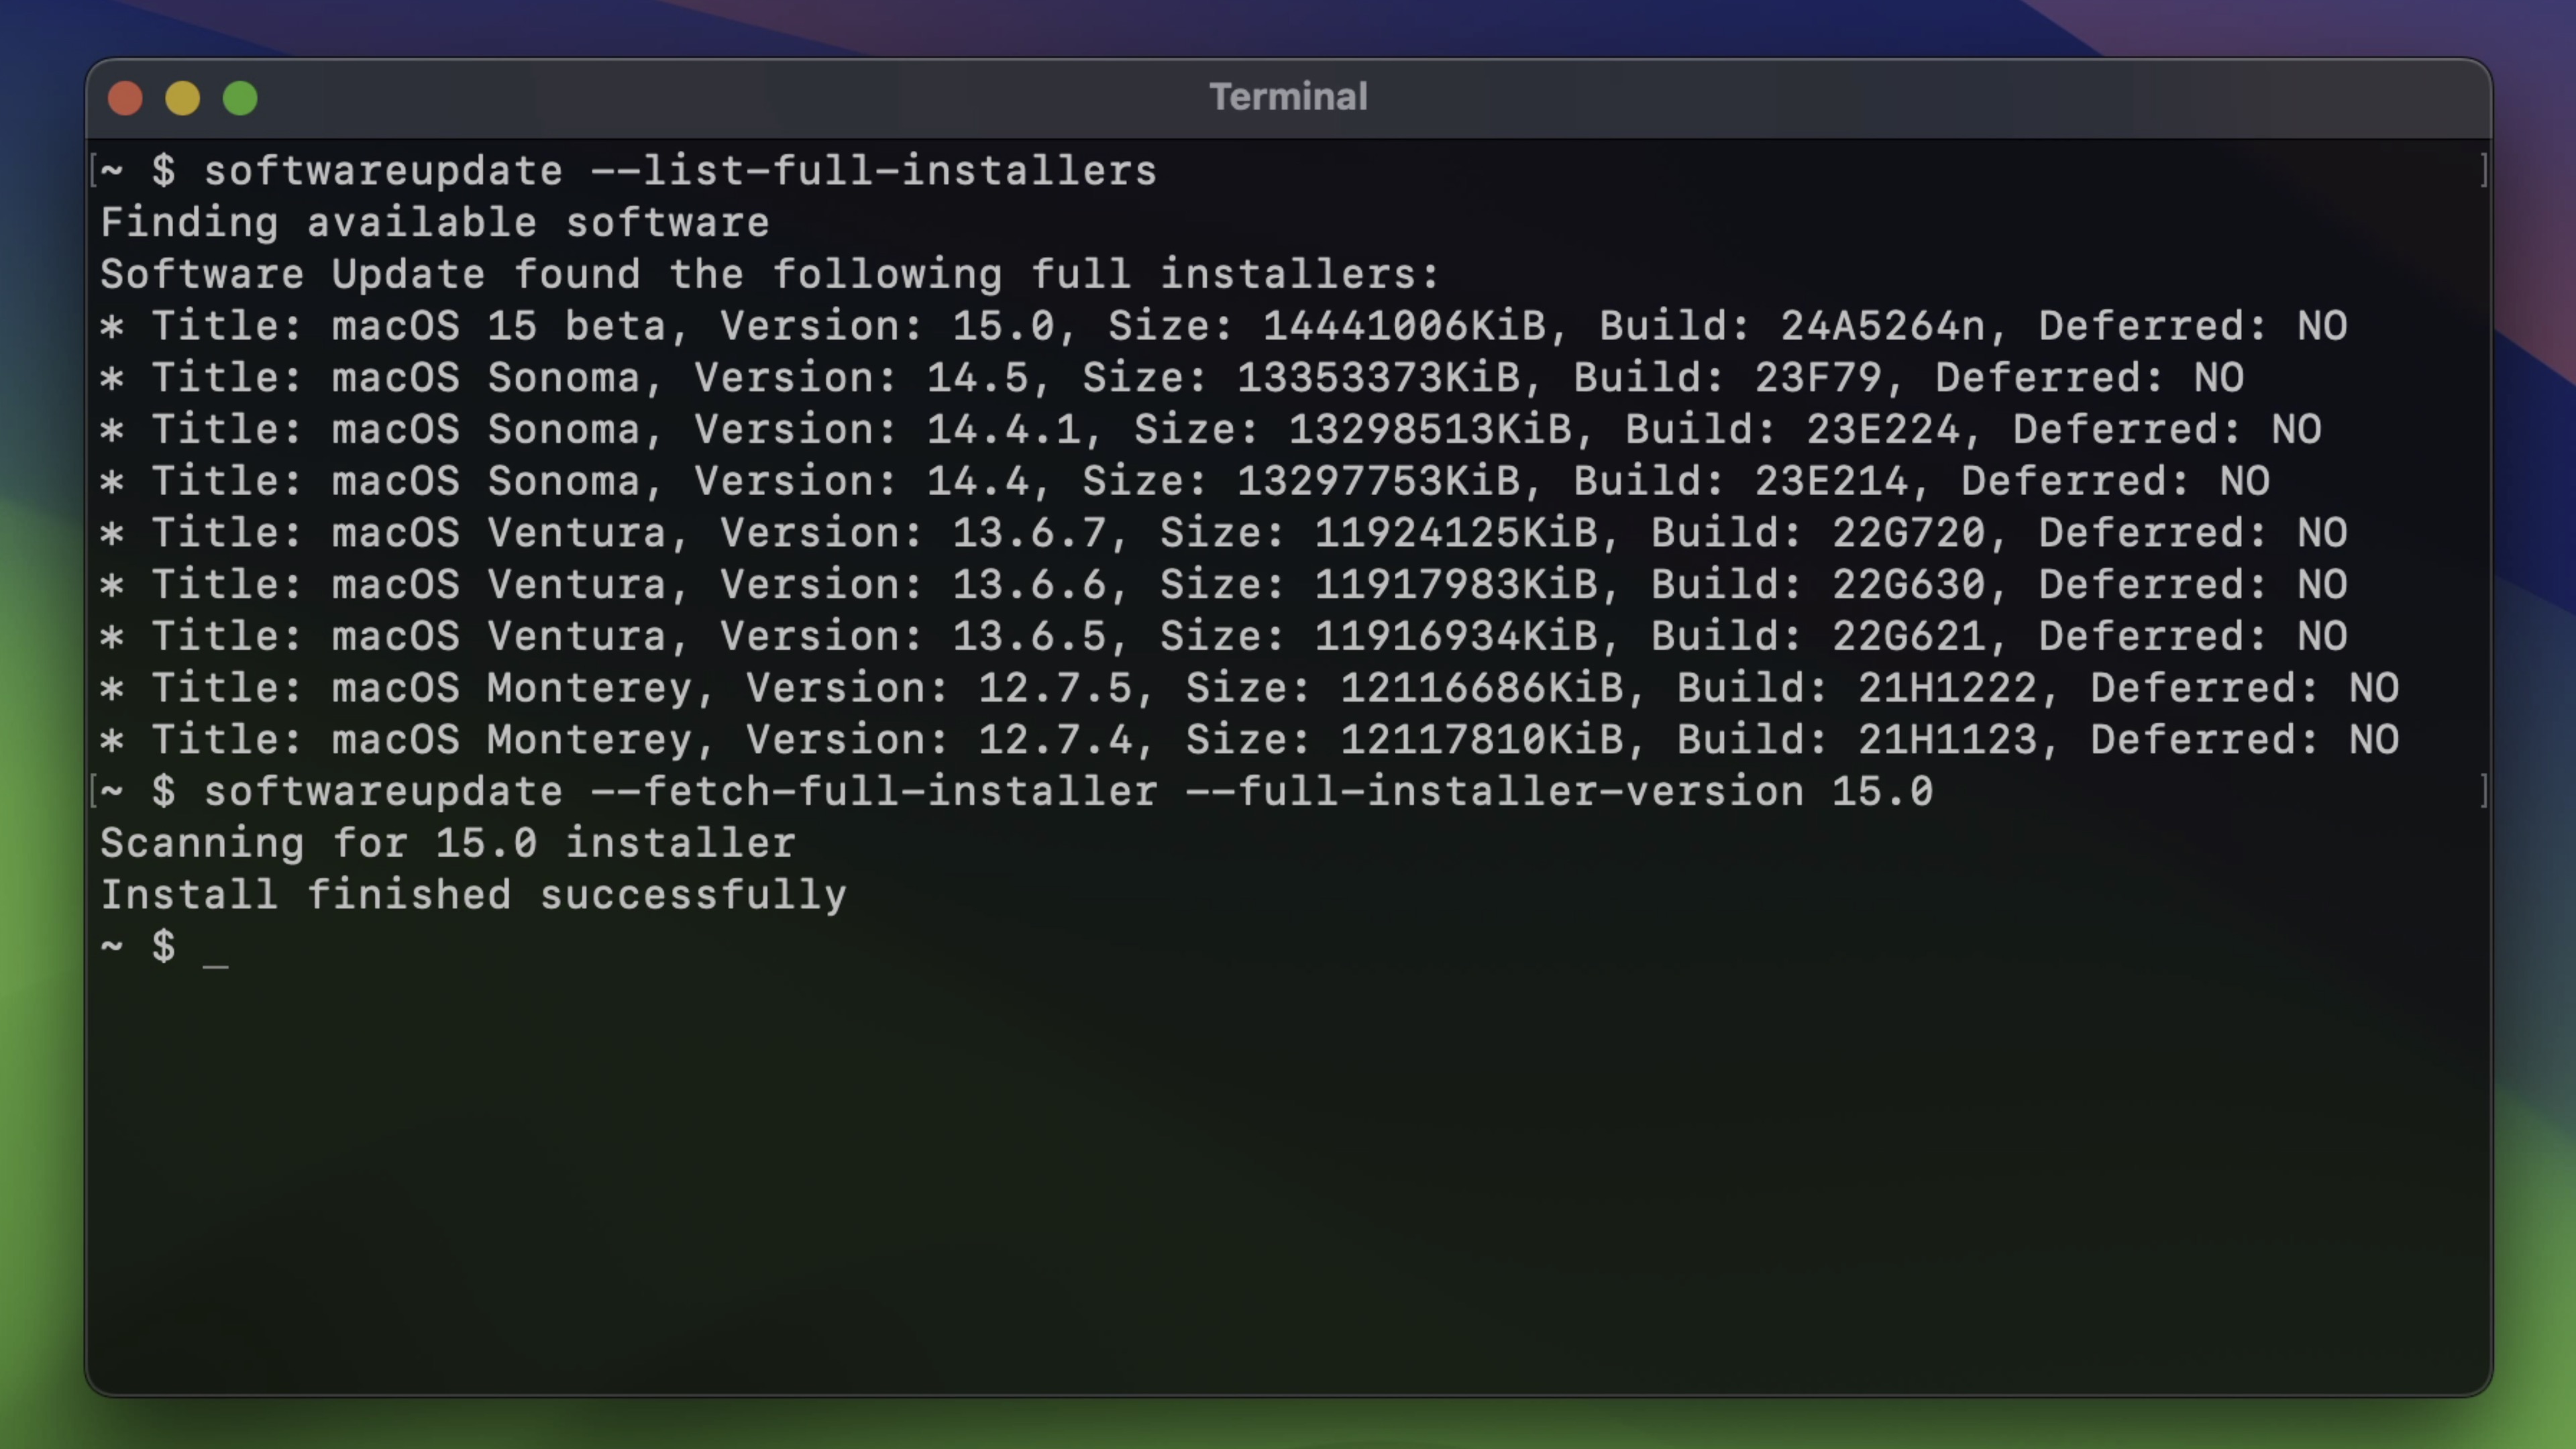
Create the macOS Sequoia USB installer
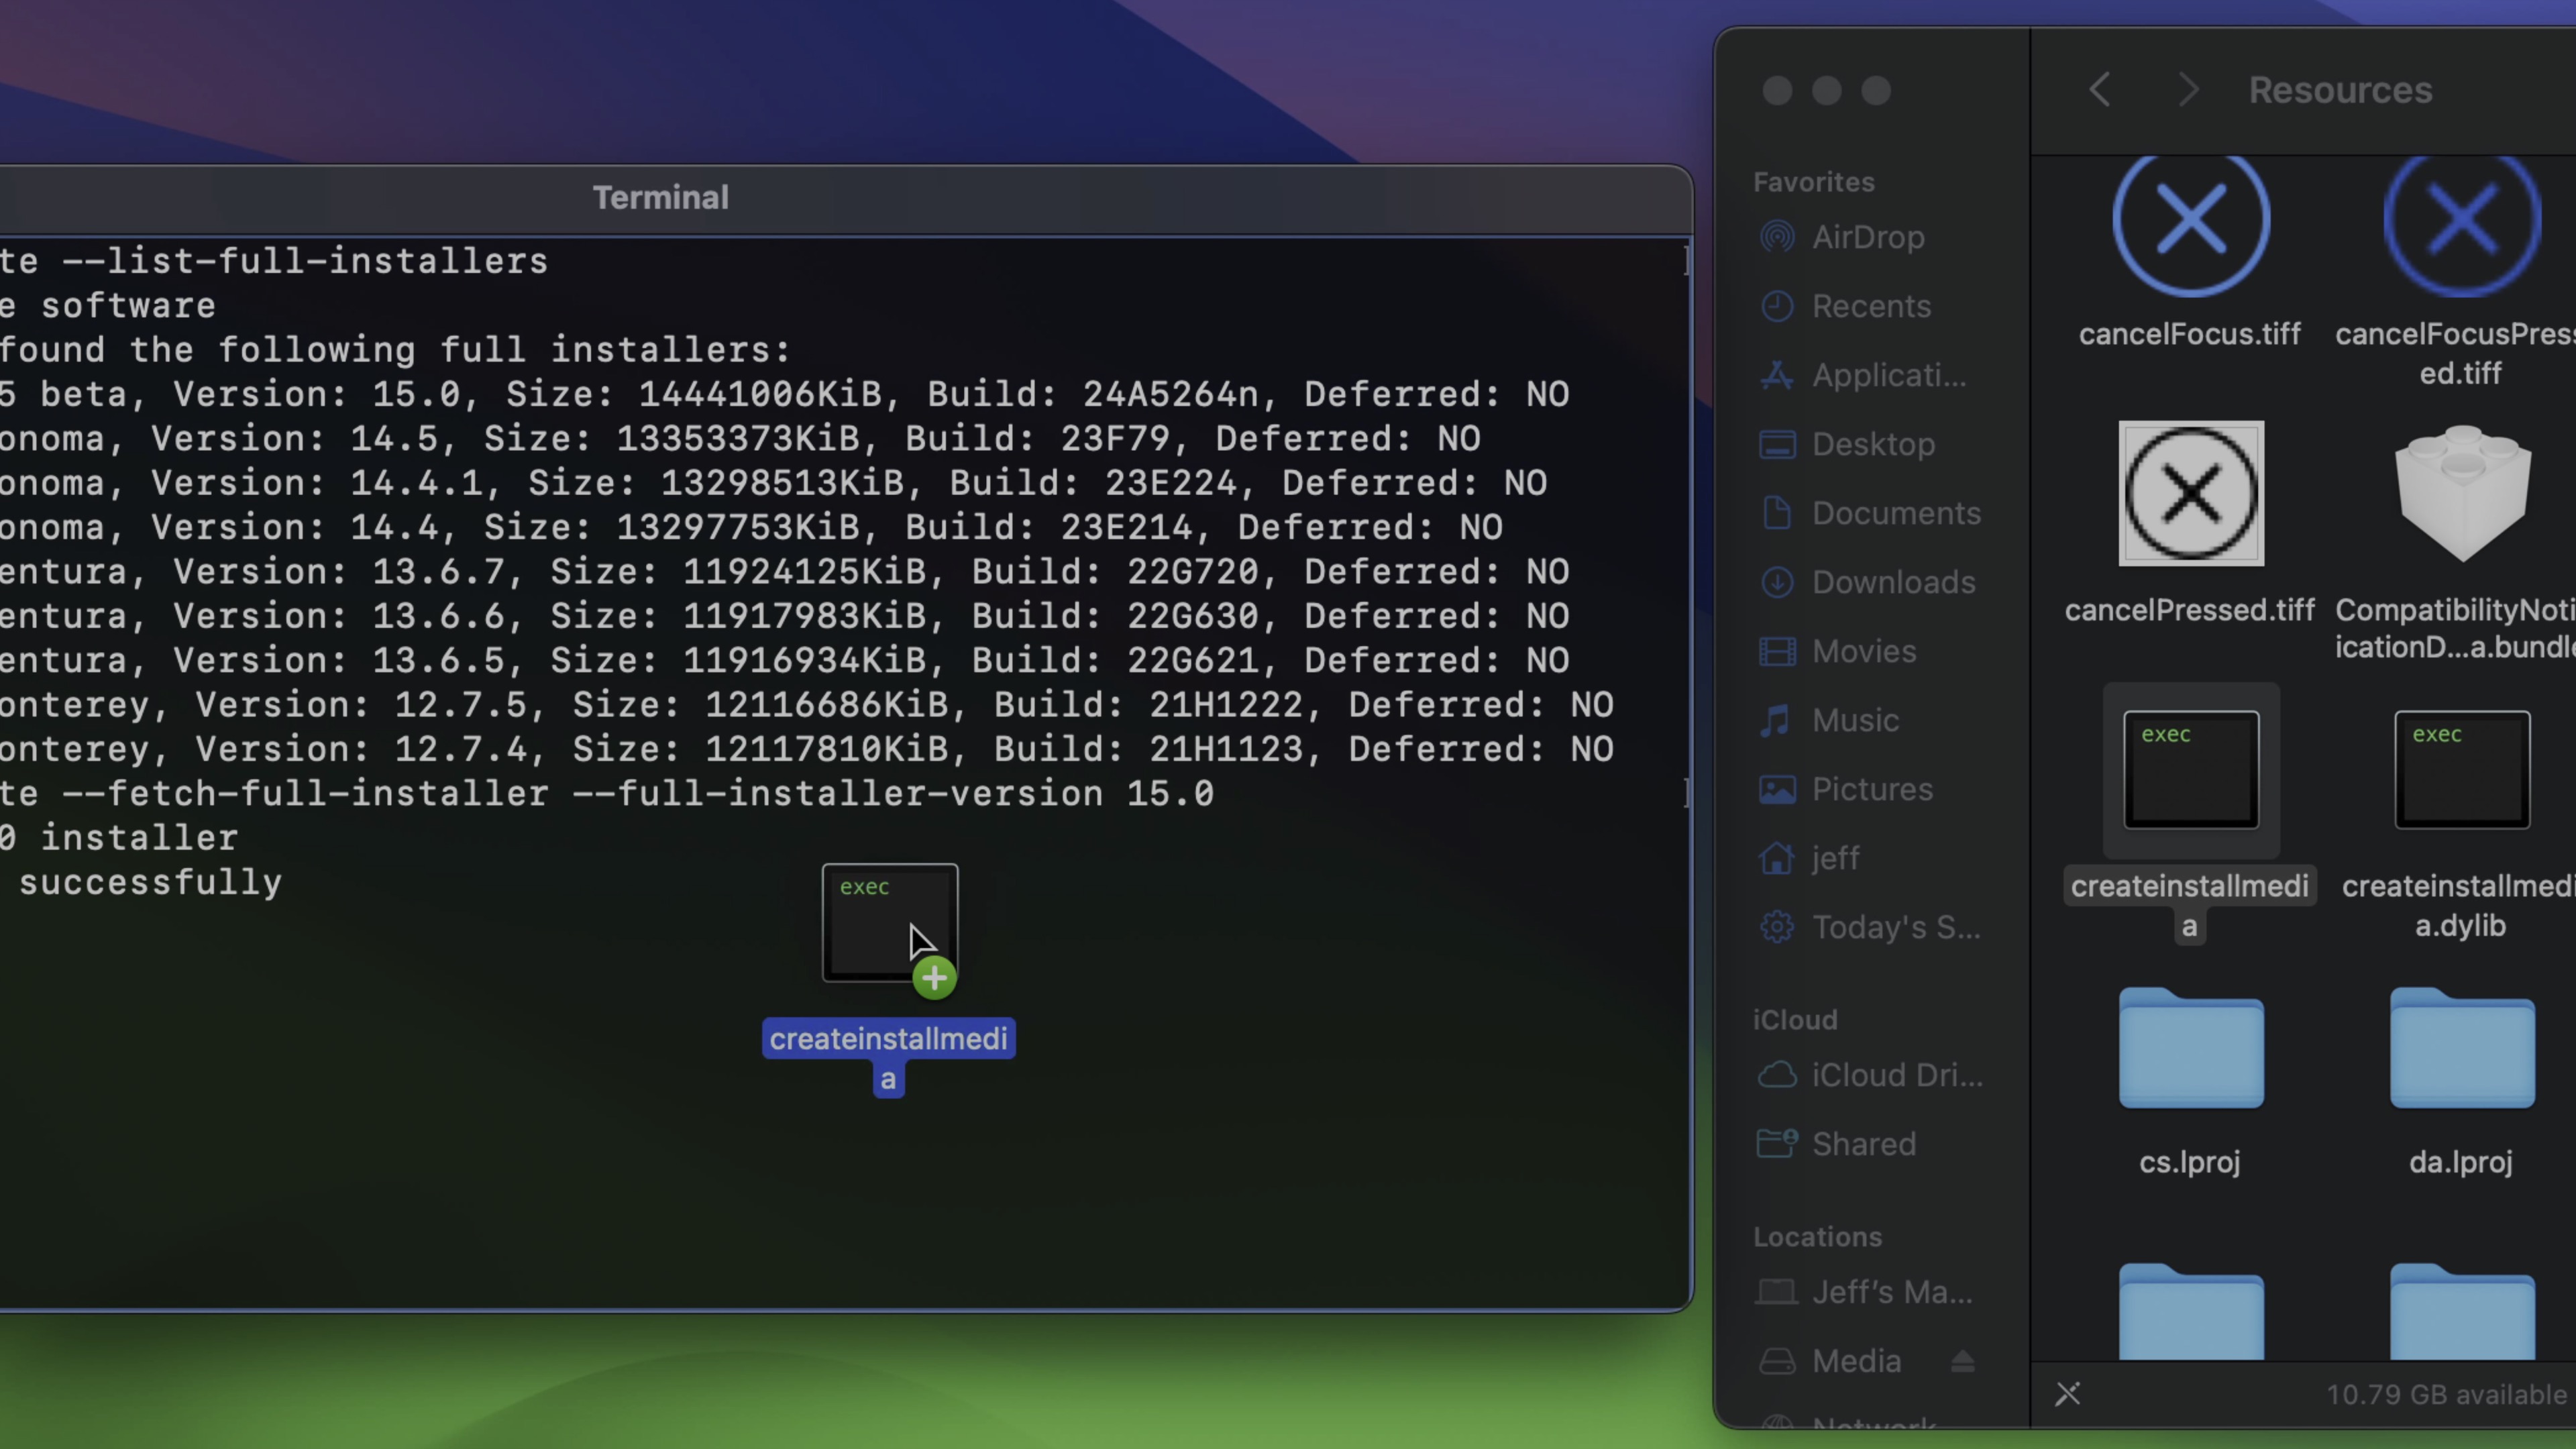
Step 3: Open Finder → Applications, then right-click on Install macOS 15 beta → Show Package Contents. Open Contents → Resources.
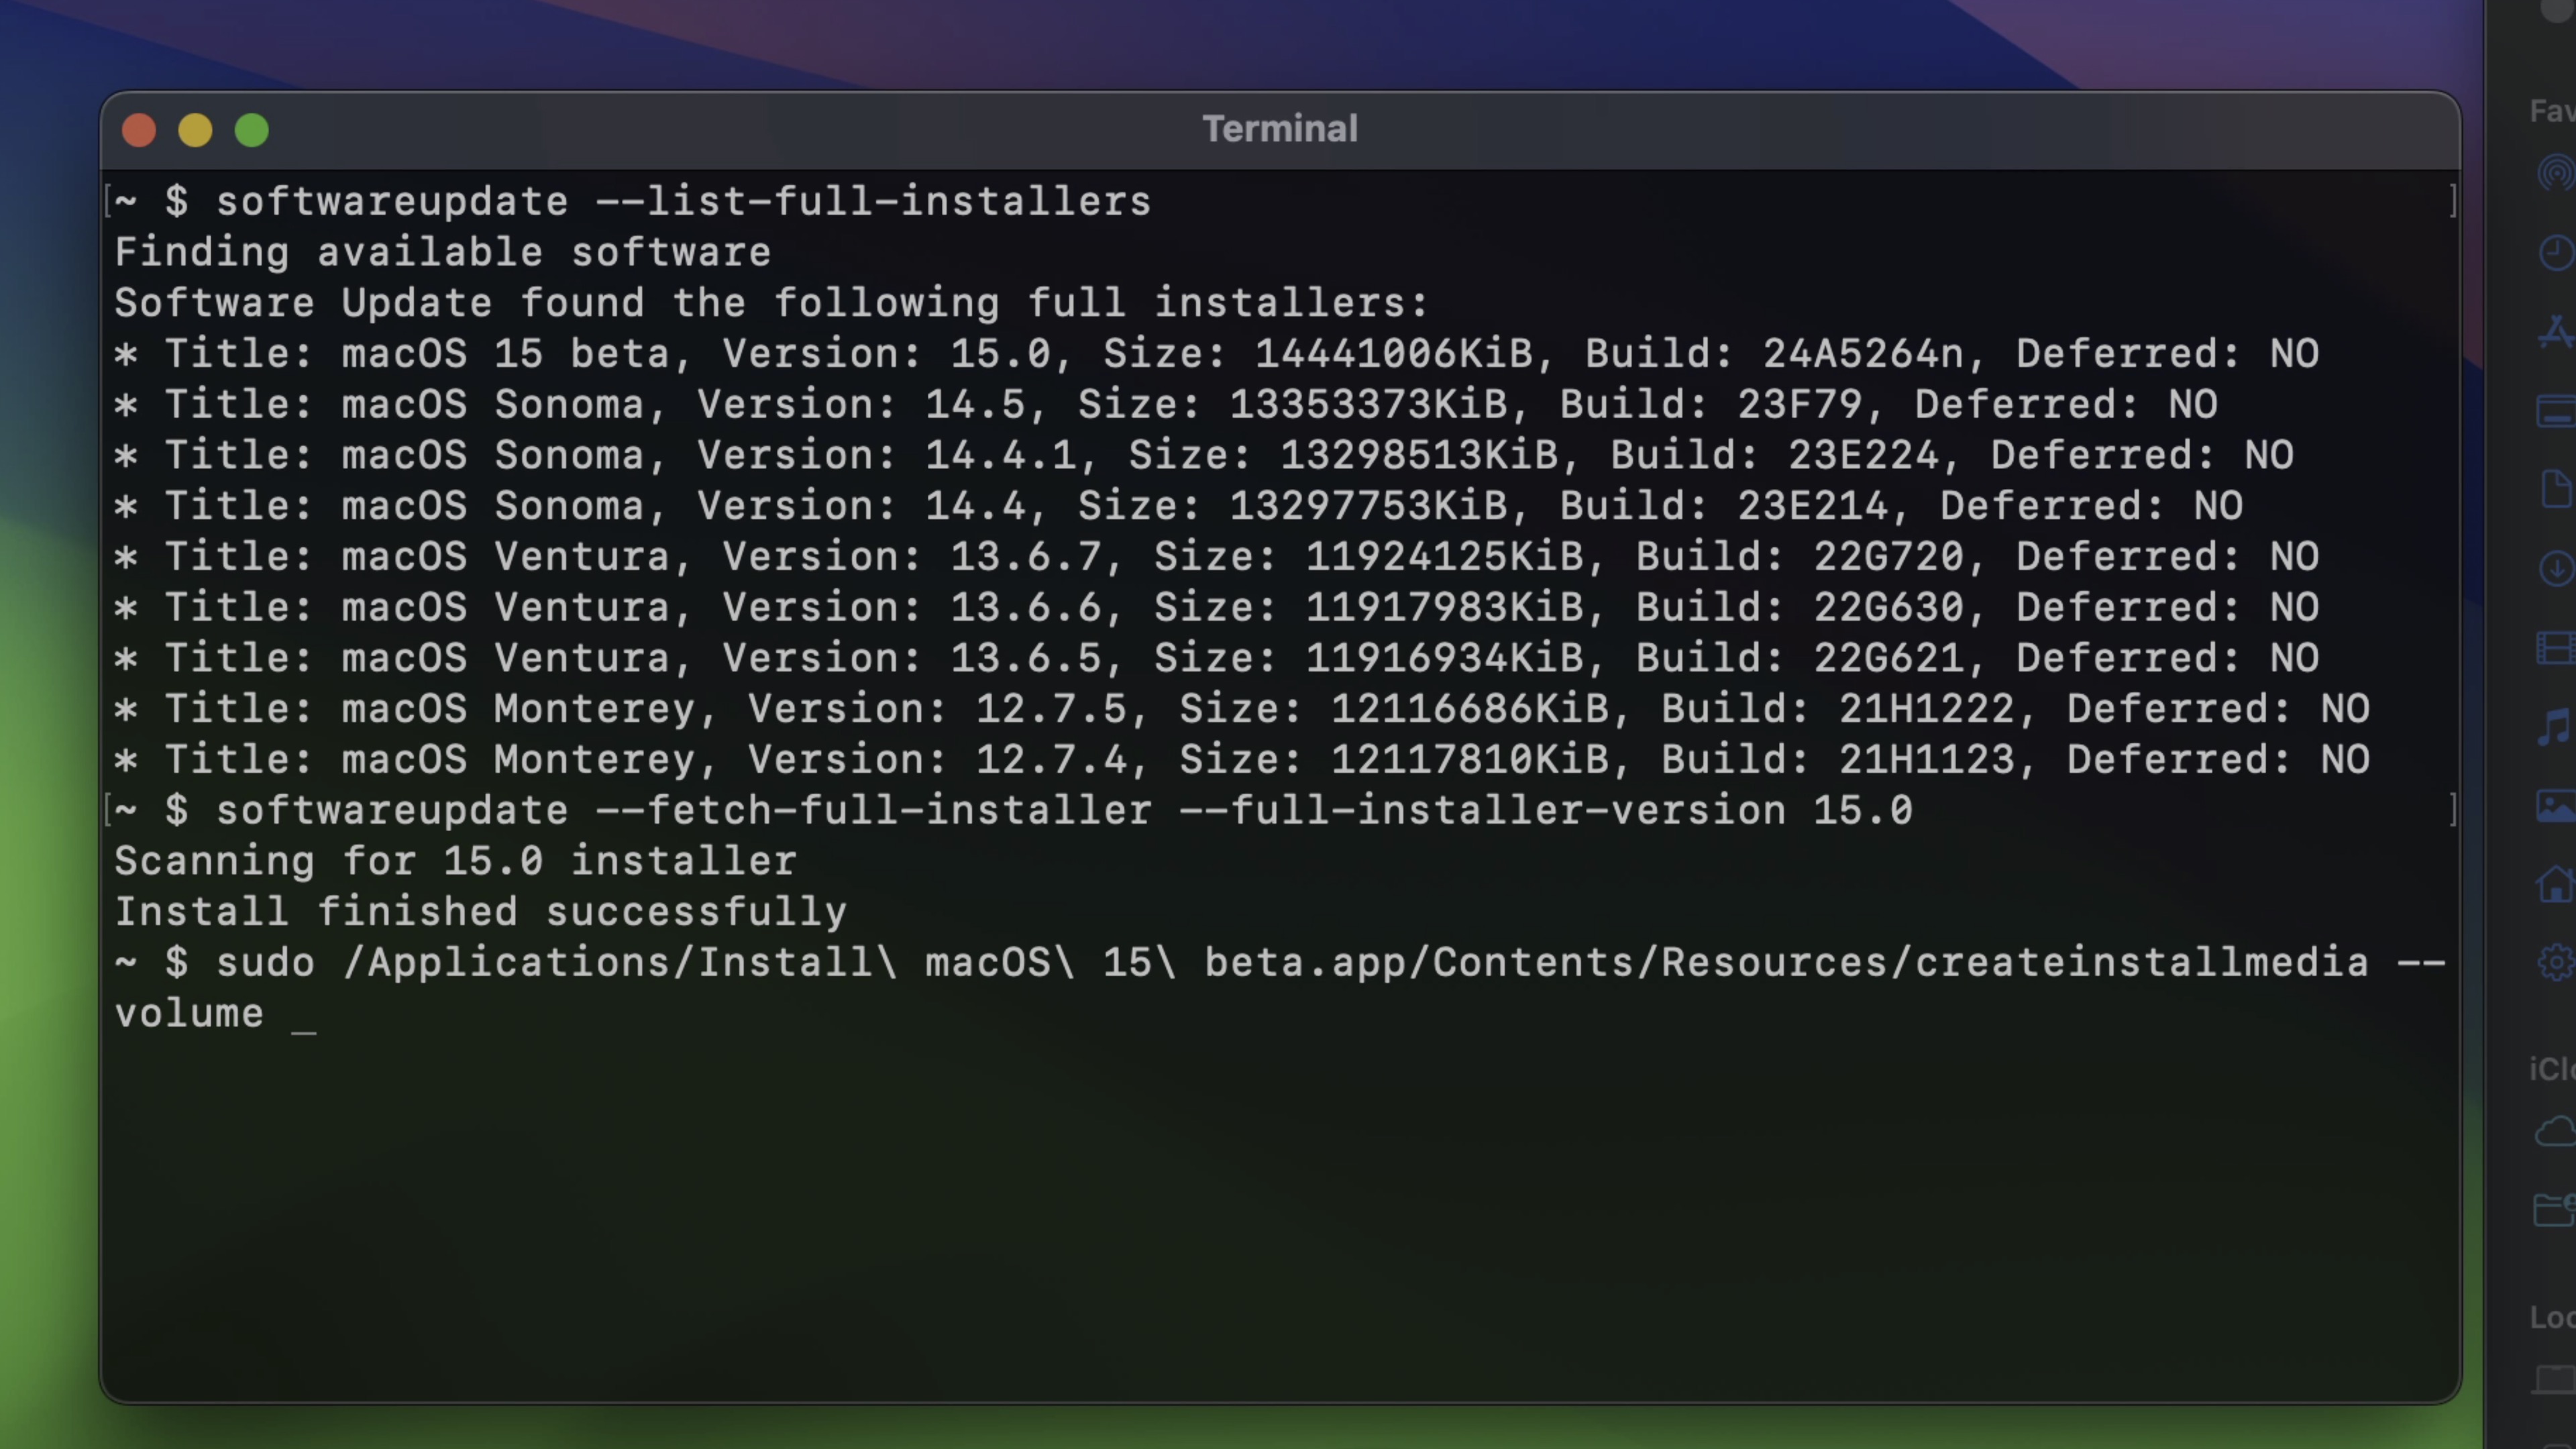
Step 4: In a new or existing Terminal window, type sudo followed by a space.
Step 5: Drag and drop createinstallmedia from the Resources folder directly to the Terminal window.
Step 6: Type --volume followed by a space.
Step 7: Connect your USB Drive, open the drive in Finder, and make sure that nothing on it is needed. If there is, it’s important to back up any data that you need, as the following steps will delete the contents of the drive.
Note: APFS-formatted drives cannot be used to create USB installers. If your USB Drive is APFS formatted, you’ll need to open Applications → Utilities → Disk Utility, select the drive, and click Erase. For format, be sure to choose Mac OS Extended (Journaled) and click Erase.
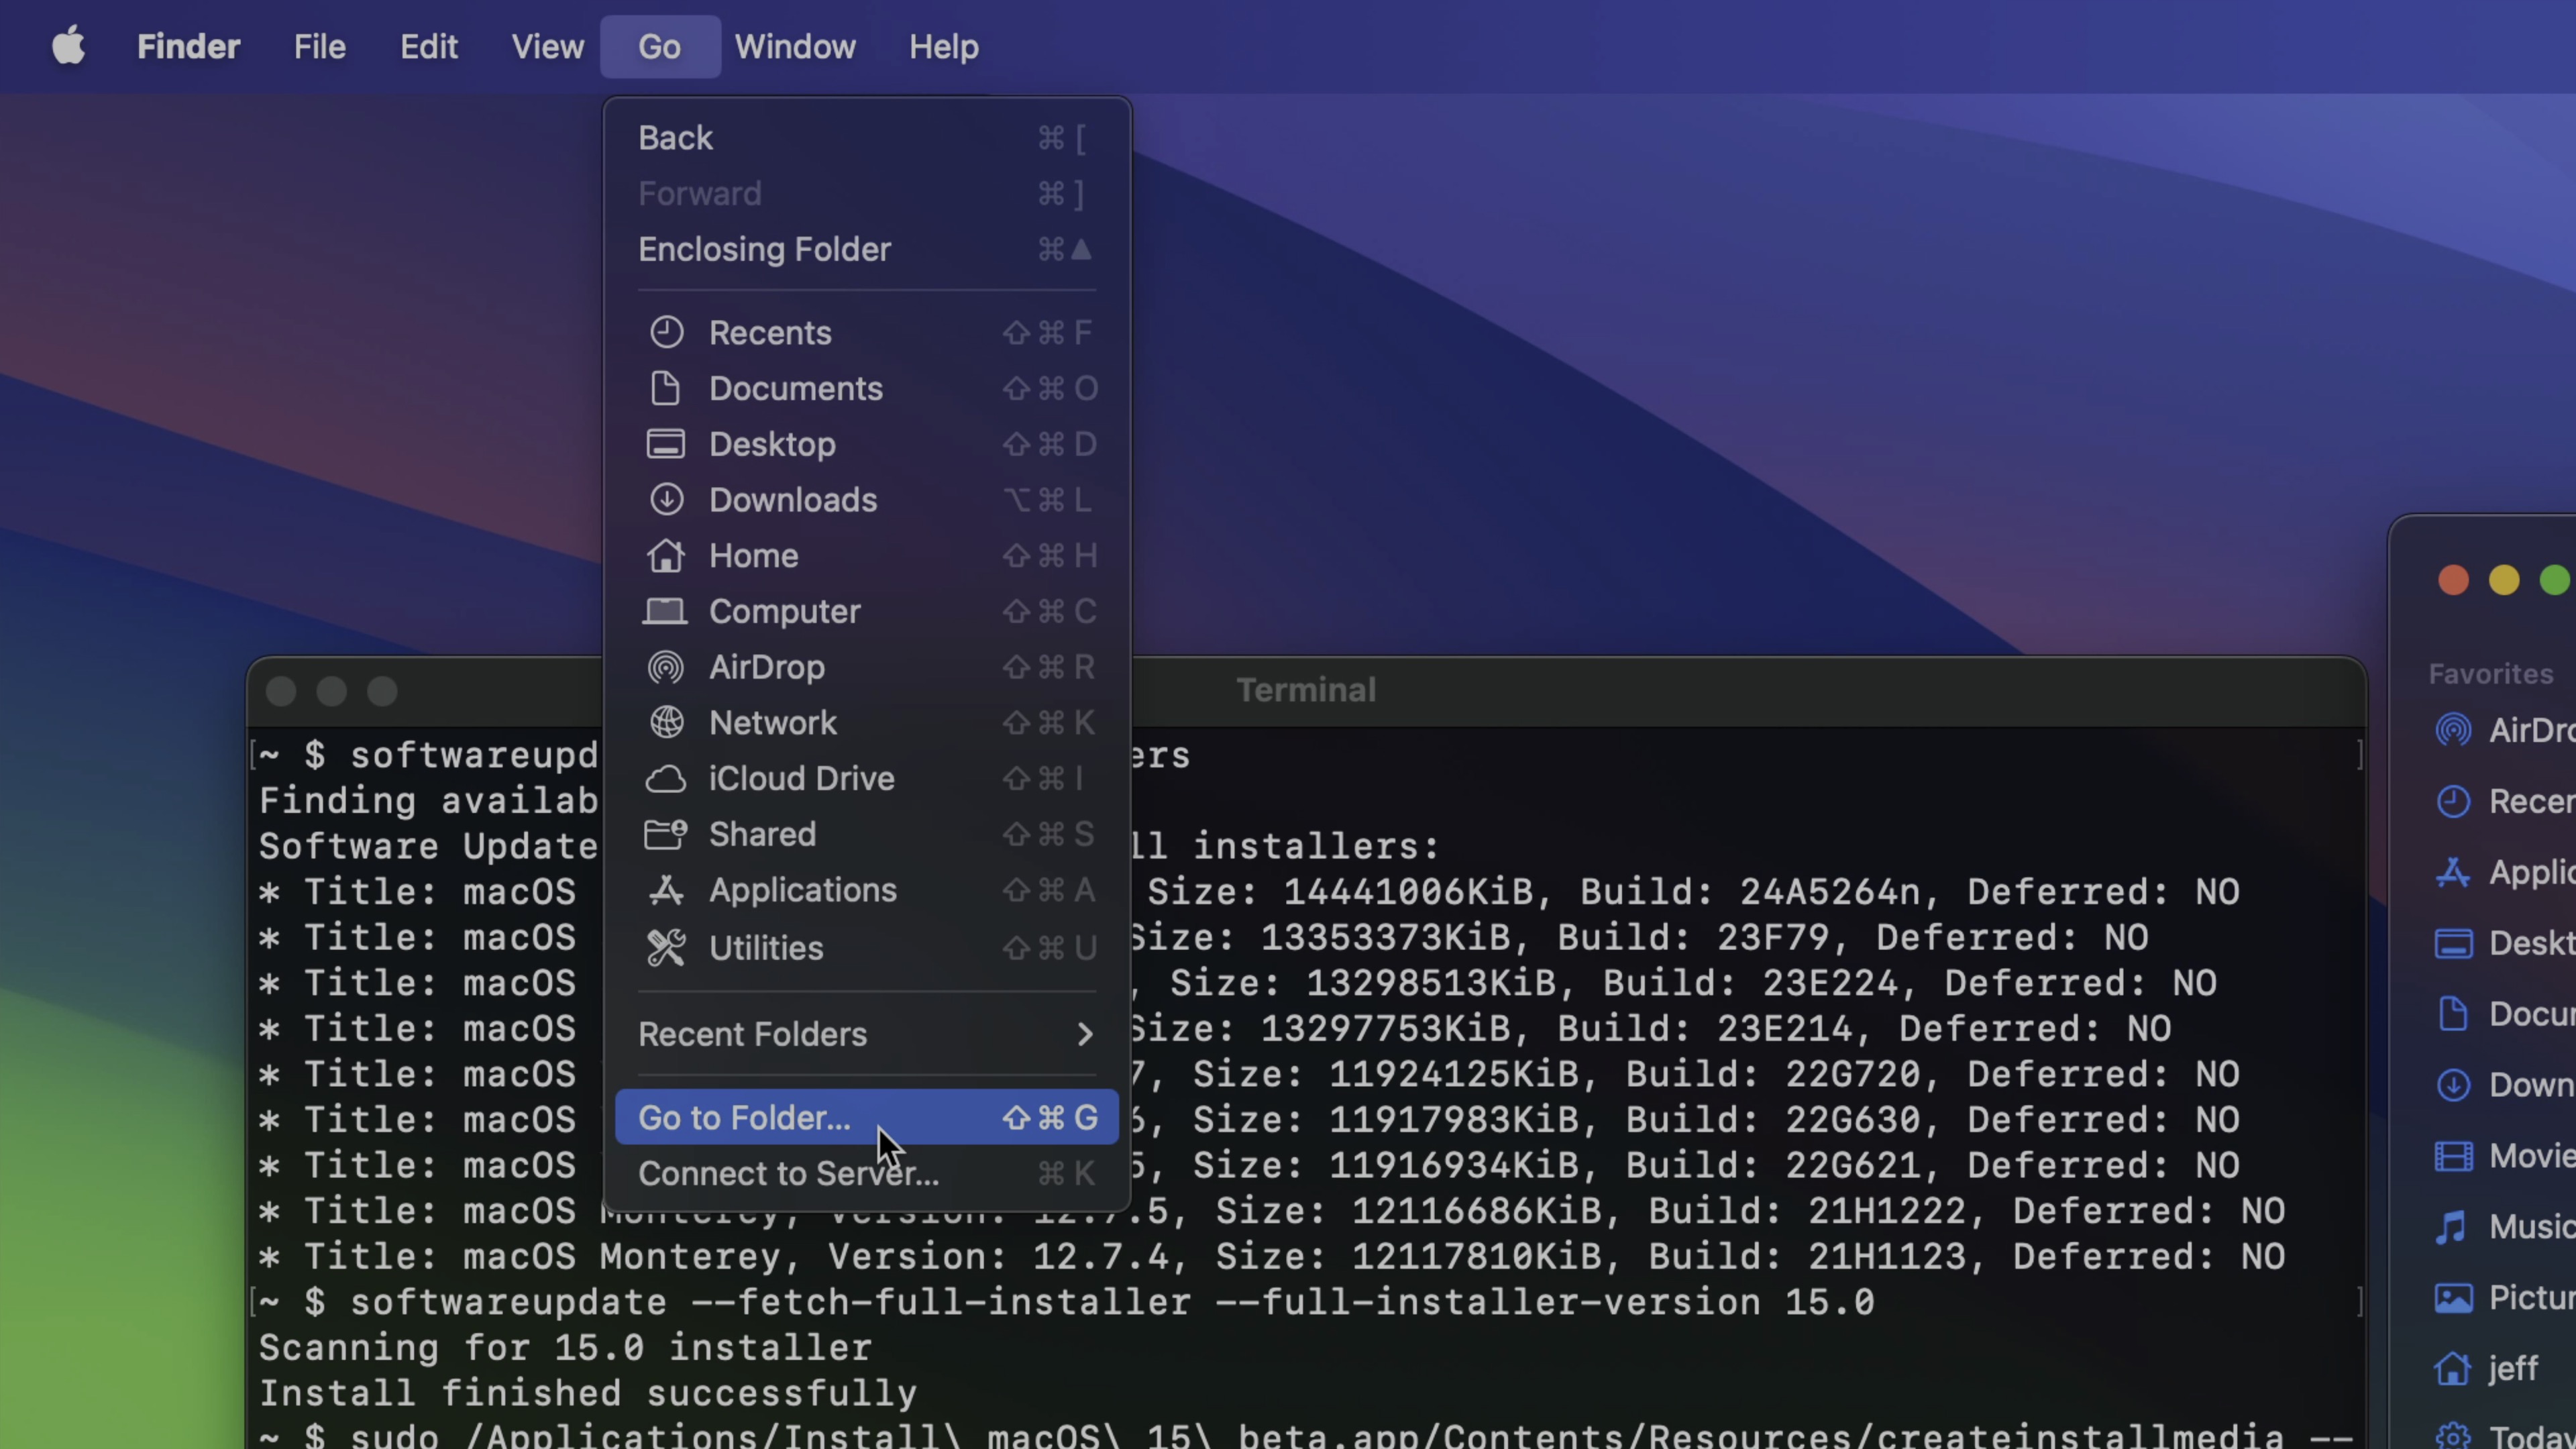
Step 8: Open Finder → Go → Go To Folder…
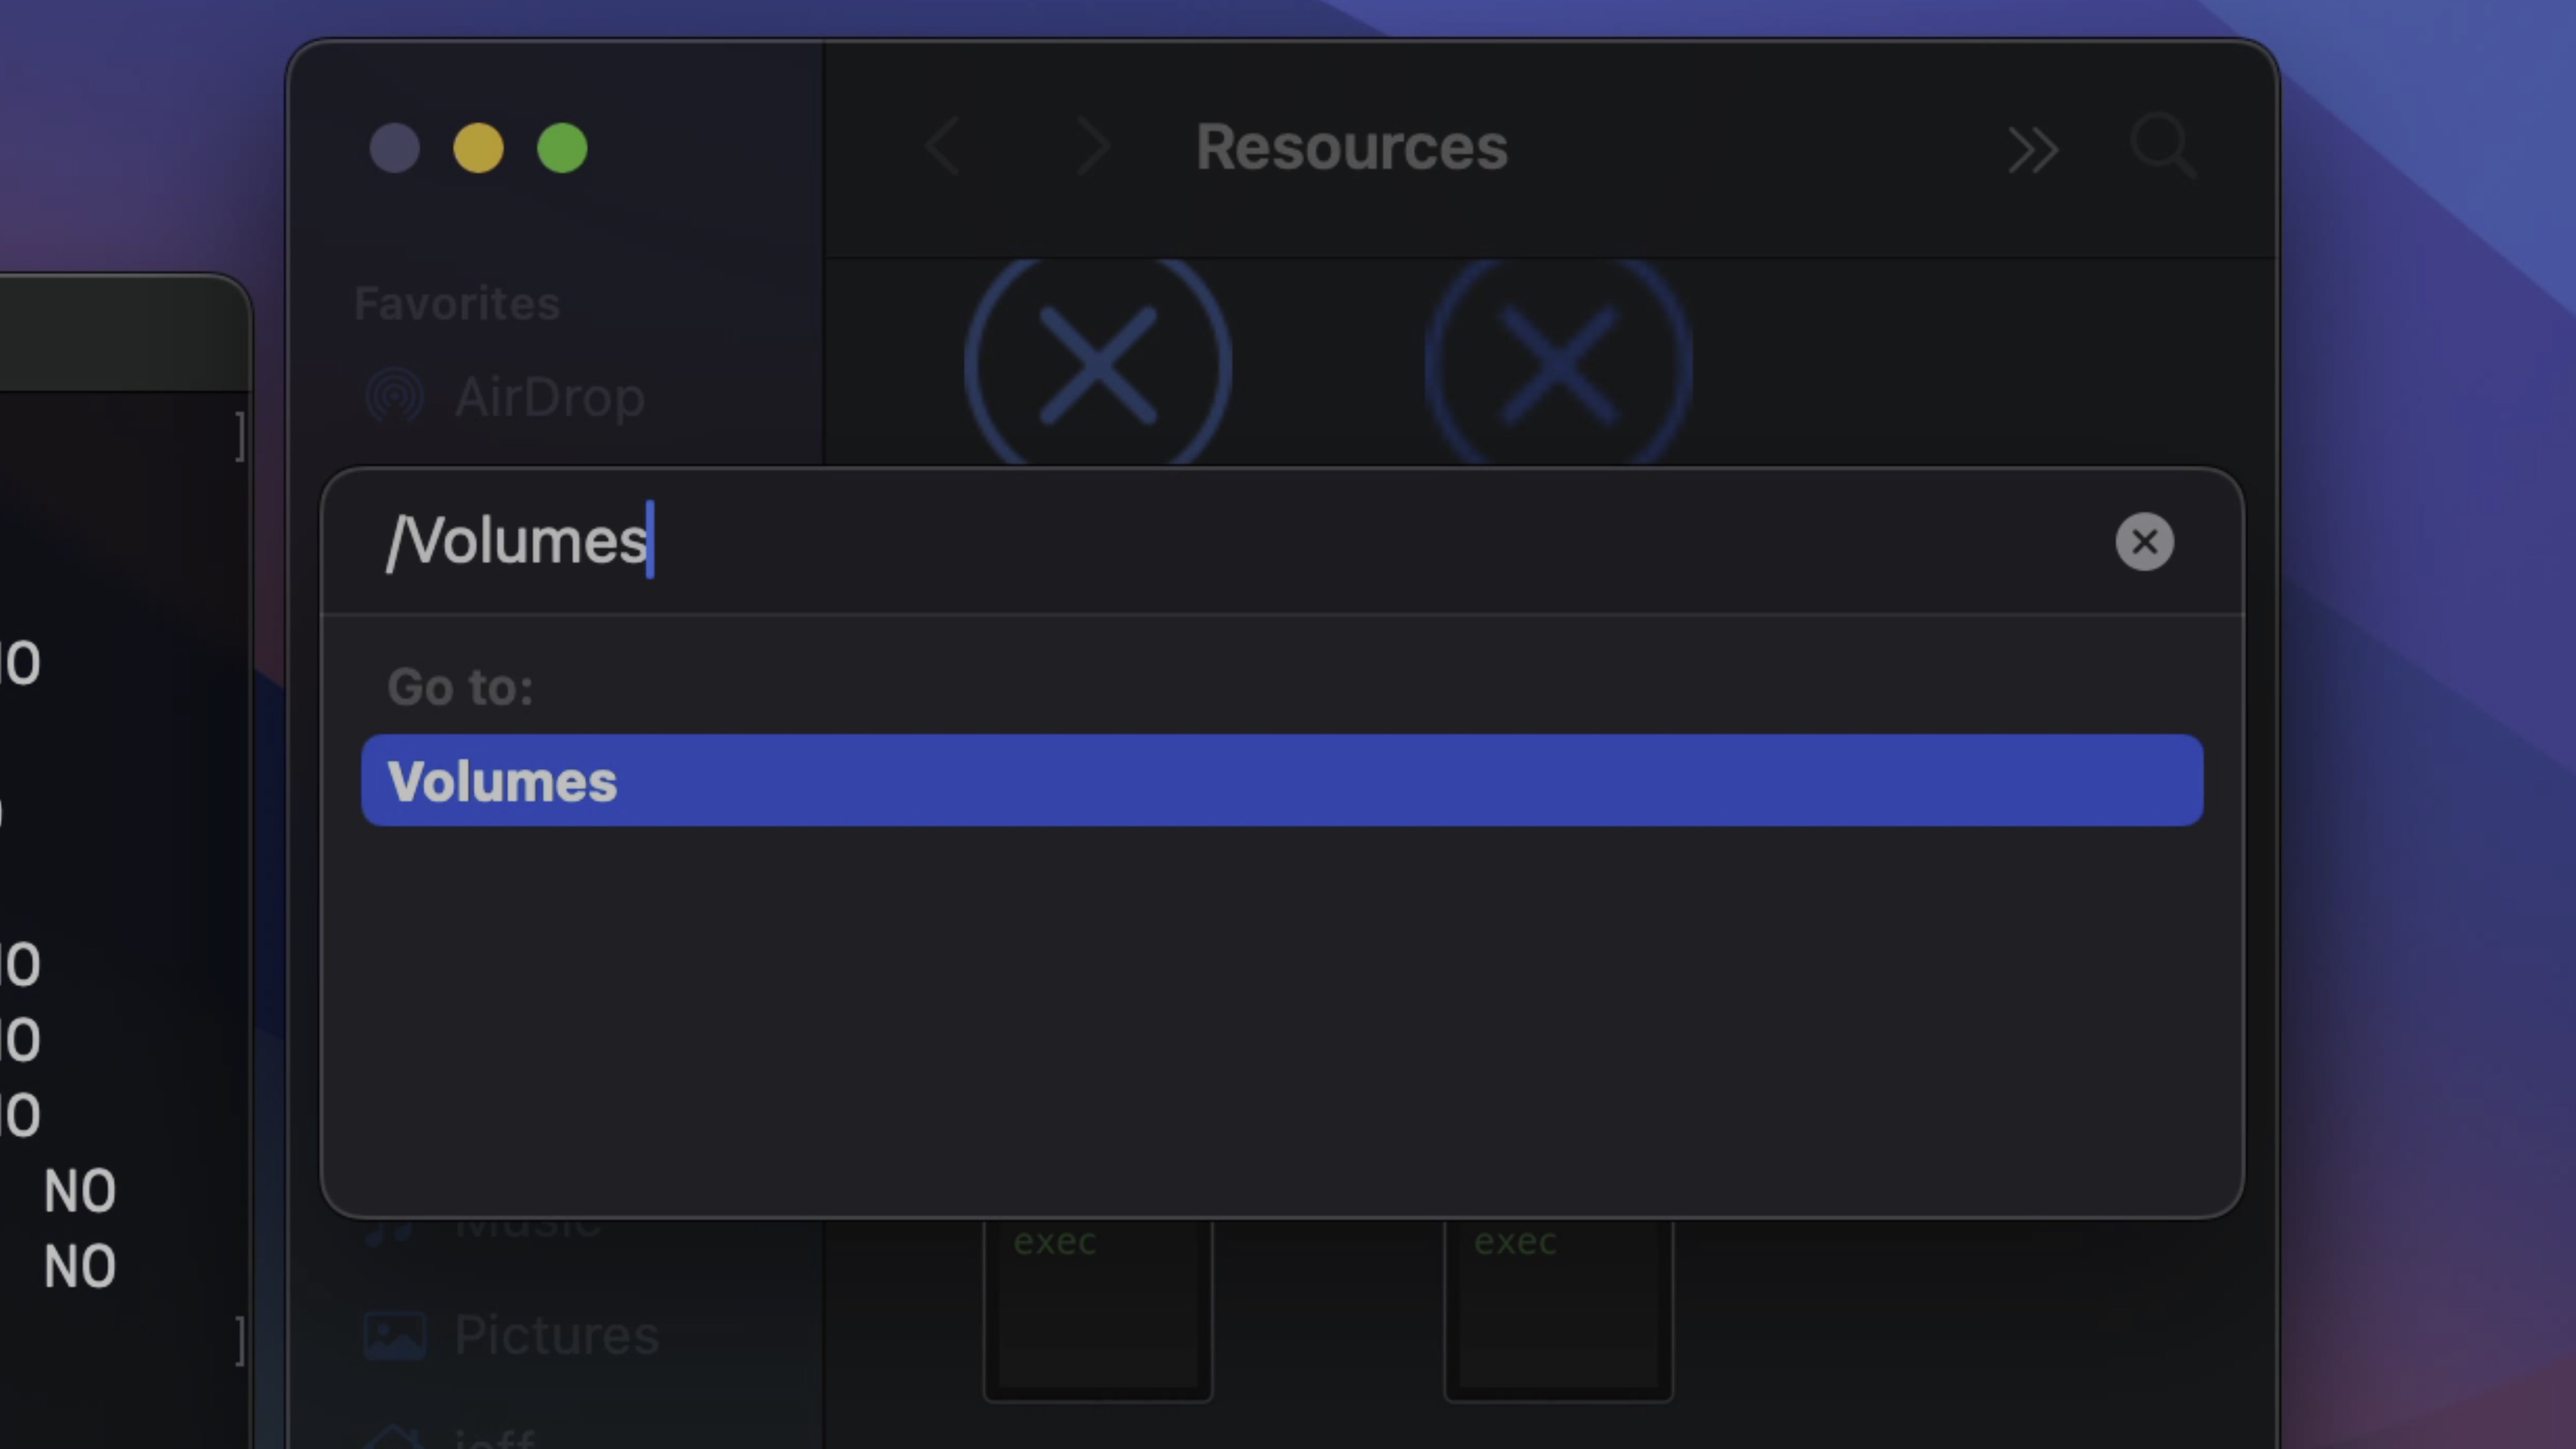
Step 9: Type /Volumes and press return on your keyboard to explore all connected volumes.
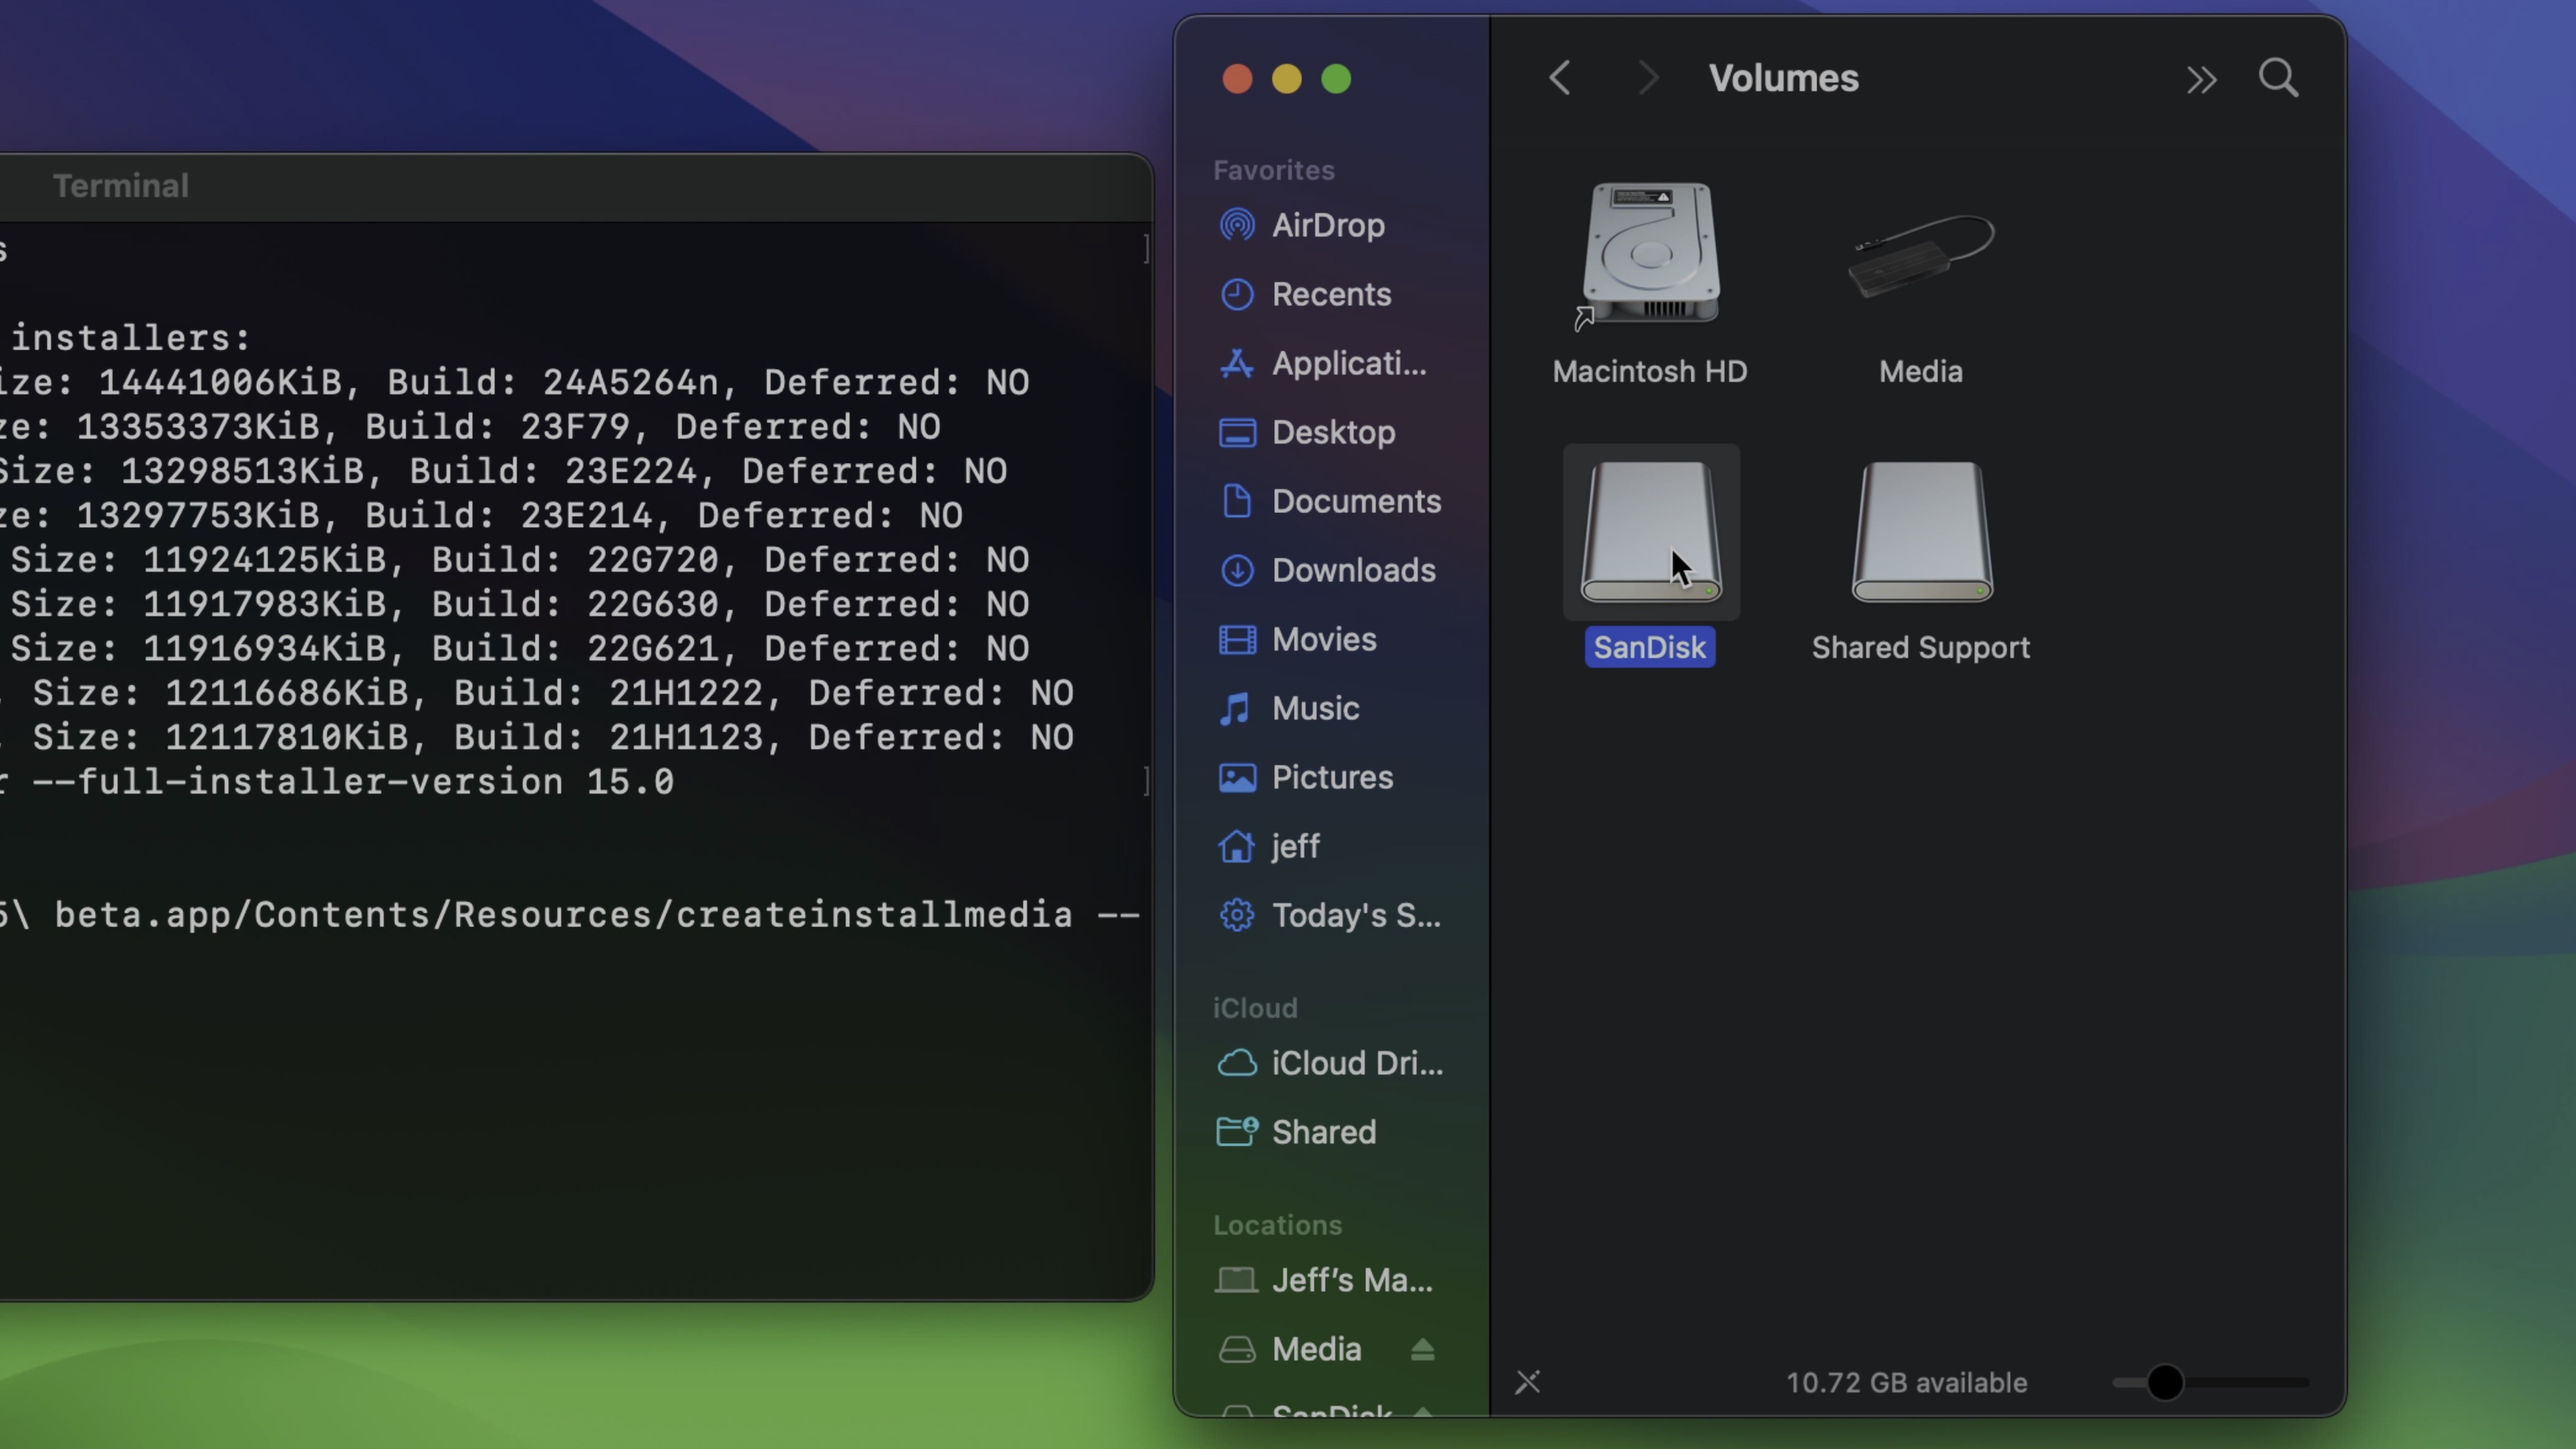
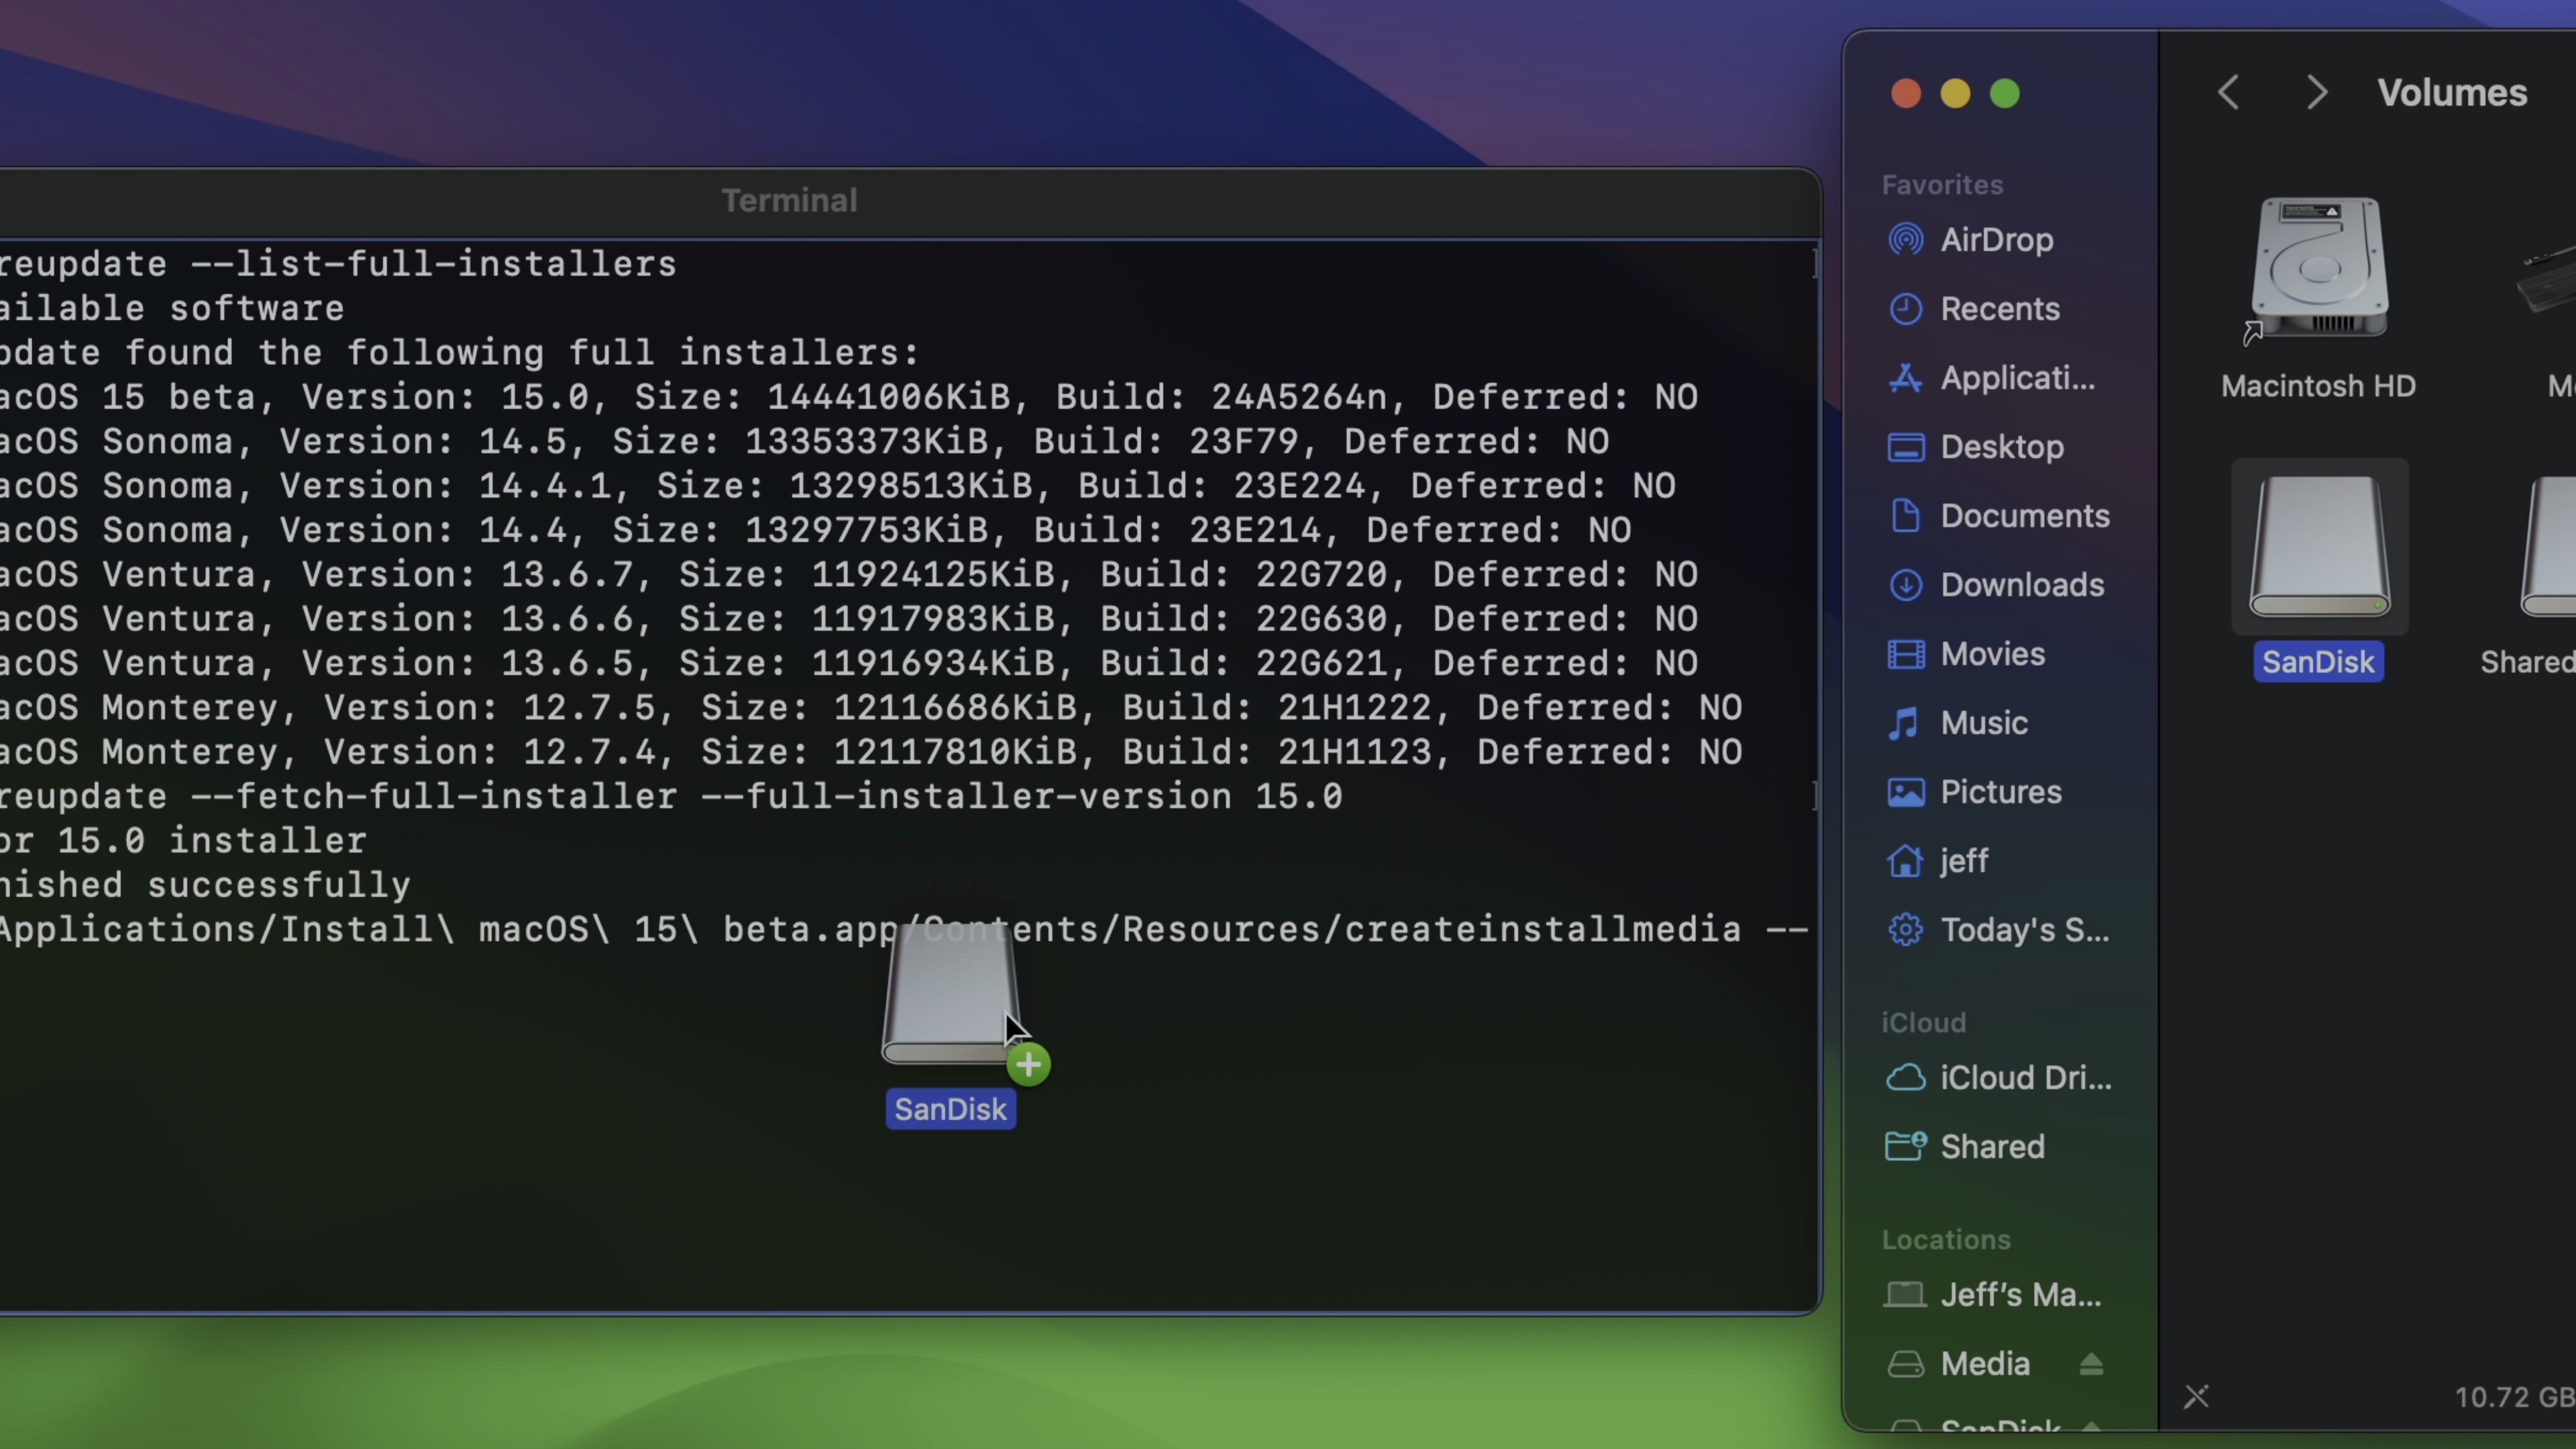
Step 10: Identify and drag and drop the USB flash drive volume to the Terminal window.
Caution: Ensure you select the correct USB drive, or you risk deleting the contents of the wrong drive.
Step 11: Press Return on your Mac’s keyboard to process the full Terminal command and enter your administrator password when asked.
Step 12: When prompted, type a “y,” and press Return on your Mac’s keyboard.
Note: If you haven’t already provided permission, Terminal may ask for access to files on the removable volume (USB drive). If so, click OK to allow access.
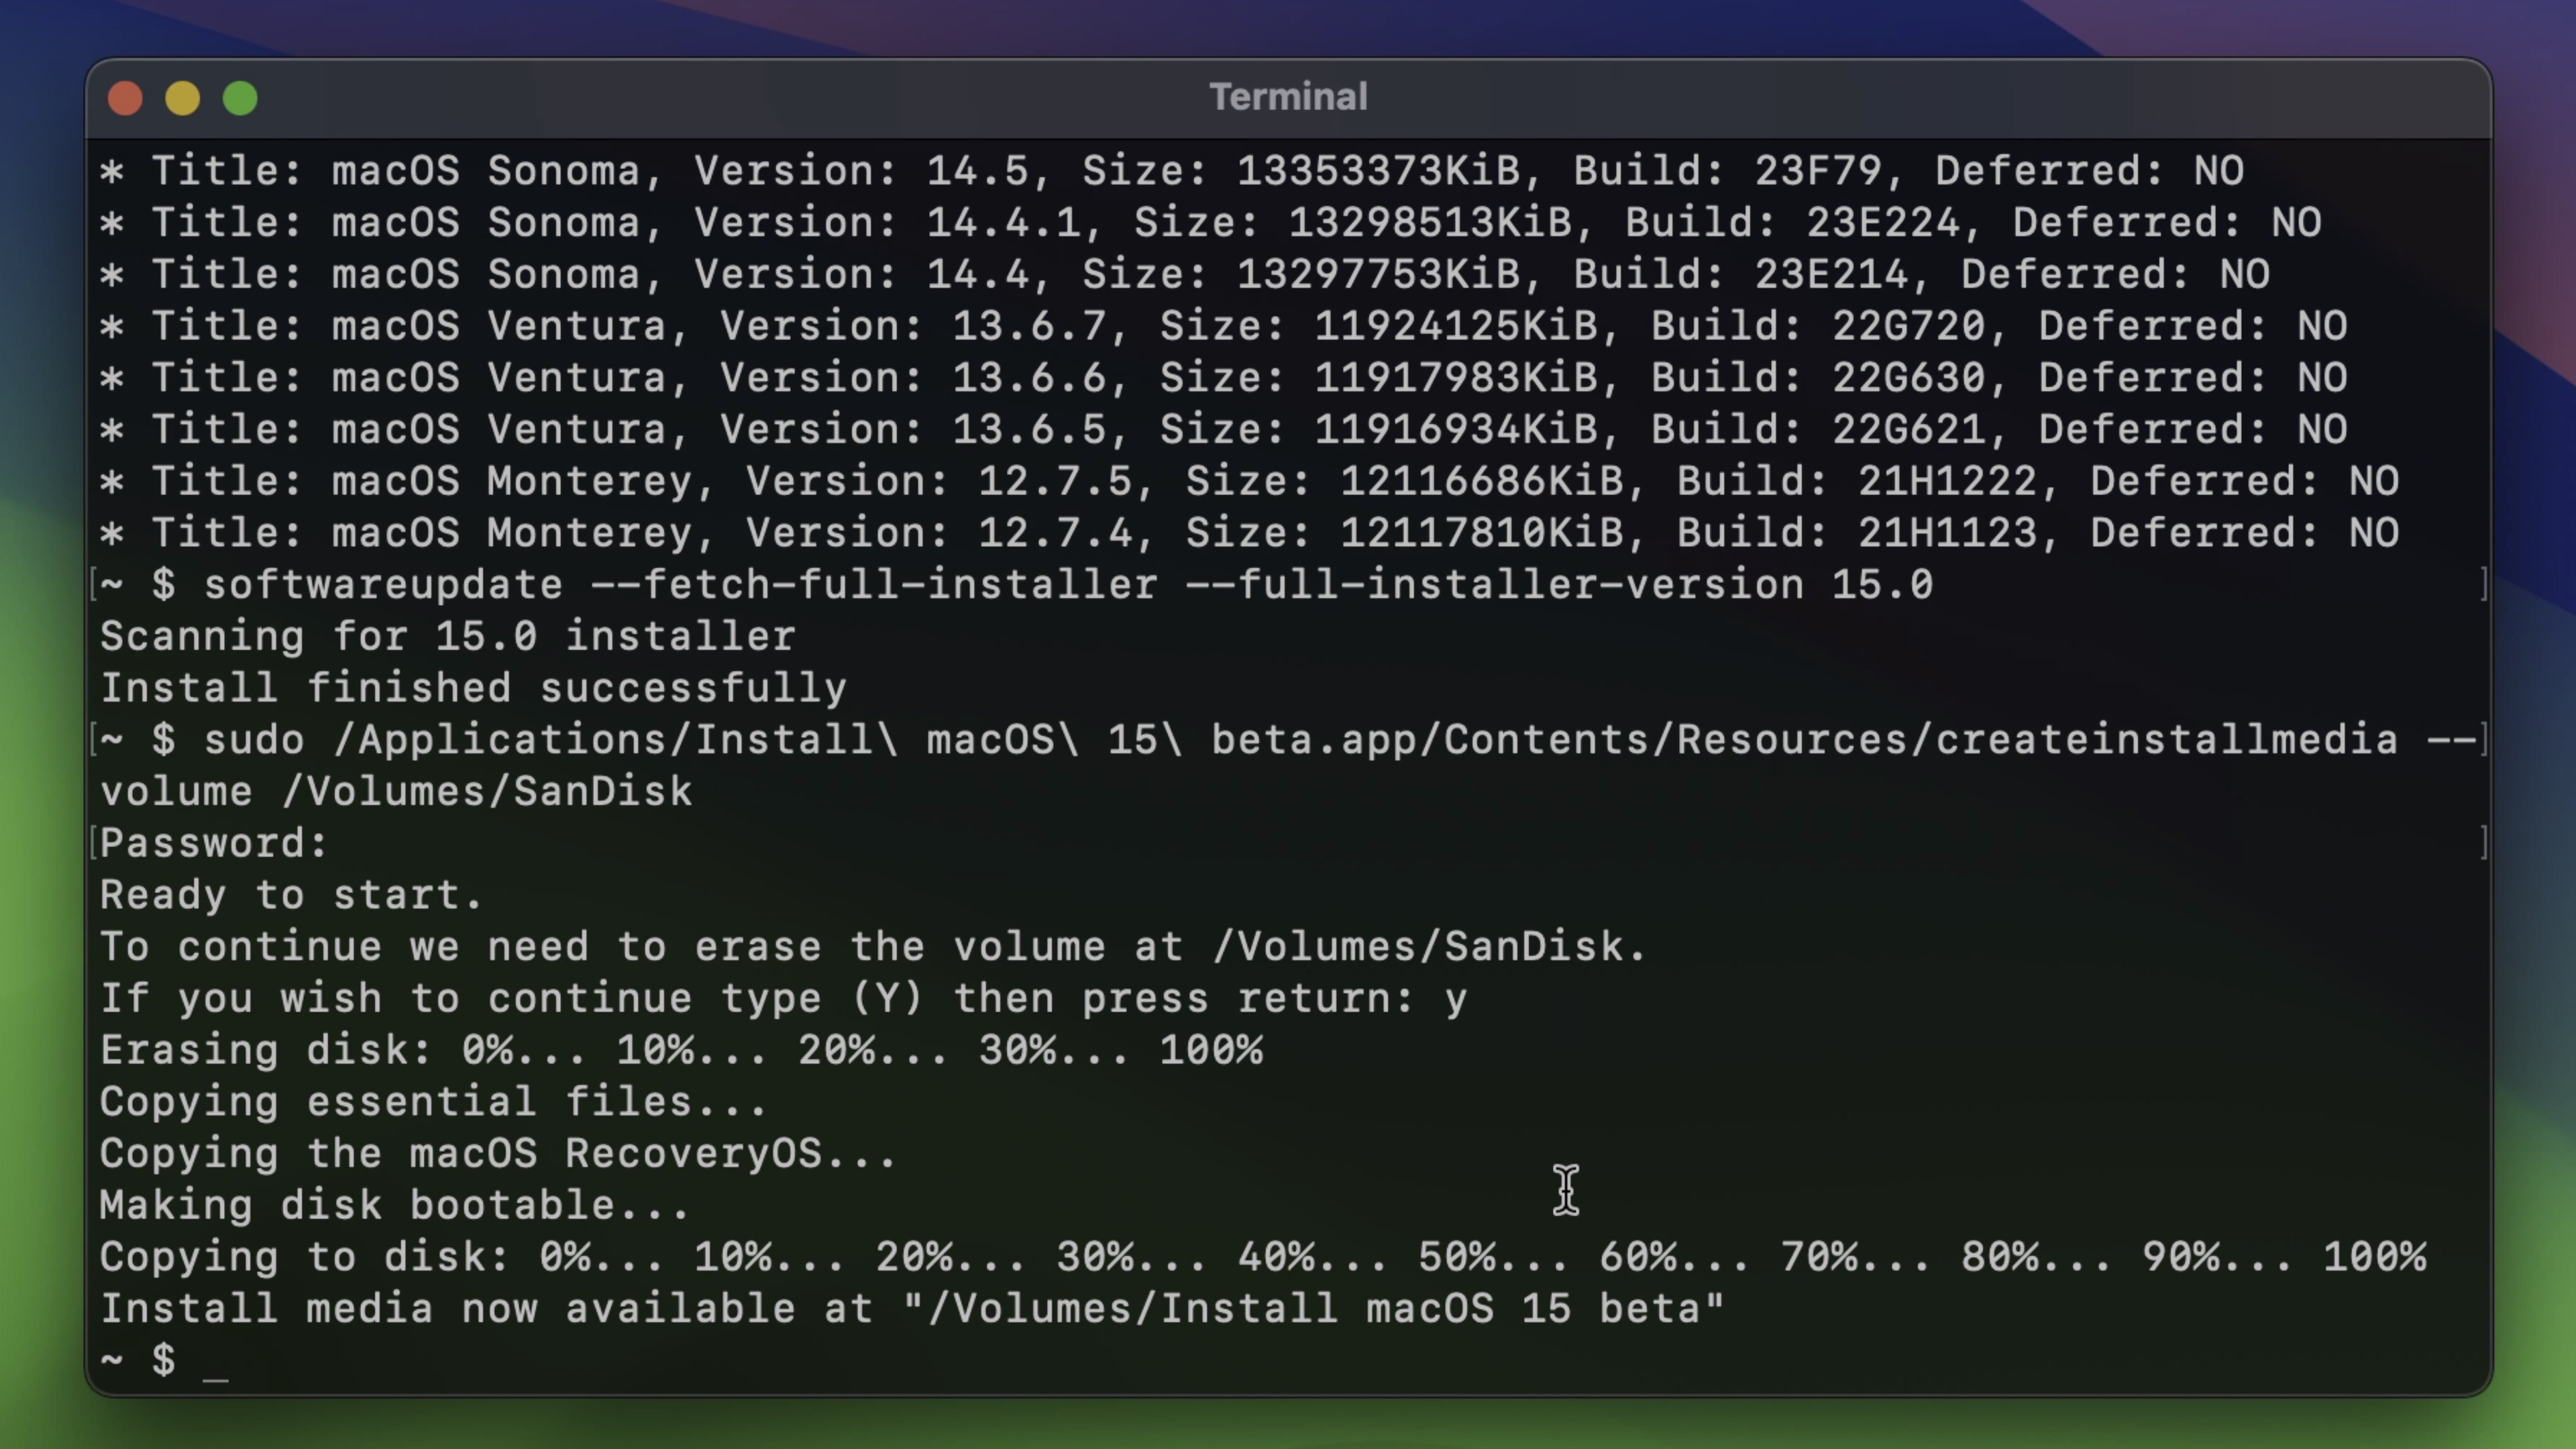
Step 13: The installation process will start by purging the contents of the connected USB drive, making the drive bootable, and copying the needed installer files to the drive. This process takes a few minutes to complete, so exercise patience!
Once the installation process is complete, you may eject the disk and store it away until you need to utilize it.
Related video: macOS Sequoia Top Features
9to5Mac’s Take
Creating a macOS Sequoia USB installer flash drive is a very simple process. It can save you lots of time if you plan on installing macOS Sequoia across multiple Macs. It’s also a handy tool to have if you have slower internet and plan on performing fresh installs, etc.
Of course, installing macOS Sequoia while in beta might be a hard sell while it’s still in beta, but there are methods to ensure that you can keep your existing version of macOS Sonoma and run it alongside the macOS Sequoia beta. In an upcoming video, I’ll walk you through the process of installing macOS Sequoia on a separate volume so that you don’t have to overwrite your Sonoma installation, and don’t have to deal with different disk partition, etc.
What do you think about macOS Sequoia thus far? Have you tried out any of its new features like iPhone Mirroring? Sound off down below in the comments with your thoughts.
FTC: We use income earning auto affiliate links. More.