Summary
- Finder lacks a New File command, which can be frustrating for users moving from Windows.
- You can add a New File command to Finder using Shortcuts and AppleScript.
- This simple tweak streamlines the process of creating new files in Finder without opening other apps or using Terminal commands.
Missing functionality can be frustrating when you’re used to a particular workflow, like creating new files without having to open the associated app. Using the Shortcuts macOS app, you can fill in the blanks.
Finder Lacks a New File Action
Finder is one of Apple’s oldest apps, debuting with the original Macintosh 128K in 1984. Of course, it’s seen many changes in that time, including a rewrite for Mac OS X in 2001. Finder is the Mac equivalent of Microsoft’s File Explorer (formerly Windows Explorer), but there are plenty of differences between the two.
One difference that still trips me up is Finder’s lack of a New File command, even though I switched over ten years ago. Why is this seemingly trivial action not available?
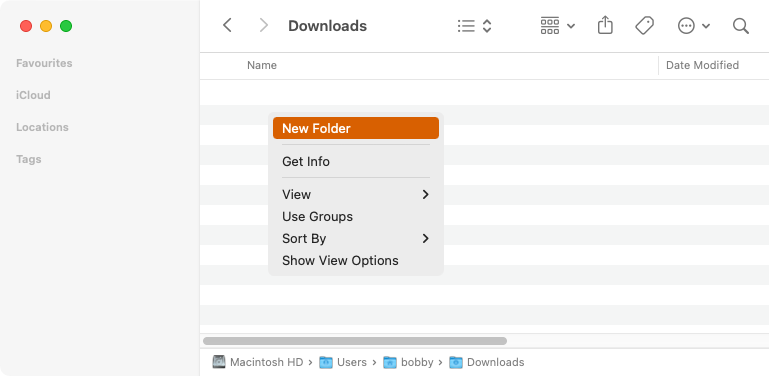
I’m not certain, but I think it’s down to an underlying philosophy: Apple wants you to create new documents in an app and save them, rather than the other way around. Either way, while File Explorer lets me right-click and create a new file (or folder, shortcut, etc.), Finder offers only a new folder:
Although it’s not a big issue, there are times when this feature would be convenient. Sometimes, I have Finder open and want to create a new holding file, immediately, without having to open up a separate app first. Sometimes, I’d like a bunch of new files to outline the structure of a project.
Because macOS has such great synergy with Linux, you can use the touch command in Terminal to create new files quickly. But, again, this isn’t always convenient; Finder is the core file-management app, so it would make sense for it to actually create files!
How to Add a “New File” Finder Command
Fortunately, there’s a way to work around this, without having to open up another app, copy and paste blank files, or resort to Terminal. This solution combines Apple’s old and new approaches to scripting: AppleScript and the Shortcuts app.
Related
I Use This Simple Mac Shortcut to Start Every Workday
With two clicks, I can open everything I need.
Because Shortcuts has quite a high-level approach, it doesn’t always have the feature you’re looking for. For example, there’s no action to make a new file in Finder. But this isn’t a dead-end; Shortcuts lets you use the older AppleScript language to automate low-level tasks, and this includes sending instructions to Finder.
Create an AppleScript Shortcut
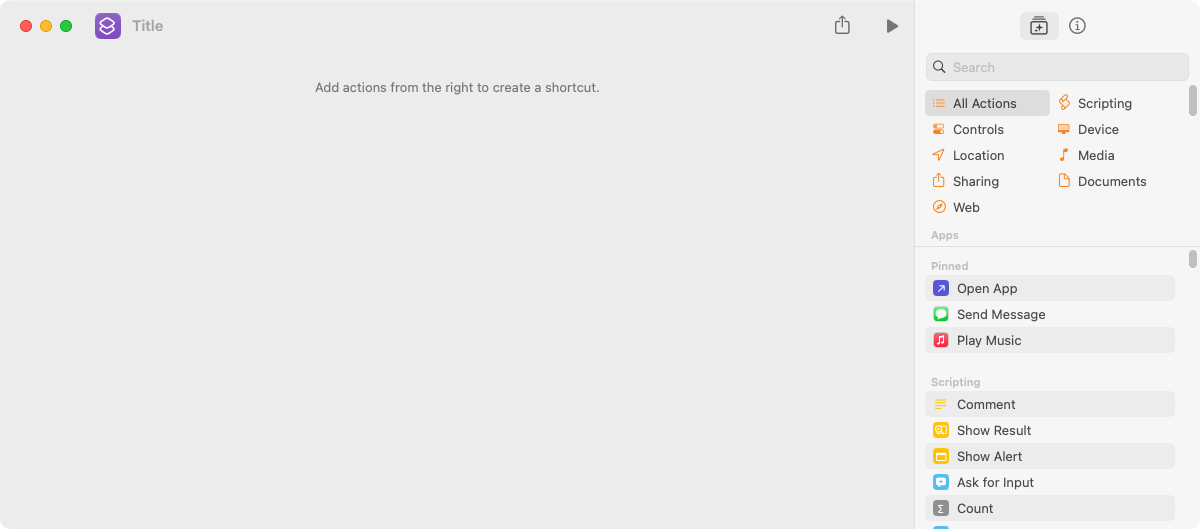
Start by Opening Shortcuts and creating a new shortcut with the menu, keyboard, or + icon. You’ll see a blank window instructing you to “Add actions from the right to create a shortcut.”
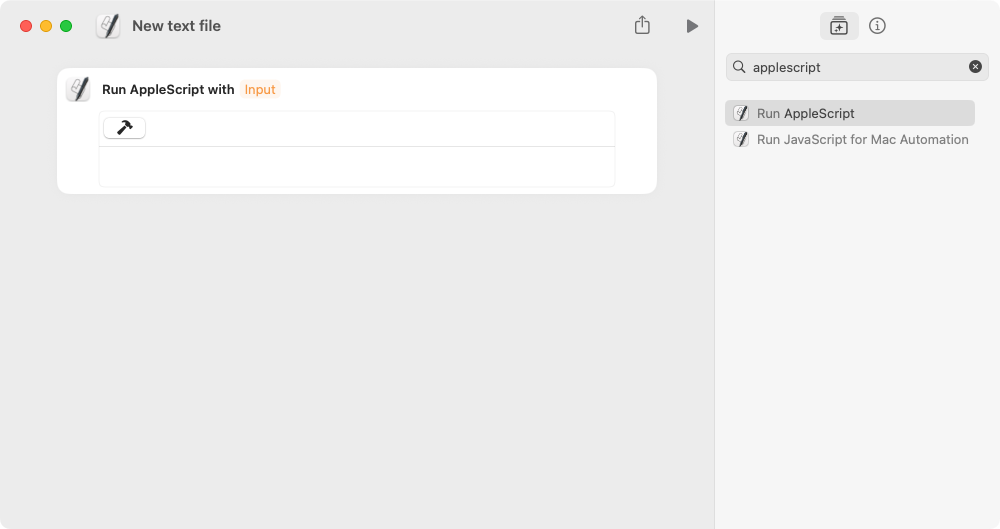
Click on the Title to edit the shortcut’s name; call it something like “New text file.” It doesn’t matter too much what you call it, but you’ll want to use something descriptive so you can recognize the command in a menu later on.
Add an action to Run AppleScript. Do this by searching in the top-right for “applescript,” then either double-click the “Run AppleScript” result or drag it to the main workflow area.
Edit the script to read as follows:
        tell application "Finder"
    set txt to make new file at (the target of the front window) as alias with properties {name:"empty.txt"}
    select txt
end tell
AppleScript lets you write instructions that communicate with apps running on macOS. Here, the instruction is to make a new file called “empty.txt” in the active folder. The “select txt” line lets you press Enter to immediately start changing the file’s name.
At this point—with Finder open, displaying at least one window—try running the shortcut using the play button icon. This should confirm that the script runs and creates a new file.
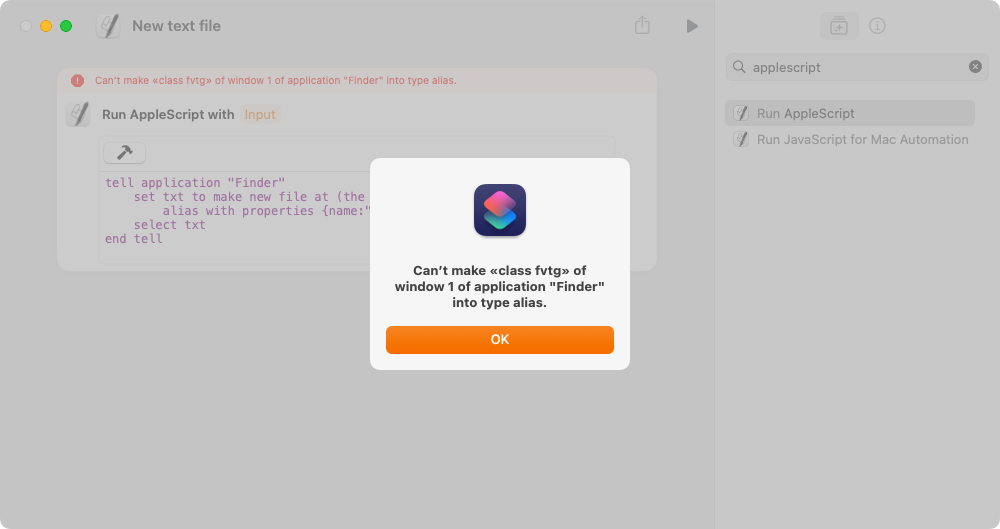
You might be curious about what happens if you run this script without a Finder window showing. Try it and you’ll see a very confusing error!
Add the Shortcut to Finder
With the script written, you just need to decide how to run it. The easiest approach is via the Menu Bar. Either drag and drop your shortcut to the “Menu Bar” group in the main Shortcuts window or click the info icon in the shortcut window, then click “Pin in Menu Bar.”
If this is the first shortcut you’ve added to the Menu Bar, you’ll see a new Shortcuts icon appear, looking like two diamonds slightly overlapping. You can use this menu to run your shortcut and any others you choose to display there:
You can also run your shortcut as a Quick Action or via a keyboard command.
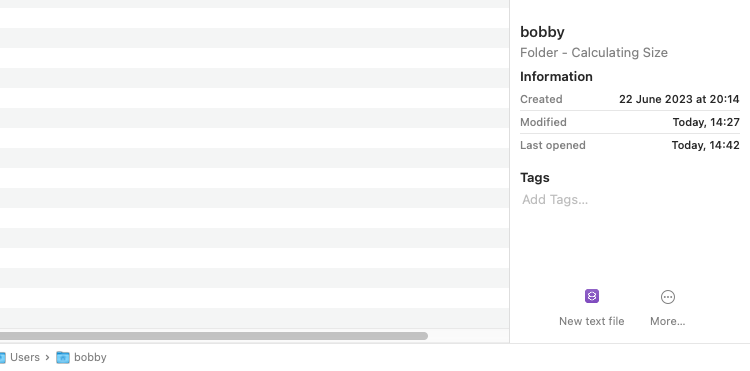
When enabled with Quick Actions, right-click on any file/folder in the folder you want to create a new file in, then select your shortcut’s name. You can also configure your shortcut to appear in the Services menu or as a Quick Action at the bottom of the preview pane:
Finally, to assign a keyboard shortcut, open System Settings > Keyboard > Keyboard Shortcuts, then expand the Services > Shortcuts section, double-click “none” alongside the name of your shortcut, and press your preferred key combo.
This simple tweak is just one example of many things you can accomplish with the Shortcuts app. While it may not be too ground-breaking, it demonstrates how useful Shortcuts can be, especially when you want to tweak the behavior of an app that Apple hasn’t allowed for.


