Key Takeaways
- To create a contact poster, open the Phone app or Contact app. Follow the onscreen prompts to enter your real name or nickname, followed by your photo and style. You can even overlay your face over your name for a unique look.
- You can change your contact poster at any time by going to the Contacts tab in the Phone app, tapping on your contact info, and selecting “Contact Photo & Poster.” Make as many posters as you want and switch between them easily.
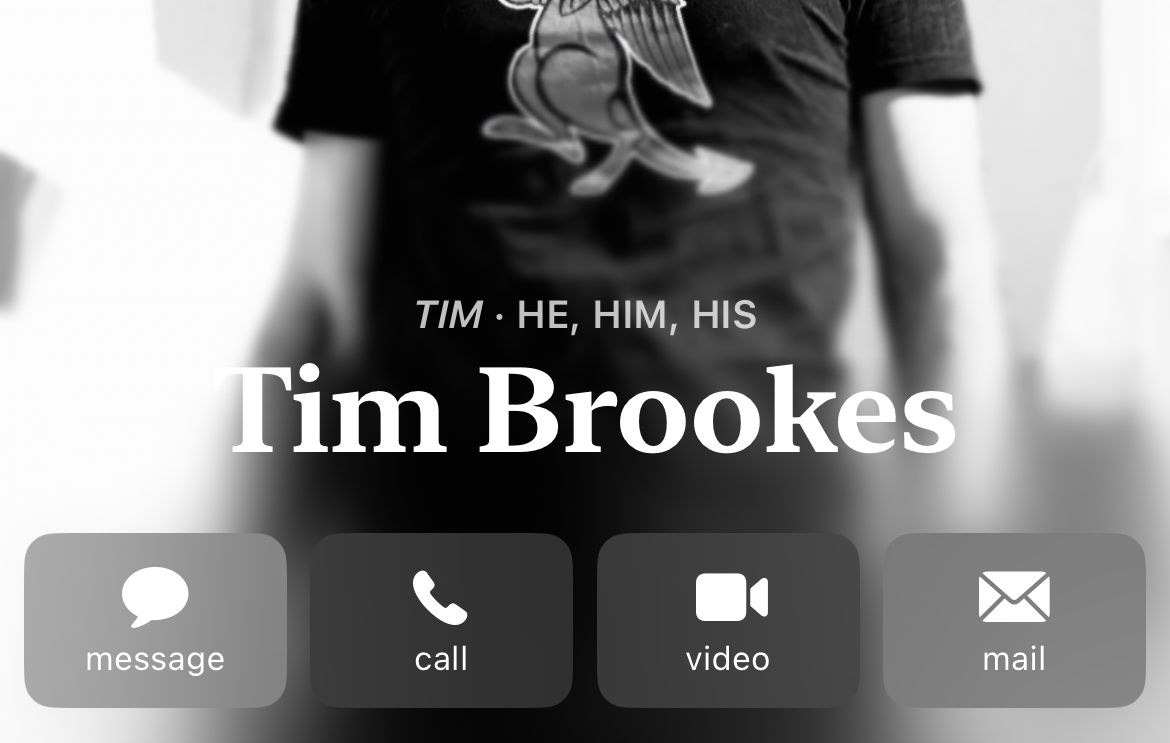
Contact posters let you make a great first impression by letting you decide how you appear on other Apple devices when calling, exchanging contact info, and more. Here’s how to get started and customize yours.
How to Create a Contact Poster
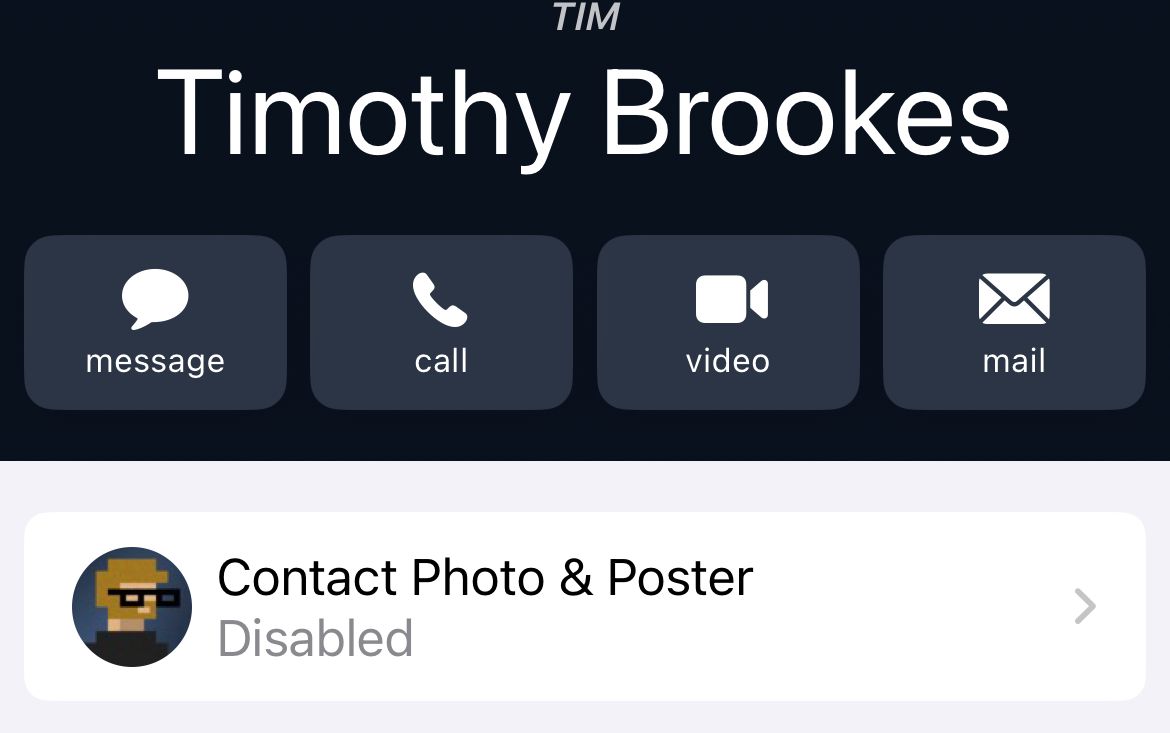
Contact posters were first introduced in the iOS 17 update which is currently in public beta and due to launch in late September 2023. The first time you open the Phone or Contacts app after upgrading you’ll be asked to create your poster. Alternatively, open the Phone app, tap on your contact information at the top of the list, then choose “Contact Photo & Poster” at the top of the screen.
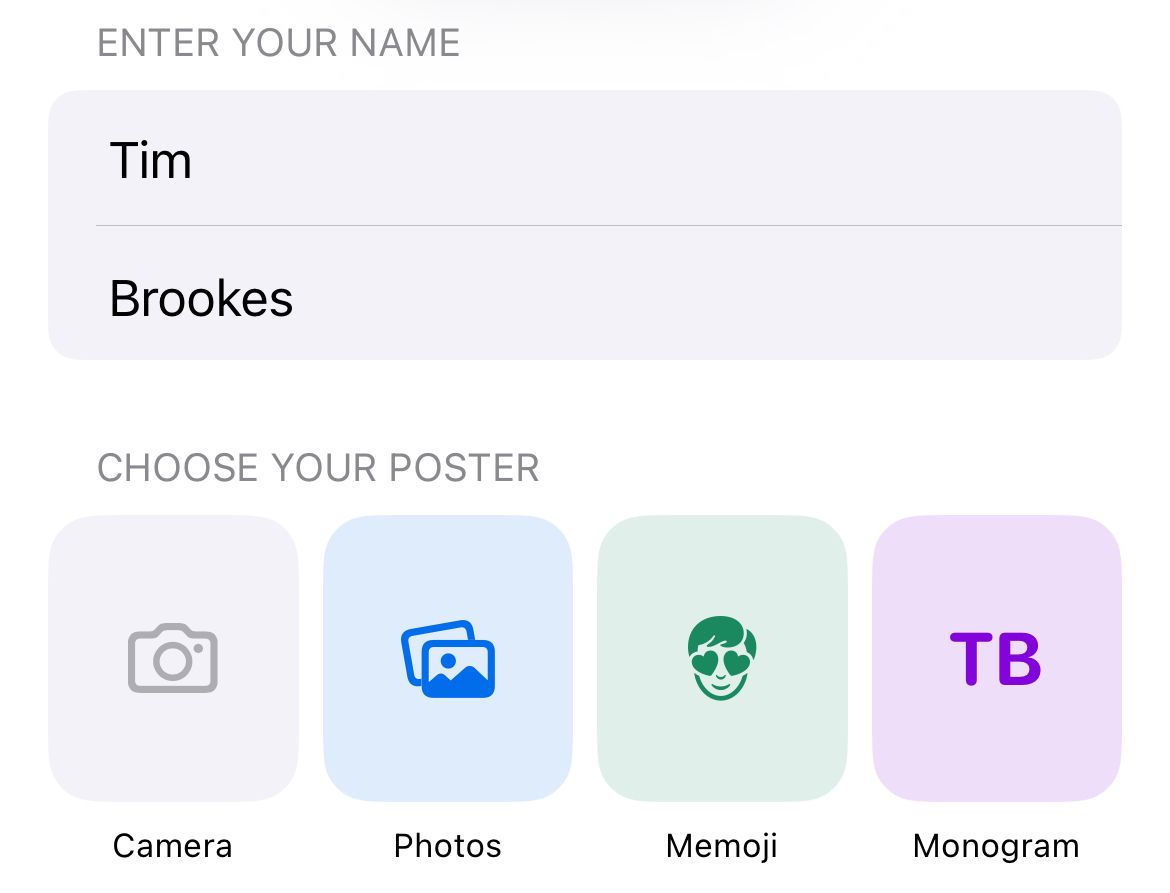
Follow the on-screen instructions and enter your first name and surname. You can choose whether to use your full name, a short name, or a nickname. Below this, you can decide whether to take a photo with your camera, choose an image from Photos, use Memoji, or a simple monogram of your initials.
The process is very similar to the background creation tools introduced in iOS 16 that introduced widgets to the iPhone lock screen and depth-effect wallpapers. There are lots of choices to make, including a depth-effect that lets you overlay the subject (your face) over the label (your name), and apply different filters and fonts to achieve a range of different looks.
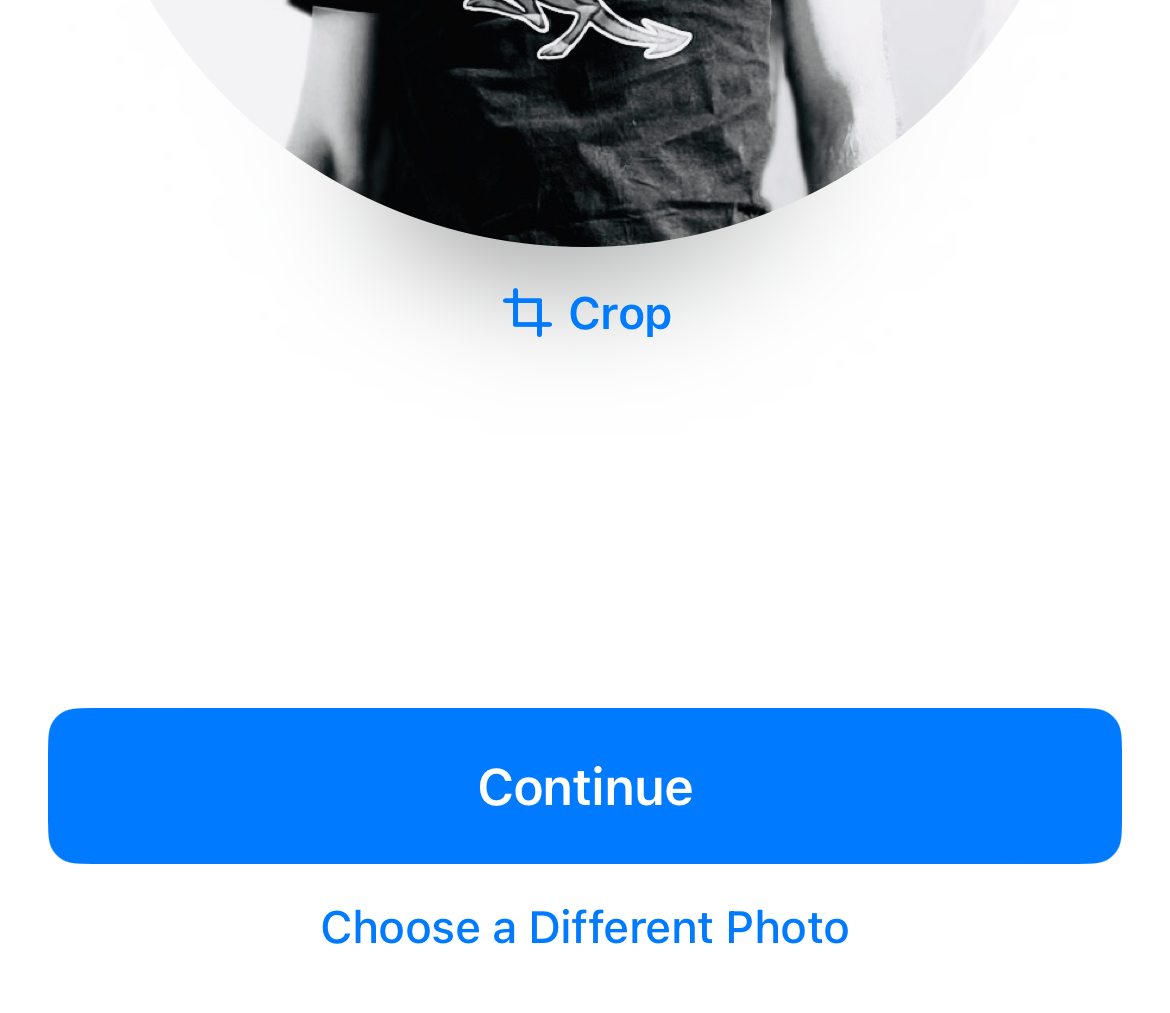
Once you’re happy, hit “Done” to preview and save your poster. You’ll then be asked to create a contact photo based on your background. You can choose to crop the image and apply different filters here too, or just hit “Skip” to bypass the process. This will update the photo currently linked to your Apple ID.
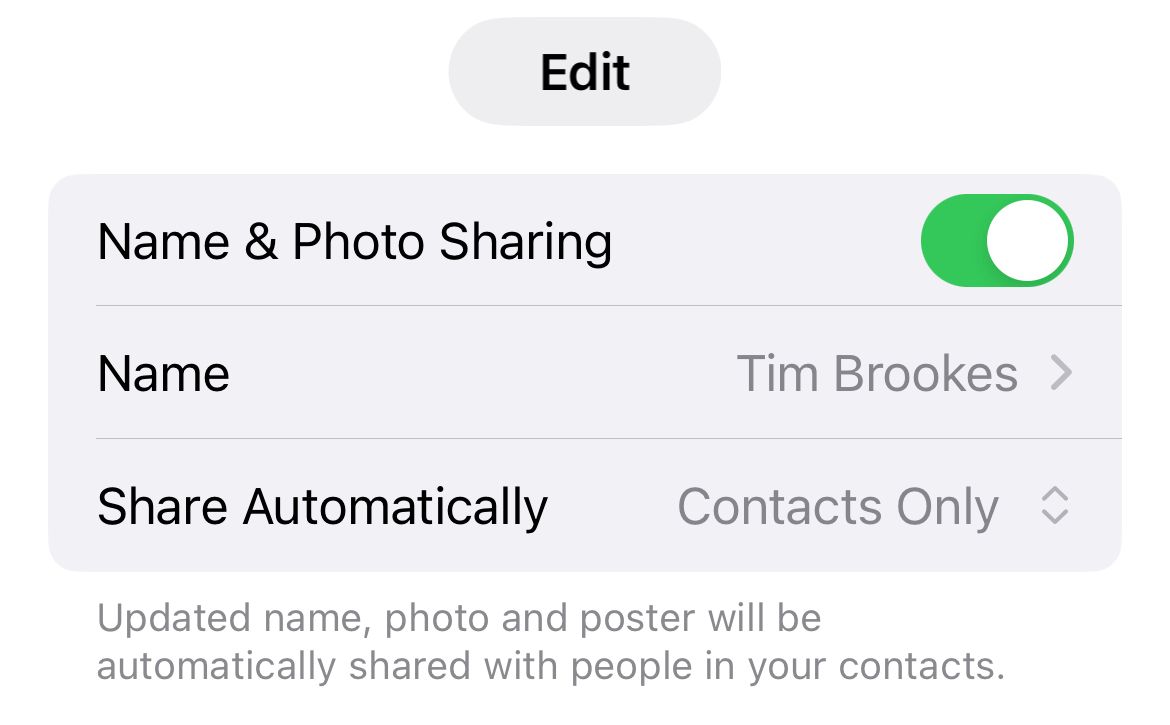
Finally, you can choose some options for sharing your new creation. This includes whether or not your name and photo are shared automatically, how your name appears, and with whom you share with. By default your contacts will be able to see your contact poster, but you can also choose to “Always Ask” if you’d rather be more selective.
Tap “Done” to save your poster, after which it will replace your previous contact information in the Phone (or Contacts) app.
Change Your Poster and Update Contact Information
Head back to the “Contacts” tab in the Phone app and tap on your contact info at the top of the screen if you want to make changes. To change the style of your contact photo, tap “Contact Photo & Poster” beneath the preview.
Tap “Edit” to see your saved contact posters. You’ll notice you can create multiple posters and switch between them at will, or tap “Customize” to edit an existing poster. This is handy if you like to change things, or if you want to try out a new look and style without losing your existing one.
To make changes to your contact card and details, tap on “Edit” in the top-right corner of the page. You can add all sorts of information to your contact card including pronouns, your birthday, and linked contacts.
Get Creative with Contact Posters
Depending on how you choose to share your poster, there’s a good chance many of your contacts will see it regularly. It will show up when you make outgoing phone calls and when someone taps your name in a message or email thread.
Get creative and make as many contact cards as you like so that you’re happy with your appearance. Remember that there are no rules here, so you don’t have to use your full name (or even your real name). Have fun, and get creative.
Take a look at what other features Apple introduced with iOS 17.


