The iPhone home screen is more customizable than ever before. Adding and resizing widgets or changing how app icons look is easy, and you can go even further with custom widgets and icons with some tweaking.
Basic Home Screen Customization
The iPhone home screen is what you see when you unlock your device, it’s where your app shortcuts appear. You can swipe left and right to access different home screens, and swipe all the way to the right to see the App Library.
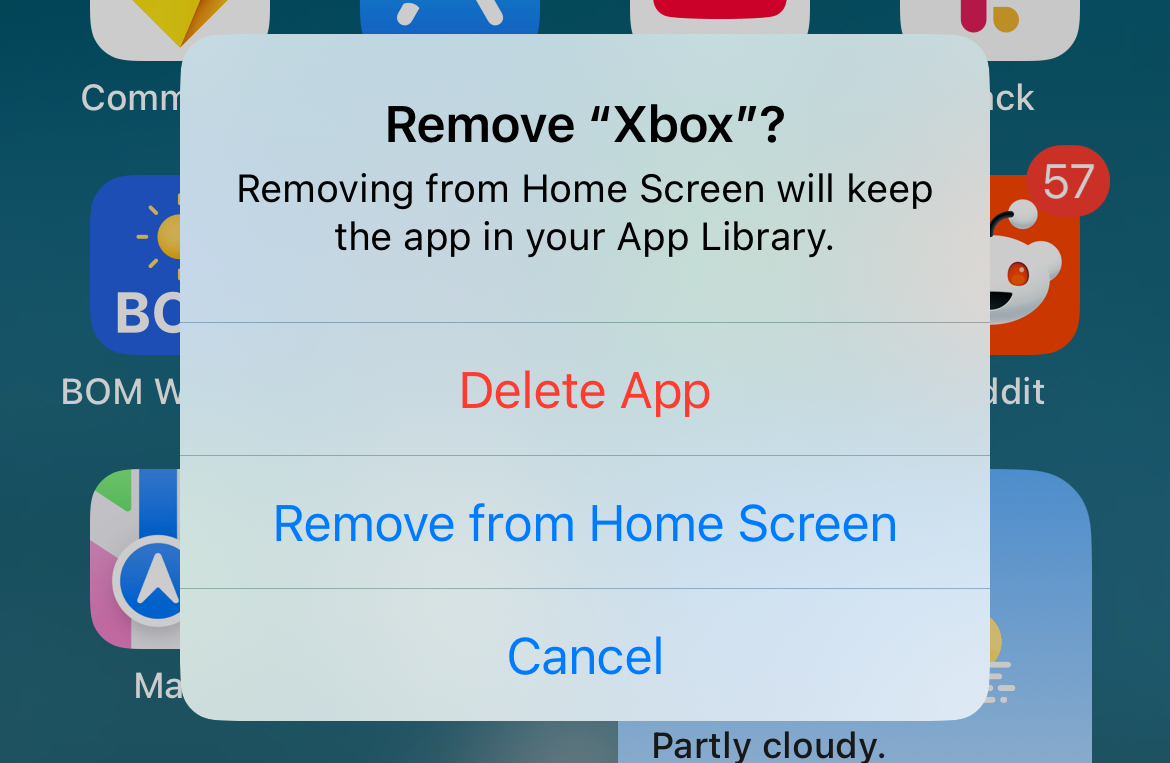
Removing an app from your home screen doesn’t remove it from your device. To remove an app, tap and hold its icon until the context menu appears, and then tap “Remove App” followed by “Remove from Home Screen.”
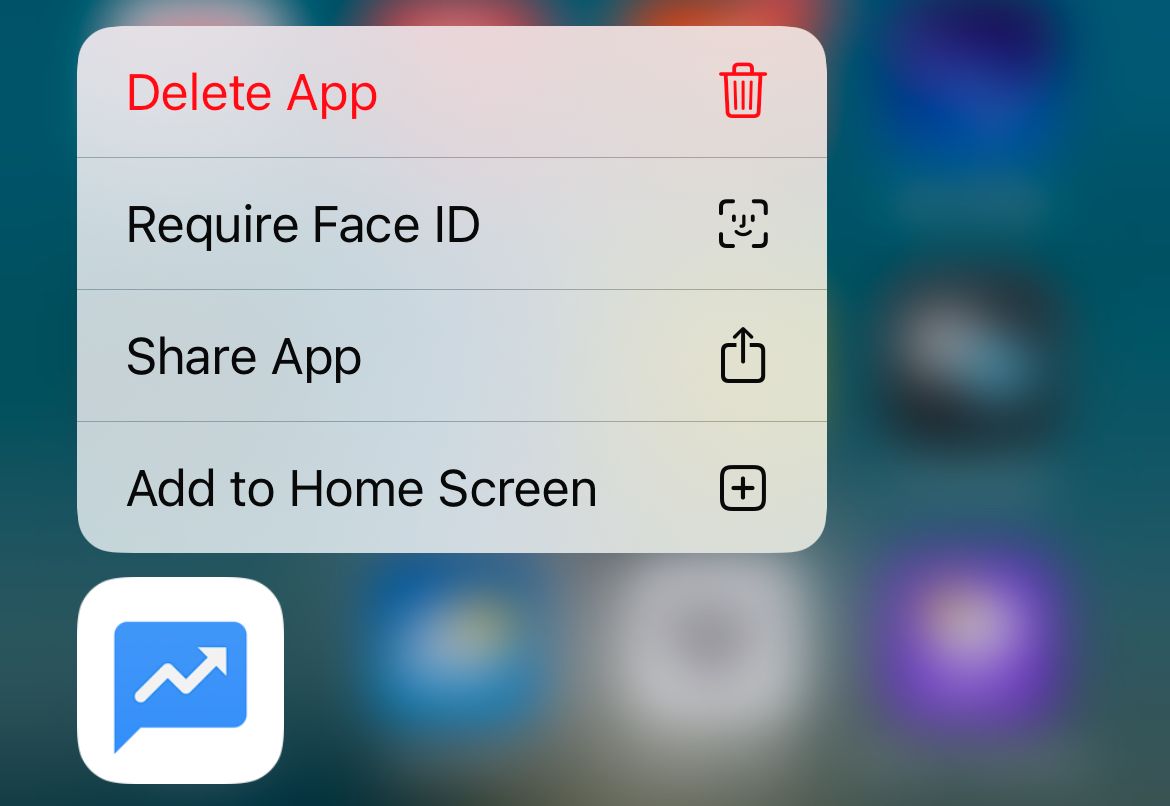
To add an app to your home screen, find it in your App Library, tap and hold the icon, and then choose “Add to Home Screen” from the context menu that appears.
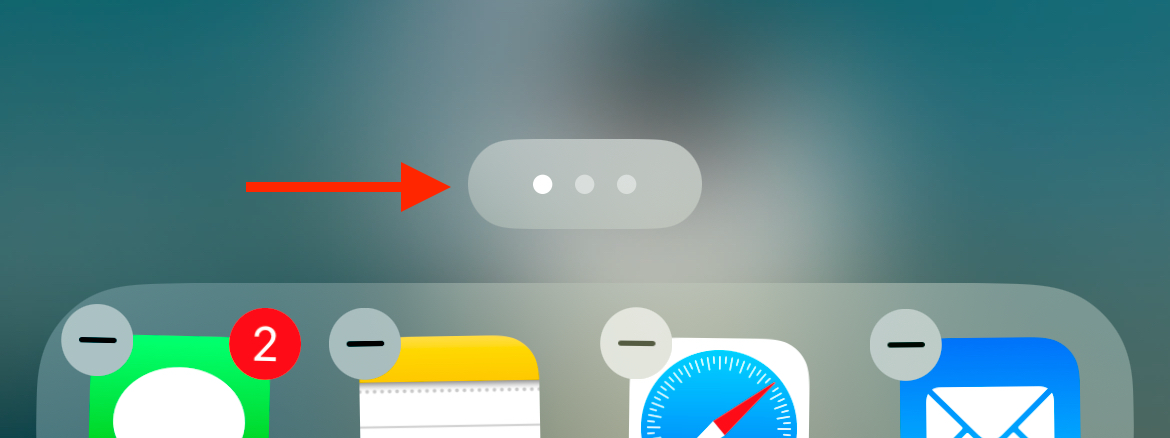
You can even remove whole home screens to hide pages of apps (that you can enable at a later time). To do this, tap and hold on a blank part of the home screen and then tap on the home screen index indicator at the bottom of the screen (it looks like several dots).
From here you can check and uncheck home screens to disable or enable them. This is great for quickly trying out a minimalist home screen experience without trashing your whole layout. To get even more control over your iPhone, learn how to lock and hide apps.
Widgets let you interact with or glean information from apps without having to open them. This lets you do things like see weather conditions or check items off a to-do list, right from your home screen. There are two ways to add widgets to your iPhone home screen.
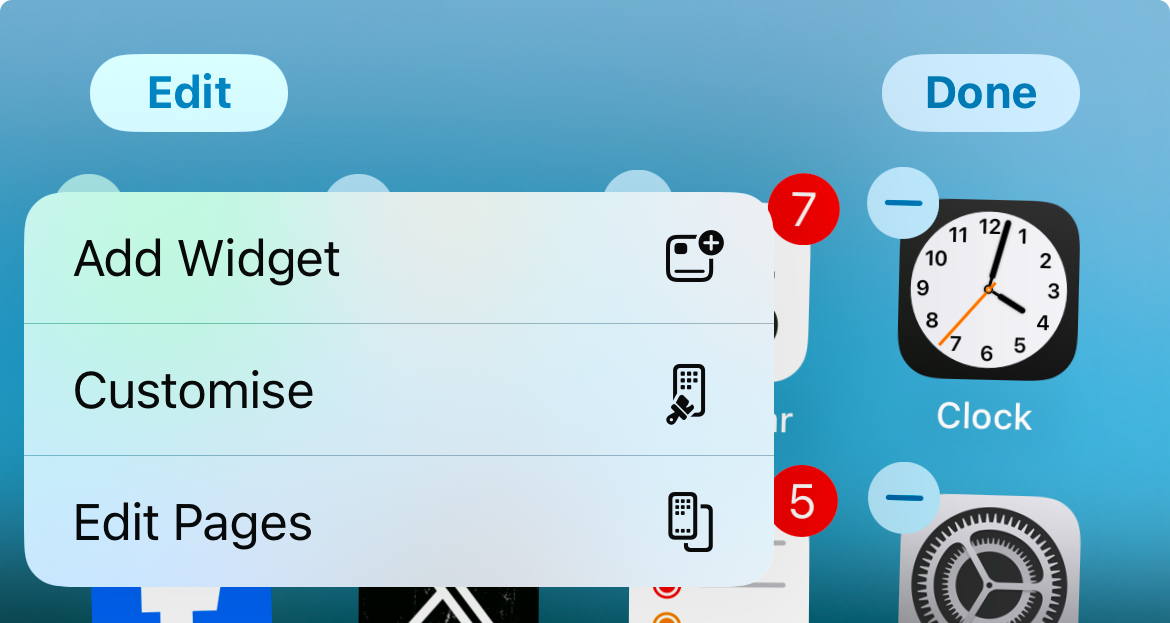
The easiest is to tap and hold on a blank space until your apps start jiggling, then tap “Edit” in the top-left corner of the screen followed by “Add Widget.” This will reveal the widget gallery, where you can search, browse suggested widgets, and scroll down to pick widgets by app.
Once you’ve chosen a widget, swipe left and right to see different sizes and configurations, then tap “Add Widget” to place it on your current home screen. Widgets, like app icons, can be dragged into position.
You can also move your widgets between home screens by tapping and dragging, then holding at the edge of the screen and waiting. To remove a widget, tap and hold it and then choose “Remove Widget.”
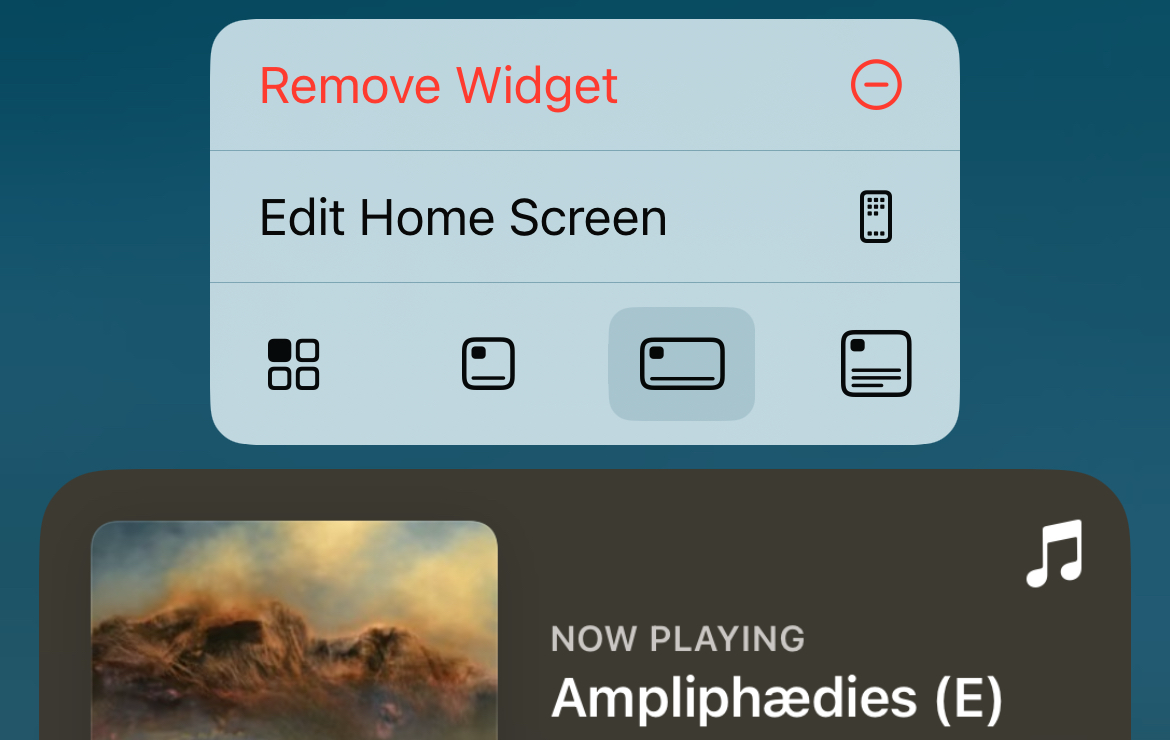
It’s also possible to “convert” app icons into widgets. To do this, find the app icon then tap and hold on it until the context menu appears. You should see a selection of up to four views: icon, compact, medium, and large. Tap on these options to convert the icon into a widget and back again.
Tap and hold a widget to reveal the context menu, then use the different size selectors to pick different styles of widgets. You can also tap and hold a blank part of the home screen until everything starts wiggling, then grab the bottom right corner of the widget and drag it to make it larger and smaller.
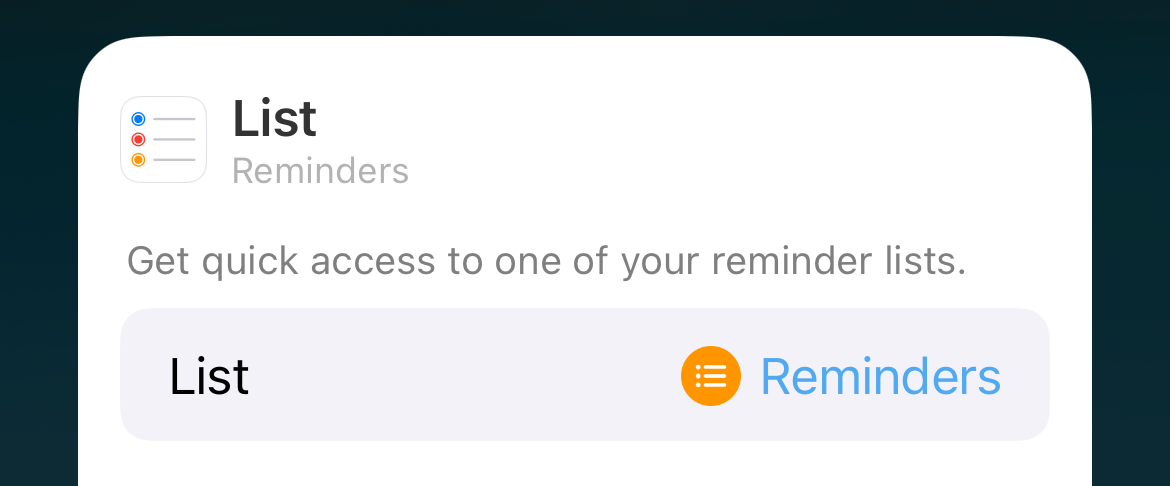
Choose “Edit Widget” from the context menu to see a widget’s options. What you see here will depend on what the widget is capable of. For example, a Weather widget should allow you to pick a specific location, a Reminders widget should let you pick a list, and a Photos widget should let you specify an album.
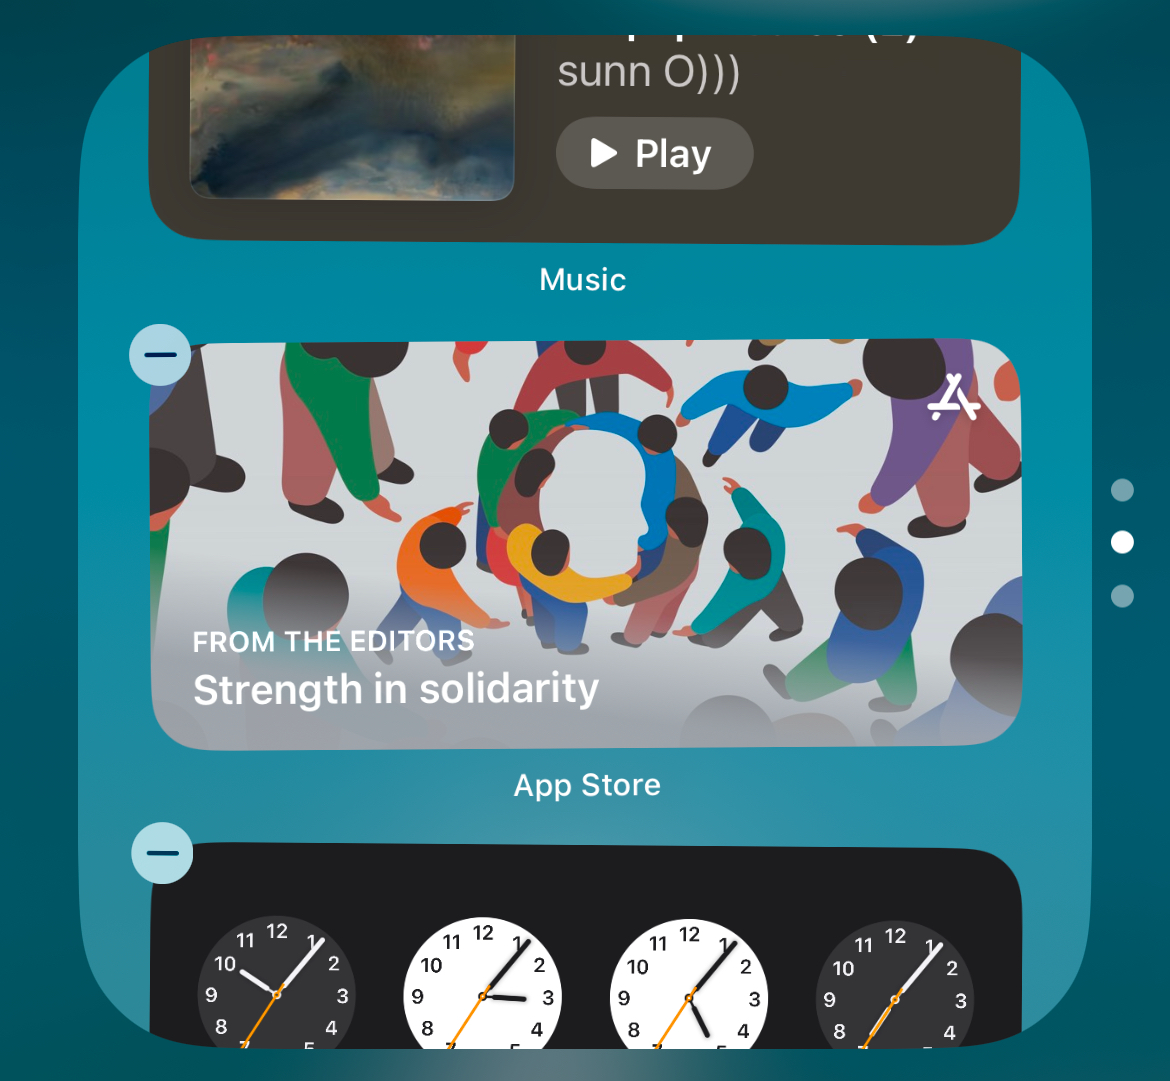
You can create a stack of widgets by dragging and dropping widgets of the same size on top of one another. You can then navigate between them by swiping up and down. This can be a really handy way to save space on your home screen, while still having access to different apps and information.
Once you’ve stacked a widget on top of another, it will turn into a stack automatically. From here, tap and hold the widget and choose “Edit Stack” to see some new options.
Change the order in which your widgets appear by tapping and dragging. Add new ones using the “+” plus icon in the top-left corner.
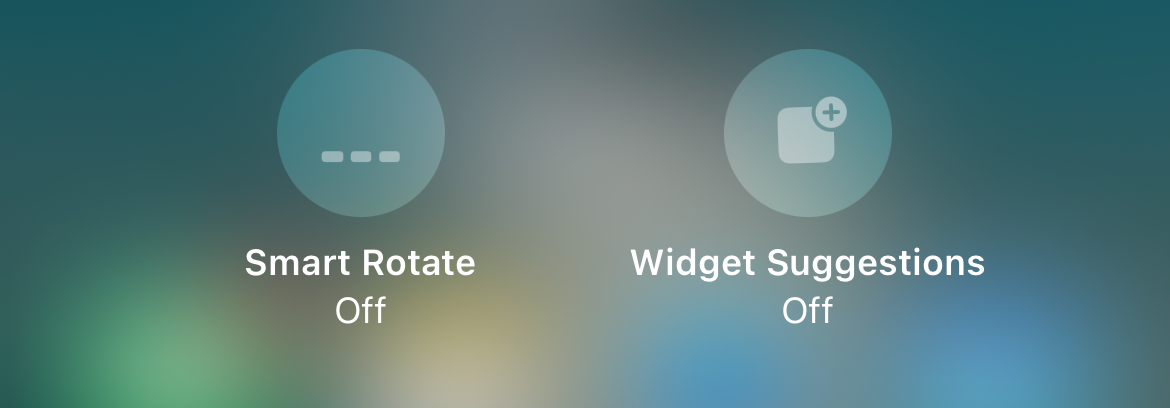
On top of this, turn off “Smart Rotate” if you don’t want your stack order to change based on what your phone thinks is most appropriate (like swapping to the “Music” widget when you’re in the gym). You should also disable “Widget Suggestions” if you don’t want random widgets showing up in your stack.
Change How Your App Icons Look
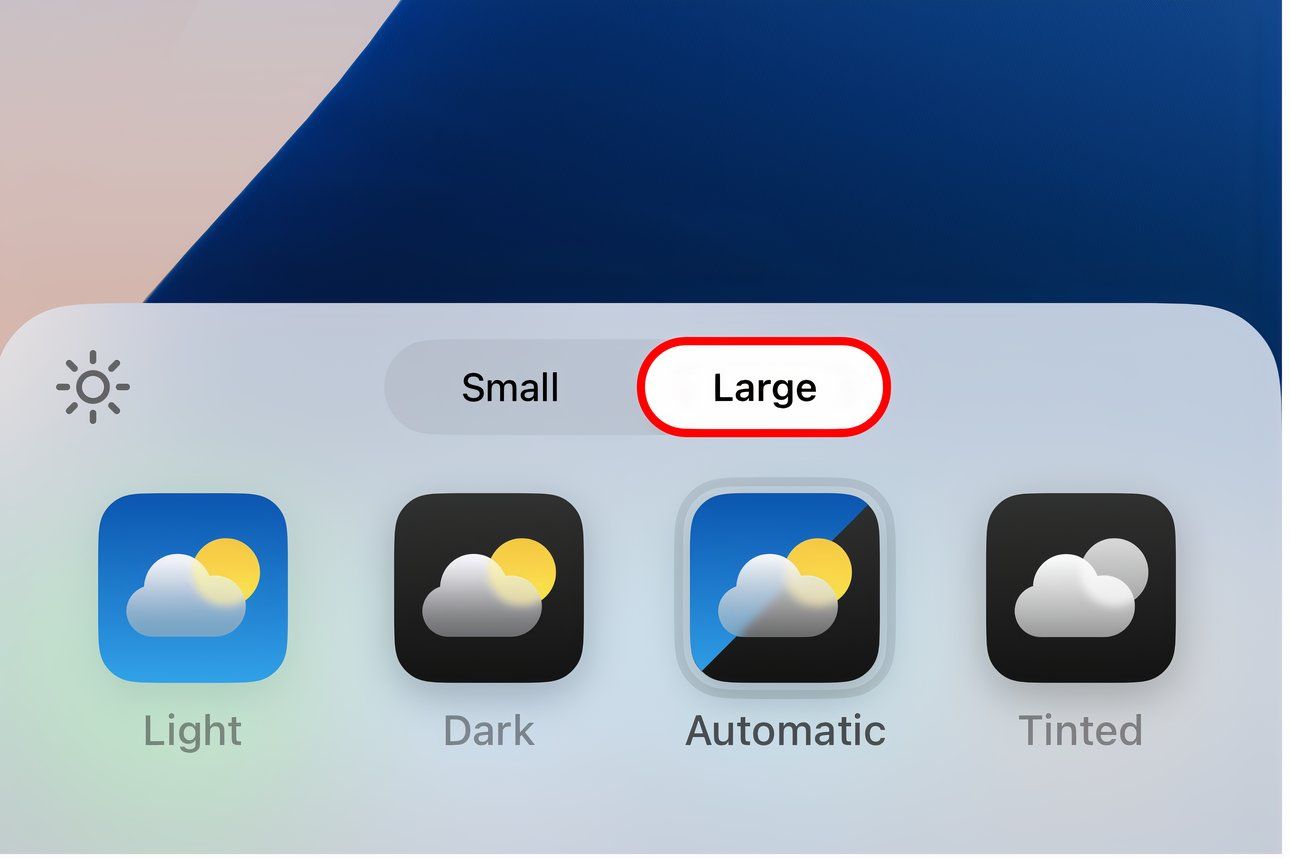
As of iOS 18, you can change how app icons look. To do this, tap and hold a blank space on your home screen then tap “Edit” in the top-left corner and choose “Customize.”
Use the menu that appears to modify the size and choose between light mode, dark mode, and tinted icons.
Put App Icons Anywhere You Want
Also new for iOS 18, you can finally put your app icons anywhere you like. This means you can create a home screen with one app in each corner, leave blank spaces so that you can better appreciate your wallpaper, or go for a minimalist look.
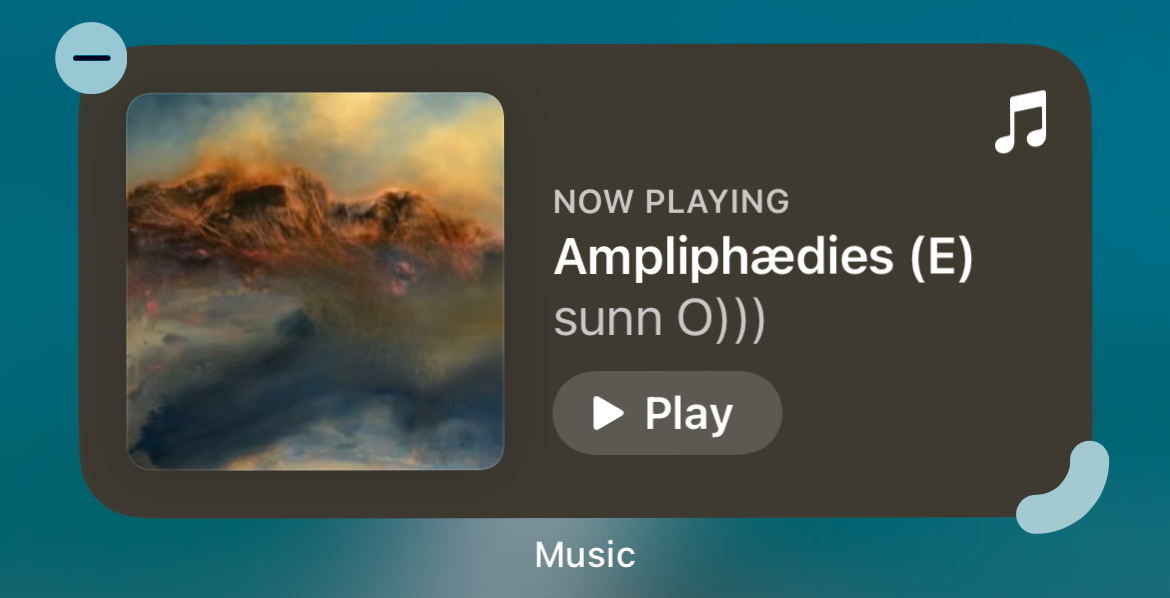
Tap and hold an icon or widget and then keep holding it until everything starts wiggling. Now drag icons and widgets into place.
Create Custom Icons With Shortcuts
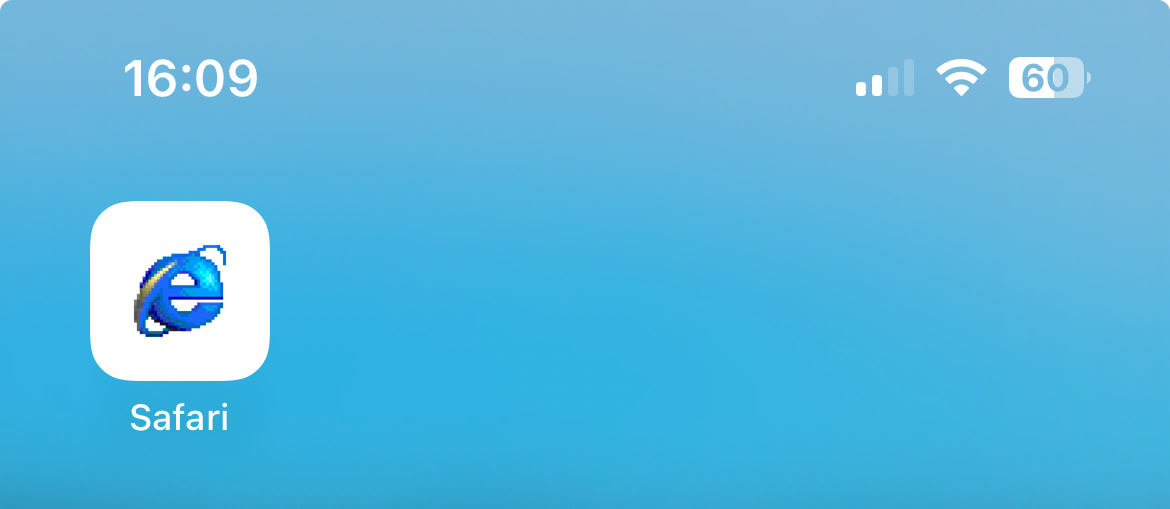
This is a bit of a hack, but if you want to give an app icon a completely custom look, you can do so with a workaround using the Shortcuts app. The first step is to find the icon you want to use (I recommend putting it in iCloud Drive so it’s easy to access).
Open Shortcuts (you can download it from the App Store if you don’t have it) and tap the “+” plus icon to create a new shortcut. Search for “open” and add the “Open App” action to your workflow. Tap on “App” and pick the app you’d like to associate with a custom icon.
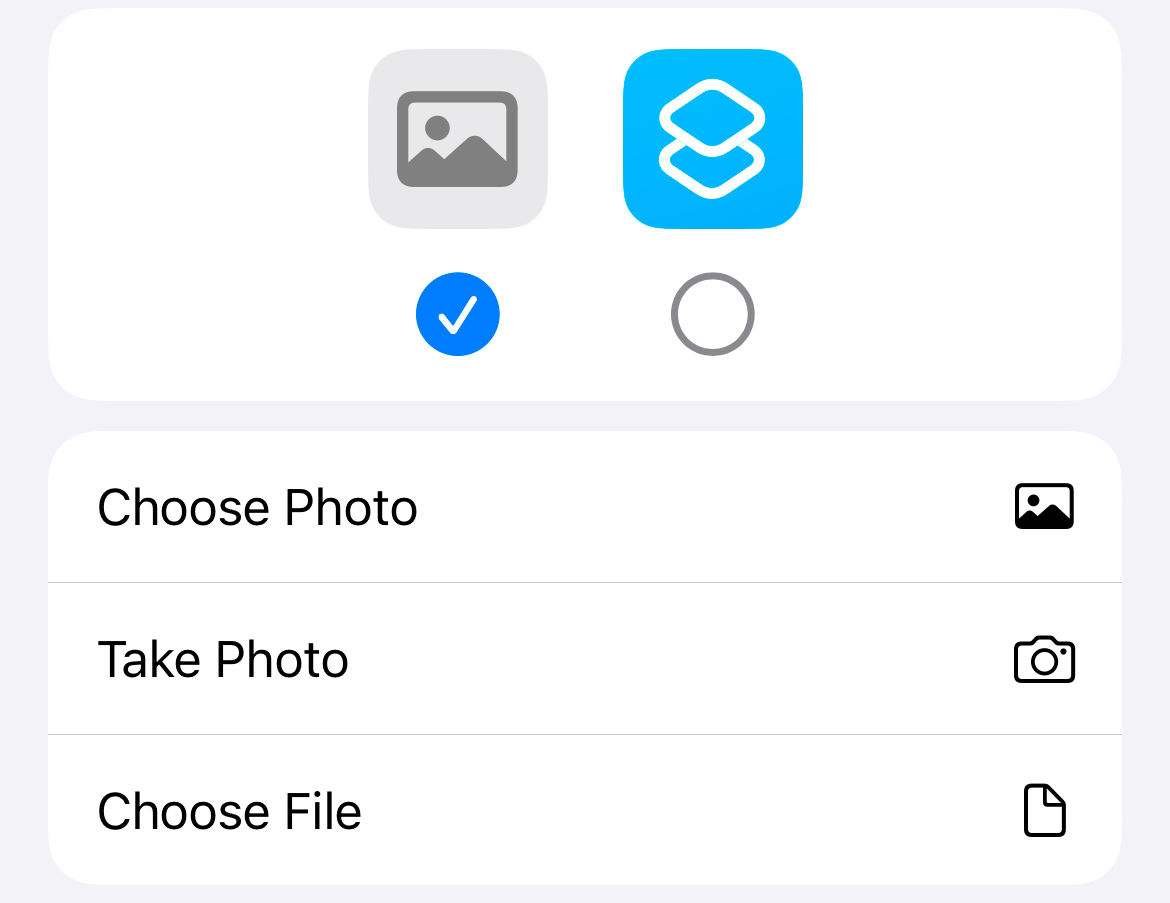
Now tap on the drop-down arrow at the top of the screen, then tap “Add to Home Screen” and a new menu will appear. Type the name you’d like to see, then choose the “Picture” icon on the left and use “Choose Photo” or “Choose File” to find your image.
When you’re ready, tap “Add” in the top-right corner of the screen. You can now delete the shortcut since all this does is create a simple bookmark that points to a preinstalled app.
I tried this with JPEG and transparent PNG images, and in both instances, there was a white outline around my icon.
If you want a widget that can show or do something in particular, your best starting point is to find an app that fits the bill. Your next best alternative is to try creating it yourself.
If your current selection of app widgets isn’t doing it for you, you could always create your own. Apps like Widgy and Widgetsmith let you create custom widgets that can show all sorts of information, but a lot of what they offer is hidden behind a premium subscription.
These apps include discovery tabs for adding widgets that other users have created to your home screen. There are lots of similar apps in the App Store, though these two are great starting points.
There are even more ways to change how your iPhone looks. Why not try cycling your iOS wallpaper automatically with a little help from the Shortcuts app?


