Facebook has long been criticized for collecting and selling our data. Also, it’s easy to become hooked on the platform, wasting valuable time scrolling. If you wish to leave Facebook for these reasons, the platform gives you the option to take a temporary break or permanently delete your account.
What’s the Difference Between Deactivation and Deletion?
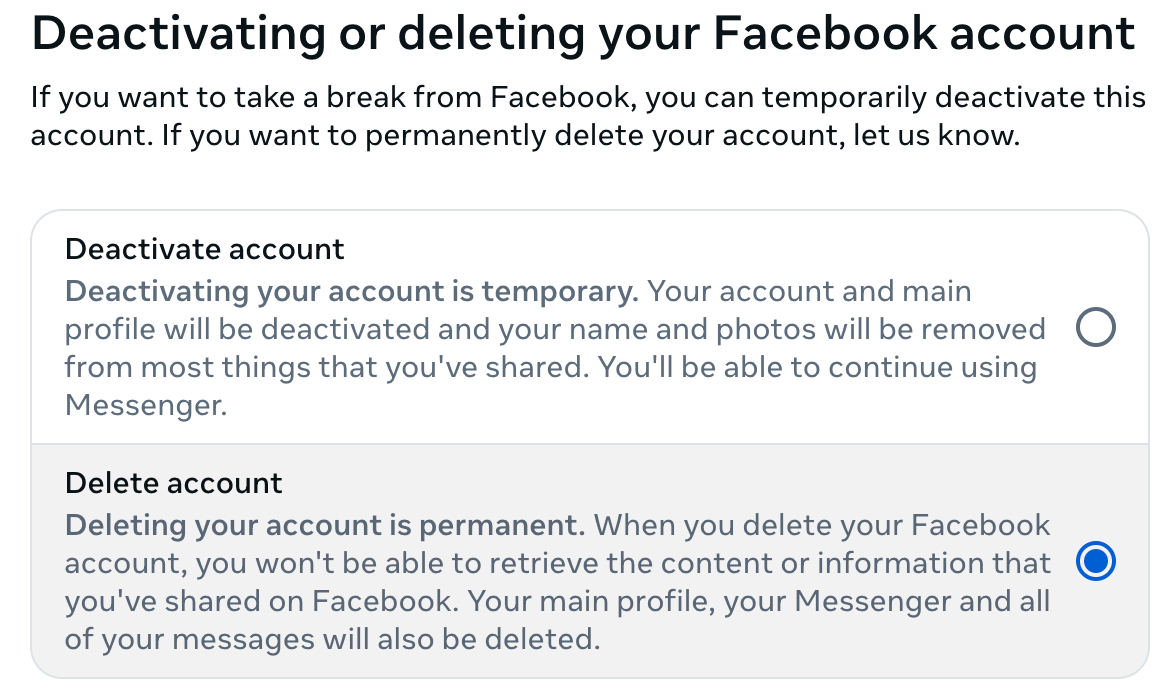
There are two ways for you to remove your presence from Facebook. You can deactivate your account or delete it entirely. The former allows you to come back and reactivate your account, while the latter is the permanent option—there’s no going back.
Deactivating your account is useful when you want to go into hiding for a while with the ability to come back online without having to set up a whole new account. While deactivated, no one can see your profile, but your name may still show up on your friend’s lists.
However, you can still use Facebook Messenger while your account is deactivated, which allows you to stay connected. If you want to leave Facebook Messenger as well, you’ll need to deactivate it separately.
Deleting your account is permanent. If you choose this option, you won’t be able to reactivate your account. All of your posts, photos, videos, and everything associated with your account is erased forever. With the addition of not being able to use Facebook Messenger, you won’t be able to use the Facebook Login feature you may have used on third-party apps or websites to sign in.
Some information, such as messages you sent friends and copies of messages in their inboxes, are still visible to them after you delete your account.
How to Deactivate Your Facebook Account
If you aren’t quite ready to delete your Facebook account altogether but want to take a break from social media, you can deactivate your account.
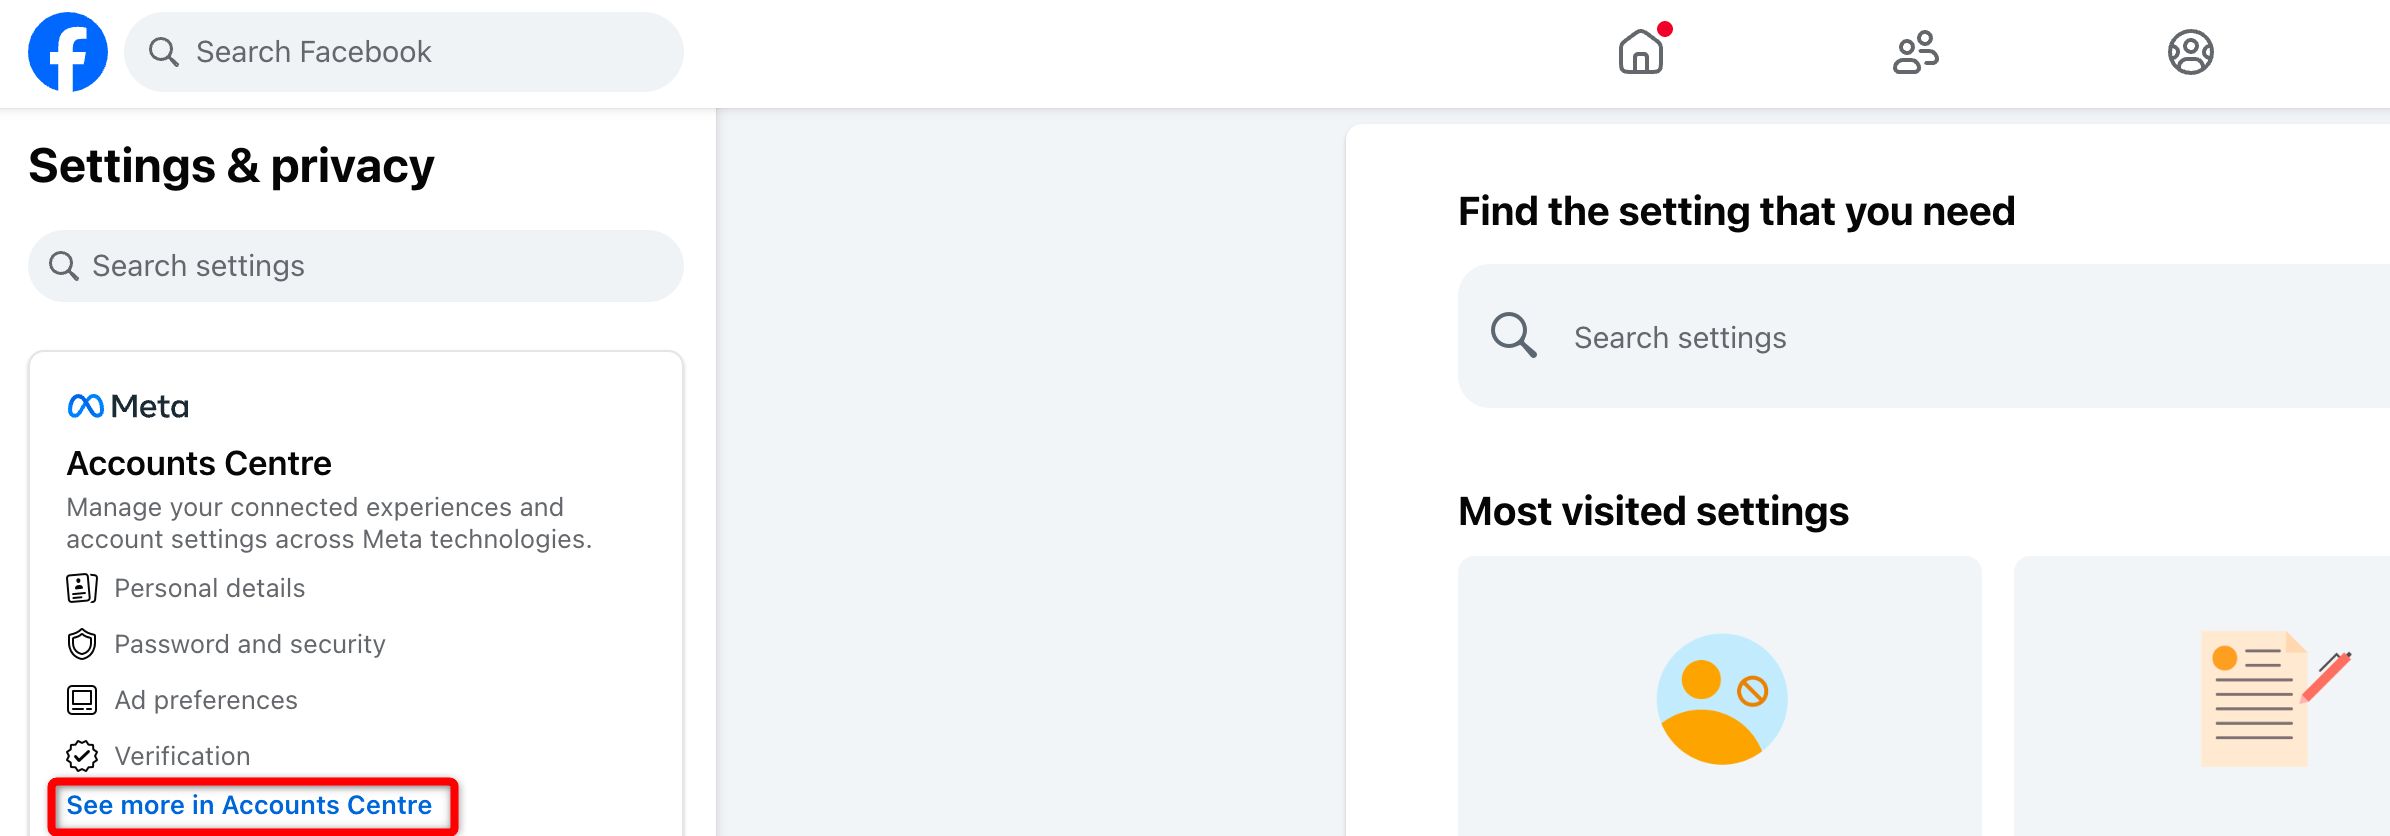
Visit the Facebook website on your computer, click your profile icon in the top-right corner, and go to Settings and Privacy > Settings. Next, click “See More in Accounts Center” from the left sidebar.
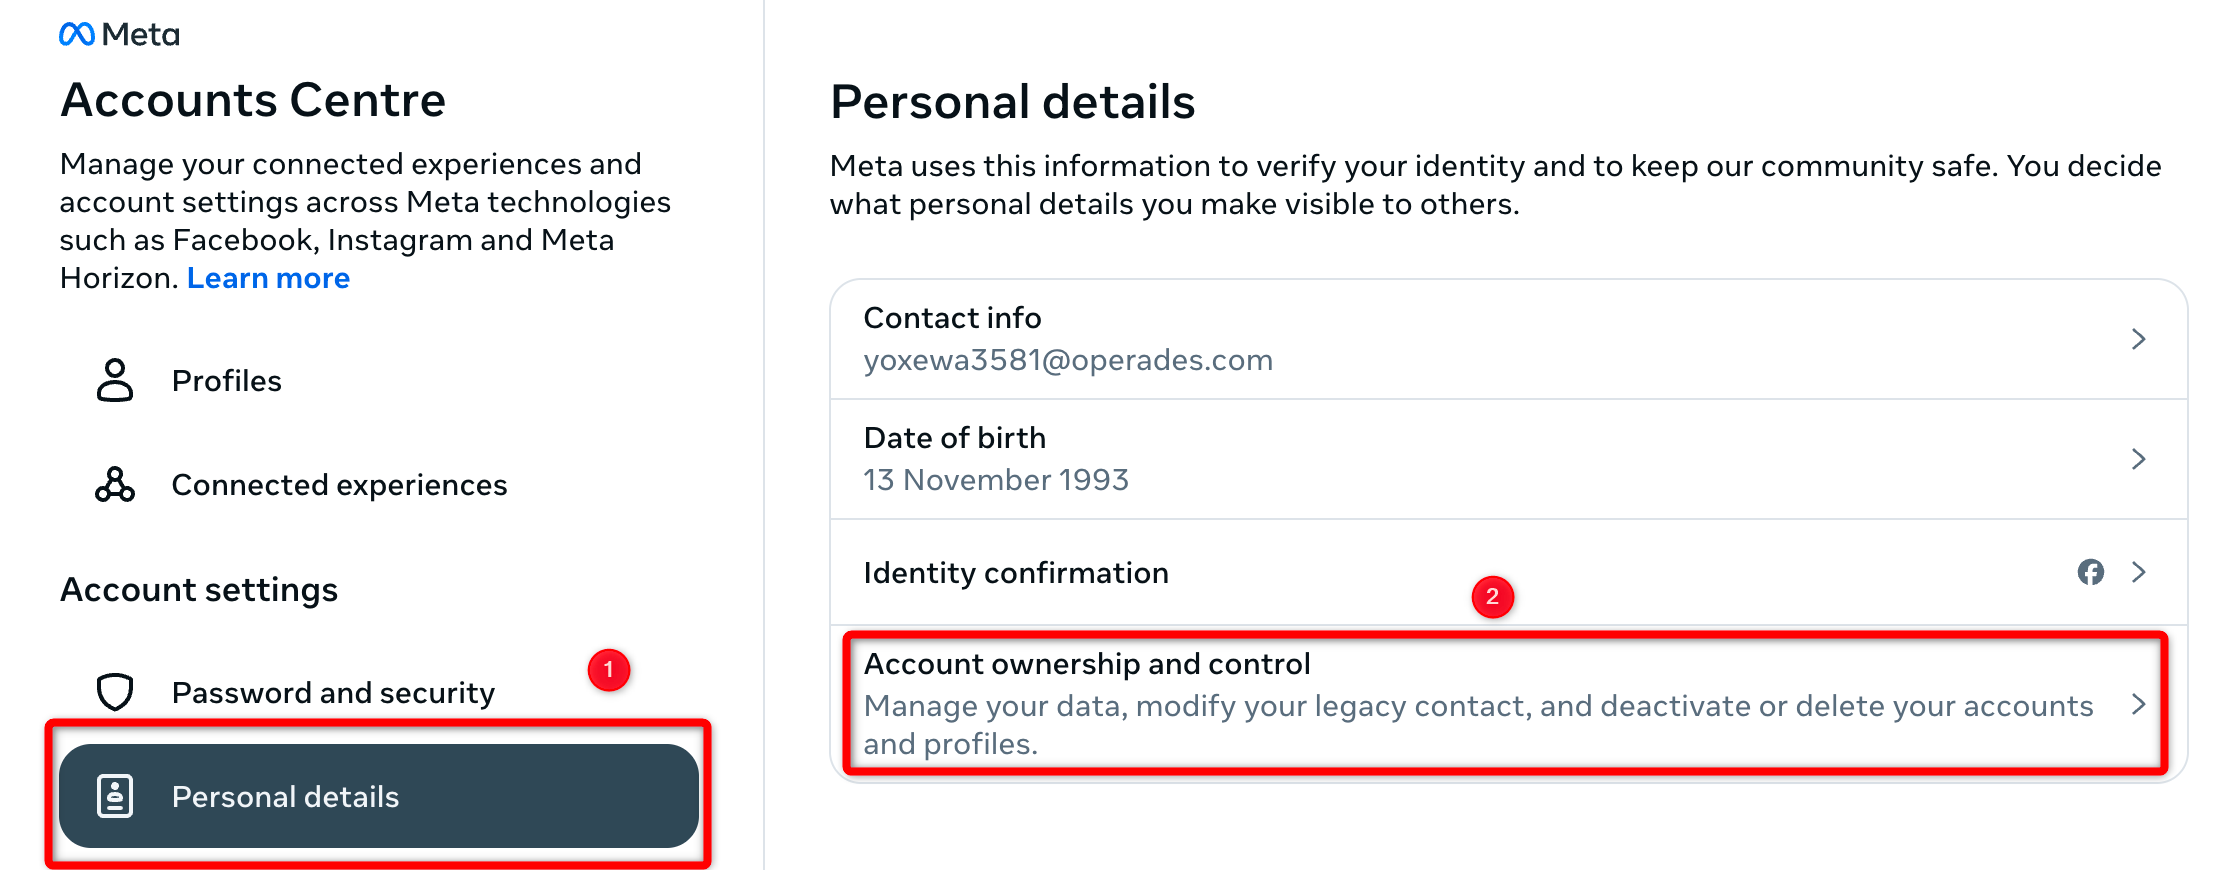
Under Account Settings, select “Personal Details,” then click “Account Ownership and Control” in the right pane.
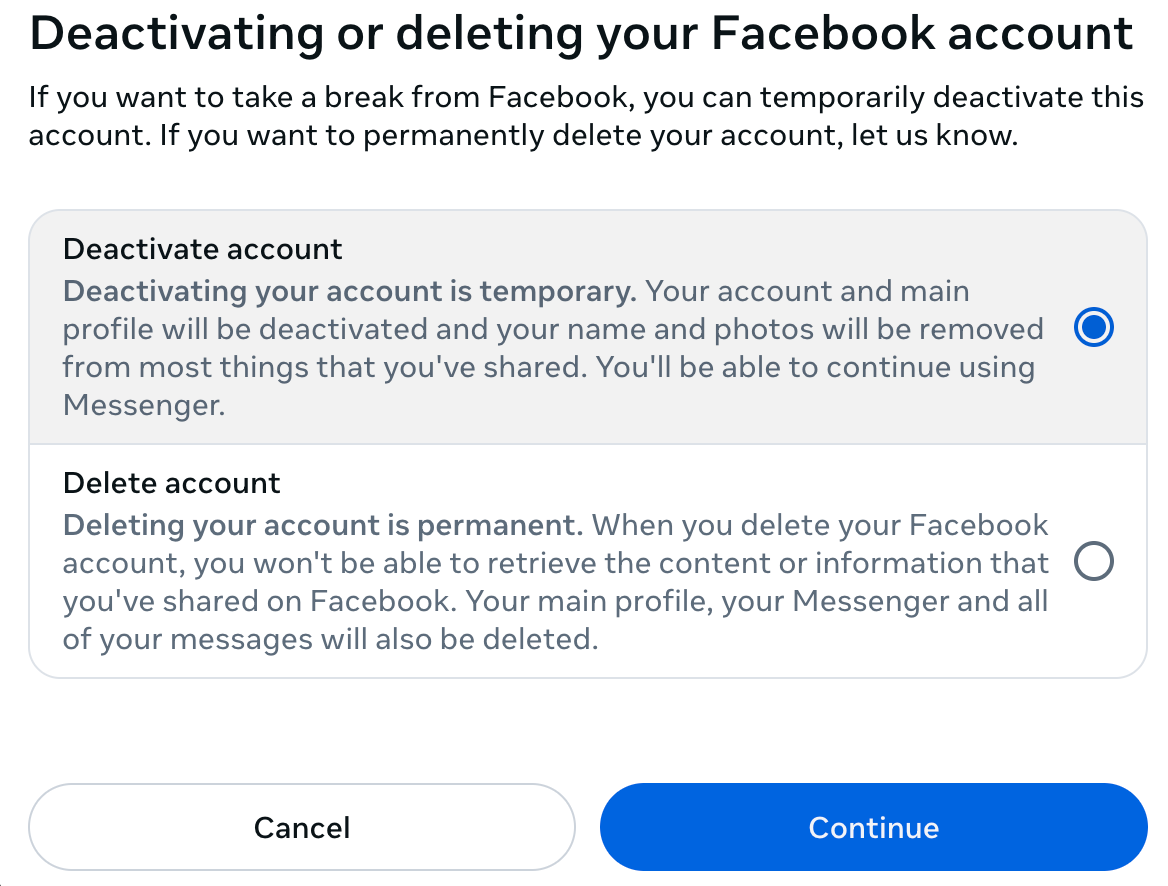
Next, select “Deactivation or Deletion,” select the profile you want to deactivate if you’re signed in to multiple accounts, check the option for “Deactivate Account,” and click “Continue.”
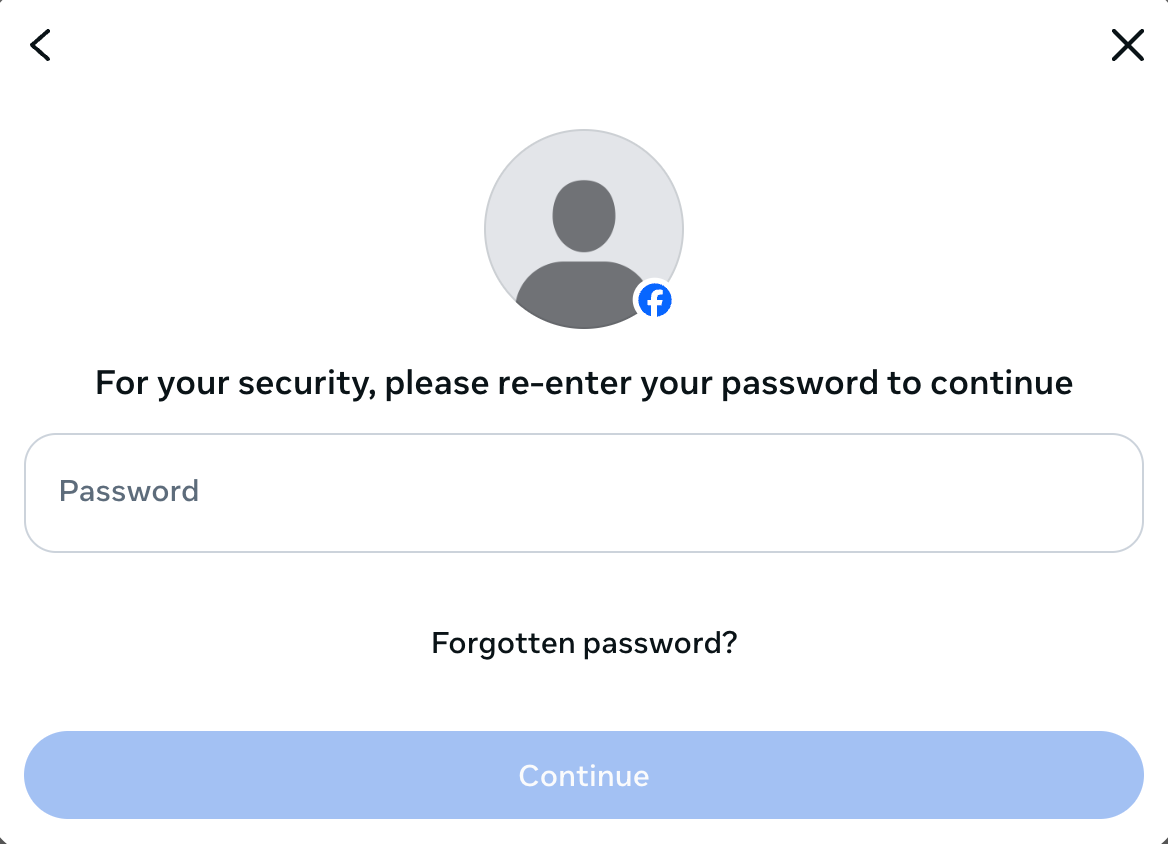
You may need to enter your account password as a security measure. Next, you have to provide a reason for deactivating your account, follow the on-screen prompts, and click “Deactivate My Account.”
Once you’ve completed these steps, Facebook will sign you out and redirect you to the Log into Facebook page. If you decide to reactivate your Facebook account later, you’ve just got to log back in, and it will be reactivated automatically.
The steps to deactivate or delete your Facebook account on iPhone and Android are exactly the same as on the web. The only difference is the location of the Settings menu: on the iPhone, it’s in the bottom-right corner, while on Android and the Facebook website, it’s in the top-right corner.
How to Permanently Delete Your Facebook Account
Before you go ahead and entirely eradicate your Facebook account, you may want to back up your information from the company’s servers. Facebook has a tool to help you download all your data into one manageable ZIP file.
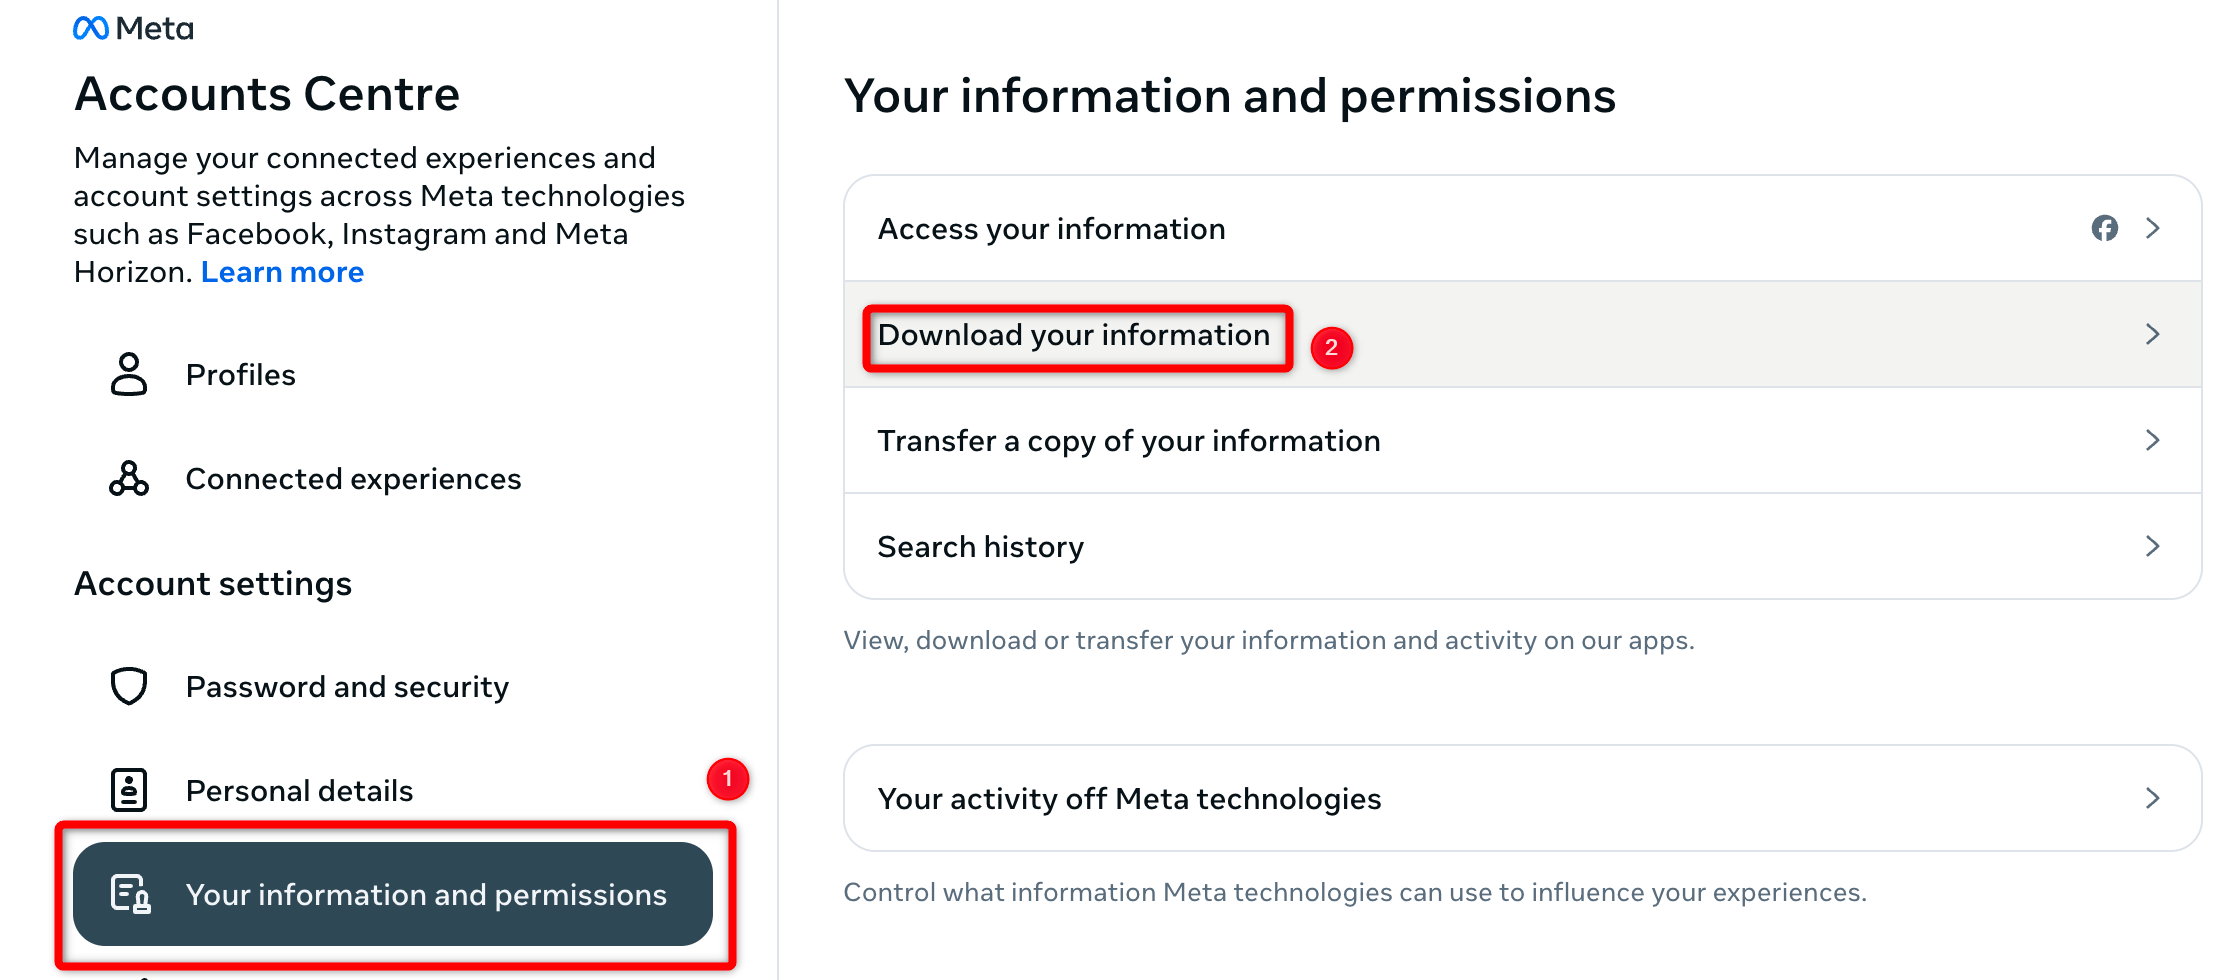
To download your Facebook data, click the profile icon in the top-right corner and navigate to Settings and Privacy > Settings. Next, click “See More in Accounts Center” in the left sidebar. Then, select the “Your Information and Permissions” tab in the left sidebar and click “Download Your Information” on the right pane.
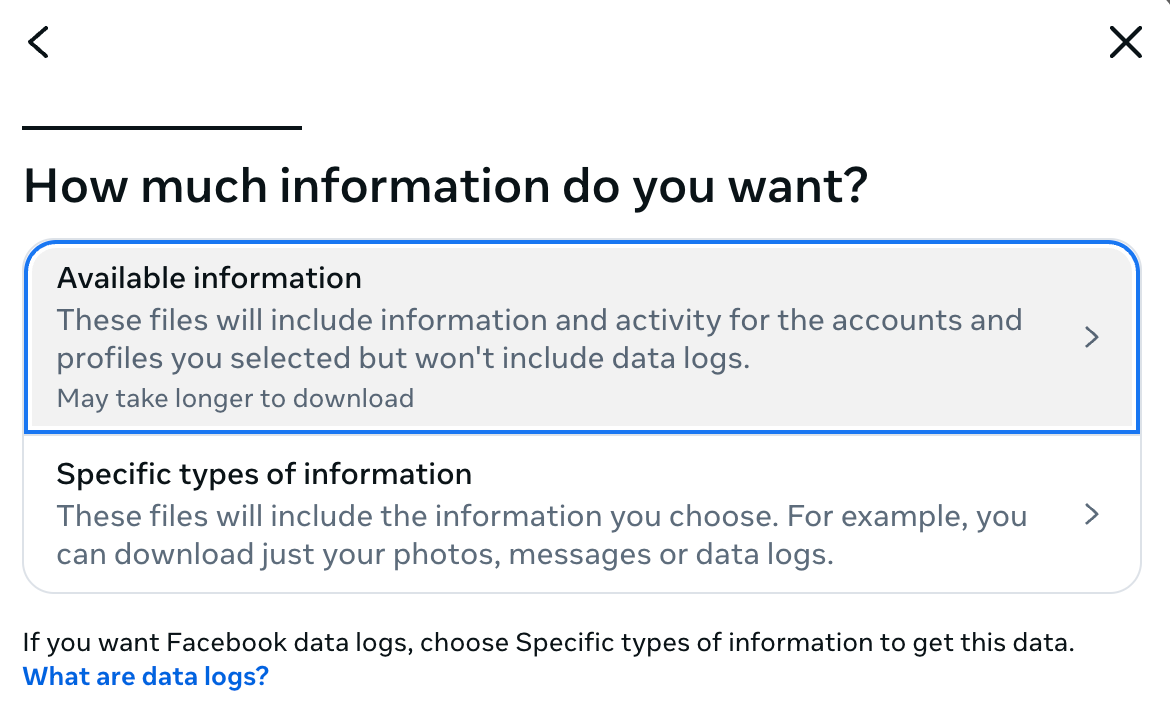
After that, click “Download or Transfer Information,” then select “Available Information,” and choose “Download to Device.”
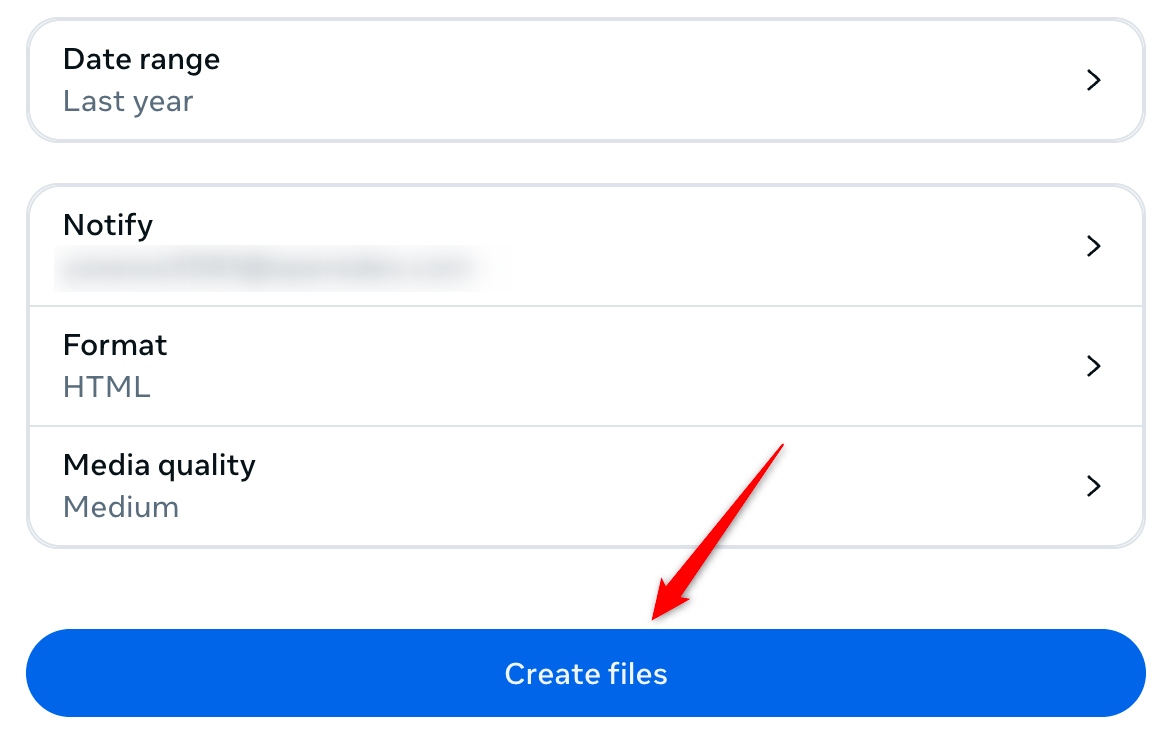
Then, verify the details Facebook provides, and click “Create Files.”
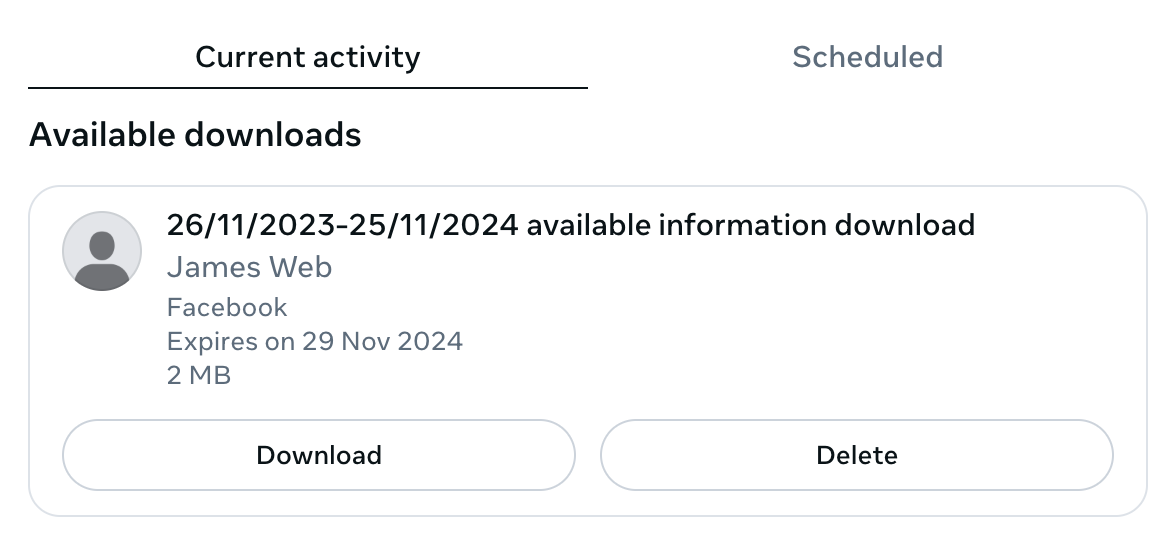
Facebook will prepare your data, and once it’s ready, you can download it directly from the same dialog box where you made the request.
Once you’ve downloaded the information, you can proceed to delete the Facebook account. To do that, follow the same instructions you followed earlier and select “Delete Account” rather than “Deactivate Account,” give Facebook a reason to delete your account, and follow the on-screen instructions. Then, enter your password as a security step and finish deleting your account.
Even though you have chosen to delete your account, there is still a 30-day window to reactivate your account. Facebook does this in case you have a sudden change of heart and do decide you want to keep it after all. Simply head to Facebook and log in with your email and password to reinstate your account.
That’s how you can deactivate your account temporarily or leave the platform completely by permanently deleting your account. Since deactivating is similar to deleting your account with an option to reactivate your account anytime in the future, I find that a better option compared to deleting your account and all your data along with it.


