Summary
- iOS 18.2 introduced Primary, Transactions, Updates, and Promotions categories to Apple’s Mail app for efficient email management.
- Quickly view all mail at once by deselecting the current category to reveal an “All Mail” option.
- Disable email categories entirely by tapping the three dots in the top-right corner of the Mail app.
The Mail app on your iPhone now sorts emails into four categories, with the intent of making it easier to find and manage messages. If you’re not a fan of categorizing emails, however, you can disable categories and restore the Mail app to its original form.
What Are Mail Categories on iPhone?
In iOS 18.2 or later, by default, the Mail app will display four categories at the top of the screen. These are Primary, Transactions, Updates, and Promotions. Your email is automatically split up and placed into one of the four categories.
- Primary holds all the emails that your iPhone thinks are most important.
- Transactions is for emails with delivery information or purchase confirmations.
- Updates includes emails such as news, social media notifications, and subscription renewals.
- Promotions is for promotional emails such as deals and special offers.
When you open an email in a category other than Primary, it will open in digest view. This displays the current message, but if you swipe down, you can see all the previous messages from the same sender.
How to Quickly See All Mail in One View
In the Categories view, it isn’t obvious how to see all your mail at once; you have to visit each category to see all of your messages. However, there is a simple way to do it.
All you need to do is tap the category that’s currently displayed, which is shown in blue, green, purple, or red at the top of your list of mail. This will deselect that category and a new “All Mail” category will appear, which contains all of your emails in a single list.
How to Turn Off Mail Categories Altogether
Change for the sake of it isn’t always good, as Apple found with its redesign of the Photos app for iOS 18. If you’re not a fan of this change and liked the Mail app the way it used to look, there’s some good news: You can disable Mail categories altogether so that your emails are always displayed in a single list without being split up.
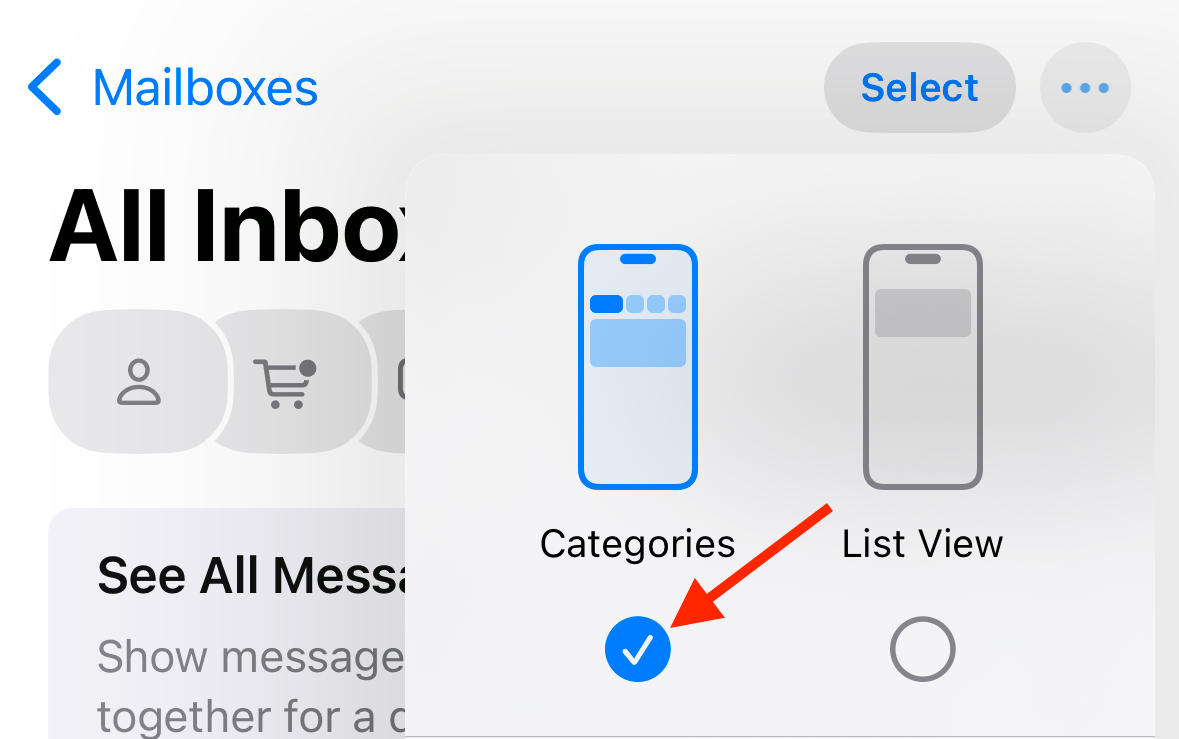
Open Mail and tap the three-dot menu icon. Select “List View” and your emails will now display in one single list with no categories.
Repeat the process and select “Categories” if you want to split your email into categories again.
How to Move Mail From a Sender to a Different Category
Apple’s algorithms are reasonably good at putting the right emails in the right categories, but they’re not perfect. If you find an email that’s in the wrong category, you can manually place it in a different one. This will mean all further email from the same sender will go to the new category you select.
To recategorize an email that’s currently in the Primary category, open the email and tap the Reply arrow icon at the bottom of the screen. Swipe up and select “Categorize Sender.” Select the category that you want to move the email to. All emails from the same sender will be sent to the category that you select.
For an email in the Transactions, Updates, or Promotions categories, open the email and tap the three-dot menu at the top of the screen. Select “Categorize Sender.” Choose the category you want to move it to. All future emails from that sender will be sent to your selected category.
The method above will only work when emails are grouped by sender. If they’re not, you can group them using the method described below.
How to Group or Ungroup Emails by Sender
Another default setting for the Transactions, Updates, or Promotions categories is that emails from the same sender are grouped together. Instead of seeing three different emails from Amazon about your purchase, arrival date, and delivery status, you’ll only see the most recent. Opening that email, you can swipe down to see all other emails from the same sender.
This can make your inbox feel much cleaner since it’s not clogged up with multiple messages from the same sender. However, it can also make it easier to miss messages and isn’t helping you to reach inbox zero. If you prefer to see all your emails in one long list, you can turn this setting off.
Open Mail and select the Transactions, Updates, or Promotions category. Tap the three-dot menu icon in the top right of the screen. Uncheck “Group by Sender.”
This setting only applies to the current category, so you’ll need to repeat the process two more times to turn off grouped emails for all categories. If you decide at a later date that you do want to group emails by sender, repeat the steps above and make sure that “Group by Sender” is checked.
How to Show the Count for All Unread Messages on the Mail App Icon
The badge on the Mail app icon on your iPhone can be a source of serious stress. Seeing my wife’s badge show over 500 unread emails is enough to raise my stress levels, and it’s not even my phone. You can hide these icon badges, but it’s not an ideal solution for your email app.
If you’re using categories in Mail, the unread emails badge is a little less daunting as, by default, it only shows how many emails are unread in your Primary category. You could have hundreds of unread emails in Transactions, Updates, and Promotions, but these won’t count towards the number displayed on the Mail app icon.
If you would prefer to see exactly how many unread emails you truly have, you can change this setting to reflect the number of unread emails across all of the categories.
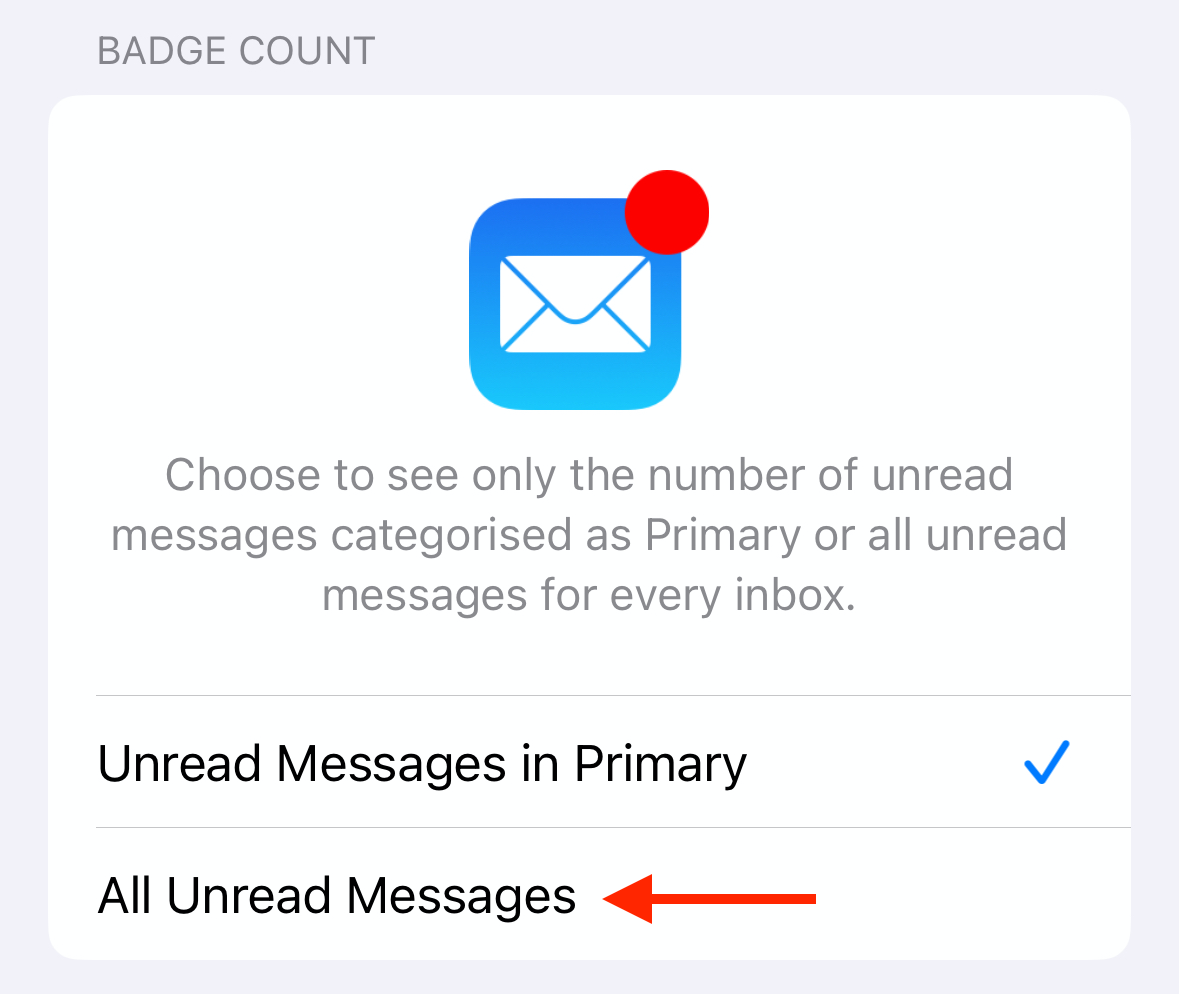
Go to Settings > Notifications > Mail > Customize Notifications. Under “Badge Count” select “All Unread Messages.”
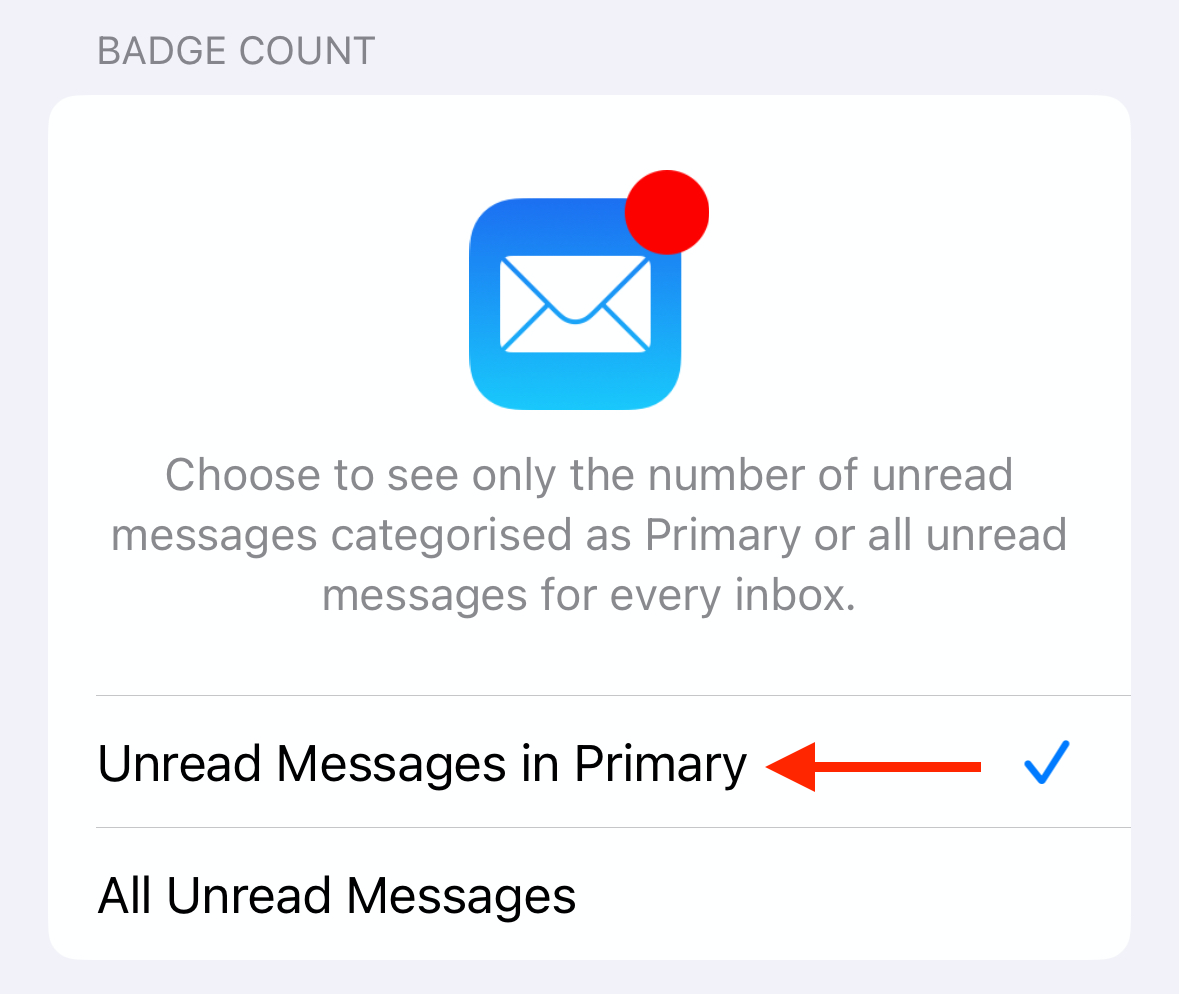
The app icon will now display the true number of unread messages. To revert to only showing the count of unread emails from the Primary category, repeat the process, and select “Unread Messages in Primary.”
What About Mail Categories on iPad and Mac?
Although Mail categories were added to the iPhone in iOS 18.2, the feature is currently not available on iPad or Mac. Neither iPadOS 18.2 nor macOS 15.2 include categories in the Mail app.
Some people have speculated that Apple might choose not to bring the feature to the iPad or Mac. However, in an official Apple news release, there is a strong indication that the feature will be coming.
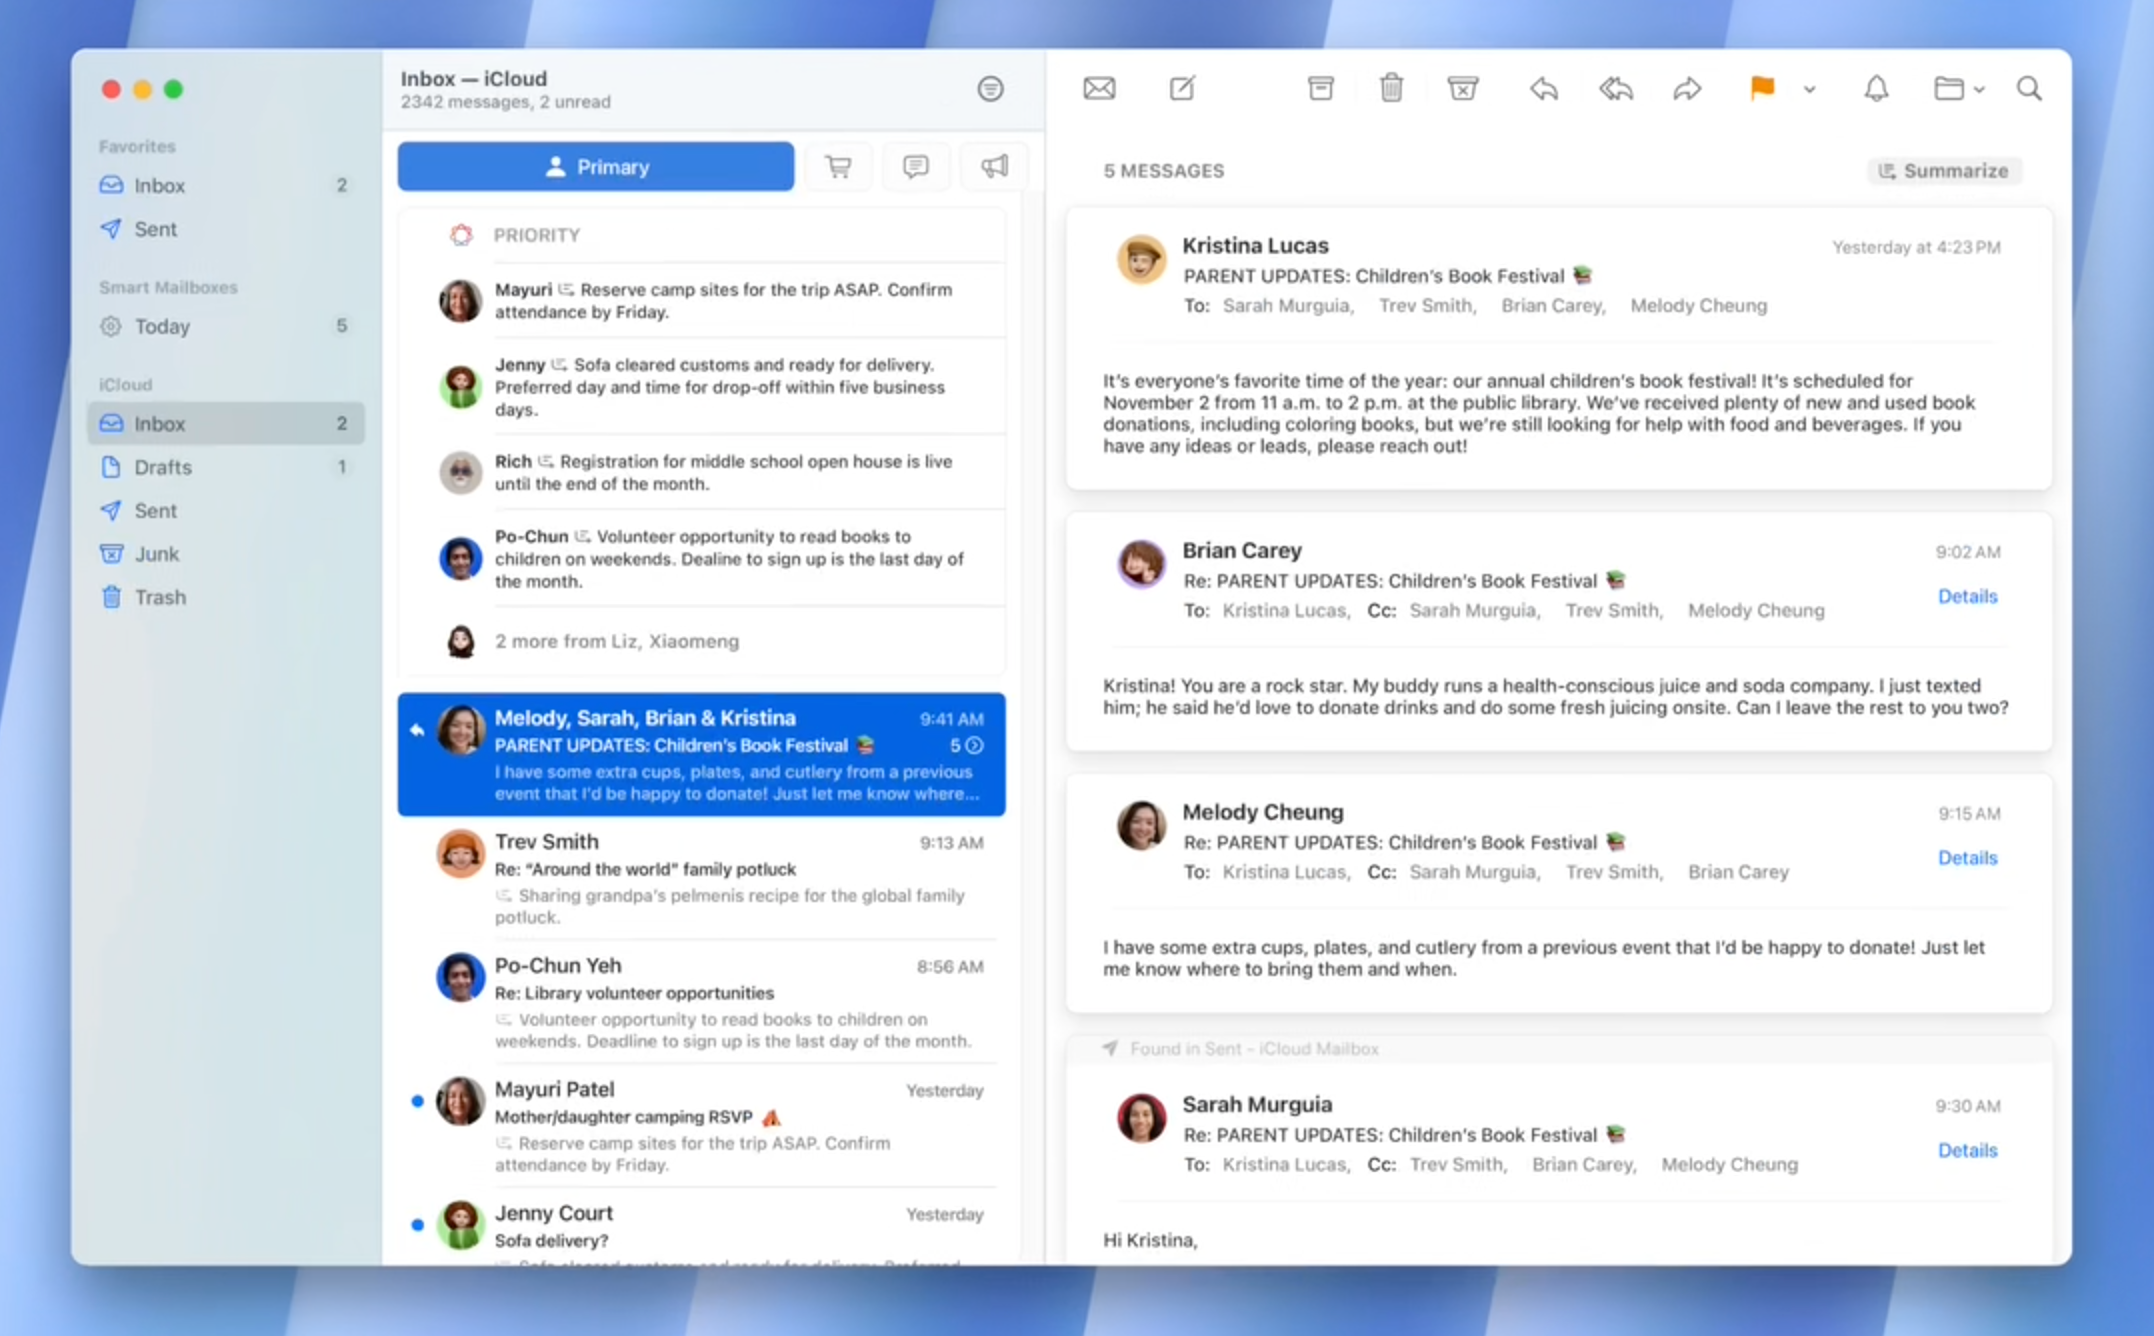
The news release includes an animation showcasing Priority Messages and email summaries on Mac. The Mail app in the animation clearly shows the same category icons as in the iPhone Mail app. This would seem to indicate that the feature will come to the Mac, and presumably the iPad too, in a future release.
Categories in the Mail app are meant to help you deal with the most important emails, while the less important ones are filtered off. However, you may prefer to have all your emails in one long list, like it’s always been in the past. If this is the case, you can follow the steps above to restore your Mail app to exactly the way you want it.


