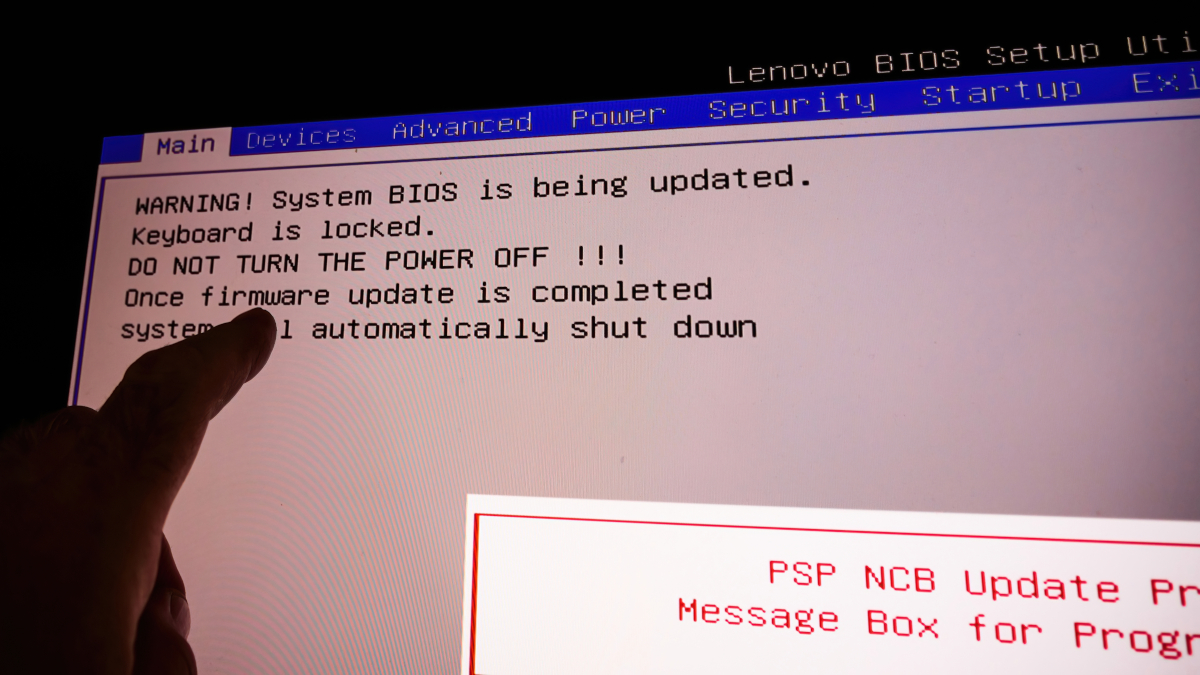
Accessing the BIOS on your Windows 11 PC can help you solve a variety of problems or allow you to adjust low-level settings. There are multiple ways you can enter BIOS, and we’ll show you how to use all of them.
Note: On most modern computers, you actually have UEFI instead of BIOS. It’s advanced low-level software that offers more features than traditional BIOS. However, many people still refer to it as BIOS, so that’s the term we’re using here.
RELATED: What Is UEFI, and How Is It Different from BIOS?
Enter Windows 11’s BIOS by Pressing a Key
An easy way to enter BIOS on your Windows 11 PC is to use a key on your keyboard while powering on the computer. The advantage of this method is that you can use this even when your Windows OS doesn’t load.
To use this method, you will have to find the key that lets you enter BIOS on your specific computer. This key varies by manufacturer. When you start up your computer, on the first splash screen that opens (usually showing the manufacturer’s logo), you should see a message telling you which key you need to press to enter BIOS.
On most computers, this key is F2, but you should check on your computer’s splash screen to confirm.
Enter the BIOS on Windows 11 From Settings
If you can’t find the keyboard key to enter BIOS, or you prefer using graphical options, use Windows 11’s Settings app to enter BIOS.
RELATED: Here’s What Windows 11’s Settings App Looks Like
To do so, first, launch the Settings app on your PC. Do this by pressing Windows+i keys at the same time.
In Settings, from the left sidebar, select “System.”
On the “System” page, click “Recovery.”
In the “Recovery” menu, next to “Advanced Startup,” click “Restart Now.”
You will see a “We’ll Restart Your Device So Save Your Work” prompt. In this prompt, click “Restart Now” to restart your PC.
Warning: Make sure you save any unsaved work before restarting your PC.
You will now see a “Choose an Option” screen. From here, head into Troubleshoot > Advanced Options > UEFI Firmware Settings and click “Restart.”
And you will be in your PC’s BIOS mode. In this mode, you can configure various options, like changing your startup disk.
RELATED: How to Boot Your Computer From a Disc or USB Drive
Enter Windows 11’s BIOS Using Windows Terminal
To use a command to boot your PC in BIOS, use either PowerShell or Command Prompt utility on your PC.
First, open the “Start” menu and search for “Windows Terminal”. Click the app in the search results.
In Windows Terminal, type the following command and press Enter. This command works in both PowerShell and Command Prompt shells, so you can use either.
shutdown /r /o /f /t 00
On the “Choose an Option” screen that opens, navigate to Troubleshoot > Advanced Options > UEFI Firmware Settings, and click “Restart.” Your PC will then enter BIOS.
You’re all set.
Did you know you can check and even update your BIOS version?


