Summary
- Hide results from specific categories to improve privacy and search experience.
- You can also prevent Spotlight from searching in specific locations or folders to exclude personal files.
- Further improve your Spotlight experience by using natural language queries, item type specifications, metadata attributes, and search operators.
Spotlight, by default, displays results for searches across various categories. Although helpful to some, this can be a privacy nightmare when you’ve shared your Mac with someone, as your personal information may pop up when they use Spotlight. Luckily, you can configure what shows up in Spotlight on your Mac to avoid this.
Hide Results From Specific Categories
The easiest way to limit what Spotlight Search shows on your Mac is to disable the categories from which you don’t want to see any results.
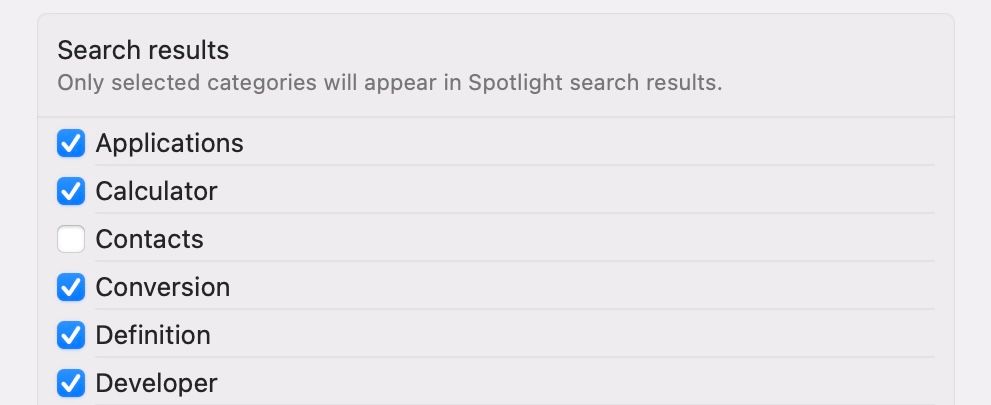
For example, if you don’t want the contact information of people saved in the Contacts app to appear in Spotlight Search on your Mac, you can hide the Contacts category. Another category you may want to disable is Siri Suggestions. These are basically recommendations that Siri offers you from time to time based on your usage patterns for things like your most-used apps and frequently contacted people, among other things. Turning them off not only improves your privacy but also gives you a cleaner Spotlight Search experience.
To configure results from which categories Spotlight Search shows on your Mac, open “System Settings” and select “Spotlight” from the left sidebar. You’ll see all the categories currently searchable through Spotlight in the main window on the right. Uncheck the relevant boxes next to the categories you don’t want results from in Spotlight Search.
Going forward, if you want Spotlight to show results for the disabled categories again, you can re-enable them. Just head to the Spotlight settings page and enable the checkboxes next to the categories you want to see.
Prevent Spotlight From Searching Specific Locations
Aside from preventing Spotlight from searching and showing results from specific categories, you can also limit Spotlight from searching in specific locations on your Mac. This can be useful in preventing your personal information stored in specific folders from appearing in Spotlight Search.
If you have sensitive files scattered across different locations on your Mac, organize them into single or multiple folders so that it’s easier to exclude them from Spotlight Search results.
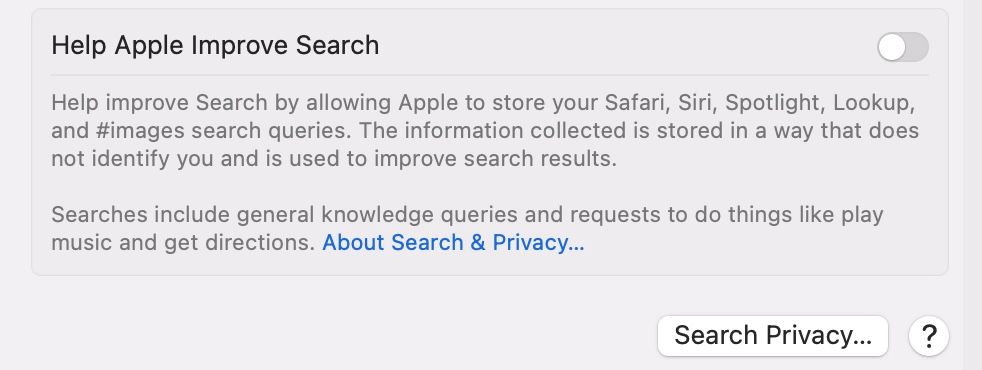
To prevent a folder from appearing in Spotlight Search, navigate to the “Spotlight” settings page in the “System Settings” app. Scroll down and click the “Search Privacy” button.
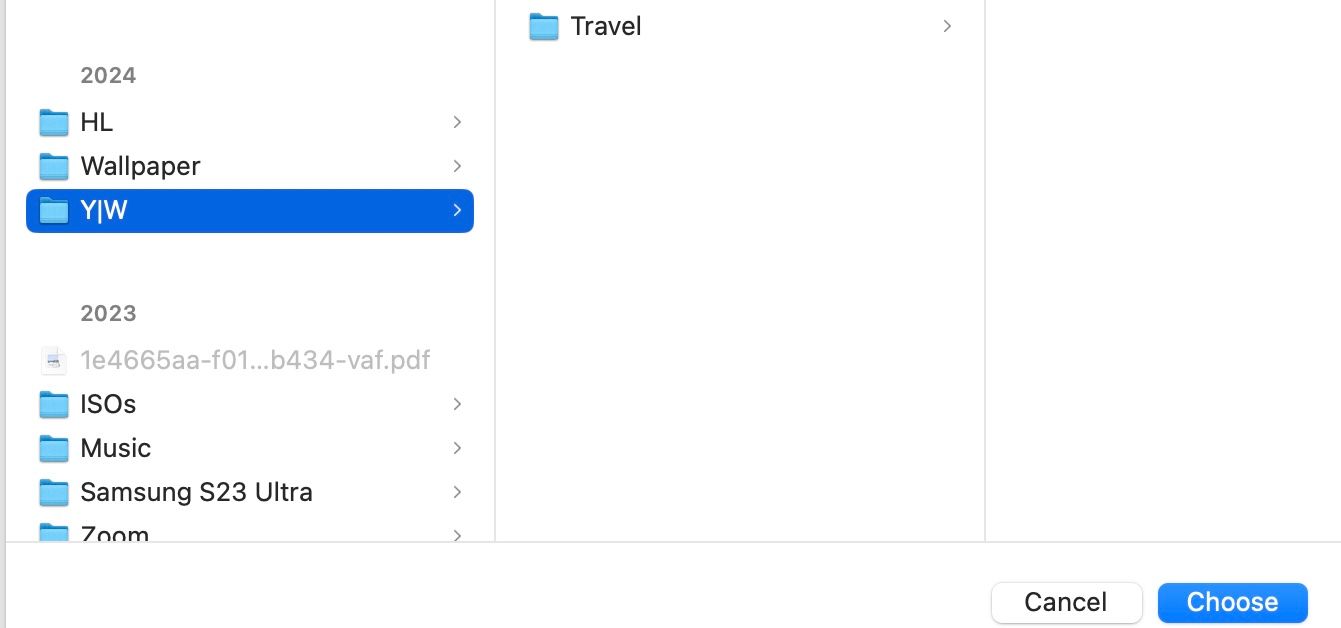
Hit the “+” button in the lower-left corner, and it’ll bring up a Finder window. From here, navigate to the location that contains the folder you no longer want Spotlight to search in, select it, and click “Choose.” Hit “Done.”
When you want to revert and start seeing results from an excluded location in Spotlight Search again, it’s easy to do so. Simply select the location and click the “-” button in the lower-left corner.
After you do this, it may take some time for macOS to rebuild the index. Hence, it’s possible that you may not be able to find items stored in the location you just included. Give it some time, or try restarting your Mac, and it should return results for your searches in the location again.
Master Spotlight for a Better Mac Experience
Disabling categories or excluding folders from appearing in Spotlight Search doesn’t just help improve your privacy; it also allows you to get more relevant search results. By hiding irrelevant categories or excluding irrelevant folders, you’re telling Spotlight to index fewer items, which not only makes it return results faster but also reduces the volume of results, saving you the trouble of sifting through them to find what you really want.
With its scope of search limited to your preference, here are a few tips to get even more out of the Spotlight Search on your Mac.
Make Your Queries in Natural Language
One of the best things about Spotlight is that it understands natural language, so you type your queries in everyday conversational language.
Typing “photos from January 2025” will show you all the photos from January 2025 on your Mac.
Find Items Faster by Mentioning Their Item Types
Sometimes, querying something in Spotlight returns matching results from different types (photos, documents, and more.). In such situations, you can specify the type of item you’re looking for to find it easily.
Appending “kind:document” at the end of “visa,” returns all the documents related to the term VISA.
Use Metadata Attributes to Only Find Specific Items
Most files on macOS will have some metadata embedded within them. For instance, document files have “author” metadata to tell the name of the creator, audio files use “artist” for the name of the performer, and image files offer “device model” to help locate photos taken on a specific device model.
You can use “kind:music metallica” to find all songs by the artist Metallica on your Mac.
Use Operators to Narrow Down Search Results
Last but not least, Spotlight Search supports Boolean operators, such as AND, OR, and NOT that you can add to your search query to narrow down the results. These can be used with other search modifiers to find exactly what you want.
Typing “kind:PDF stocks OR investment” in Spotlight Search gives you a list of all the PDF files containing either “stock” or “investment” in them.
Spotlight can significantly improve your Mac experience by helping you find things faster and simplifying various everyday tasks. So, if you haven’t been using it already, take the time to customize what appears on it and familiarize yourself with the best macOS Spotlight features to utilize its full potential.


