There’s no denying that cryptocurrency and traditional tender have some stark differences. Crypto is entirely virtual, exists on a blockchain, is vastly unregulated, and can be very difficult to understand. But a similarity that crypto and physical currencies share is that they both need to be held in a wallet. All cryptocurrencies require wallets, including Bitcoin, but how do you sign up for one, and what should you look out for when choosing a cryptocurrency wallet?
Hardware vs. Software Wallets
In the crypto realm, you get both hardware and software wallets. Software wallets are entirely virtual, while hardware wallets are physical devices. You’ll need one of these two wallet types to store your Bitcoin private keys.
Many people opt for software over hardware wallets, as most software wallets are entirely free to sign up for, while hardware wallets can sometimes cost over $100. Financially, the math is simple. But when it comes to security, things get a little more complicated.
This is because software wallets rely on an internet connection, which exposes them to remote threats. Hardware wallets, on the other hand, do not rely on an internet connection and store your crypto private keys offline. This reduces the possibility of remote attacks and means that a malicious actor would have to physically have your hardware wallet to even have a chance of hacking it.
Software wallets are cheap and convenient, but hardware wallets are undeniably safer. But this isn’t to say that software wallets are totally unsafe. Many reputable software wallet providers offer multiple security features, like seed phrases, 24/7 customer support, one-time passwords, and two-factor authentication.
There are also custodial and non-custodial crypto wallets. Custodial crypto wallets hold your private key(s) for you, while non-custodial wallets give you total control of and access to your private keys. People lean towards either of these two wallet types, though many believe that non-custodial wallets are a safer bet.
So, now we’re aware of the different kinds of crypto wallets, let’s get into how you can set up your own.
Setting Up a Software Bitcoin Wallet
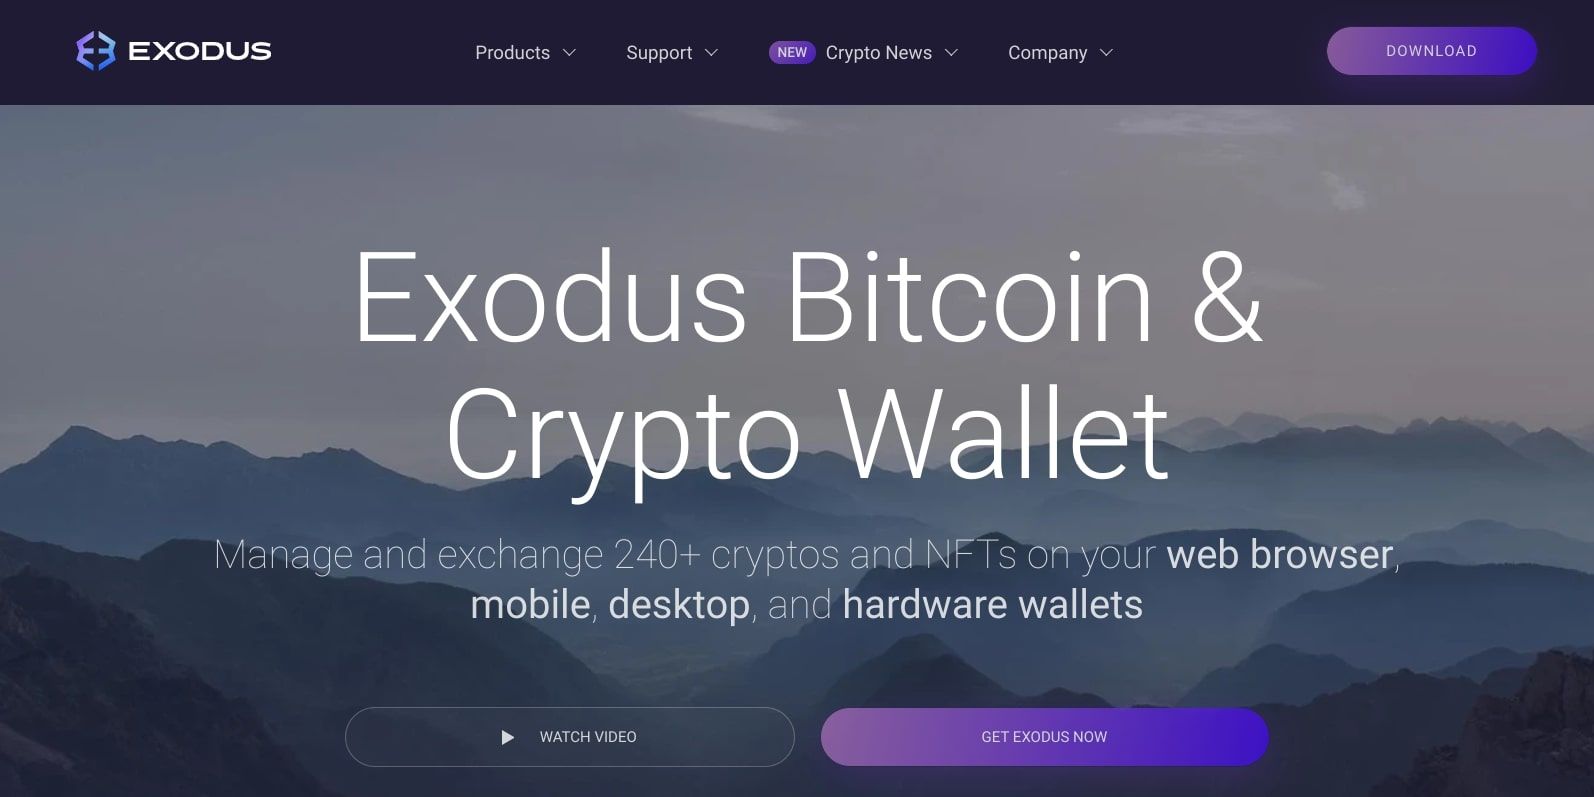
Setting up a software Bitcoin wallet can be pretty straightforward, depending on the provider you choose. For example, Exodus is great for beginners, while Mycelium is geared more toward experienced and professional traders (and is only available as a mobile app).
1. Download
Normally, before signing up for a Bitcoin wallet, you’ll need to decide what version of the wallet you want to download. For most users, the desktop version is the best option. Sometimes, you’ll have the option of directly downloading the desktop version from the wallet provider or downloading the desktop app via your operating system’s native app store.
Many software wallet providers also offer a smartphone app for their users, so you can access and check your crypto wallet even when you’re away from home. So, if you want this kind of added convenience, consider downloading the smartphone app version of your chosen software wallet (if the company provides such). The steps and examples in this part of the article use the Exodus software wallet, and you can use the download links below if you want to follow along.
Download: Exodus for Windows & macOS | Android | iOS (Free)
To get started, we recommend downloading the desktop or browser extension version of the wallet so that you can view and adjust to its interface easily.
You’ll need to download the software version designed for your specific operating system.
2. Sign-Up
Once you’ve downloaded and opened the wallet version that you want to use, you’ll need to create a new wallet. This is a very important step, as you’ll be provided with some very sensitive information relating to your wallet. The process from here will differ depending on the wallet you’re using, but it is important nonetheless.
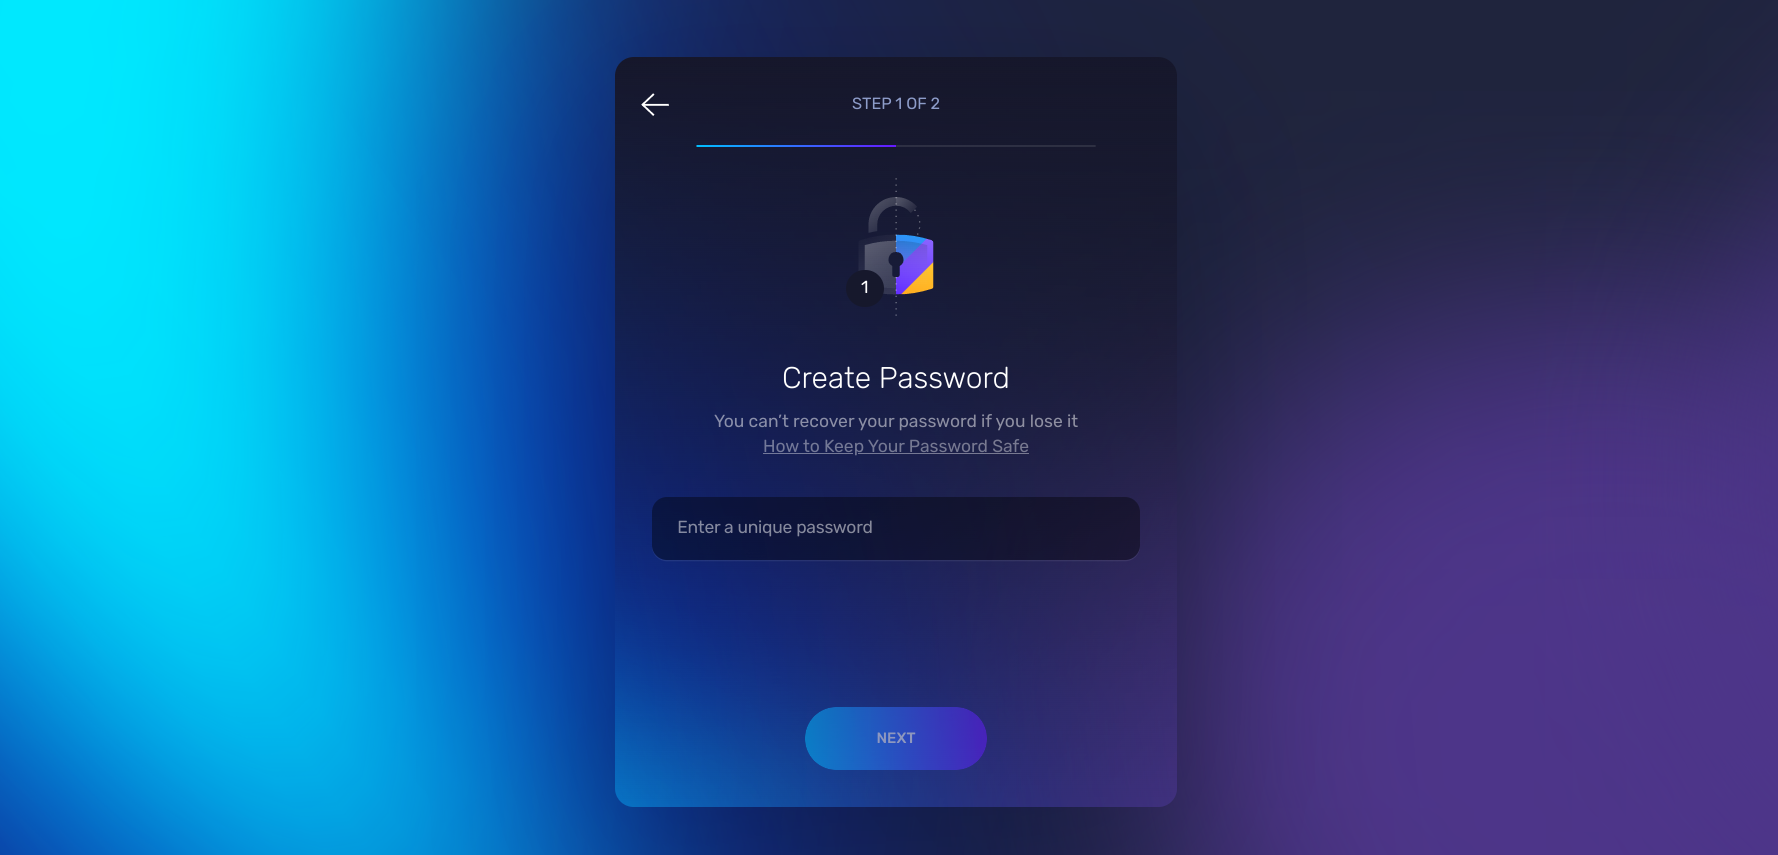
On Exodus, for example, you’ll need to first set up an account password, as shown below. Make sure you choose a complex password that you’re not using for other online accounts.
You’ll need to write down the seed phrase you are provided. Your seed phrase is incredibly important and backs up your crypto wallet for emergencies. Some choose to store their seed phrase on a hard drive, while others simply use a piece of paper. You can even buy secure capsules to store your seed phrase, such as Ledger’s CryptoSteel. But it’s important here that whatever is holding your seed phrase is kept in a safe place.
You may also need to set up a wallet PIN for an extra layer of security. Make sure you record and safely store this piece of information too.
From here, you may or may not be provided with your private key, depending on whether you’re using a custodial or non-custodial crypto wallet. For instance, because Exodus is a non-custodial wallet, your private keys will be totally under your control, and you can view them whenever you want within your account via the Wallet tab. From here, go to the asset you’re concerned with, then click the three dots next to the asset. This will then show an option called View Private Keys.
Getting a Hardware Bitcoin Wallet
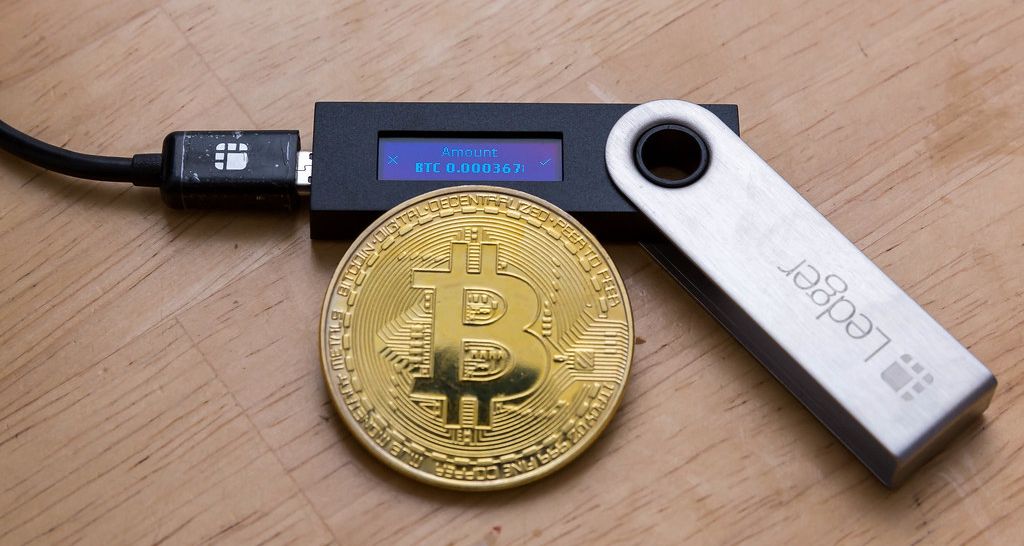
The process of setting up a hardware Bitcoin wallet will take longer, as you’ll need to wait for the device to arrive first. The two giants of the hardware wallet market are Ledger and Trezor. Both of these providers have various models, such as the Ledger Nano S and Trezor Model One, that may suit you in terms of appearance, price, or features.
Once your desired hardware wallet has arrived, the next step is the setup. This process will differ slightly depending on the kind of hardware wallet you have. However, the general process will involve connecting your wallet via a USB cable to your PC or laptop. Now, an internet connection is required for setting up your hardware wallet, but worry not. Your funds will be held in cold storage. After all, that is the purpose of hardware wallets.
Again, the next step in this process depends on the wallet you’re using.
Ledger, for example, has an application called Ledger Live, which you will first use during setup. Trezor, on the other hand, has an application known as Trezor Suite. Regardless of what kind of hardware wallet you’re using, chances are you’ll need to download an application for setup.
As is the case with software wallets, you’ll also need to set up a PIN code and safely store the seed phrase you are provided with. Make sure that you do not disconnect your wallet from your PC or laptop during this process.
After doing this, your wallet should be ready to go. Some providers will have extra steps, like choosing a name for your wallet. But you can skip this step and keep the original name given.
A Secure Bitcoin Wallet Is Vital
Wallets are integral elements of the crypto world, as they allow you to store your keys and access your funds safely. So, if you’re looking to set up a Bitcoin wallet, follow the steps above and take note of the considerations mentioned. Good luck!


