

LibreOffice remains one of the most popular Microsoft Office alternatives, an incredibly versatile text editor that’s free to download, and allows you to set it up exactly how you want. You can easily import files from other text editors, customize the appearance of every tool, and use a variety of macros. And, if you want to, you can even learn how to enable dark mode for a writing and editing experience that’s far easier on the eyes.
Here’s exactly where to go and what to do to switch to dark mode and give your eyes a break.
How to switch to dark mode in LibreOffice
If you haven’t already done so, head to LibreOffice’s website and download the app for your platform. Remember, the full app is free to use, but you will have to give it permission to access your current documents, etc.
Step 1: Open the document that you are working on.
Step 2: Now you’ll want to head to Options in LibreOffice. This can vary a bit based on your platform and the version of LibreOffice that you are using. In many versions of LibreOffice, you can find Options in the Tools section of your menu. It may also be called Preferences in this section.
There are some exceptions: In macOS, for example, you’ll find the menu is called Preferences, and that it is located under the LibreOffice menu where Preferences is found in many macOS apps. Open it when you locate it.
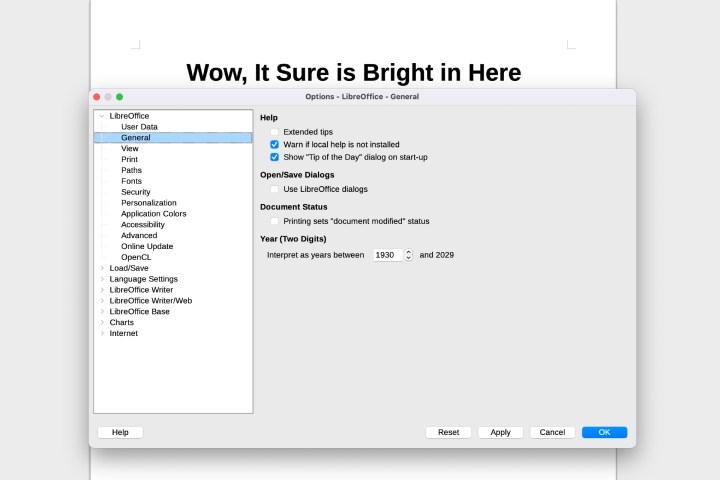
Step 3: A new window will open with a variety of options to control LibreOffice settings. If you have the time, it’s a good idea to choose Online Update and get the latest version of LibreOffice before proceeding — these steps may not work unless you do. If you are just interested in dark mode and have a newer version of LibreOffice, select Personalization to continue.
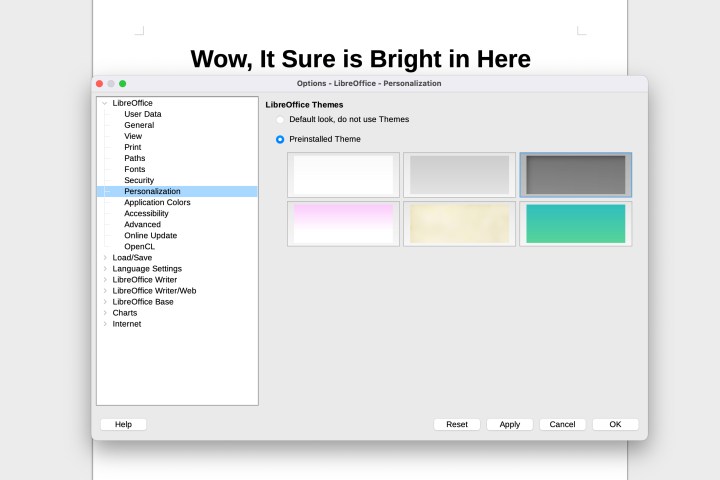
Step 4: Make sure that Personalization is set to Preinstalled Themes, and select the Dark theme on the right. Select Apply to continue. This will change the toolbar to a darker shade.
Step 5: We know, a small toolbar change isn’t very impressive. But you’re just getting started. In the left side menu, select Application Colors.
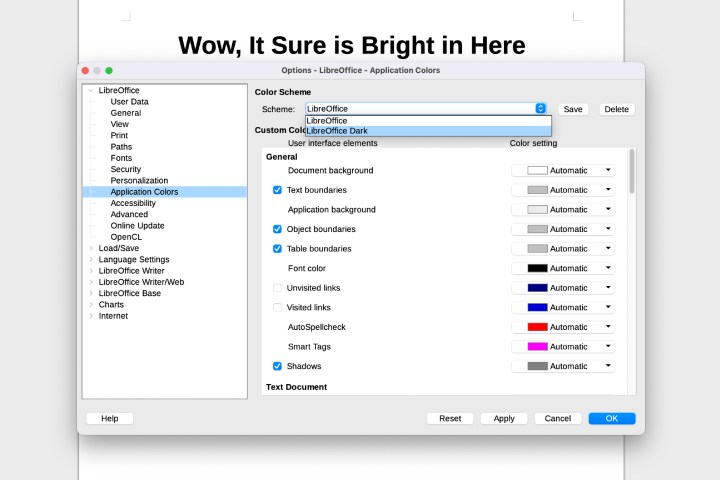
Step 6: In the Color Scheme section, select the dropdown menu and LibreOffice Dark. Now select Apply, and you should see a much more satisfactory full dark mode appear.
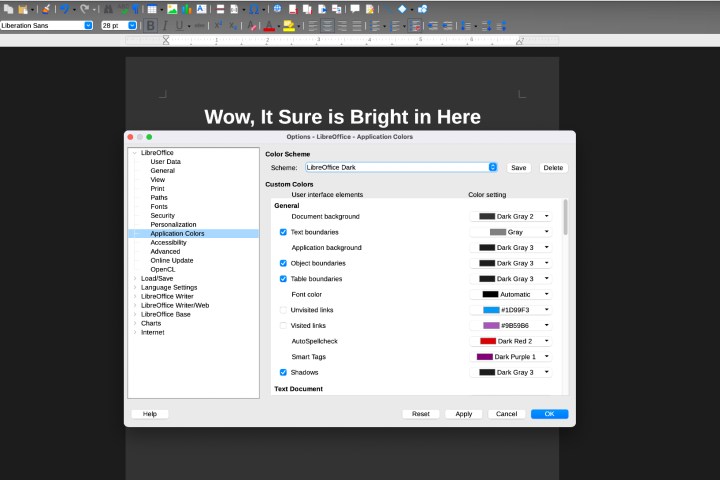
Step 7: You may also want to go through the Custom Colors section, where you can pick a color for just about anything, including links, various types of highlighting, and more. Even if you don’t change anything right now, you may want to revisit this section and make some changes depending on what LibreOffice tools you end up using the most frequently.
Step 8: One last tip for some extra customization: Head to the View section before you exit out. Here, you’ll find a variety of ways to change the icons that appear in the toolbar. Under Theme, you’ll find a number of themes to experiment with, including dark versions. You may want to check these out and see if a different theme would work better with your dark mode. When you are totally finished, select OK.
Does LibreOffice allow me to download themes?
Some versions of LibreOffice once allowed you to download and use third-party themes. This feature has largely been removed in recent versions of LibreOffice, so it’s not really an option anymore. If you find any downloadable themes for LibreOffice online, they aren’t likely to work these days.
Not sure if LibreOffice is for you? Check out our LibreOffice vs. OpenOffice guide to learn more.
Editors’ Recommendations


