You may think of programming as typing code into an interpreter, text editor, or IDE. Enter Jupyter, a radically different way of programming that freely mixes text, code, and graphics into interactive documents. It’s powerful but also easy to use.
What Is Jupyter?
Jupyter is a “notebook interface” that lets you create “literate programs,” programs that mix code with explanatory text. Jupyter is an offshoot of the IPython project, which aims to create a better interactive mode for Python. While Jupyter incorporates IPython, it’s still available as a standalone program. Despite the name, Jupyter doesn’t support Python only. Python is one of the many language “kernels” you can use with it.
You may have heard that good programs should have comments that explain anything that might confuse other people reading your code, or yourself a few months after you touched a piece of code, but the notebook takes it to the next level. You can create documents explaining what you’re doing and mixing in graphics and code.
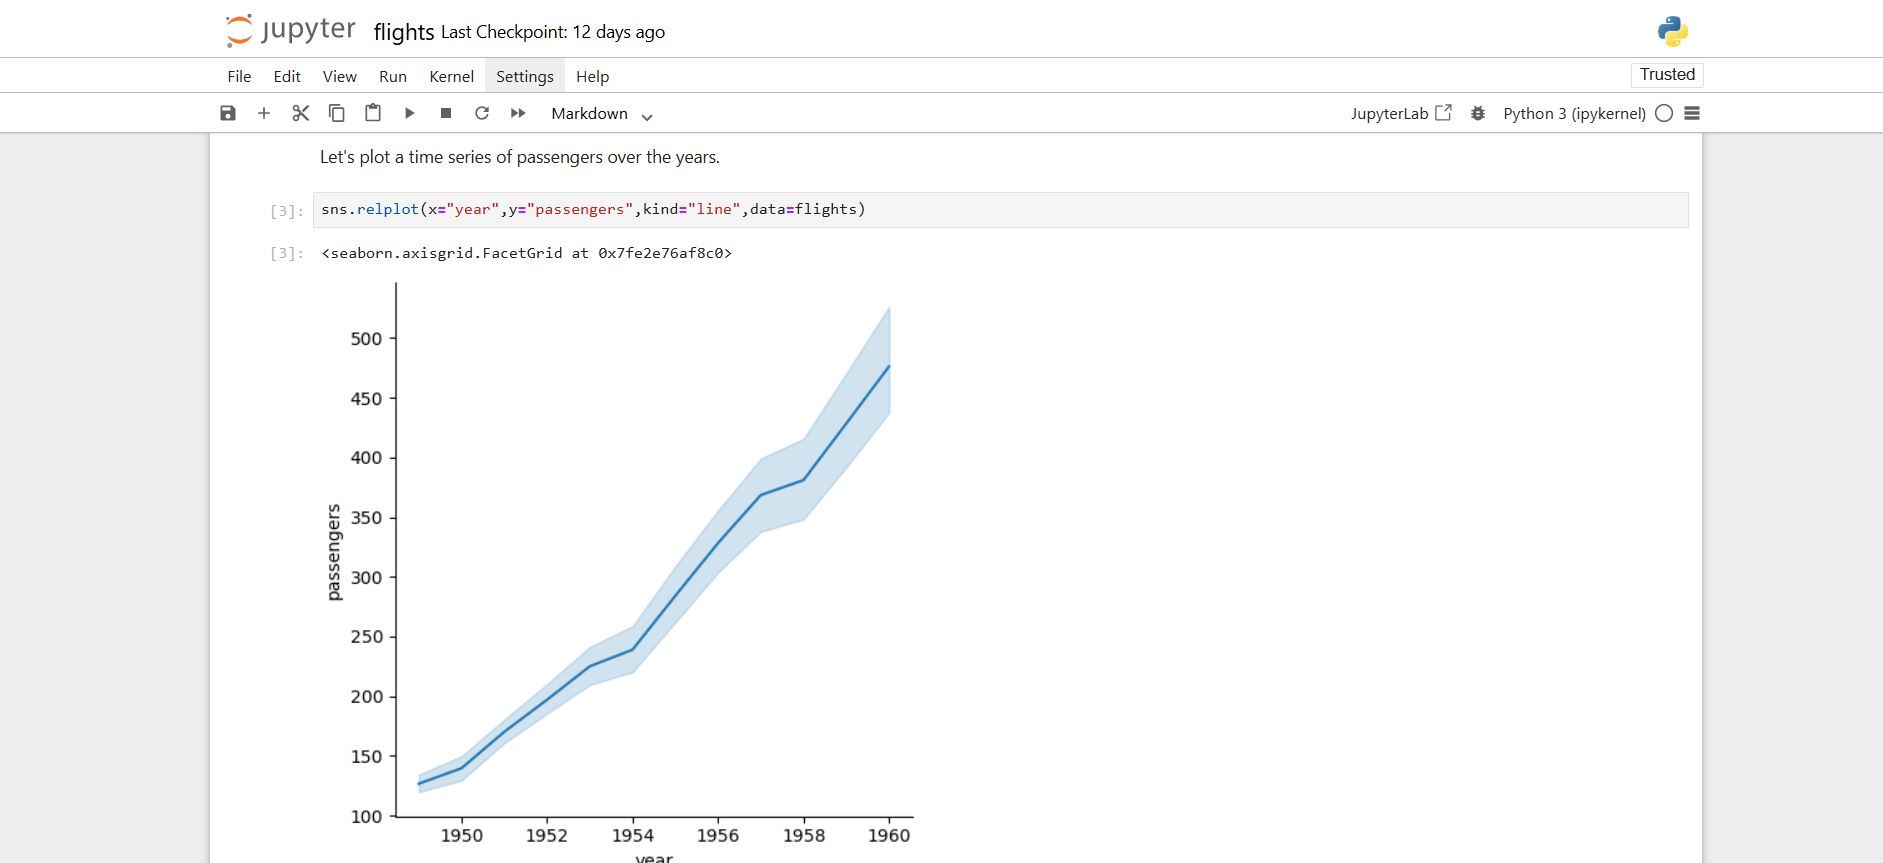
Below is an example I created in my spare time using Python and Seaborn to plot the trend line of a dataset of the number of airline passengers from the late 1950s to the early 1960s. It’s an example of the kinds of things you can do.
Jupyter is popular in scientific computing, especially in data analysis and data science, because it offers an easy way for researchers to share their results, but you don’t have to be a scientist to use it. You can use Jupyter for ordinary coding projects and have an easy way to show what you’re doing to other people. It’s a different style of programming revolving around interactive documents rather than just running code.
The advantage of using Jupyter instead of an ordinary interactive interpreter like Python’s is that Jupyter automatically saves a record of what you do. In fields like science and engineering, this is how you “show your work.”
Jupyter Notebook or JupyterLab?
Jupyter is available in two flavors: the standard Jupyter Notebook and JupyterLab. The latter is intended to be a fuller-featured version, similar to an IDE. The Jupyter project even deprecated the older Jupyter and put it into maintenance mode, but eventually pulled the original Jupyter out of mothballs and maintains both simultaneously due to its continuing popularity.
This article will look at the standard Jupyter Notebook interface because it’s easier to get started with than JupyterLab. The Jupyter developers still consider JupyterLab the future of the project, and you might want to check it out once you get comfortable with Jupyter to see if it’s for you.
Installing Jupyter
Installing Jupyter is easy.
The simplest way to install Jupyter is through pip:
pip install notebook
Another option is through Conda or Mamba, though these are more complex environments intended for data scientists and other advanced users. It’s also common in Linux distribution package managers, so check your repositories.
Starting Jupyter
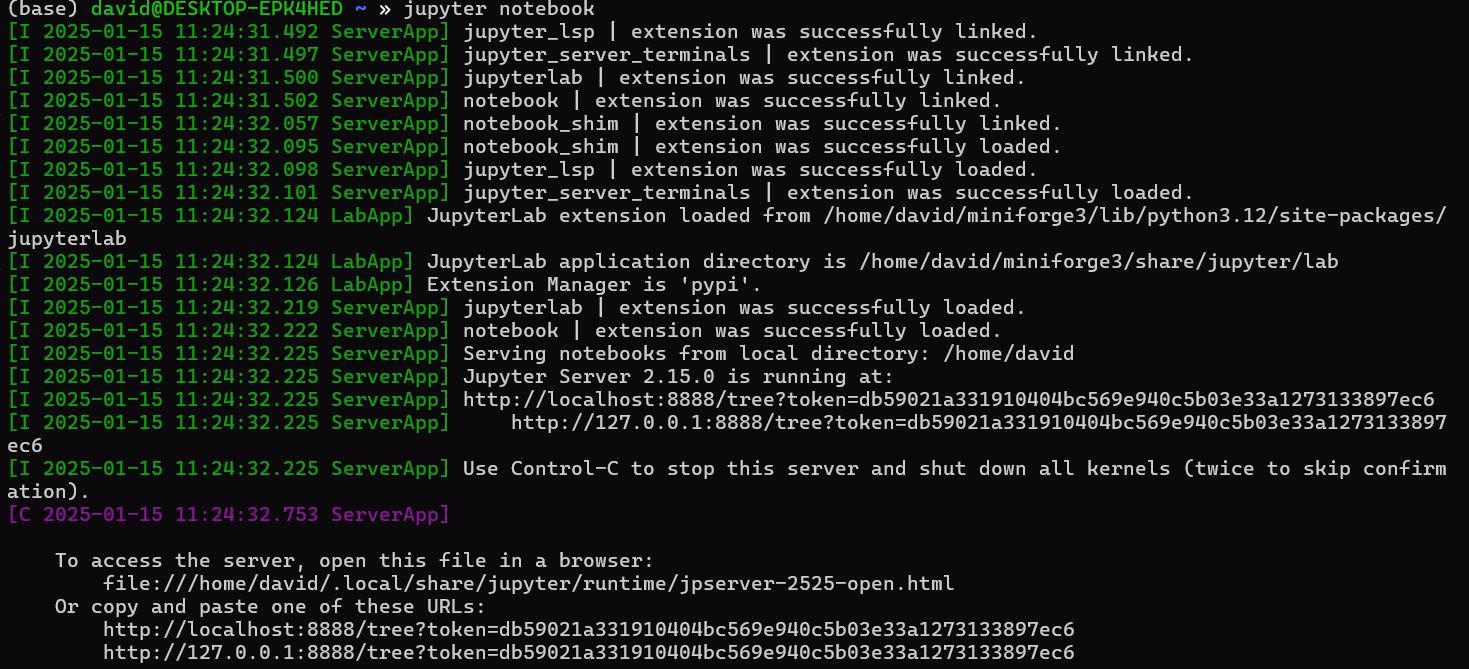
To start Jupyter at the Linux shell, type:
jupyter notebook
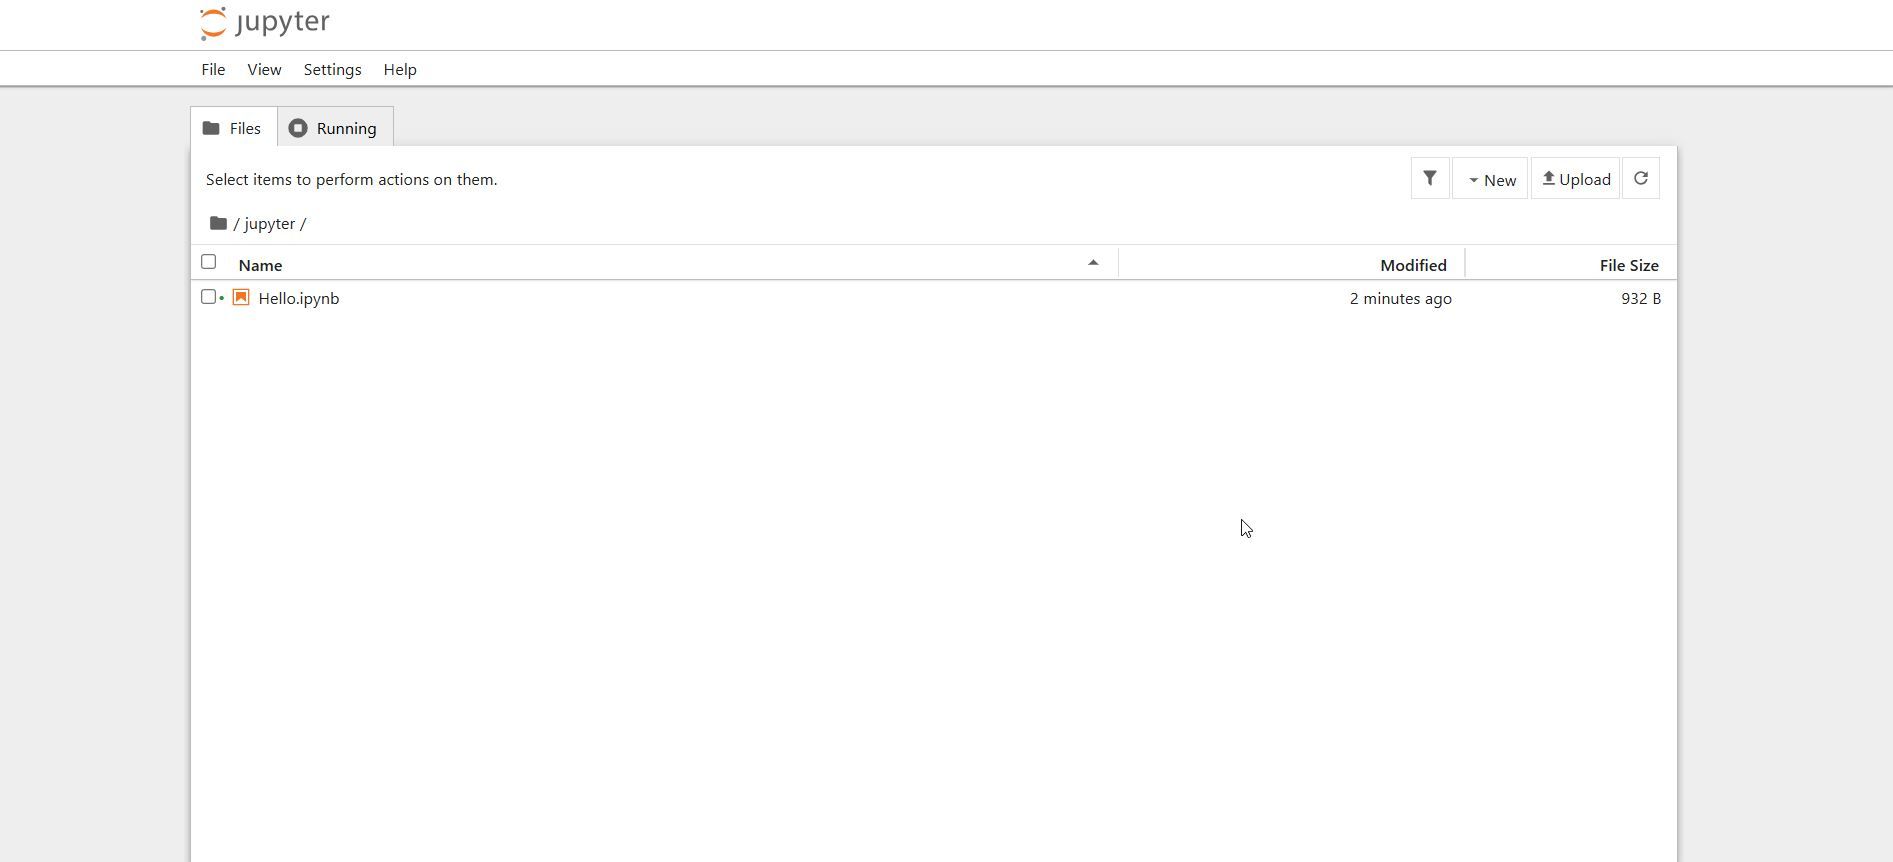
If it doesn’t open automatically, try opening your browser to localhost:8888. You’ll see a bunch of startup information and then a browser window will open up showing the Jupyter interface. You’ll start with a kind of browser-based file manager.
Creating a New Notebook
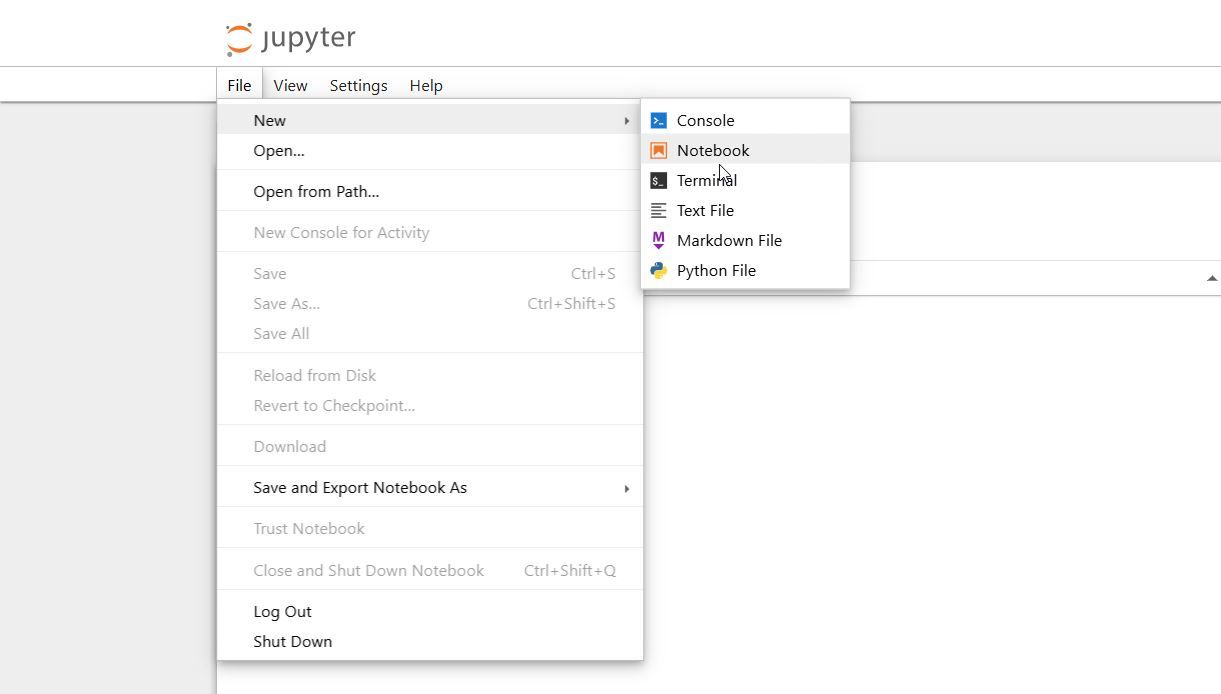
To create a new notebook, go to the File menu and click “New” and then select “Notebook.” A new tab will open up with the notebook. By default, it will be called “Untitled.” To rename it, click on the title. A window will pop up where you can change the name of the notebook. Click “Save” to rename it. Because this is a Python notebook, it has the extension .ipynb. When you start Jupyter, you can find your notebook in the directory you created it in.
You’ll be prompted for any of the installed kernels you want to run. We’ll use Python for this tutorial since it’s a popular and easy-to-understand language.
Running And Moving Cells
A notebook comprises cells that can contain either text or code. You can select which one the cell will be from the drop-down menu that says “Code” or “Markdown.” By default, cells will be code.
You can enter text in Markdown mode using the standard Markdown syntax. In a code cell, you’ll use whatever language kernel you’ve chosen.
To execute a cell, press Shift+Enter. For a Markdown cell, that will apply any Markdown formatting, while for a code cell, this will execute the code and give you the result. If the code executes successfully, it will return a value. Error messages are highlighted in red.
To change a cell after it’s executed, click on it. Press Shift+Enter again to re-execute it.
Let’s write a simple “Hello, world!” example to illustrate these principles. We should have a text cell explaining what this program does. We’ll create a Markdown cell with something like “This is a notebook that prints ‘Hello, world!'”
We’ll execute that and get a text cell.
Now let’s insert a code cell. Click the button on the right-hand sign that has a box over the plus sign to add a cell below this one.
You can also press B as a keyboard shortcut.
\Make sure it says “Code” from the drop-down menu and type this in the box:
print("Hello, world!")
You’ll notice that in code cells, Jupyter automatically highlights the syntax to help you make sure you’re entering the code correctly.
Press Shift+Enter again and you should see “Hello, world!” printed below the code cell. The button to the left of the “insert cell below” operation will do the same thing but insert a cell above the current cell.
You can move cells around. There are some icons on the right of each cell. They will move the cell up, move it down, create a new cell above or below the current one, or copy the current cell. The last one is helpful if you want to run the same operation but with different parameters, such as changing the value of a variable.
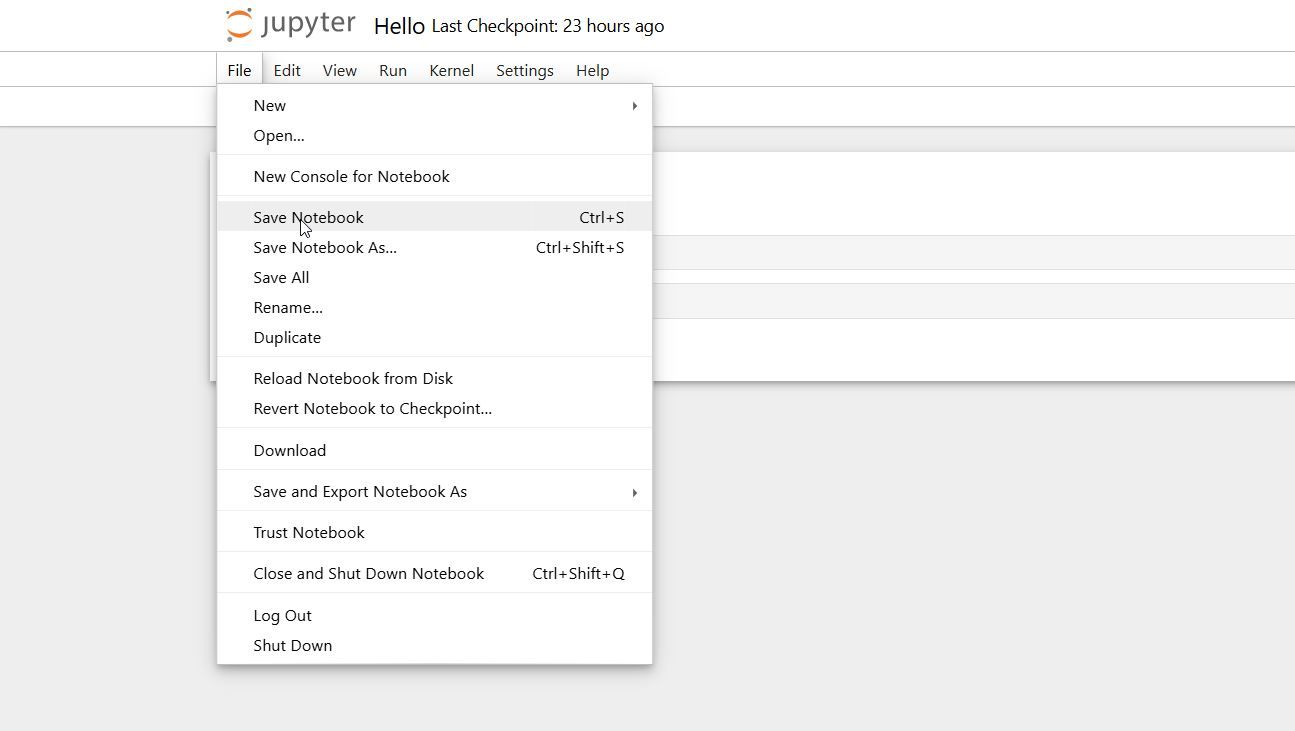
Jupyter will periodically save your notebook. You can click “Save Notebook” in the File menu or press Ctrl+S.
To quit the notebook, click “Shut Down” in the file menu. You’ll get a confirmation window. To shut down the Jupyter server completely, either click “Shut Down” from the file selection menu or press Ctrl+C in the terminal you started the Notebook from.
This should get you started exploring a powerful new way to program with Jupyter notebooks.


