

There are all sorts of reasons why you’d want to hide photos on your iPhone. Maybe you took an embarrassing photo of your sibling and need to keep it safe while having it at the ready to tease them about. Or, maybe you’re planning a gift for your significant other and don’t want them to find the evidence before they receive it. Whatever your reason, here’s how to hide photos in iOS 16.
In situations like these, the ability to hide photos on your phone becomes invaluable, especially if you have children or friends who use your device often. Here, we’ll detail how to hide your images on your iPhone or iPad — the methods are nearly identical.
Note that Apple’s changed how this used to work a little with the new iOS 16 release.
See more
How to hide your pictures with the Photos app
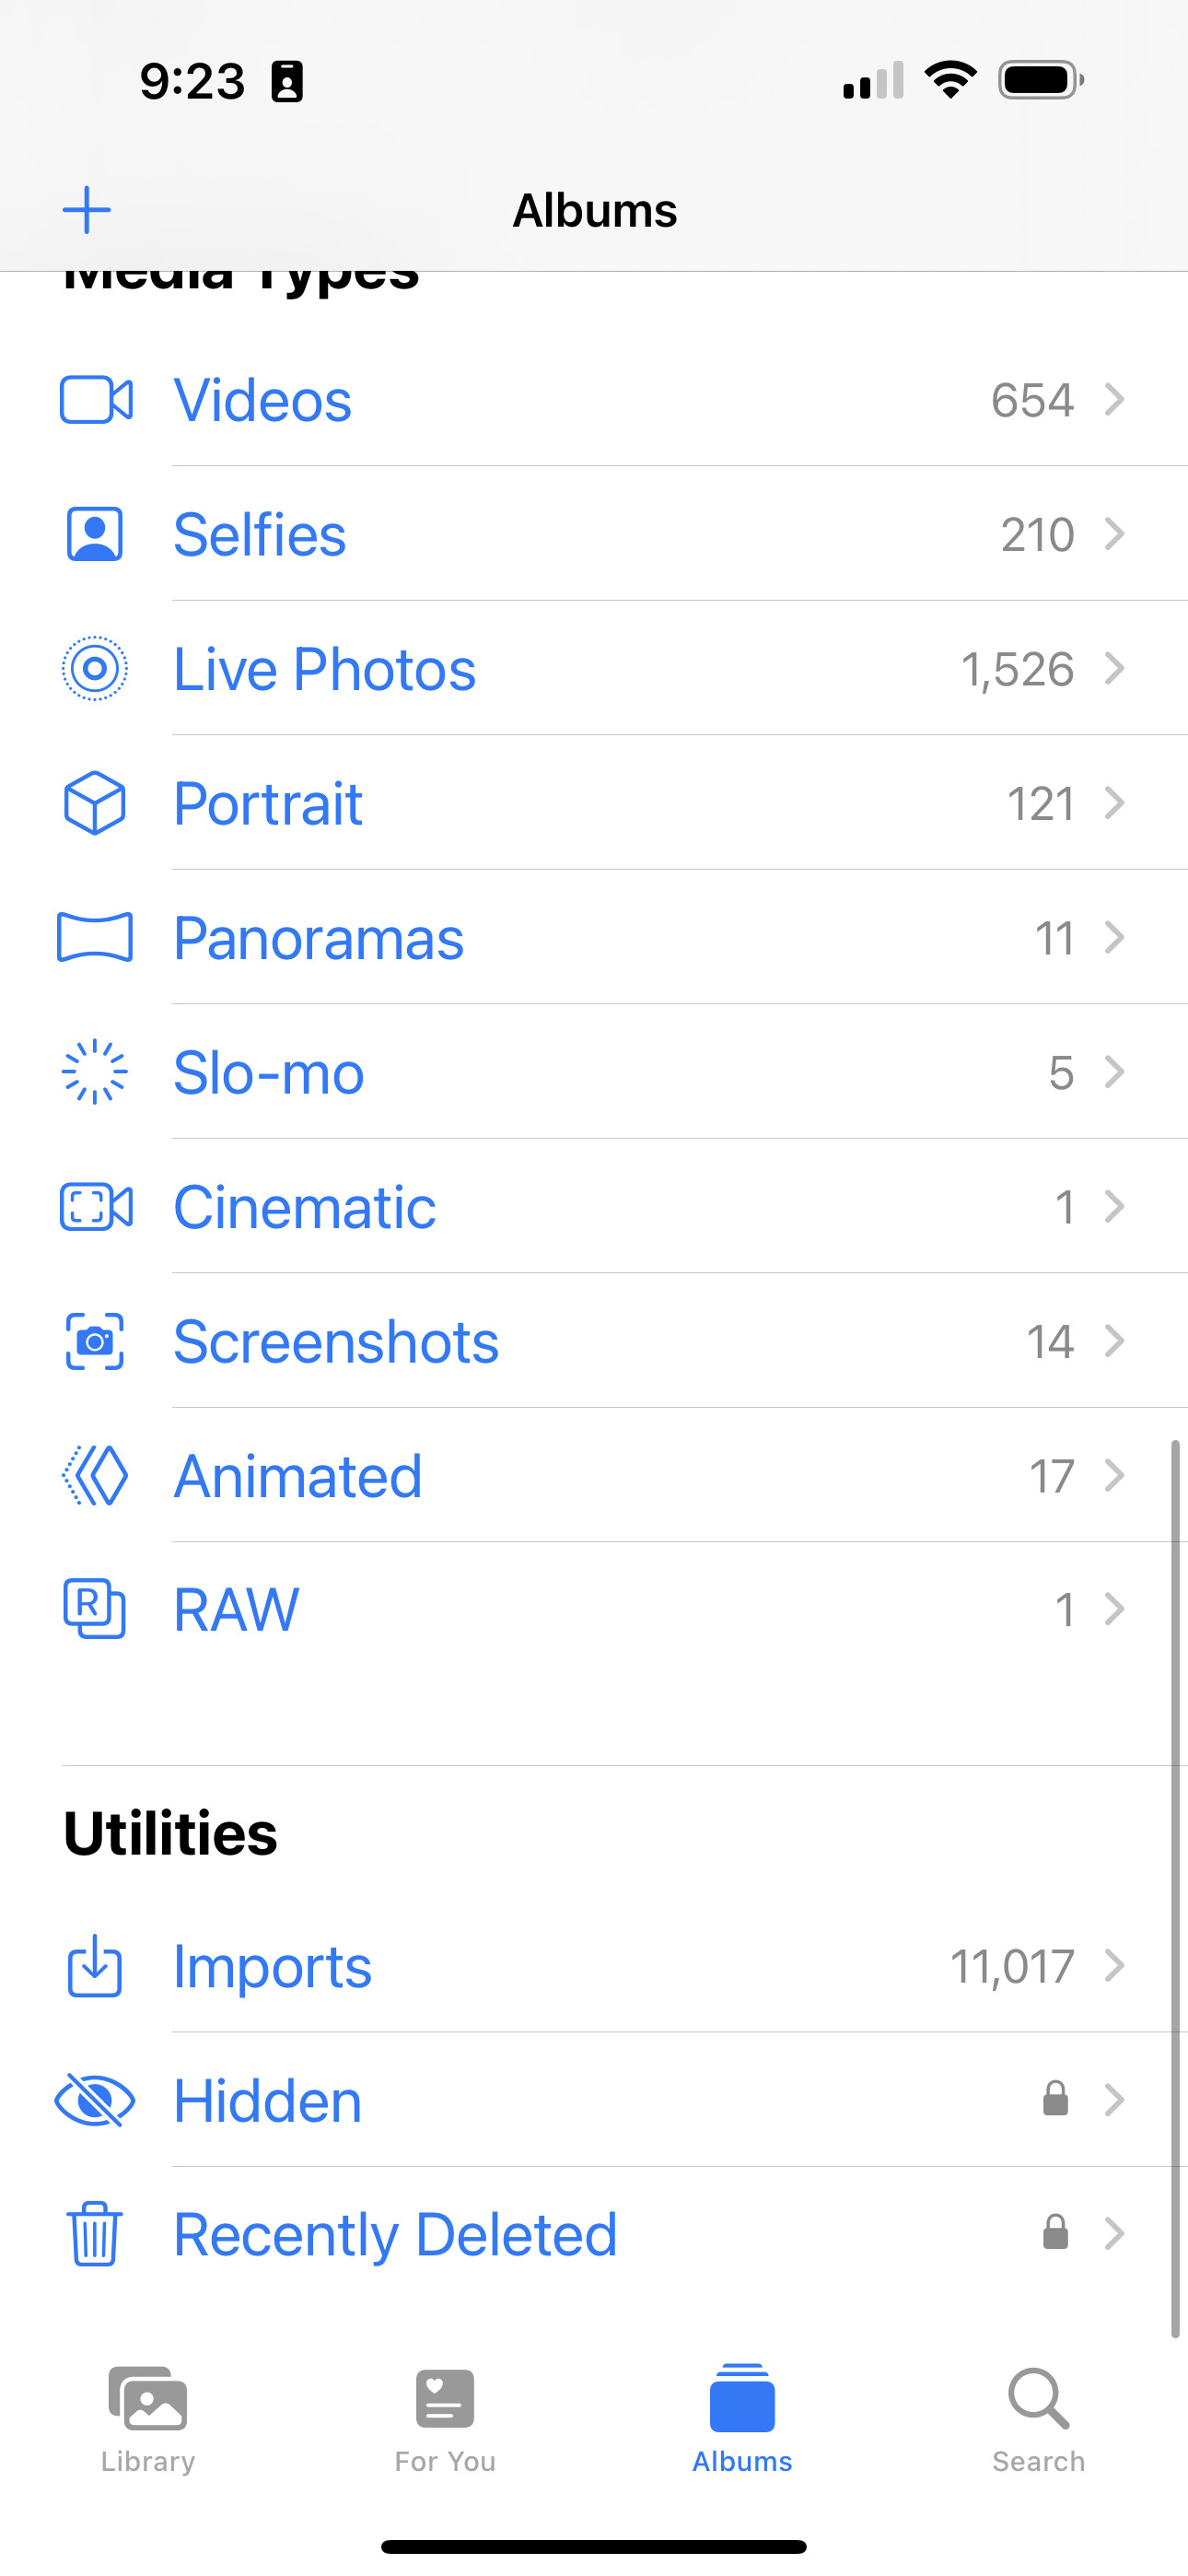
The quickest way to hide photos on your iPhone, iPad, or iPod Touch is to use the native Photos app. It essentially removes the selected images from all available views within the Photos app, but it doesn’t tuck them away in a locked vault. Anyone with access to your device can still tap the Hidden folder listed under Utilities in the Albums tab and see what you’re hiding. You can even access them on a Mac.
Step 1: Tap on the Home screen icon to open the Photos app, or use Spotlight search.
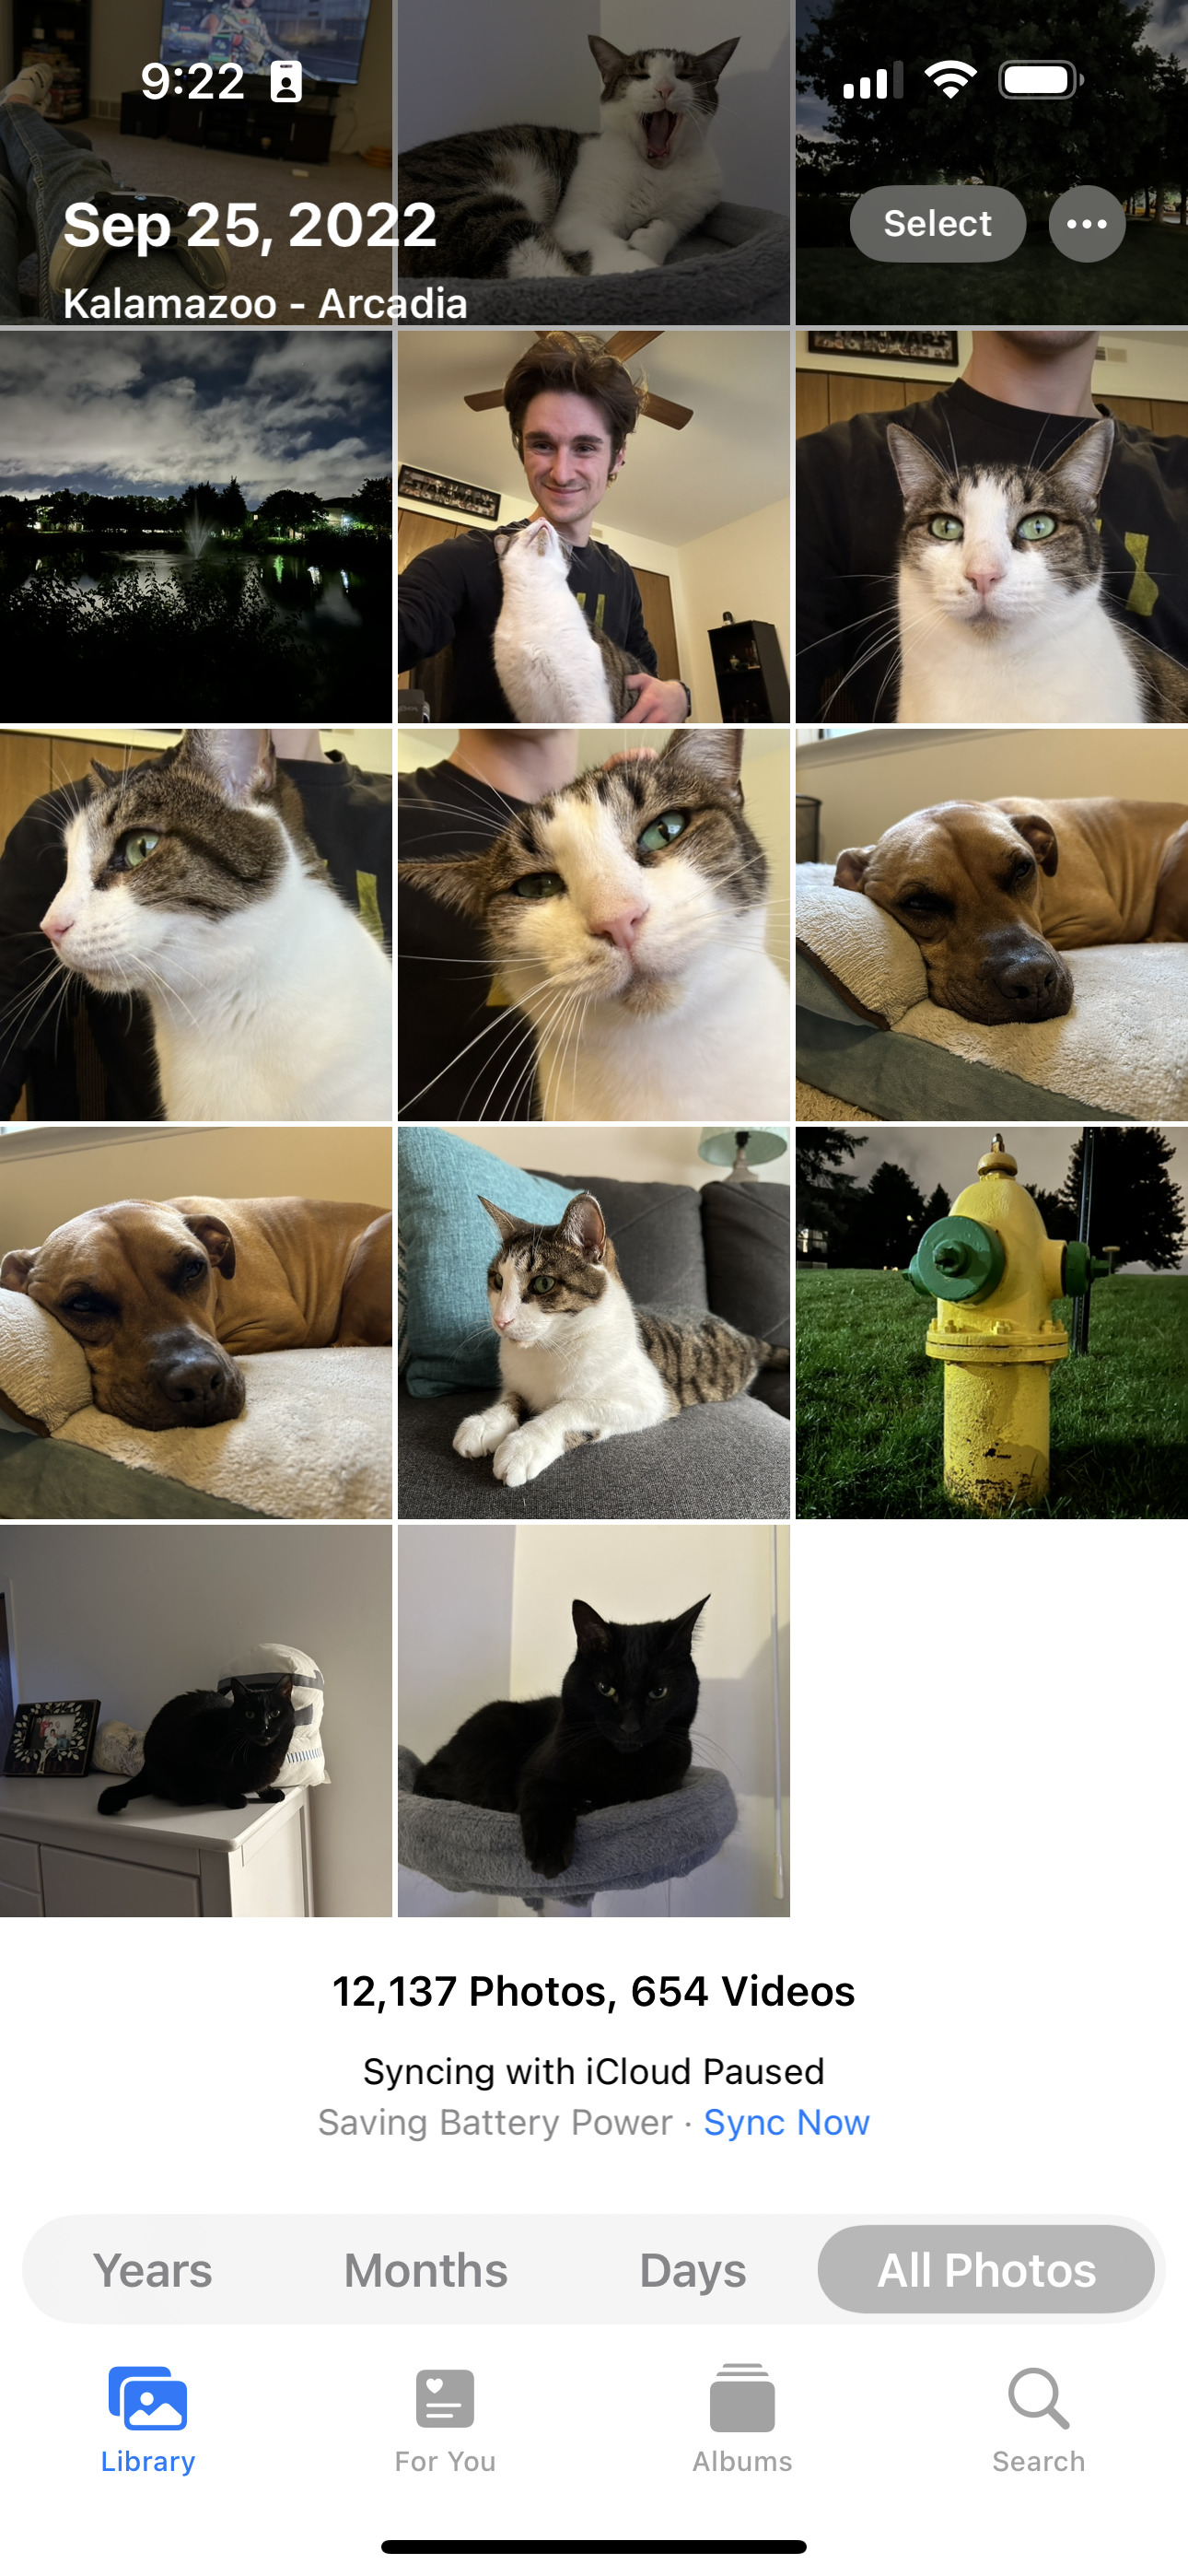
Step 2: Find the album that contains the photos you need to hide. If the app opens to Library by default, skip this step and search there directly.
Step 3: Tap the Select button located in the top-right corner to open up the multi-selection menu.
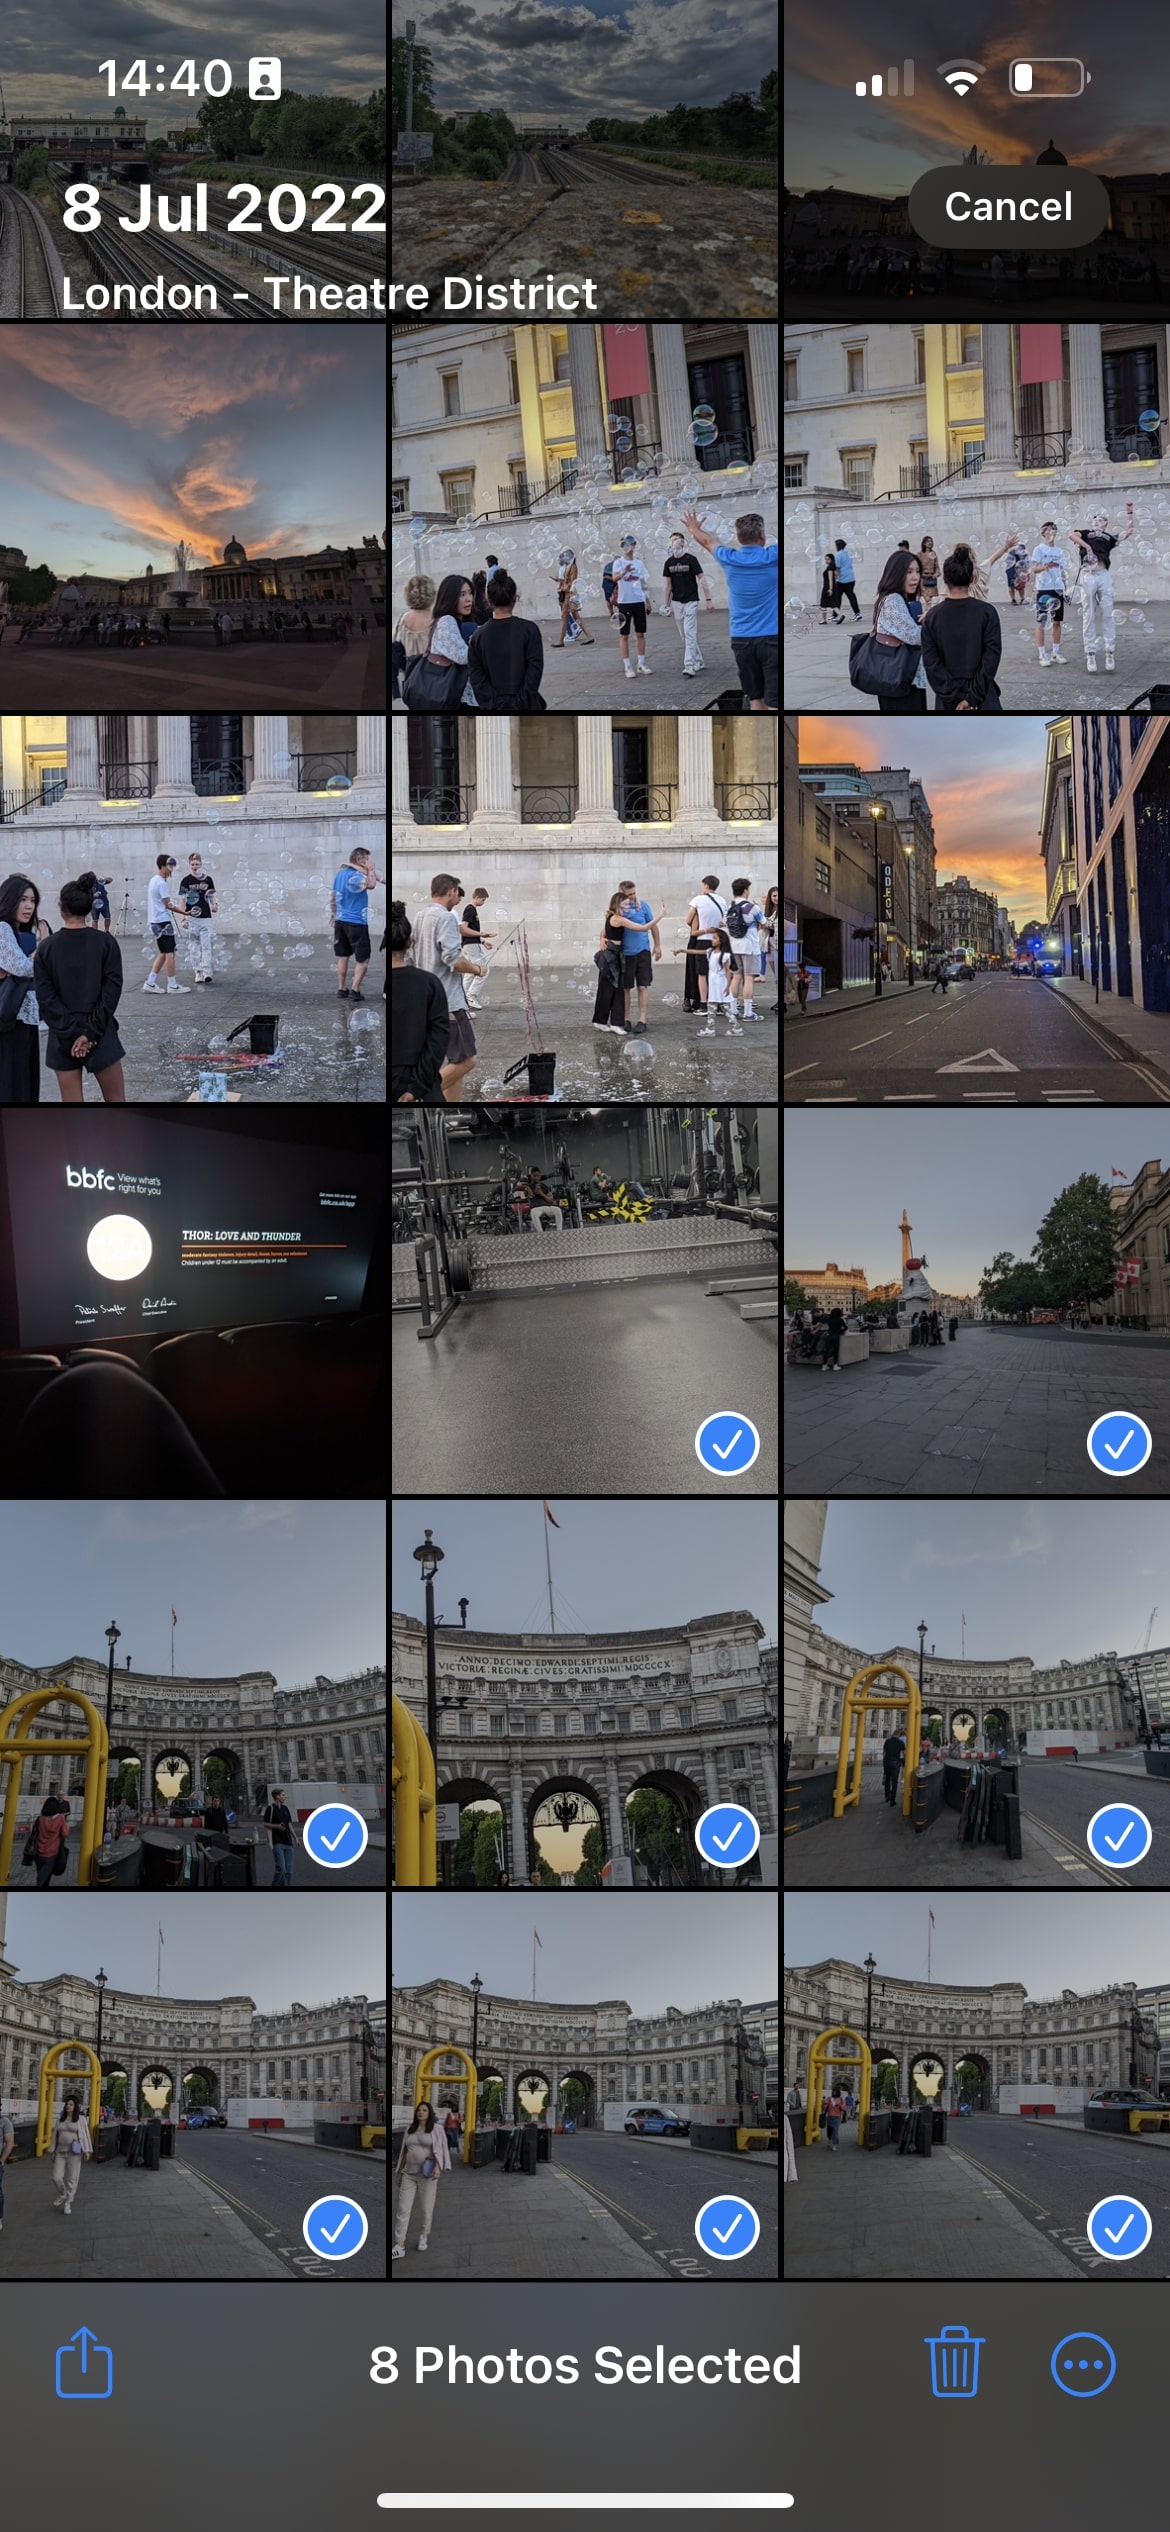
Step 4: Tap on every photo you’d like to hide.
Step 5: Tap the Overflow icon displayed in the bottom-right corner. It looks like (…).
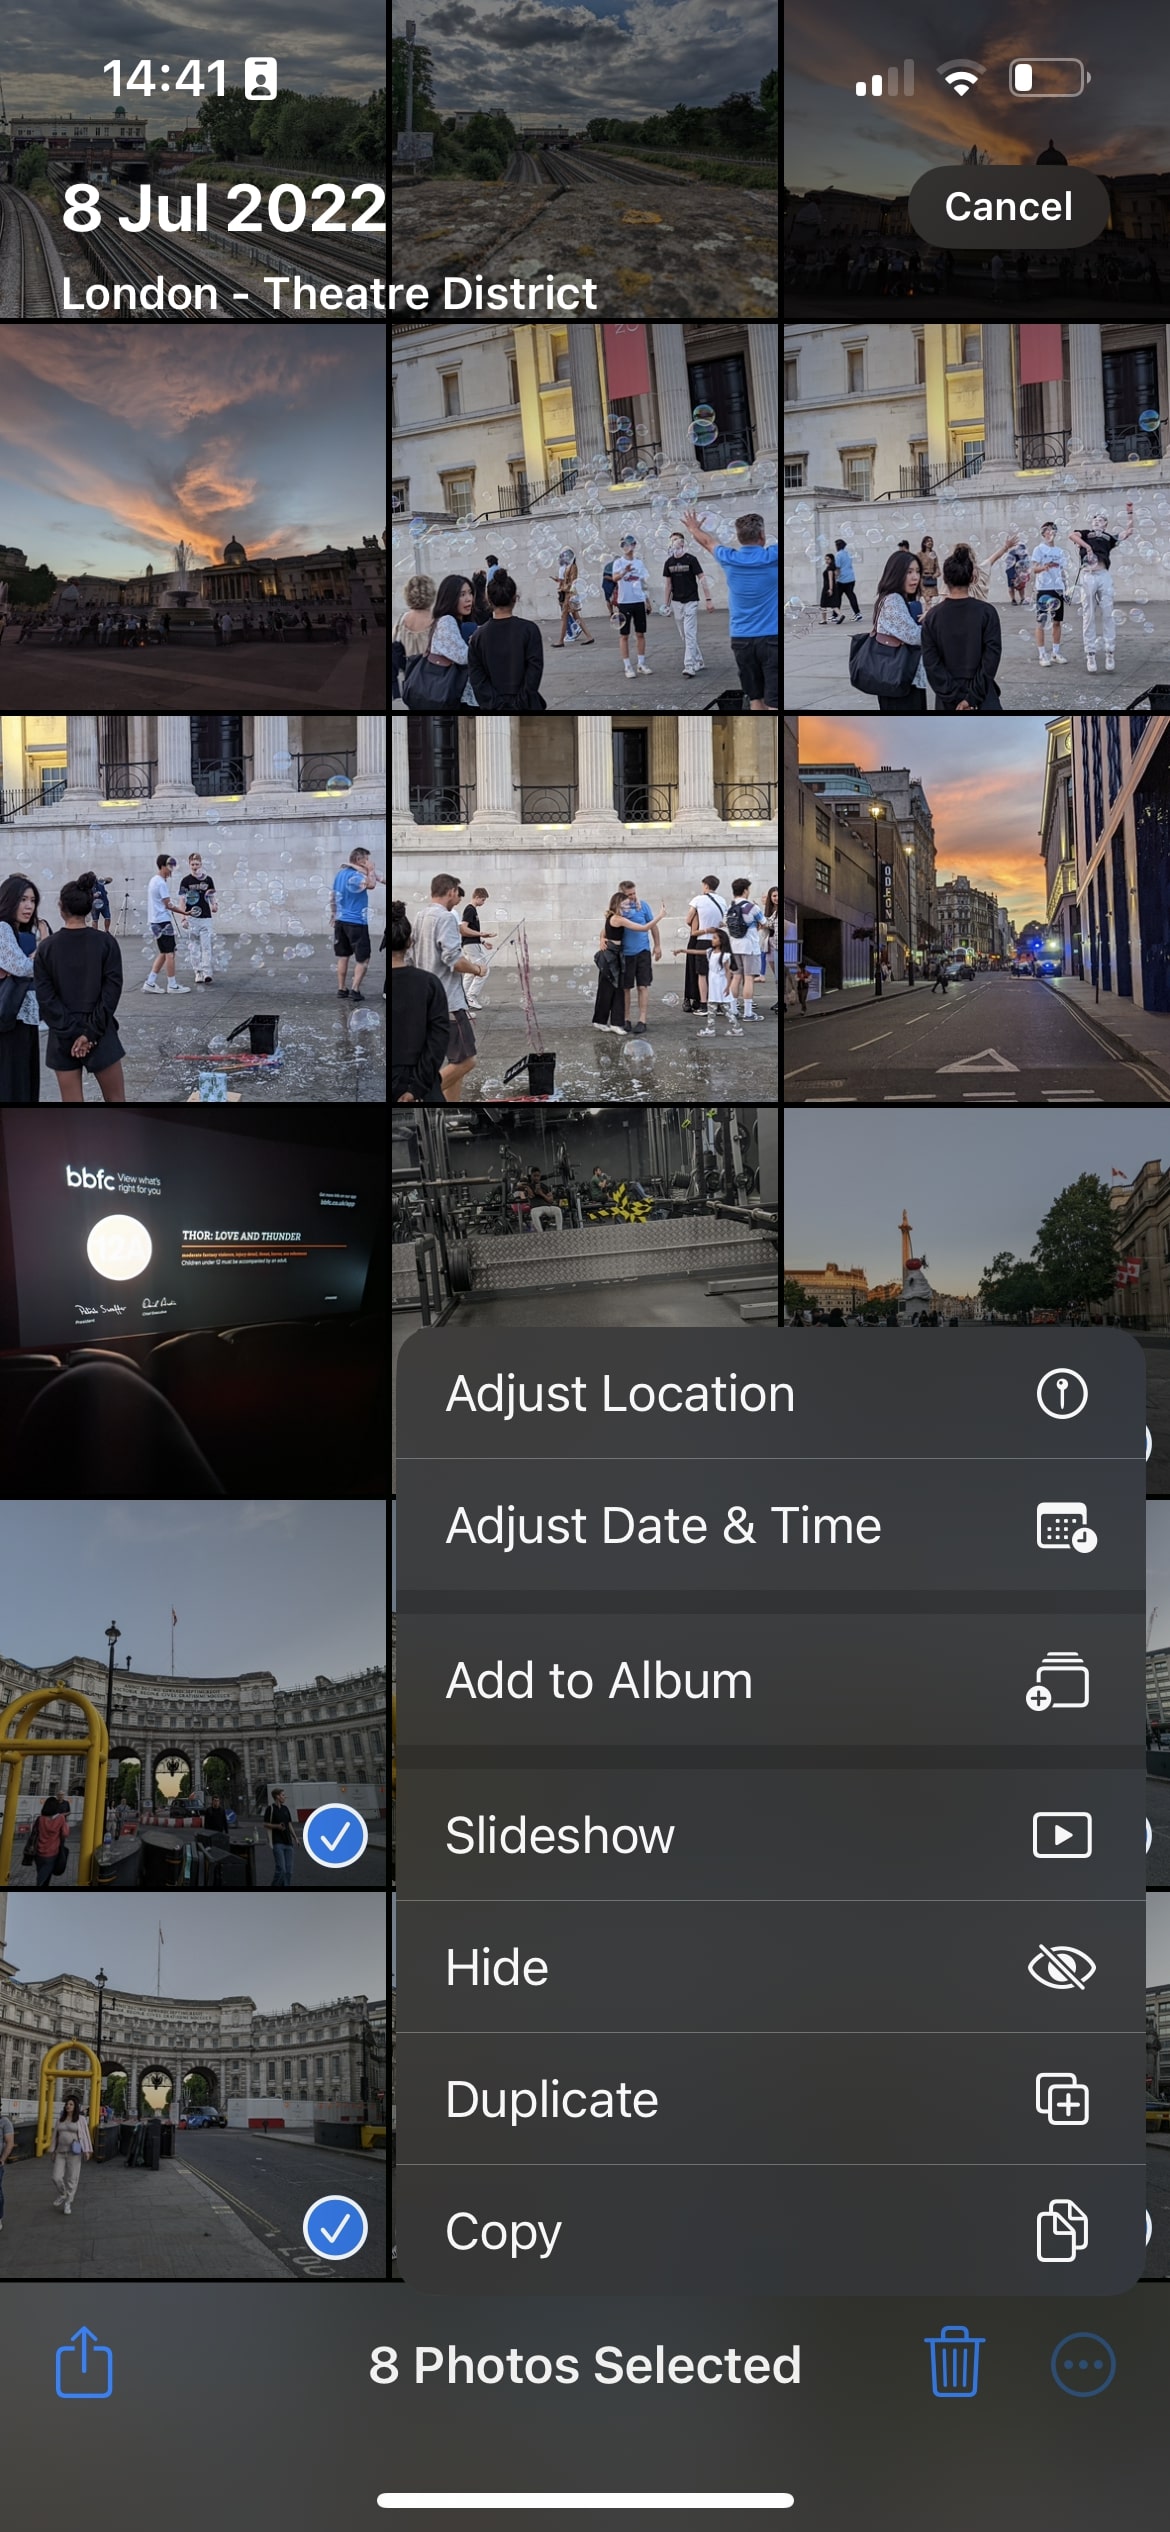
Step 6: The selected photos will now move to the Hidden album listed under Utilities on the Albums tab.
How to unhide or view hidden photos
Unhiding or viewing hidden photos is as easy as navigating into your album section and scrolling all the way down. We’ll show you how.
Step 1: Tap to open the Photos app.
Step 2: Tap the Albums tab listed at the bottom.
Step 3: Scroll down and tap the Hidden folder listed under Utilities. You’ll have a FaceID prompt at this point to enable access.
Step 4: Tap the Select button displayed in the top-right corner.
Step 5: Tap on every photo that you want to unhide.
Step 6: Tap the Overflow button located in the bottom-left corner. As before, it resembles an ellipsis enclosed by a circle.
Step 7: Tap the Unhide option on the pop-up menu. The photos will then move back to their original spots. Alternatively, you can tap Add to album to move them to a specific album.
Editors’ Recommendations


