

One of the first things I always do when getting a gaming handheld is install a reliable screen protector on the touchscreen.
This process is basically the same for all gaming handhelds, including ROG Ally, ROG Ally X, Legion Go, Legion Go S, Steam Deck, Nintendo Switch, MSI Claw 8 AI+, and more.
Here’s how to easily, correctly, and quickly install a screen protector on your handheld without problems.
Here’s what you need
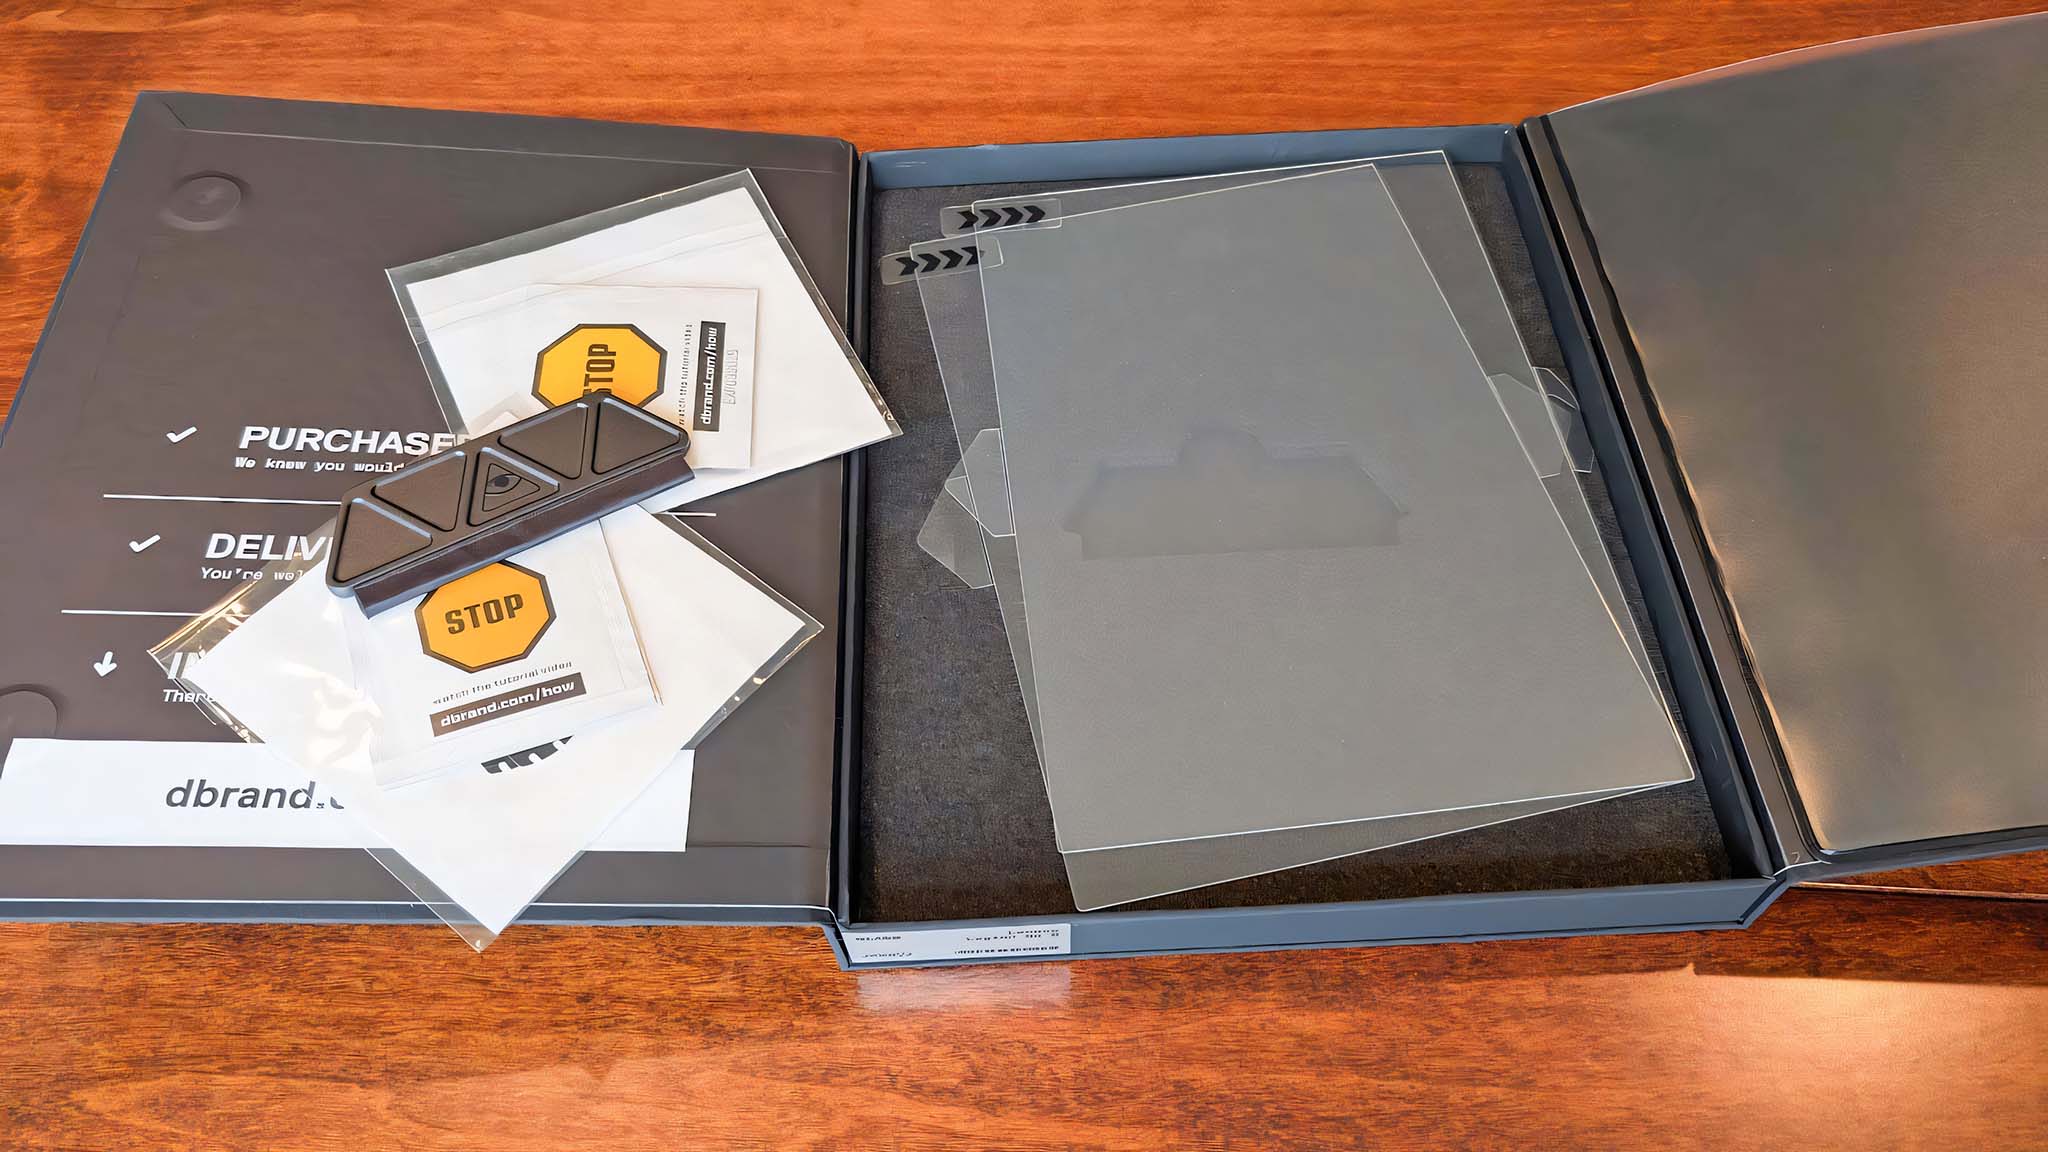
All you really need is a screen protector installation kit. Many of us at Windows Central have put dBrand screen protectors on our various devices, and we highly recommend them.
I even used a dBrand Legion Go S screen protector for this guide.
That said, you can also find various handheld screen protectors at Amazon if you want more options to choose from.
How to install a screen protector on your gaming handheld
PRO TIP: To prevent dust from getting stuck on your screen, I recommend installing the screen protector in a bathroom.
Run the shower for a few minutes until the room is humid and tamps down any dust. Then you can cleanly install the screen protector without dust flakes getting stuck on the adhesive.
- Clean off an area on a table or countertop where you will perform the installation.
- Place your handheld down on this clean area.
- Use the wipes and/or microfiber towel included in your screen protector kit to clean your handheld’s touchscreen until no marks remain.
- If there is any persistent dust that keeps landing on your screen, use the included stickers in the screen protector kit to dab dust off the glass. If your kit didn’t come with stickers, you can use Scotch tape wrapped around your fingers.
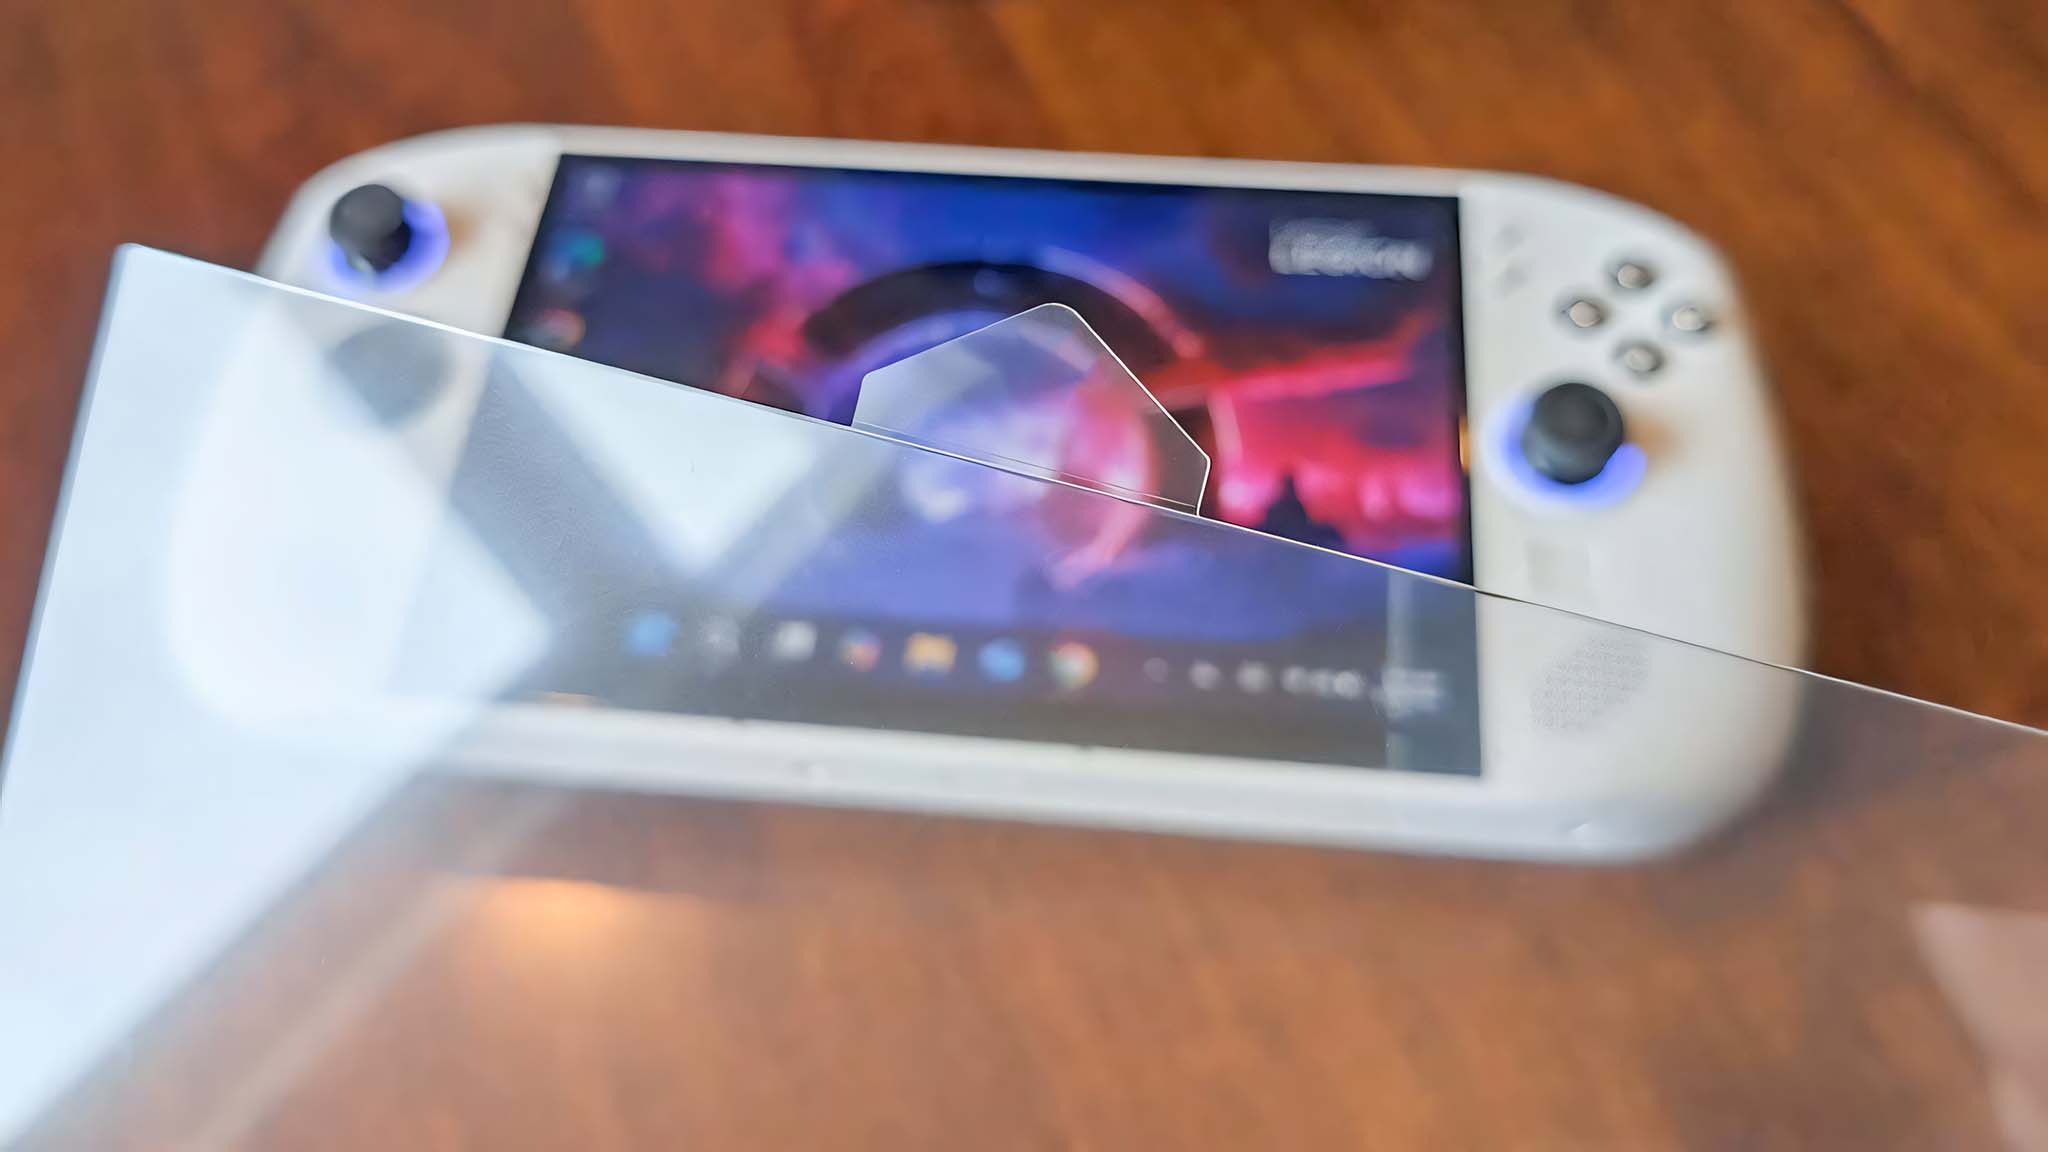
- Make sure your touchscreen is clean and then peel off the sticky side of your screen protector.
- Carefully place the screen protector in position and try not to get any fingerprints on the adhesive side. To help with this, the dBrand Legion Go S screen protector has plastic tabs on either side to help get the glass perfectly in position.
- Peel the outer layer of the screen protector plastic off to reveal the actual glass.
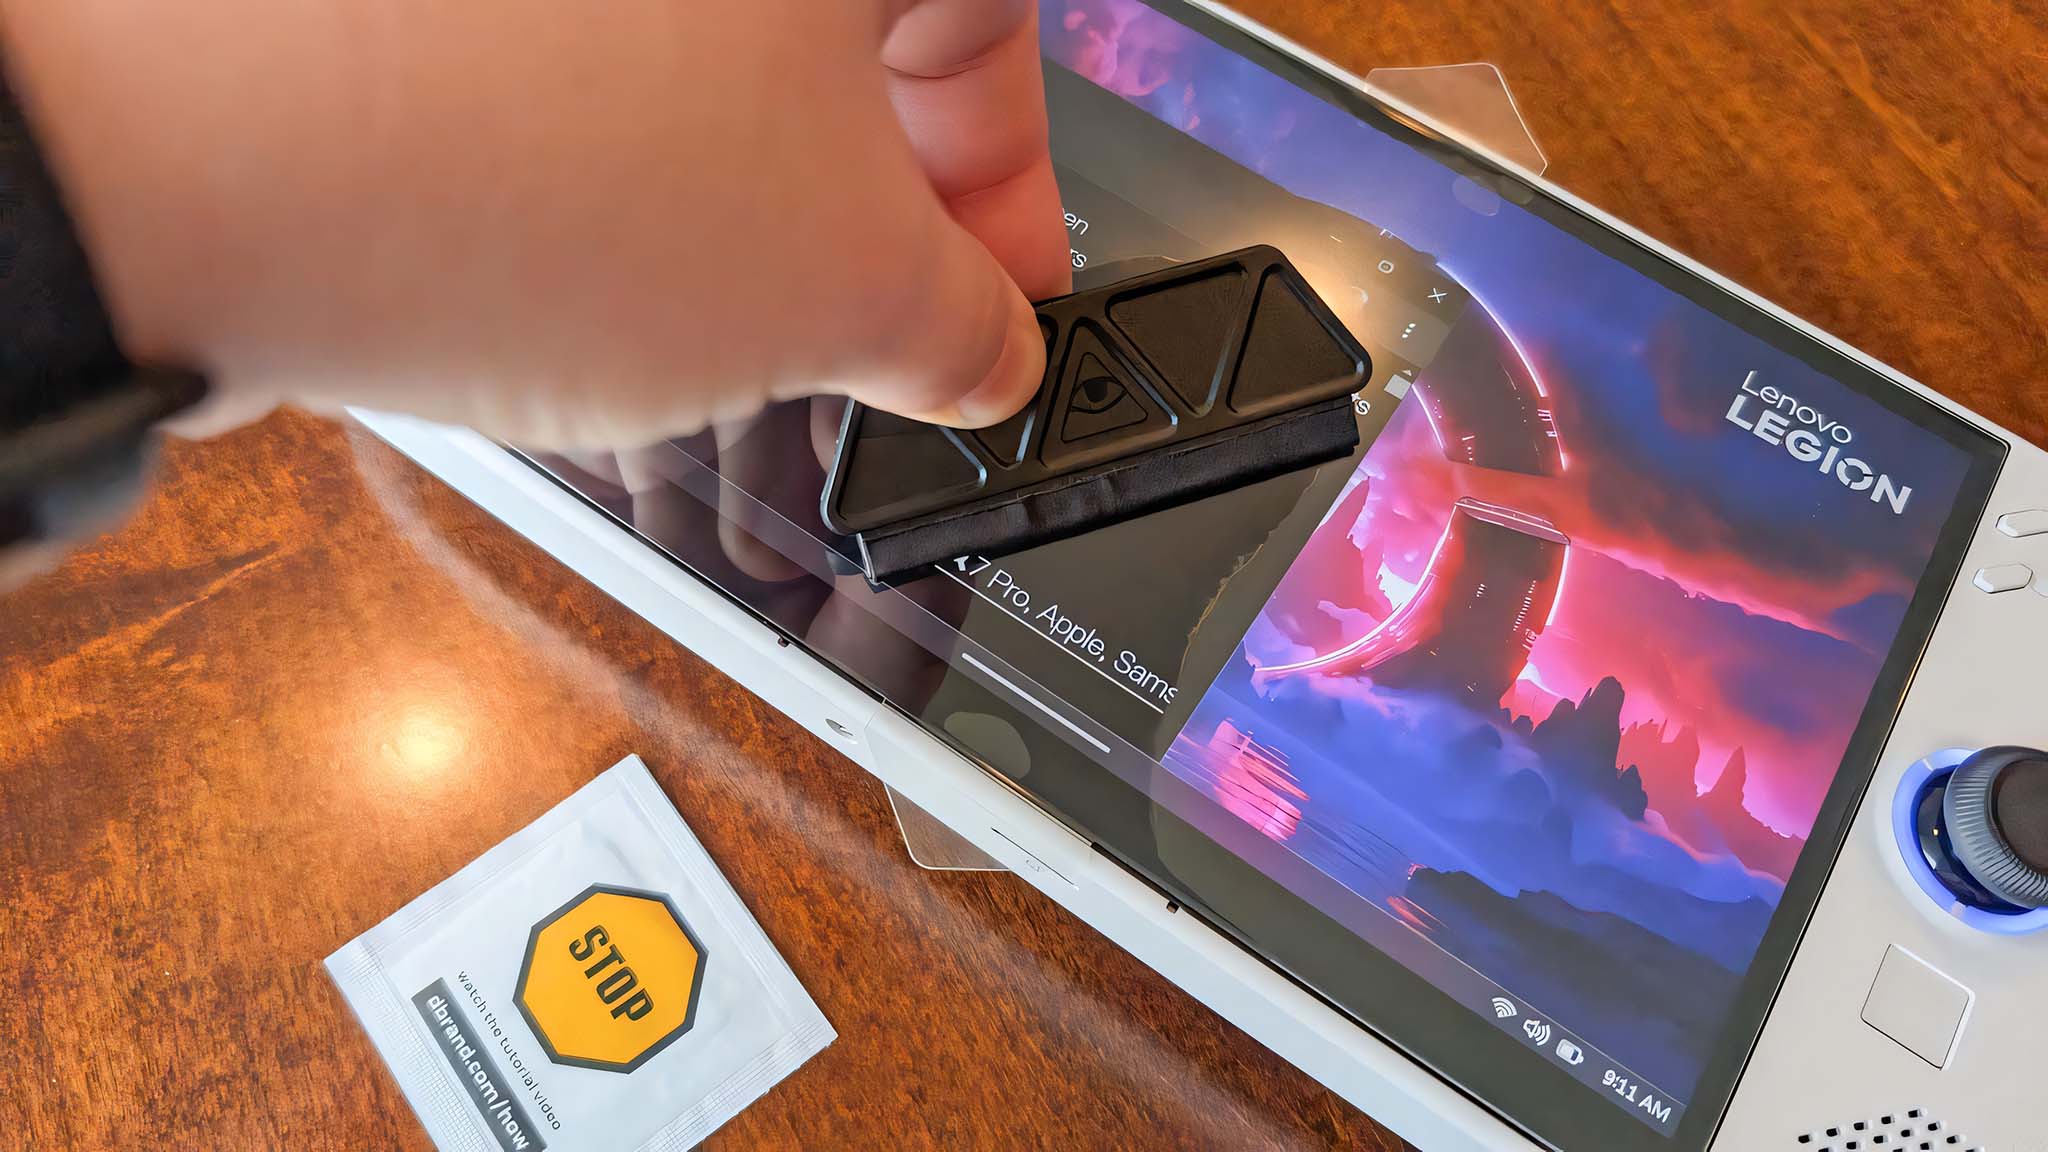
- Press the included squigi tool (if there is one in your kit) against the glass and guide any bubbles out from under it. You can also use a credit card with tissue or soft cloth wrapped around it.
If you accidentally mess up, you can try to reposition the glass, or you might have to use another sheet from the pack.
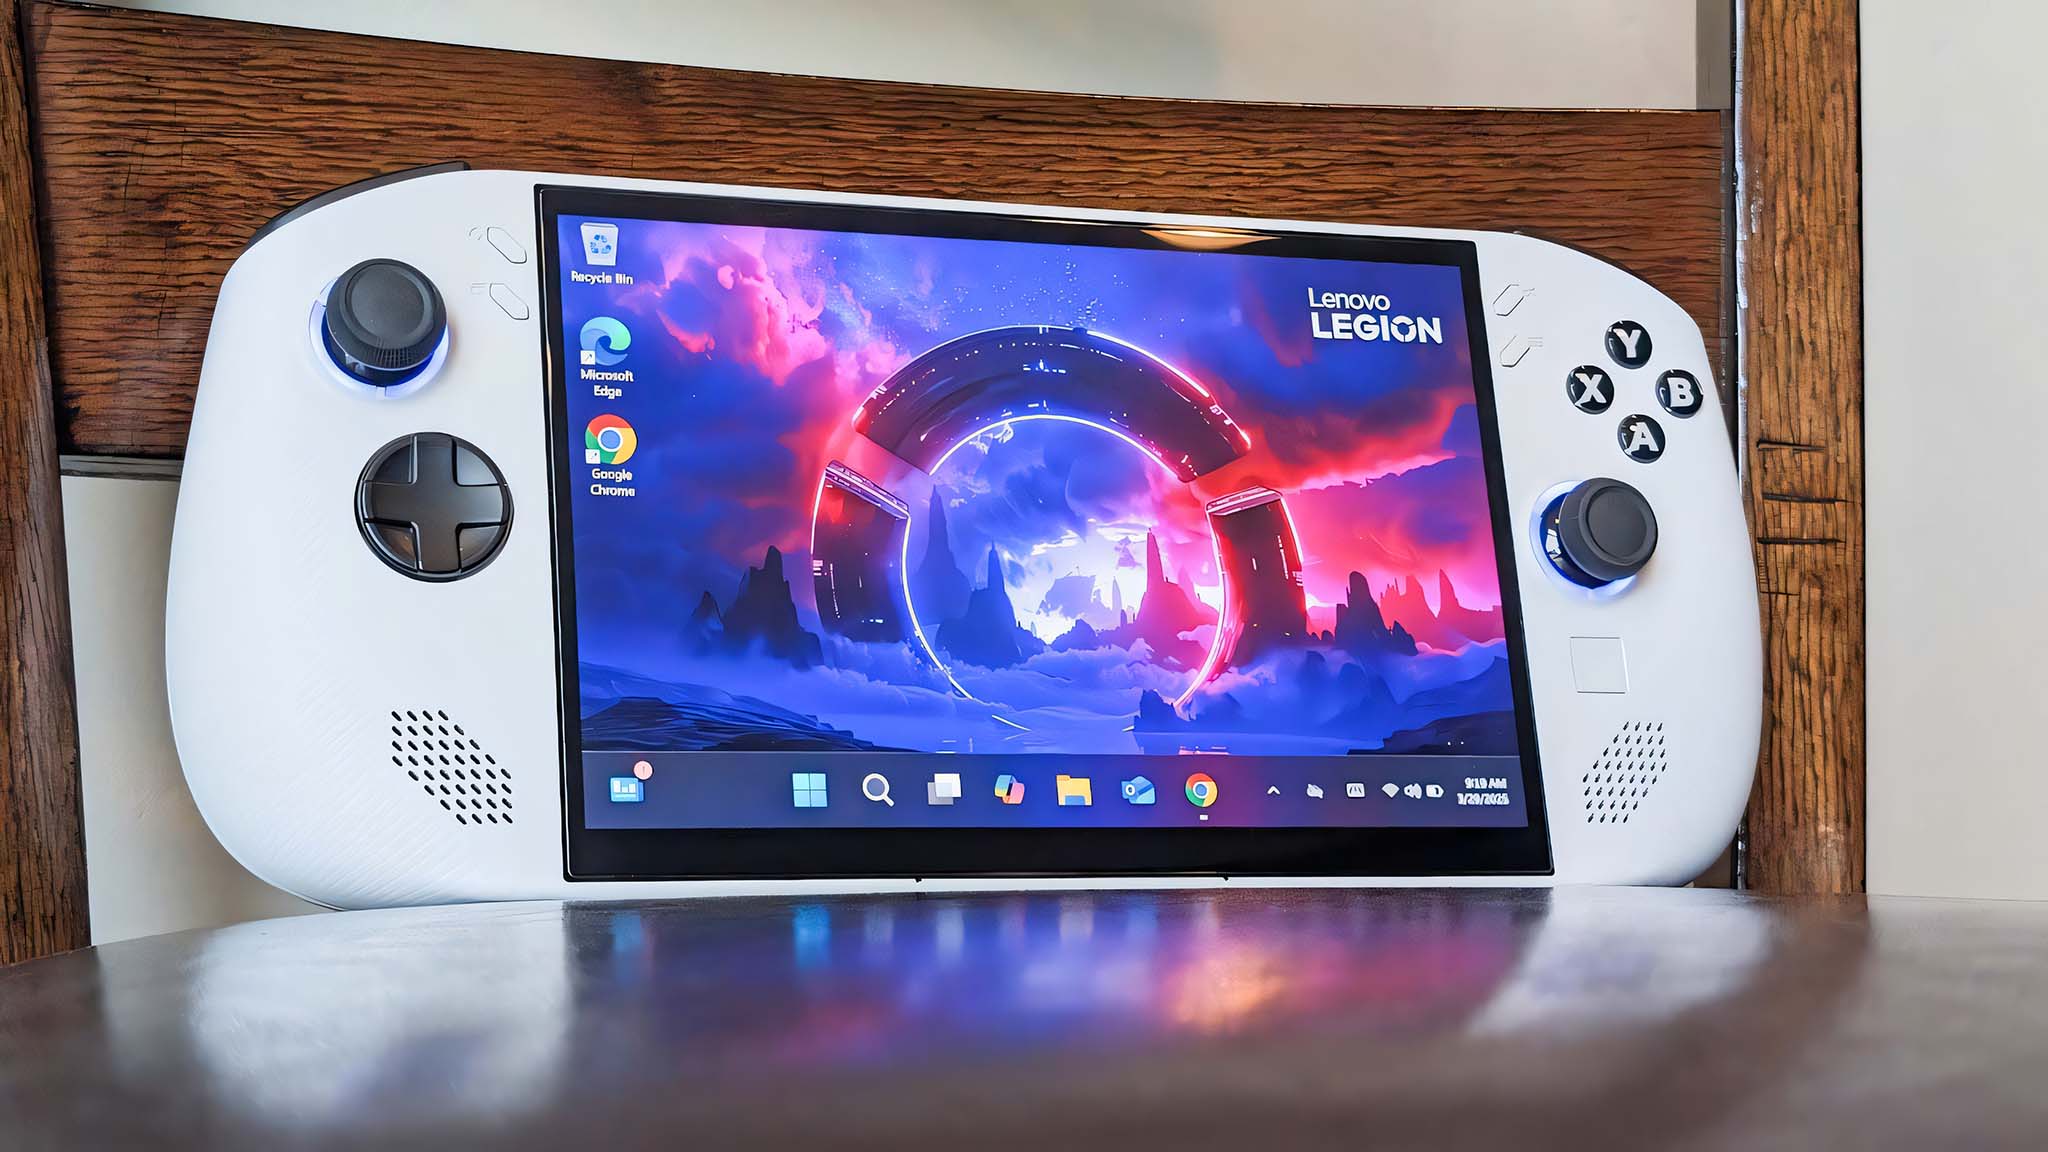
Now that you’re done installing the screen protector, you’re ready to use your handheld to play your favorite games.
Make sure to store any unused screen protectors somewhere you’ll remember. If something happens and the screen protector gets damaged, you can peel it off and install another one.
Protect that expensive handheld touchscreen
Gaming handhelds are fantastic, but they can easily get scuffed up and damaged over time. That’s why I always install a glass screen protector on any handheld I own.
If you want a really nice screen protector kit, I recommend buying from dBrand. It’s a bit more expensive, but the glass quality is really nice and you’ll get everything you need in the box.
What’s more, I love the plastic tabs on either side of the dBrand screen protectors that make it easier than usual to position the glass in just the right spot over my handheld touchscreen.


