Microsoft dropped plenty of jaws when it launched the Windows Subsystem for Linux, a way to run actual Linux inside Windows without the need to set up a virtual machine. The project has seen a ton of support, and WSL2 is the latest and greatest.
It takes things a little further and adds yet more awesomeness to the Linux experience on Windows 10 and Windows 11. Now, with the release of version 1.0, it has never been easier to set up WSL2 on your Windows machine, with GUI apps now even supported on Windows 10, too.
Simplified setup of WSL2 on Windows 10 and Windows 11
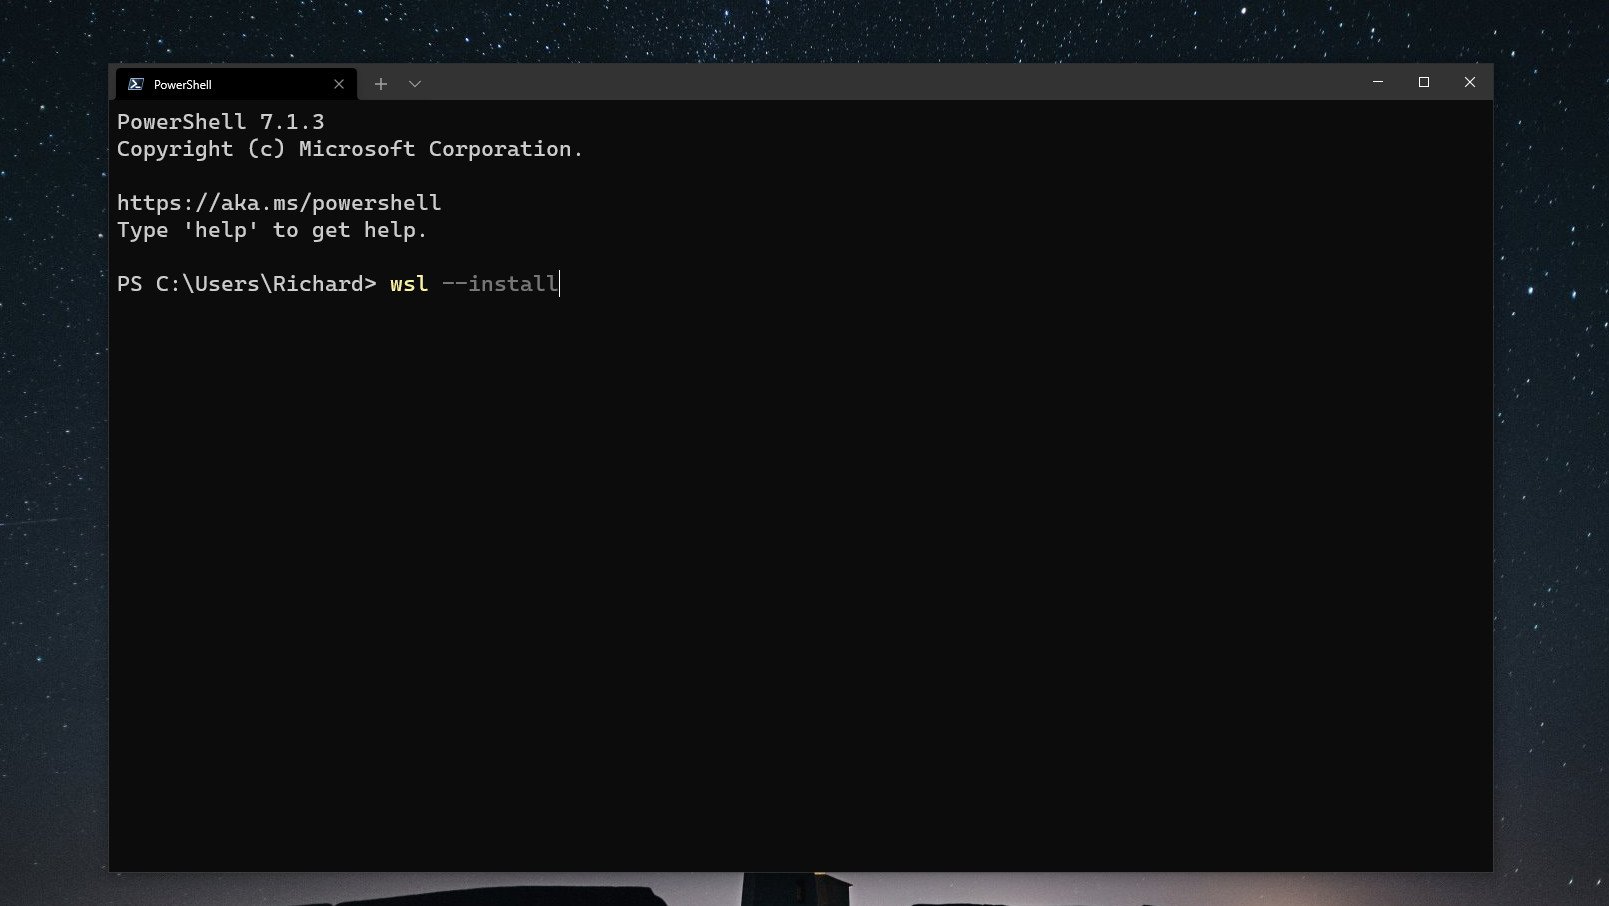
There is now a new, extremely simplified way to get WSL2 up and running on your Windows 10 and Windows 11 PC. To get the very latest version you need to be running Windows 10 version 21H1, 21H2, or 22H2, or on Windows 11 21H2 with all of the November updates applied.
Once this is in place, open up PowerShell and enter this command:
wsl --installThat’s it. The setup process will begin and you can relax until it’s finished. By default, WSL will enable all system features required and it will download and install Ubuntu. If you don’t want a distribution installed during setup you can add the — no-distribution tag to the installation command.
WSL is now distributed through the Microsoft Store and the simplified installation process will pull this version in. Alternatively, you can download it directly from its Microsoft Store listing (opens in new tab).
You will also require the optional Windows Subsystem for Linux component if you wish to also use WSL 1 alongside WSL 2.
How to enable Windows Subsystem for Linux optional component for WSL 1
WSL2 is now the standard, but if for any reason you also want to use WSL1 alongside it, you’ll need the optional Windows Subsystem for Linux component enabling. Fortunately, you can do this in two ways. The first is by adding –enable-wsl1 to the install command used above.
But you can also enable the component at any time, even after you already have WSL2 up and running. Open PowerShell as administrator and enter this command:
dism.exe /online /enable-feature /featurename:Microsoft-Windows-Subsystem-Linux /all /norestartEventually, you will need to reboot your PC, adding norestart means you won’t be immediately kicked out of whatever you’re doing. If you want to reboot immediately, simply omit this from the end of the command.
Setting WSL2 for your Linux distros
The good thing about WSL2 is that it doesn’t replace WSL1. It just runs alongside it. This means you can run Linux installs with a combination of different versions. You’re able to set either as default as well as setting a version specifically to each Linux distro you have on your PC.
Let’s break down some of the key commands to use in PowerShell that you’ll need to know.
Setting WSL2 as default
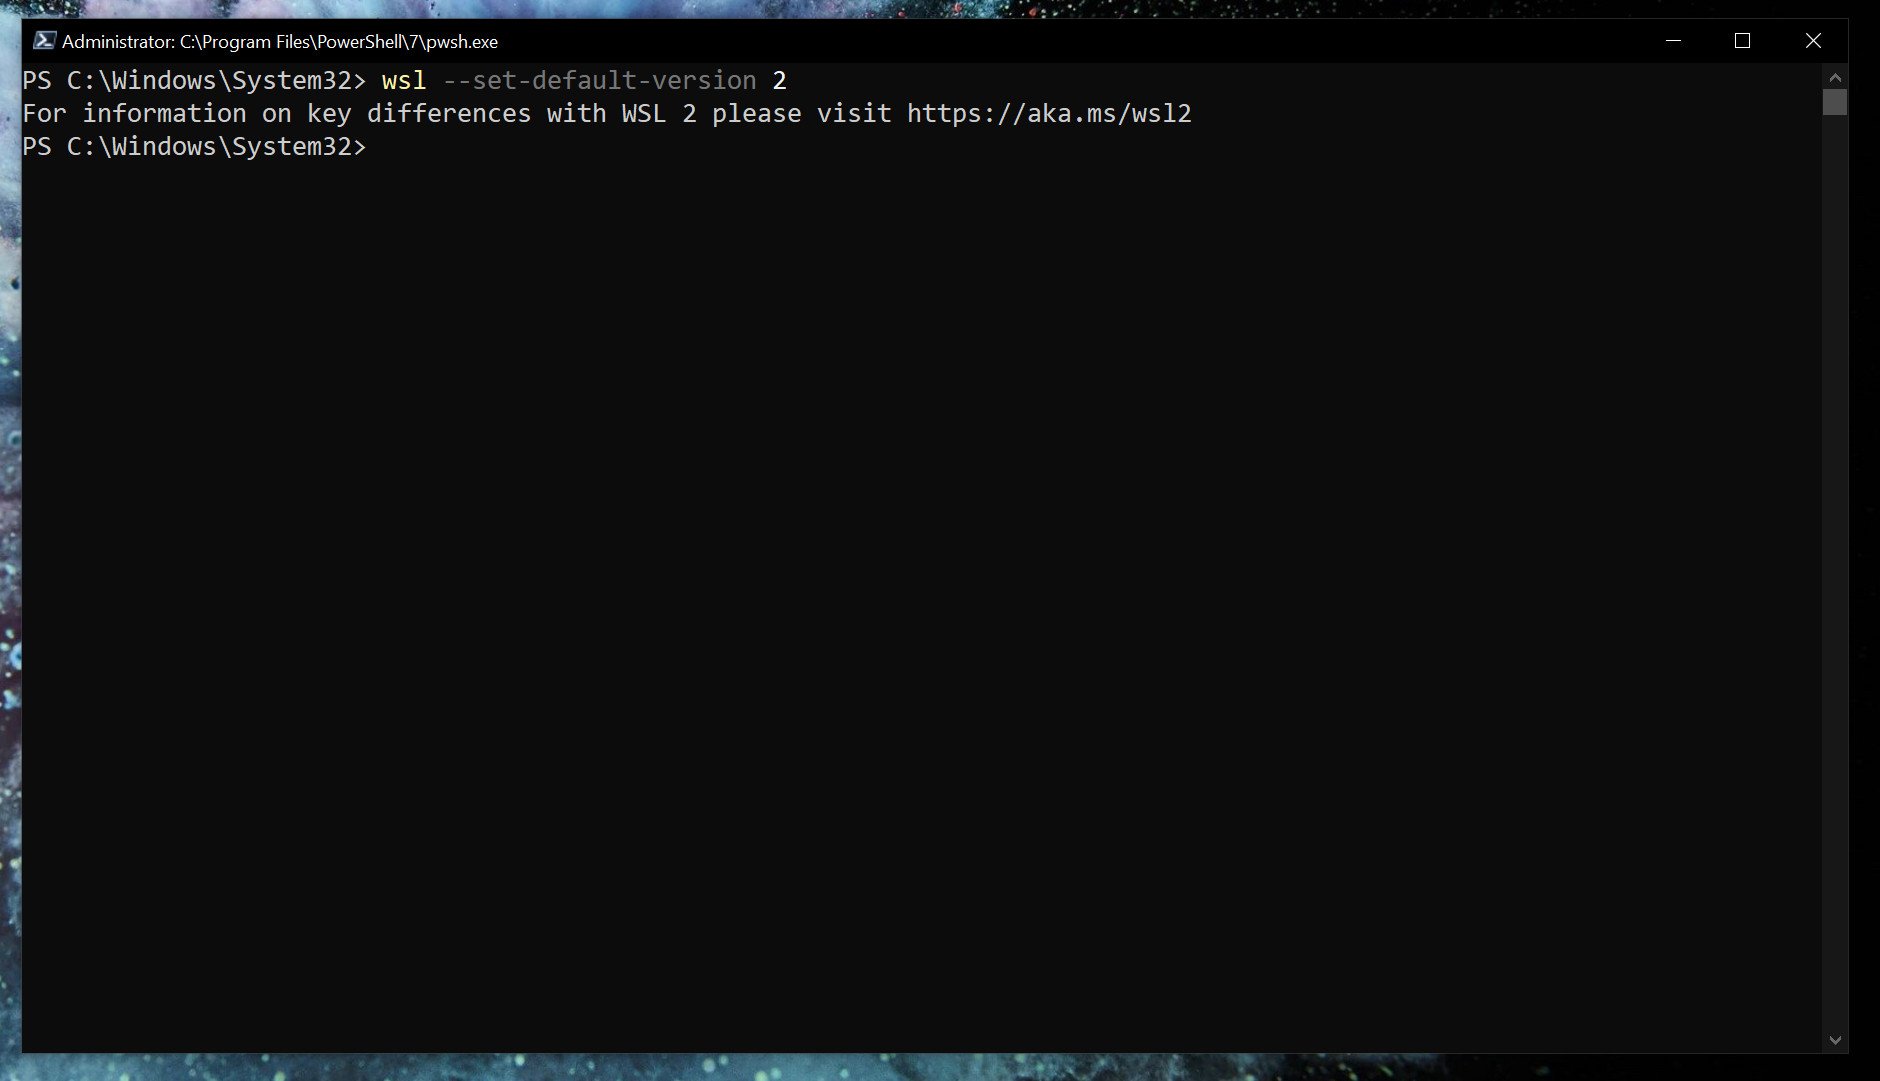
If you want everything to run on WSL2 as soon as you install it, you can set it as the default version.
wsl --set-default-version 2Listing installed Linux distros and their WSL version
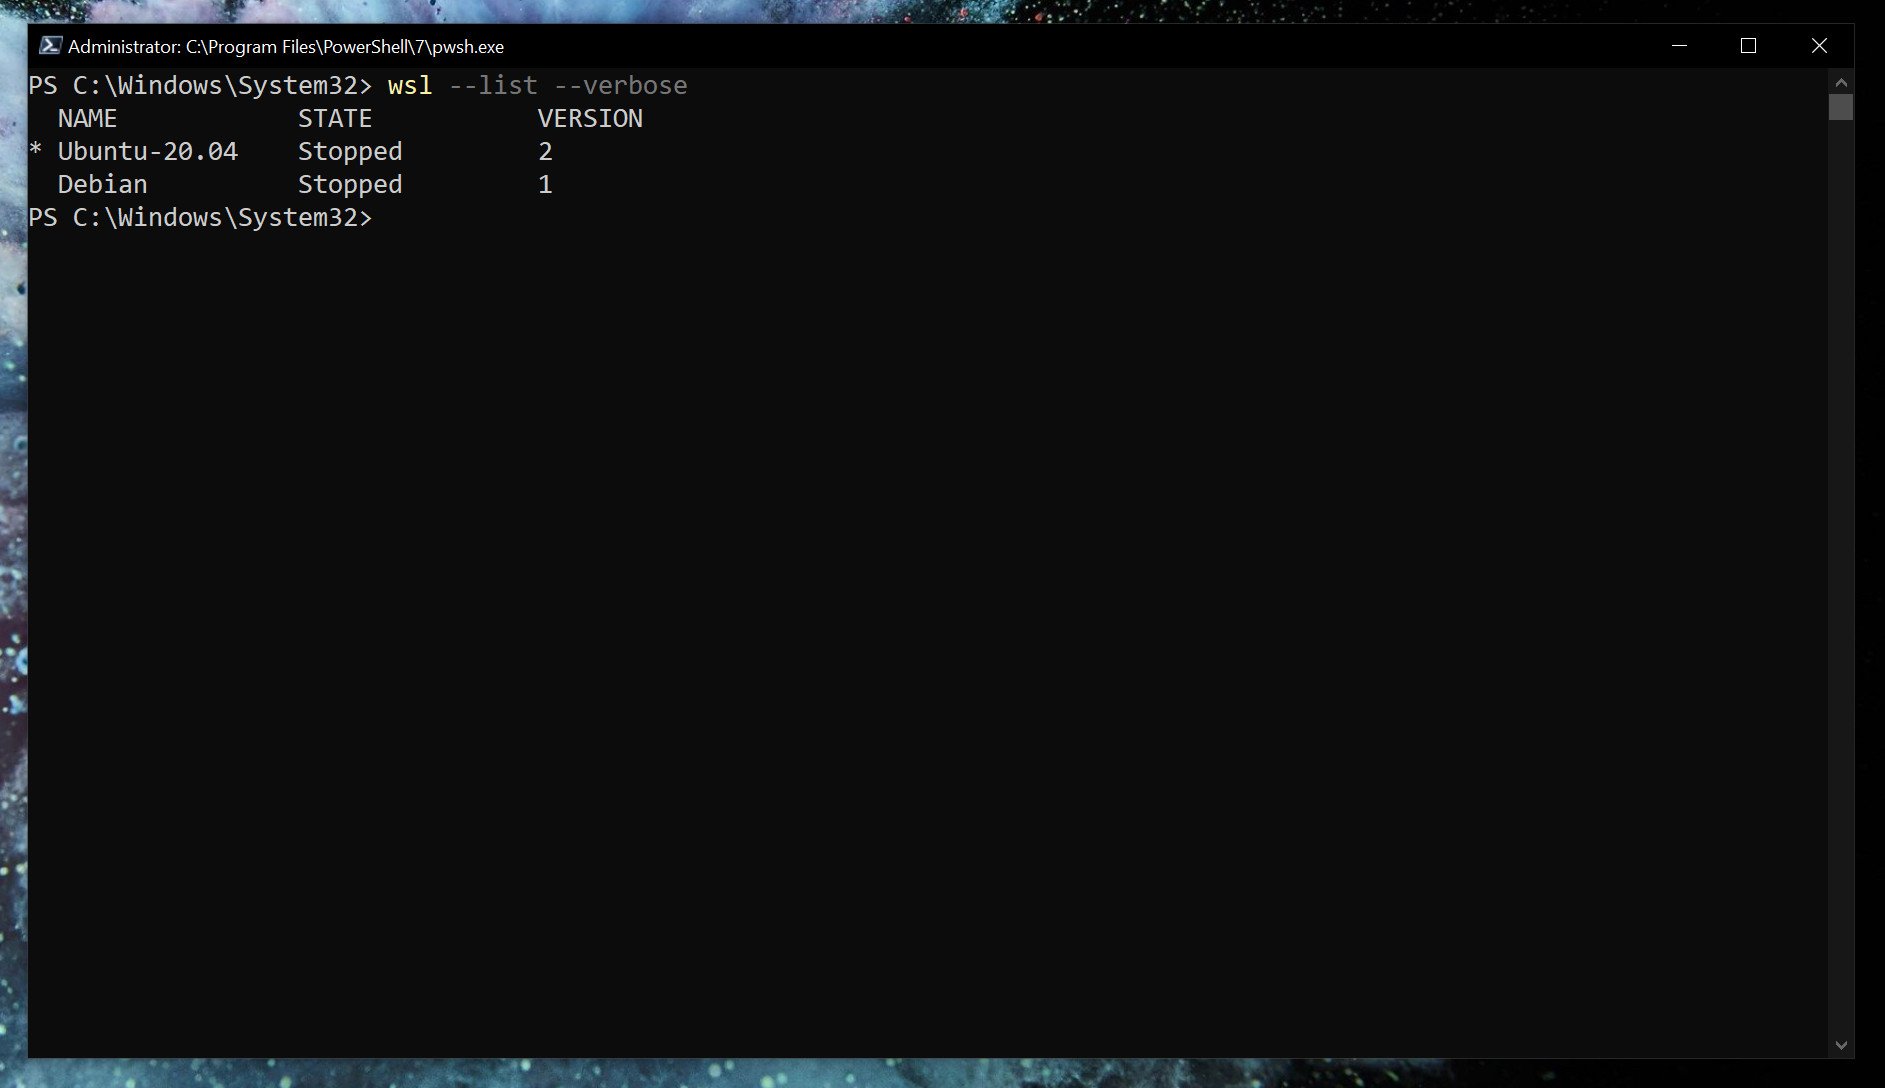
With WSL2 set as default, any Linux installs after that will use it automatically. You can easily check which version of WSL your installed Linux distros are using.
wsl --list --verbose Using the verbose flag will give you the breakdown of which version of WSL is attached to which Linux installation. Without it, you’ll simply get a list of the versions of Linux you have installed.
Changing the version of WSL per Linux installation
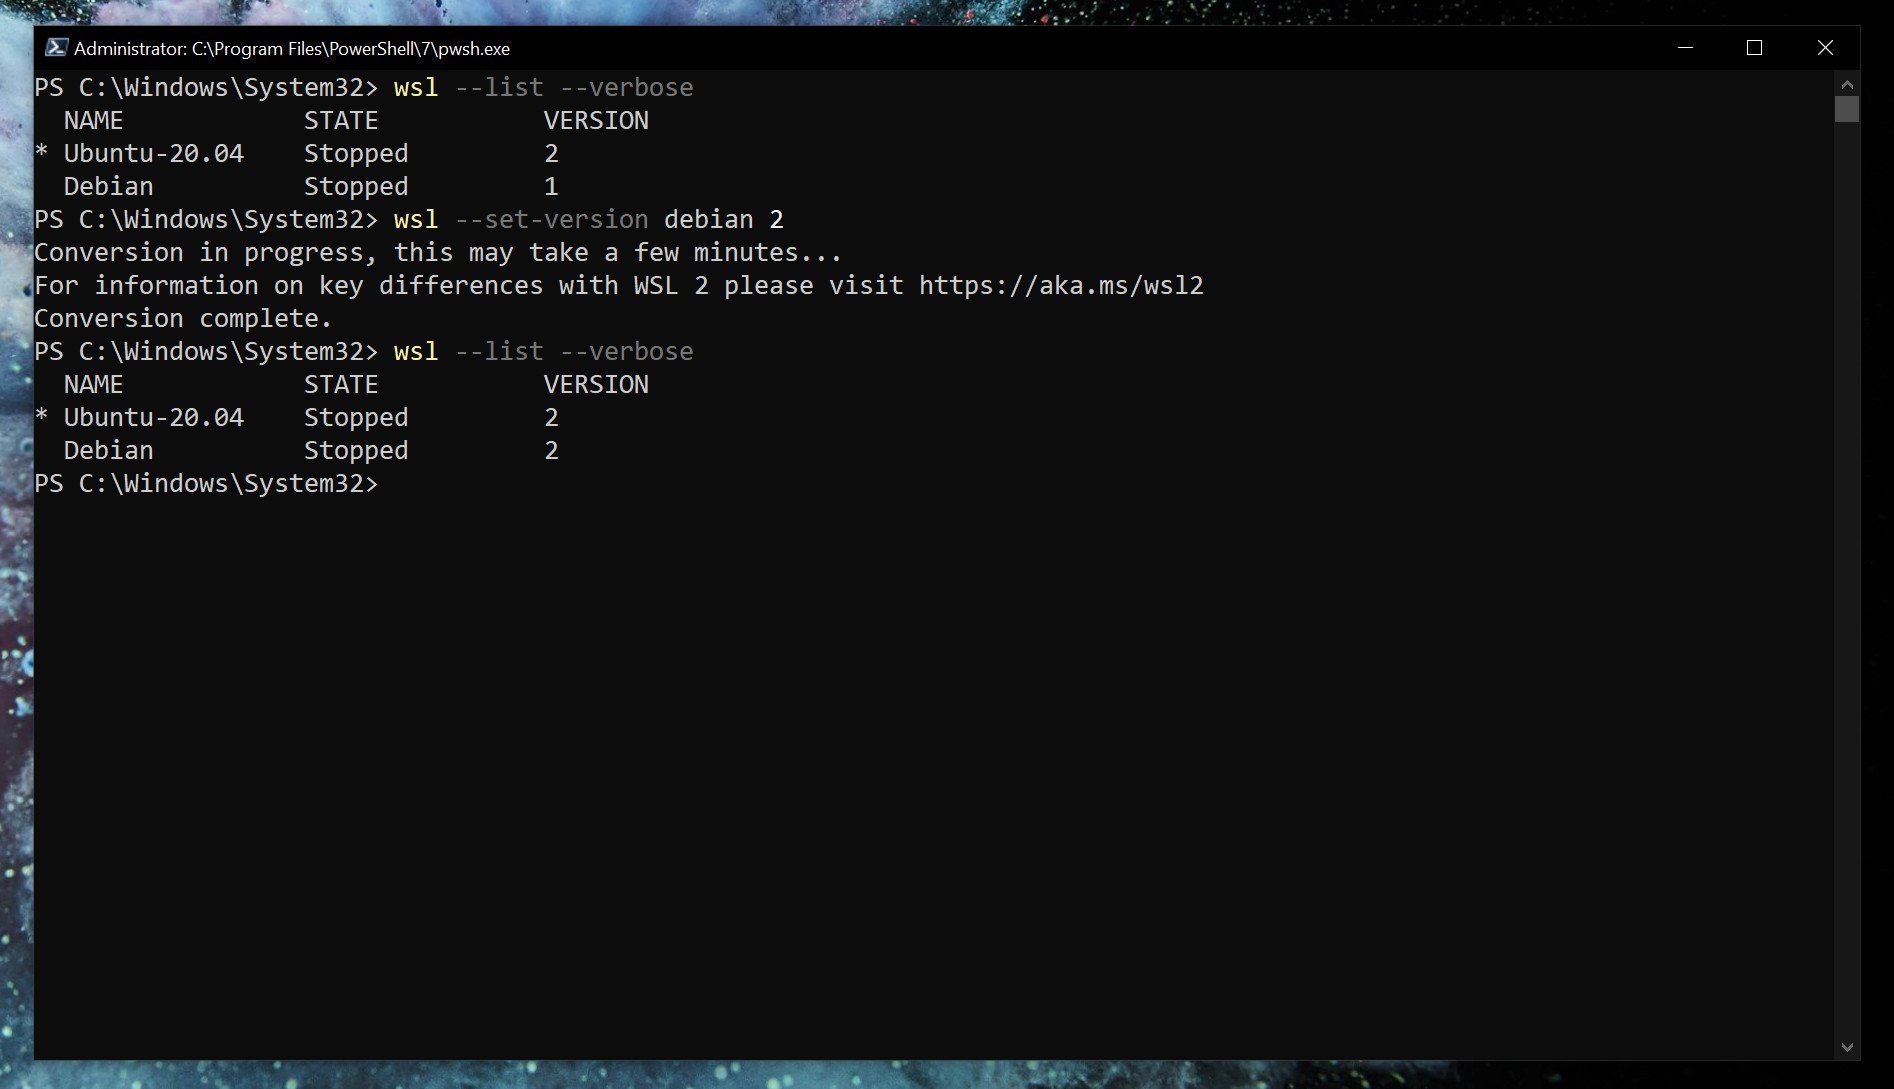
While setting WSL2 as default will apply it to anything you install afterward. If you’re already set up, you’ll need to manually convert. Likewise, if you wish to go between versions 1 and 2 or run a mixture on your system, you can do that.
wsl --set-version <distribution name=""> <versionnumber></versionnumber></distribution>So, as an example, if you have a Debian installation on WSL that you need to convert to WSL2, you’d enter
wsl --set-version debian 2Launch specific Linux installations in PowerShell
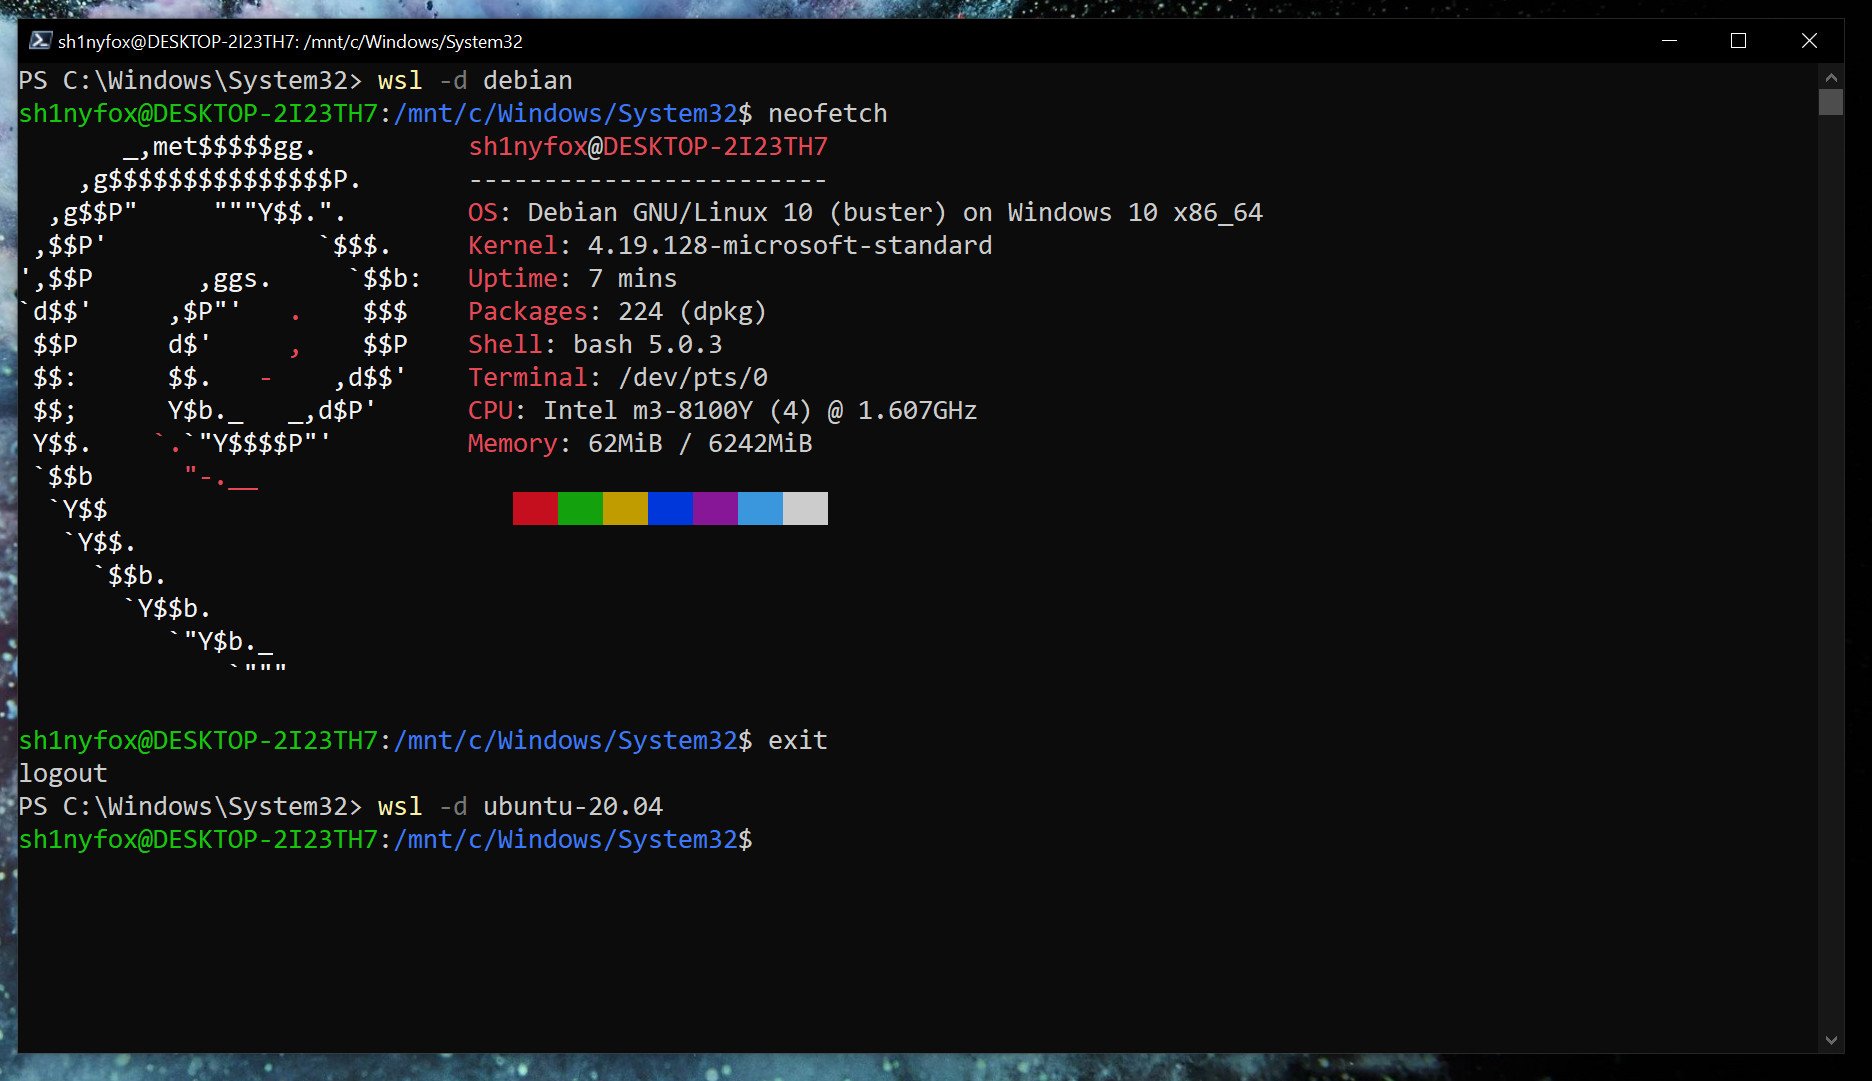
If you only have one version of Linux installed, simply typing
wslin PowerShell will launch you into the associated bash shell. But if you have multiple, you can launch a specific distro with this command.
wsl -d <distribution name=""></distribution>Once you’re done, typing
exitwill take you back into PowerShell.
From here on out, you’re ready to go forth and install all the Linux you want. Our full guide will help you along the way, but once WSL2 is set up how you like it, it just fades into the background.
It’s also worth grabbing the Windows Terminal app from the Microsoft Store if you’re using WSL. While you can just use the standard terminal installed with each or launch through PowerShell as shown above, Windows Terminal has a neat tabbed interface that lets you run multiple shells at once. Have PowerShell, Linux, Azure Cloud Shell, and even Command Prompt, all open together side-by-side in one window.


