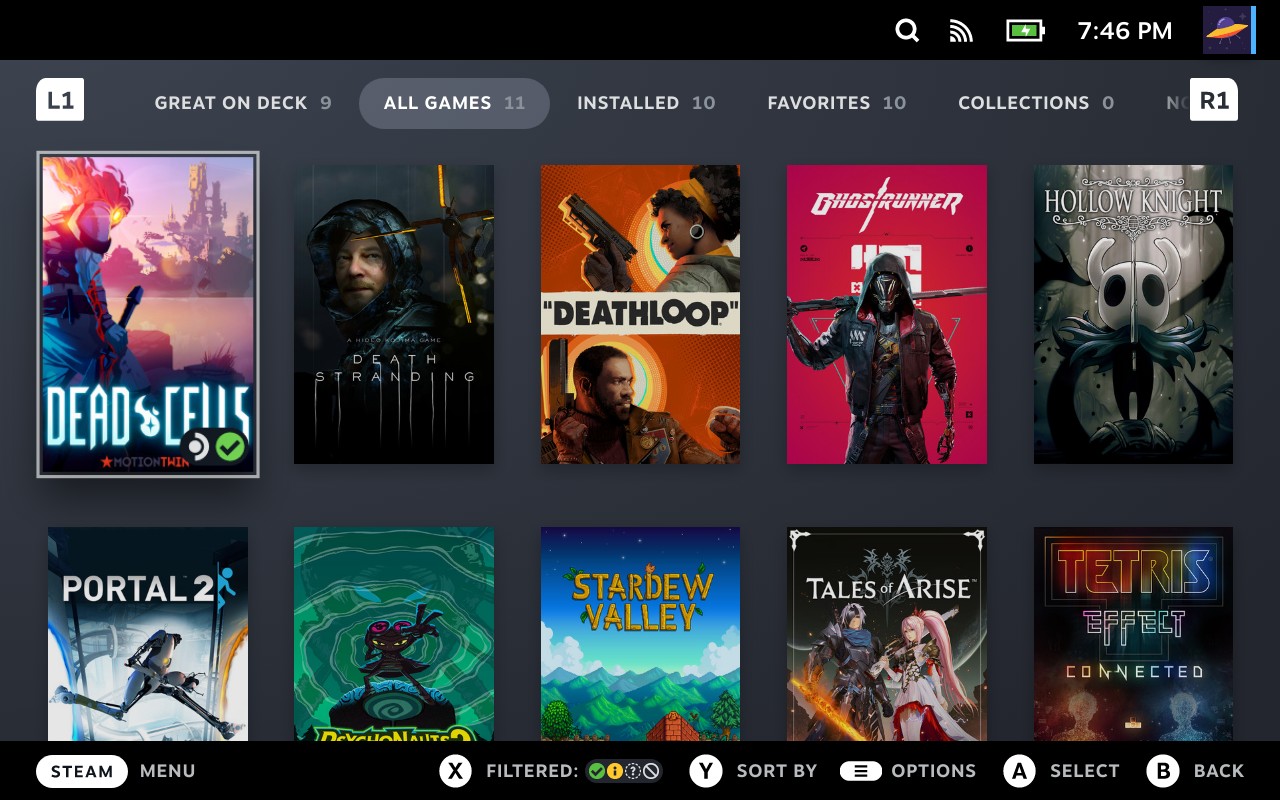
Valve offers thousands of PC games compatible with the Steam Deck through the official store, but that doesn’t mean there aren’t other games it can handle. Some titles never make it to Steam, whether due to licensing difficulties, platform exclusivity, or anything else. You can easily install non-Steam games on Steam Deck with a small amount of tinkering behind SteamOS, so let’s get started.
How to install non-Steam games
Before starting, any apps or games you install outside the official Steam Deck store will be on the internal storage, not your microSD card or any other external drives. Be sure to check you have enough space on the primary eMMC SSD, the size of which depends on which Steam Deck model you chose (64GB, 256GB, or 512GB).
- Hit the left-side STEAM button to open the quick menu.
- Navigate down the list to highlight and select Power.
- On the power menu, navigate to and select Switch to Desktop.
Alternatively, you can briefly hold down the power button to access the power menu a little faster. A Switching to Desktop … notification will appear whichever method you choose. After a short wait, the Steam Deck will boot into its Linux desktop environment, just like you would expect on any regular PC.
- Locate and open the Discover app, which is usually pinned to your taskbar with an icon resembling a blue shopping bag. Otherwise, you can find it in the System tab of the applications menu.
- Inside Discover, select Applications from the left-side menu and then Games to filter results by category.
- Scroll through the list to find a game you’d like to play, then hit Install.
If your game doesn’t appear on the list, you can download a Linux Flatpak archive from the developers and install it from the desktop mode. Check Flathub for games that might not appear in Discover.
You could launch your newly installed game from this desktop environment, but to make things easier, we can have it appear in SteamOS on boot with a few more steps.
Adding non-Steam games to your library

Installing extra games is great, but booting into the desktop mode whenever you want to play them isn’t too efficient. You can take a few additional steps to have them appear in the library of your Steam Deck alongside your usual purchases.
- Launch the Steam application from your desktop or the applications menu while still in desktop mode.
- Navigate the top-most menu to the Games tab and select Add a Non-Steam Game to My Library …
- A new window titled Add a Game will appear with a list of your software. Navigate this list until you find your newly installed game.
- Check the box to the left of the game title, then hit Add selected programs.
- Close the Steam application and launch the Return to Gaming Mode shortcut from the desktop or applications menu.
Now you’re done, and you can find these extra games under the non-Steam section of your Steam Deck library. Some titles might not have box art or descriptions but can be launched as if they were part of your collection. Be cautious when installing software from sources outside the Steam store. Windows Central cannot take responsibility for any potential bugs caused by these third-party games.
It’s not impossible, but compared to games verified for Steam Deck, it’s unlikely that non-Steam games will natively support every input, and some controls might not work as expected. Thankfully, you can still connect some of the best Steam Deck accessories like joypads, mice, or keyboards if needed. With this kind of freedom to install third-party titles, the choice of games on Steam Deck seems almost limitless.


