

A few months ago, when Broadcom purchased VMware, it made VMware Fusion, the second most popular Windows virtualization solution for Mac users, behind Parallels, free for personal use. With that move, VMware Fusion 13 Pro is a no-brainer solution for those who need to run specific Windows applications on a Mac.
In this hands-on video walkthrough, I demonstrate how to set up your free VMware Fusion Pro personal license, download and install VMware Fusion Pro 13, and install and configure Windows 11 for ARM on your virtual machine.
Check out the full step-by-step written tutorial to run Windows 11 on your Mac. Be sure to subscribe to 9to5Mac on YouTube for more original Mac tutorials, guides, and how-tos.
Create a VMware Fusion Pro personal license
Step 1: Visit profile.broadcom.com, enter your email address on the User Registration window, and click Next.
Step 2: Verify your email address using the six-digit code and click Verify & Continue
Step 3: Complete the registration by entering the required personal details, accepting the user terms, and clicking Create Account.
Step 4: Visit the VMware Fusion software download page and select VMware Fusion 13 Pro for Personal use. Click the latest release version, and you’ll be taken to a dedicated download page for that specific version.
Step 5: Click the check box next to I agree to terms and conditions, click the download button, and click Yes on the additional verification pop-up.
Step 6: On the Trade Compliance Verification screen, enter your user details, select I Agree, and click Submit.
Video: How to install Windows w/ free VMware Fusion Pro
Subscribe to 9to5mac on YouTube for more videos
Download and Install VMware Fusion Pro 13
Step 7: On the VMware Fusion Pro for Personal Use page, click the download button again to start the actual download.
Step 8: Double-click the VMware Fusion universal dmg saved to your downloads folder to mount it, and double-click the VMware Fusion icon.
Step 9: Click Open, enter your Mac’s administrator password, and click OK to install.
Download Windows 11 and configure the virtual machine
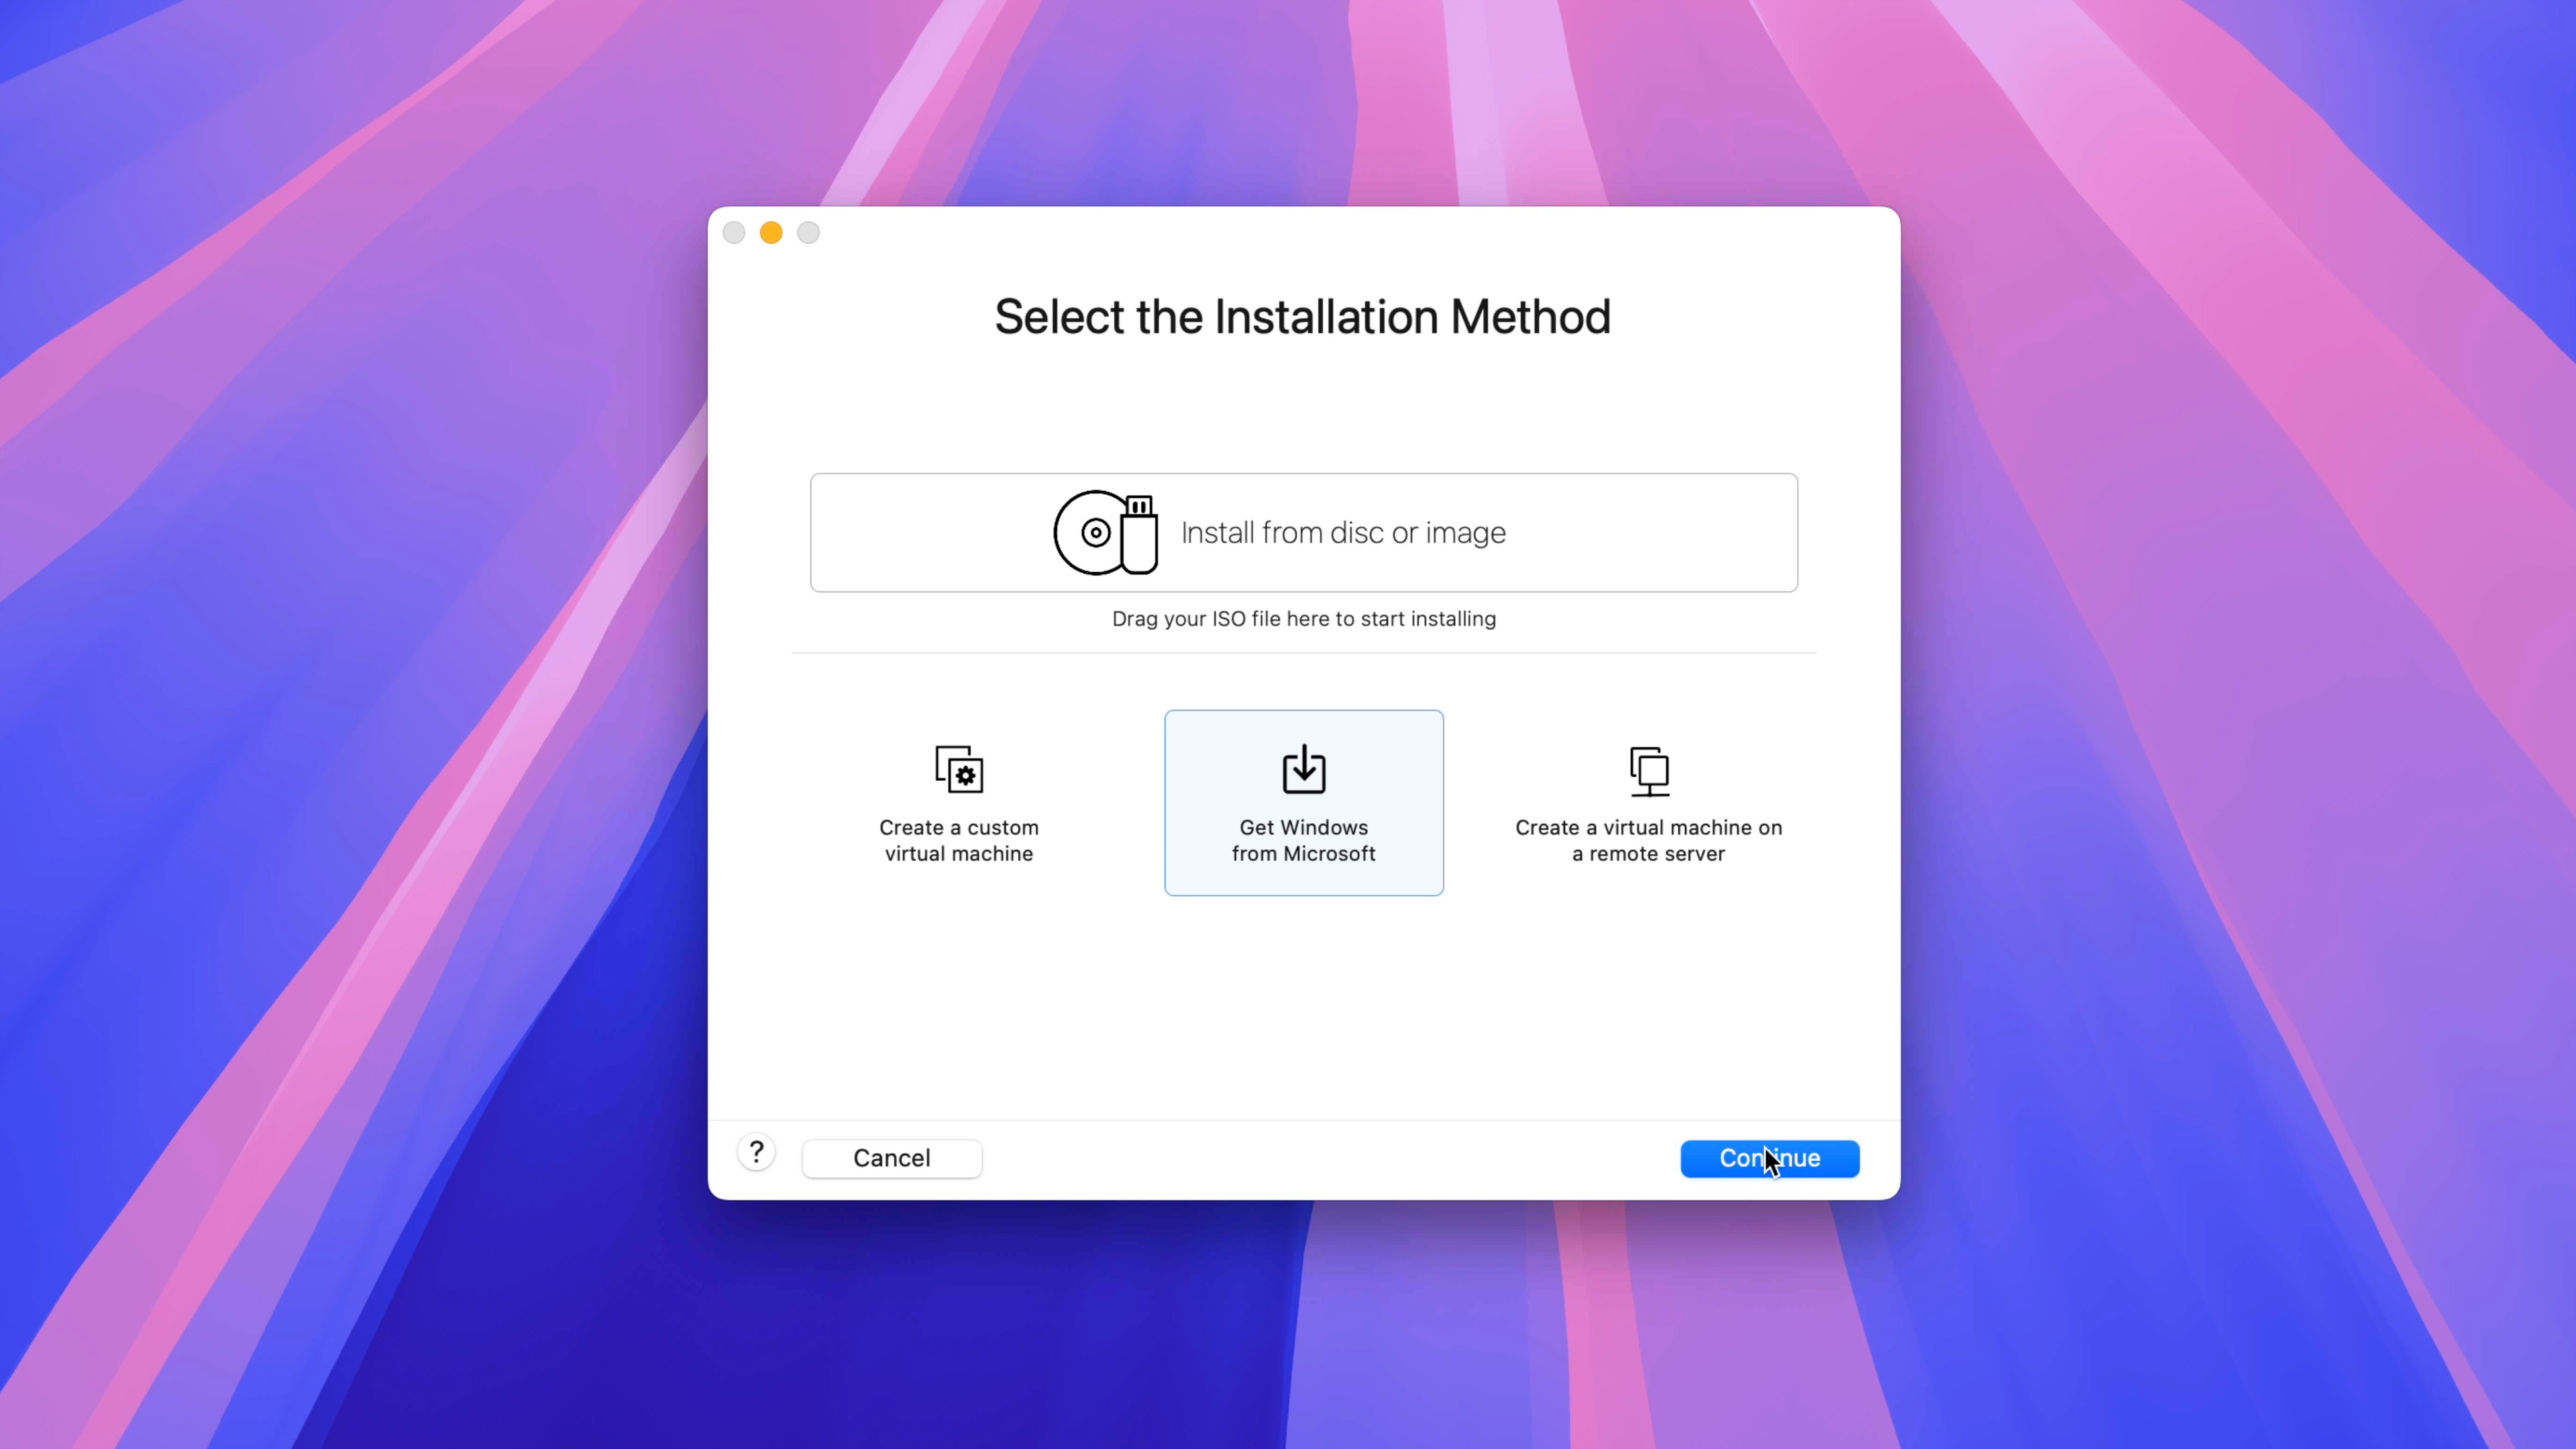
Step 10: On the Select the Installation Method page, click Get Windows from Microsoft → Continue → Continue.
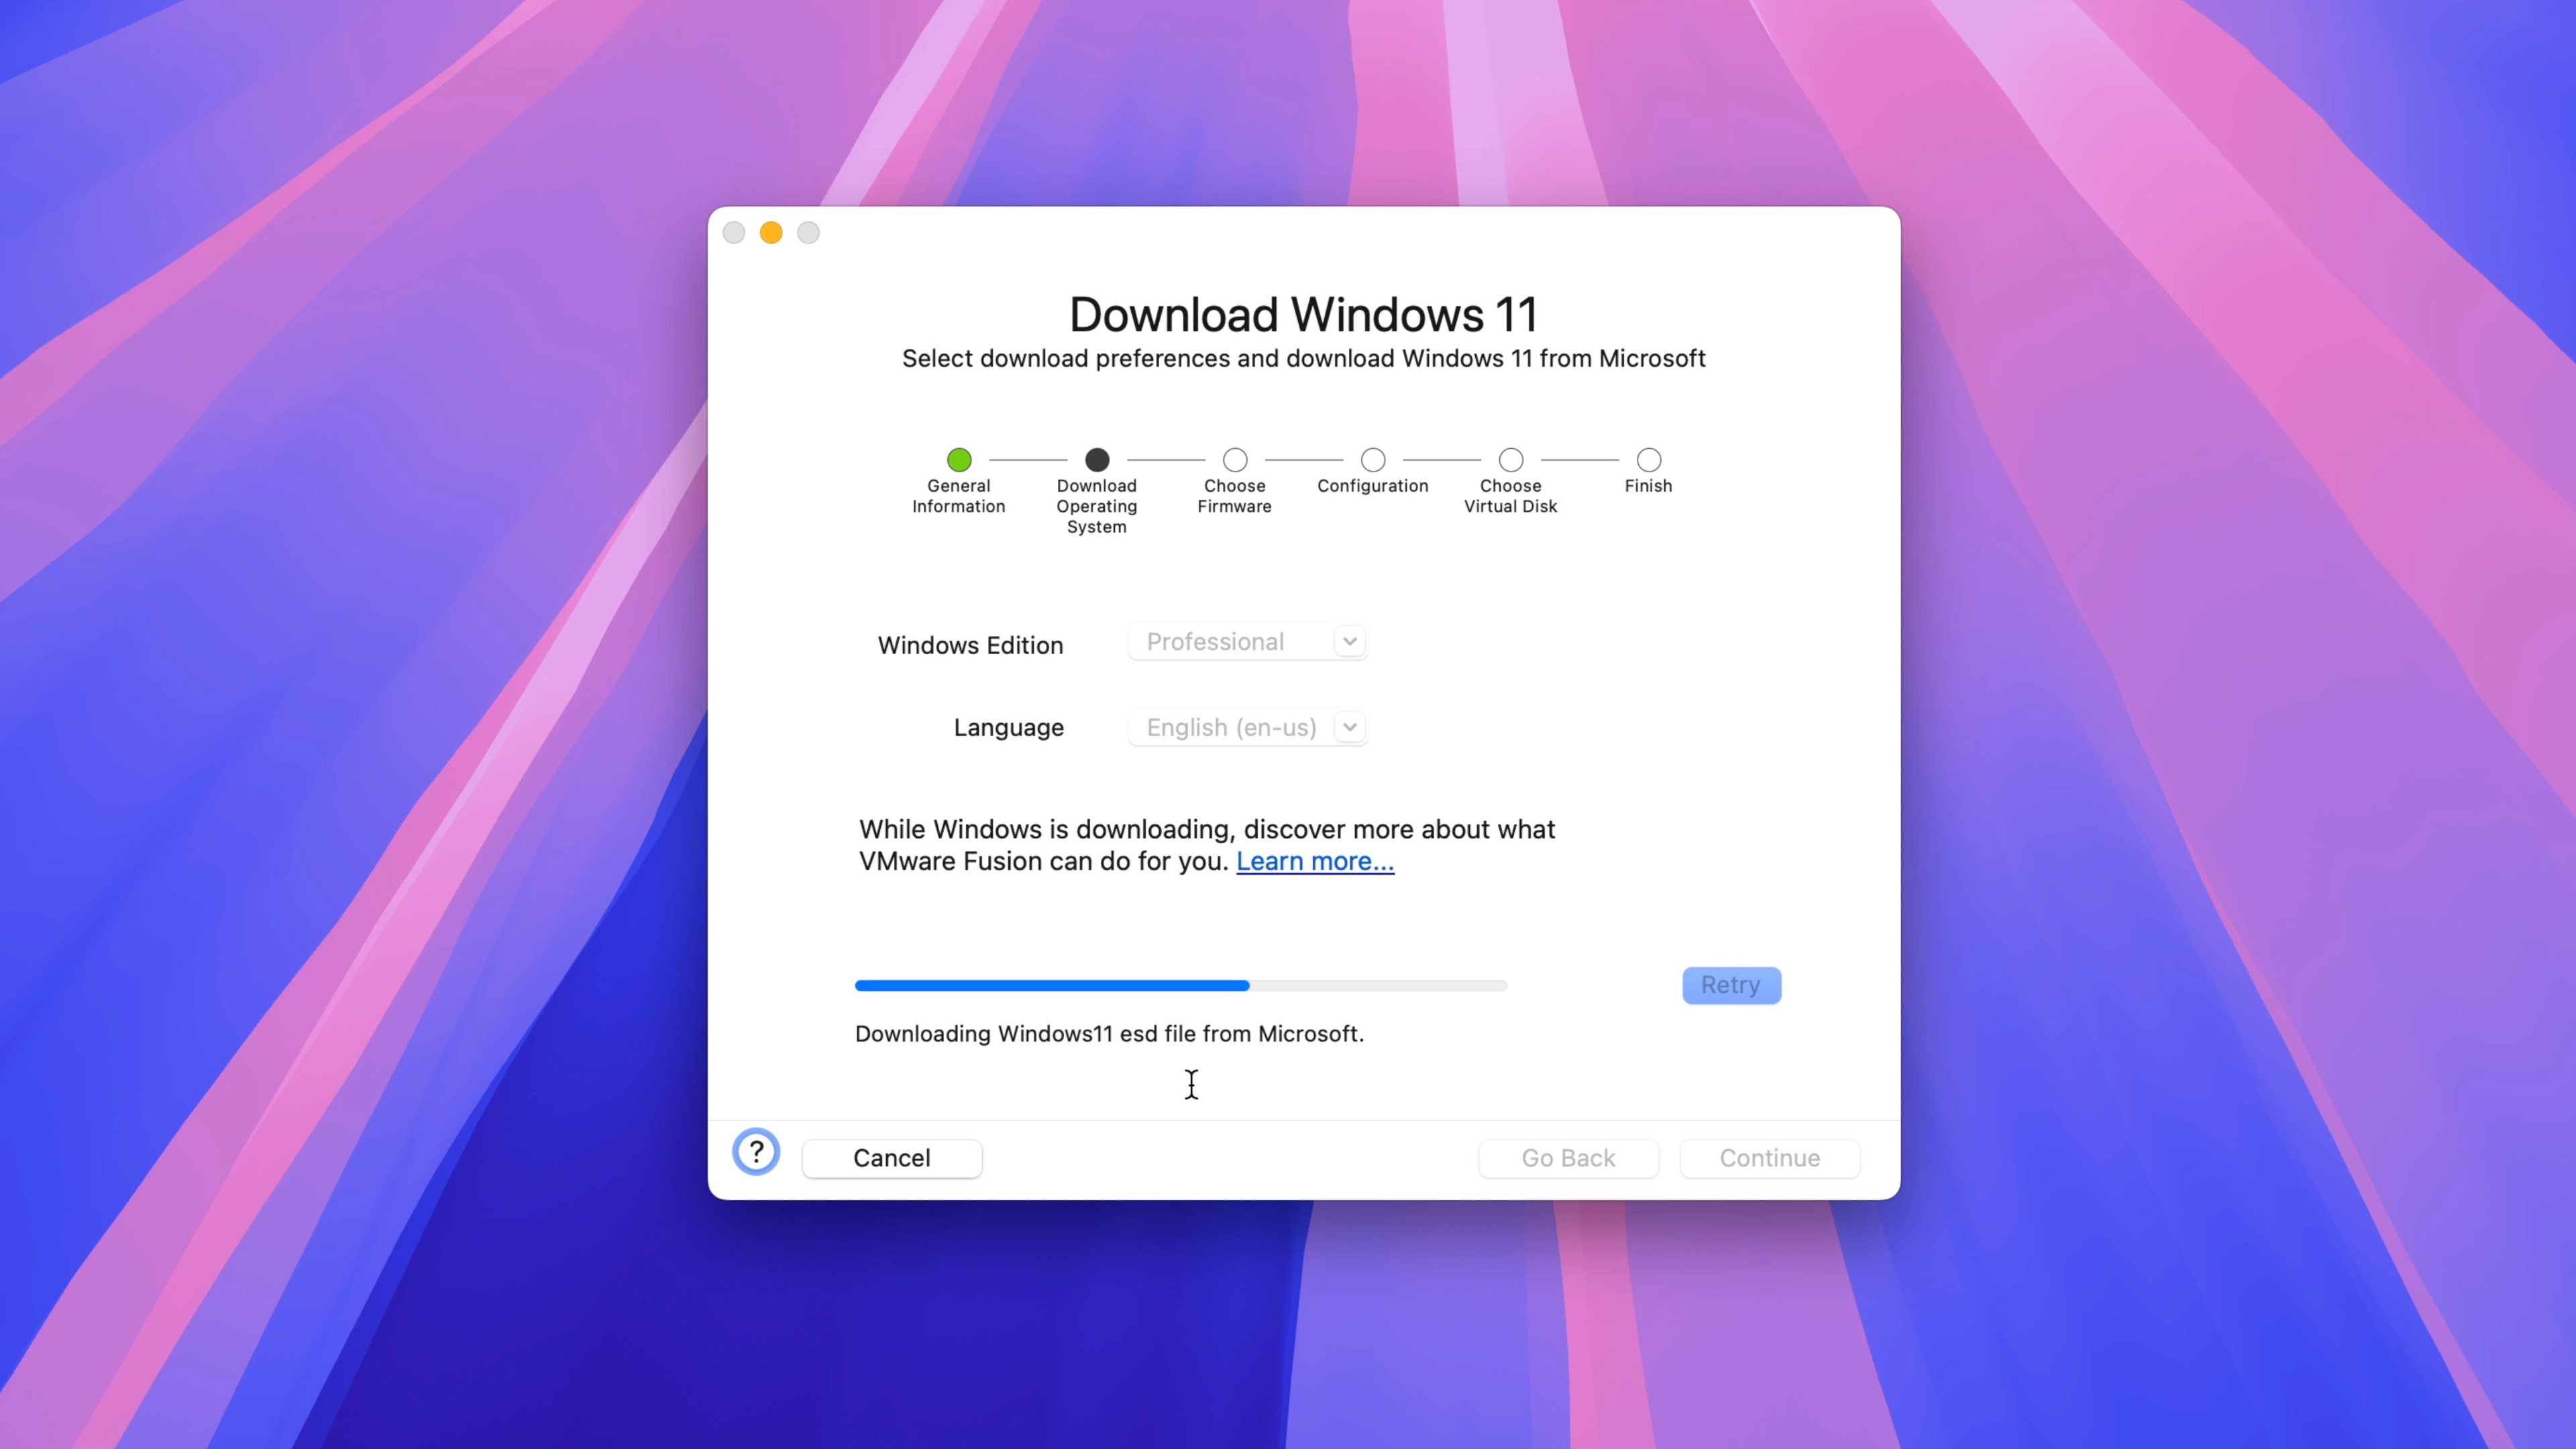
Step 11: On the Download and Install Windows 11 screen, click Continue in the bottom right-hand corner → Click Download Windows.
Note: Windows 11 is not free, but Microsoft gives users a registration grace period before plastering its Activate Windows watermark in the bottom right-hand corner. Windows 11 will still be usable while this watermark is displayed, but you should register with a legitimate Product Key.
Step 12: VMware Fusion will commence downloading Windows 11 from Microsoft. Once the download is completed, click Continue.
Tip: The Windows 11 ISO will be downloaded to ~/Virtual Machines.localized/VMWIsoImages/. You can point to this ISO in the future when configuring additional Windows 11 virtual machines to avoid downloading the ISO from Microsoft again. You may also choose to delete this ISO after the virtual machine installation is completed to save space on your primary drive.
Step 13: Select UEFI and click Continue.
Step 14: Select Only the files needed to support a TPM are encrypted, and click Auto Generate Password. Ensure that Remember Password and store it in Mac’s Keychain is selected, and click Continue.

Step 15: Select Create a new virtual disk and click Continue.
Step 16: On the Finish Page, click Customize Settings and then Save to save the Virtual Machine configuration to disk. This file will be large since it contains the entirety of the virtual machine. You may save the configuration to an external drive to save space on your primary drive.
Step 17: Once the virtual machine config is saved, a settings panel will appear. Within settings, click Processors & Memory and configure each to your liking. The ideal configuration will depend on how many processor cores and unified memory you have configured on your Mac.
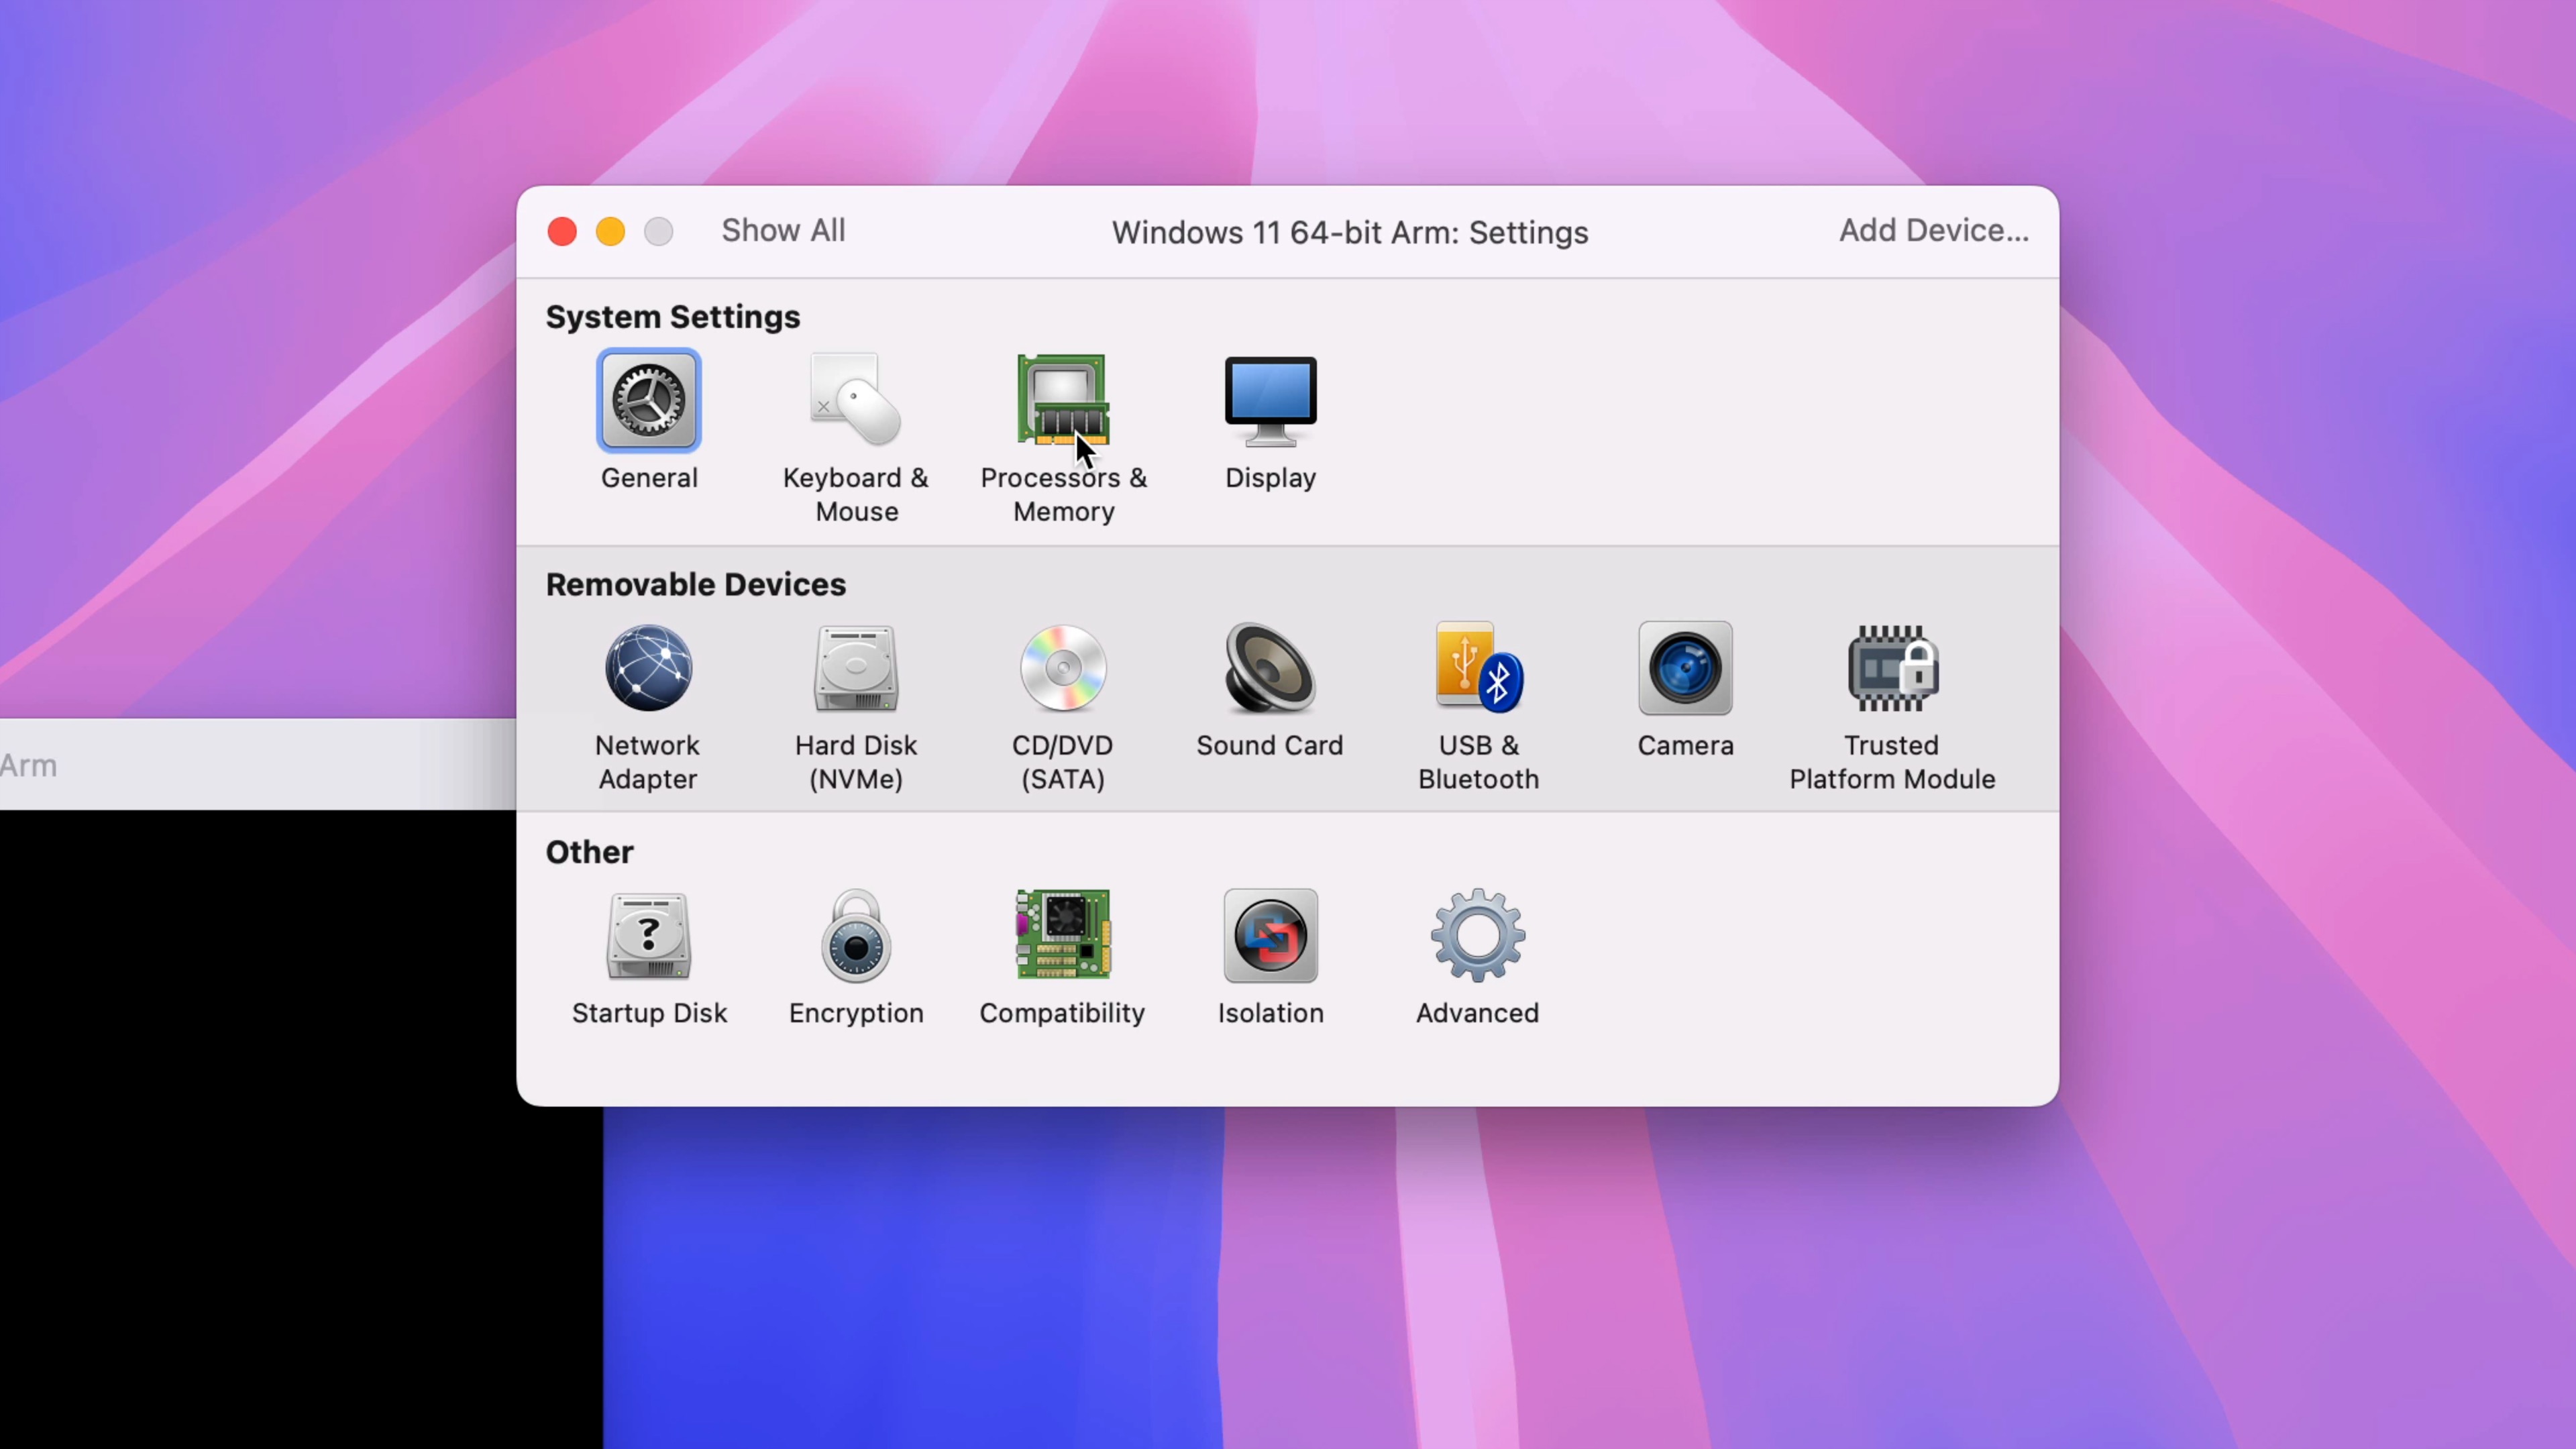
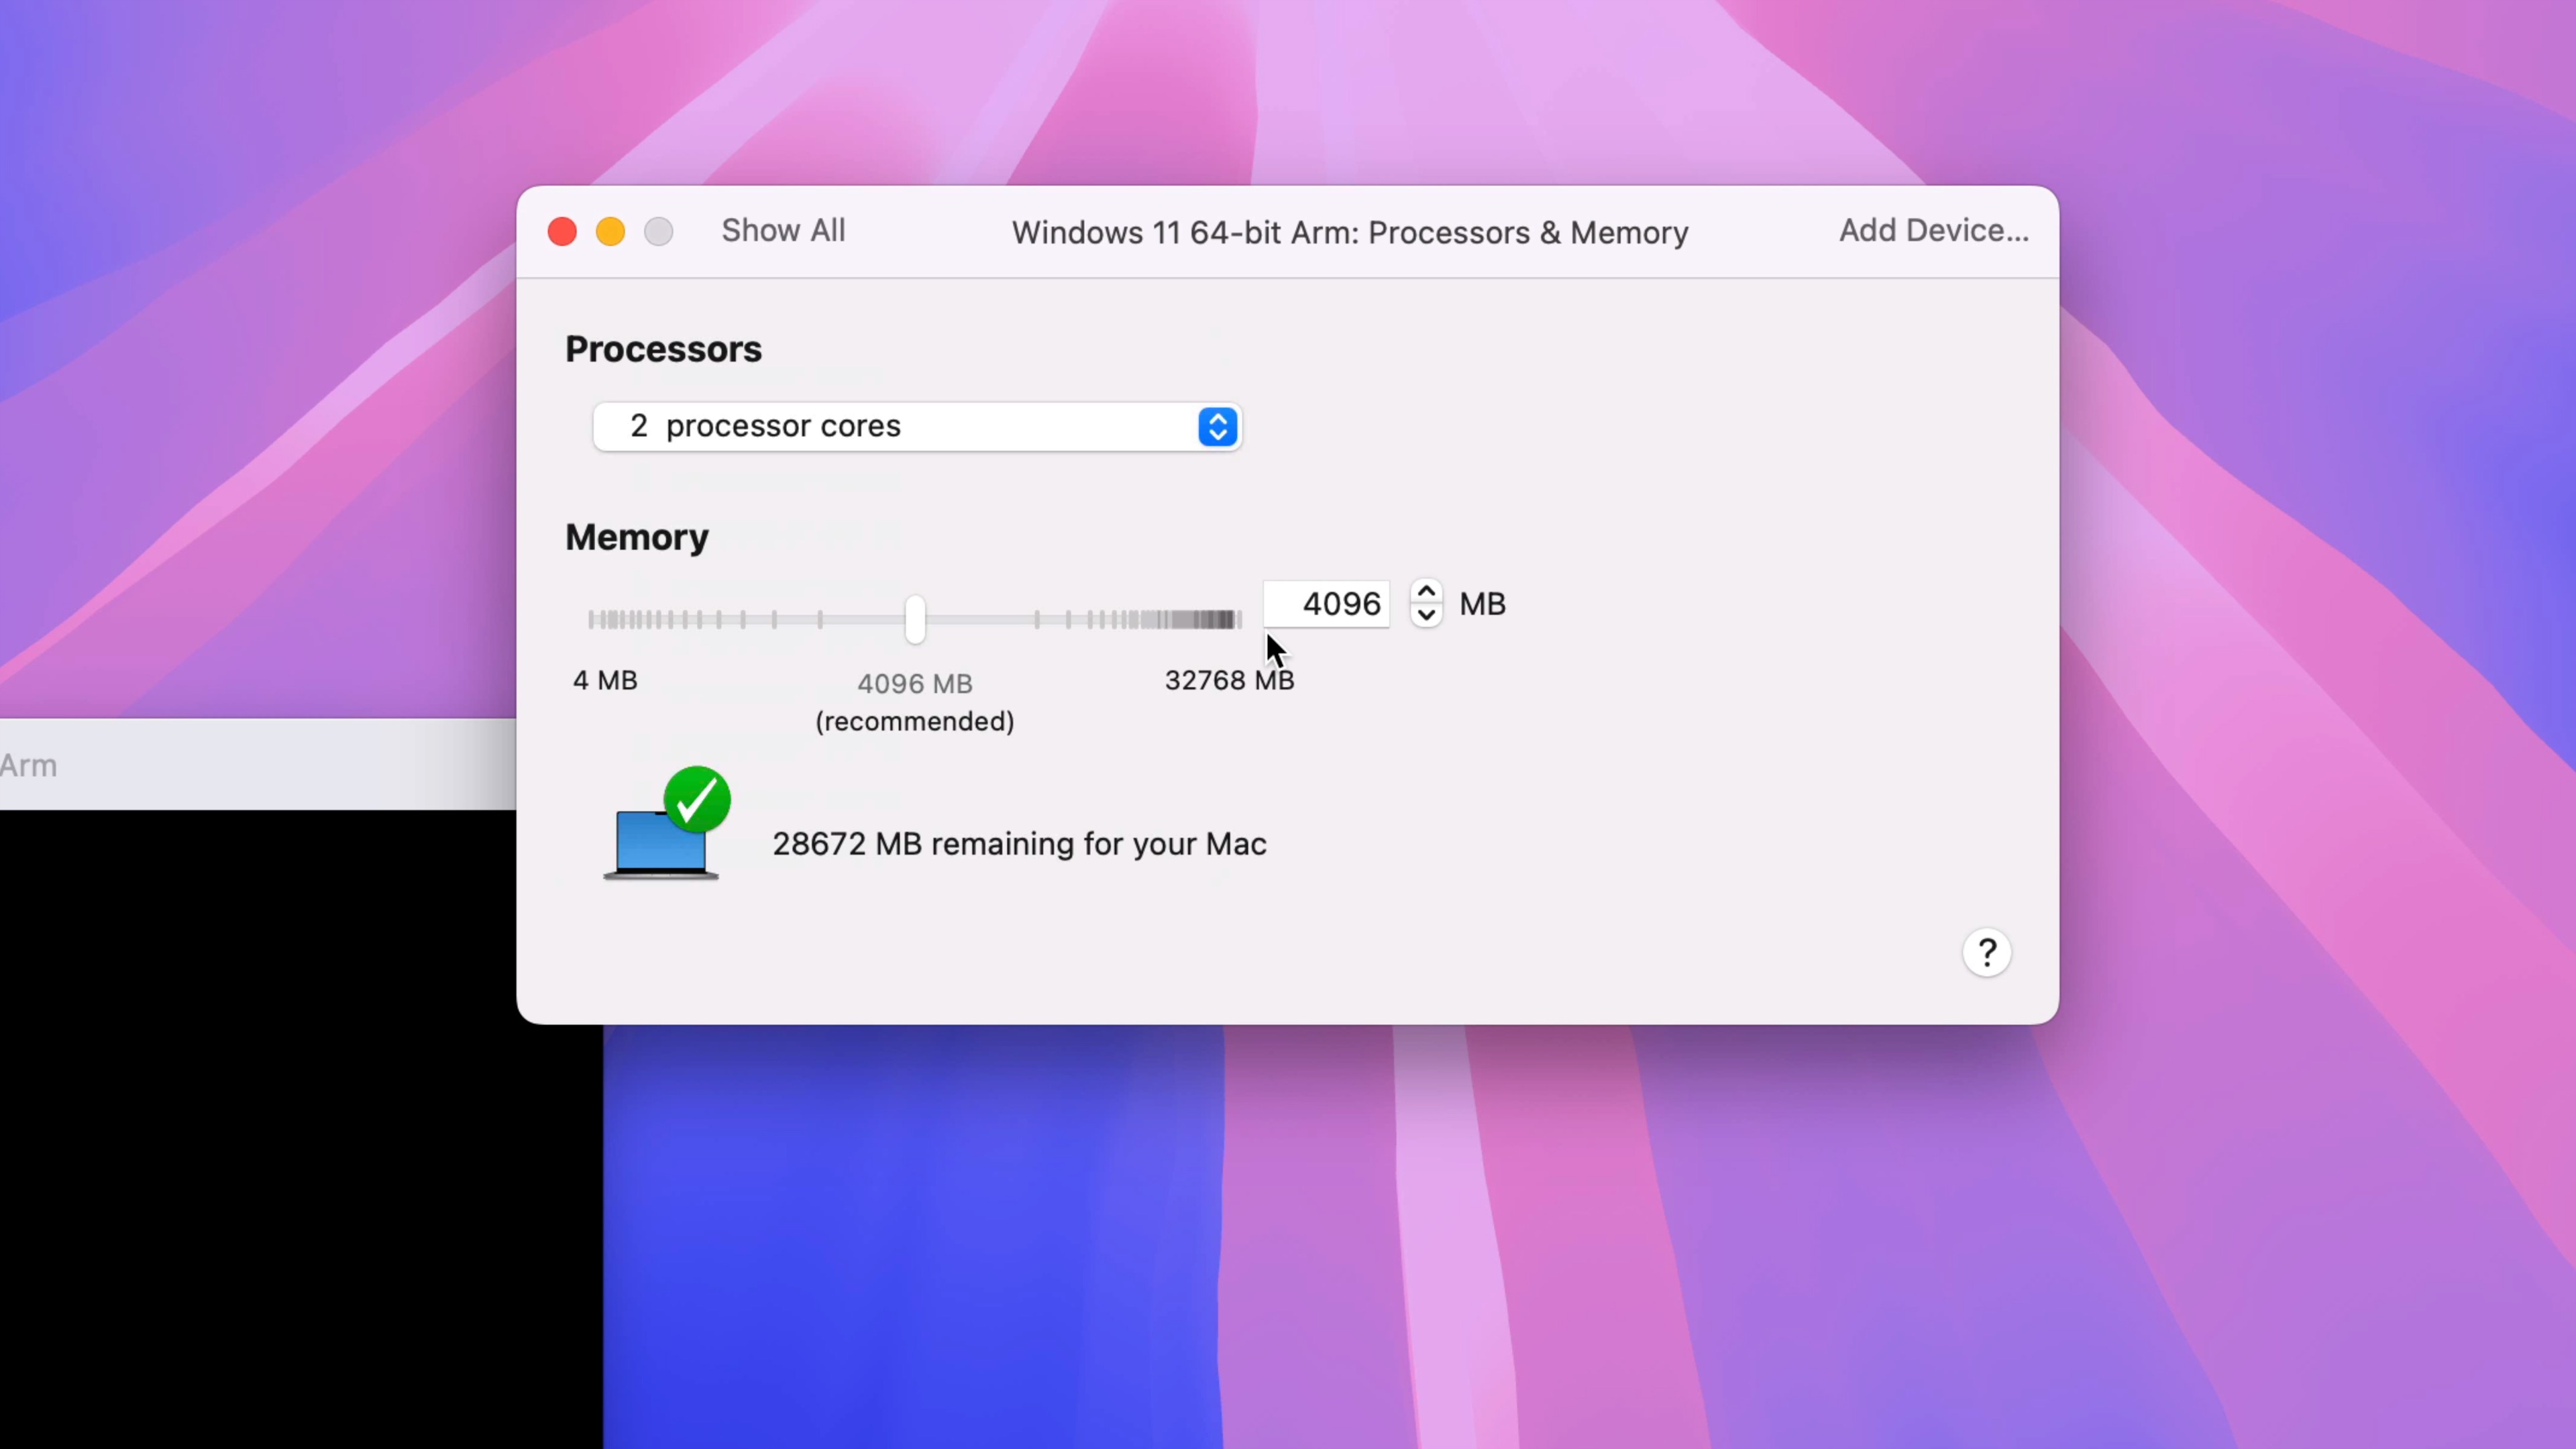
Tip: I usually stick to default settings since I’m not using my Windows 11 installation to play games or anything else that requires a lot of resources. Adjust settings based on your needs, but I recommend staying below 50% resource usage for both processor cores and memory.
Configure and install Windows 11
Step 18: Click the Play button to begin the Windows 11 installation process. When prompted, press any key on your keyboard to boot from the Windows ISO.
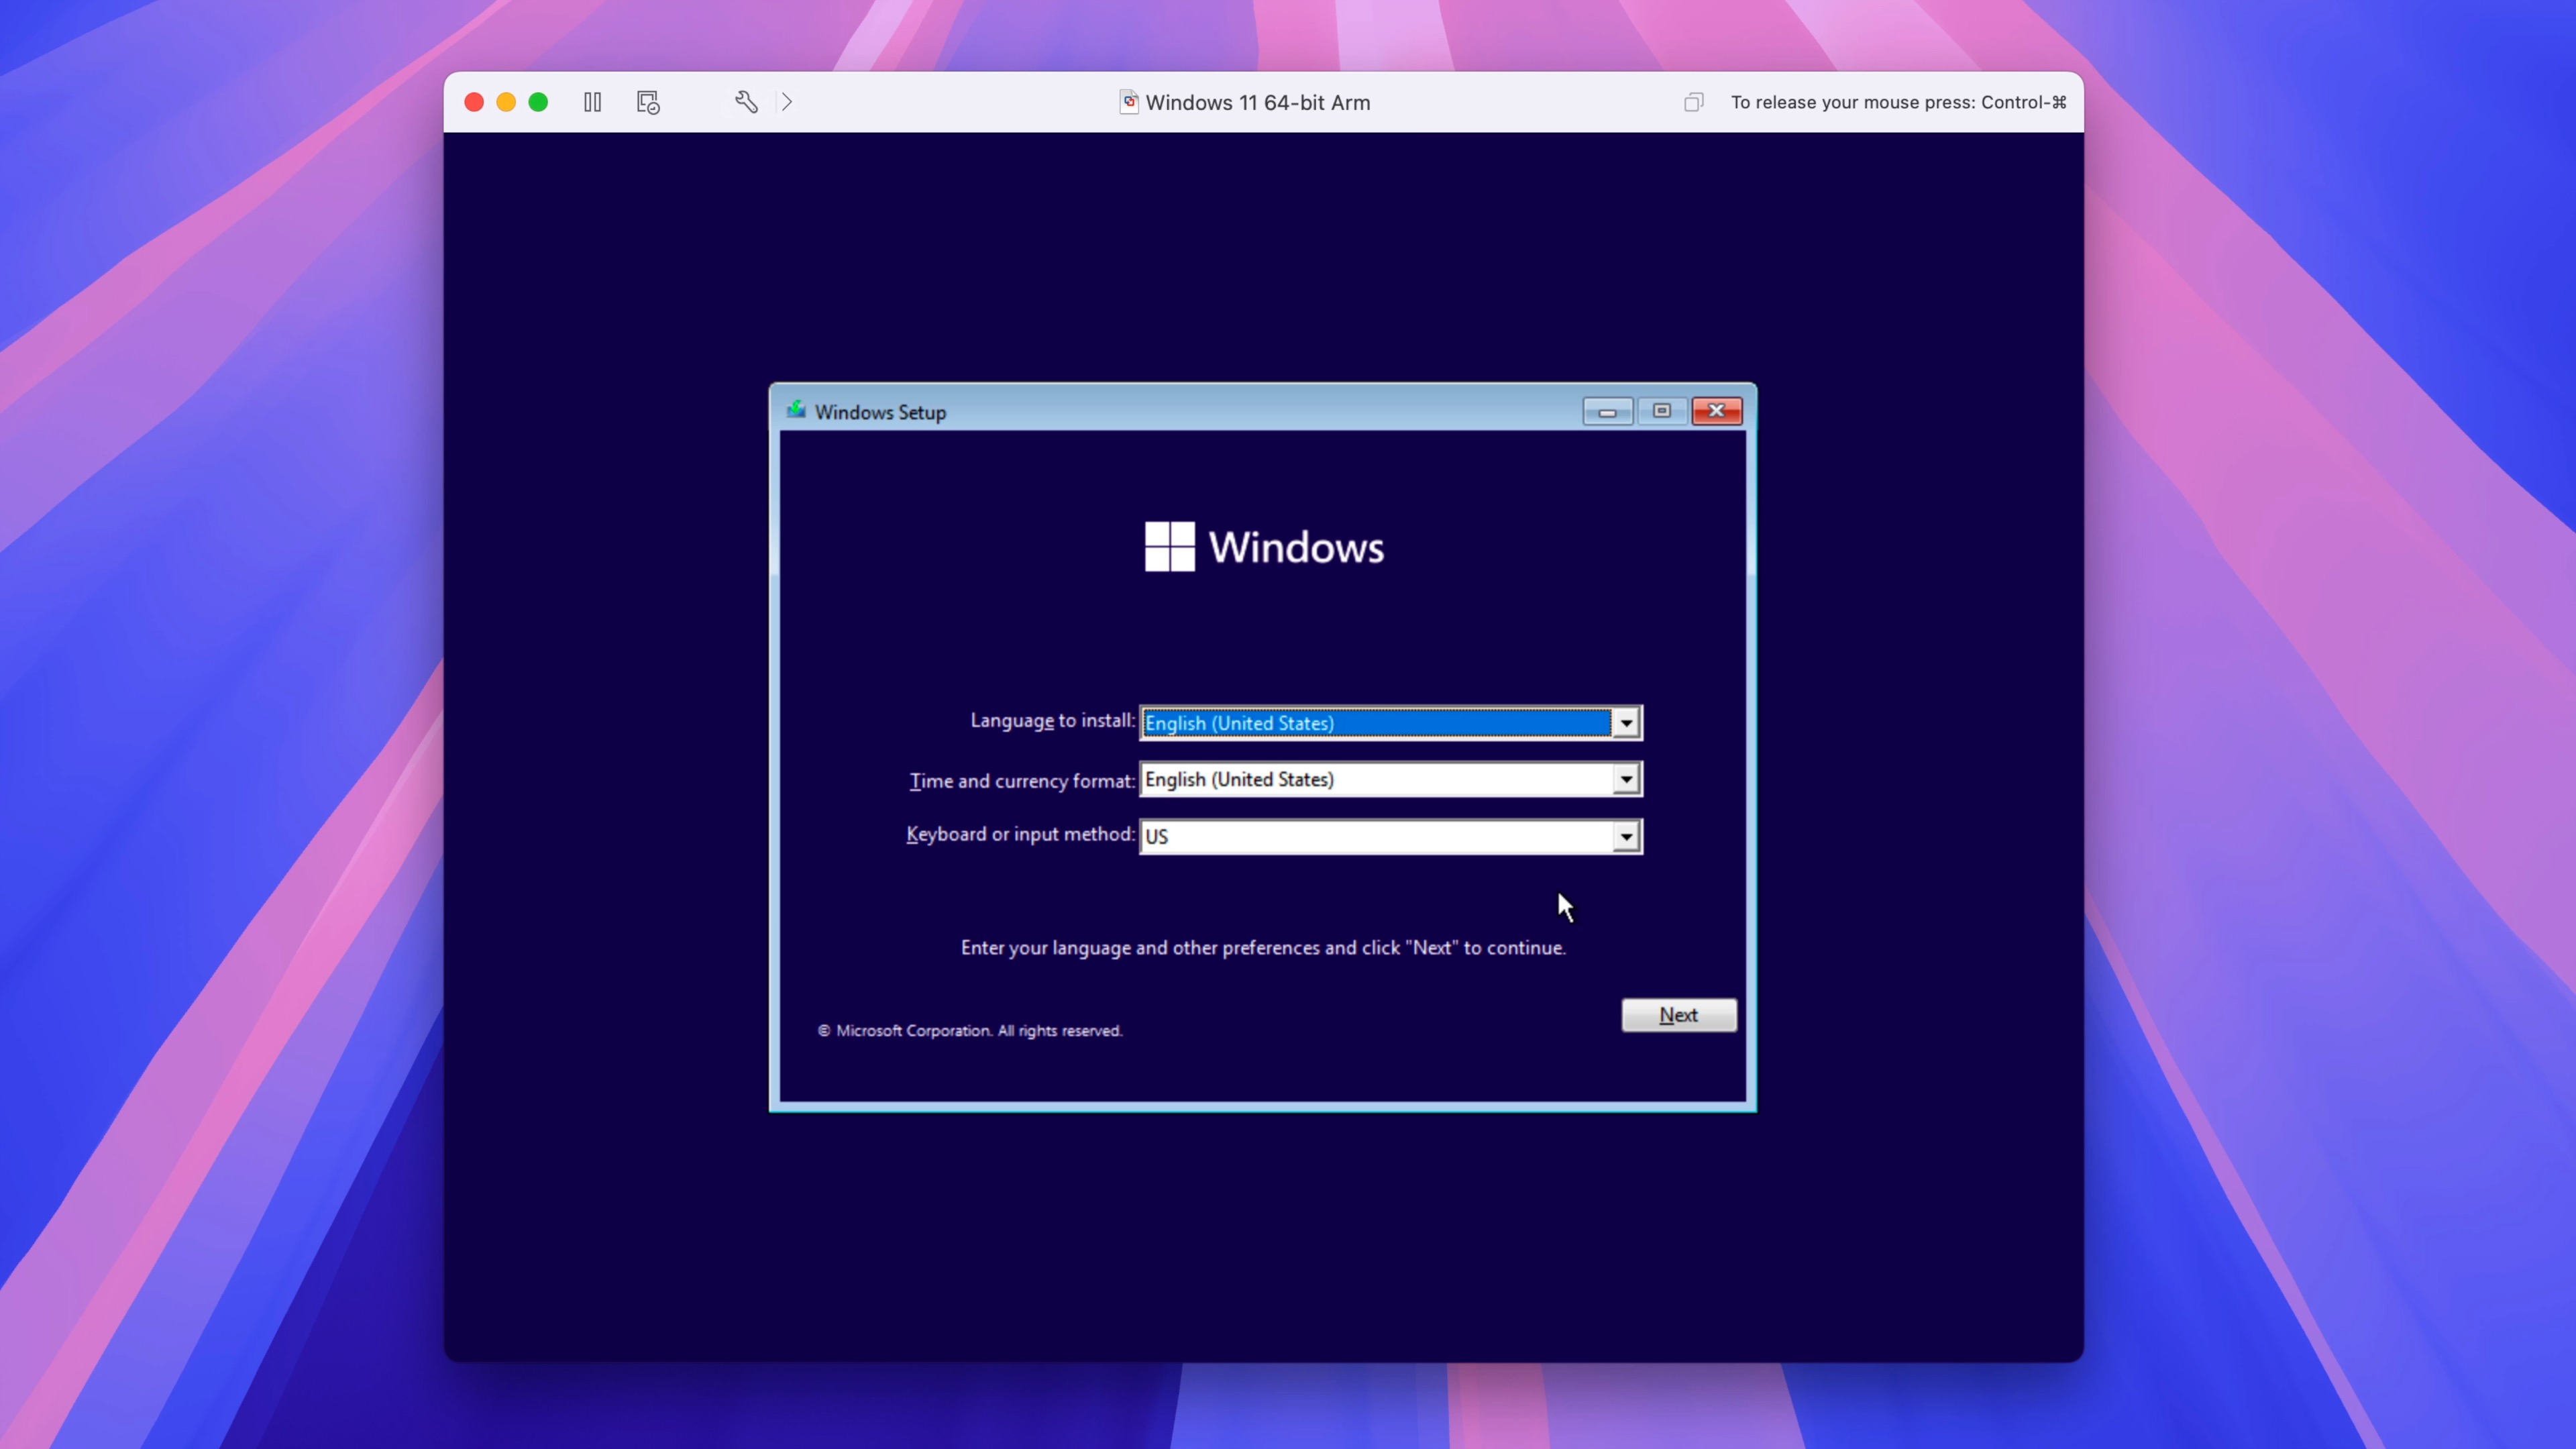
Step 19: On the Windows Setup screen, configure language, time and currency format, and keyboard input. Click Next, and click Install now.
Step 20: On the Activate Windows screen, click I don’t have a product key.
Step 21: Select Windows 11 Pro and click Next.
Step 22: Accept the Microsoft Software License Terms and click Next.
Step 23: Click Custom: Install Windows only (advanced).
Step 24: Select the unallocated space dedicated to the virtual machine and click Next.
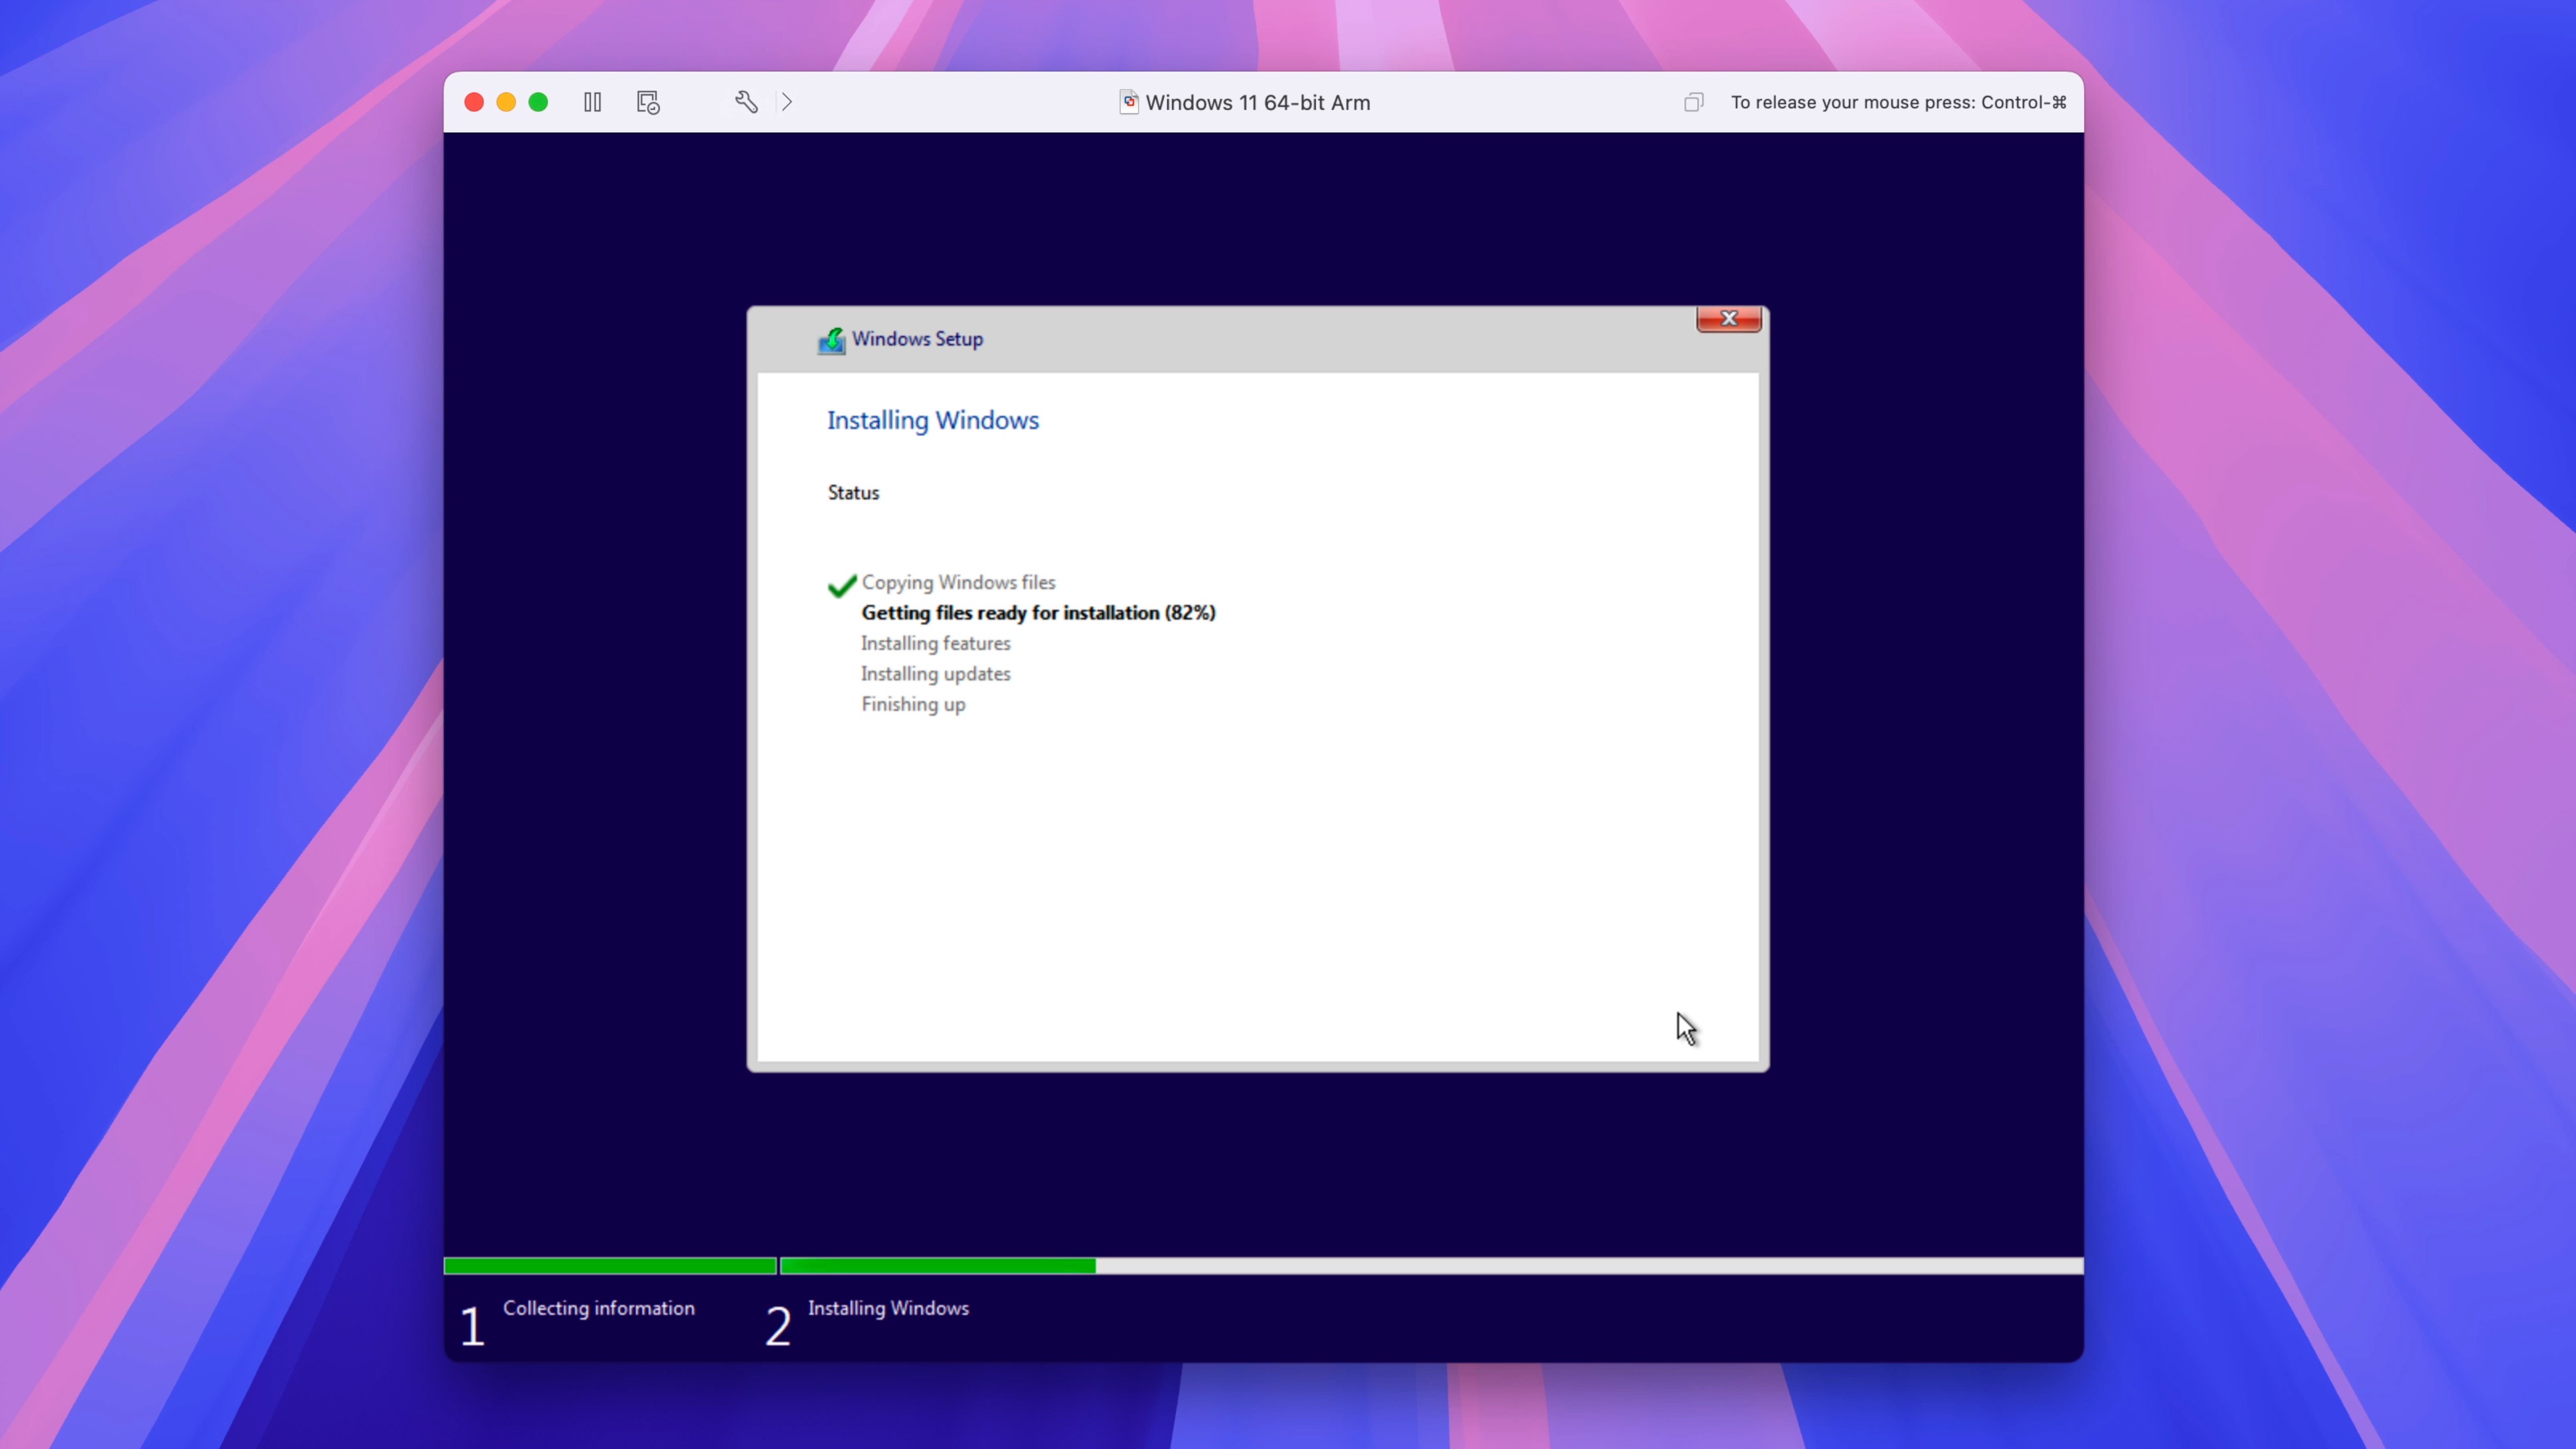
Step 25: Windows will proceed with the installation by copying Windows files and installing features and updates. Once finished, click Restart now to reboot and complete the installation.
Setup Windows 11 and bypass Micorosft login
Microsoft requires that you log in with a Microsoft ID and password to configure Windows 11. To bypass this requirement, follow these steps:
Step 26: On the country and region screen, press Shift+F10 to open Terminal. You may need to hold Fn and then press Shift+F10 if you’re using a Magic Keyboard.

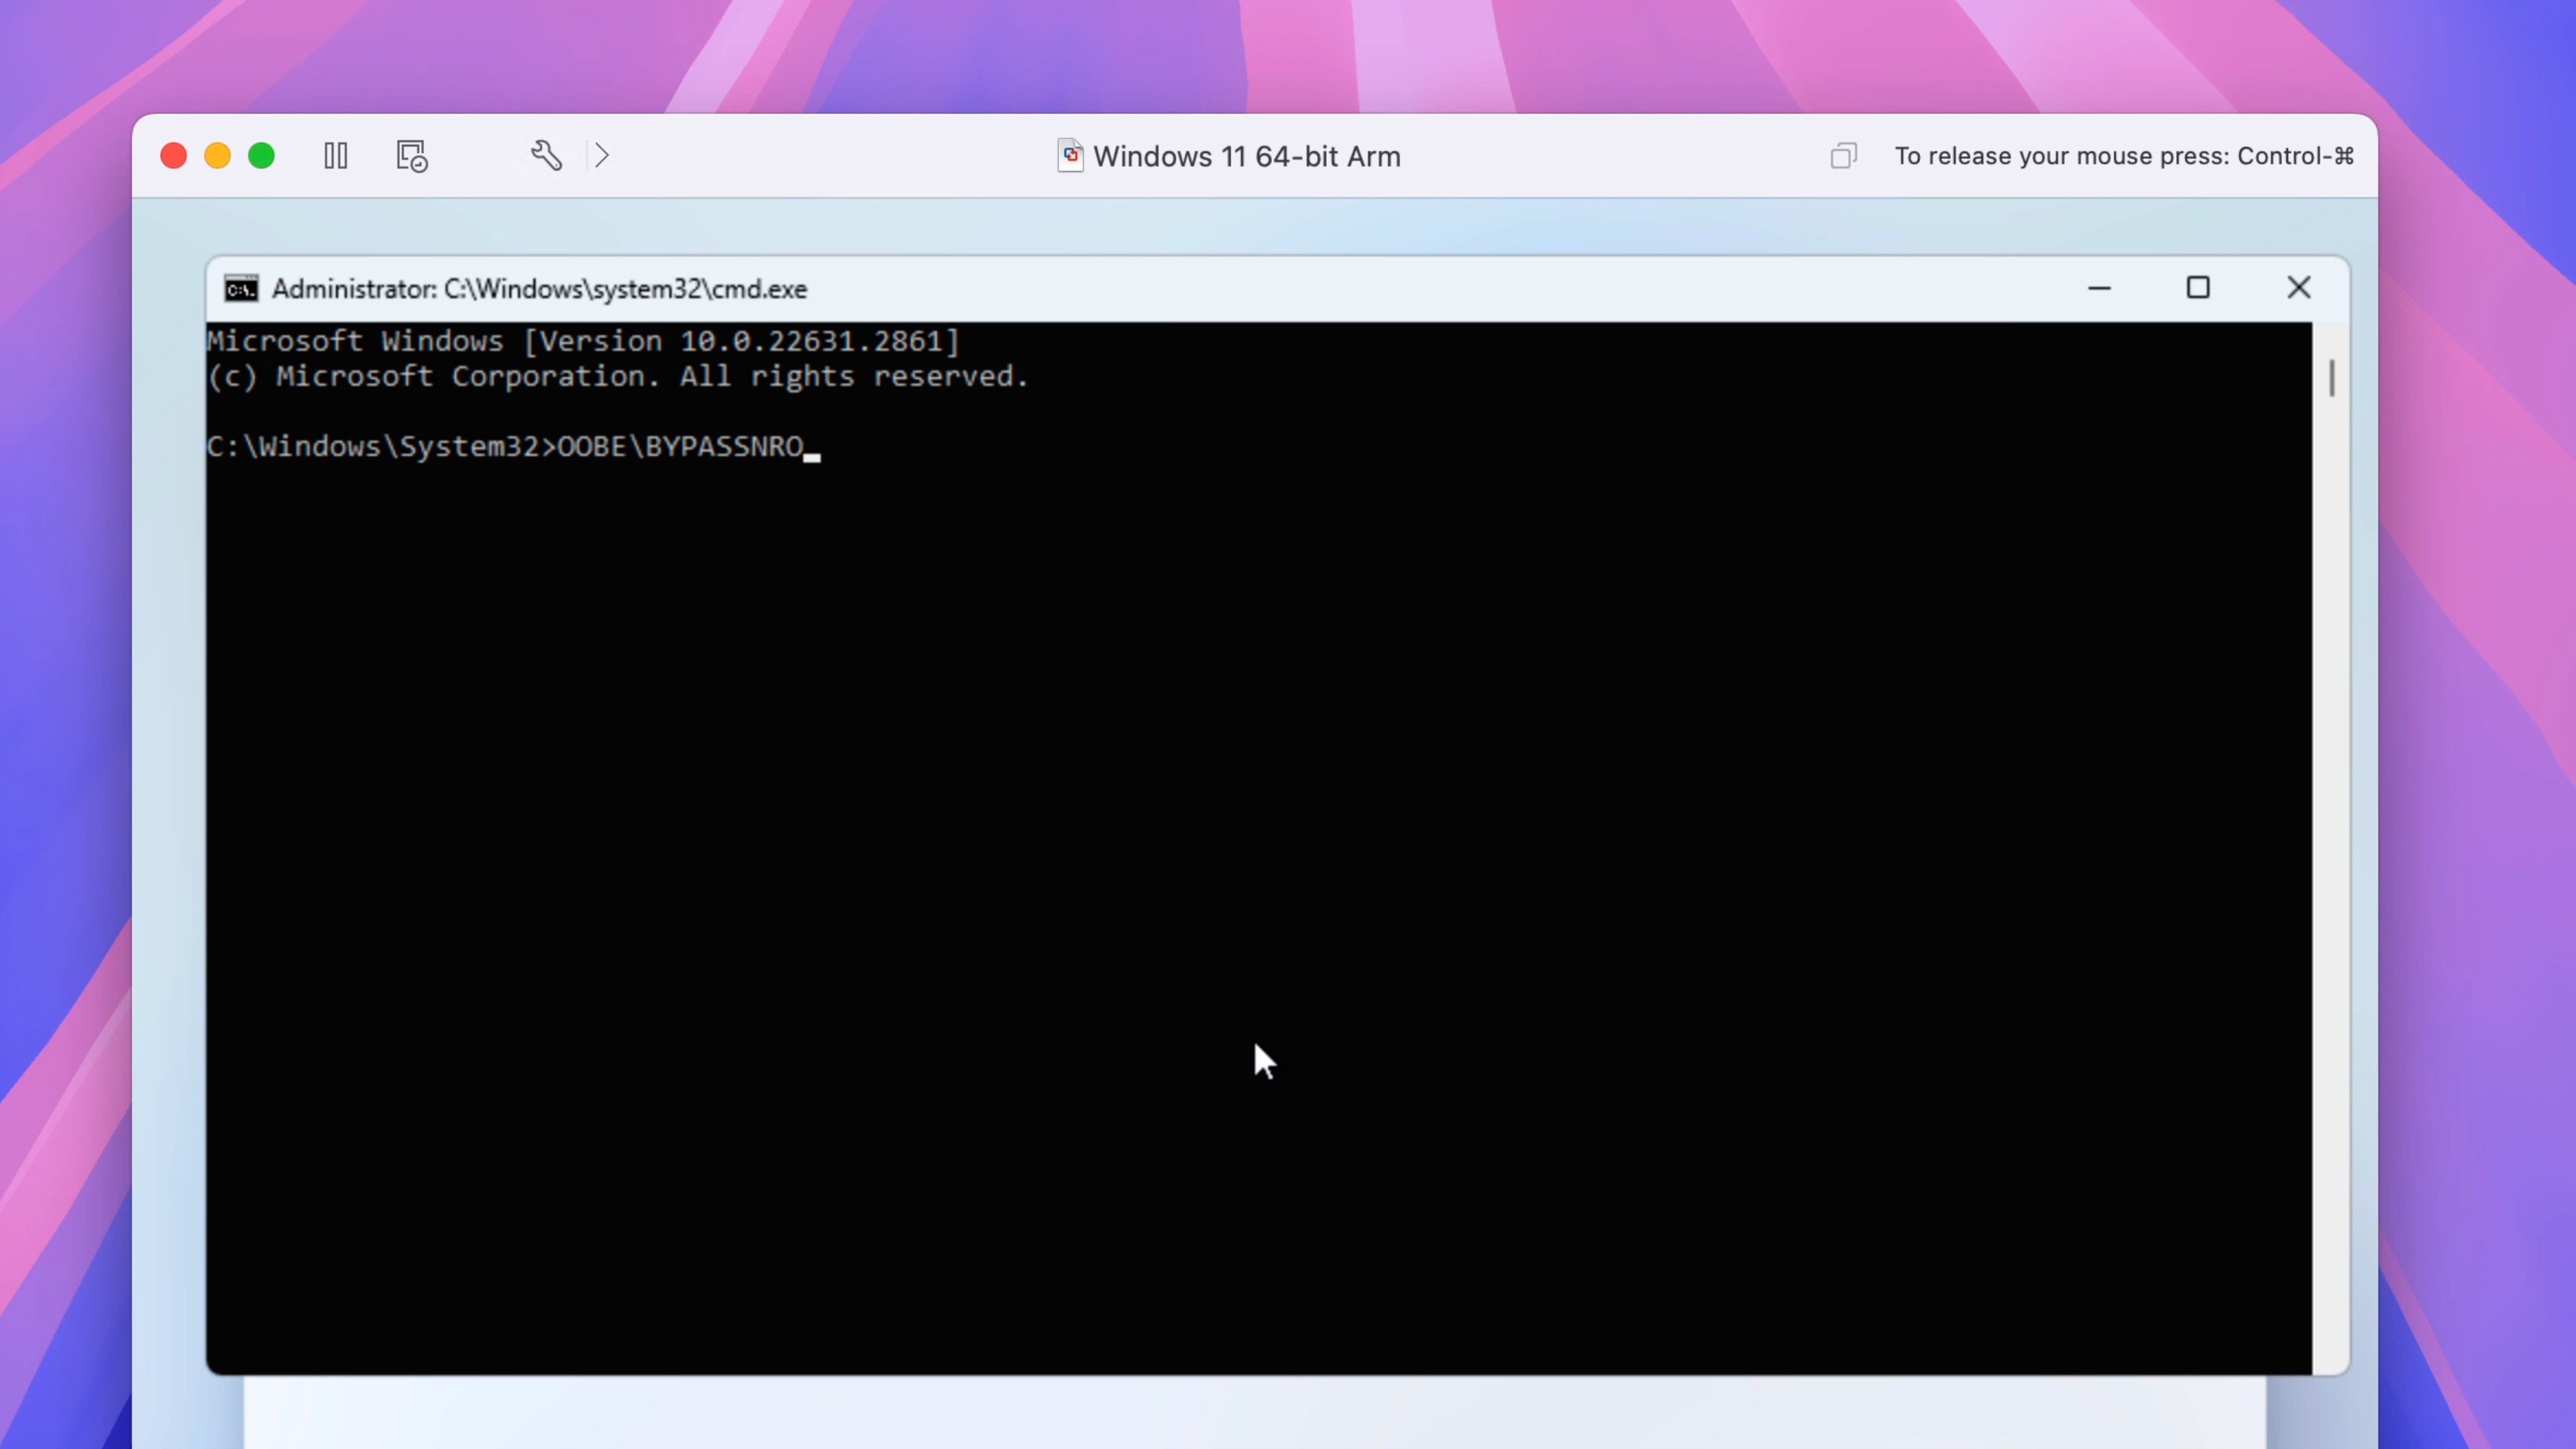
Step 27: On the Terminal screen, type OOBE\BYPASSNRO and press Return on your Mac’s keyboard. Windows will reboot.
Step 28: Select your country and click Yes.
Step 29: Select your desired keyboard layout and click Yes. When asked to add a second layout, click Skip. Windows 11 will now check for updates and restart.
Step 30: Upon rebooting, you’ll be asked to name your device. Name your device and click Next.
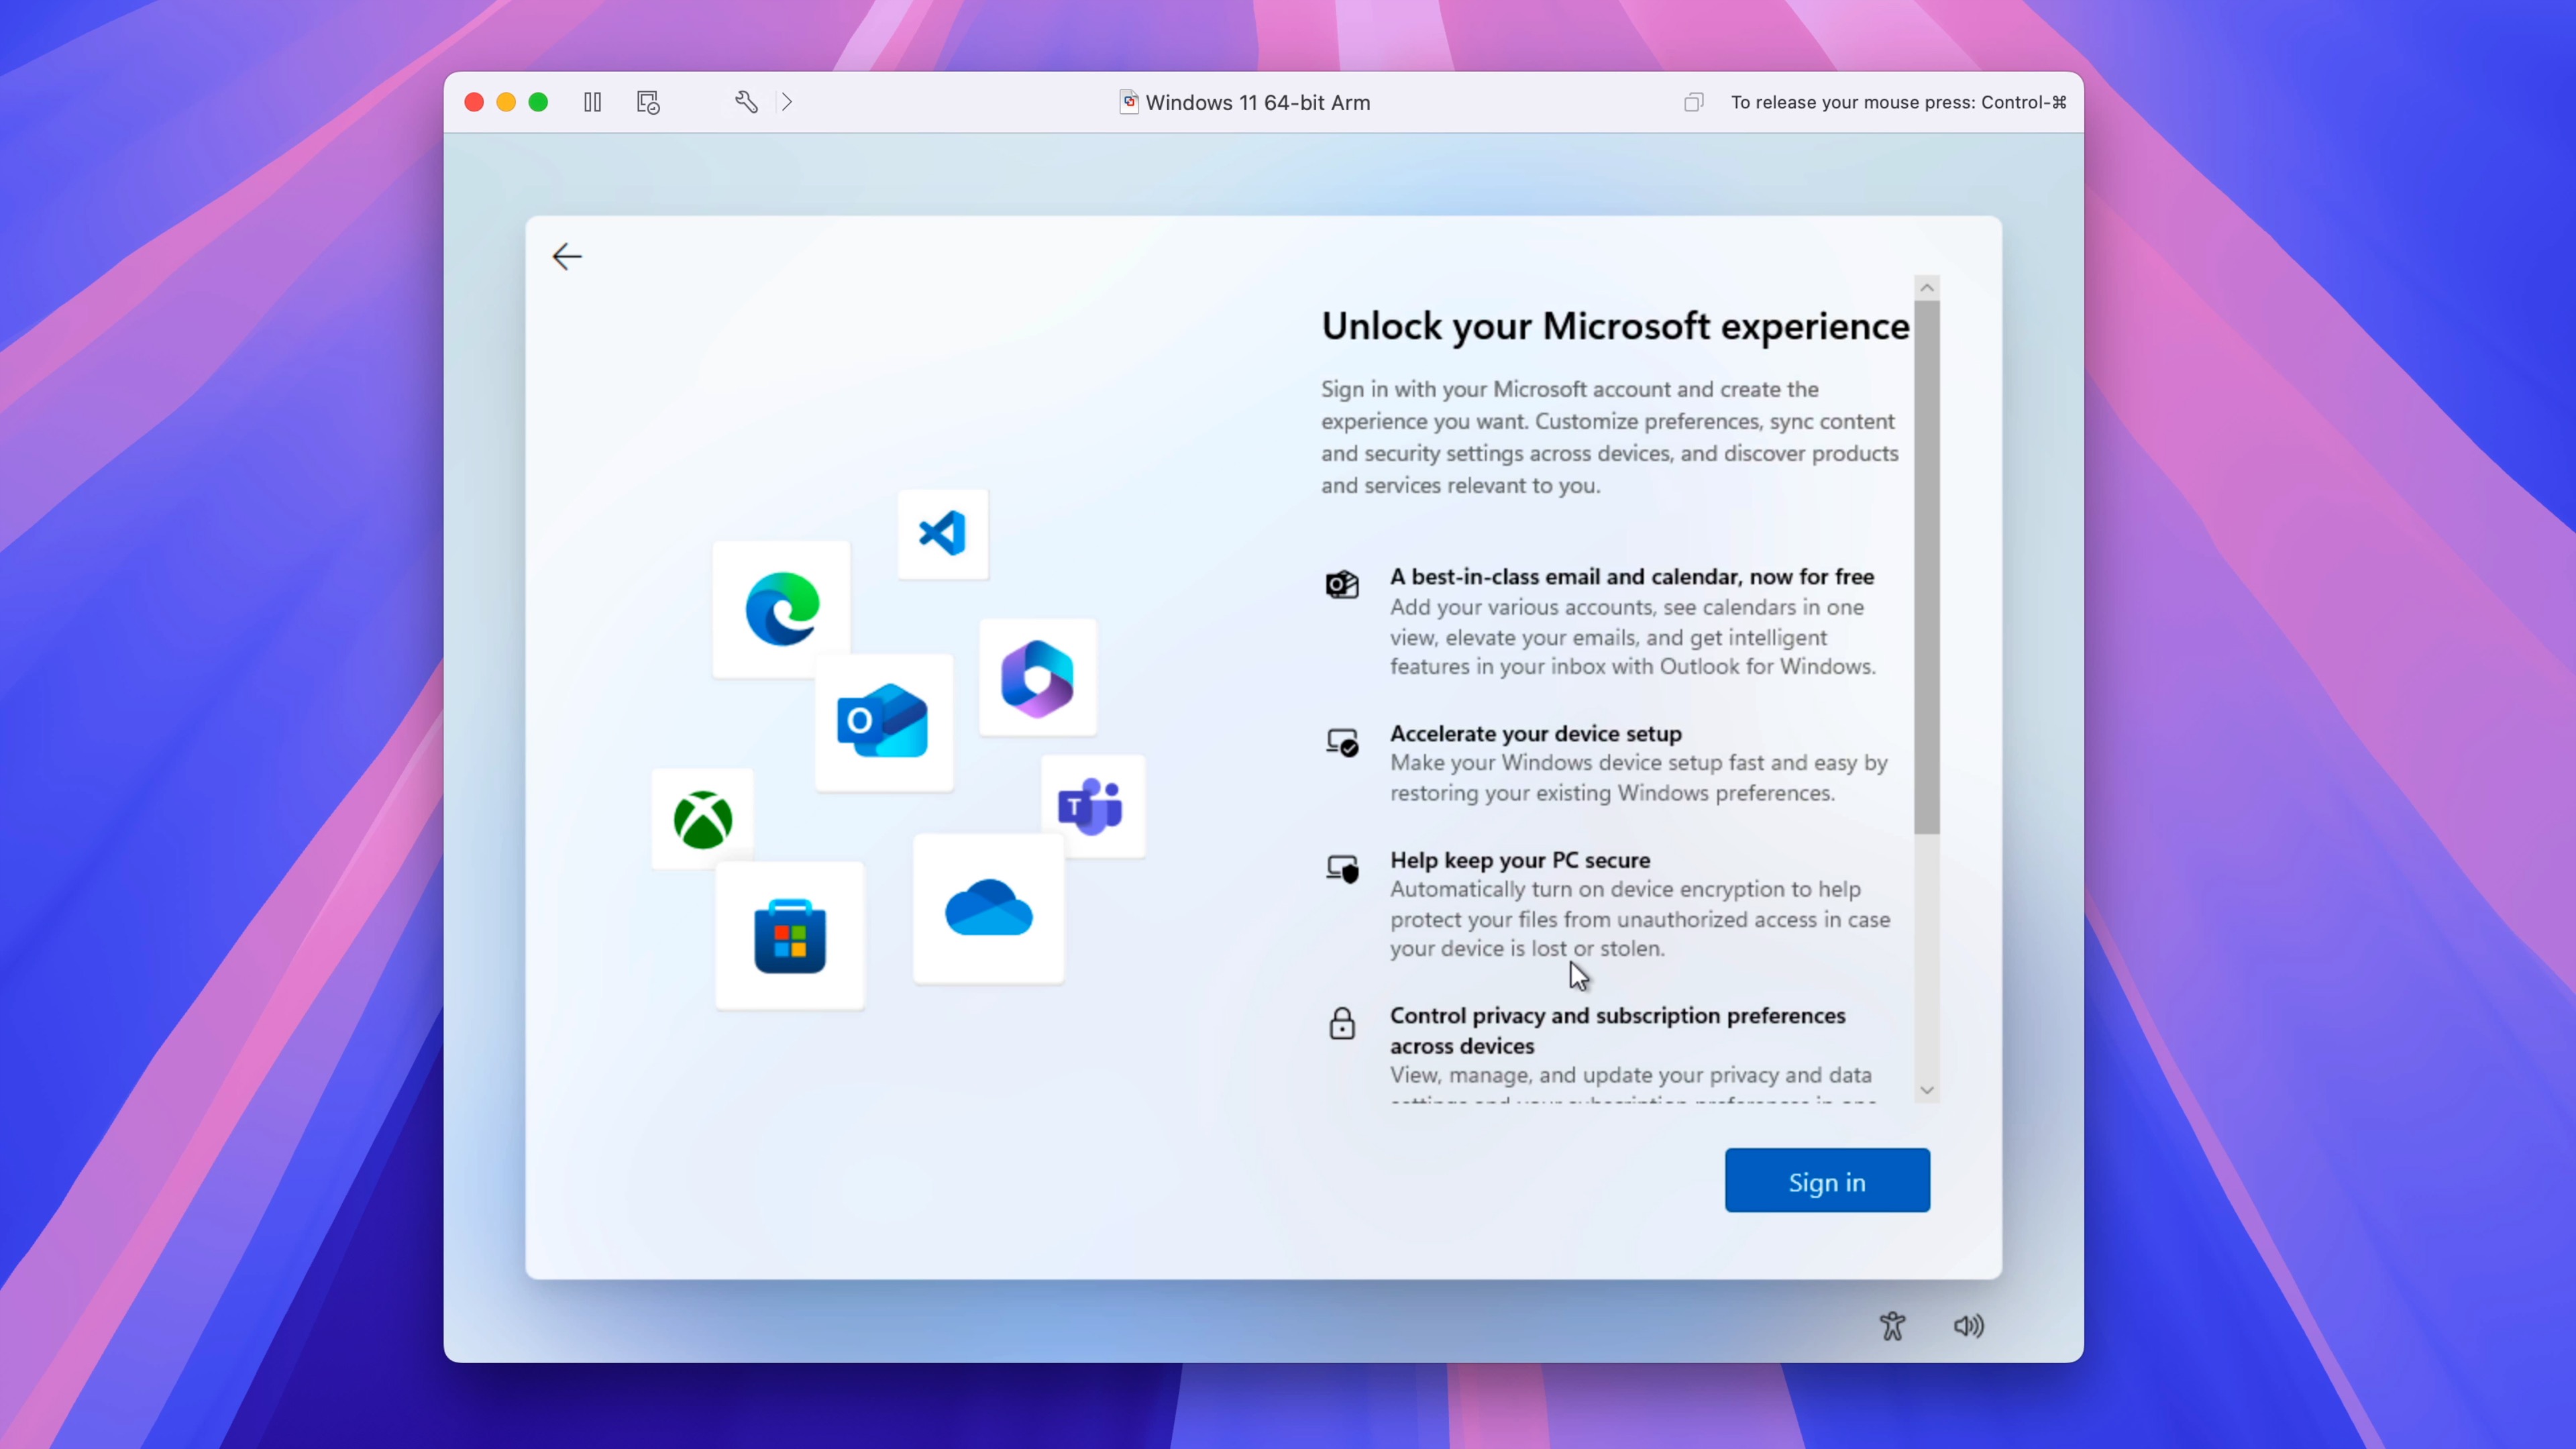
Step 31: Click Set up for personal use and click Next.
Step 32: On the Unlock your Microsoft experience screen, Windows 11 will try to force you to sign in with a Microsoft account. In the menu bar click Virtual Machine → Network Adapter → Disconnect Network Adapter to temporarily disable Internet access for the Windows 11 Virtual Machine, which will allow you to bypass the Microsoft account login requirement.
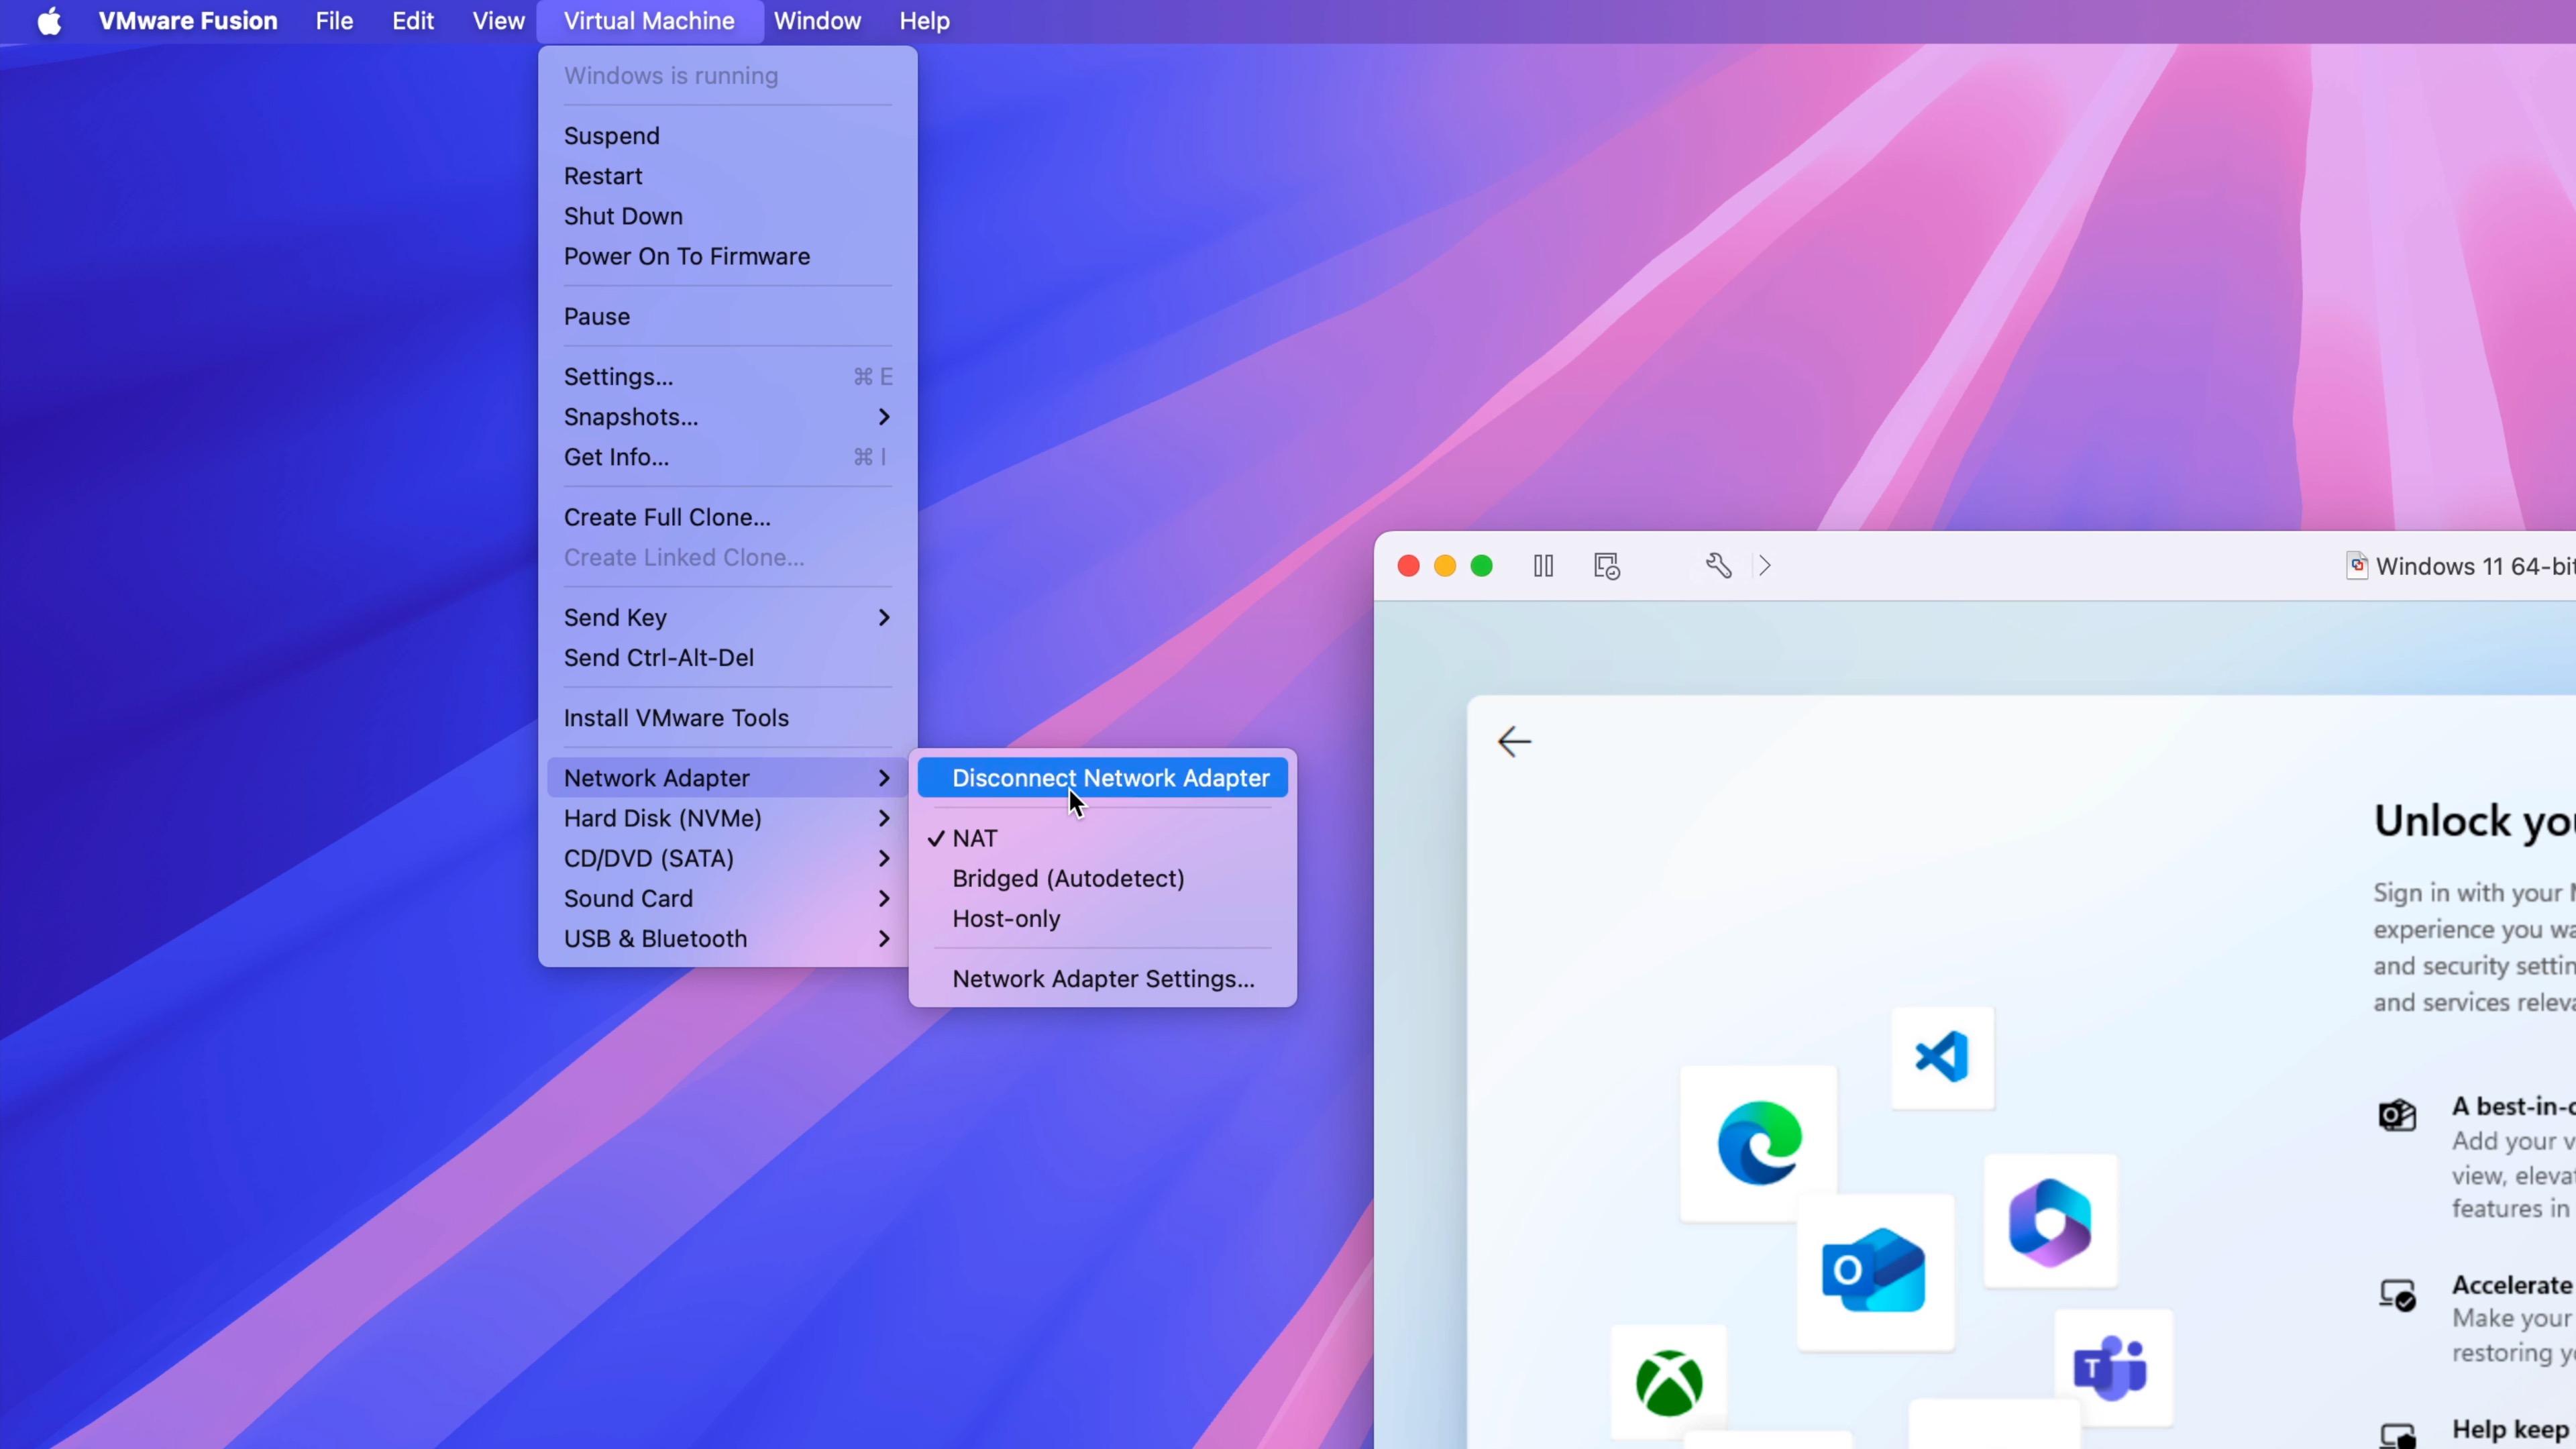
Step 34: Click Sign in to bypass the login, and then click Virtual Machine → Network Adapter → Connect Network Adapter to reconnect your virtual machine to the Internet.
Step 35: Enter your name and click Next. Then click Next on the password screen without entering a password to skip setting up a password.
Tip: Of course, you can use a password, but since the virtual machine is already secured behind macOS, I prefer to skip this step to save time.
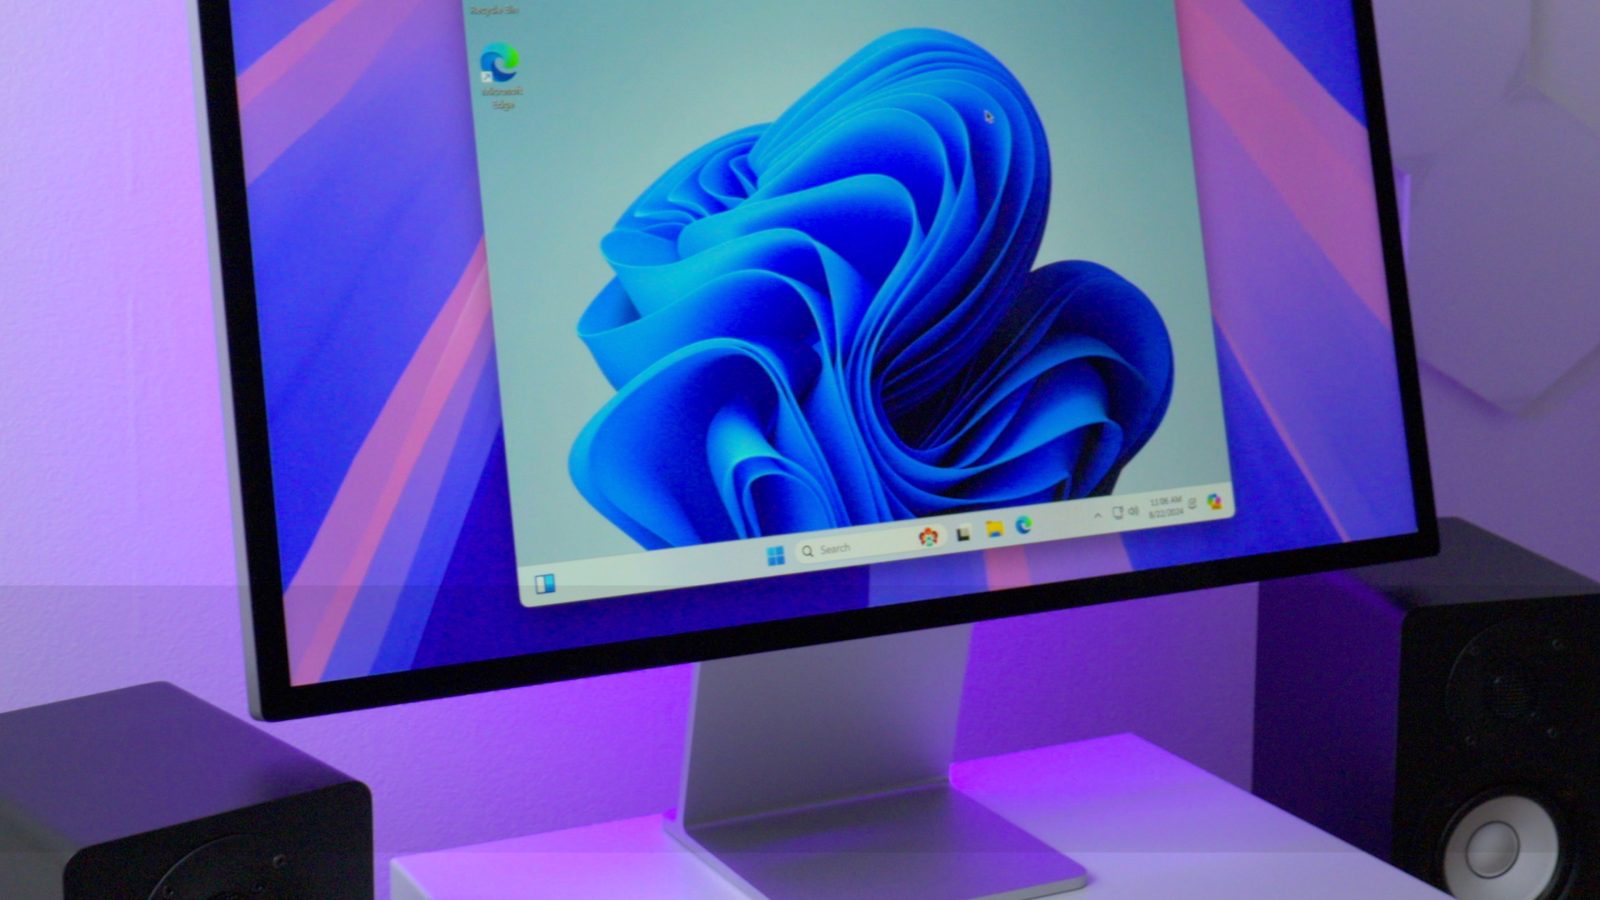
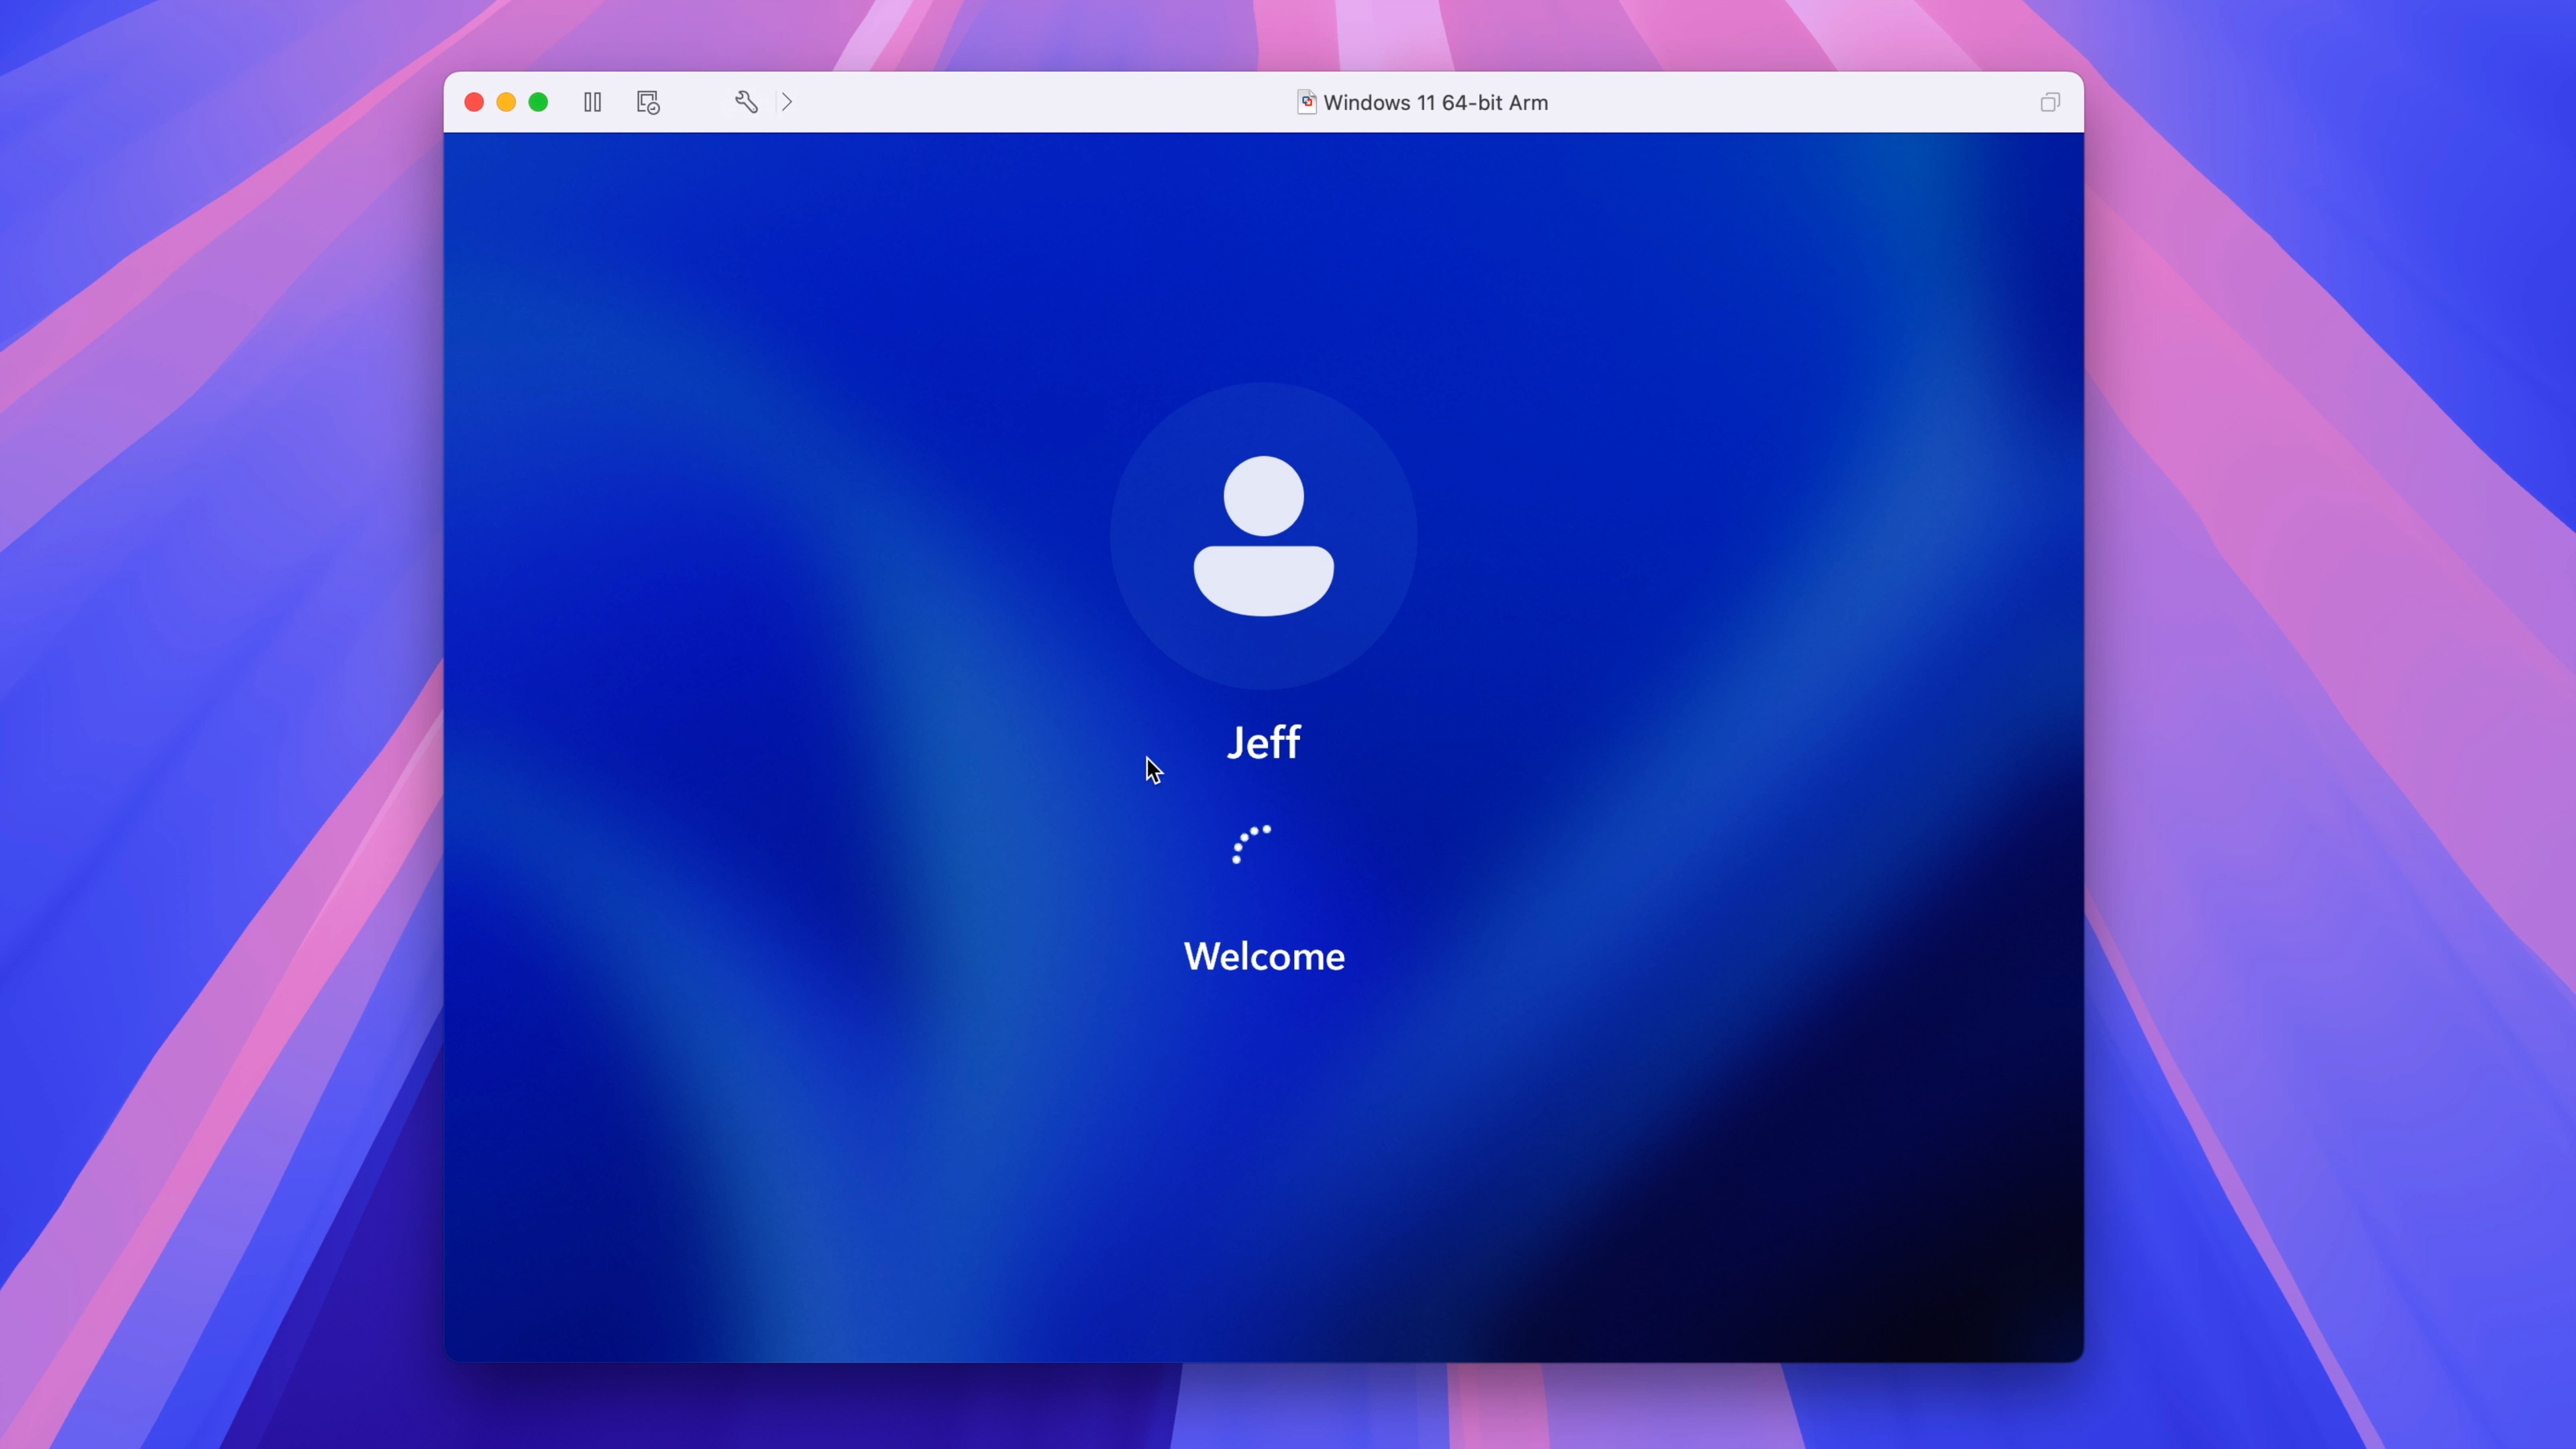
Step 36: Disable all of the privacy toggles and click Accept. Windows will finish setup and boot to the Windows 11 desktop.
VMware Tools provides necessary drivers, such as video drivers, to improve the experience; I highly recommend installing it.
Step 37: In the menu bar, click Virtual Machine → Install VMware Tools → Install to mount the VMware tools drive.
Step 38: Open Windows Explorer → DVD Drive VMware Tools and double-click setup. Then, click Yes on the User Account Control pop-up.

Step 39: Click Next → Next → Install on the VMware Tool Setup window to install VMware Tools. Once completed, click Finish → Yes to reboot Windows 11. Upon reboot, you should notice improved graphics resolution now that the proper drivers are installed.
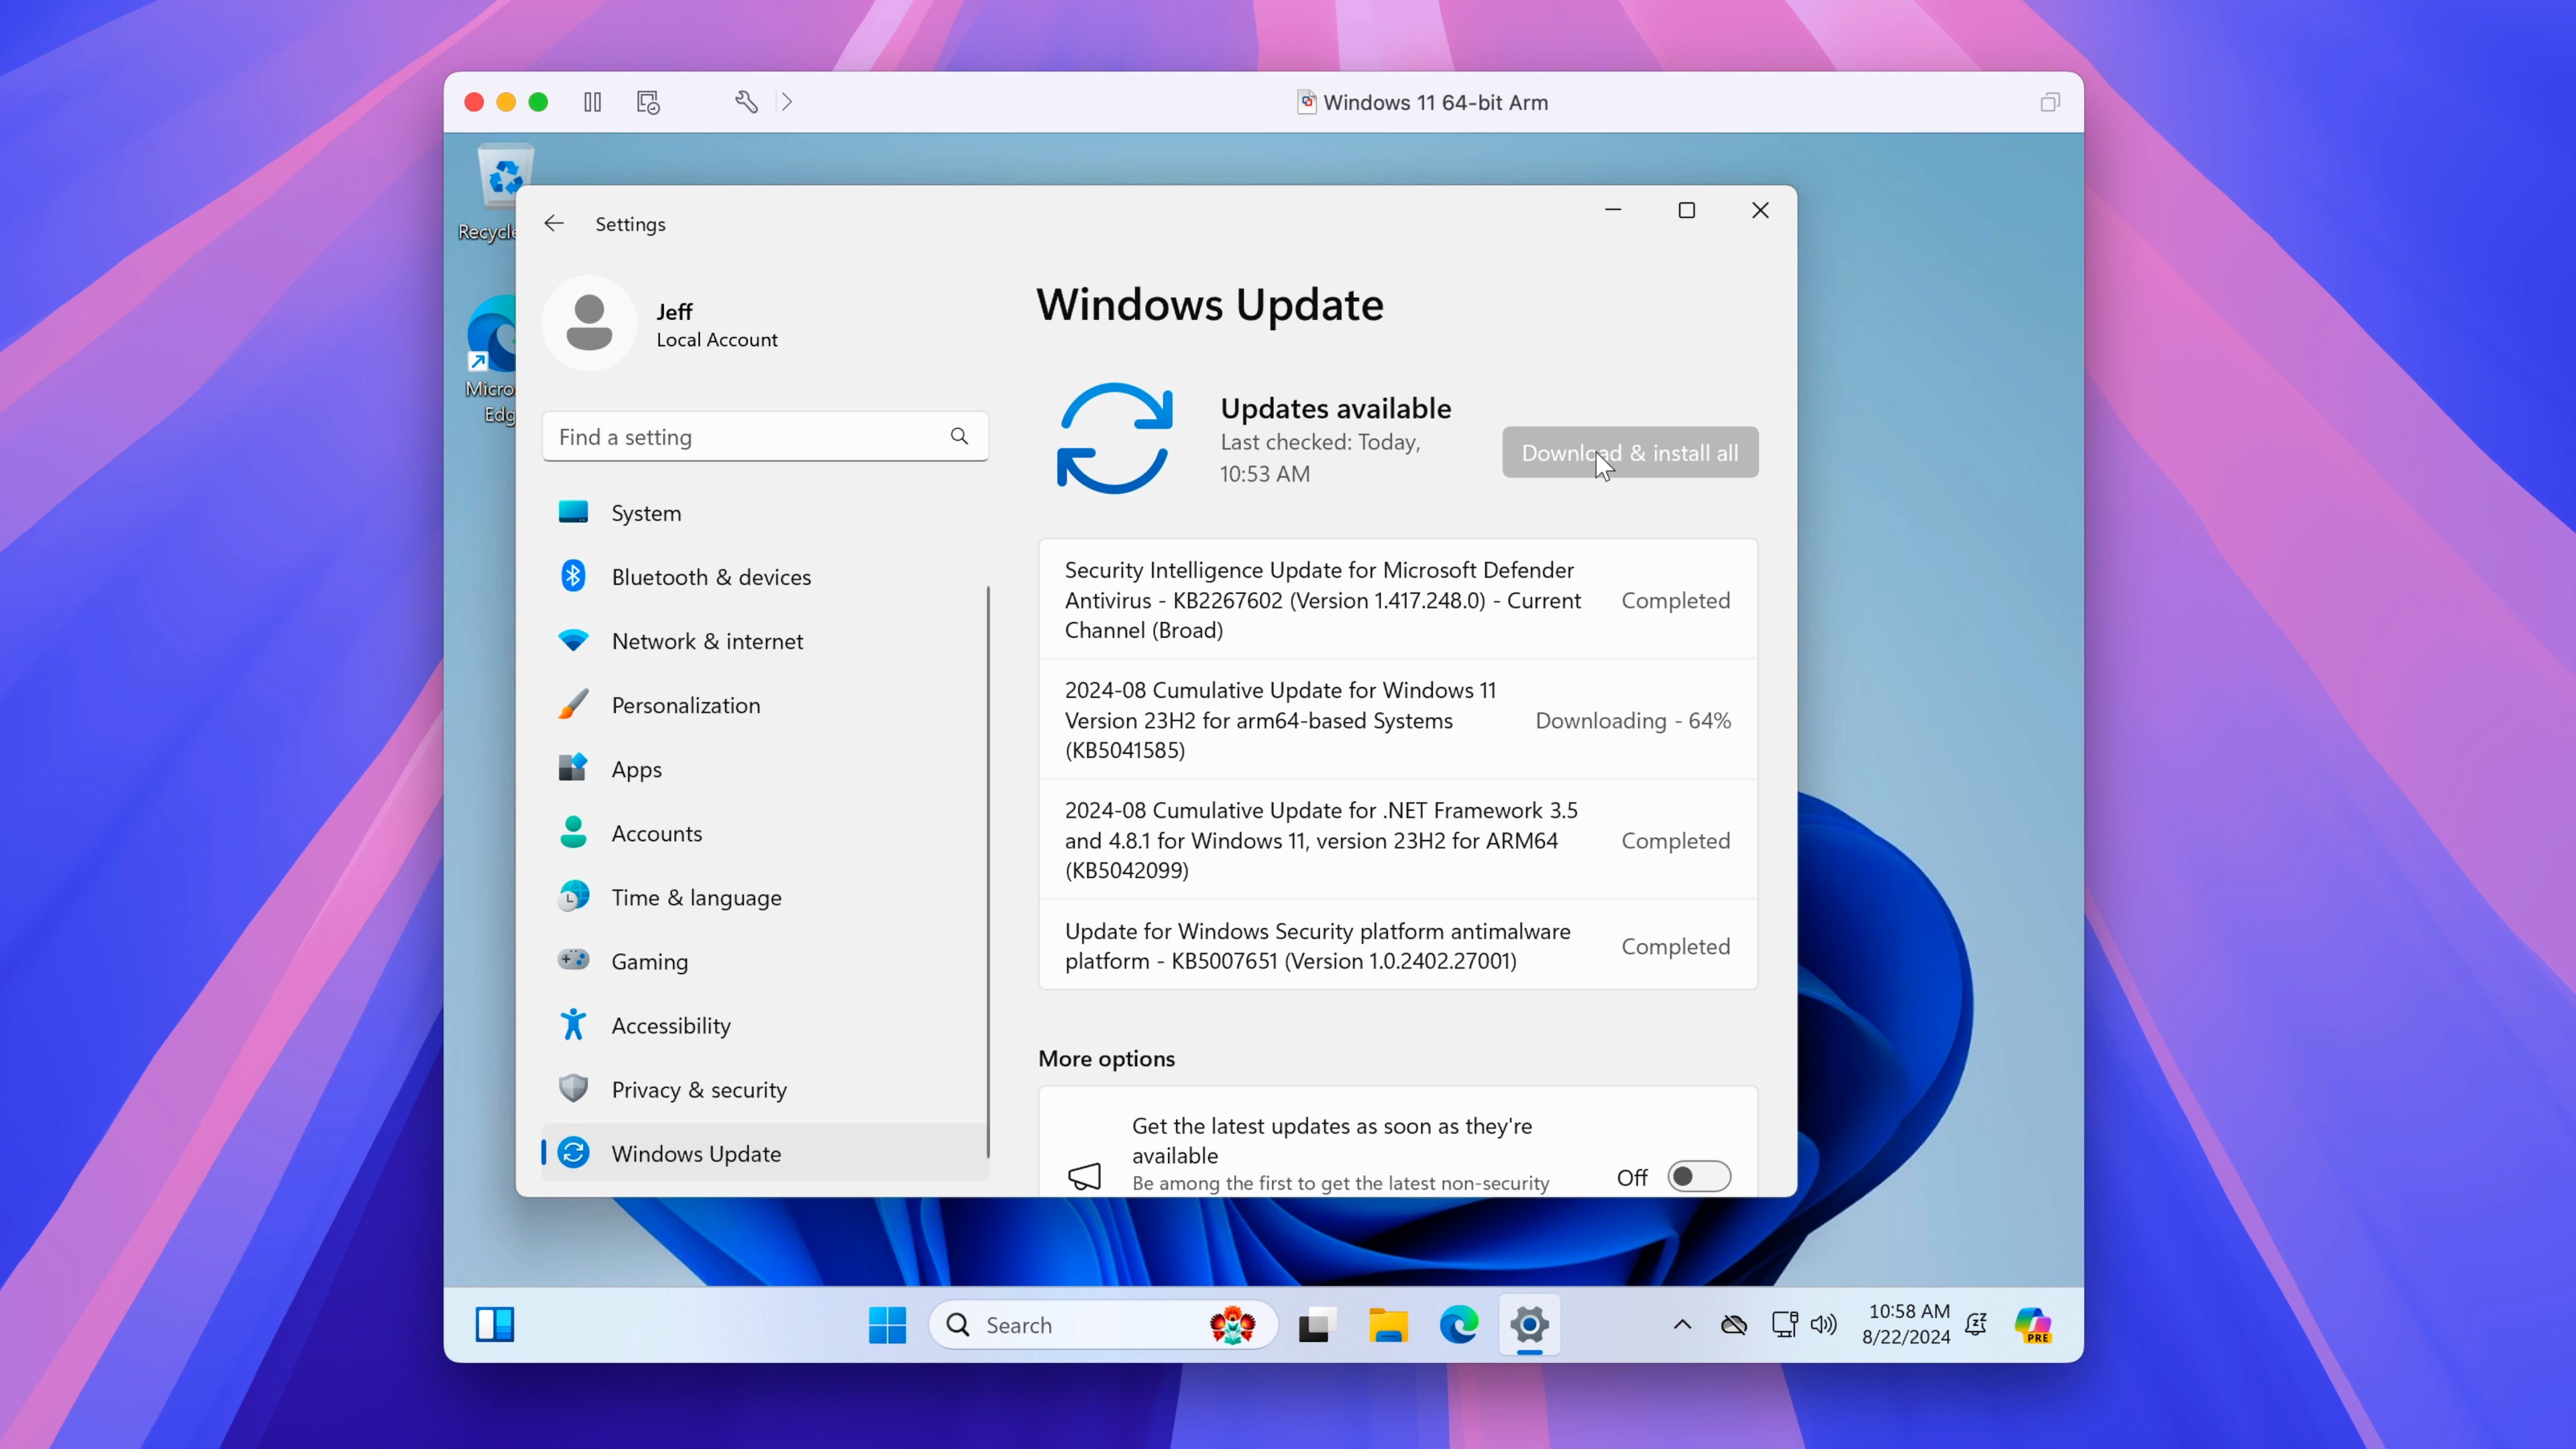
Run Windows Update
Step 40: Click the Start menu → Settings → Windows Update → Check for updates to download and install all of the latest updates and security patches for Windows 11. Once the updates are completed, click Restart now to reboot and complete the updates.
9to5Mac’s Take
It might seem like many steps, but I like to be as verbose as possible to help new ones easily configure Windows 11 on their Macs. This process can be done in less than 30 minutes, assuming you have fast internet for the Windows 11 download and updates.
Now that VMware Fusion Pro is officially free for personal use, it’s an easy choice for users who don’t need all of Parallels’ advanced features. It’s handy if you only use Windows occasionally for that awkward one-off app or two.
What are your thoughts on running Windows 11 via a VMware Fusion virtual machine on macOS? Sound off down below in the comments with your opinion.
FTC: We use income earning auto affiliate links. More.


