Summary
- Get familiar with adding and removing cards and passes to keep your digital wallet organized.
- Reorder cards and passes, and set a default payment card for quicker access to the ones you use most frequently.
- Enable passes and tickets to automatically appear on your lock screen based on date, time, and location.
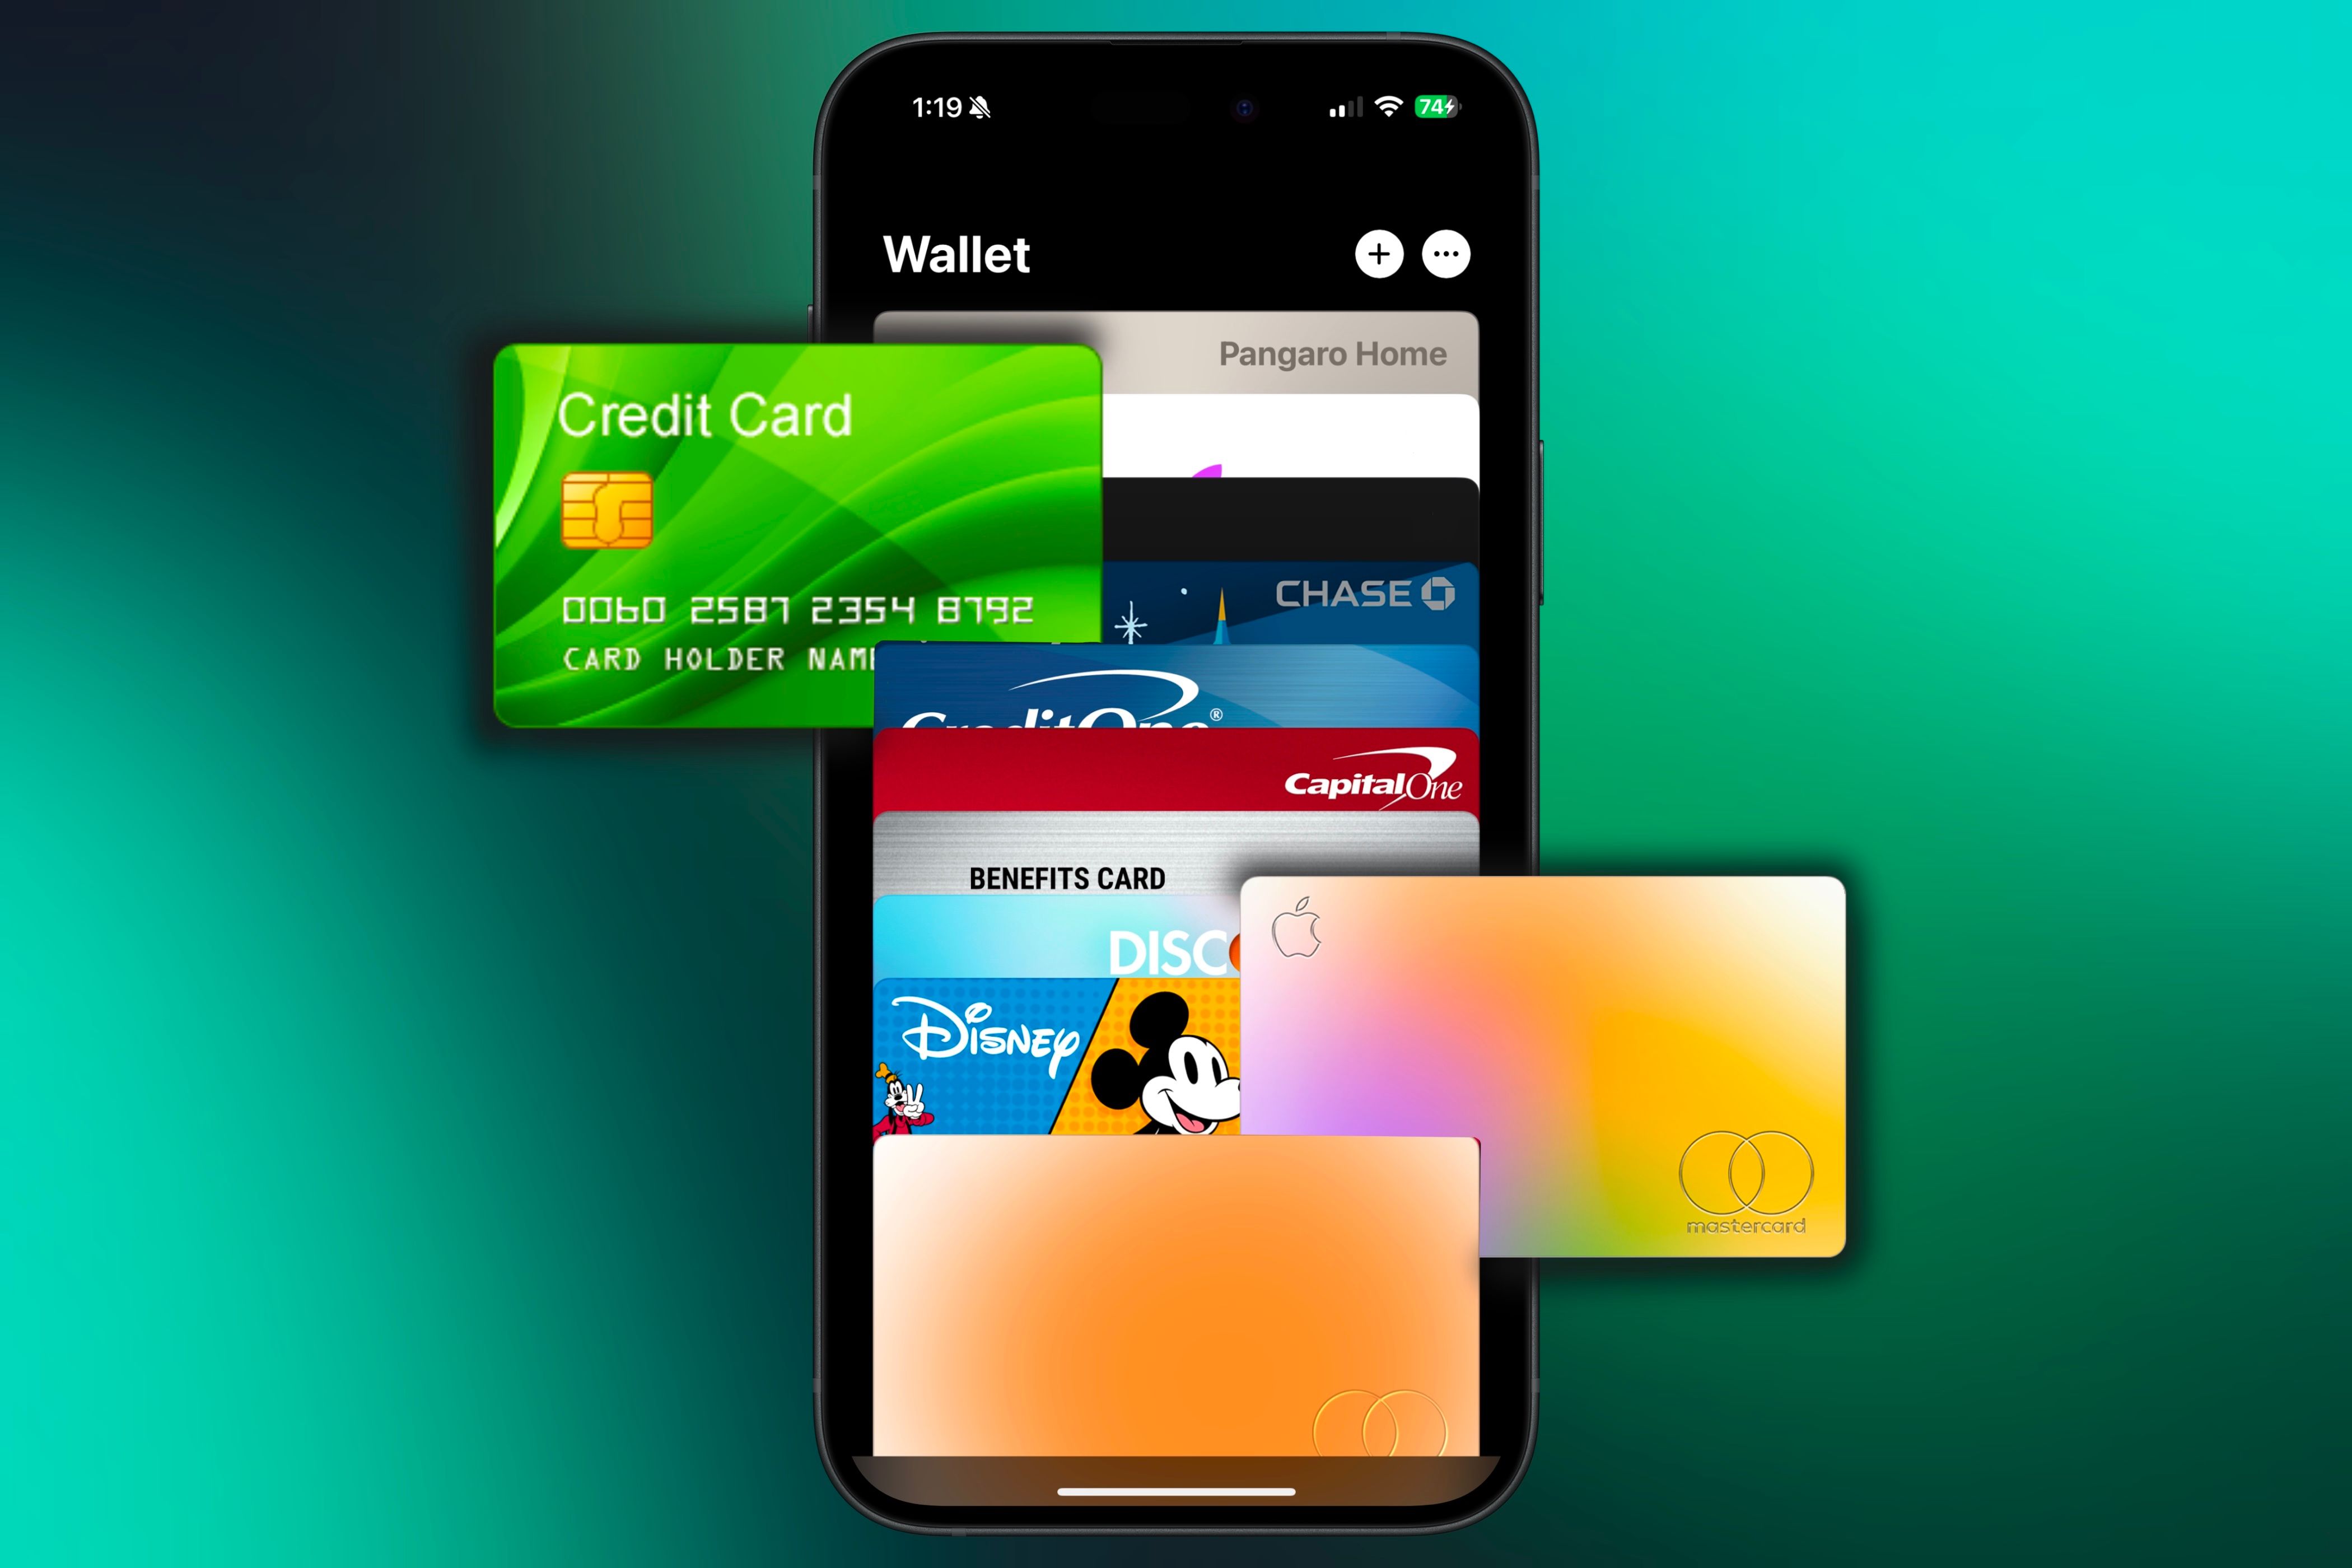
The Wallet app is a great place to store your credit and debit cards, loyalty cards, and event passes, but it can quickly become disorganized. With how easy it is to import compatible cards and passes, your digital wallet can turn into a chaotic, card-filled mess.
The good news is that there are steps you can take to organize it, making it easier to navigate and quicker to access the card or pass you need. Here are a few ways to manage your digital wallet and keep it neat.
How to Add and Remove Cards or Passes
Before organizing your digital wallet, you must know how to add and remove different cards and passes. Fortunately, both are easy to do, but adding them depends on where it is coming from.
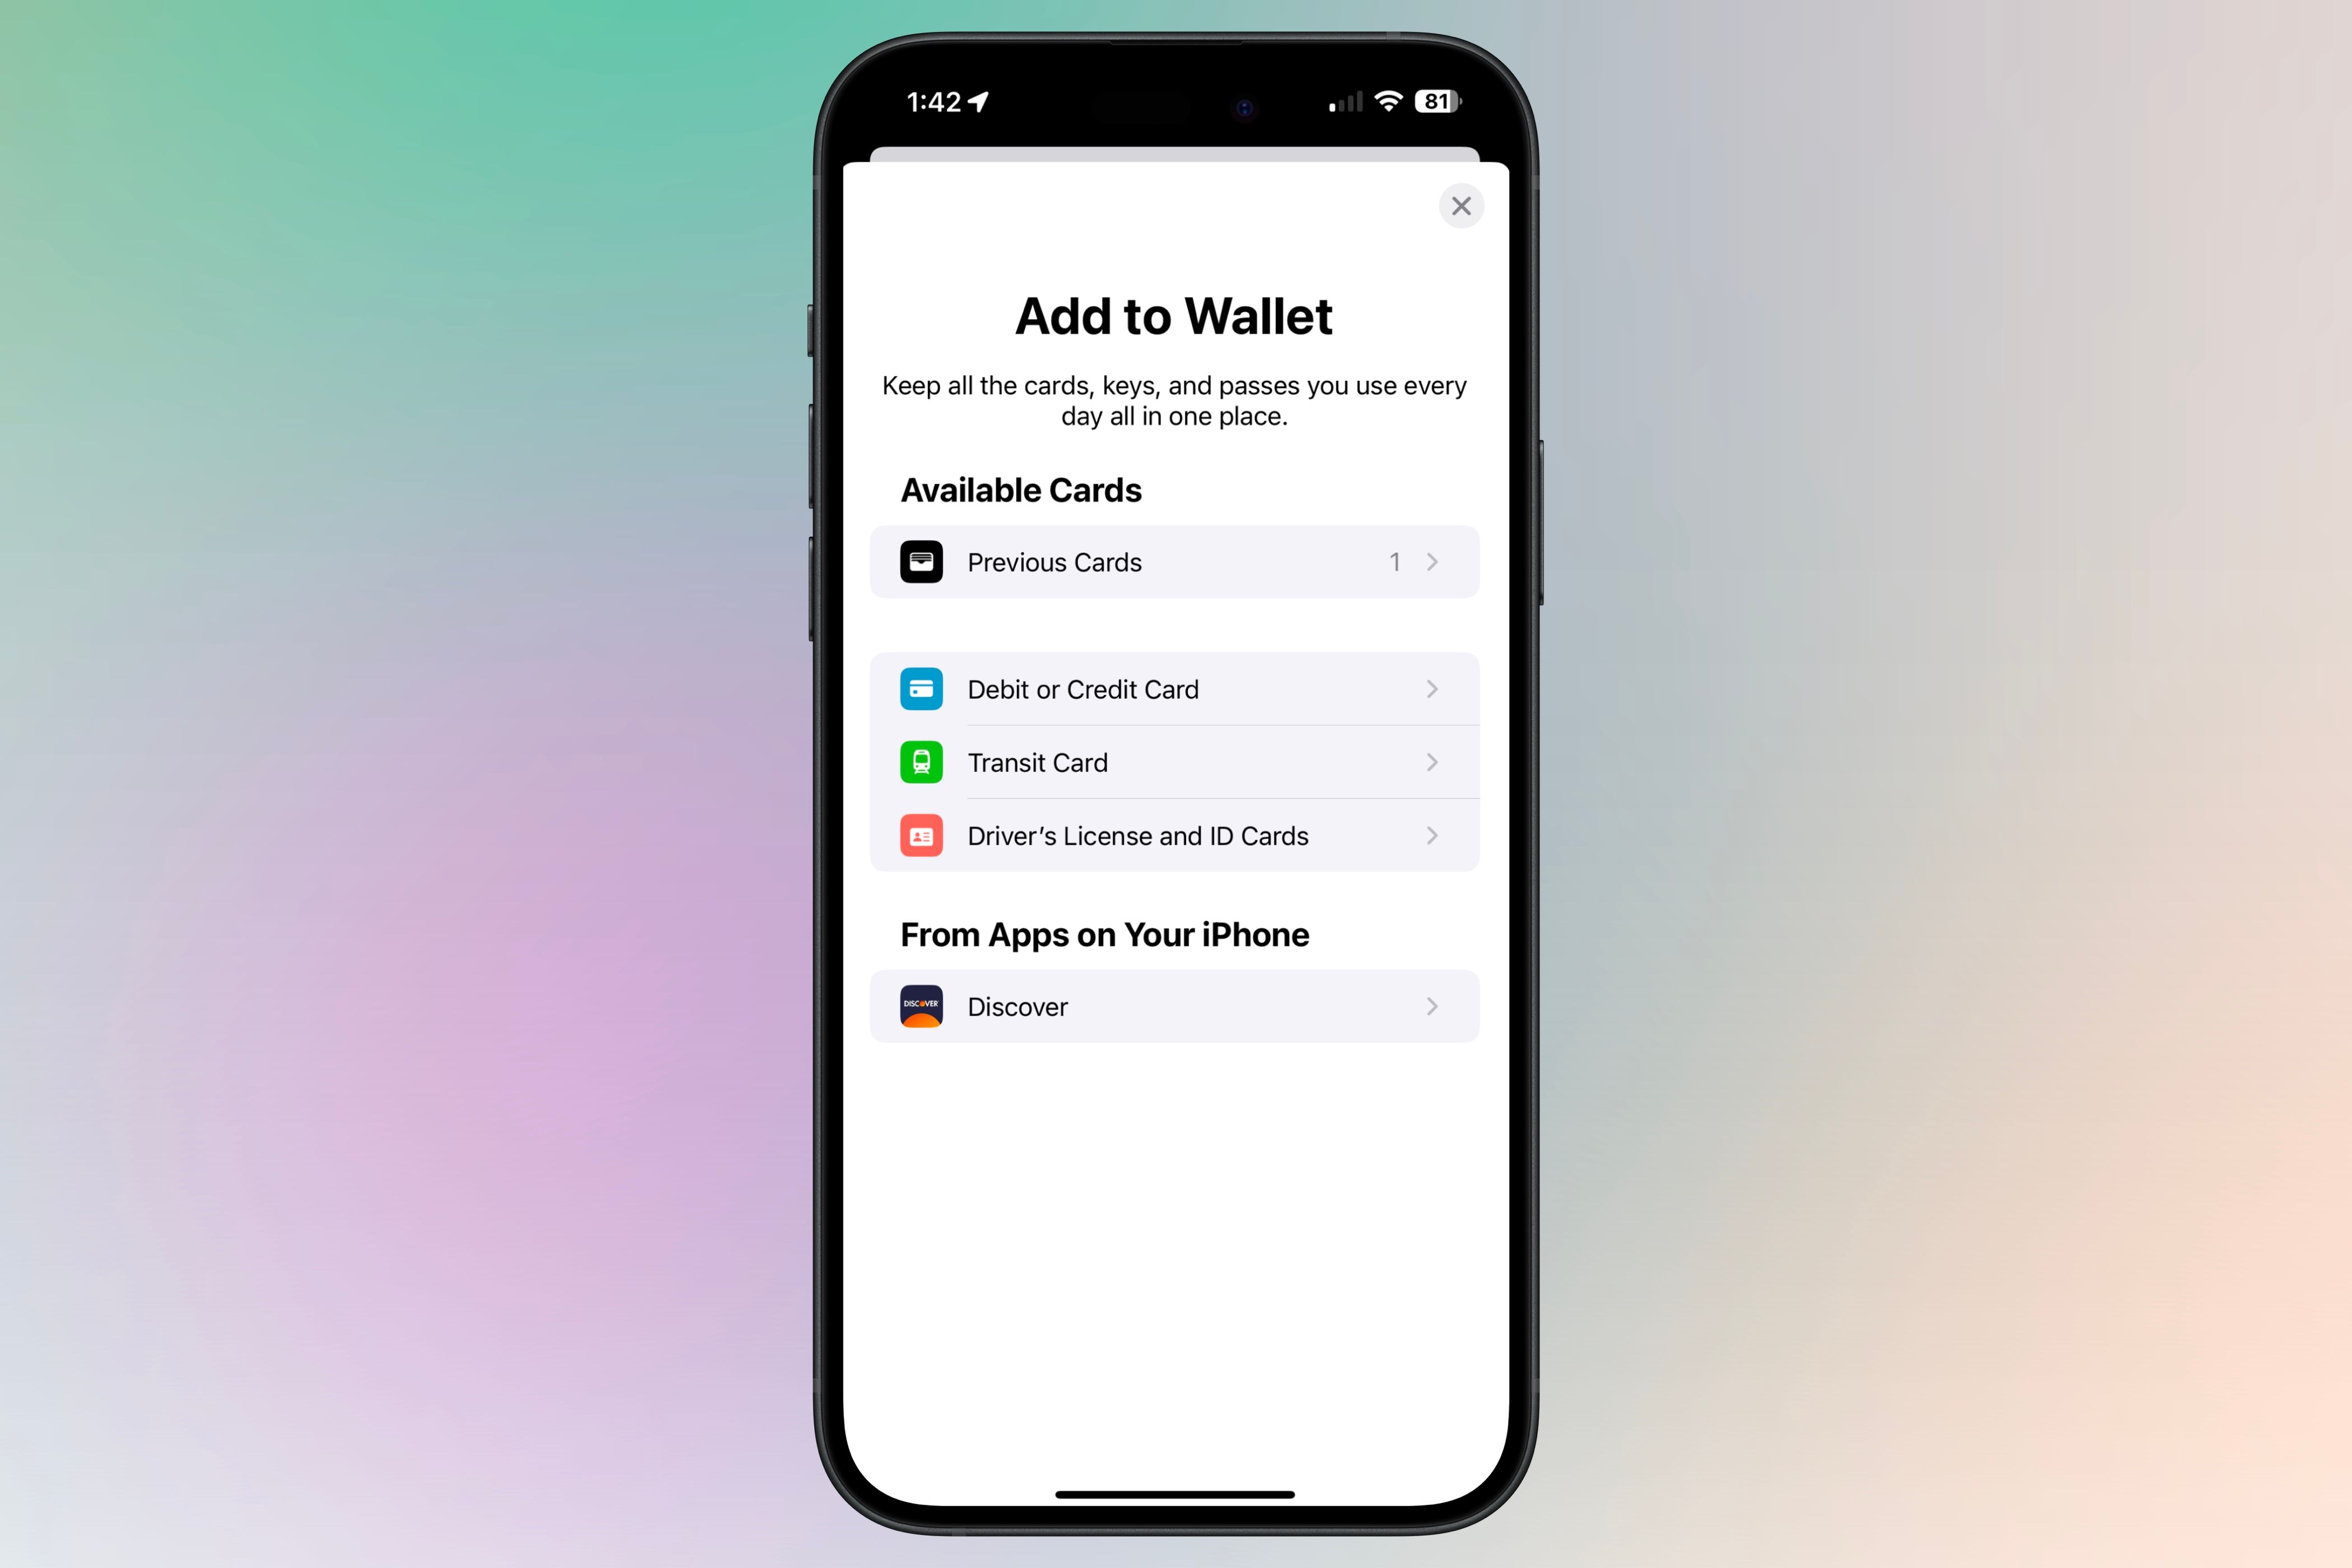
If you are adding a debit, credit, transit, or ID card, tap the plus icon in the upper right corner of the Wallet app, select the card type, and follow the on-screen instructions. Remember that digital ID cards and driver’s licenses are only available in select states, so check your state’s eligibility before trying to add one.
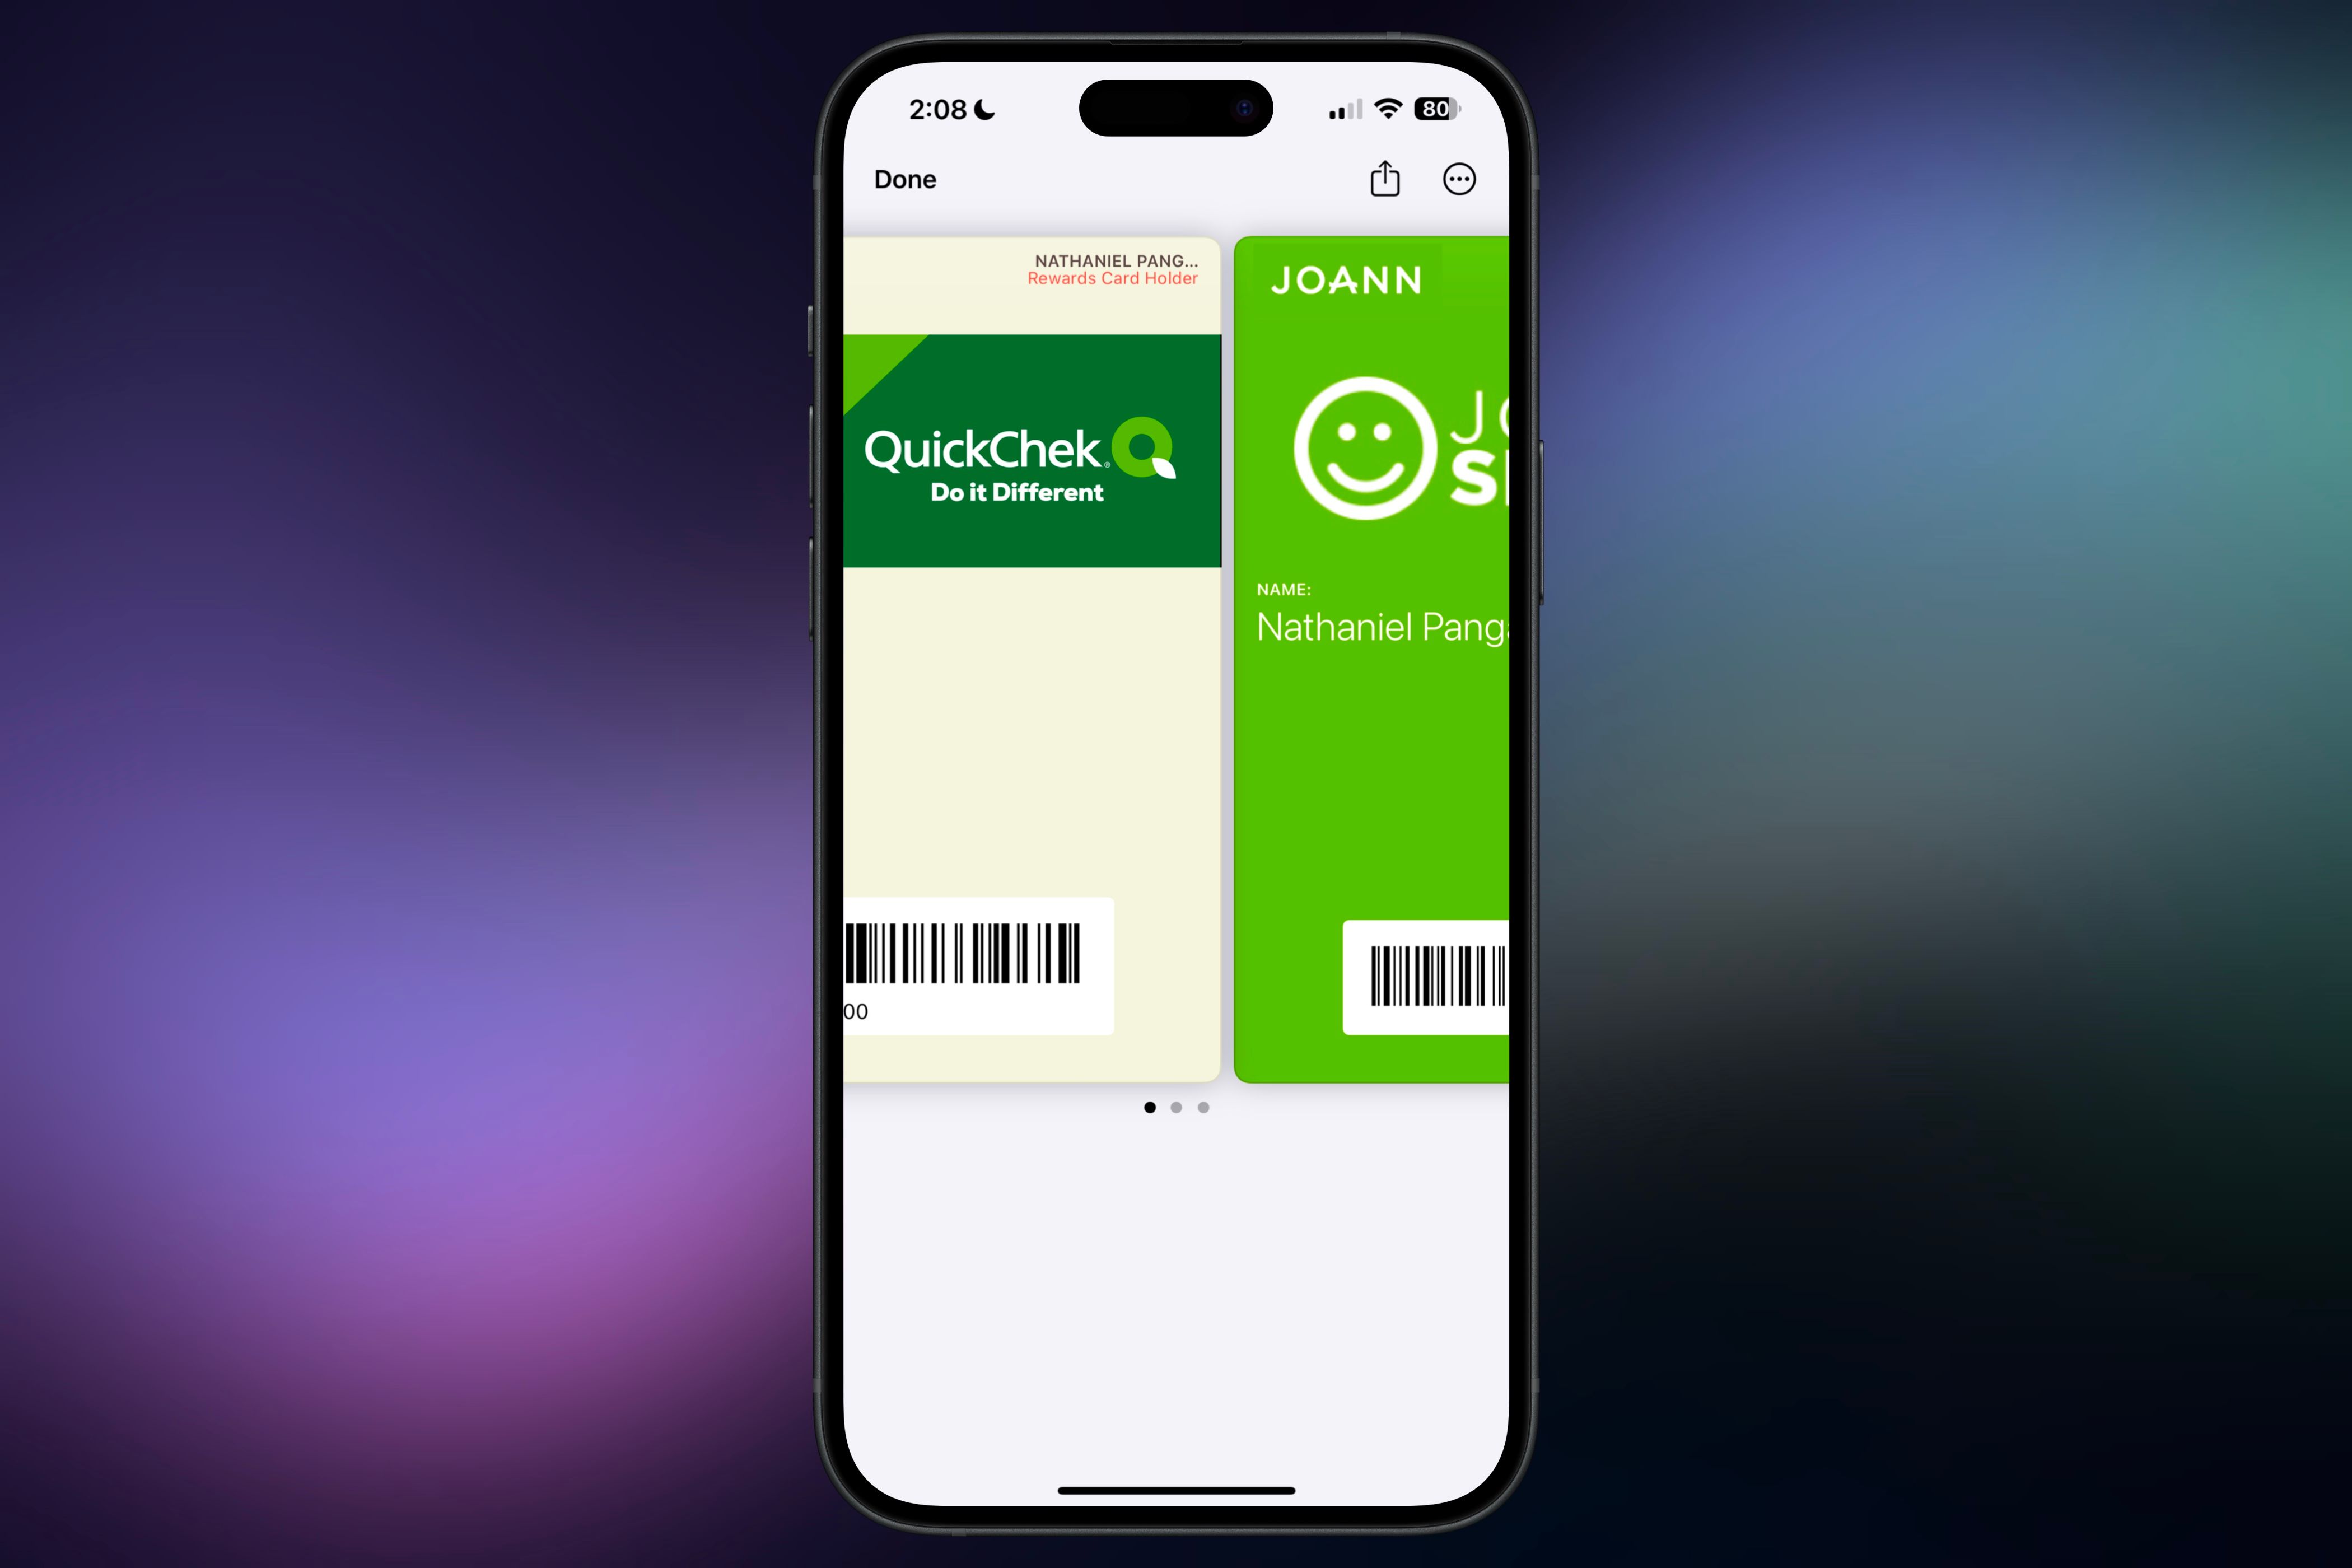
When it comes to importing loyalty and membership cards from stores, gyms, and food chains, you’ll need to get them from the company’s native app—meaning you will have to download their app first. However, not all companies offer compatibility with Apple Wallet, so if you’re looking to digitalize all your membership and loyalty cards, you can use a third-party app as a workaround.
While you can manually add a credit or debit card by entering your information, some card providers—like Discover and Chase—let you add your card directly to the Wallet app from their apps. This can save time and even allow you to use your card through Apple Pay before the physical version arrives.
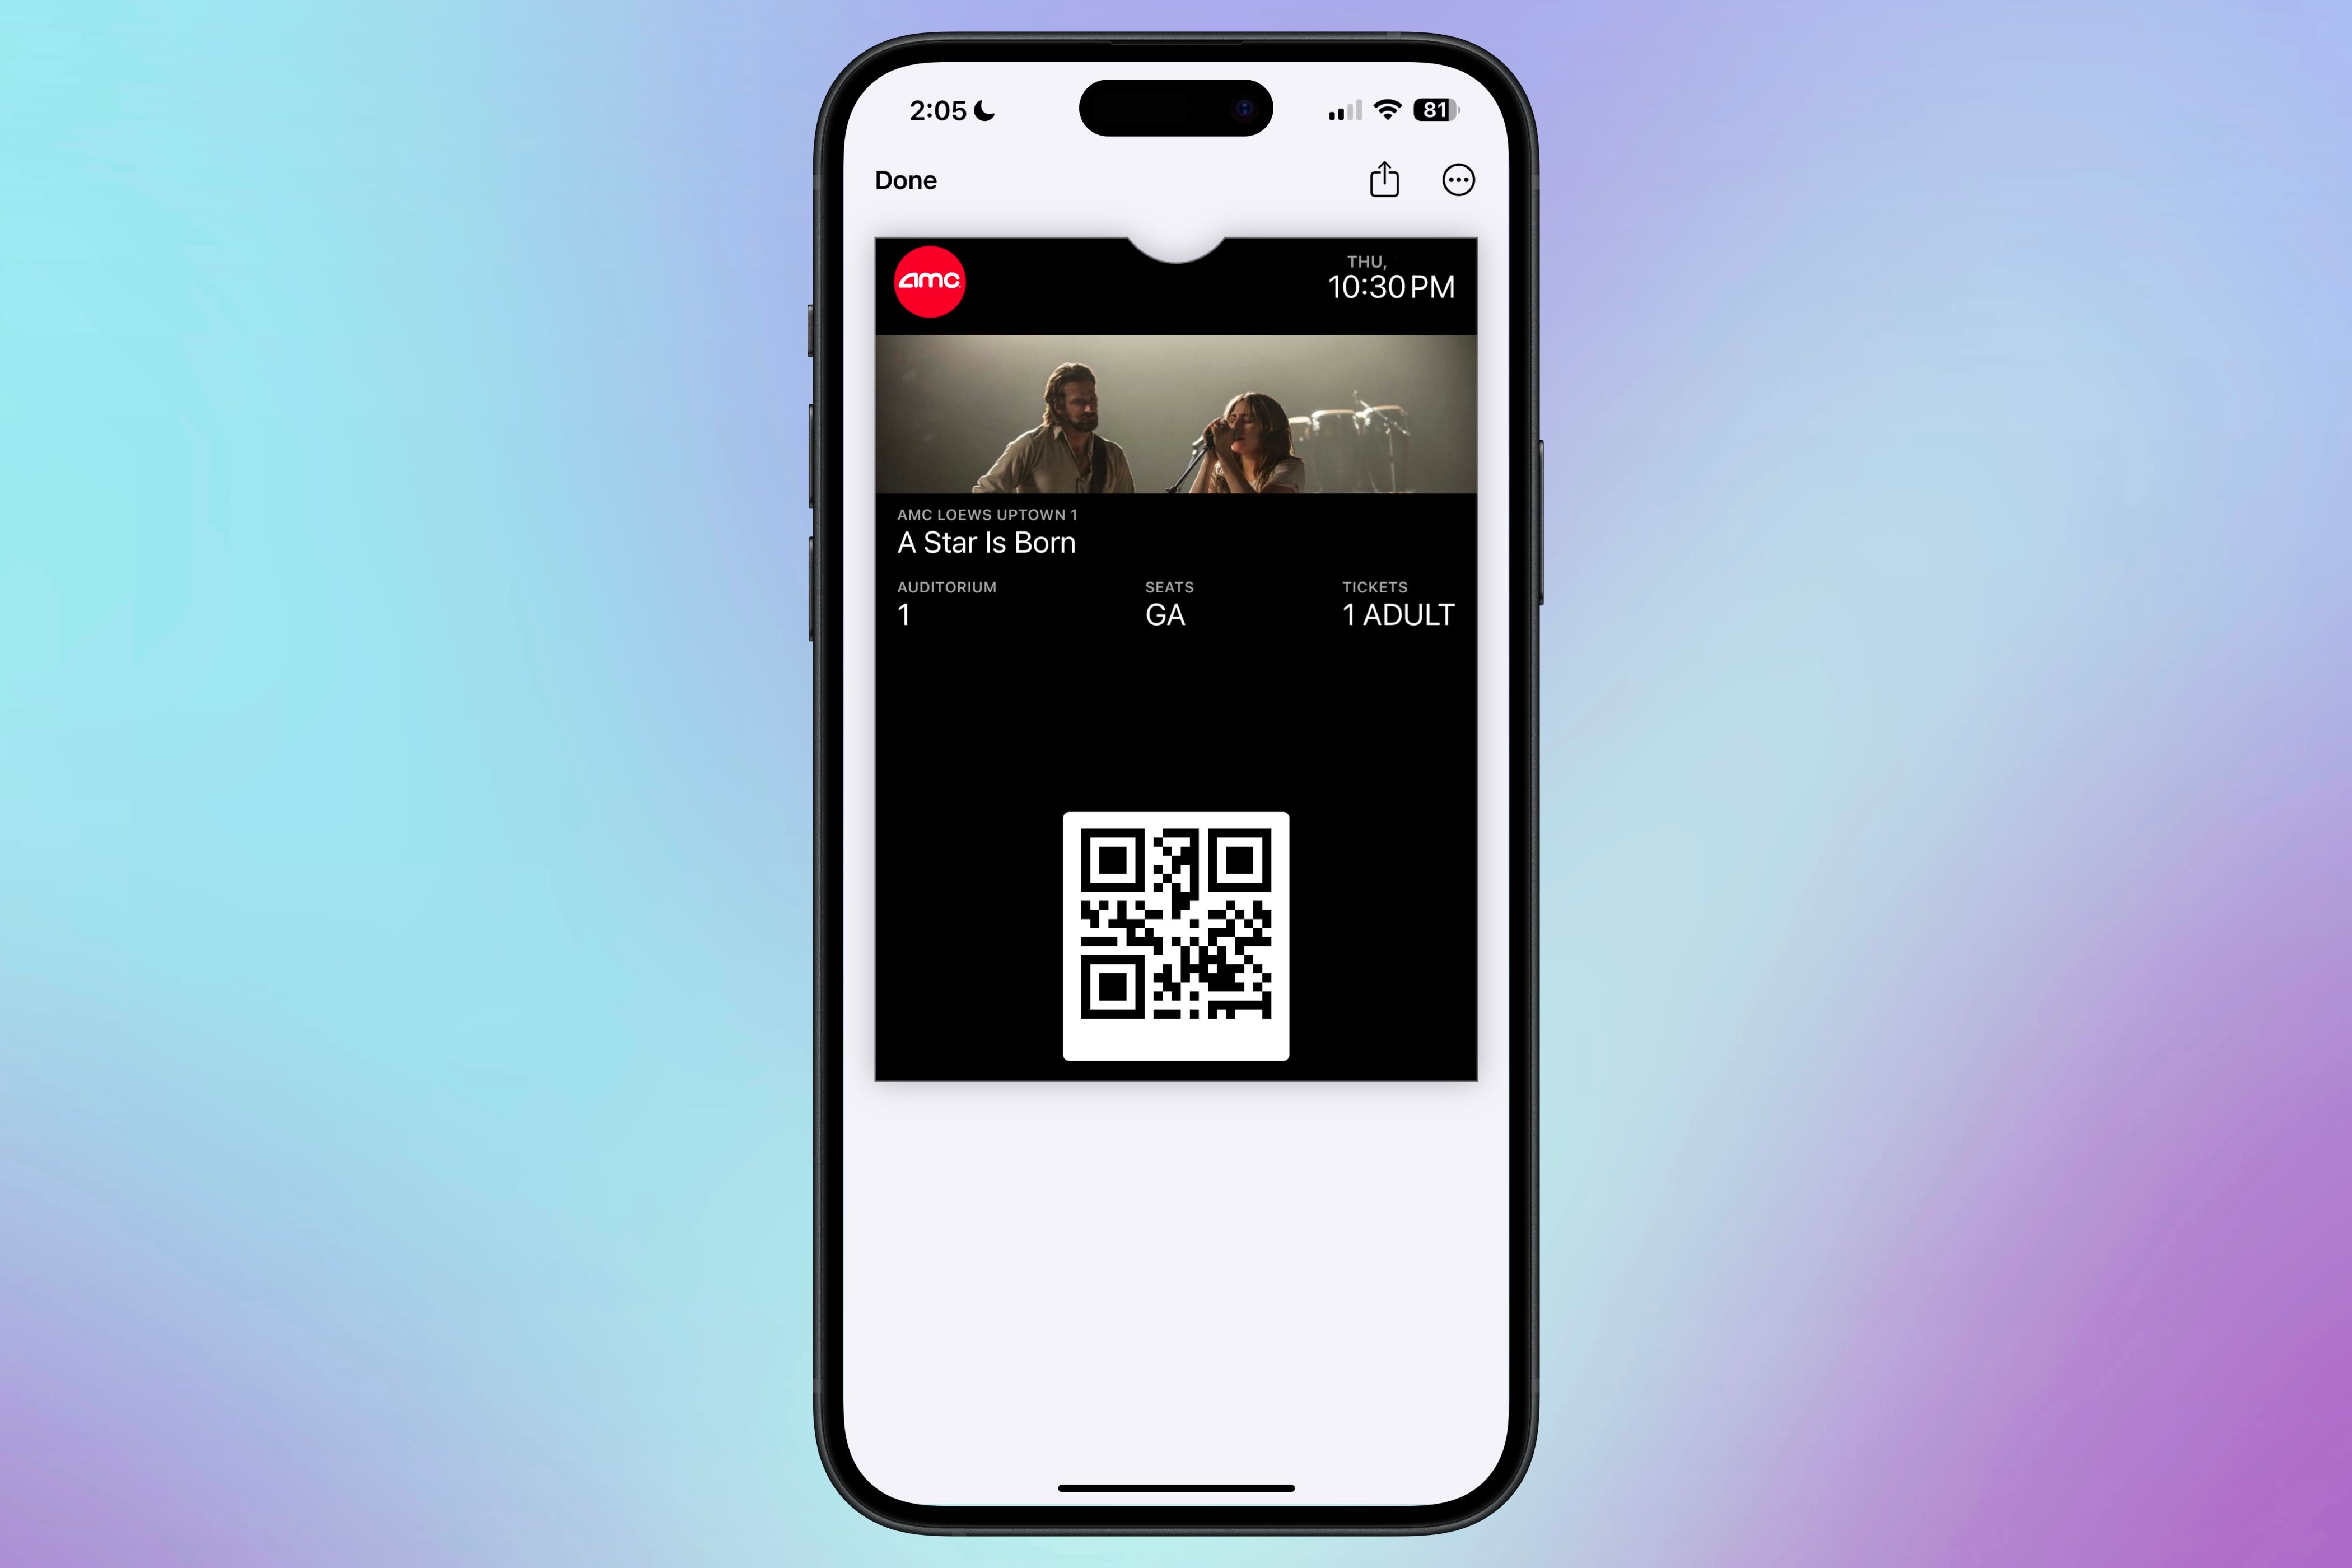
Event passes, such as movie or concert tickets, will usually be imported from the app where you purchased them—like AMC or Ticketmaster—but you might also receive an email with a link to add them directly to your digital wallet.
If you need to remove a card, ticket, or pass, the steps are similar across the board. For passes or tickets, tap the three-dot icon in the upper right corner and select “Remove Pass.” For cards, tap the same three-dot icon, choose “Card Details,” and then tap “Remove Card” at the bottom.
Reordering Cards and Passes for Easy Access
When you add a new pass or card to the Wallet app, it typically appears at the top of the stack; however, this may not always be the most efficient location, depending on how frequently you use it. For this matter, you can easily change the order of your cards and passes.
After adding a card or pass, find it in the Wallet app, then tap and hold it; the item will lift slightly to show that it’s selected. From there, drag it up or down to reposition it, and once you find the right spot, release it, and it will stay in place.
However, please note that you cannot mix cards with passes and tickets or vice versa. Each type of item stays within its section.
Digital house keys, car keys, credit cards, debit cards, and gift cards will remain at the top of the Wallet app. Loyalty cards, event passes, and tickets will be grouped separately toward the bottom.
While some may think that organizing your digital wallet is not a big deal, it can be pretty handy. For example, you could move your gym membership card to the top of the section for easy access or move your favorite-looking card to the bottom so you can see its whole design.
Regardless of how you choose to organize your digital wallet, setting it up with accessibility in mind will save you time and hassle when you need to find what you’re looking for quickly.
Setting a Default Payment Card
The Wallet app’s best feature is its connection with Apple Pay, but there’s more to it than just adding cards. You can also select which card you want to use as your default.
Setting a card as your default allows it to automatically appear when you double-click the power button to bring up Apple Pay. This can save you time by eliminating the need to select your most frequently used card every time you check out manually.
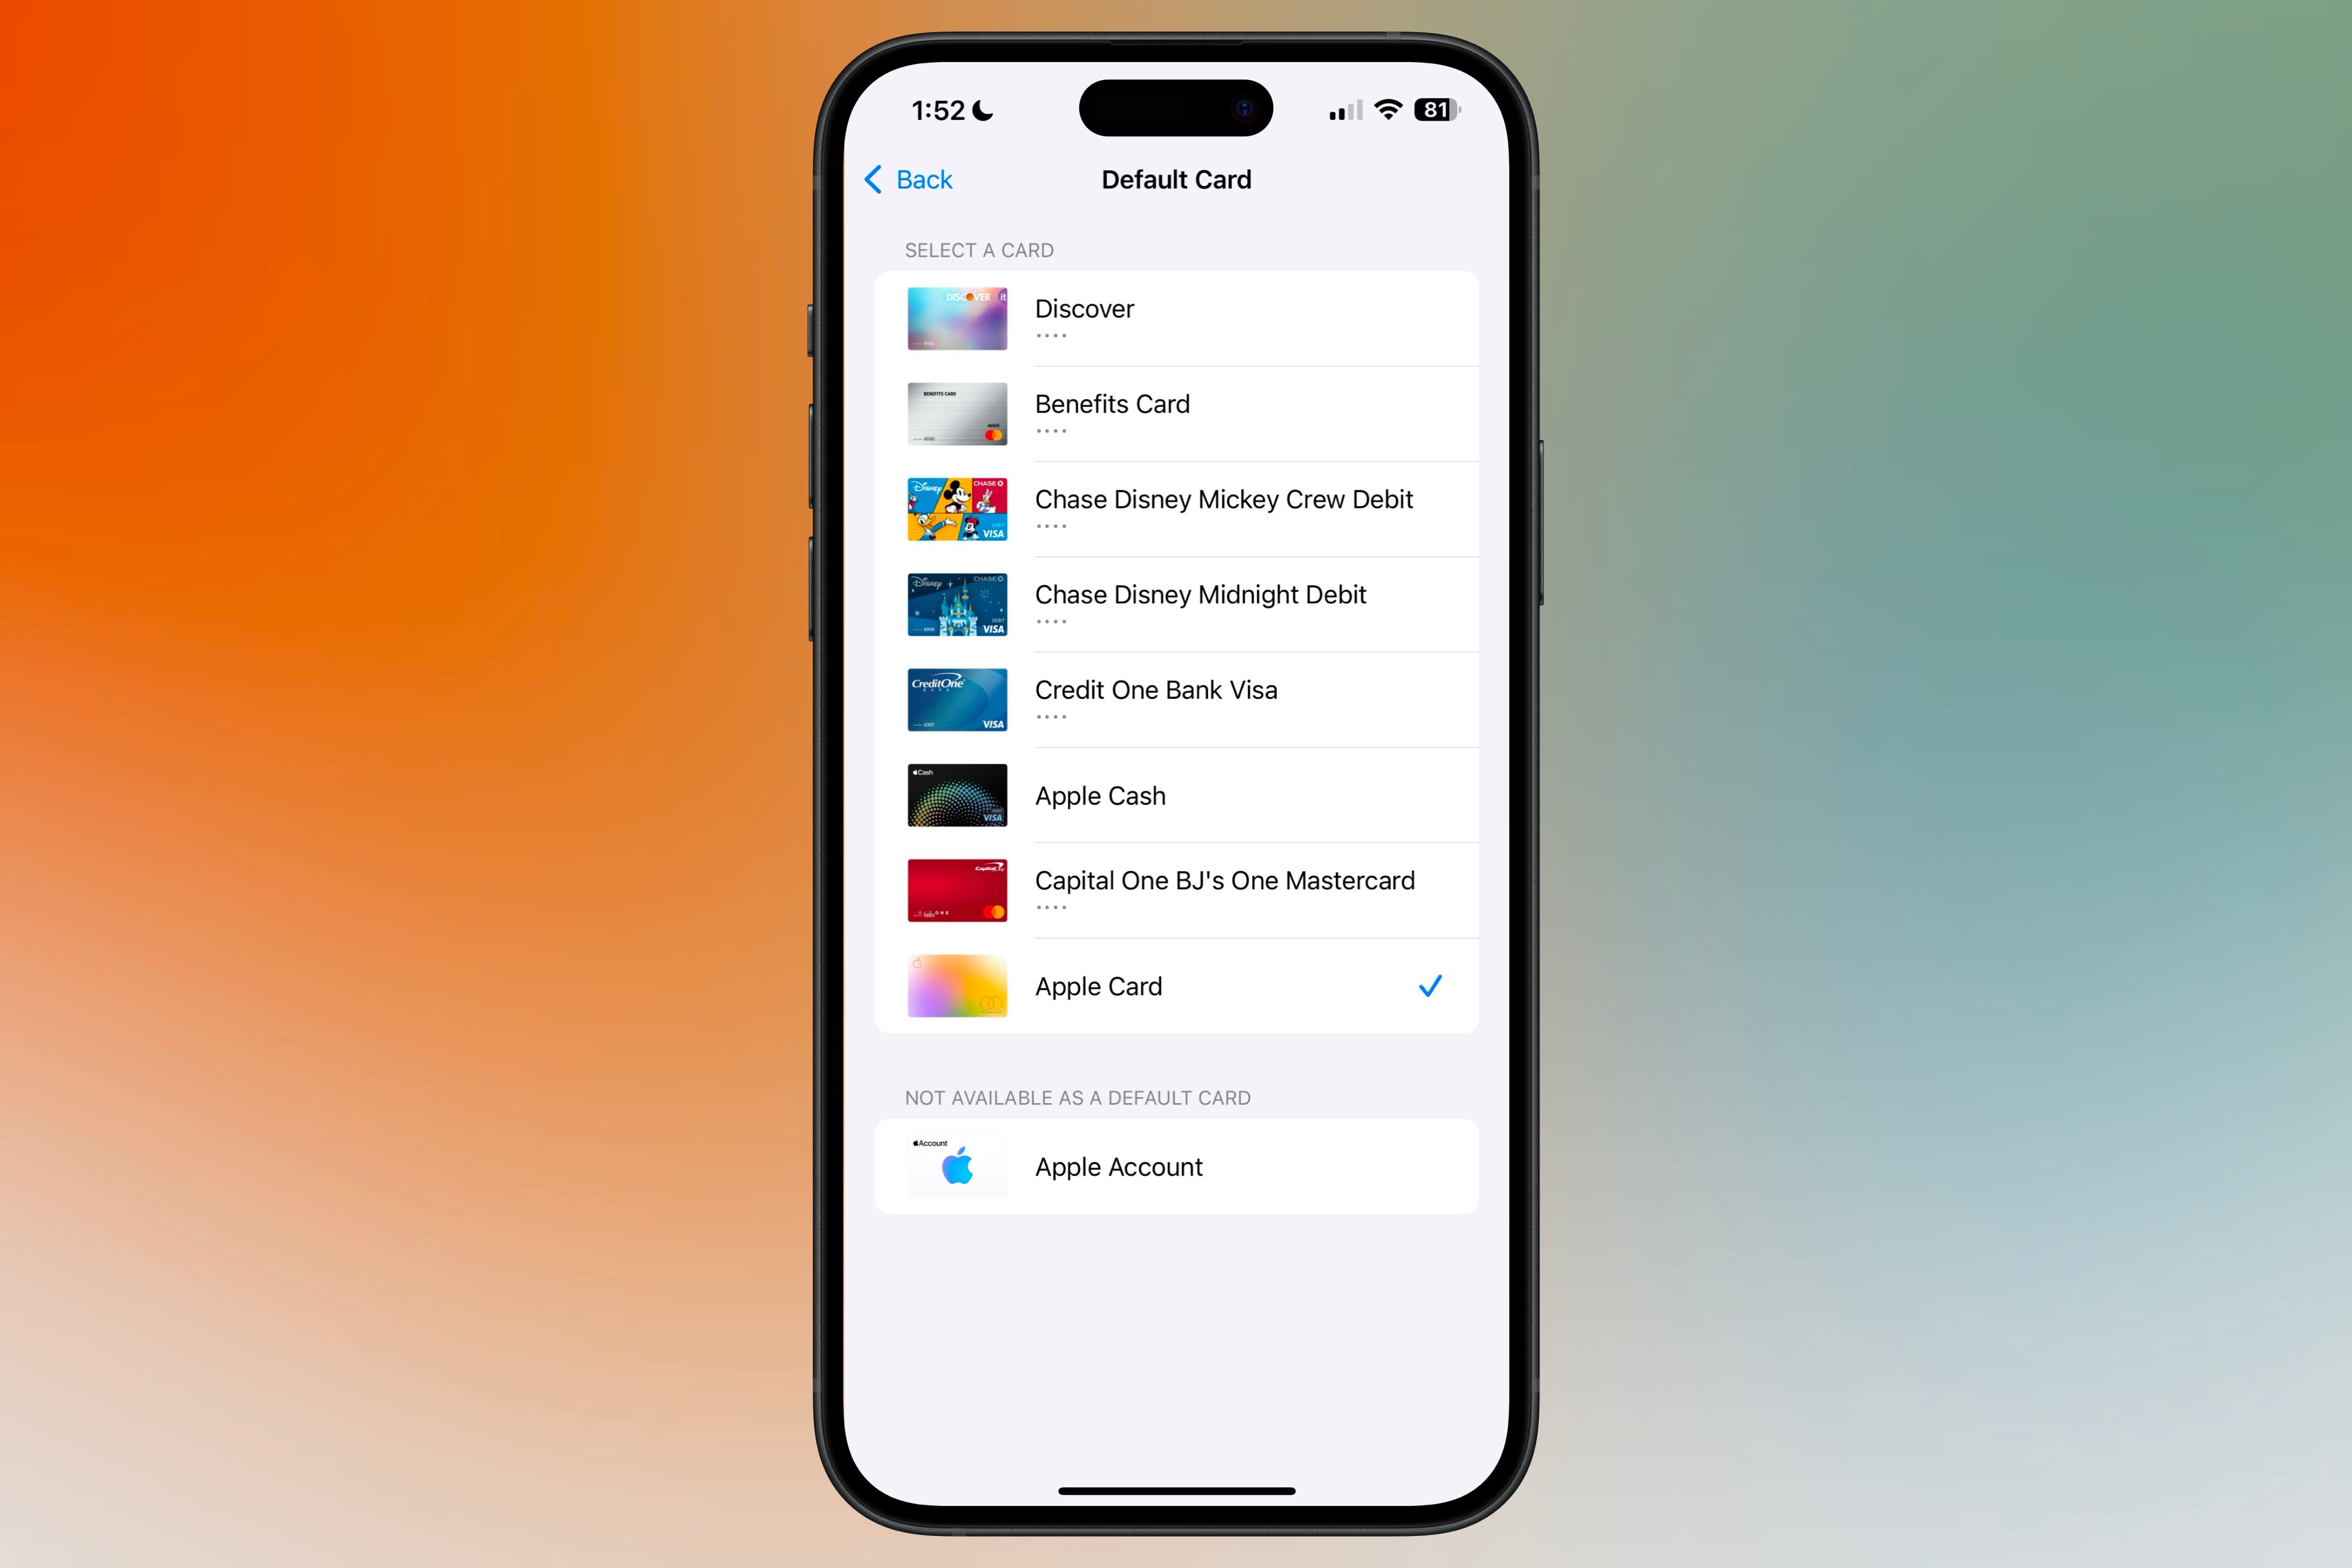
To set your default card, open the Settings app and scroll down to “Wallet & Apple Pay.” Once there, scroll to the “Transaction Defaults” section, tap “Default Card,” and select the card you want to use.
Another way to set a card as your default is by dragging it to the bottom of your stack of cards, where a prompt will then appear, notifying you that it has been set as your default card of choice. Moving that card up will then make the next card inline the default, and the same message will appear.
Having Your Passes and Tickets Show on the Lock Screen
While people may use the Wallet app primarily for their credit and debit cards, passes and tickets offer an advantage over them because they can be suggested on your lock screen based on the date, time, and current location.
To enable this feature, open the Wallet app, tap on the pass you want to show automatically, then tap the three dots in the upper right and select “Notifications.” From there, toggle on “Suggest on Lock Screen.”
This is great for easy accessibility, as you don’t have to dig through the Wallet app—the right pass will automatically appear on your lock screen, ready for use. For example, when you’re checking out at a grocery store, your loyalty card will appear on the lock screen for quick access and scanning.
The same applies to event tickets: if you’re near a venue like an AMC theater, your movie ticket will appear on the lock screen, and you can tap it to display your information without needing to search for it.
If you don’t want this happening, you can disable the feature by repeating the same steps as enabling it and toggling “Suggest on Lock Screen” off.
Grouping Multiple Passes With Similarities
Another way to organize your digital wallet is to group various passes by category. However, Apple does not offer this feature natively.
To do this, you will need to use a third-party app, such as Pass2U. With this free app, you can create personalized passes to import into the Wallet app and organize them into groups. However, you can only group passes you have made within the app, not ones already in there from other apps.
This is a good idea if you want to group all your loyalty cards in one section and all your membership cards in another. It won’t make your digital wallet look too cramped and allow you to organize it like a file system.
Until Apple adds this feature natively, this is the best way to organize your passes further. Just like you would group cards into different pockets in your physical wallet, you should do the same for your digital one.
As Apple continues to expand what you can do in the Wallet app, it is not too far off to think that other card types will become compatible with it. Additionally, as more states offer digital IDs, more people may add them to their digital wallets for convenience.
With this in mind, knowing how to organize your wallet and having a clear understanding of where each card, pass, or ticket is located can help you navigate it promptly when you need a specific one. Regardless of whether you have five cards or twenty cards in the Wallet app, it’s always a good idea to keep it organized and familiarize yourself with your digital wallet.


