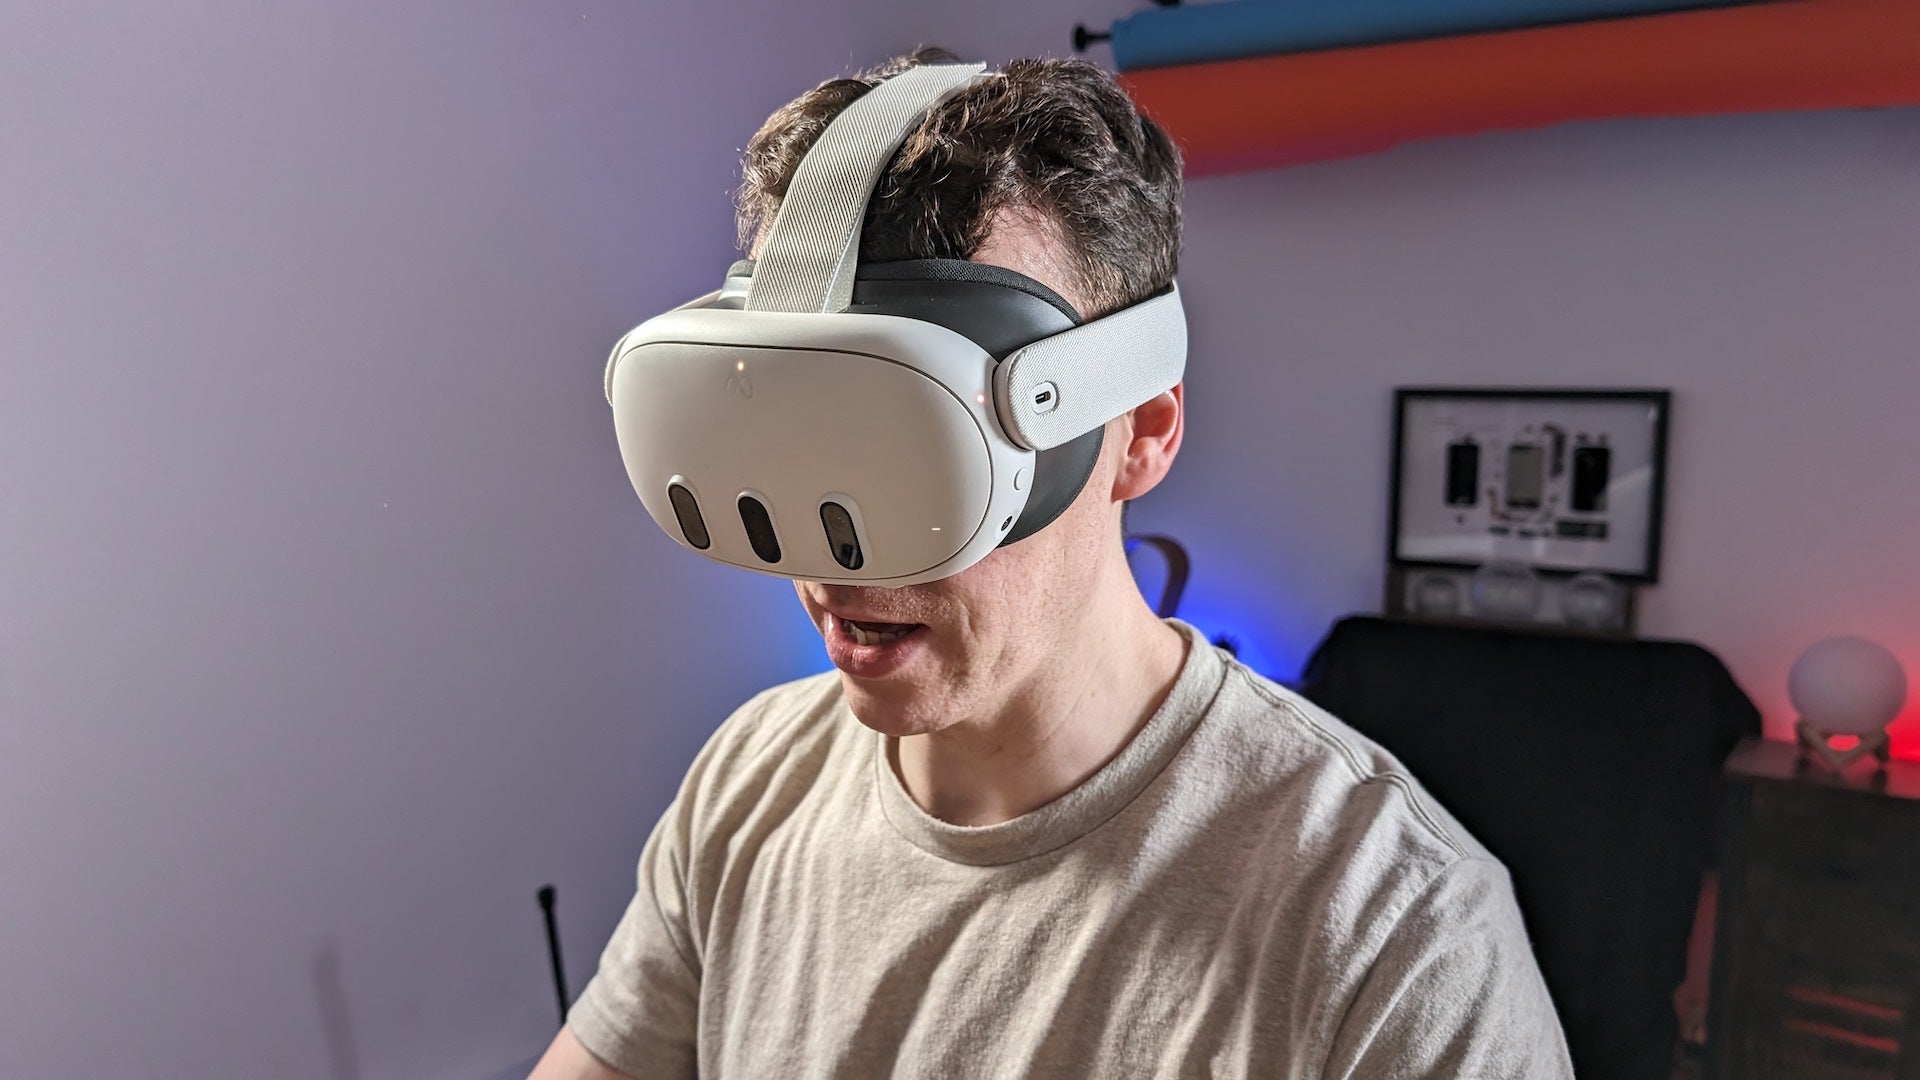
The Meta Quest 3 is one of the most capable standalone VR headsets on the market right now, offering impressive performance, a great visual experience and even mixed reality capabilities – but did you know you can also use it to play Xbox games?
Yep, that’s right, you can play Xbox games on the Meta Quest 3 as well as the older Meta Quest 2 and the high-end Meta Quest Pro with the release of the Xbox Cloud Gaming (beta) app on the Meta Store in late December 2023.
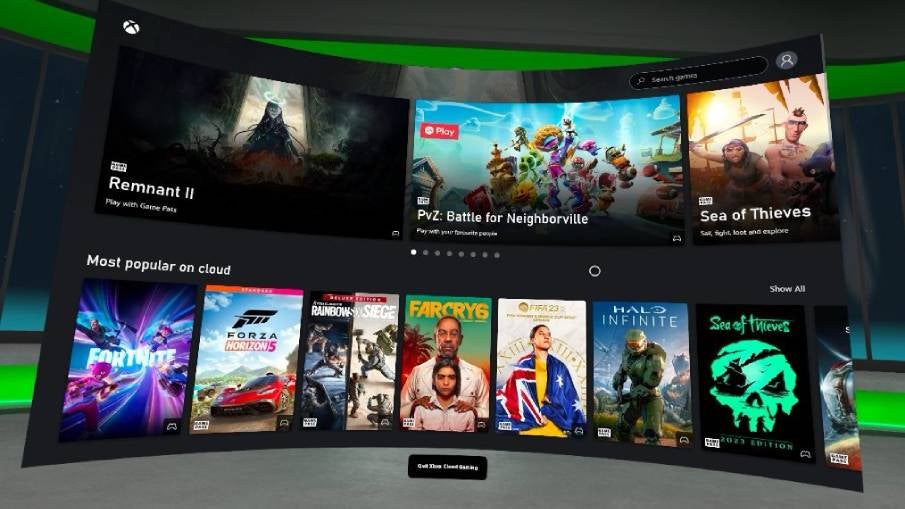
That means you can now stream a library of Xbox games available with the Xbox Game Pass Ultimate subscription on a huge virtual display, no console required. Pretty cool, right?
If you’re interested, here’s how to play some of the best Xbox games from the comfort of your Meta Quest 3 VR headset. We’ve also got the top Meta Quest 3 tips and tricks if you’re looking to get the most out of your headset.
What you’ll need:
- A Meta Quest 2, 3 or Pro headset
- An Xbox controller
- An Xbox Game Pass Ultimate subscription
- A fast internet connection
- Quest V60 software or later
The Short Version
- Put on your headset.
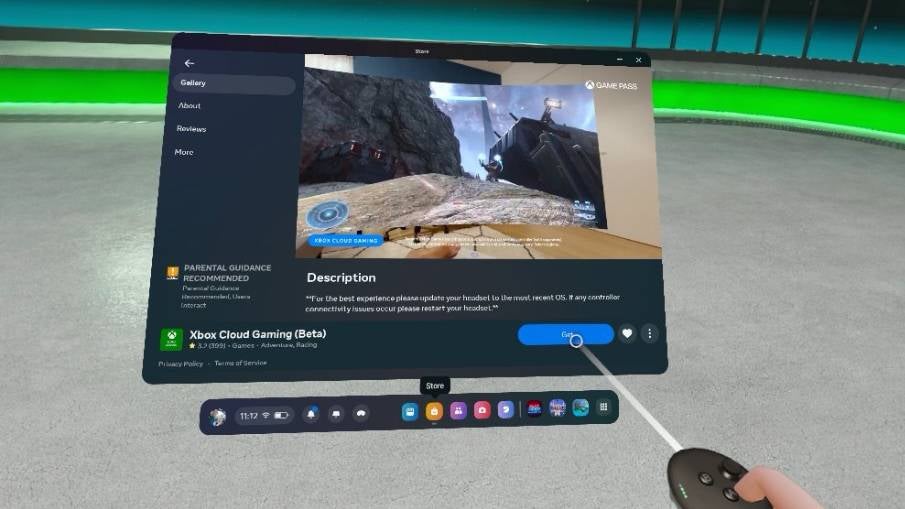
- Open the Meta Store app.
- Search for Xbox Cloud Gaming (beta).
- Click Get.
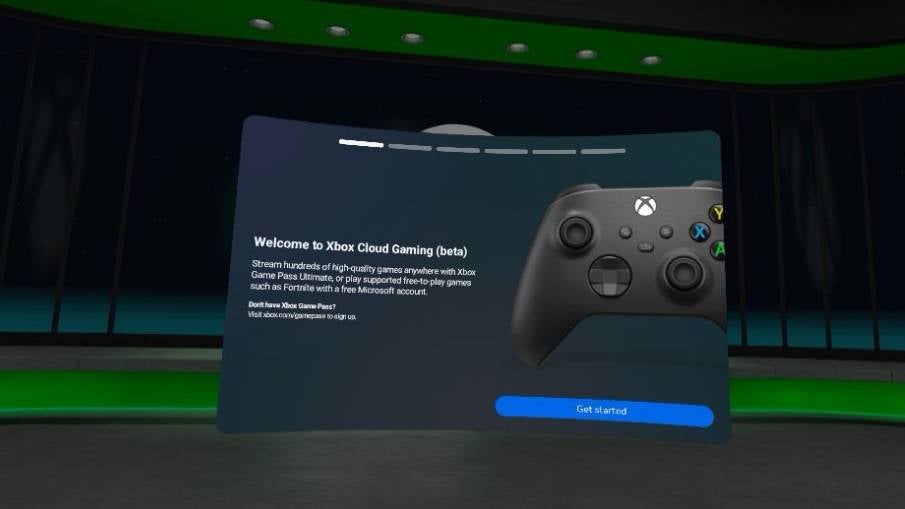
- Open the app and click Get Started.
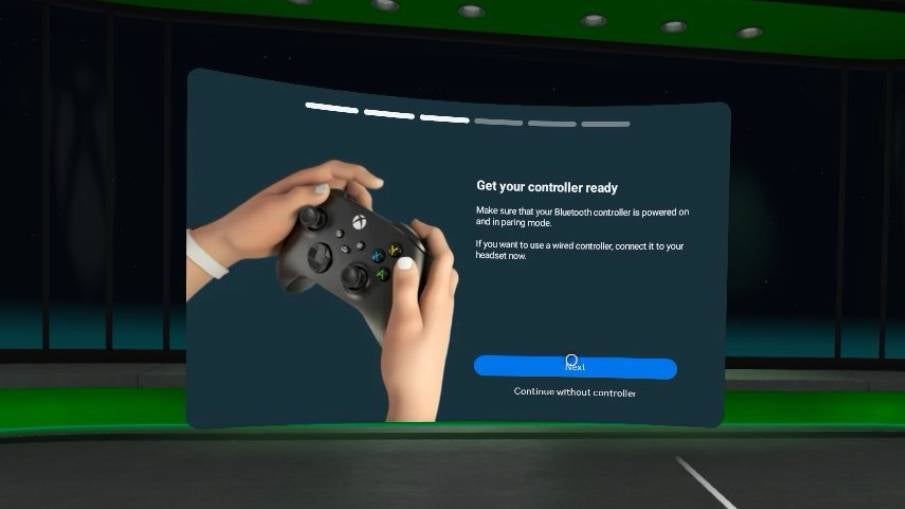
- Put your Xbox controller into pairing mode.
- Select your Xbox controller on your headset.
- Click Pair to complete the pairing process.
- Click Done to finish the initial setup.
- Restart your VR headset.
- Open the Xbox Cloud Gaming (beta) app and game away!
-
Step
1Put on your headset
The first step is to don your VR headset, whether that’s the Meta Quest 2, Meta Quest 3 or the high-end Meta Quest Pro.
-
Step
2From the Meta toolbar on the home screen, click the Meta Store app icon. The icon looks like a shopping bag if you’re unfamiliar.
-
Step
3Search for Xbox Cloud Gaming (beta)
In the store’s search menu, search for Xbox Cloud Gaming (beta) and select it from the list.
-
Step
4Click Get
Despite being in a beta phase for now, the Xbox Cloud Gaming (beta) app is available to anyone – you just need an Xbox Game Pass Ultimate account to take advantage of the cloud gaming on offer. With that said, hit Get to download and install the app on your headset.
-
Step
5Open the app and click Get Started
Open the Xbox Cloud Gaming (beta) app and follow the setup process to connect your Xbox controller. To start, click Get Started.
-
Step
6Put your Xbox controller into pairing mode
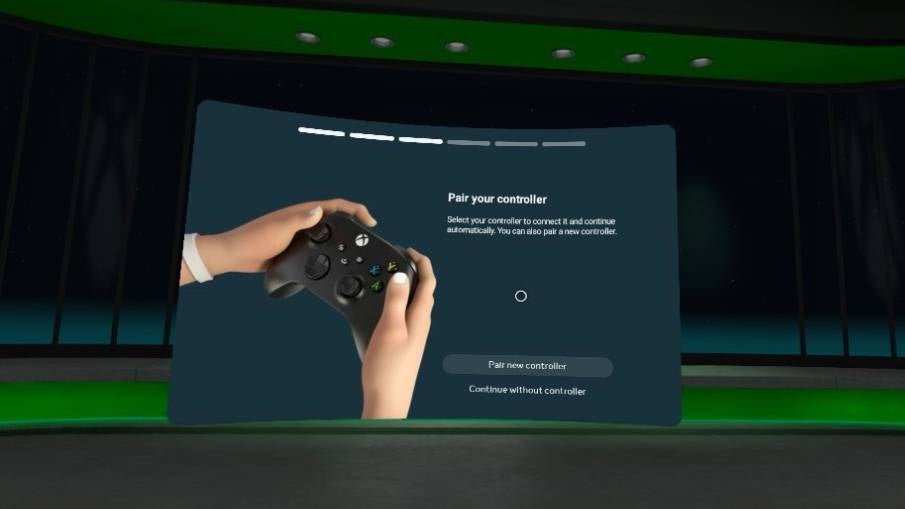
To pair your controller with your headset, you’ll need to put it in pairing mode. To do this, simply hold the Sync button on the upper-left side of the controller until the Xbox logo flashes repeatedly. In-headset, click Next.
-
Step
7Select your Xbox controller on your headset
Depending on the controller you’re using, it may appear automatically in the list of discovered controllers. If, like us, it doesn’t appear, simply click Pair New Controller and select your controller from the list.
-
Step
8Click Pair
To confirm the pairing process, click Pair in the pop-up that appears.
-
Step
9Click Done to finish setup
Once the controller has been successfully paired, click Done to finish the setup and head to the Xbox Cloud Gaming (beta) game library.
-
Step
10Restart your VR headset
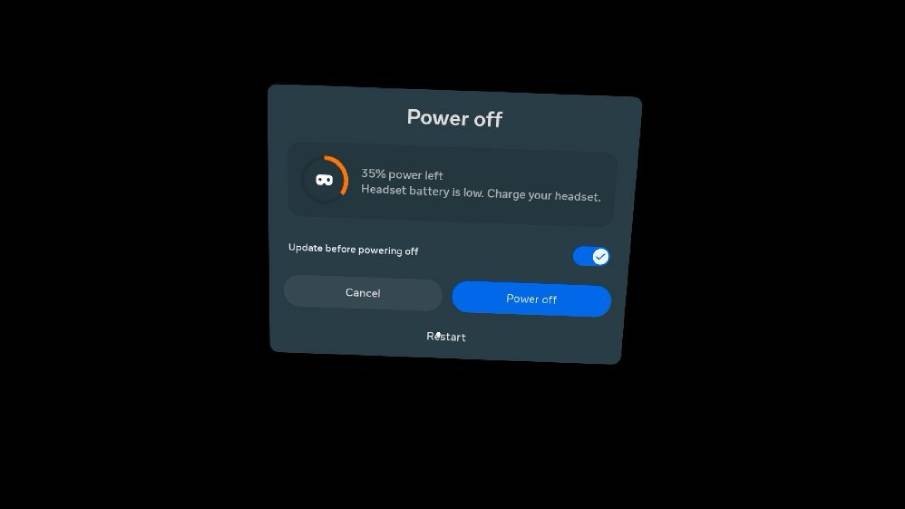
There’s a known issue with the Xbox Cloud Gaming (beta) app not always recognising newly connected controllers. While a fix is in the works, Microsoft has said that restarting the VR headset after connecting the controller should fix the issue. To do that, hold the power button and select restart.
-
Step
11Open the Xbox Cloud Gaming (beta) app and game away!
All that’s left to do is open the Xbox Cloud Gaming (beta) app and game away on a virtual big screen!
Troubleshooting
If you get an error message when trying to install the app from the Meta Store, make sure you’re running Quest software version V60 or later. It’s required for the app to function properly.


