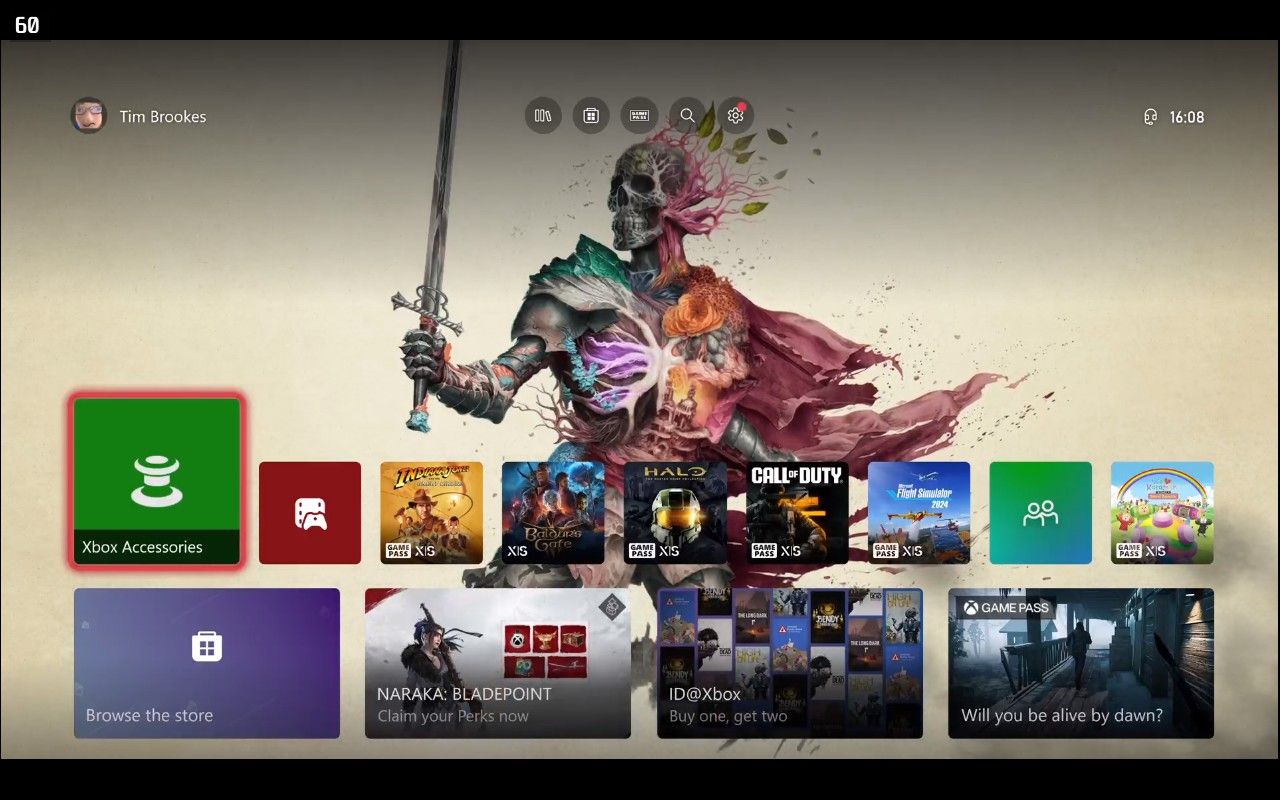
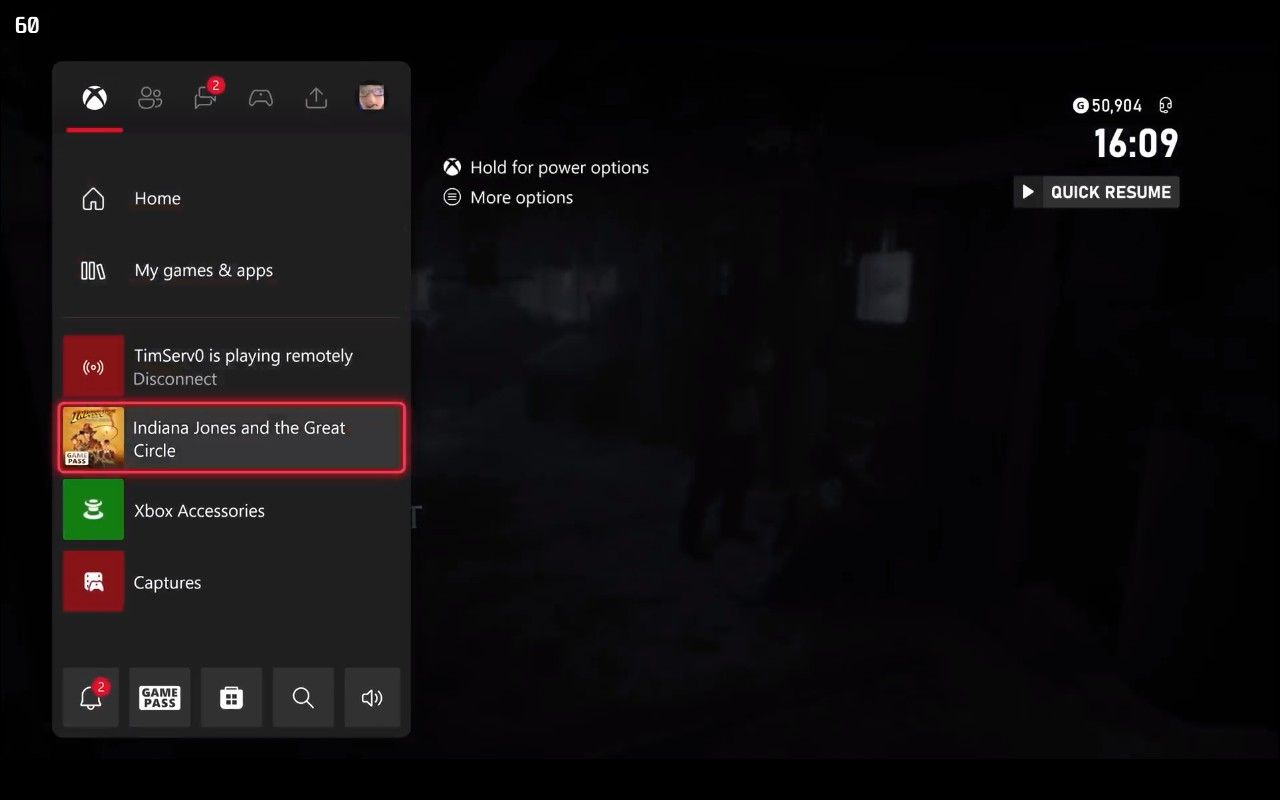
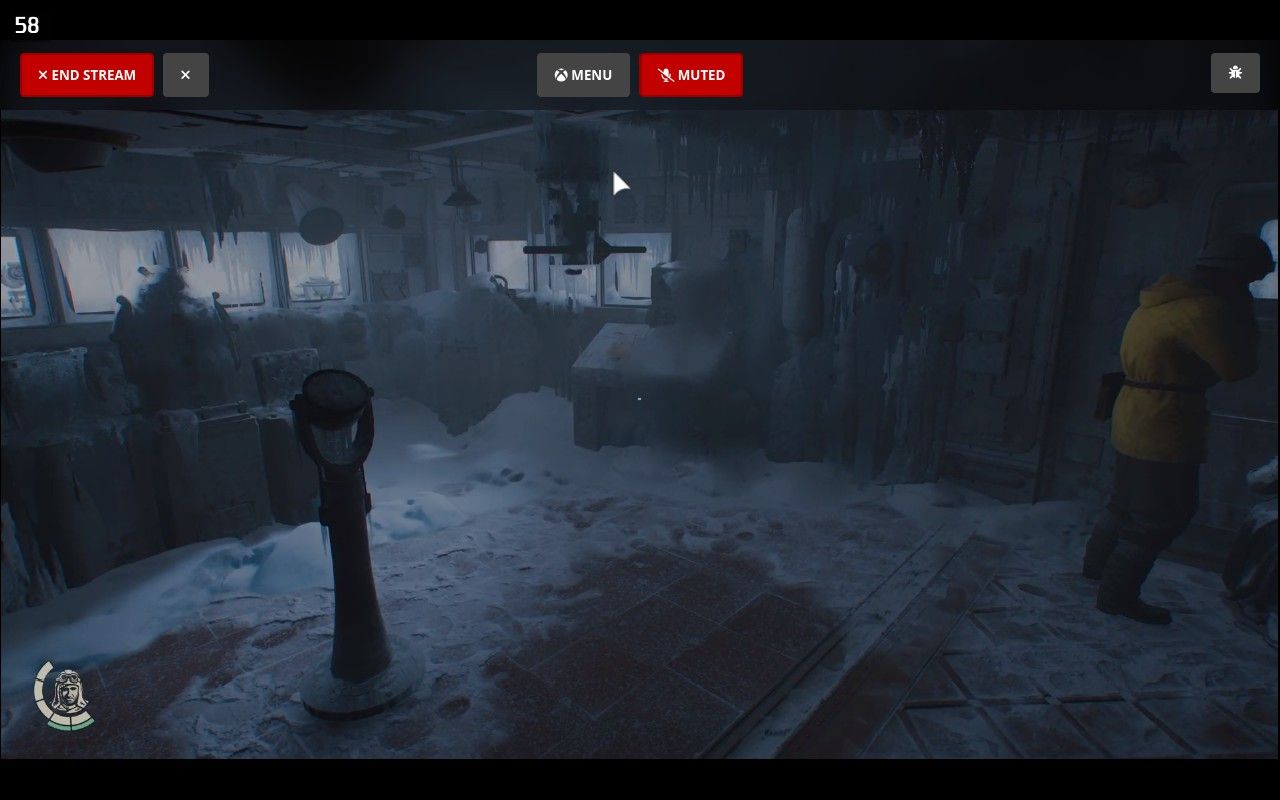
Wish you could play Game Pass and other Xbox games on your Steam Deck without resorting to a Windows installation? Good news! Here’s how to do it with free app Greenlight and a few alternative methods too.
First Install AppImageLauncher
We’re going to use an app called AppImageLauncher to install a free app called Greenlight (previously Xbox xCloud Client) on the Steam Deck. This will allow us to connect to a local Xbox and use Microsoft’s Xbox Cloud Gaming platform.
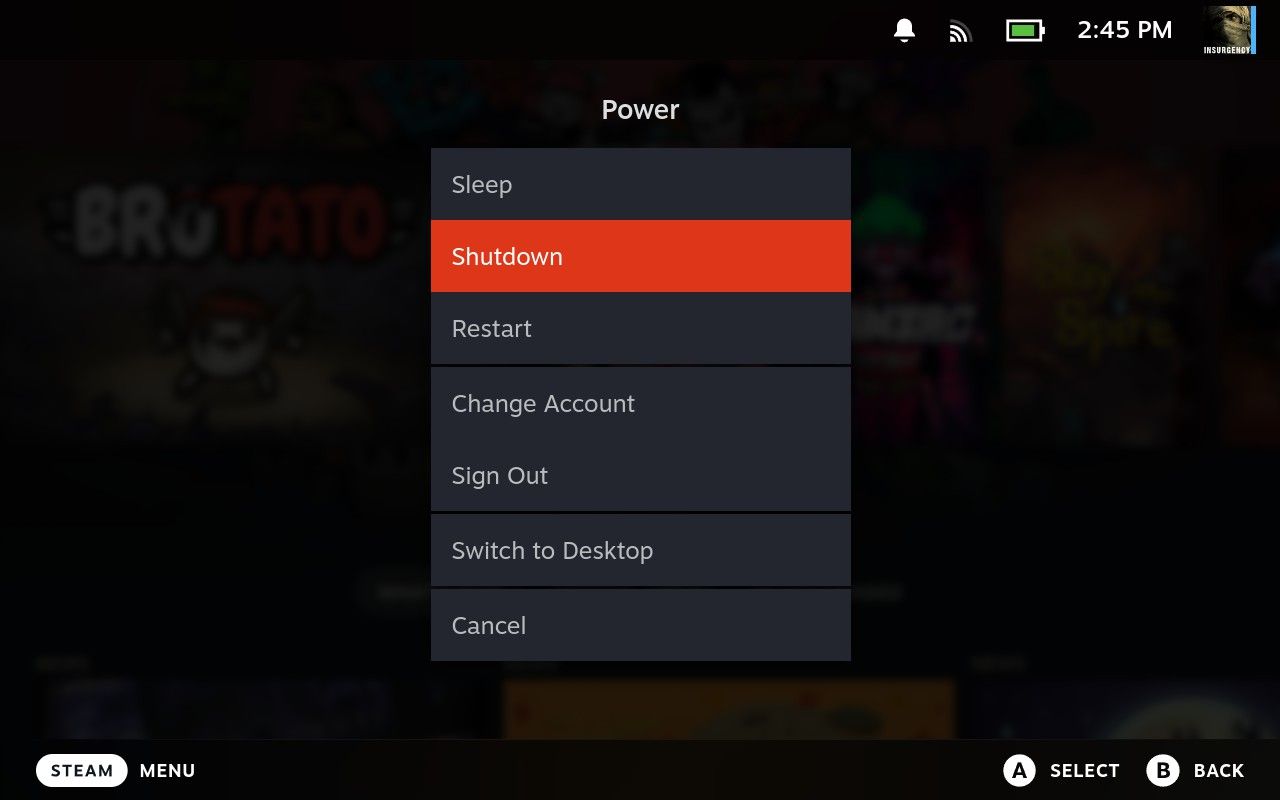
To do this, grab your Steam Deck and switch to Desktop mode by holding the Power button on the top of the device and selecting “Switch to Desktop.”
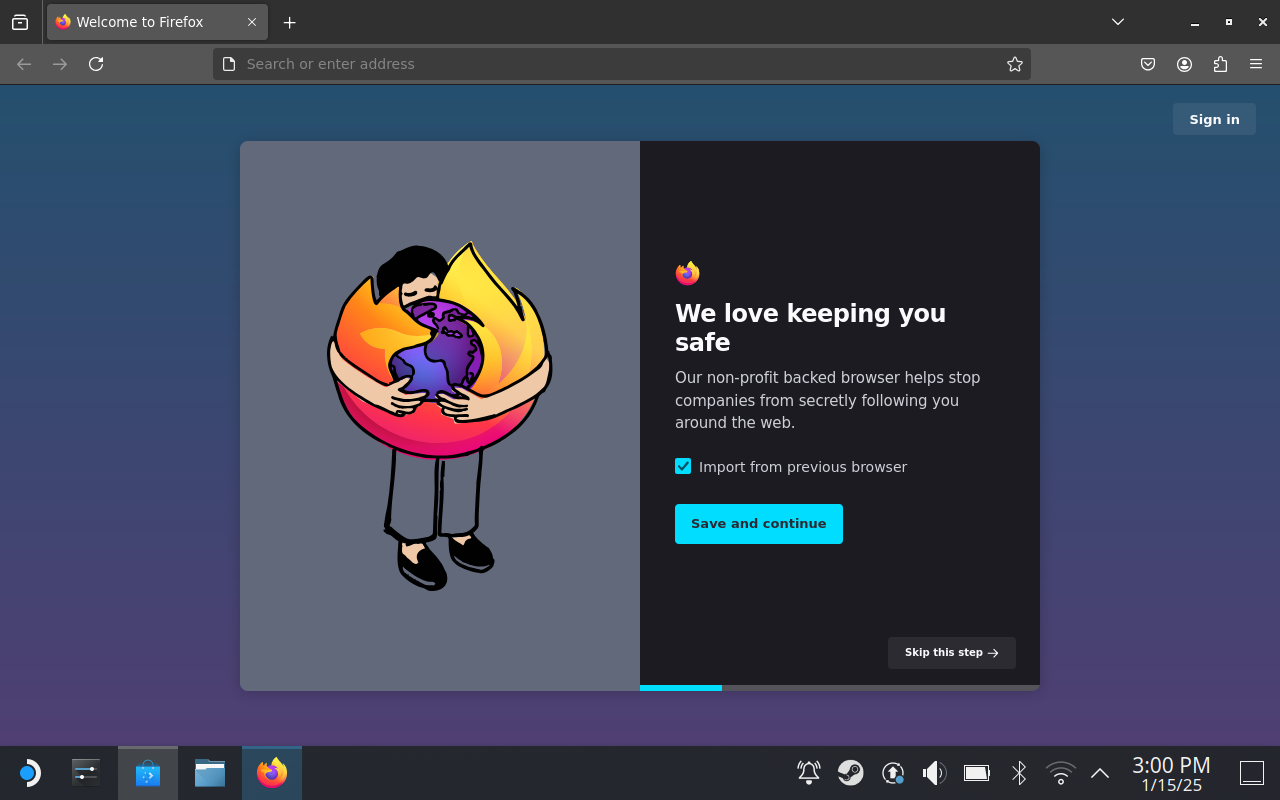
Once your Steam Deck has transitioned to the Linux desktop, open Firefox and navigate to the AppImageLauncher GitHub page. I connected a spare keyboard I had to make typing easier, but you can use Valve’s on-screen keyboard by pressing Steam+X.
Firefox should appear in the toolbar at the bottom of the screen, but if you haven’t used it before you’ll need to install it using the Discover store. While you’re here you could install an alternative browser, like Chromium, if you’d rather.
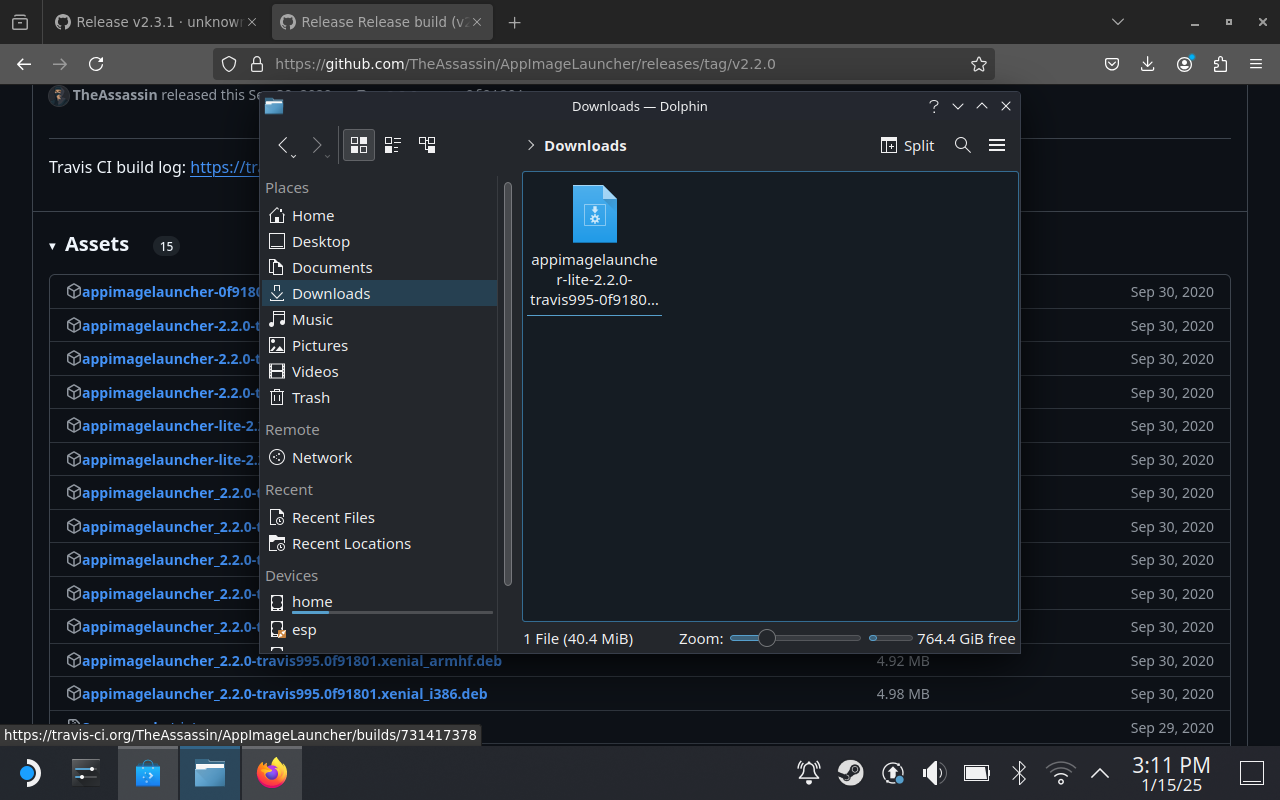
Head to the AppImageLauncher releases page and (under “Release build”) click on the file that ends in “x86_64.AppImage” then wait for the download to complete. Now open your Downloads folder by clicking on the Dolphin (file explorer) icon at the bottom of the screen followed by the “Downloads” shortcut in the sidebar.
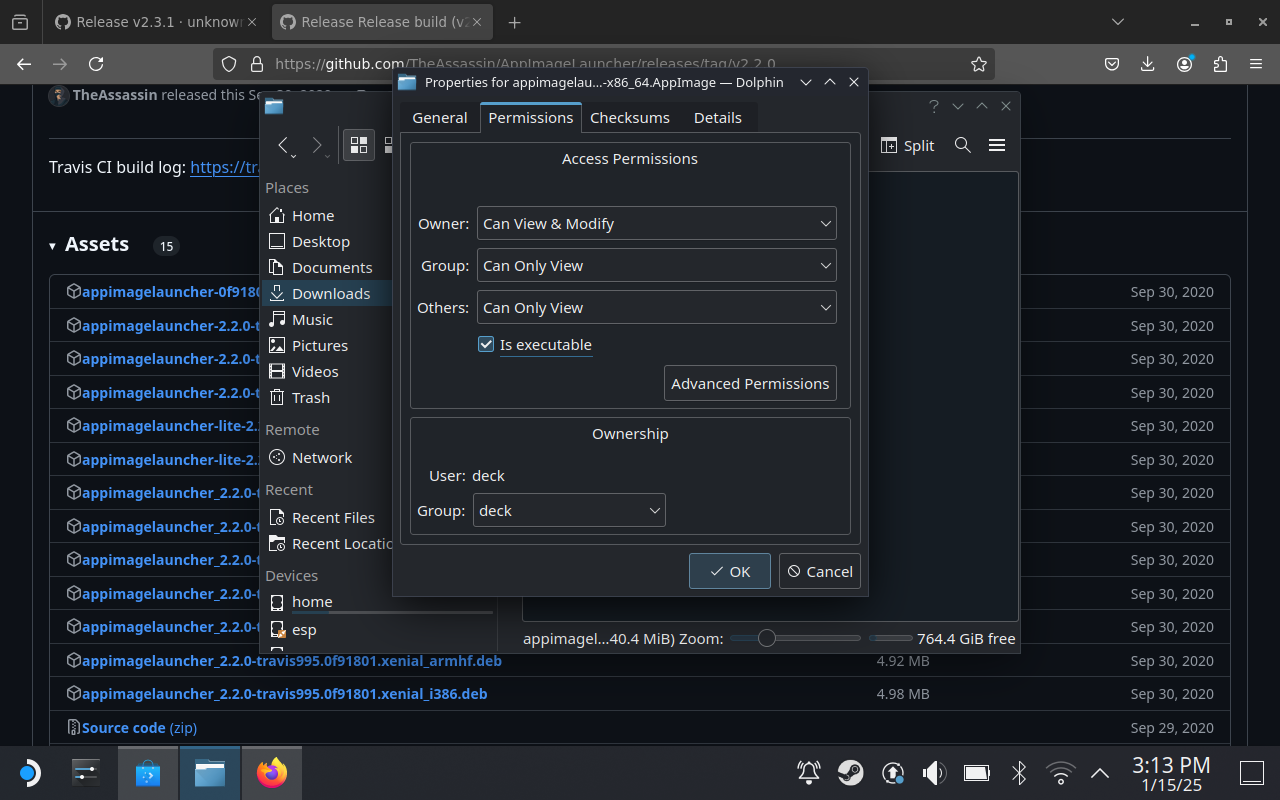
Now right-click on the file you just downloaded using the Steam Deck’s left trigger to reveal the context menu. Select “Properties” then navigate to the “Permissions” tab and check “Is executable” followed by “OK.”
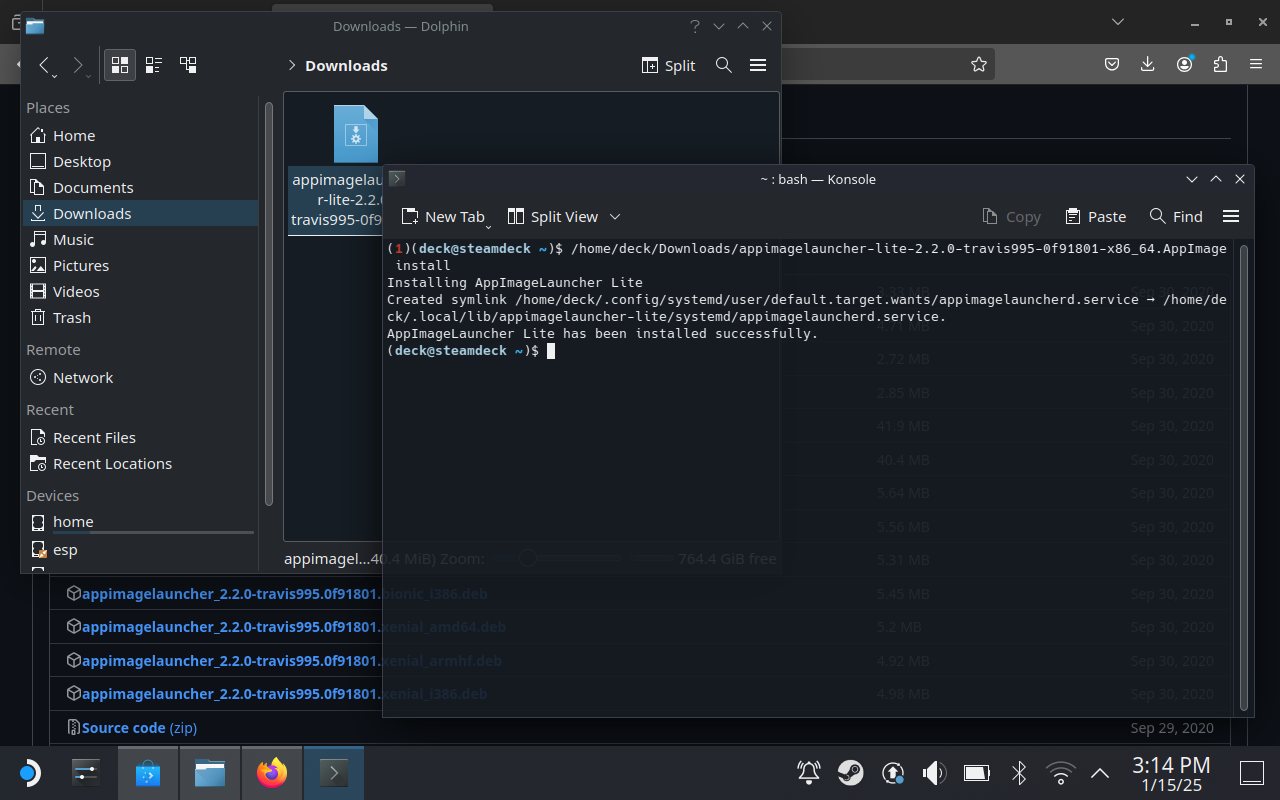
Next open command line tool Konsole, which you’ll find in the main Steam Deck desktop menu. Drag the file from the Dolphin window into the Konsole window and type “install” then run the command by hitting Enter.
Now it’s time to install Greenlight.
Now Install Greenlight on Your Steam Deck
Head to the Greenlight Github page and grab the latest “.AppImage” release from the
Latest
Apr 12, 2024″>releases page. Once the download is complete, return to the Downloads folder in Dolphin.
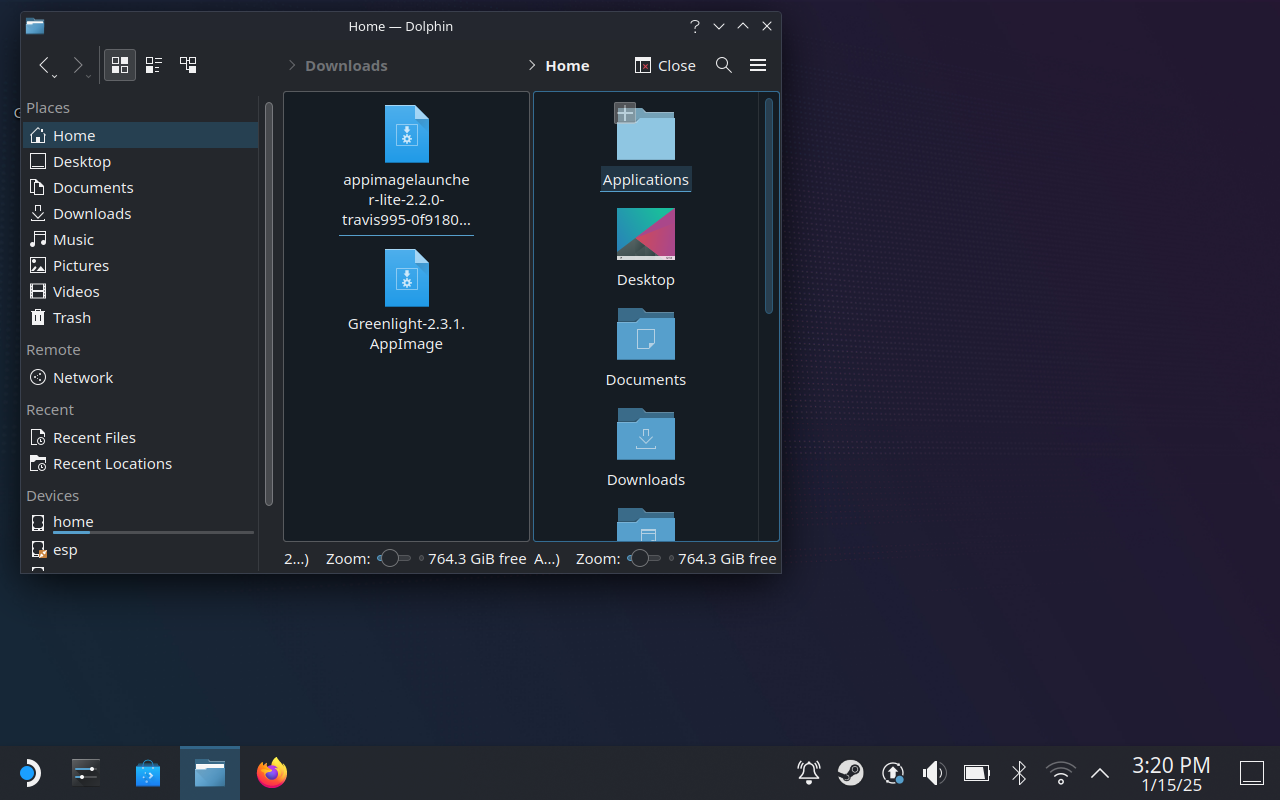
Now we need to move the Greenlight AppImage file into a new “Applications” folder. The easiest way to do this is to click on the “Split” button at the top of the Dolphin window, then use half of the window to navigate to Home > Applications (you’ll find Home in the sidebar to the left).
Now click and drag the Greenlight download into the Applications folder, then select “Move Here” and wait for the transfer to complete. The hardest part is now over, now it’s time to configure Greenlight and add it to Steam.
Login and Add Greenlight to Steam
You can clean up your desktop by closing any windows you still have open, including Konsole, Firefox, and Dolphin. Now click on the Steam Deck menu icon in the bottom-left corner of the screen, find the “Greenlight” application under “All Applications” or “Games” and then run it.
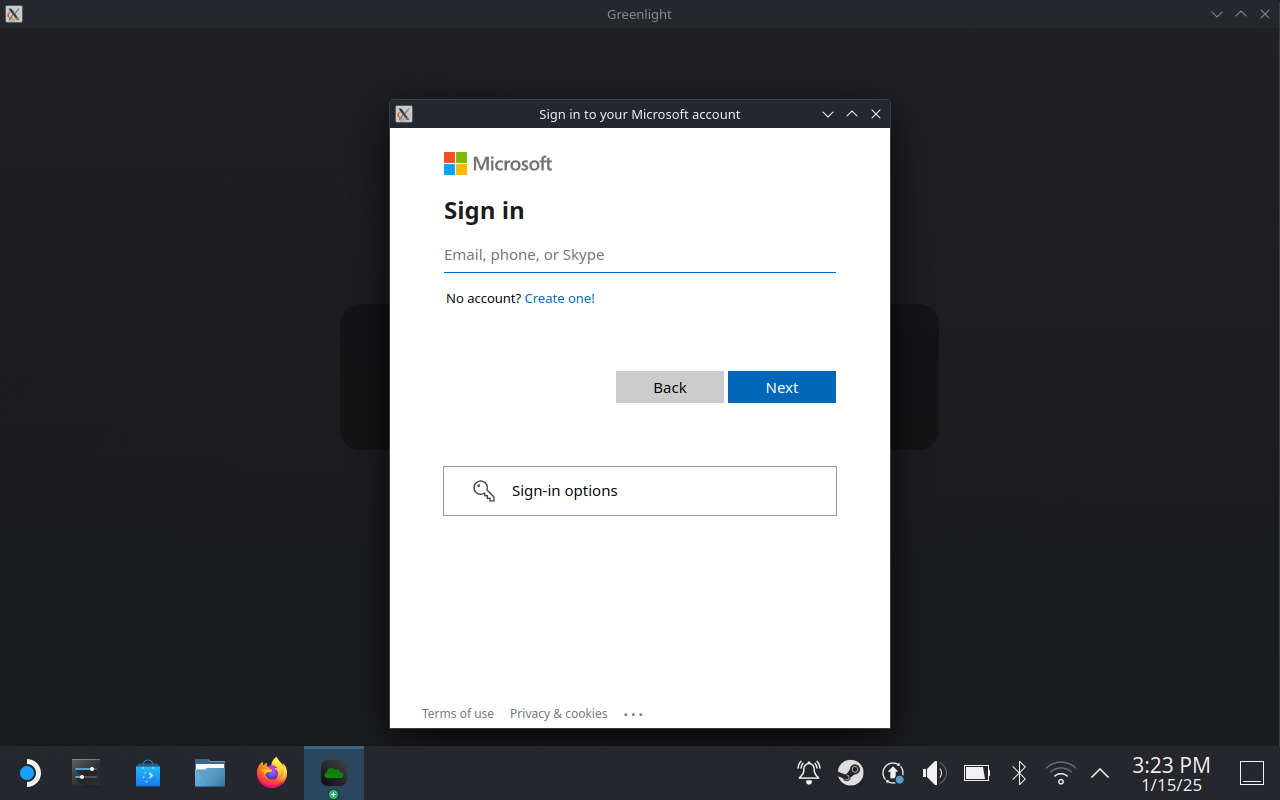
The first thing you’ll see is a window inviting you to sign in with your Microsoft (Xbox) account. Log in as you would normally, and authenticate using two-factor authentication.
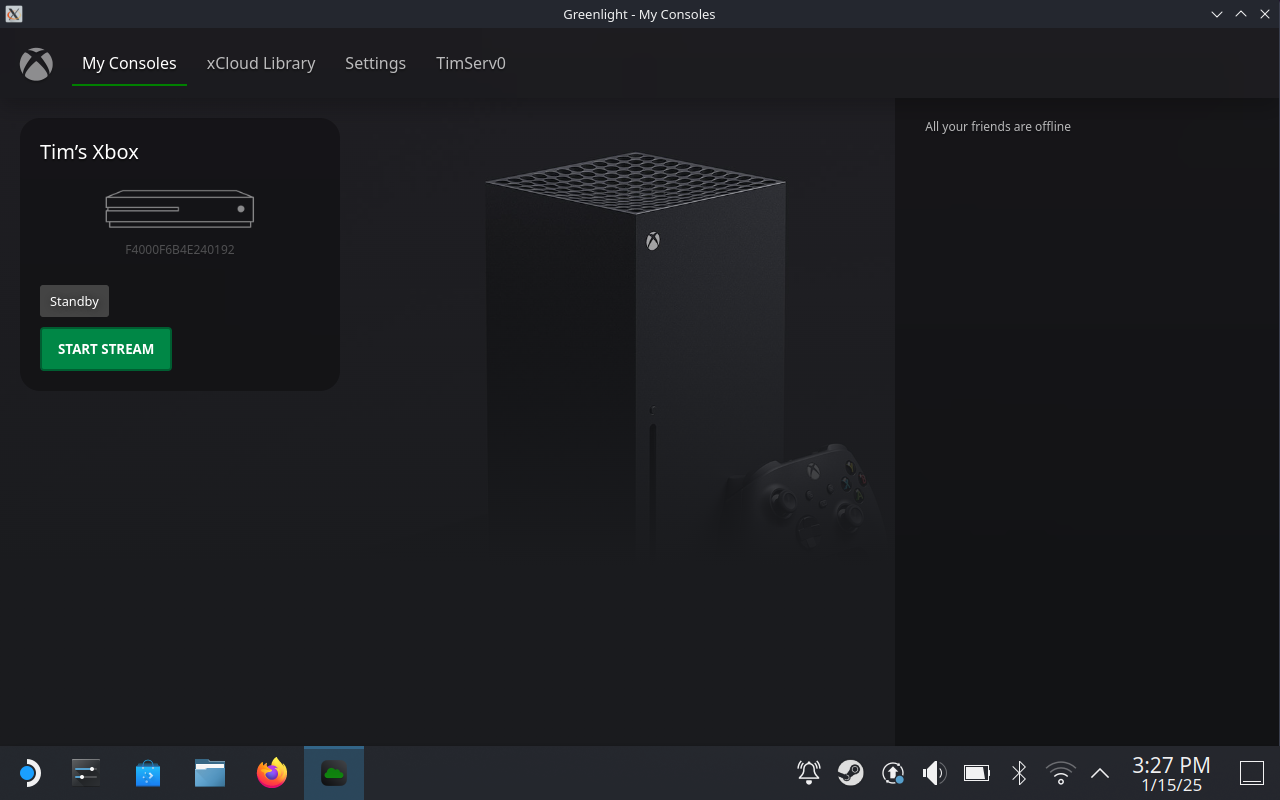
Once you’re done, you should see your console listed on the “My Consoles” page, and a list of games you can jump into instantly under the “xCloud Library” tab. You could jump in and start playing right now, but first add Greenlight as a Steam app.
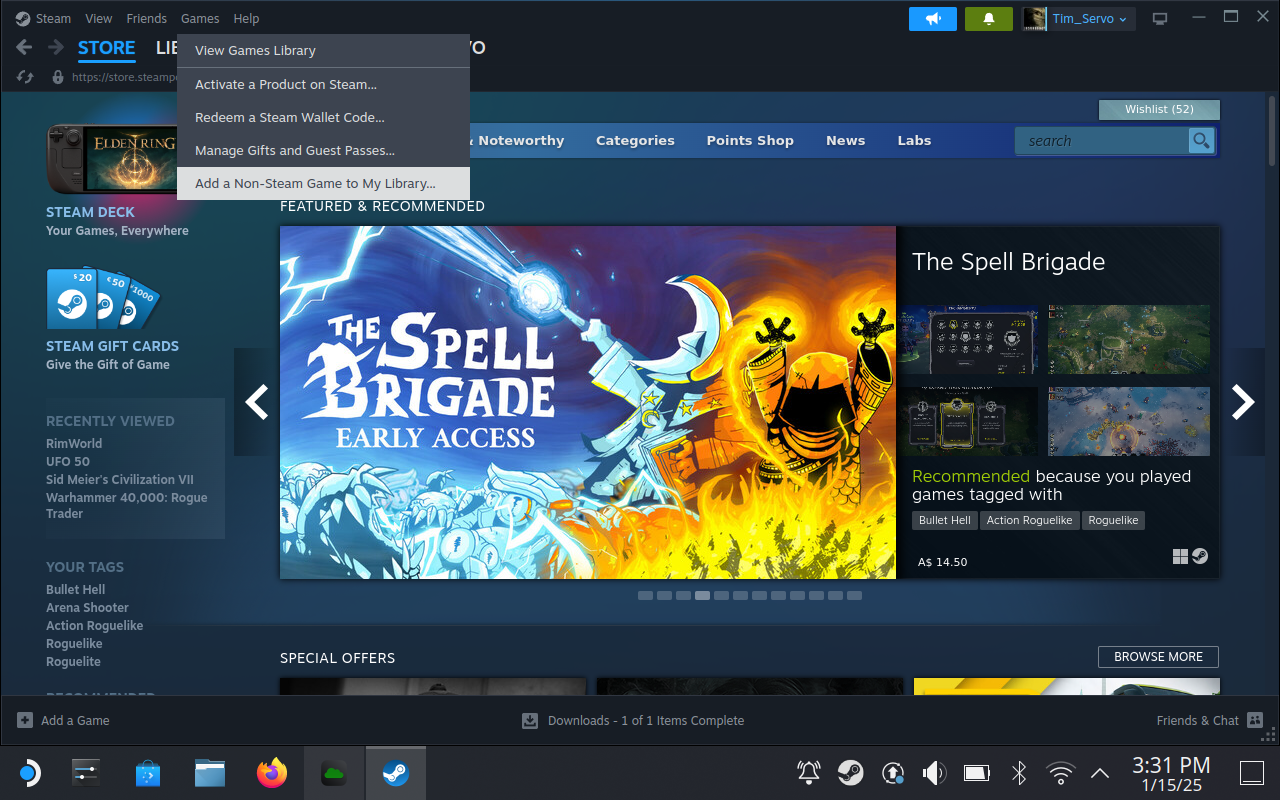
Doing this allows you to launch the application from the default Steam Deck Game Mode interface you’re used to (as opposed to the Desktop Mode interface that you’re in now). To get started, open Steam in Desktop mode (there should be a shortcut on your desktop) then use the menu bar at the top of the window to select Games > Add a Non-Steam Game to My Library.
In the window that appears, hunt down Greenlight and check the box next to it then click the “Add Selected Programs” button.
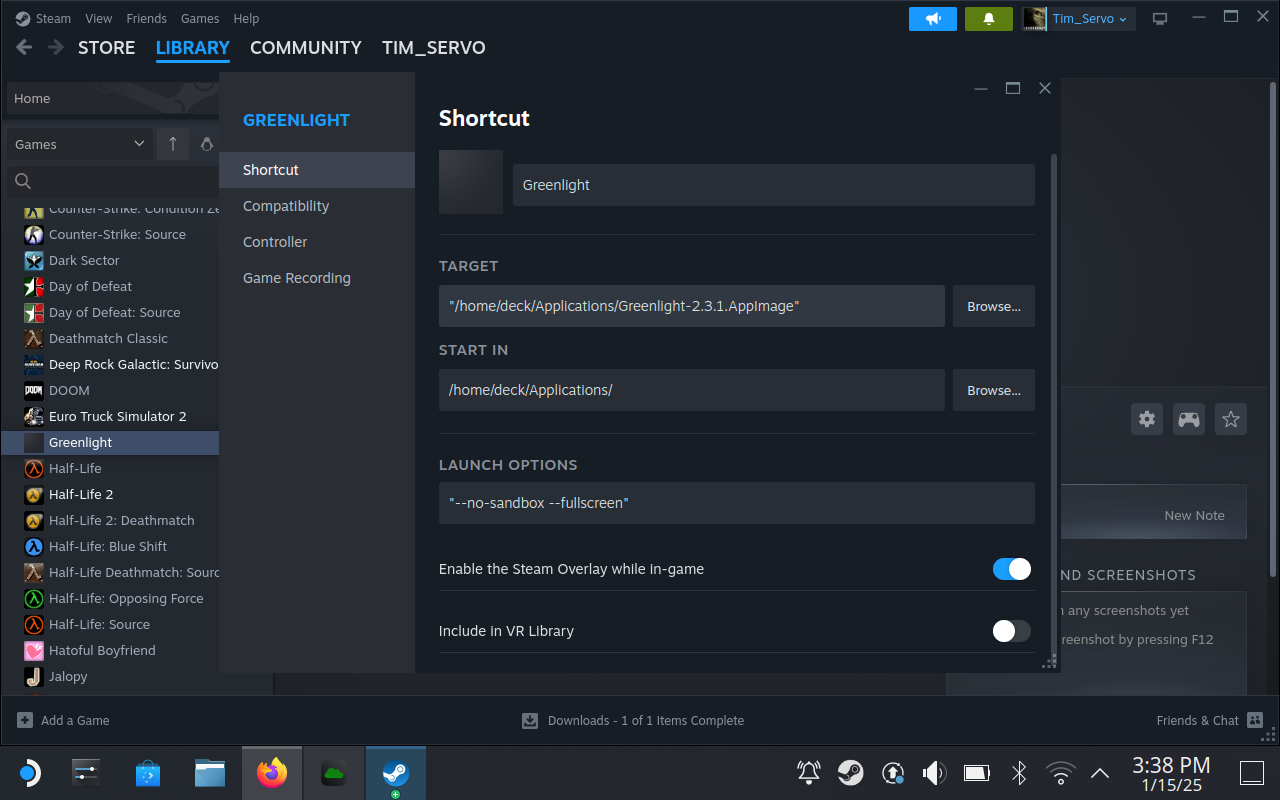
From here, click on Library then find Greenlight. Click on the “cog” Settings icon and then click Properties. Here you can change the name (to something like “Xbox Remote Play” or simply get rid of the version number) and add a pretty icon if you like. See our full guide on adding icons and artwork to non-Steam games.
You can also add the following flag to the “Launch Options” box to automatically start a local Xbox stream once the app authenticates: (where “F000000000000000” is your console ID under the “My Consoles” tab).
--connect=F000000000000000
Now close the window and return to Game Mode, which you can do using the shortcut on your SteamOS desktop.
Configure Your Controller and Play Some Games
Now it’s time to configure your Steam Deck’s controls for use with Greenlight. To do this, find the game in your Library (it will be on the Non-Steam tab) and select it, then use the “Controller Settings” button (it looks like a gamepad) to bring up the menu.
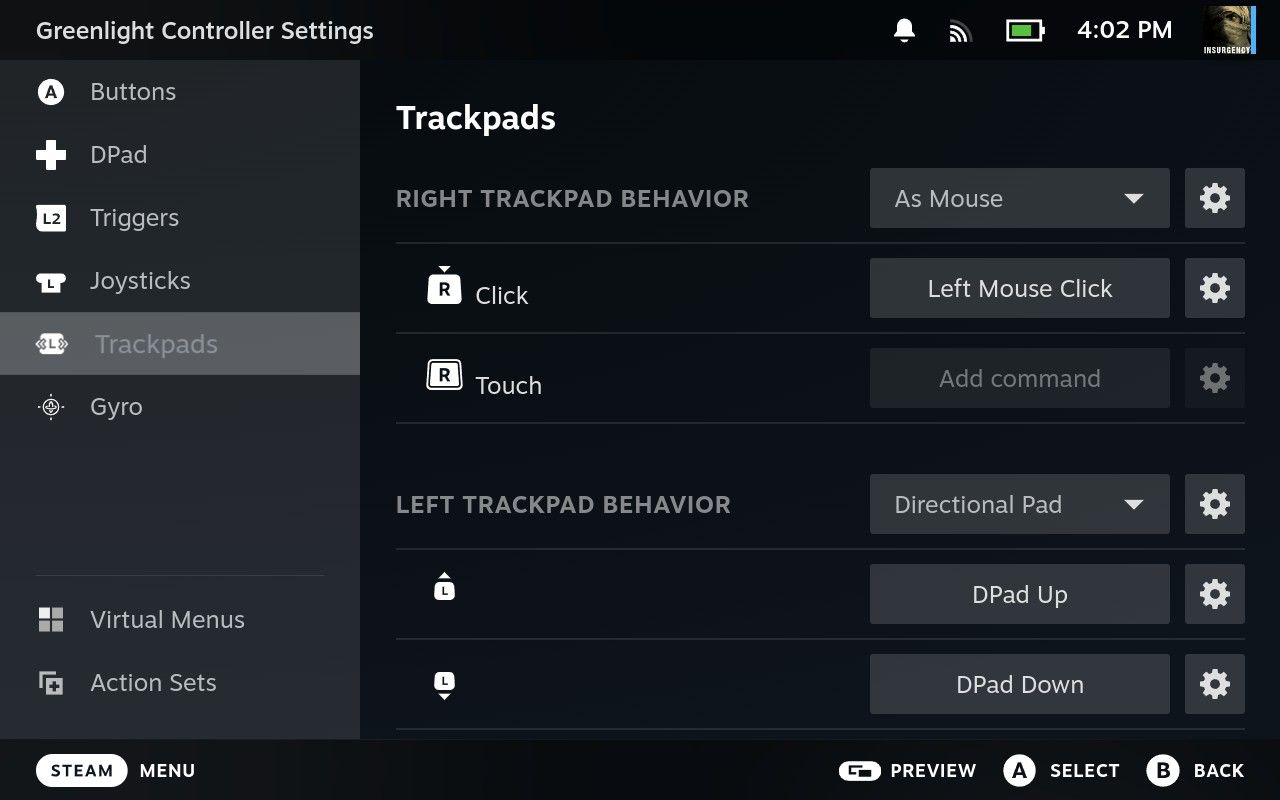
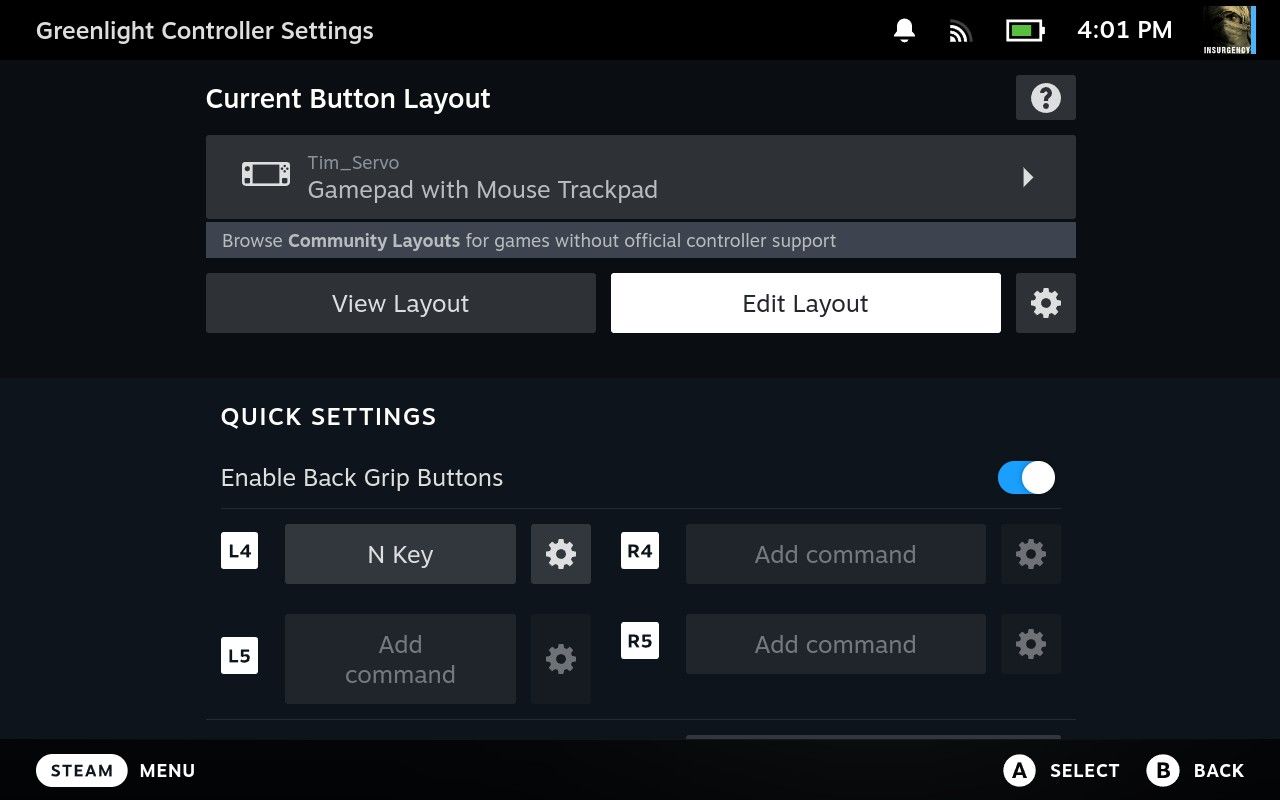
Now select “Gamepad with Mouse Trackpad” from the available layouts (this gives you mouse control for navigating the Greenlight interface). Edit the layout and select Trackpads > R Click and change this to “Left Mouse Click” instead.
The other thing you’ll need to do is bind the keyboard “N Key” to a button of your choosing (I chose the L4 back bumper) which acts as your Xbox button.
When you’re done, it should all look a little something like this:
Finally, it’s time to launch Greenlight. Hit the “Play” button under the app menu to get started. Now use the “Start Stream” button next to your console to connect to a console that you’ve configured for remote play or select a game from the “xCloud Library” tab to jump into a cloud gaming session.
Your Steam Deck will be detected as a standard Xbox 360 controller, so it should “just work” in any game. Latency when streaming locally is surprisingly manageable but will depend on the health of your wireless network. For me, Greenlight is far snappier than playing on an iPhone. Cloud gaming is another beast entirely, and depends on your internet speed and latency.
Any time you’re playing you can touch the right trackpad to bring up the overlay to terminate the stream (you can also mute or unmute your device’s microphone for chat).
XBPlay is a Premium Alternative
Can’t be bothered setting all this up? You can choose to pay $6.99 for XBPlay, a Steam app that handles most of this for you. We haven’t tested it, but the “Very Positive” rating should attest to its effectiveness. You can also grab a Steam refund within two hours of play if you aren’t impressed.
Looking for more free killer apps for your Steam Deck? Check out EmuDeck, a collection of emulators that handles the heavy lifting for you.


