

It can be really difficult to keep track of all your documents, especially when they are in paper form. Thankfully if you’ve got an iPhone it has a buried feature that can help out. Here’s how to scan documents on your iPhone with no additional apps.
Any iPhone running iOS 11 or newer has a handy feature inside the preinstalled Notes app that allows you to scan your documents without any fuss, giving you what looks like a PDF of your files and documents.
Keep reading to find out the easiest way to scan your documents on an iPhone.
What you need
- An iPhone running iOS 11 or newer
The Short Version
- Open your Notes app
- Click on Notes
- Press New Note
- Click the Camera button
- Click Scan Documents
- Hover your phone over the document
- Check your image
- Press Done
- Tap Save
-
Step
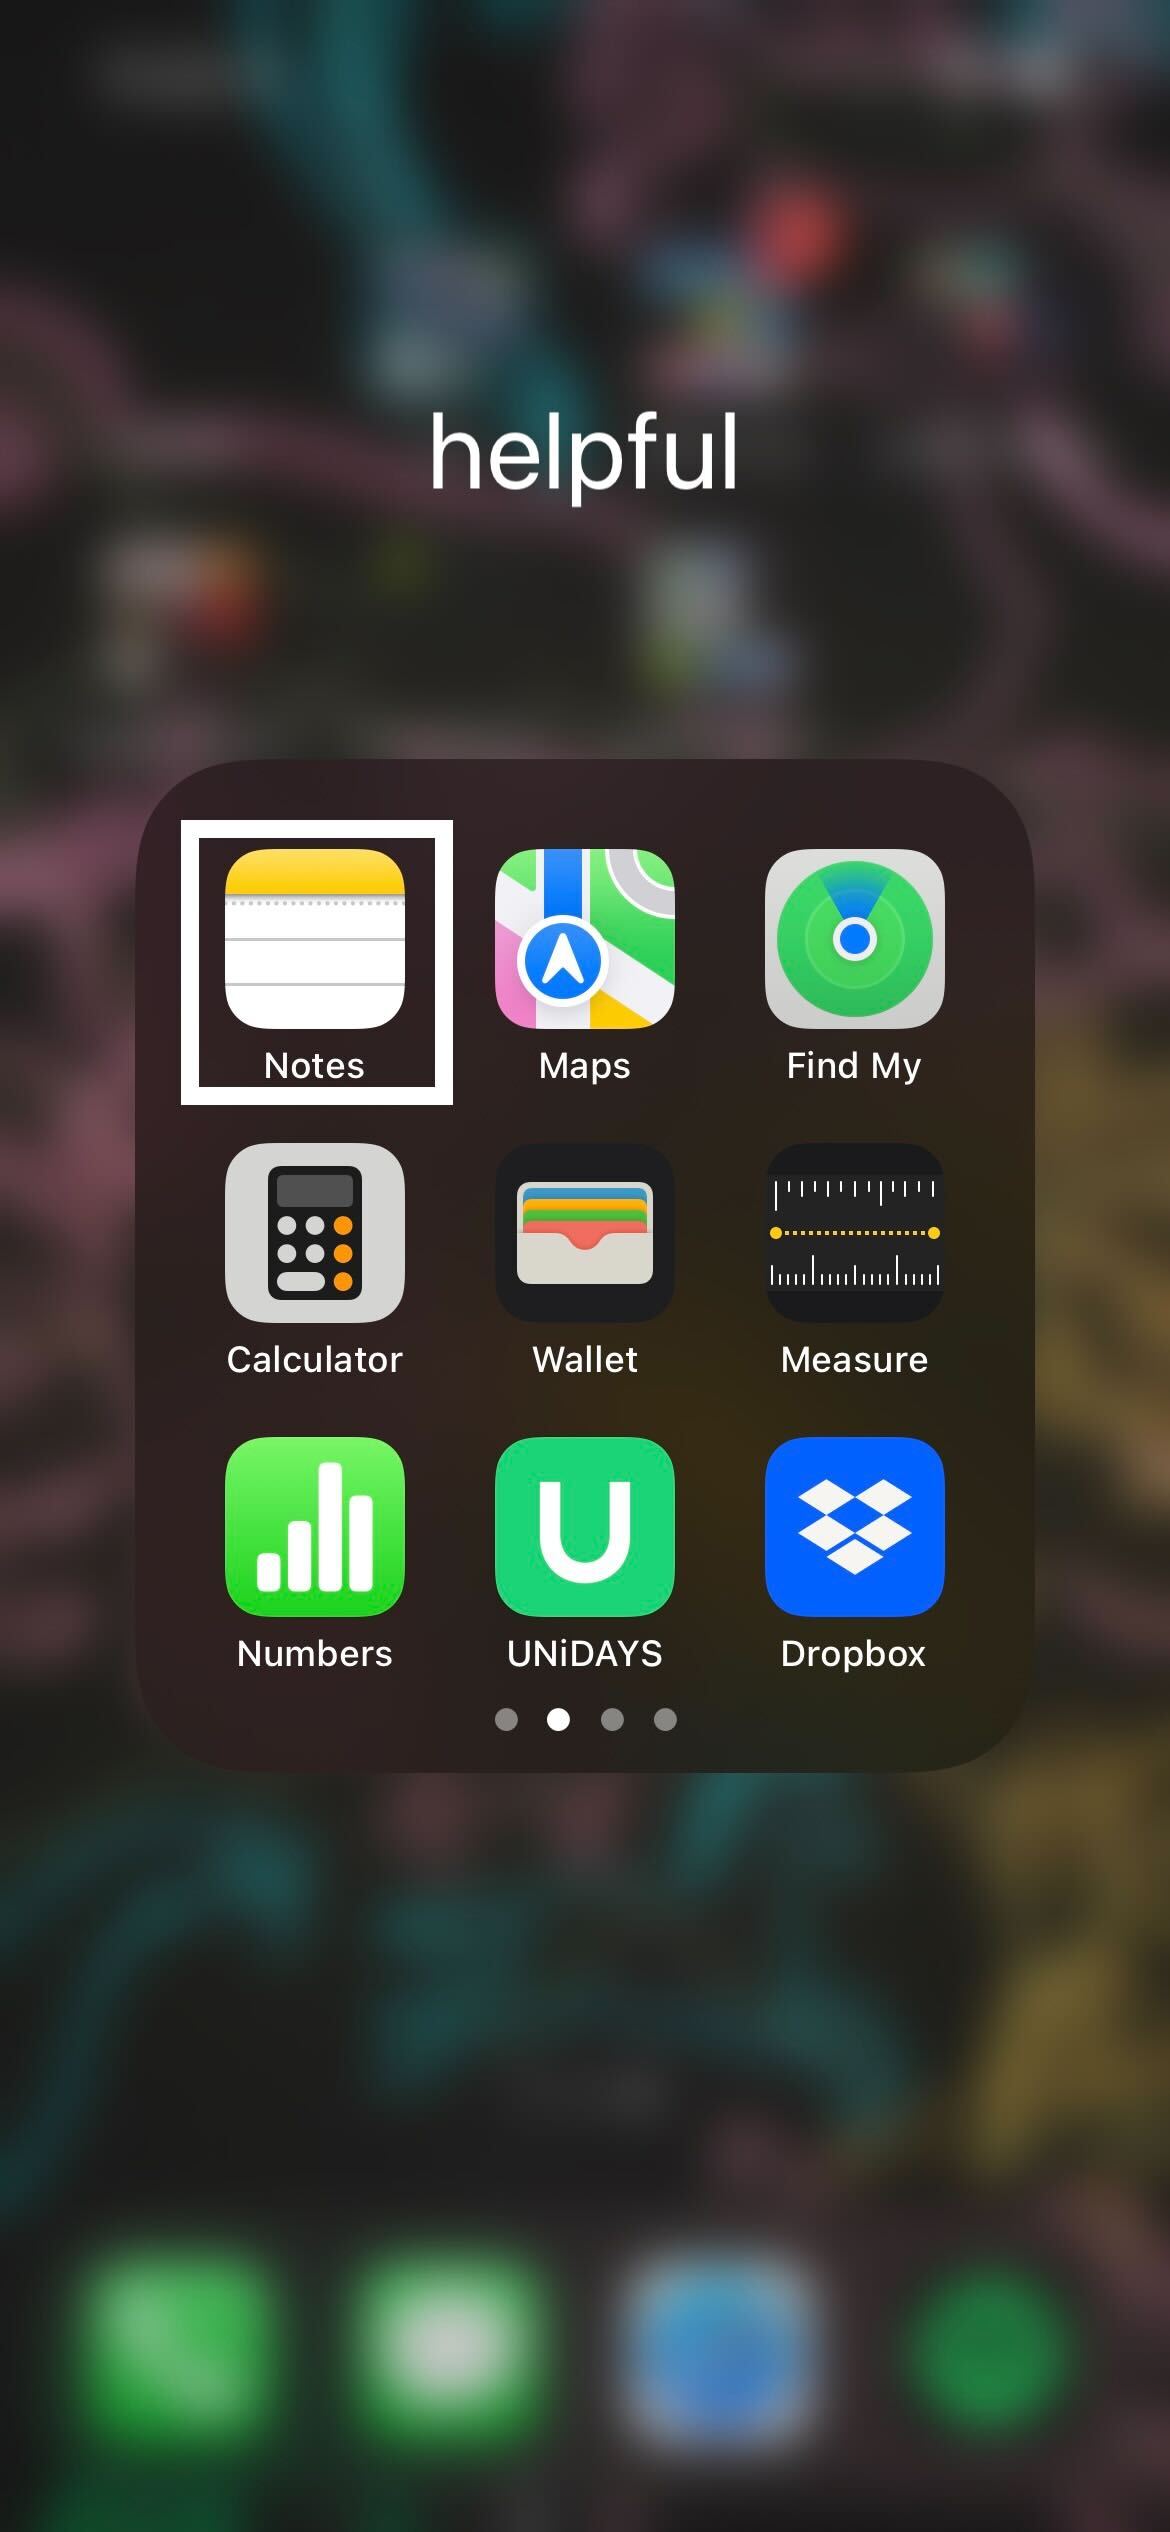
1Open your Notes app

Unlock your iPhone and open the Notes app to start the process.
-
Step
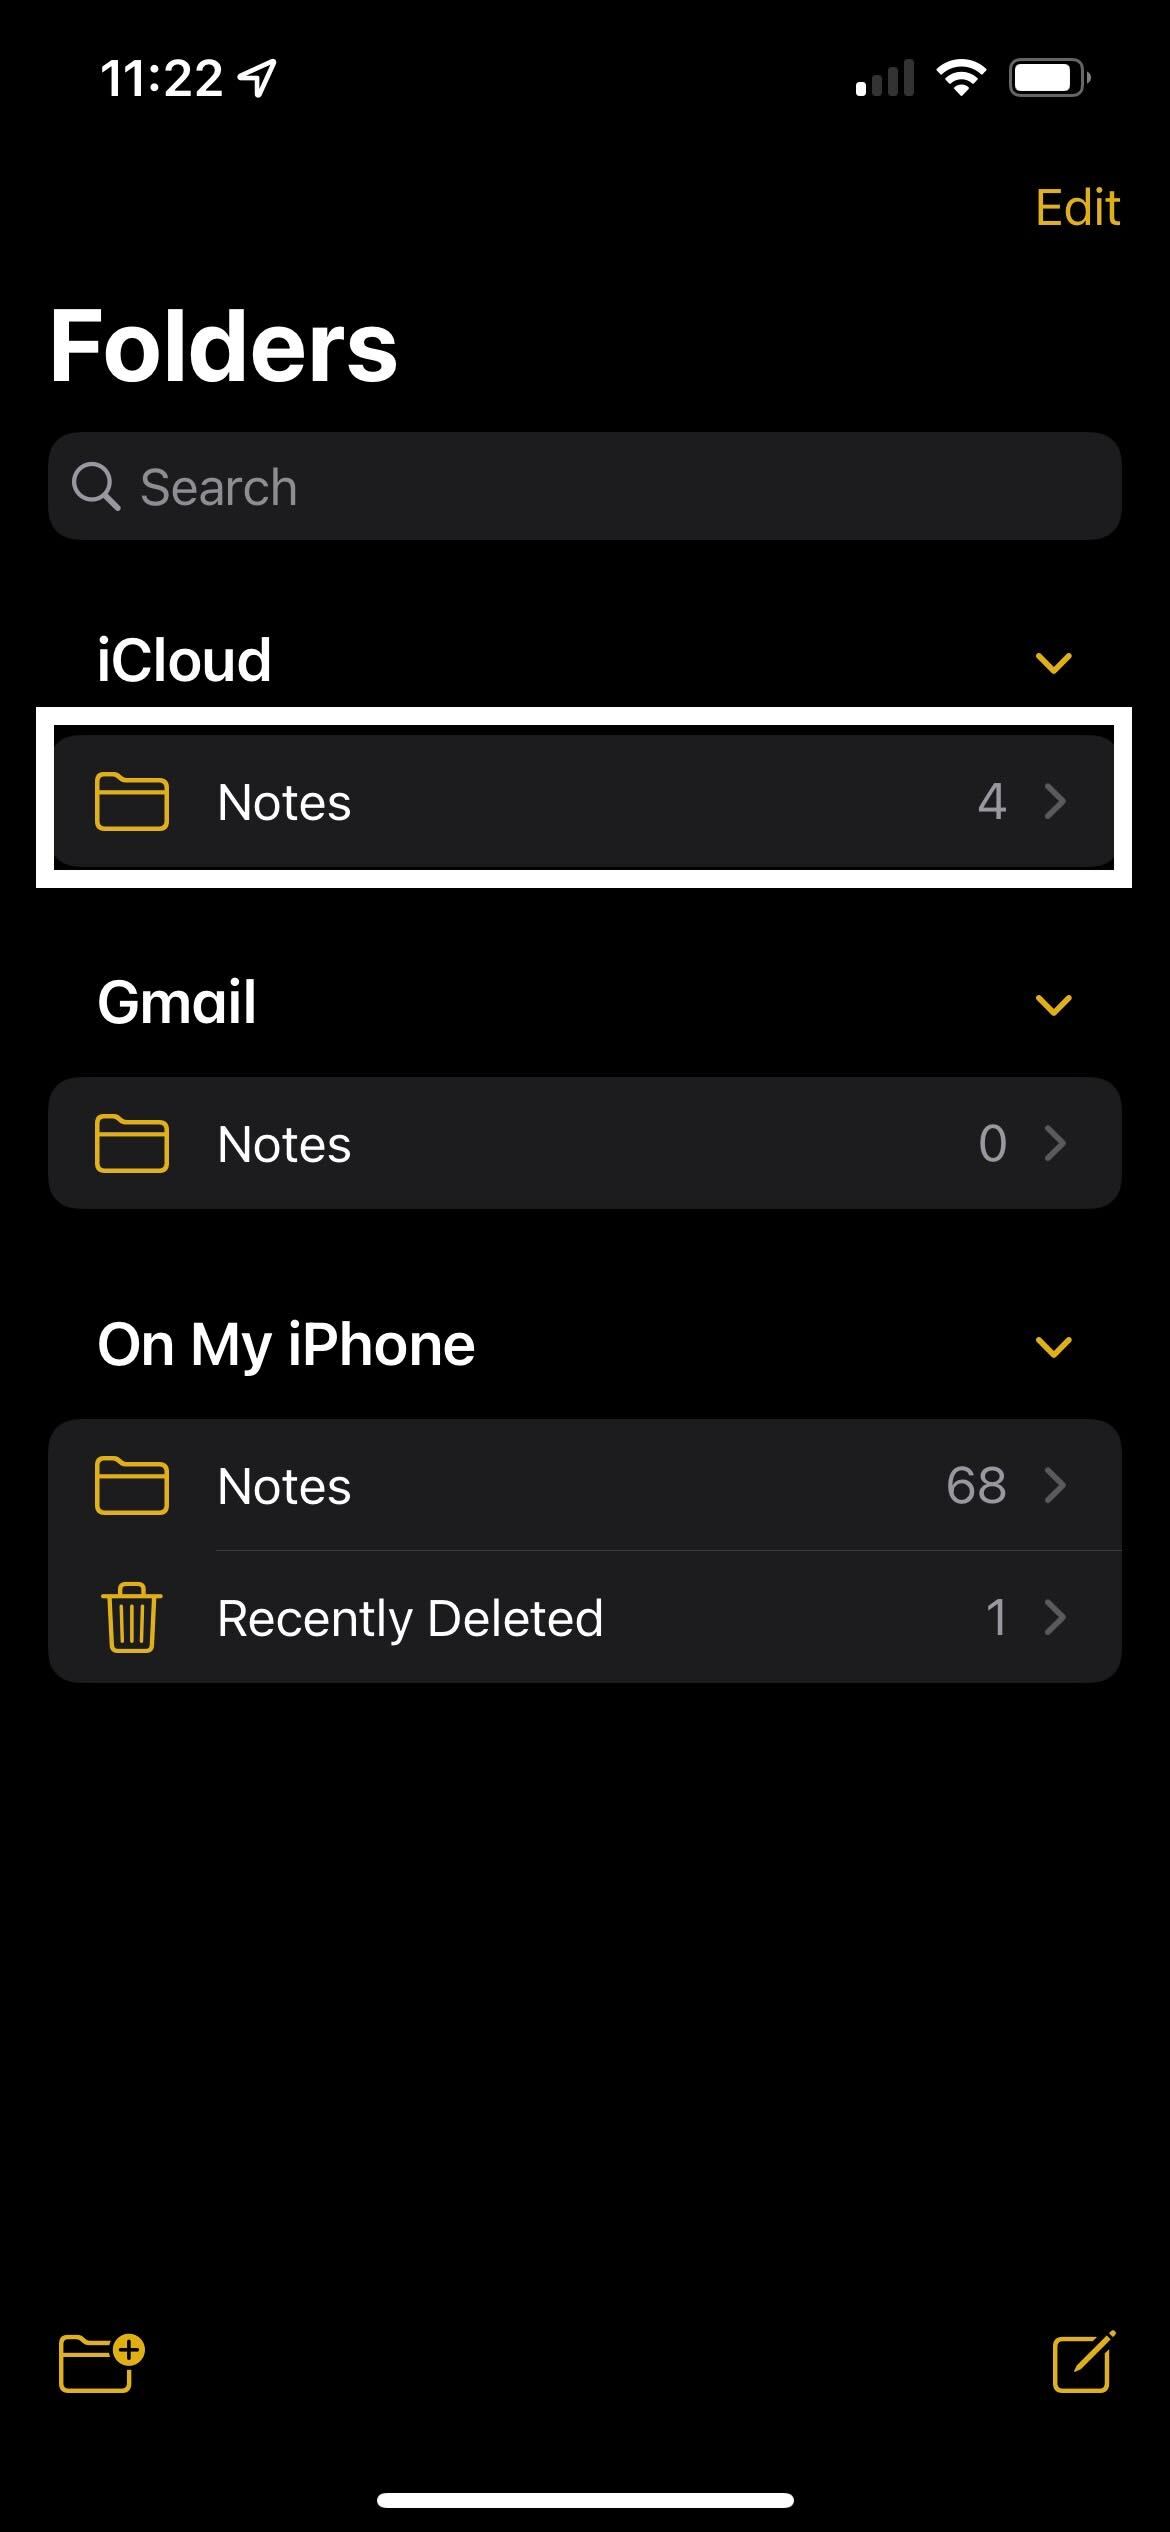
2Click on Notes
Click on your Notes. You need to select the iCloud subsection or the On My iPhone subsection for it to work – it won’t work for Notes under Gmail.
-
Step
3Press New Note
Click on the button that starts a new Note. It sits in the bottom right-hand corner of the screen and looks like a pencil writing on paper.
-
Step
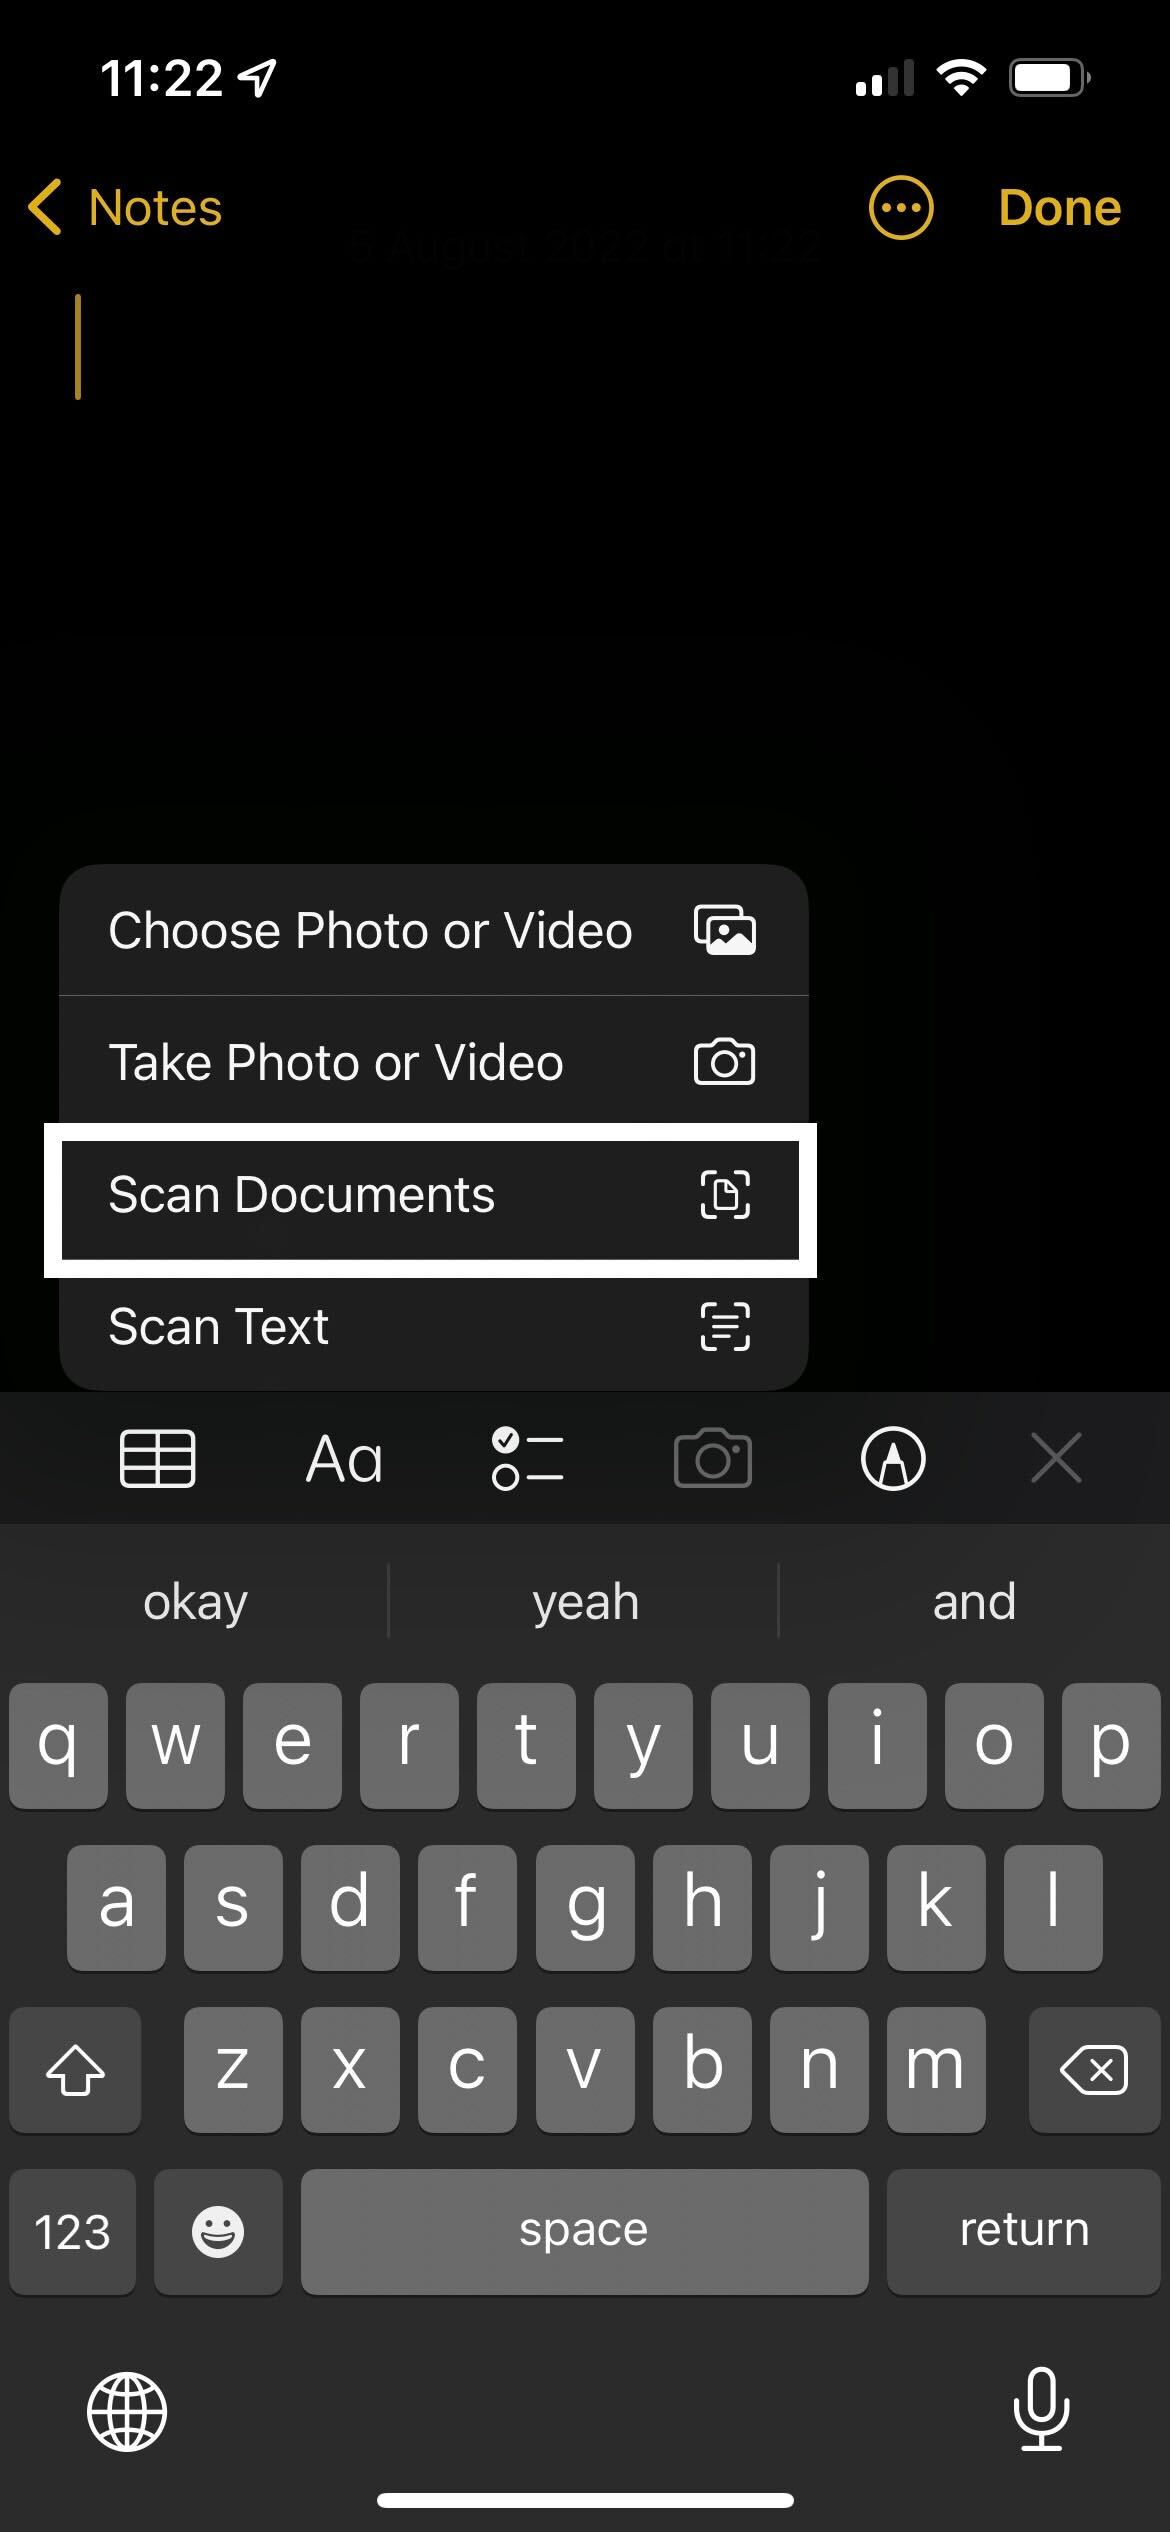
4Click the Camera button
Once in a new note, click on the Camera button. It sits in the navigation menu above the keyboard.
-
Step
5Click Scan Documents
When you click on the Camera button, you will be presented with a drop-down menu. Out of those choices, click on the Scan Documents button.
-
Step
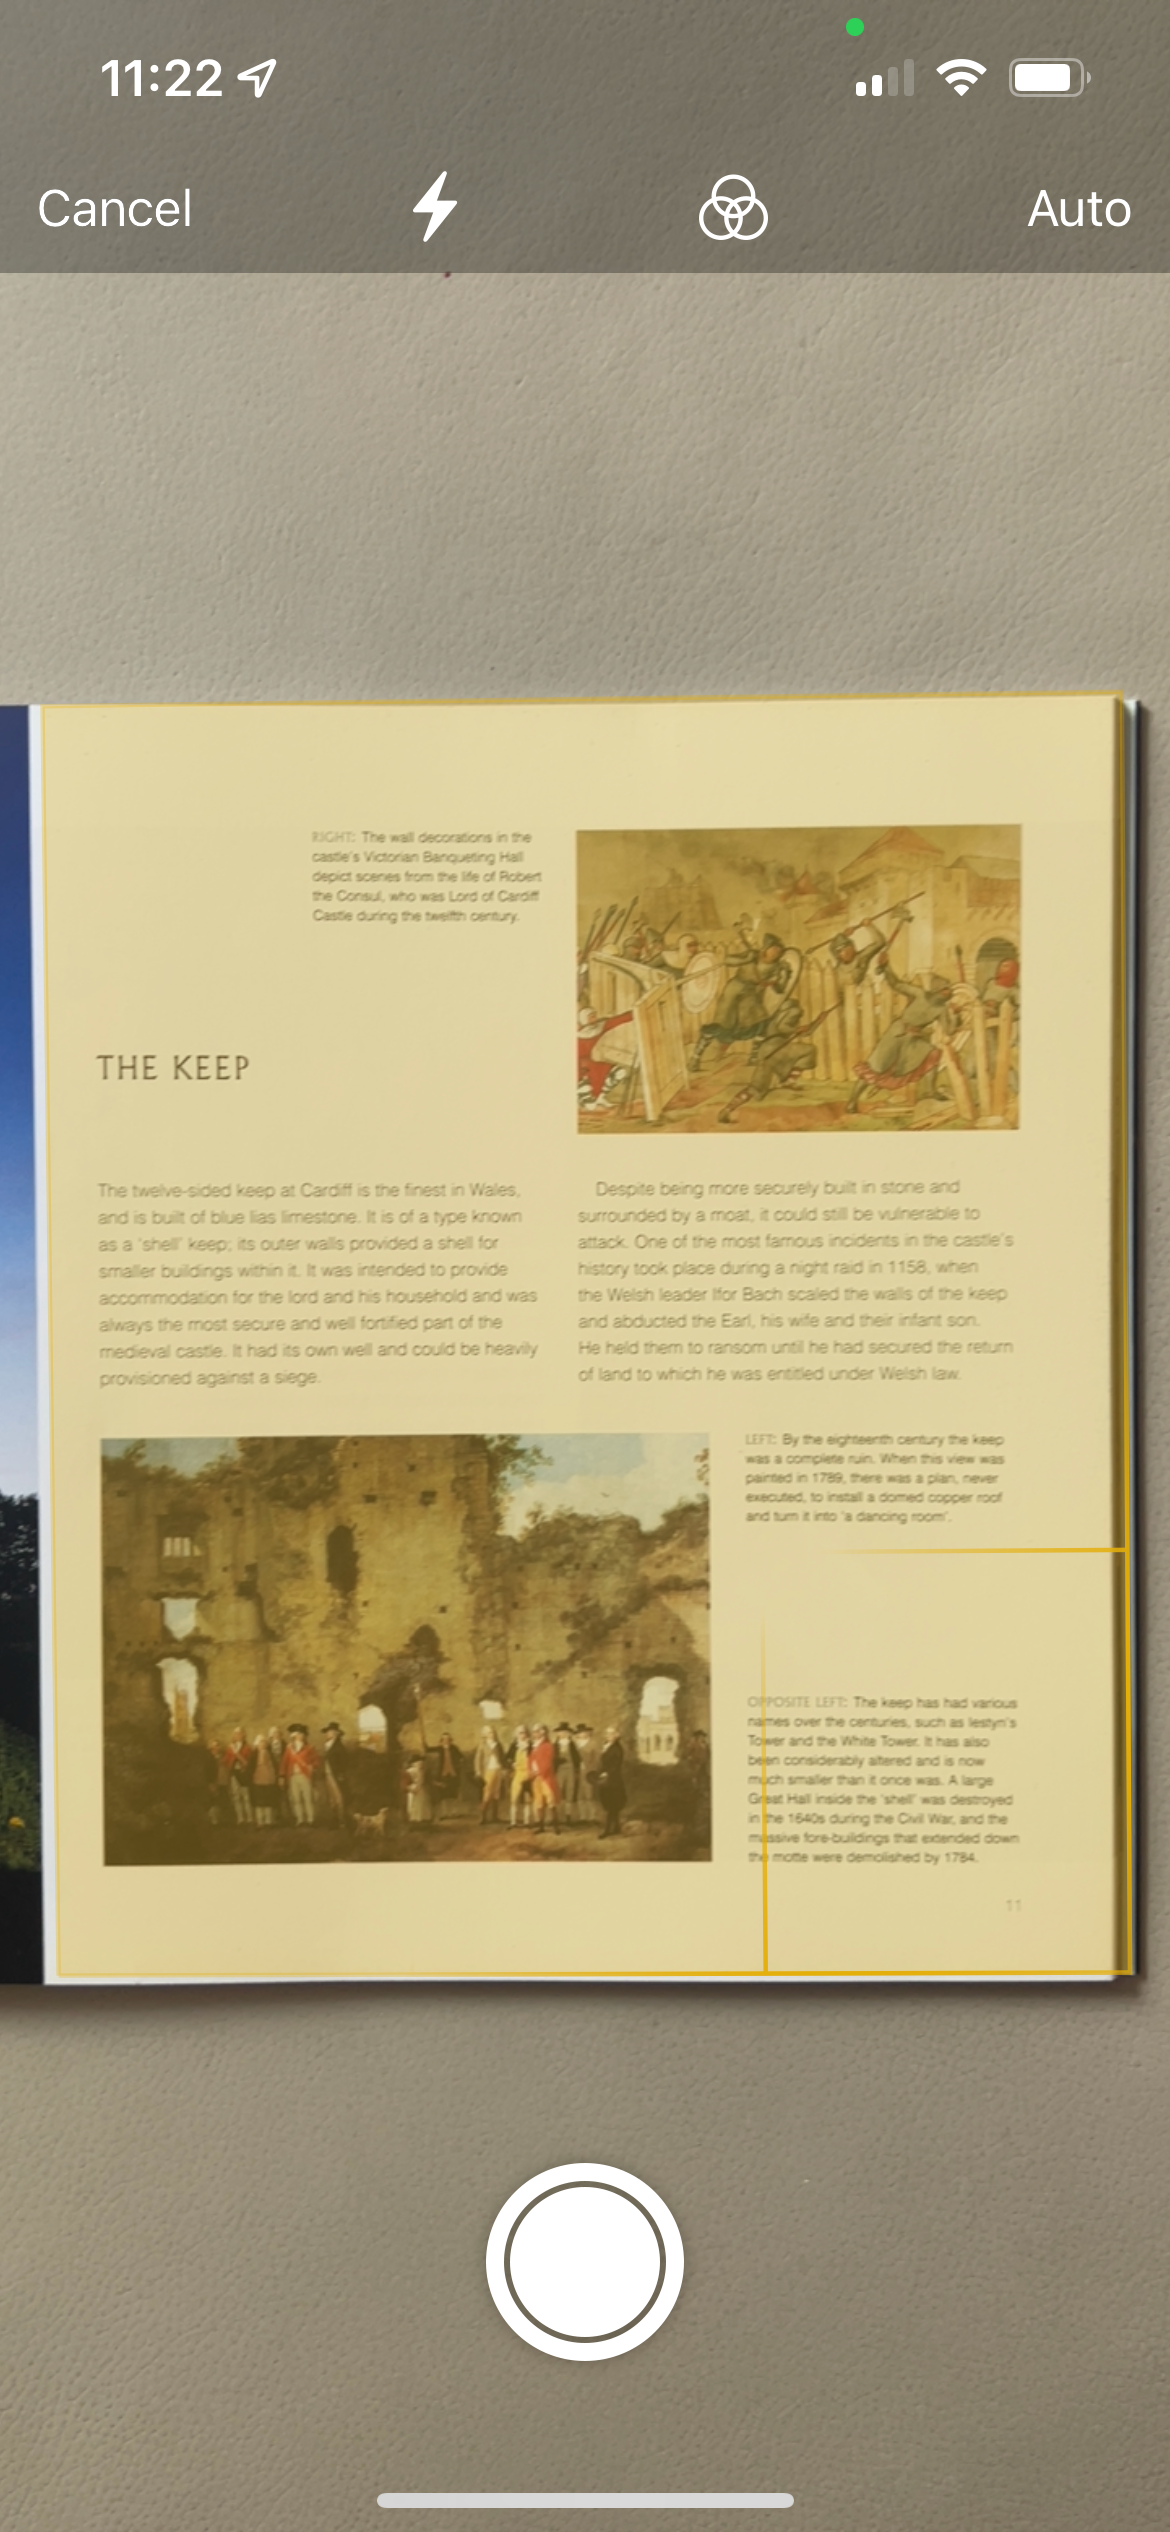
6Hover your phone over the document
Find the document you want to scan and hover your camera over it. You will want to position it so you can see the whole page, and try and do the scan in a space that has natural lighting so as not to obscure the text.
-
Step
7Check your image
Click on the small image on the lower left-hand side of the screen to check your image and see if it’s scanned the correct information and it looks clear.
-
Step
8Press Done
Once you are happy with the image and the text on the screen, click the Done button.
-
Step
9Tap Save
Click the Save button to save your scanned document. It will then appear in the new Note you created at the start of the process.


FAQs
While you can’t scan multiple documents at once, you can scan documents in quick succession, making it easy to scan a book or a lot of paperwork.
Your iPhone needs to be running on iOS 11 or later to support the scan documents feature.


