

If you’re looking to boost your productivity while working in Gmail, you may want to find out how to schedule an email.
Gmail is one of the most popular email platforms on the market right now, with a multitude of features to help keep its user productive. Among aspects like Gmail Labels, there is also the ability to schedule emails from your Gmail account, which can massively boost users’ effectiveness in terms of keeping on top of commitments and events.
We’ve come up with a handy step-by-step guide to help you understand how to set up a scheduled email within Gmail, so you can make the most out of this platform. Keep reading to find out more.
What you’ll need:
The Short Version
- Open your Gmail
- Click on the Compose button
- Write up your email
- Click on the arrow next to Send
- Click Schedule
- Set the time you want to send your email
-
Step
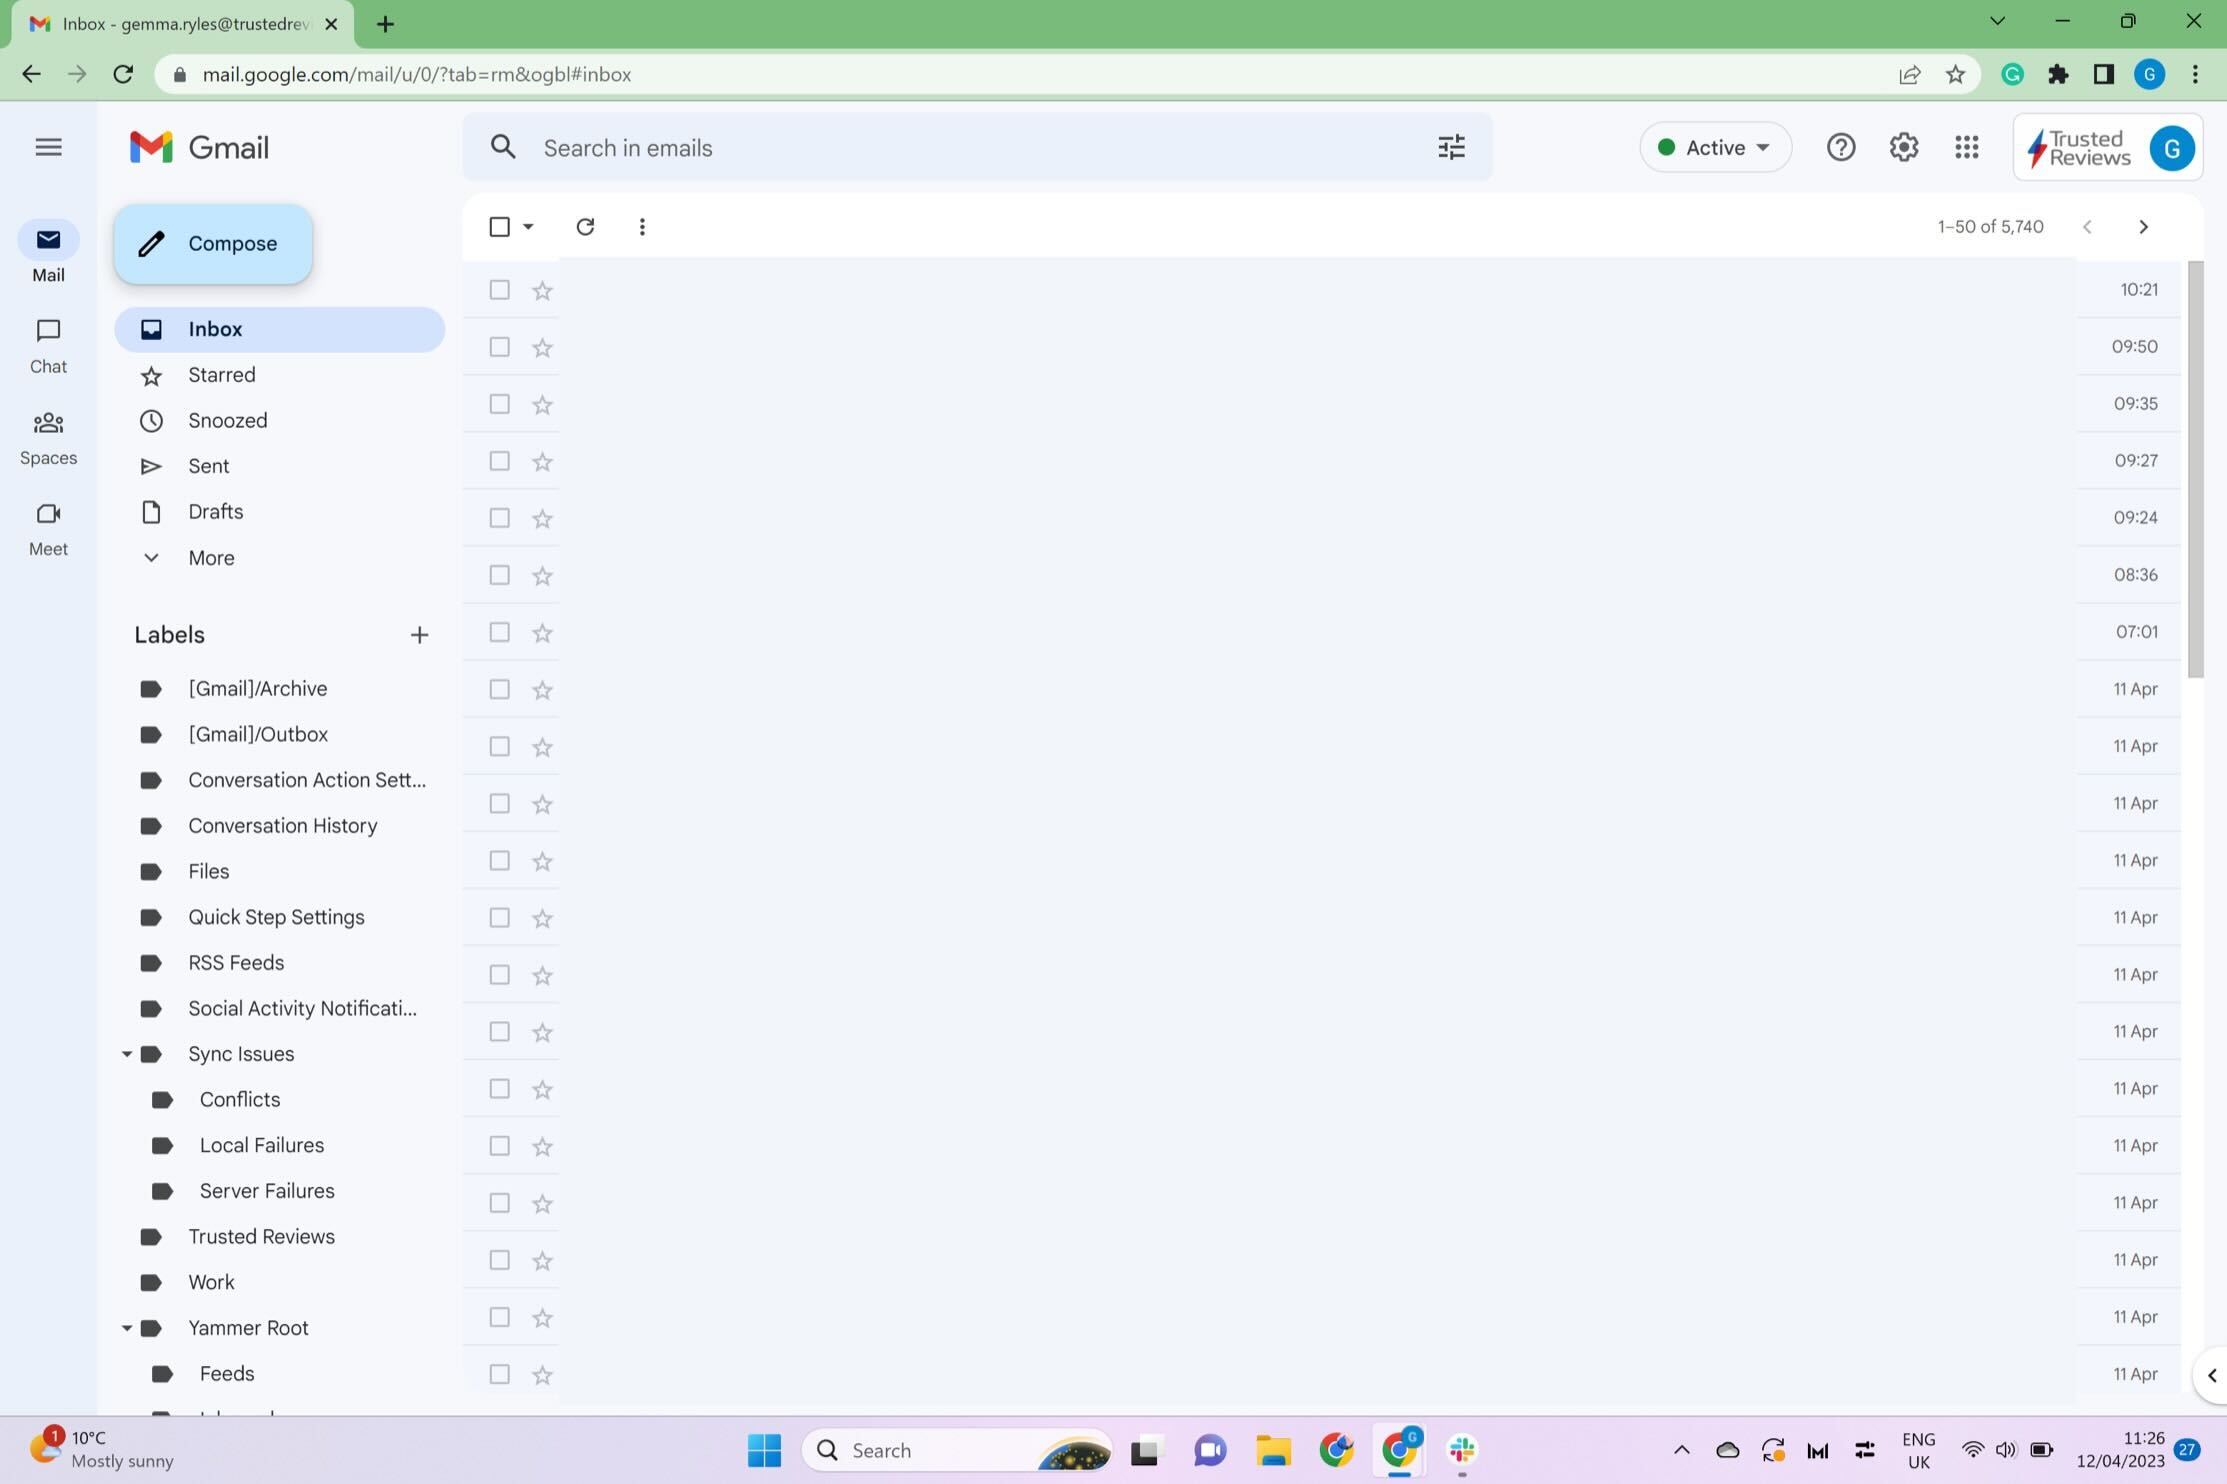
1Open your Gmail

Open up the Gmail account that you want to send the email to.
-
Step
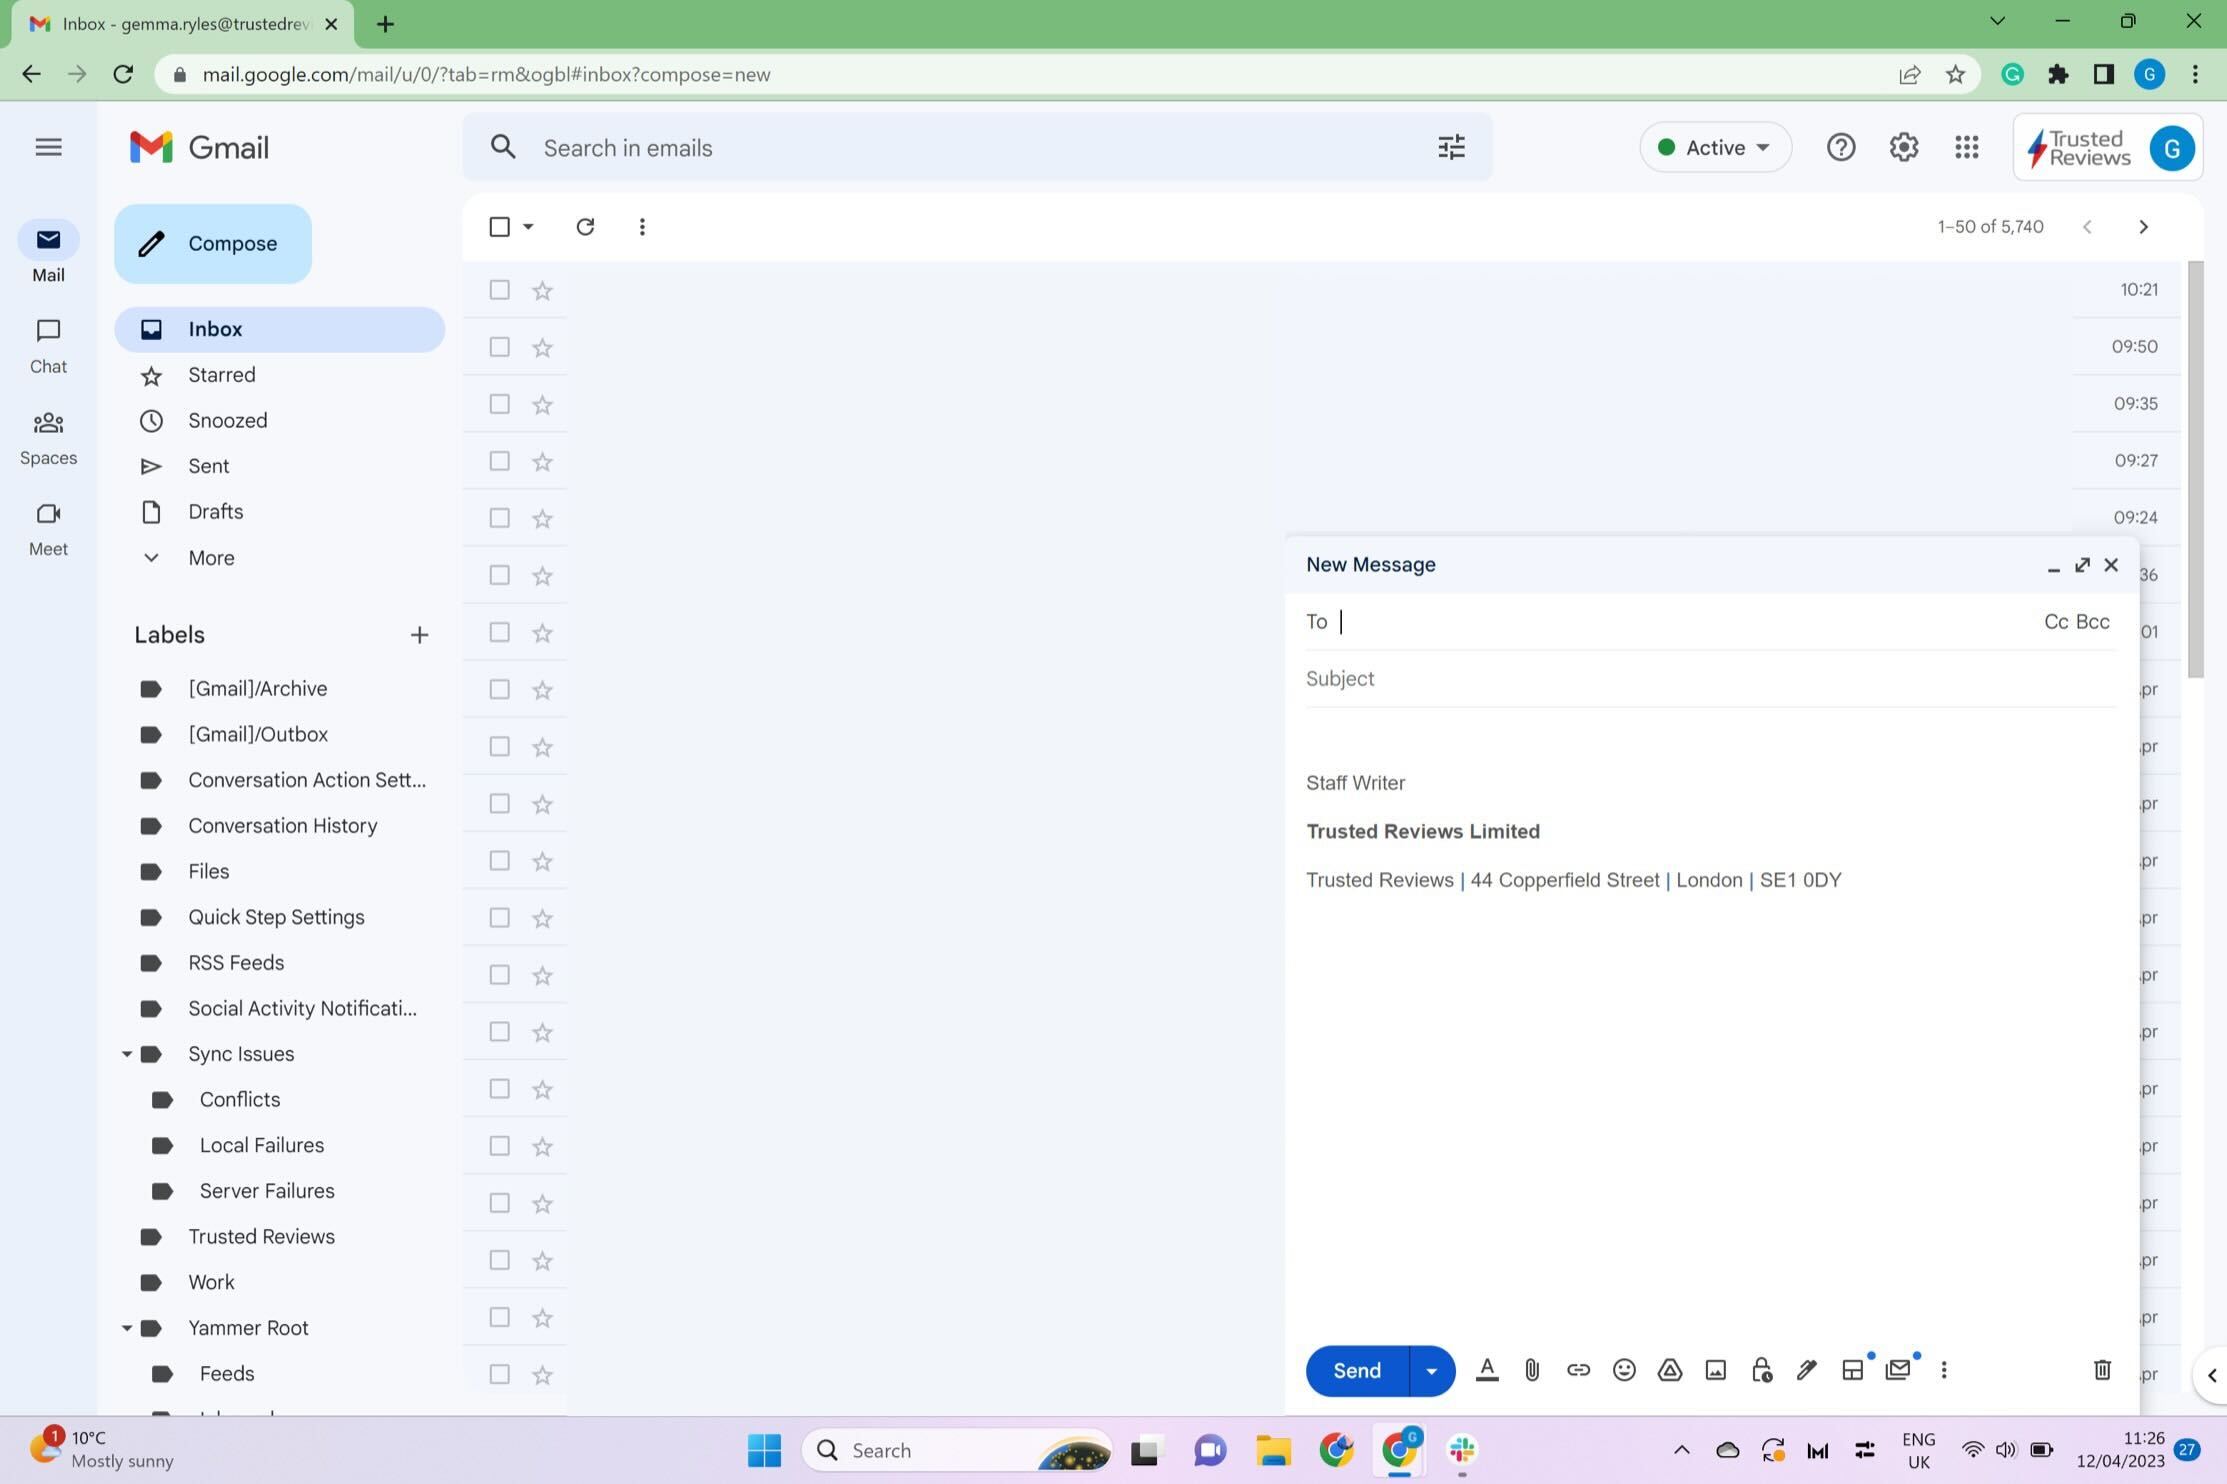
2Click on the Compose button
Click on the blue Compose button in the upper left-hand corner.
-
Step
3Write up your email
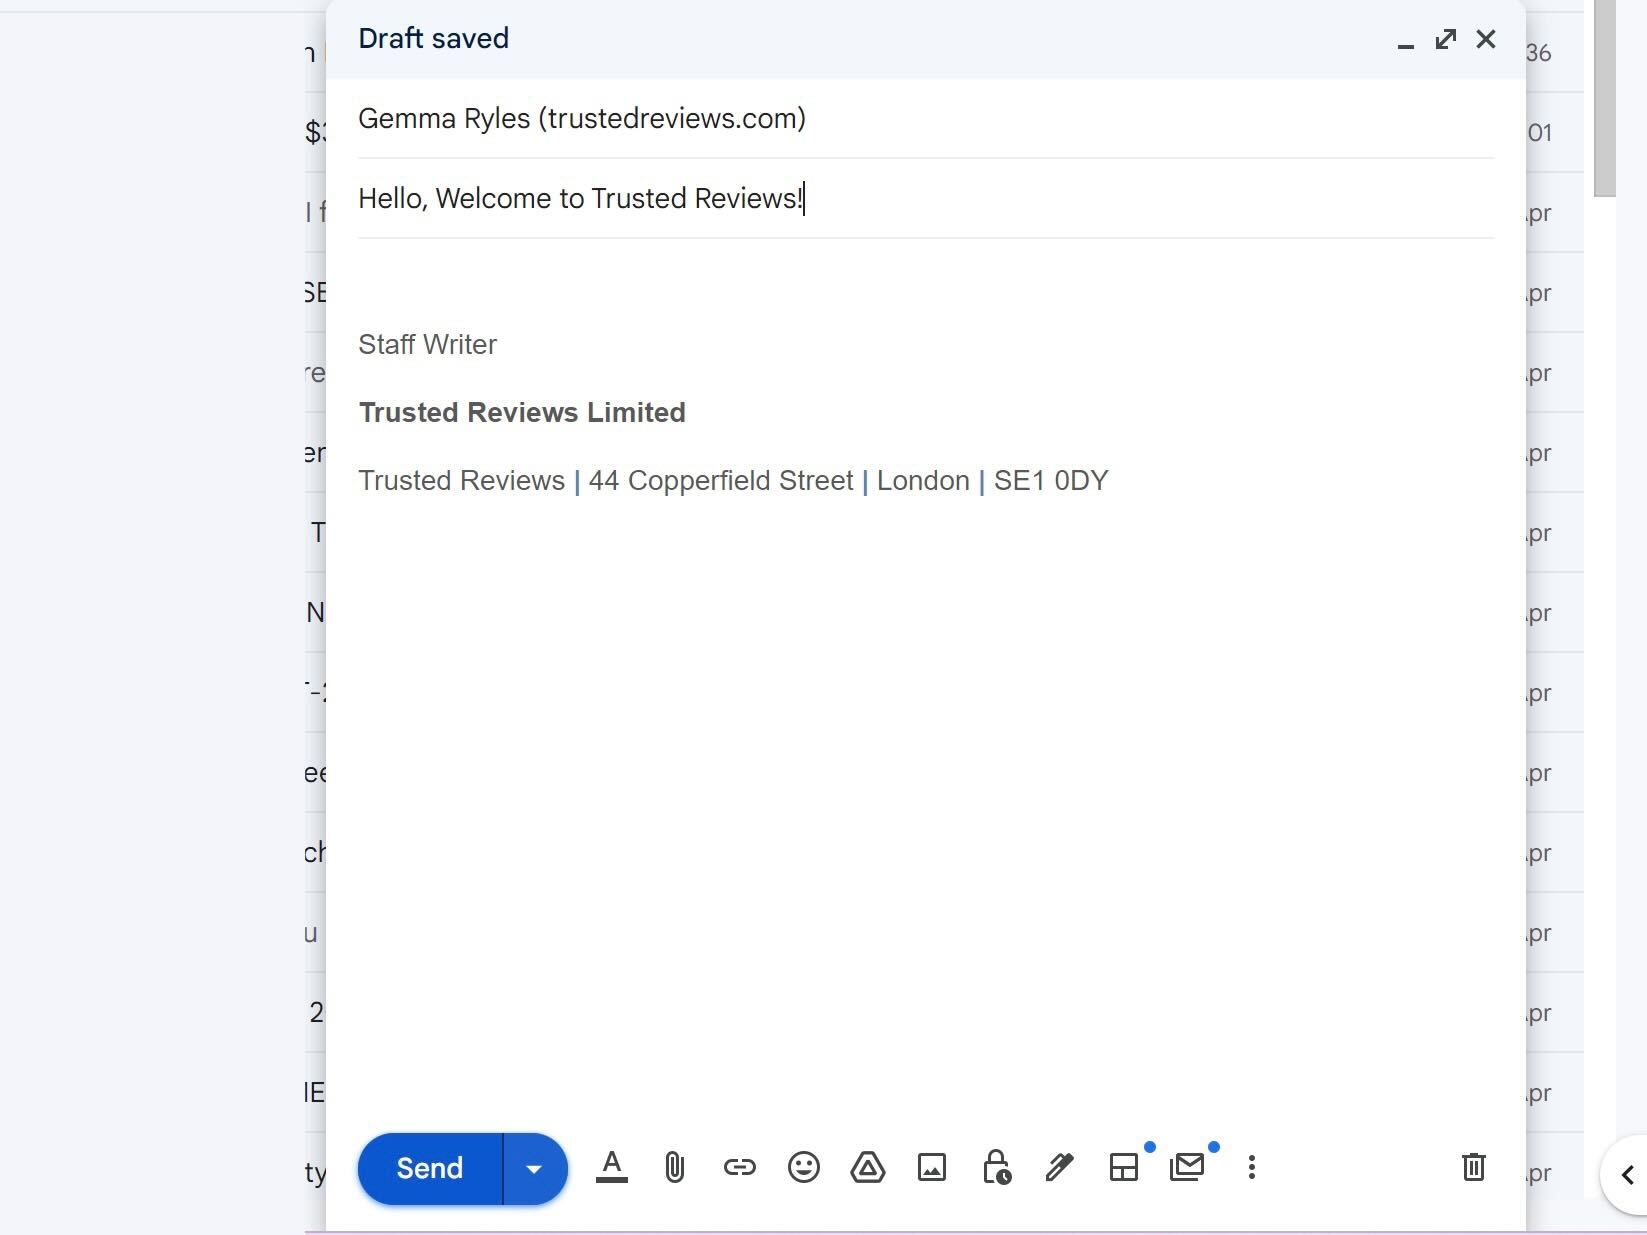
Write up the email you want to send and address it to the correct person.
-
Step
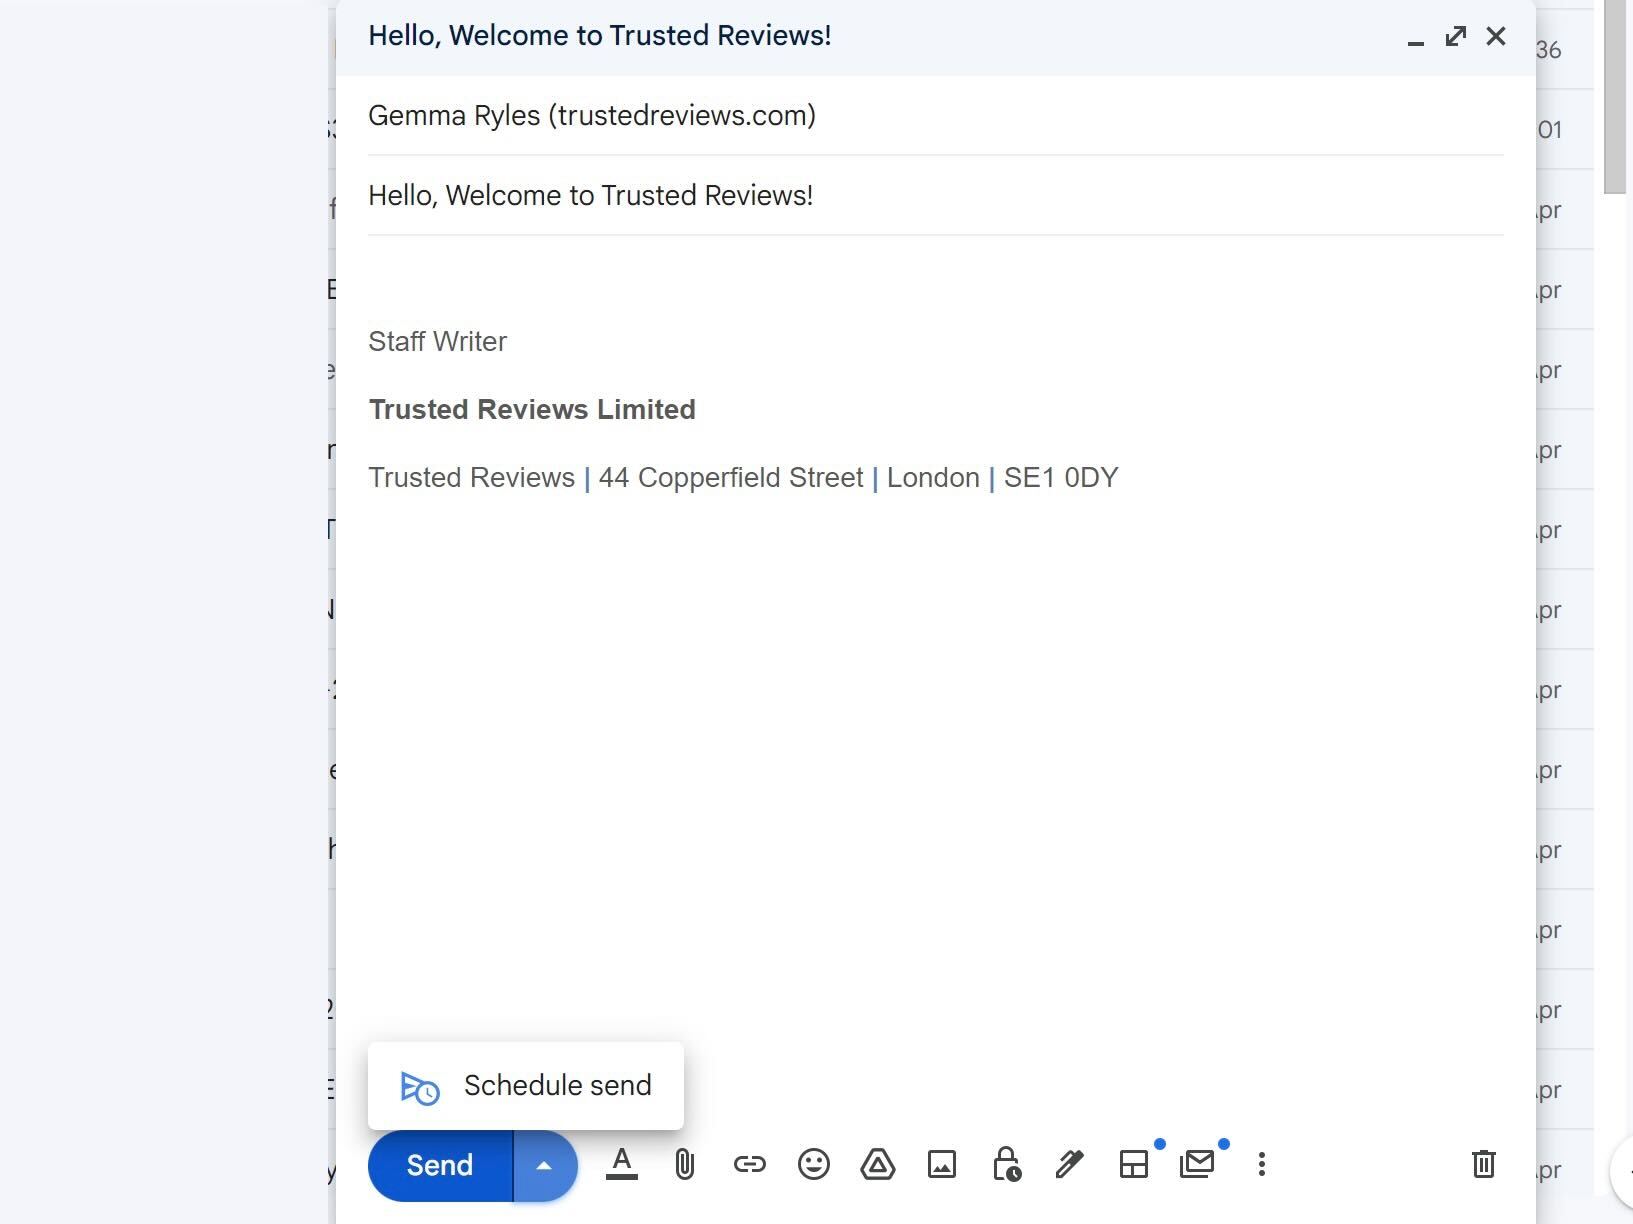
4Click on the arrow next to Send
Once you have written up your email, press the small blue arrow next to the Send button at the bottom of the screen.
-
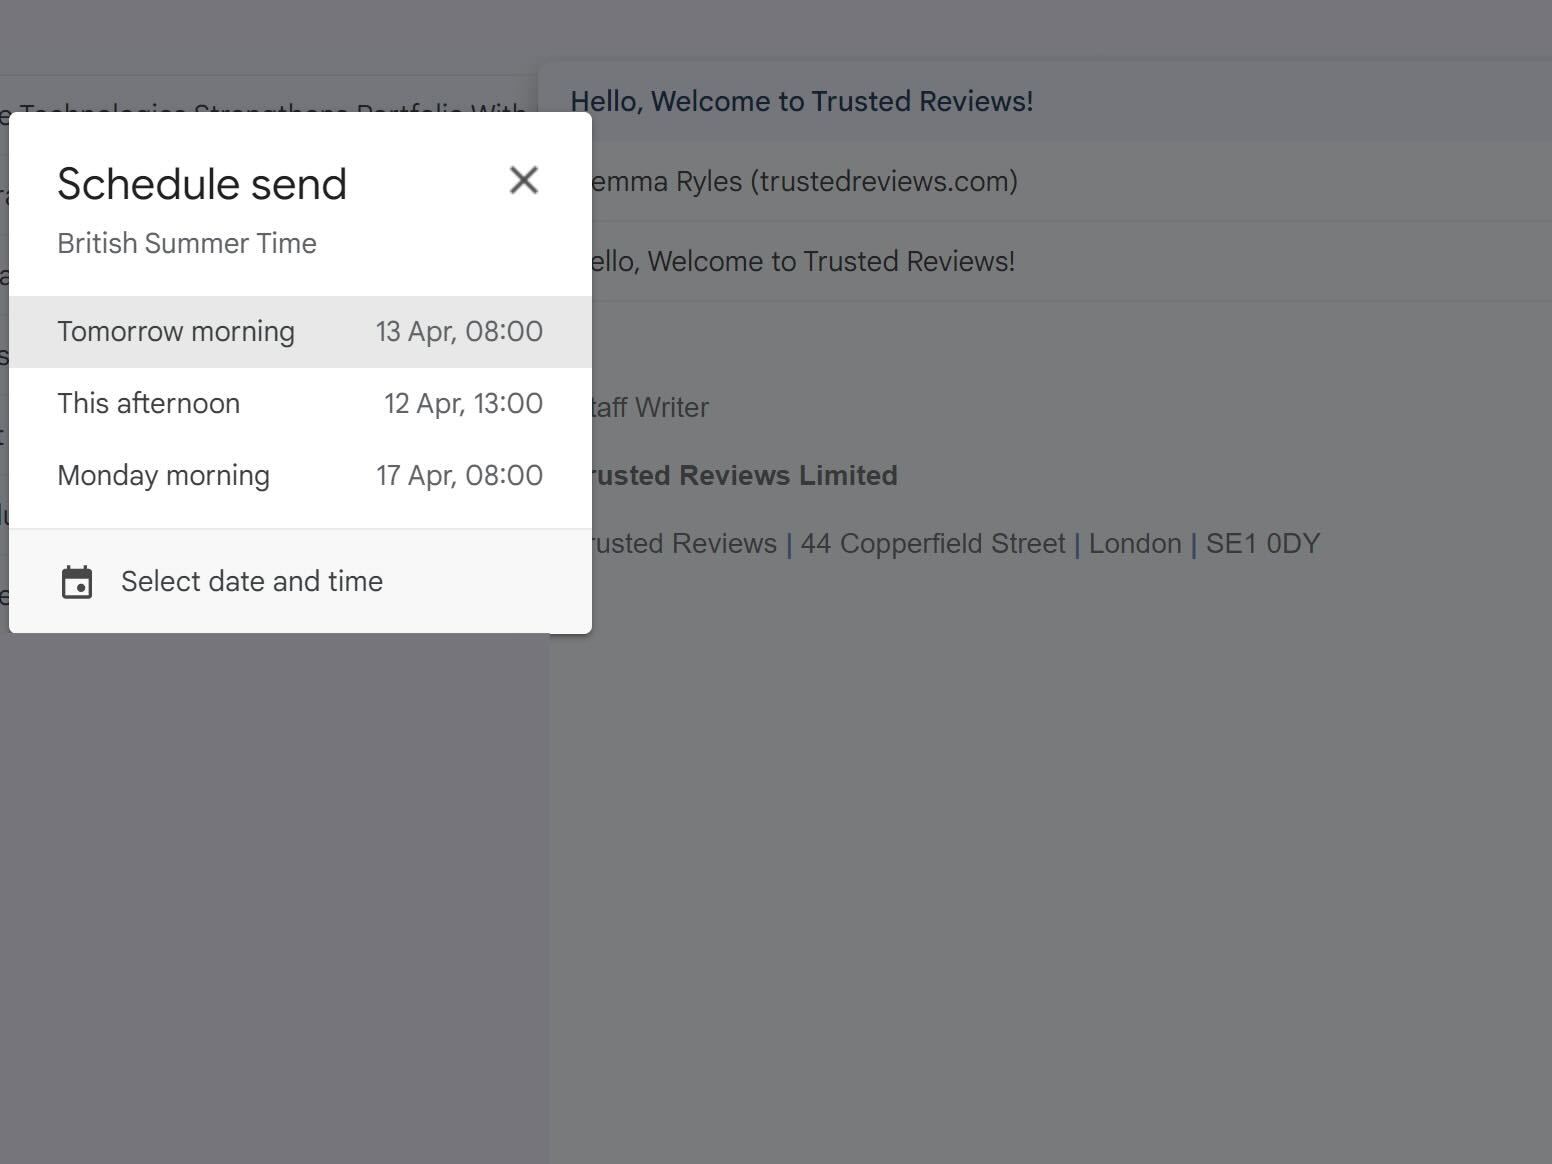
Step
5Click Schedule
Press the small Schedule button.
-
Step
6Set the time you want to send your email
You will be presented with some pre-set times as well as the chance to set up a specific time. Once you have set your scheduled email, it will be confirmed with a small pop-up at the bottom of the screen.
Troubleshooting
Yes, you can schedule a Gmail from both the desktop browser as well both the iOS and Android app.
You can schedule an email within Gmail up to 49 years in advance, giving you plenty of time to plan out any upcoming events or celebrations.


