Key Takeaways
- Secure your Wi-Fi network to prevent unwanted parties from having easy access to your Alexa device.
- Change the Alexa wake word to minimize potential tampering, and set a PIN for voice purchases.
- Disable Alexa’s microphone and camera when not in use using the physical button on the device or the mobile app.
Alexa devices offer a fast and convenient way of accessing information, streaming music, controlling your smart home, and more. But by inviting Alexa into your home, you could be granting it access to more of your personal information than you bargained for. This can come back to bite you, depending on who is around.
Secure Your Wi-Fi Network
Your Alexa device is only as secure as the Wi-Fi network you’re using it with. Thankfully, there are one or two ways you can protect your home network to minimize the chances of it being infiltrated by hackers.
The first thing to do is change the default name and password for your wireless network. To do this, you’ll need to log in to your router and navigate to its Wi-Fi settings. Depending on what make/model of router you have, these settings may vary, but you’re looking for “password,” “passkey,” “wireless key,” or similar. Once you have found this, you can input a new password.
Try to use a longer password if possible, combining upper and lower case letters, numbers, and symbols. This will greatly reduce the risk of anybody sussing out what the new password might be.
Change Your Alexa Wake Word
Changing your Alexa wake word is a quick and easy way to minimize the chances of anybody messing with it. Instead of using the default name “Alexa”, there are a handful of alternative names you can choose from, including “Amazon,” “Ziggy,” “Echo,” and the retro-cool sounding “Computer.”
Unfortunately, you are limited to these choices and cannot use a random name of your choosing. Sadly, your pet’s name and even your pet names are no good here.
The easiest way to change your Alexa wake word is with a voice command. Uttering the words, “Alexa, change the wake word” will prompt your device to list the available options. Confirm your choice by speaking your preferred wake word, and your selection will be automatically saved.
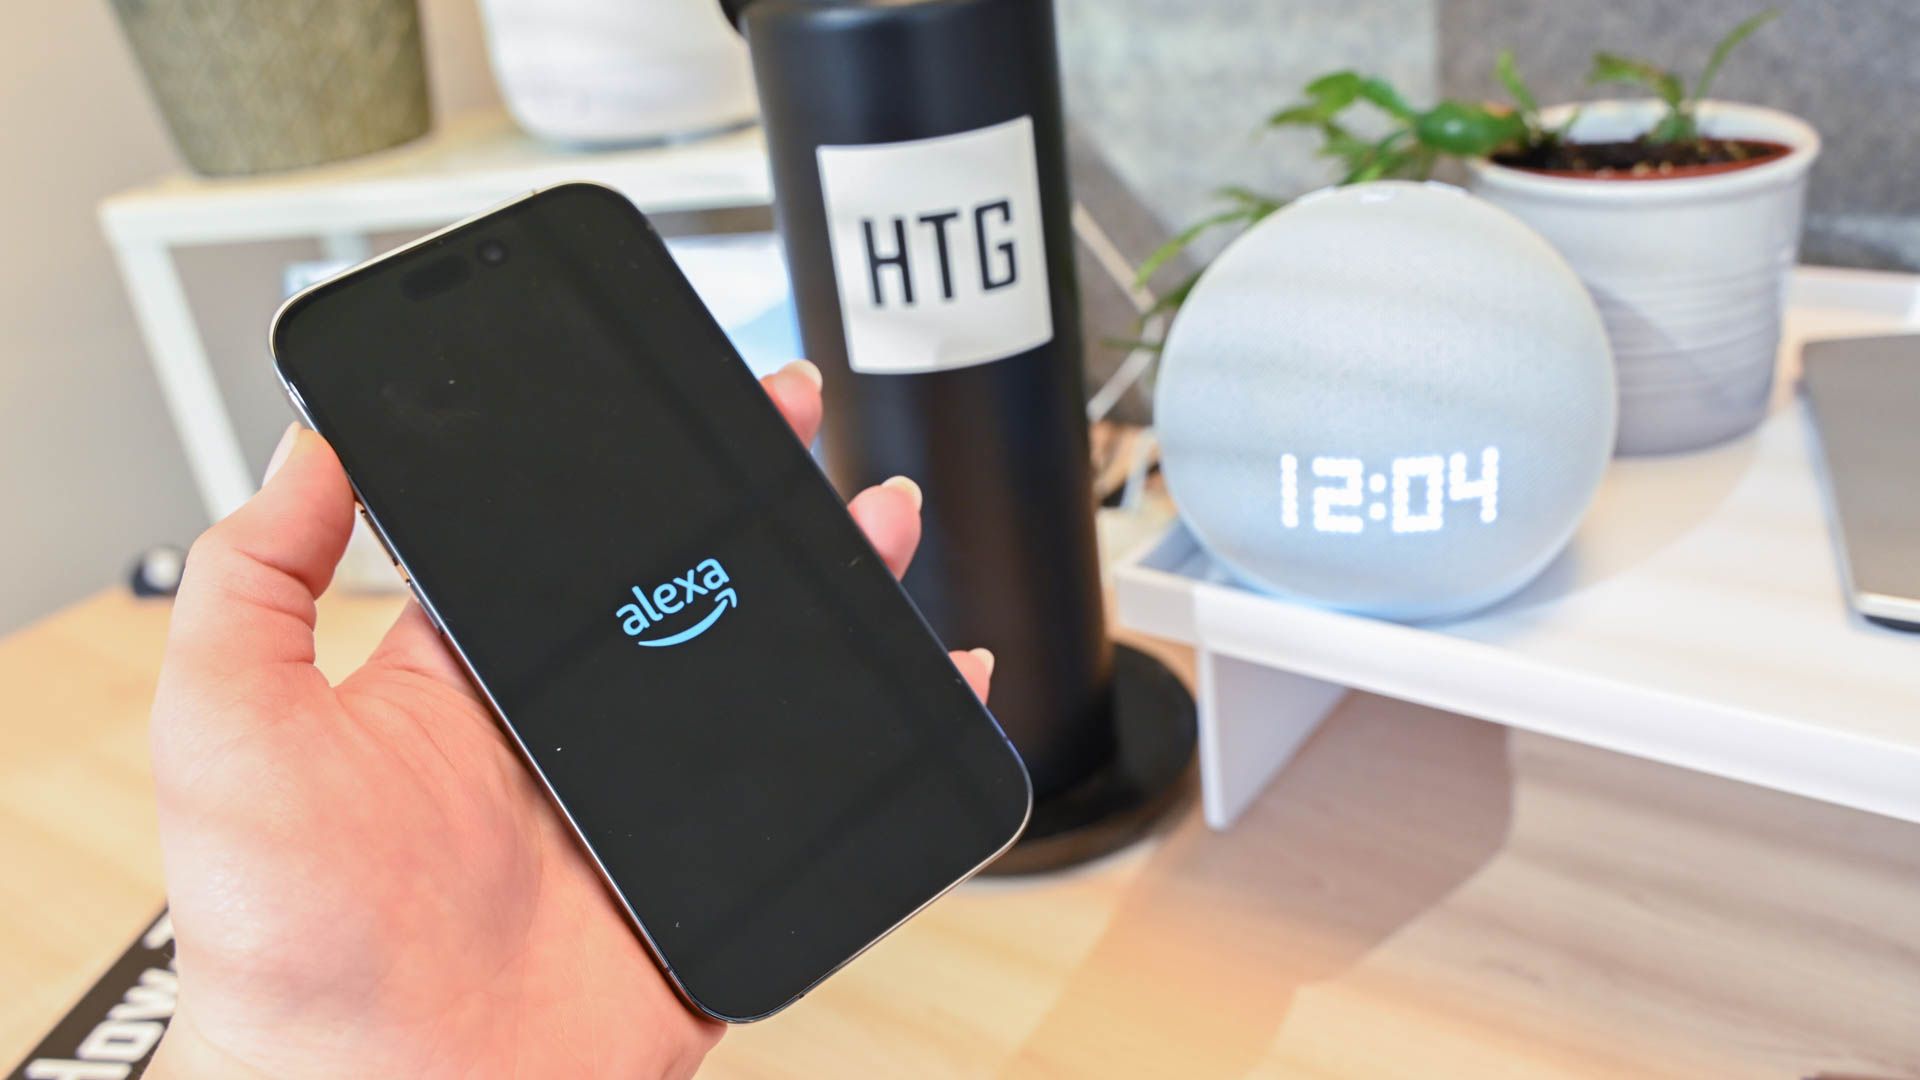
Alternatively, you can change your wake word on the Alexa app, by navigating to the Devices settings. From here, press the option for “Echo & Alexa” and select the relevant device. As with the voice option, you will then be presented with your wake word options. Choose and confirm your favorite, and the change will be saved to your device.
Disable Your Microphone and Camera When You’re Not Using the Device
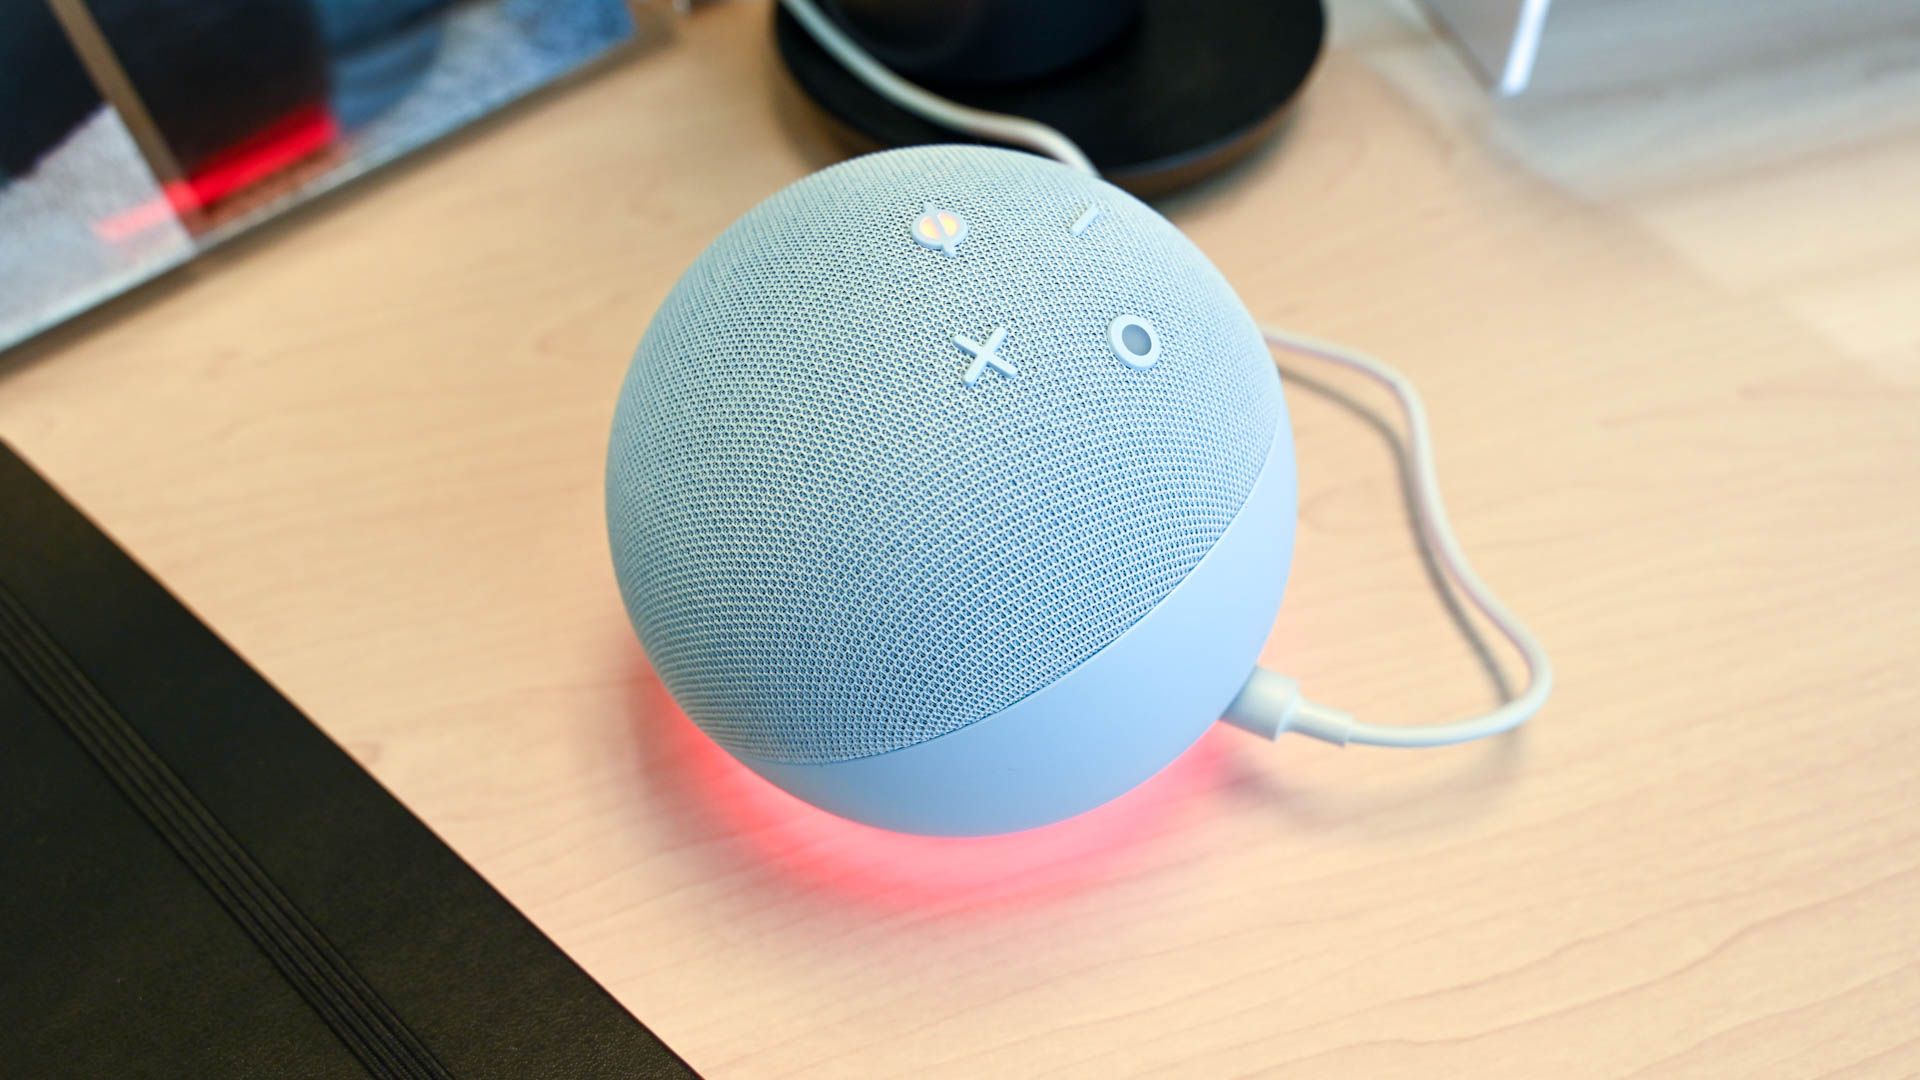
One of the easiest ways to stop Alexa from listening or recording when you don’t want it to is to switch off the microphone (or camera, if you’re using an Echo device that has one). Press the microphone on/off button on top of your Alexa device to stop Alexa from listening when you don’t want it to.
If you have an Echo device with a smart display, you can switch off the camera when you want to enjoy some extra privacy. You can do this with a voice command, or you can head to the Settings menu, where you’ll find an option to disable the Enable Camera option under the Device Options menu.
Set a PIN for Voice Purchases
Using Alexa to make voice purchases makes restocking those household essentials effortless. However, with those purchases just a voice command away, you might want to beef up security by adding a PIN to your account.
By doing so, you can safeguard yourself against anybody tempted to make unauthorized purchases in your name, and at your expense.
To set a security PIN for Alexa, you will need to head to the Alexa app. You’ll see a tab at the bottom of your screen marked “More.” Once you have selected this option, navigate to Settings > Your Profile and Family > PIN. From here, you’ll be asked to confirm your mobile number, which will prompt a text notification containing a confirmation code.
Once received, enter the code in the app, and you will be able to set up your four-digit PIN.
Manage Smart Device Connections
It’s fair to say that the more devices you have connected to Alexa, the greater the risk. Managing your smart device connections is a good way to limit the information that your devices share with Alexa.
Alexa receives all kinds of information and data from your smart devices and uses this to learn how those devices are used throughout the home. Disabling your smart devices from Alexa is one way to limit this data traffic, and it’s relatively easy to do.
Open the Alexa app and click on the “Devices” tab. Search through the available devices to locate the one you’re trying to remove. Select it, and hit the Settings cog to bring up the trash can logo. One quick tap and your device has been deleted from Alexa.
The process is slightly different if you’re looking to delete another Amazon device. To do this, head to the Settings menu as above, and then scroll down until you see the “Registered To” option. Tap on the “Deregister” option, confirm this is what you want to do, and hey presto! It will be gone.
Alternatively, you can simply delete the whole history of each smart device connection. To do this, you will need to log in to your Amazon account. Select the option to “Manage Your Content and Devices,” and then choose to “Manage Smart Home Devices History.” From here, you can delete the history of your smart device with just one click.
Bonus: Delete Old Alexa Recordings
Believe it or not, Alexa doesn’t delete your old voice recordings as a default. In fact, it will keep hold of them indefinitely, as a means of learning your habits and “improving” your overall user experience. So if you have concerns over your privacy, you’re going to want to do something about this.
The good news is, that you can easily amend Alexa’s settings to delete your voice recordings periodically or reset them so that it stops recording you altogether. Just be aware that the disadvantage to doing this is that you will likely have a less tailored experience with Alexa, as it will no longer have access to key information to refine your interactions.
To access Alexa’s voice recording options in the Alexa app, go to the “More” tab, then select Settings > Alexa Privacy > Manage Your Alexa Data > Voice Recordings. You can then choose how frequently recordings are deleted; once per year, once every three months, or you can choose the “Don’t Save Recordings” option.
Additionally, you can simply use a voice command to ask Alexa to delete what you just said, or to delete everything you’ve said that day, but you’ll need to enable this feature first.
To do this, head to the More tab in the Alexa app, and click Settings. From here, select Alexa Privacy > Manage Your Alexa Data > Enable deletion by voice. Once engaged, you can ask Alexa to delete what you have just said, delete what has been said that day, or even delete the entire voice recording history.
The downside to asking Alexa to delete recordings is that it depends on you remembering to ask it to. So if deleting Alexa’s voice recordings is something you want it to do regularly, it’s probably better to change the settings for Alexa to delete things automatically.
Smart home devices can simplify your life, but they can also leave you exposed. We’ve thrown together a list of questions you should ask before you purchase a smart home device. There are also some devices where the convenience outweighs the privacy risks involved.


