

 Source: Windows Central
Streaming PC games to Twitch, YouTube, or any of the other popular services out there is a pretty intensive process. It’s a lot of strain to put on a single PC, playing a game while also encoding your stream and uploading that to the internet. If you have a particularly beastly rig, say with one of the newer AMD or Intel Extreme processors or an NVIDIA RTX graphics card, you can probably get away with it, but in most cases, serious PC streamers are using a secondary machine. Here’s how to set up a two-PC stream the easy way.
What type of PC you need to stream from


The beauty of a dual-PC streaming setup is that each machine has its own dedicated task, thereby ensuring maximum performance from each. It also means you don’t need an absolute monster PC to run your stream since that’s essentially all that machine will be doing.
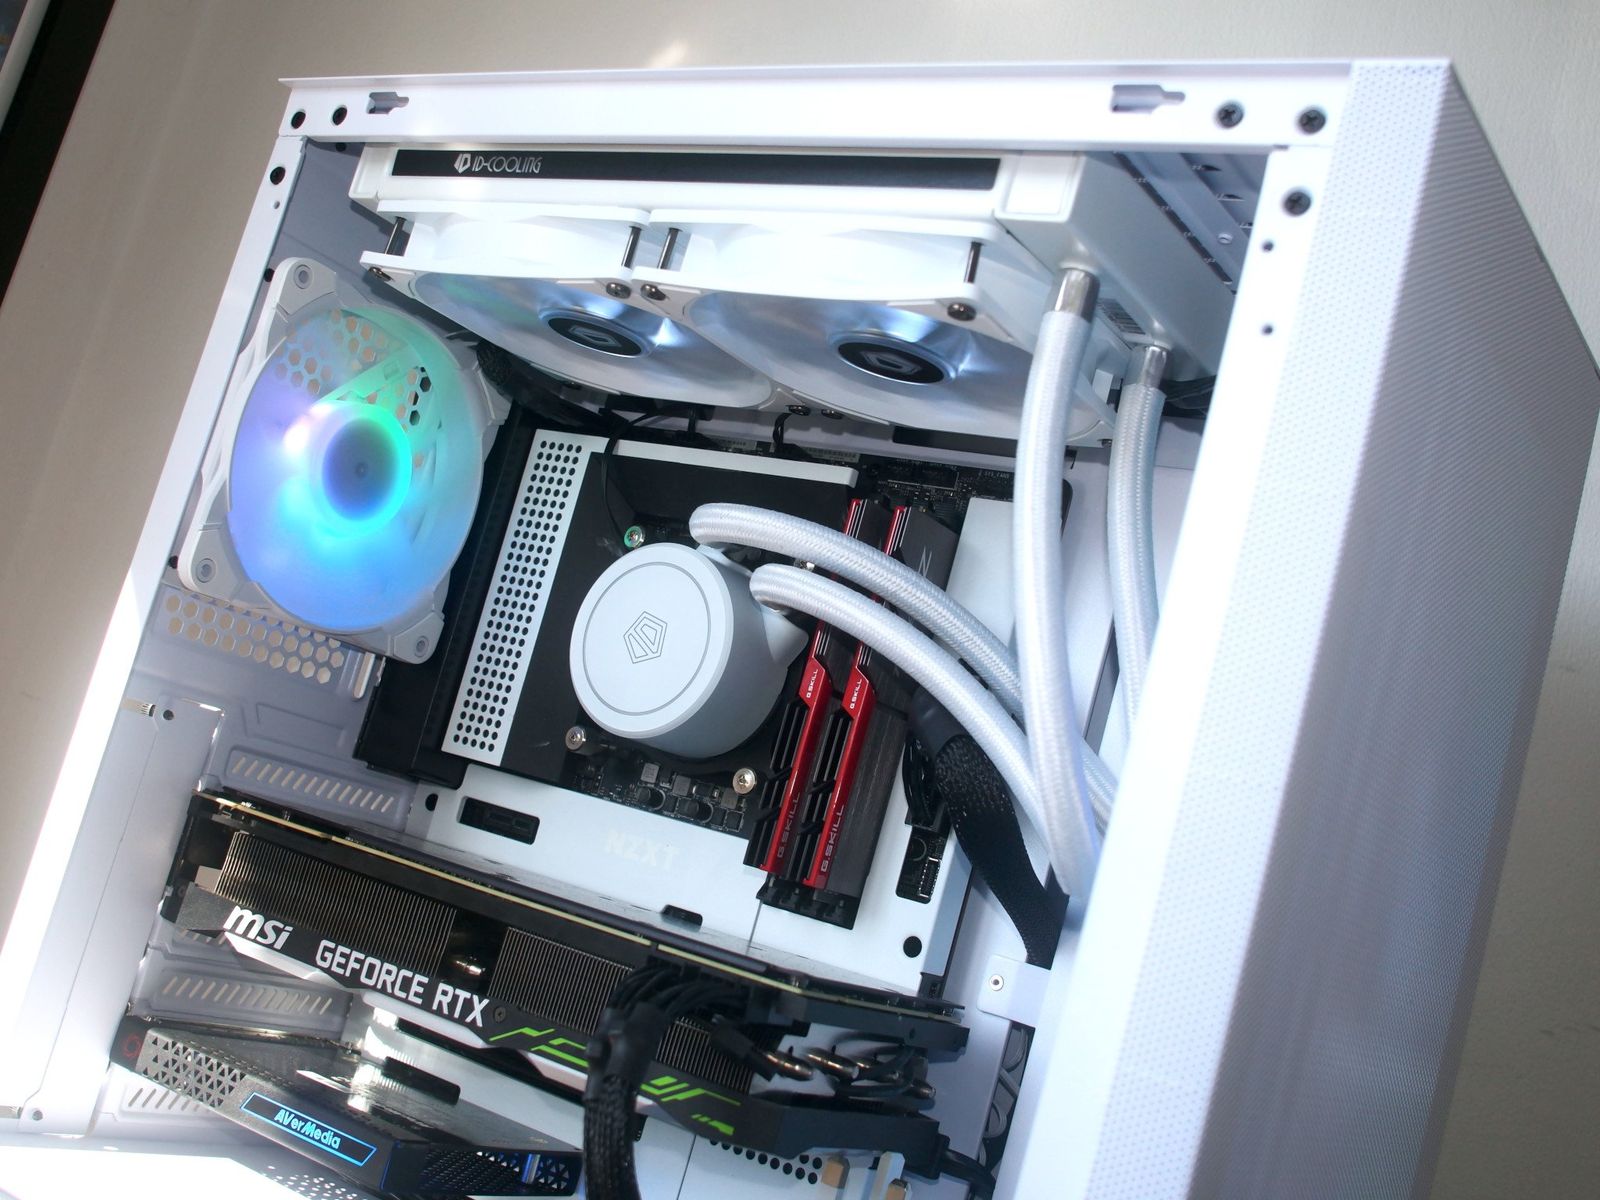
If you’re building a dedicated machine, you can certainly get by with any decent quad-core CPU. But, probably the best choice is an AMD Ryzen 5, with six cores and 12 threads affording plenty of performance and headroom while also maintaining an attractive price.
If you’re going with an AMD Ryzen CPU, you will, of course, need a graphics card lest you never see the user interface of your PC, but unless you intend to encode with the GPU, it really doesn’t matter what you use. If you go for one of the newer, 5000-series Ryzen APUs, you won’t need a graphics card, and you should still be able to encode a decent-looking stream.
If you do go with a graphics card in your stream PC, then going for an NVIDIA RTX is a winner. If you’re using OBS to stream, as you quite possibly are, it has support built in for the latest NVENC encoder. Using NVENC is an extremely efficient way of encoding video as it uses dedicated hardware on the GPU so it has much lower impact on overall system resources than encoding using the CPU.
How to set up the hardware for a dual-PC stream

 Source: Windows Central
Getting a dual-PC stream set up comes in two parts. The first is setting up the hardware so your stream PC can collect the video and audio output from your gaming PC. To make life as easy as possible, if you want multiple displays set up to display things like your streaming dashboard or social media feeds.
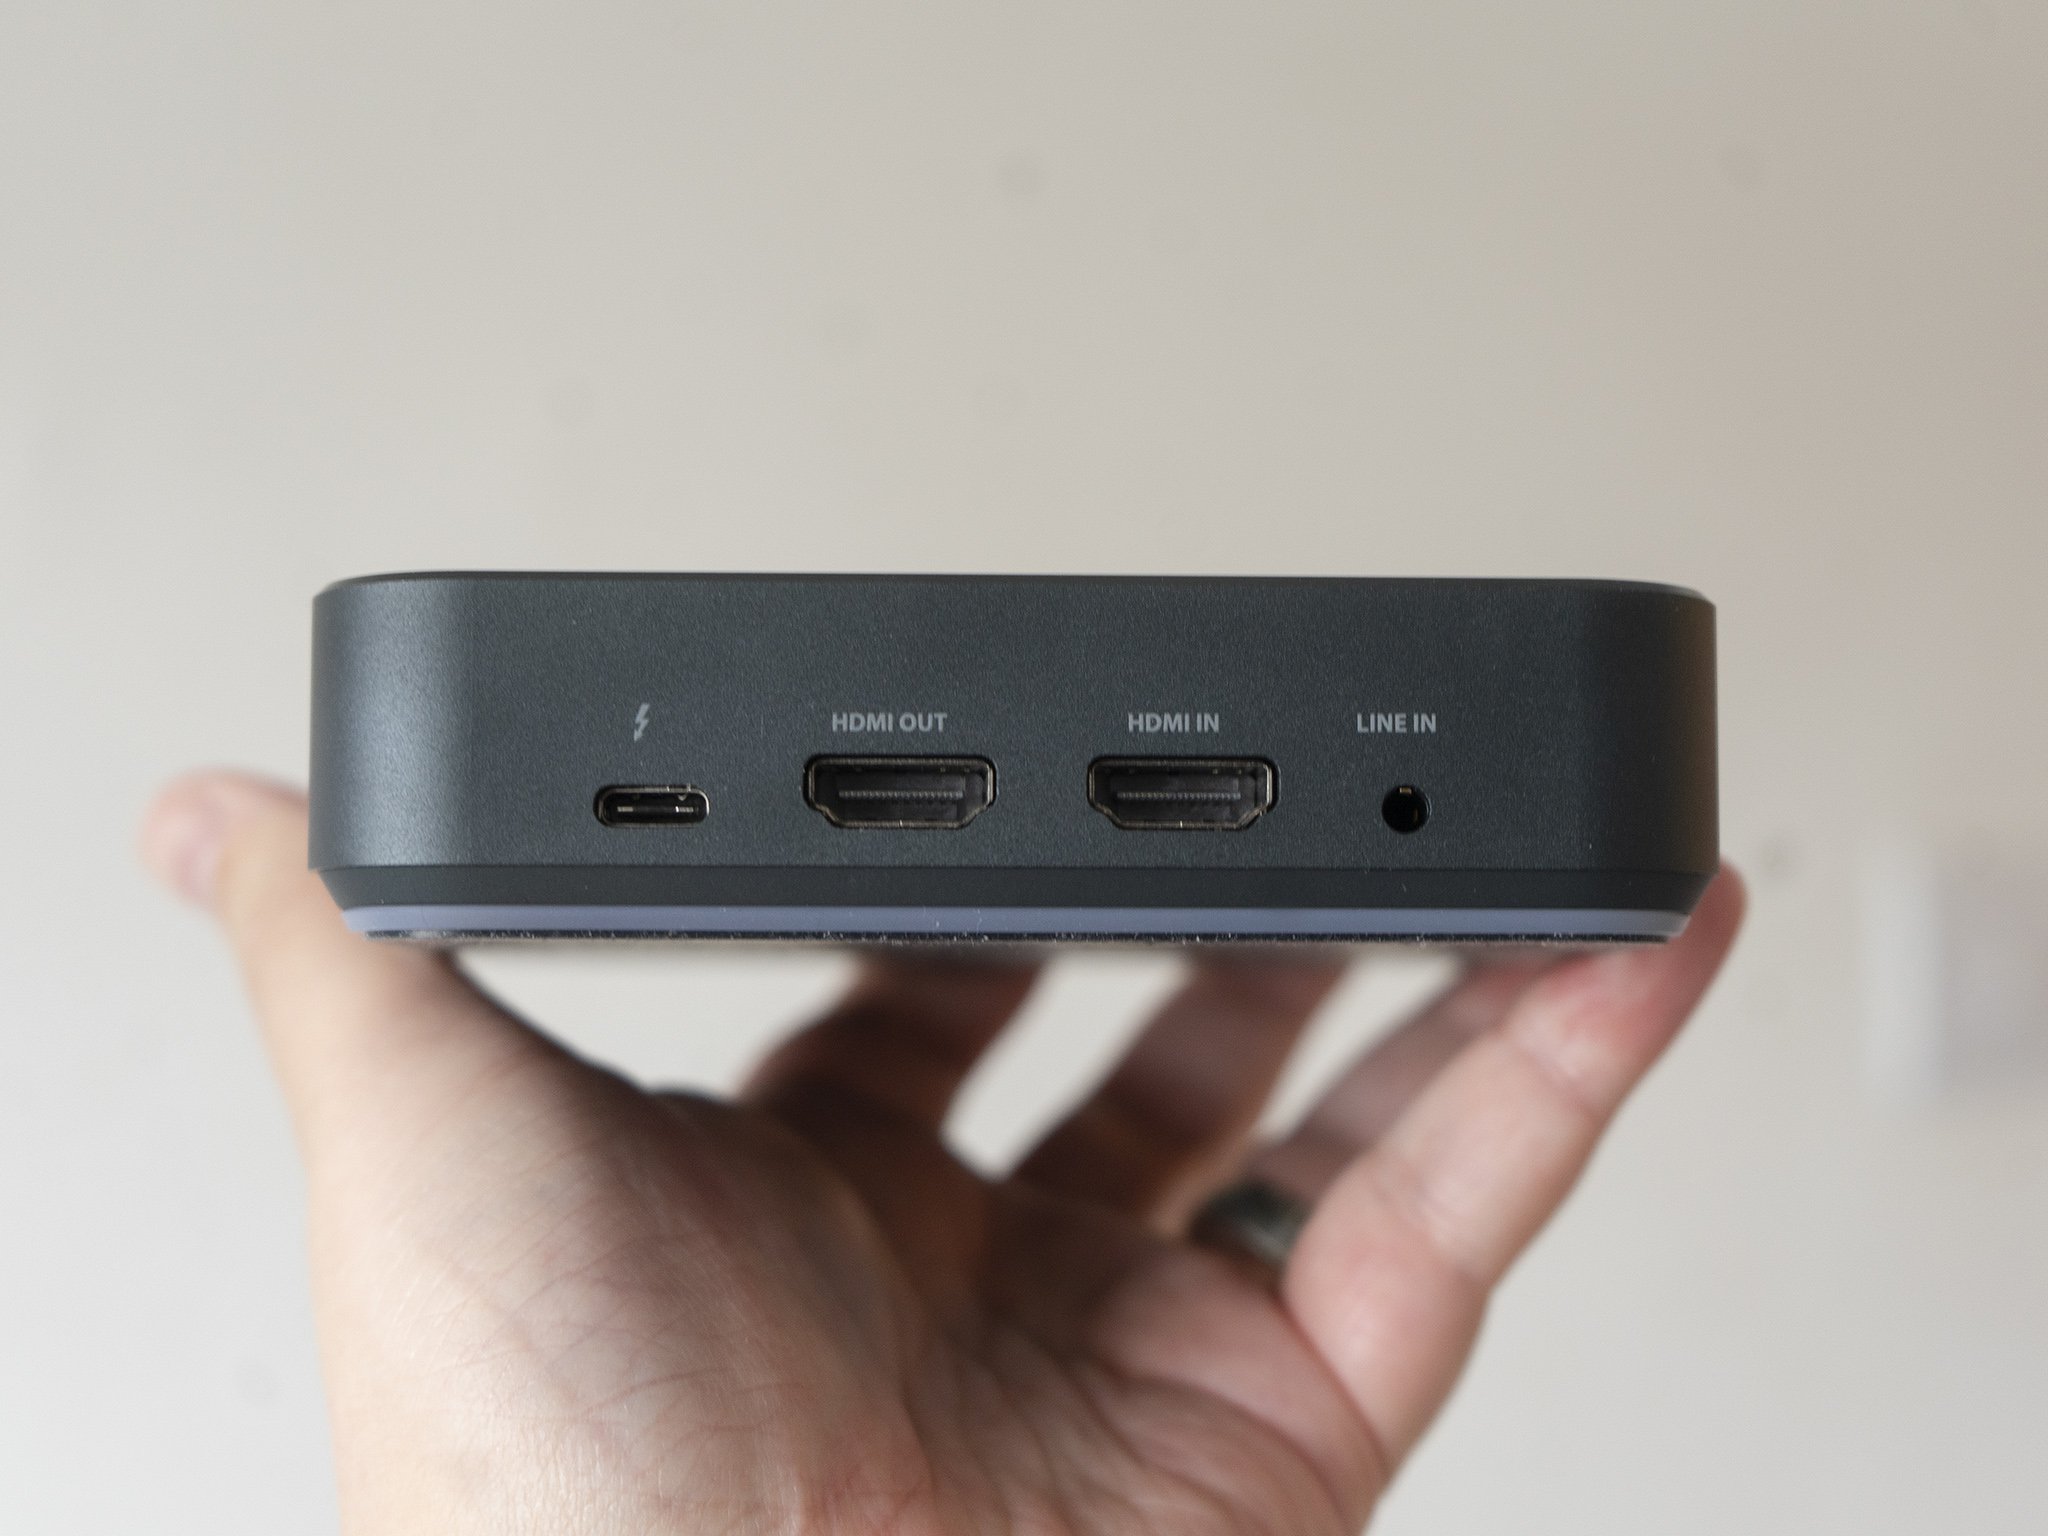
For this, you’ll need your two PCs, a capture card, and an HDMI cable.
- Connect the capture card to the stream PC using its supplied USB cable.
- Plug one end of the HDMI cable into an HDMI output on your gaming PC’s graphics card.
- Connect the other end of the HDMI cable into the input on your capture card.
There’s no requirement to then hook up the output on the capture card to your PC monitor as all you want is the feed going into the capture card for your PC to interpret.
How to set up the software for a dual-PC stream
Setting up the rest of the stream is done in software on both PCs. Firstly, you’ll need to ensure your gaming PC sends video and audio to your stream PC while ensuring you can still hear and control game audio on your gaming PC. The second stage is then to set up your streaming PC to broadcast to your chosen service.
The first step is to ensure you send video to the capture card from your gaming PC.

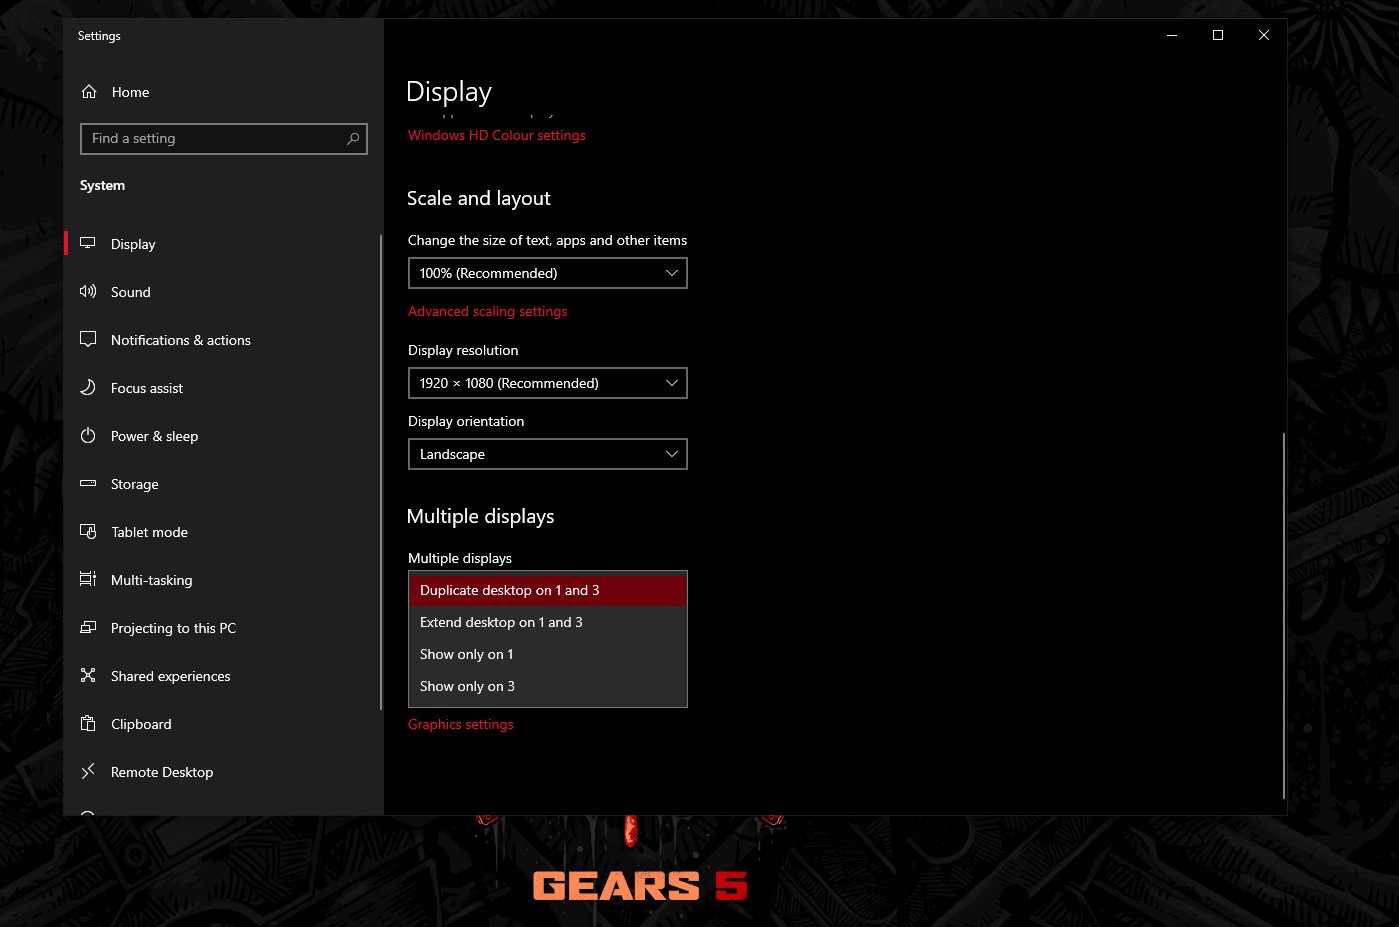
- Right-click on the desktop and select display settings.
- If you only have one monitor, under multiple displays select the option to duplicate.
- If you have multiple monitors, under multiple displays, select the option to duplicate on x and y where x is the monitor you wish to play games on, and y is the output to your capture card.
In your streaming software now on your stream PC, you should see a duplicate of your primary gaming PC monitor.
The next step is to ensure you’re sending audio to that PC as well as being able to hear it yourself on your gaming PC. For that, we’re going to use Voicemeeter Banana. Our full guide goes into more detail on what you can do with Voicemeeter, but on your gaming PC, it’s only function is to split the audio between your headset and the other PC. Once you’ve downloaded and installed it, here’s what to do.


- For hardware out A1, select your capture card output, which should be listed from your graphics card.
- For hardware out A2, select your gaming headset output.
If you don’t see the option to send audio to your capture card over HDMI from Voicemeeter you may need an additional 3.5mm to 3.5mm cable, which you would need to run from the headphone output on the back of your gaming PC into the line-in jack on your gaming PC. The only difference here is that you’ll then need to add this as an audio source in your streaming software, whereas using HDMI means it’ll be pulled in through the capture card.
Setting up your stream PC

 Source: Windows Central
On your gaming PC, all you need to do is follow the steps above. The only other thing you may want on your gaming PC is Discord/TeamSpeak/Skype or whatever your voice chat service of choice is. Everything else should live on your stream PC, be that bots, background music, everything.
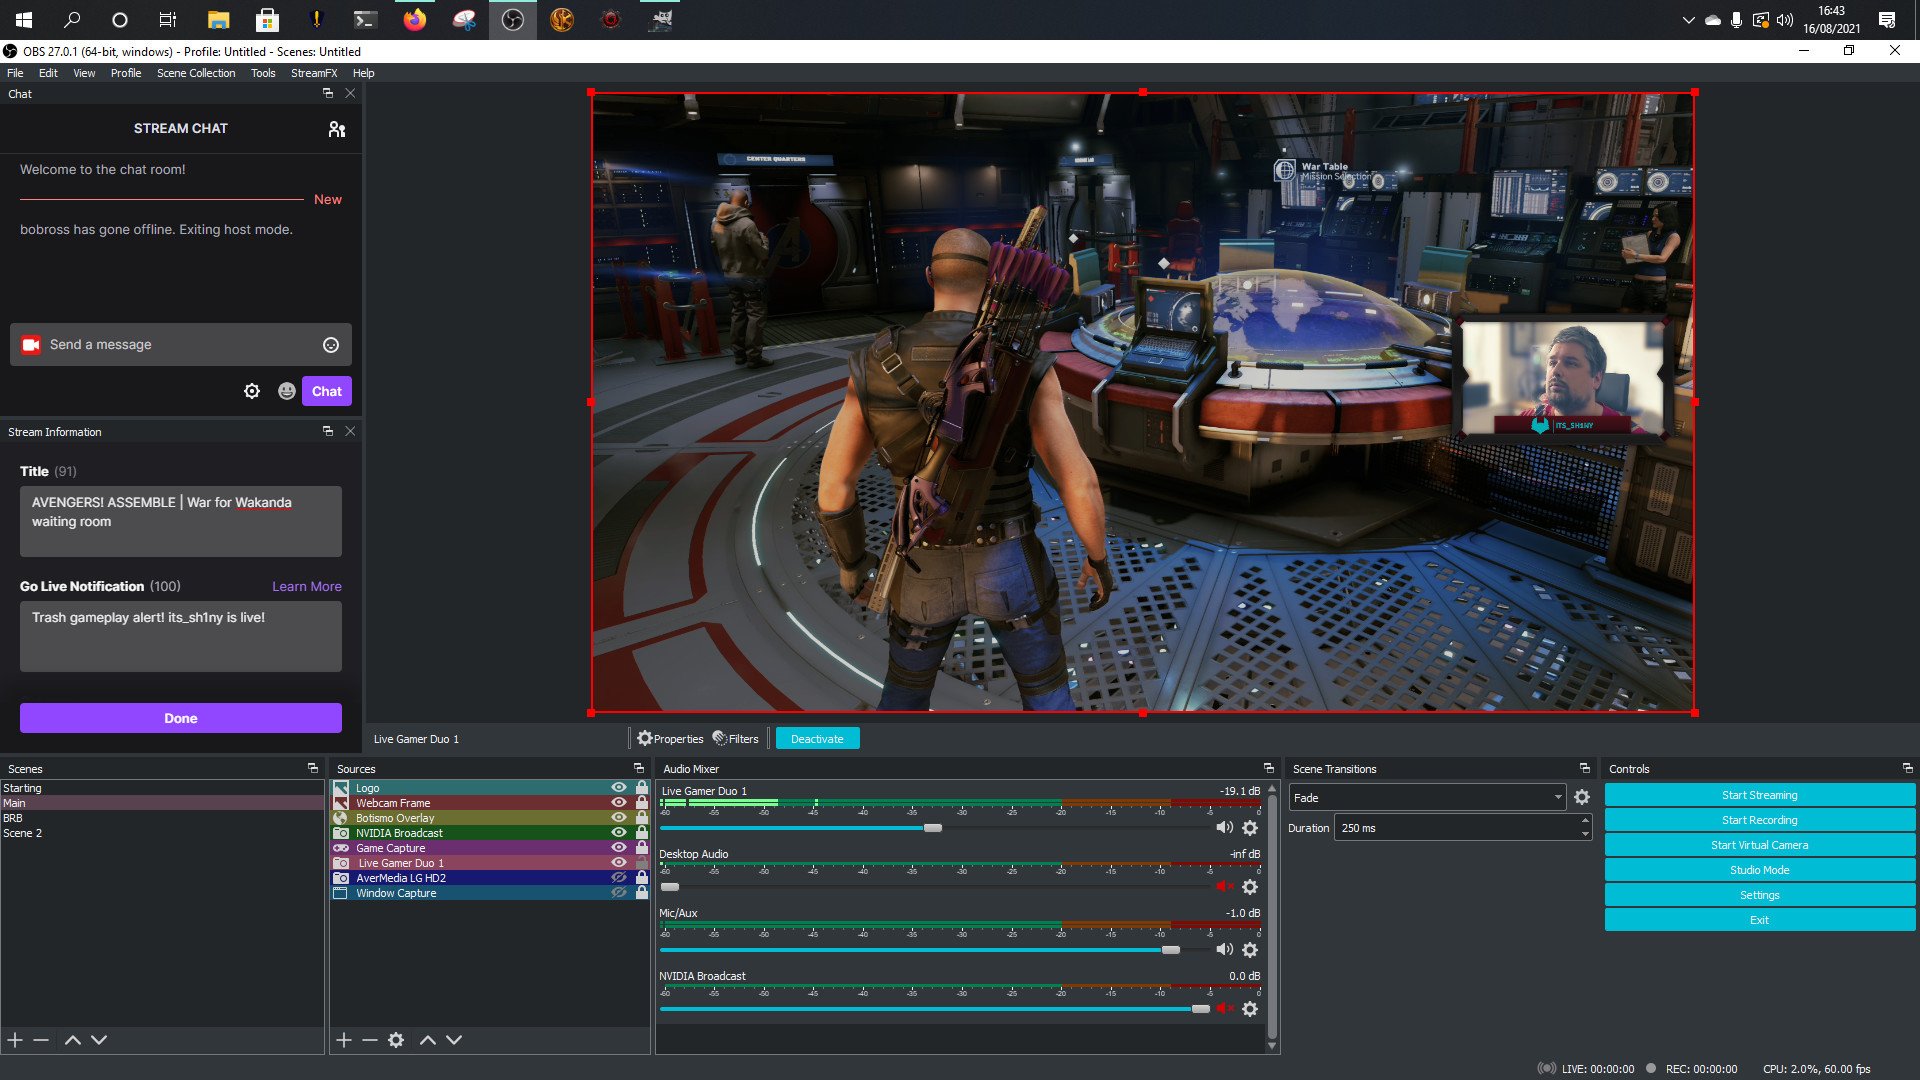
Setting up the secondary PC to stream is a simple enough process. Whether it’s Streamlabs OBS, OBS Studio or XSplit, you’ll be up and running in no time. The essentials are adding your capture card as a video capture device, ensuring the audio is coming through either through that same video capture or a secondary 3.5mm connection and that your credentials for your streaming service are set up.
From there, the rest is down to you. Deciding on resolution and bitrate is partly based on your internet upload speed. Still, with a decent CPU or graphics card, you can be sure that whatever you go for, it’s more than capable of meeting the demand.
It’s a good idea to do a couple of test recordings before going live to make sure everything is set up correctly between the two PCs, but assuming you followed the steps above, you should be ready to hit that go live button.
Our top equipment picks
If you’re building a second PC to use purely for streaming, there are a couple of important items that you need to get right. The CPU and the capture card are essential, and for those, we turn to AMD and AVerMedia.
The beating heart

AMD Ryzen 5 5600X CPU
Six cores and 12 threads make it a beast for encoding
AMD’s latest 7nm Ryzen 5 is an excellent CPU for encoding a stream with six cores to easily handle the intensive workload without the need to dial down your settings.
Great capture card
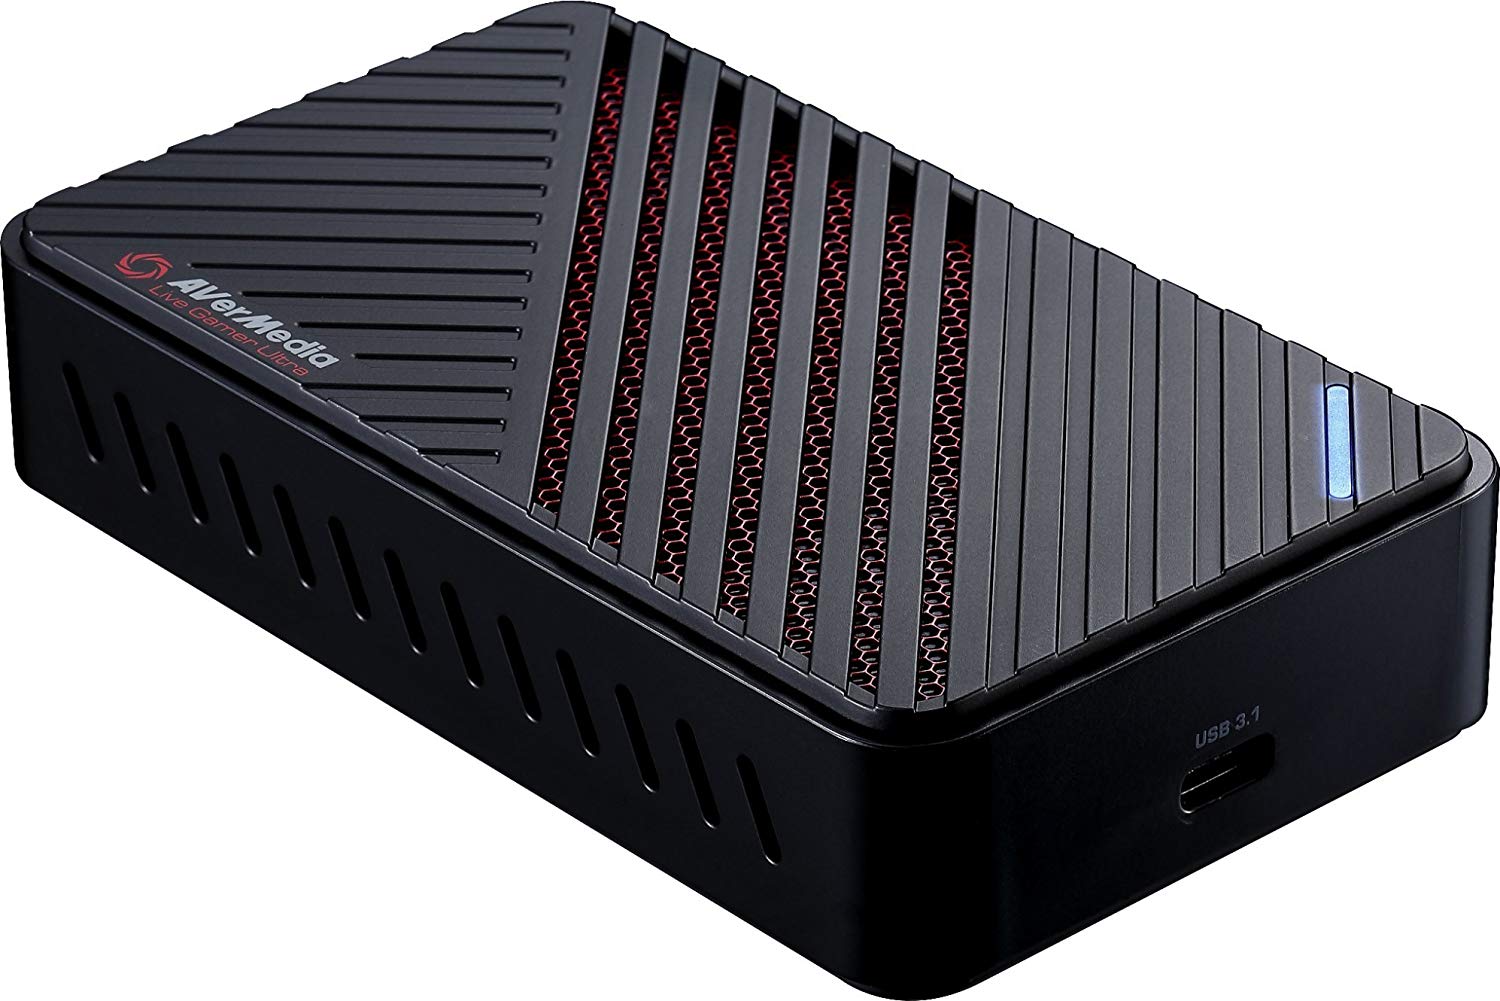
AVerMedia Live Gamer ULTRA capture card
A beast of an external capture card
This capture card can handle 4K video, HDR, and high frame rate passthrough, all over a USB connection.


