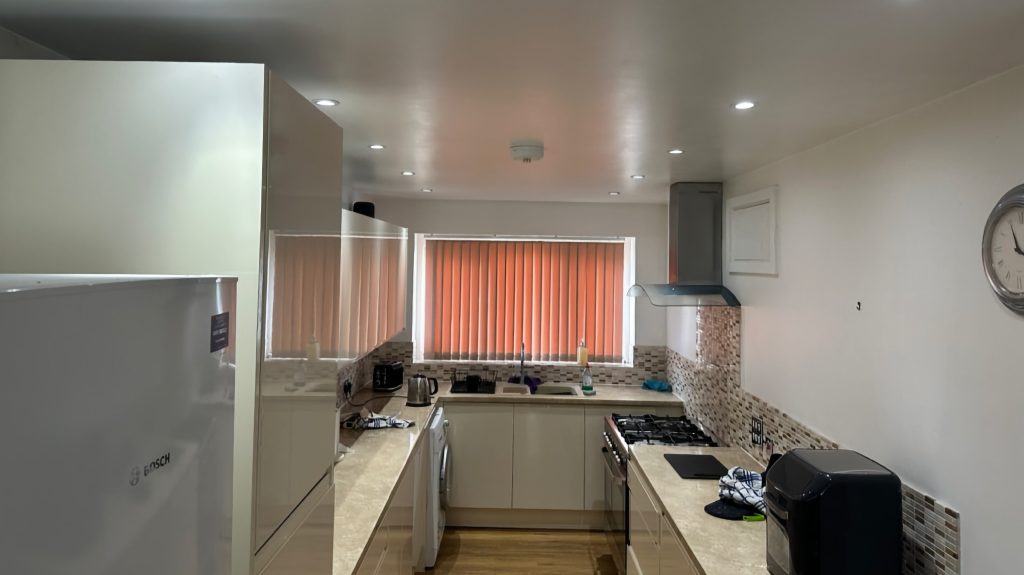
Having recently moved into a new home, I wanted to set up HomeKit lights in the kitchen that would turn on and off automatically. Ideally. So I got some Philips Hue bulbs, an Eve motion sensor, and did the obvious thing with automations in HomeKit.
The result was unsatisfactory. Here’s why, and how I eventually got my smart home vision to become a reality, with the help of Homebridge …
The first step was to get lights that worked with HomeKit. My kitchen had recessed spotlights, so the best option was Philips Hue GU10 bulbs, which would be controlled via a Hue bridge. I managed to find a good package deal on eBay, so although the outlay was still significant, it was much better than paying full retail price. If I was located in the United States, I would have considered a smart light switch option like Lutron Caseta, rather than smart bulbs. However, the availability of smart switches in the United Kingdom is almost non-existent, as our homes lack the necessary neutral wiring.
Fitting the Hue bulbs was a breeze, and the initial set up experience of adding them to HomeKit was relatively painless. (One ongoing frustration is that Hue app has a tendency to change the assigned room of all your Hue-bridged HomeKit accessories, so I try to open the Hue app as little as possible.) This gave me the baseline of being able to control the lights from my all my devices with the Home app or Siri. The state of the lights respond quickly upon command, surely helped by the more efficient iOS 16 HomeKit architecture.

To make the motion part work, my original plan was to use the Thread-enabled Eve motion sensor and make an automation in the Home app that turned on the lights when motion was detected, and turns them off again when motion is no longer detected.
This was easy to create, but yielded far too many false fires. Any pause in motion in the kitchen would cause the lights to turn off, and sometimes the sensor would simply miss an event of motion and also hit that case. The Eve app lets you up the duration of detected motion events, so I set it to a much longer timeout. This mitigated the first problem, but now it meant the lights were on for much longer periods of time than they really needed to.
I also had a user experience gripe where I would turn off the lights manually using the Home app (or a voice request to the HomePod), but then any motion event would immediately trigger the motion sensor to turn the lights back on again. A natural human behavior is to turn the light off at the wallet switch when you walk out, but the motion automation would actively fight against that. What I really wanted was a way to tell the system to ignore the automatic motion events, if the light has been recently controlled manually.
Another problem with the current arrangement was that one motion sensor did not have enough range to cover the whole space; my kitchen is a long-but-thin room. So, I bought a second sensor to put at the other end of the kitchen cabinets. Coordinating the combination of events with just the Home app’s automation options is essentially impossible.
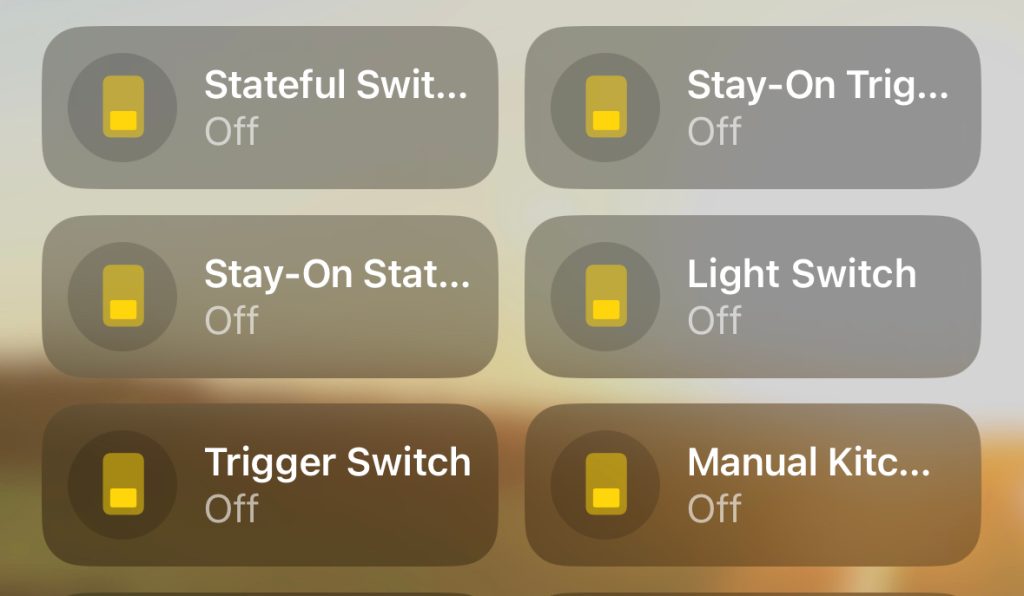
So, I needed something smarter, beyond what the Home app offers. The answer to my problems came in the form of the Magic Occupancy plugin, via Homebridge. What this plugin does is expose special switches to the Home app configuration that have special behavior, providing layers of logic on top of the HomeKit platform.

It simulates room occupancy. You can then tie lights being on or off to the room occupied state. The plugin offers a variety of stateful and stateless switches that you can use to precisely control when a room is marked as occupied. The power comes from the fact you can have multiple of each type of switch per room, and combine them. You can also configure a delay that means occupancy is not ended, until all switches are inactive and after a period of time passes.
So for my kitchen situation, I have two child switches, one for each motion sensor. When either of these switches activate, the kitchen is considered ‘occupied’ and the lights turn on. When both of these sensors no longer detect motion, a one minute timeout is started. When this timeout expires, the lights turn off.
They have a special switch type for manual control. This means if you manually turn on the lights, the sensor state and normal one minute timeout is ignored; occupancy is simply assumed. Therefore, the lights will permanently stay on, as you intended.
Conversely, if the lights have been automatically triggered, but I manually turn them off, occupancy is instantly ended — no waiting for the motion timeout.
I’m not going to pretend getting all this to work was easy. You have to mess around with the Homebridge plugin configuration, and then wire up all of the automations to those dummy switches in the Home app as well. But I can say, the pain was worth it. This arrangement finally delivered on what I had envisioned at the beginning of this whole process. I now have smart lights. The extra depth provided by the Magic Occupancy plugin makes it work how you intuitively want it to. But you can even go further.
A ‘stay-on’ switch has the property that if turned on, the motion timeout is deferred. This means the lights stay on when this switch is on, but only if the lights were on to begin with. I practically use this when I am taking out the trash, every week. I have a HomeKit camera looking over my front yard, which has a motion sensor in it. This motion sensor is tied to a stay-on switch for the kitchen. So, when I take out the trash, the kitchen lights do not turn off abruptly just because I have left the room for more than a minute. Instead, they only turn off when motion is no longer detected in the kitchen or the entrance (and crucially, motion in the entrance does not cause the kitchen lights to come on).
You can read about how to achieve all of these scenarios — and more — by reading the plugin’s documentation.
It is a very powerful system. It’s also a good demonstration of how Homebridge isn’t solely about bringing unofficial HomeKit support to accessories that don’t support it. Remember, Philips Hue already works with HomeKit, it’s just that the normal set of HomeKit automations are not rich enough to express advanced interconnected logic. Homebridge plugins can fill most of those gaps.
FTC: We use income earning auto affiliate links. More.


