The long exposure technique can create some highly artistic photos, such as blurred flowing water or light trails. By default, it’s not possible to manually set the shutter speed of your iPhone camera, but there are a few ways you can capture long exposure-style images using your iPhone.
What Are Long Exposure Photos?
In traditional photography, long exposure photos are exactly like they sound. The camera shutter is kept open for a longer period than usual, keeping the film or sensor exposed for an extended duration.
There’s no set time for what constitutes a long exposure, but it could be as short as 1/30th of a second or as long as many minutes. Many DSLR cameras offer a bulb mode that lets you keep the shutter open for as long as the shutter release button is held down.
There are two main consequences of a long exposure. The first is that more light is captured since the shutter is open for a longer time. The second is that any motion that occurs during the exposure will be blurred, as the object in motion will have moved across the frame while the image was captured.
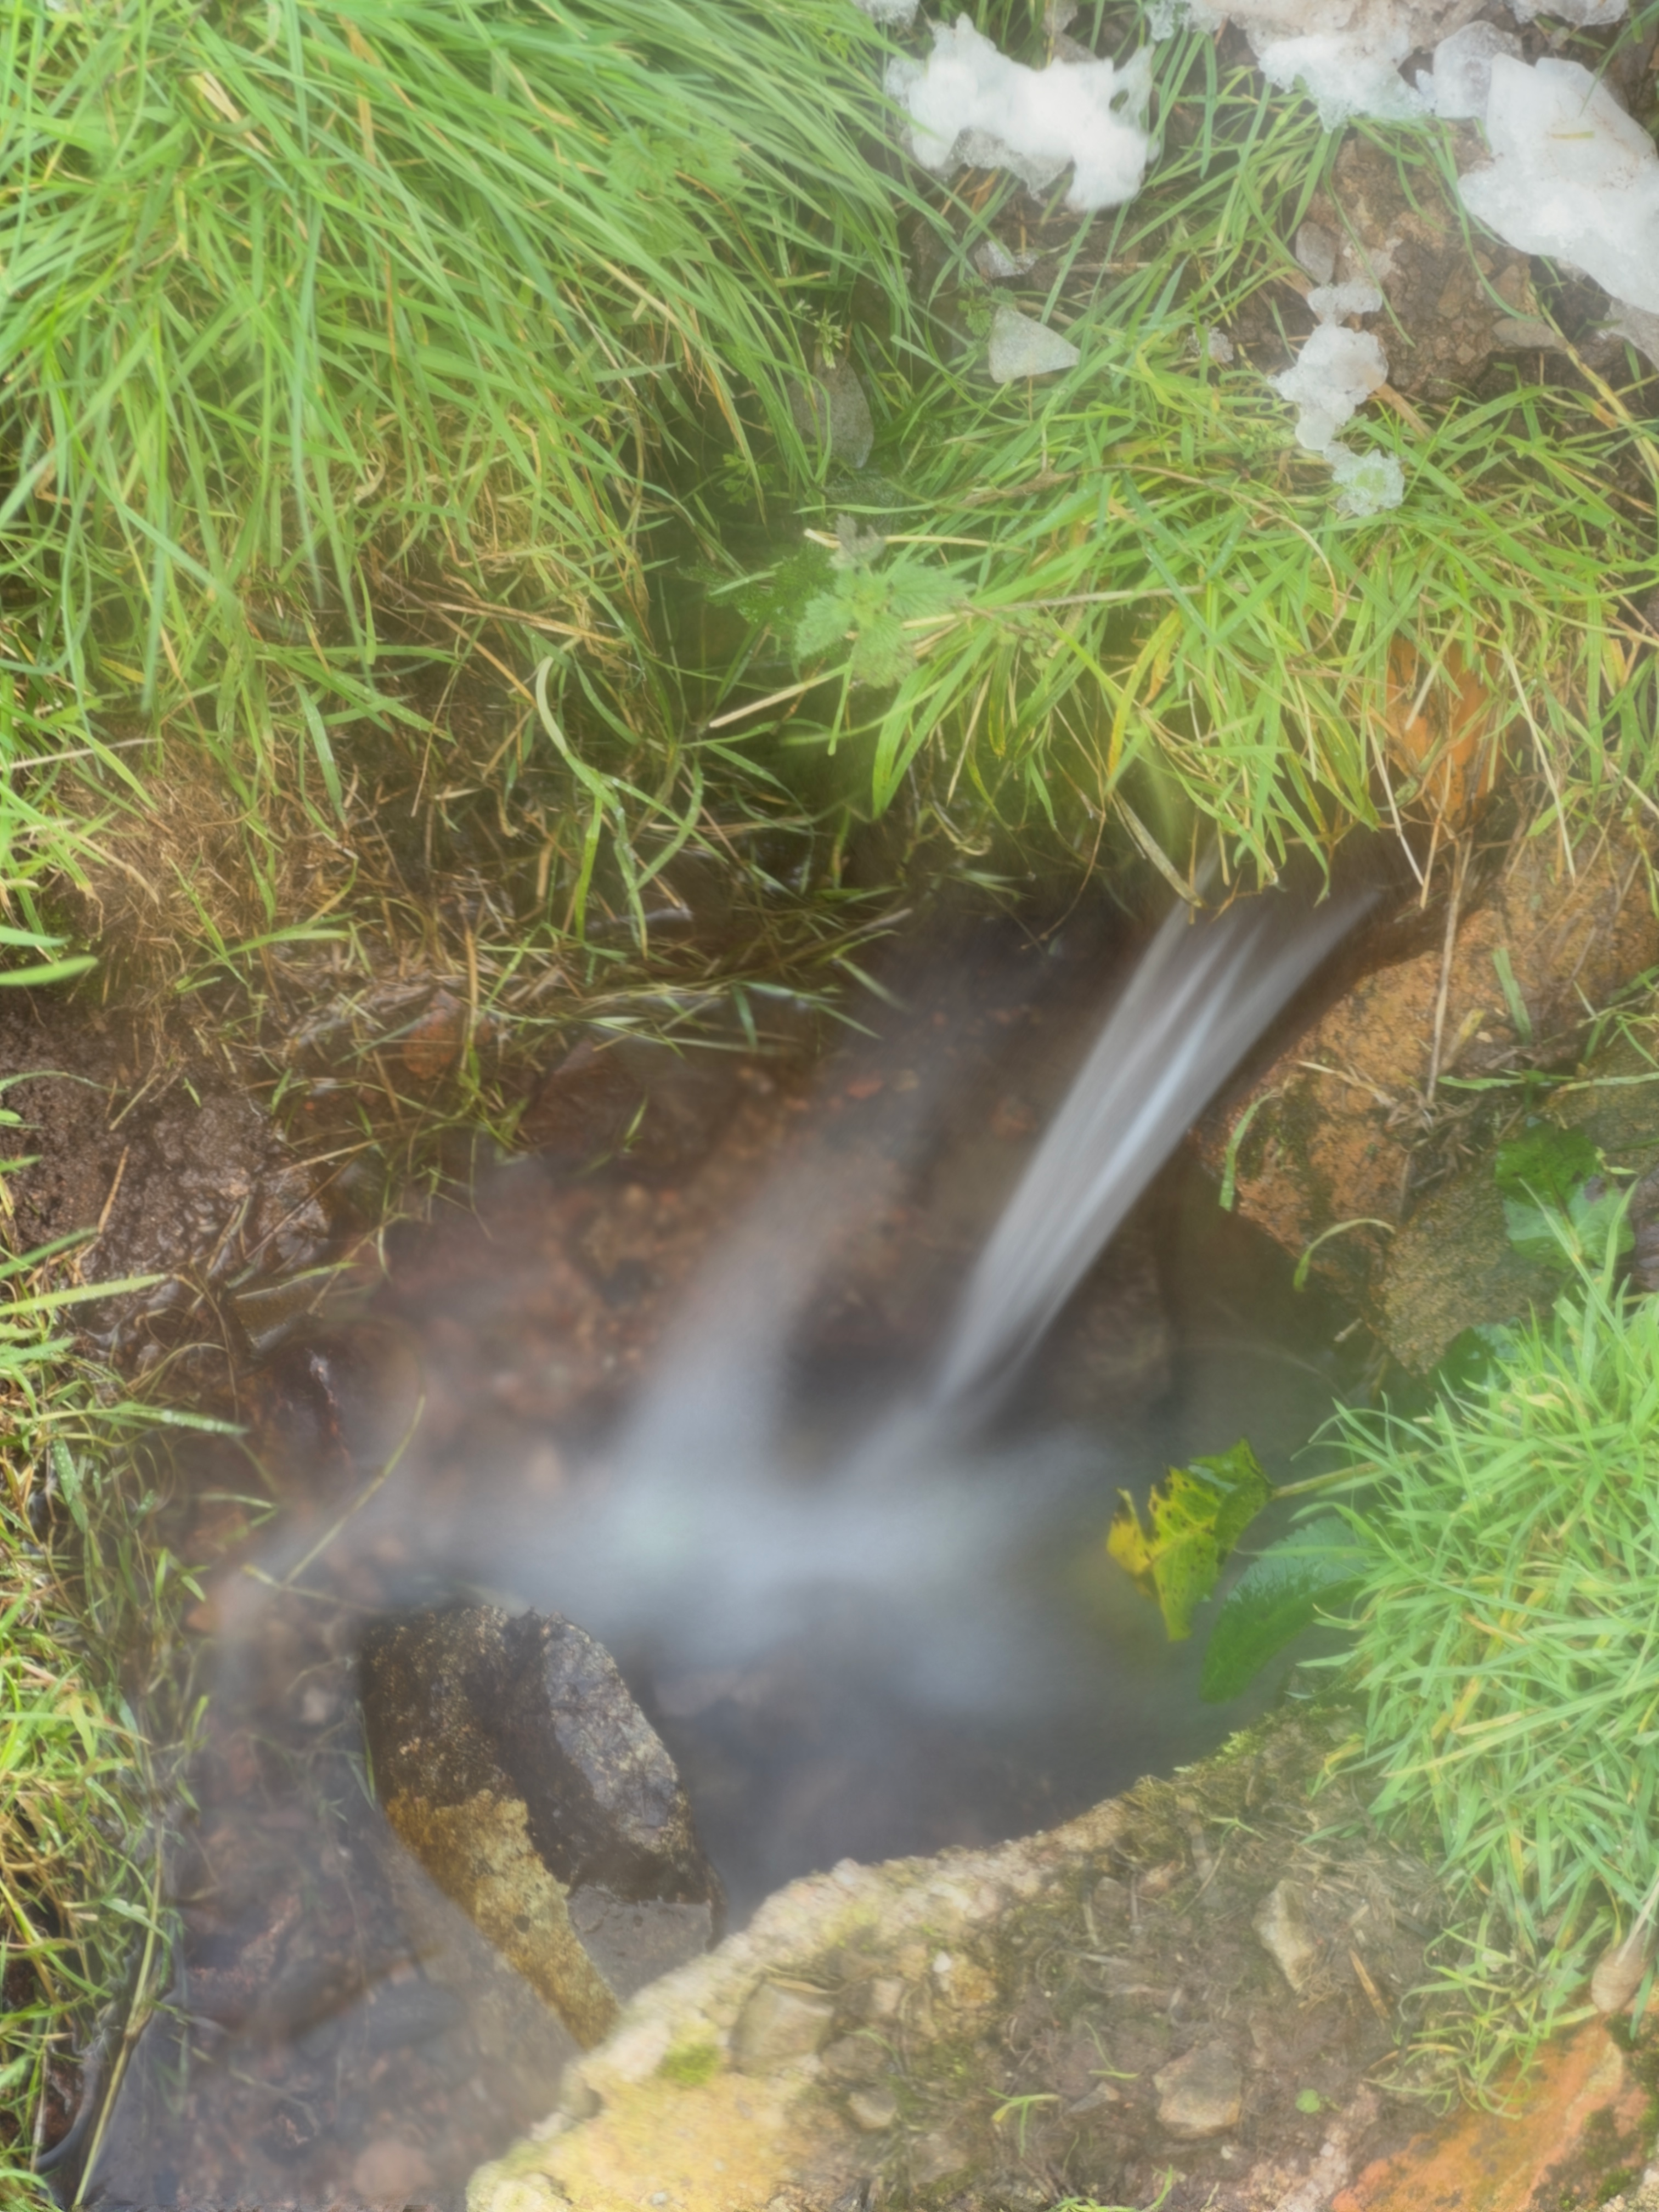
Both of these consequences can be used to good effect. You can use long exposures to capture images in conditions that are too dark for a standard shutter speed. You can also use long exposures to create artistic images using motion blur, such as making flowing water appear glassy and smooth.
How to Shoot Long Exposure Photos Using Live Photos
Smartphone cameras don’t have physical shutters. Instead, they use an electronic shutter, where the sensor that captures the image is turned on and off. How quickly this happens determines the length of the exposure.
Unlike with most modern cameras, your iPhone doesn’t allow you to choose the shutter speed. It’s automatically calculated to correctly expose the image that you’re trying to capture. In bright light, the exposure will be shorter, in lower light it will be longer.
However, it is possible to mimic the effects of a long exposure using Live Photos. Live Photos capture a three-second video clip of the action immediately before and after you take the shot.
Your iPhone can combine these three seconds of video into a single image. While this isn’t technically the same as taking a photo with a three-second exposure, it can generate images that give the same artistic blur effect that long exposures are known for.
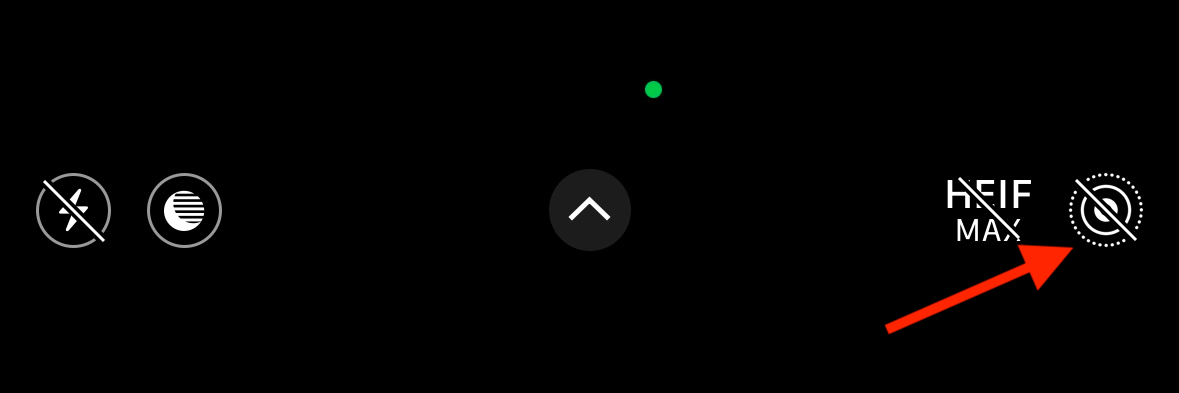
Open the Camera app and tap the Live Mode icon in the top right of the screen. If the icon has a line through it, the feature is disabled; you can tap it again to turn it on.
Press the shutter button to take a Live Photo. Try to keep your iPhone as still as possible both before and after you press the shutter button.
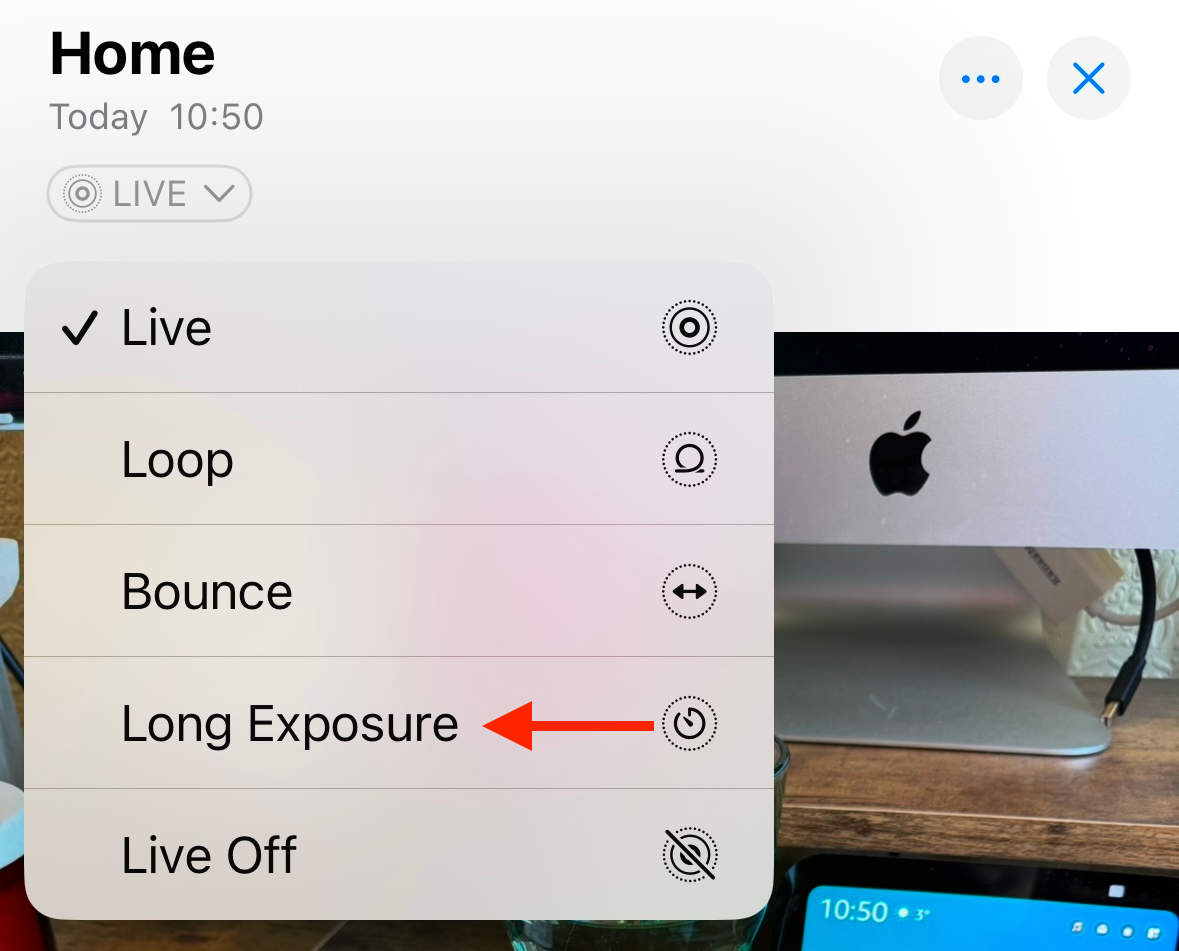
Tap the thumbnail in the bottom left of the screen to open the Live Photo. At the top of the screen, tap “Live.”
Select “Long Exposure.”
Your iPhone will combine the frames of the three-second video into a single image, which should generate subtle motion blur for any moving objects that you capture.
How to Shoot Long Exposure Photos Using Night Mode
Long exposures can be used to capture more light when it’s too dark to get the correct exposure at fast shutter speeds. The iPhone has a feature called Night Mode that lets you take handheld photos with exposures of up to ten seconds when you’re in very low light. If you use a tripod, the maximum exposure extends to 30 seconds.
Unfortunately, the Night Mode option is only available if your iPhone detects that the light levels are low; you can’t turn it on manually.
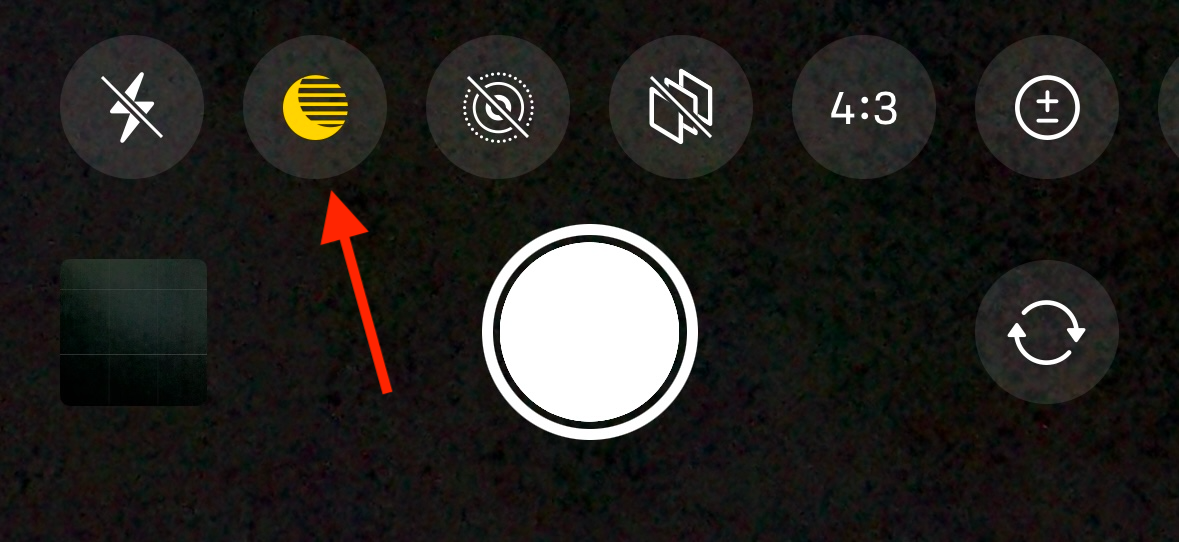
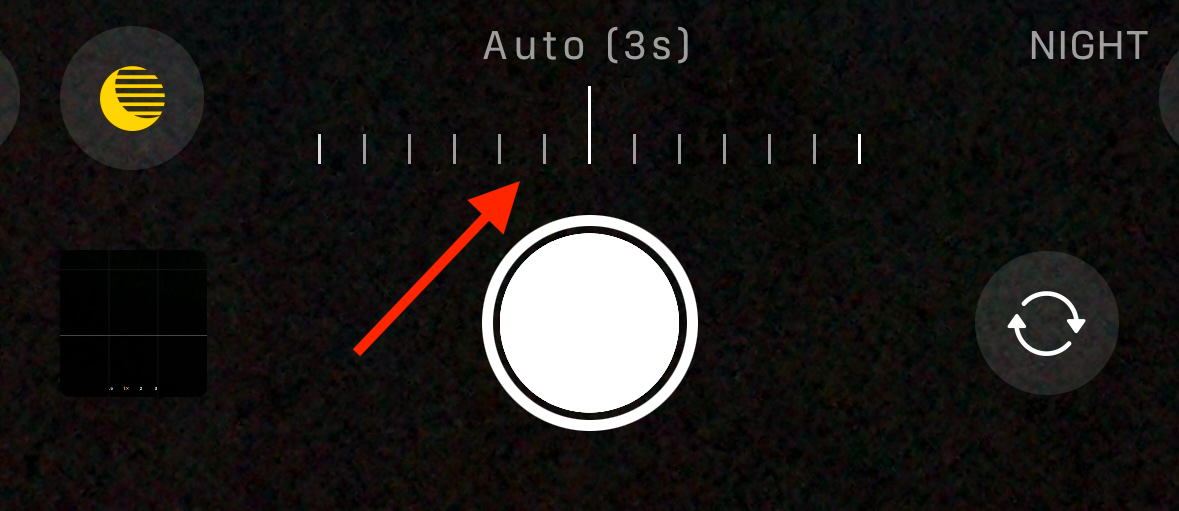
Open the Camera app in low-light conditions. At the top of the screen, you should see the Night mode icon, with an automatically selected exposure time.
To change the exposure time, tap the arrow at the top of the screen.
Tap the Night mode icon above the shutter button.
Drag the row of ticks left or right to select the exposure that you want.
Tap the shutter button to start the exposure. Keep your iPhone as still as possible for the duration of the exposure for the best results. Your photograph will be exposed for the duration that you selected. Tap the thumbnail in the bottom left of the screen to see the results.
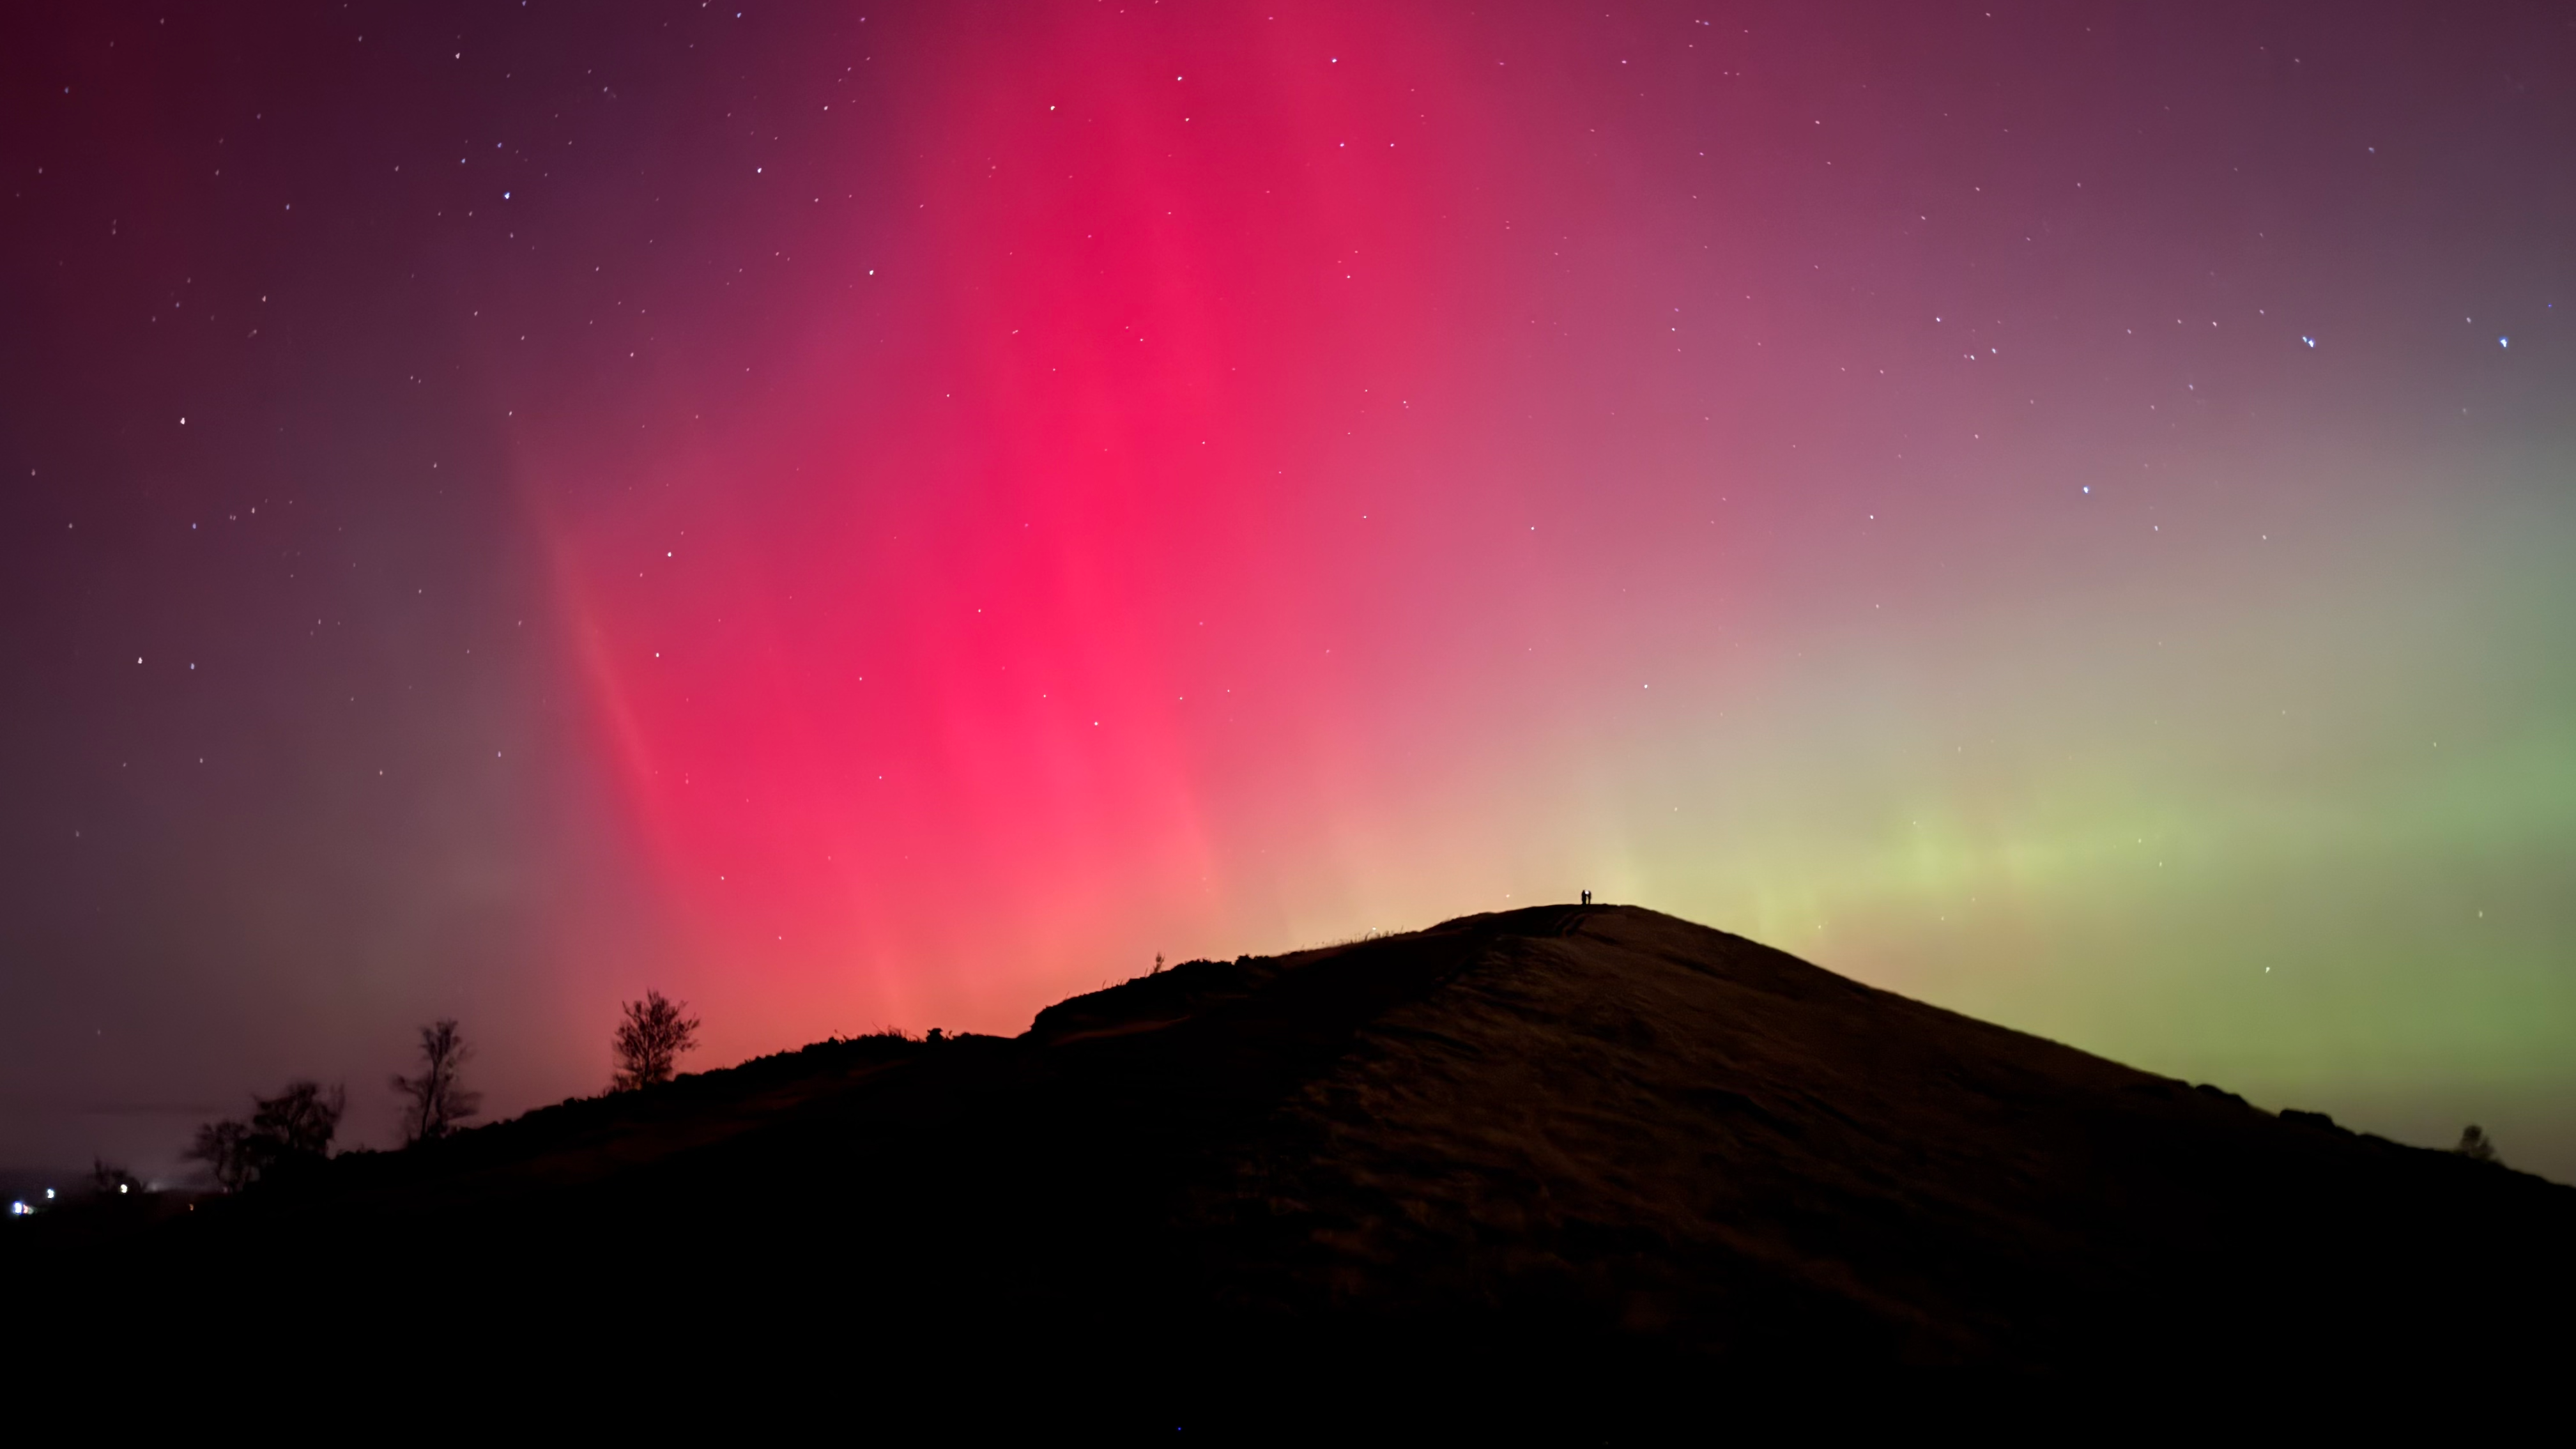
The image below was taken with my iPhone 15 Pro using Night mode to capture a 10-second exposure. The Aurora Borealis was visible where I live, which is very rare, so I climbed up the nearby hill with my tripod and DSLR ready to capture some long exposure photos. However, the battery on my DLSR died before I could even take a single shot.
Thankfully, I was able to capture some stunning images using my iPhone handheld in Night mode, with the longer exposures able to capture the incredible colors that didn’t look nearly as bright to the naked eye.
Shooting Long Exposure Photos Using Third-Party Apps
While the iPhone Camera app doesn’t give you the ability to select your exposure time, there are many third-party apps that do. If you decide that you want to take a lot of long exposure photos using your iPhone, using one of these apps could be the easiest way to do so.
The exact methods differ from app to app, but most of the best apps allow you to select an exposure time, with some going as high as 30 seconds.
Most of the best iPhone camera apps come with a subscription or one-off fee, although some do offer a free trial. The makers of the Halide app have released a dedicated app for taking long exposures called Spectre. This is free to use for exposures of up to three seconds. You can pay a one-off fee to unlock exposures as long as 30 seconds.
The results using camera apps of this kind are usually far superior to what you’re able to produce with the iPhone Camera app in normal lighting conditions.
Tips For Capturing the Best Long Exposure Photos
Your iPhone includes image stabilization tech that can help you capture good long exposure photos even if you’re holding the camera in your hand. However, for best results, you should use a tripod. This will keep the static parts of the image in crisp focus while the long exposure blurs any motion.
Another key thing to remember is that if there is no motion in your image, a long exposure photo won’t look any different from a normal photo. It’s only when there is motion in your shot that the long exposure will cause the motion to blur. The best results are when you have a moving subject and static background, or a moving background and static subject.
It’s not always the best idea to go for the longest exposure possible, either. If you’re trying to take an artistic shot of a stream, for example, an exposure of half a second can create a mix of motion and blur that is far more dramatic than a 30-second exposure of the same stream, which turns the water into a smooth blur with no sense of motion at all. Try different exposure lengths to see which gives you the best results.
While it’s not possible to shoot “true” long exposures on your iPhone, there are ways to create artistic images in the same style as long exposure photos. Live Photos is a quick way to do so, and Night mode can work really well in the right conditions, but for the best control, a dedicated camera app is probably the way to go. Alternatively, swap your iPhone for a “real” camera.


