Apple’s M1 and M2 Apple silicon Macs have a difference that’s tripped some readers up from the way it was handled with previous Intel-based Macs: how to start up or boot an M-series Mac from an external drive. Intel Macs generally make this easy.
You might want to use a bootable external drive to have a higher-capacity SSD than is offered or affordable via Apple’s pricing. Or you want one for backup in case something goes very pear shaped with your M1 or M2 Mac.
Testing indicates that the following conditions are required to start up from an external volume:
- USB-C: Use a USB-C connected drive, whether it’s a USB 3.1 or 3.2 drive or one that uses Thunderbolt 3 or Thunderbolt 4 natively. Your best performance will come from using Thunderbolt 3 or 4 SSD that uses the NVMe standard (see below).
- Erase before installing: Erase the drive completely and then format it as APFS.
- Install directly onto new volume: Obtain a macOS installer and then install macOS from your M-series Mac directly onto the external drive. (This will allow only an M1 or M2 Mac to boot from the drive; Intel Macs will be unable to start up from your Apple silicon-prepared external drive.)
Let me expand on each point.
SSD over USB-C
With the first versions of macOS that worked on early M-series models, many people found they had to use a native Thunderbolt 3 or 4 drive. Fortunately, macOS appears to have matured, and you can use either USB 3.1 or 3.2 or Thunderbolt 3 or 4. Most inexpensive external drives use a flavor of USB 3 to connect over USB-C and rely on the slower SATA format, which coupled with an SSD is about 10 times faster than a hard disk drive. You need Thunderbolt 3 or 4 to gain a benefit from the newer NVMe/PCIe interface, which can be several times faster than a SATA SSD, and about two to three times as expensive. Consult this Mac 911 column for more details on the two interfaces and their throughput.
(It is possible to use an HDD as an external M-series startup drive, but the performance will be so poor, even with a 7200 rpm hard drive, you’ll wish you hadn’t.)
Erase and format as APFS
To use macOS 11 Big Sur (the first M-series compatible version of macOS) all the way through macOS 13 Ventura (and for future releases), the drive has to be formatted as APFS. But testing by many people makes it clear you can’t just change the formatting on an existing drive: invisible partitions used for purposes related to booting from an Intel drive from a previous macOS installation on the drive cause issues.
To avoid setting up a volume that won’t work correctly, erase the drive before putting on data on it. Launch Disk Utility, select the SSD, click Erase, and follow prompts to create a single APFS container. This should wipe out any conflicting data structures.
Install macOS onto the external drive
Download the macOS installer directly from the Mac App Store. If you’re using a version of macOS older than the current release, consult this article on downloading older releases.
Launch the macOS installer and select the external drive as the target. Follow the prompts and steps. When your Mac restarts, it will boot from the external drive to complete the installation.
If you want to make this drive a bootable clone, Bombich Software, makers of Carbon Copy Cloner, recommends you first clone your data volume (which its software can do), and then install macOS after that.
Restart from your internal drive or switch between
To get back to your internal drive as the startup volume, you can open the Startup Disk preference pane while macOS is running on the external drive and select the internal drive. Then click Restart.
You’ll have to unmount the external drive after the restart is complete, and some people have reported that macOS says one of its partitions remains in use. (Big Sur and later versions of macOS invisibly divide a macOS into a volume containing system files and a volume with your user data; the data volume may not unmount correctly.) You might prefer to shut down at that point, unplug the external drive, start up again, and plug it in.
You can also use recovery mode to change the startup disk. This is a bit more complicated with an M-series Mac than an Intel one, where you could simply hold down the Option key while restarting and select a drive (unless you had turned on certain security settings, in which case you’d need to use recovery mode to disable them).
Here’s how you change the startup drive from recovery mode with an M1 or M2 Mac:
-
Select > Shut Down.
-
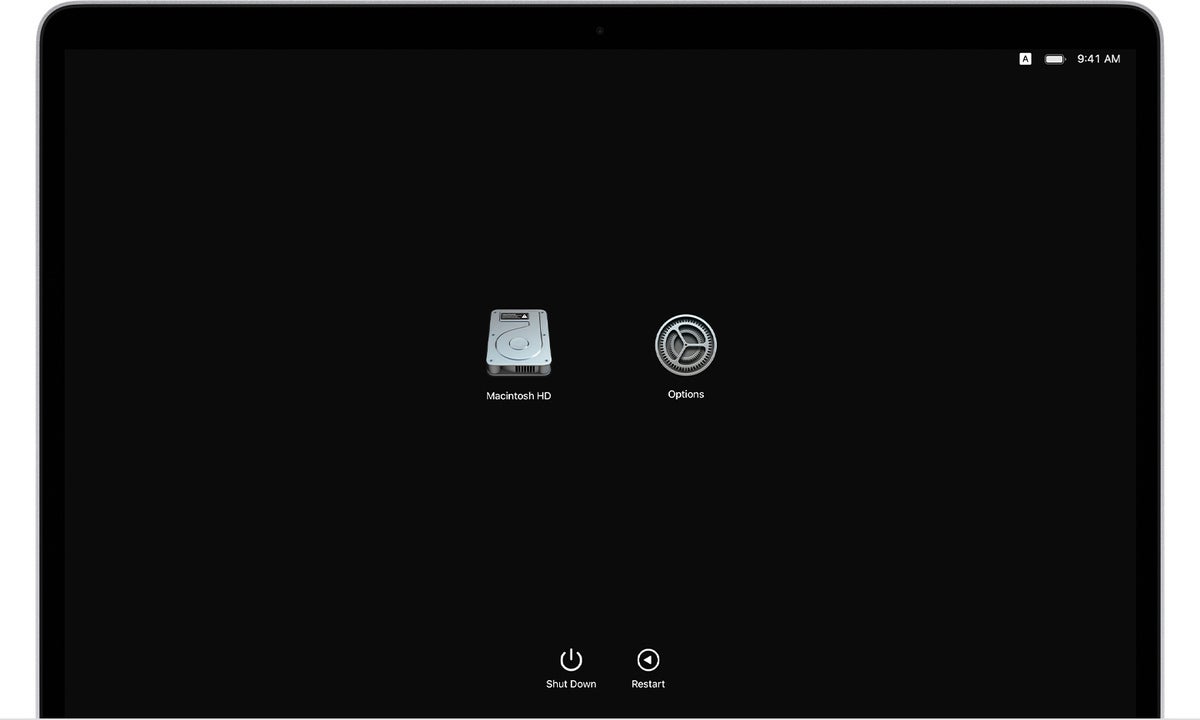
When you see your Mac has powered down, hold down the power button until you see a prompt that says “Loading startup options.”
-
When the Options icon appears, you will also see a list of volumes next to it that you can select. Select the volume that you want to start up from.
-
Click Continue and the Mac restarts from that volume.
This Mac 911 article is in response to a question submitted by Macworld reader Gerald.
Ask Mac 911
We’ve compiled a list of the questions we get asked most frequently along with answers and links to columns:
read our super FAQ to see if your question is covered. If not, we’re always looking for new problems to solve! Email yours to
mac911@macworld.com including screen captures as appropriate, and whether you want your full name used. Not every question will be answered, we don’t reply to email, and we cannot provide direct troubleshooting advice.


