Apple’s annual iOS update can bring fantastic new features on your iPhone, but if you have an older iPhone that might not be able to take advantage of all those features, or would rather wait a few weeks to give Apple a chance to fix the inevitable bugs and issues that unfortunately seem to arise with every update, you might not be happy to find your iPhone has download the update and is offering to install it.
iPhones are set to automatically download the latest version of iOS, and install it once you plug in your iPhone in and join a Wi-Fi network. This can be a useful feature from a safety standpoint: by making it easy to update their iPhones Apple is able to ensure that users have the most up-to-date software, including patches to protect from malware and hacks. It’s good for Apple because a user base that’s mostly confined to one or two recent versions of the software is easier to manage (and keep safe from security threats) than a more fragmented and disparate one – like the Android user base.
Shortly after Apple issues an iOS update, iPhones will automatically download the installer from Apple’s servers. Later users will see a warning on their iPhone that software is available to be installed. While Apple isn’t installing the iOS update on your iPhone without gaining permission, some people would rather that Apple didn’t download the installer onto their iPhone in the first place – especially if they don’t want to update to the next version of iOS. Nor are people necessary happy to have the installers for a software update taking up valuable space on your device.
Few things are as annoying as having your iPhone displaying messages like “Install Now” or “Remind Me Later” as it nags you to install an iOS update that you don’t want.
What if you don’t want your iPhone to download the next update? Luckily you can take back control by simply turning off Automatic Updates and never have your iPhone download an iOS update again.
If you do want to update your iPhone and you are looking for advice on how to install it read: How to update iOS on your iPhone.
How to turn off Automatic Updates
Automatic Updates are enabled by default, but you’ll can turn them off.
This won’t help if your iPhone has already downloaded the current update, but it will stop you from getting these messages in future. So the first thing you should do is dive into settings and turn Automatic Updates off:
- Tap Settings.
- Software Update.
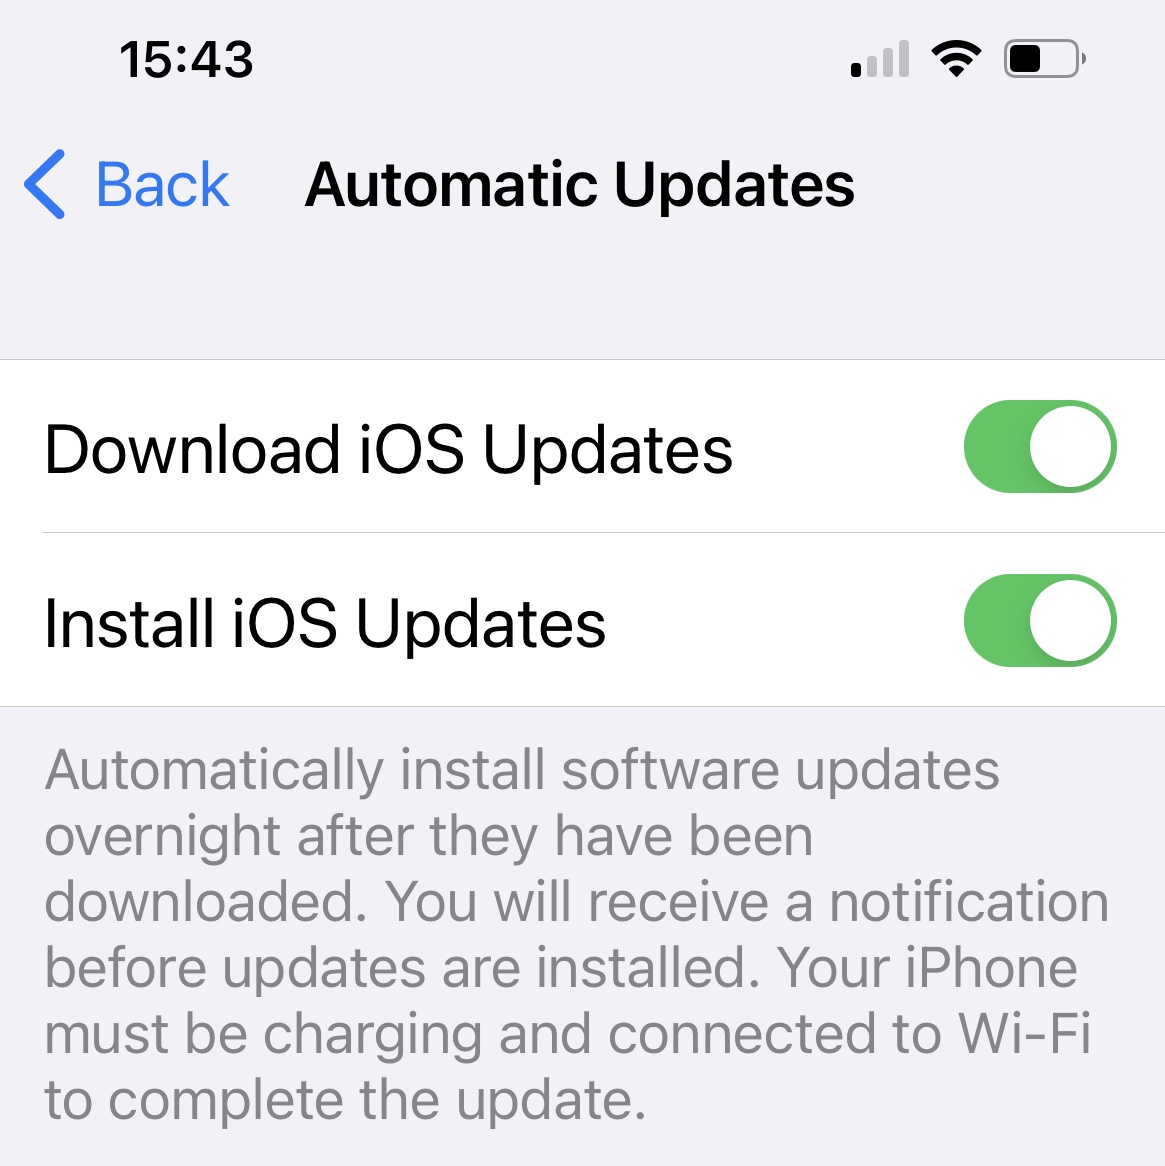
- Tap on Automatic Updates.
- Deselect Download iOS Updates.
This will prevent iOS from downloading iOS updates in future.
Once you have deselected Download iOS Updates the option to Install iOS Updates will disappear. As an alternative you could choose to download iOS Updates, but not install the update. The update will only be installed when you are charging and connected to Wi-Fi. However, you will see those annoying nagging notifications that you need to update your iPhone.

Foundry
How to delete the downloaded update you don’t want to install
If your iPhone has already downloaded an update you don’t want to install read on to find out how to delete that.
Once you remove the installer your iPhone will stop reminding you to update the iPhone.
- Open the Settings app.
- Tap General.
- Tap iPhone Storage.
- If you scroll down a little you’ll see a list of apps and the amount of storage they each take up. Somewhere in there you’ll find the iOS update.
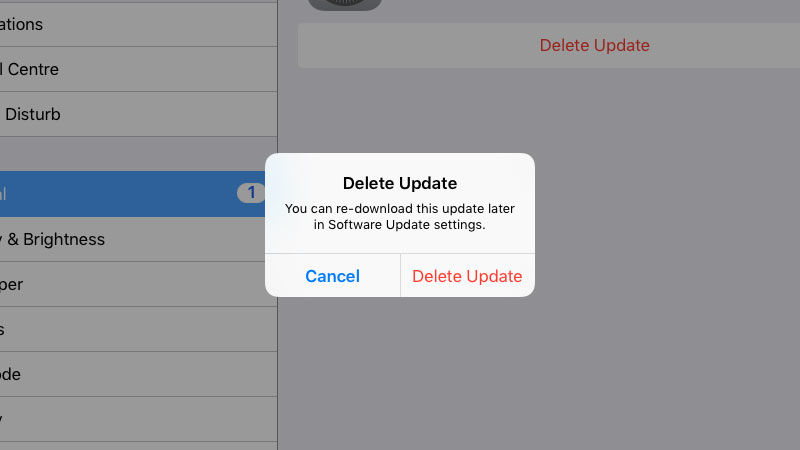
- Tap the update to see more details, and then select Delete Update.
- Tap Delete Update to confirm.

Turning off Automatic Updates and deleting the latest update from your storage should prevent you from getting the alert windows in the future.
If the ‘Install Now/Remind Later’ alert re-appears, check in your Storage & iCloud Usage and delete the update again.
You’ll still get alerts from the App Store when Apple releases a new version. But these only come along every few months; not daily.
How block Apple updates from your Wi-Fi router
A nuclear option for those who never want to see another update again is to block the Apple Software Update Domains on your router.
The process varies depending on the router. Typically you’ll have to open your router’s web-based interface, find a service called “Domain Blocking” or “Domain Block” and enter the following domains:
appldnld.apple.com
mesu.apple.com
Each router is different. Here are the instructions for a Virgin Broadband router.
- Open the Safari web browser and enter the MAC address from the admin site. (Ours is http://192.168.0.1.) You’ll often find this listed on the back of the router.
- Enter the password for the router. Again, you’ll often find the default password on the back.
- Click Advanced Settings.
- Click Domain Blocking (underneath Parental Controls).
- Add appldnld.apple.com into Domain To Block and click Add Domain.
- Add mesu.apple.com and click Add Domain.
- Click Apply and Yes.
You’ll no longer be able to download updates. Note that this prevents software update from working completely. When you click Software Update on your iPad or iPhone, you’ll see “Unable to Check For Update.”
It’s a slightly extreme way to prevent software updates, but some users may be determined to keep the latest version. We think it’s wiser to tap Update Later and accept the update to the latest version of the software.


