It’s really easy to take screenshots on your Steam Deck. It’s also reasonably easy to upload those images to the cloud and access them remotely.
It’s really easy to take screenshots on your Steam Deck. It’s also reasonably easy to upload those images to the cloud and access them remotely. So if you want to do that, stick with us and we’ll help you out.
Steam has always made it really simple to take in-game screenshots and save them locally or upload them to your profile. Gamers will be pleased to hear that this convenience is also available on Steam Deck.
How to screenshot on Steam Deck
The first step is naturally taking the screenshot in the first place. If you’re playing on PC and using Steam then you just need to press F12 to capture a screenshot. On the Stream Deck, you’ll also be using a shortcut:
- Capture a screenshot by pressing the Steam button and R1 at the same time
When you’ve done that you should see a notification appear in the bottom right of the screen to let you know it worked. Screenshots you take here are then saved to the media library.
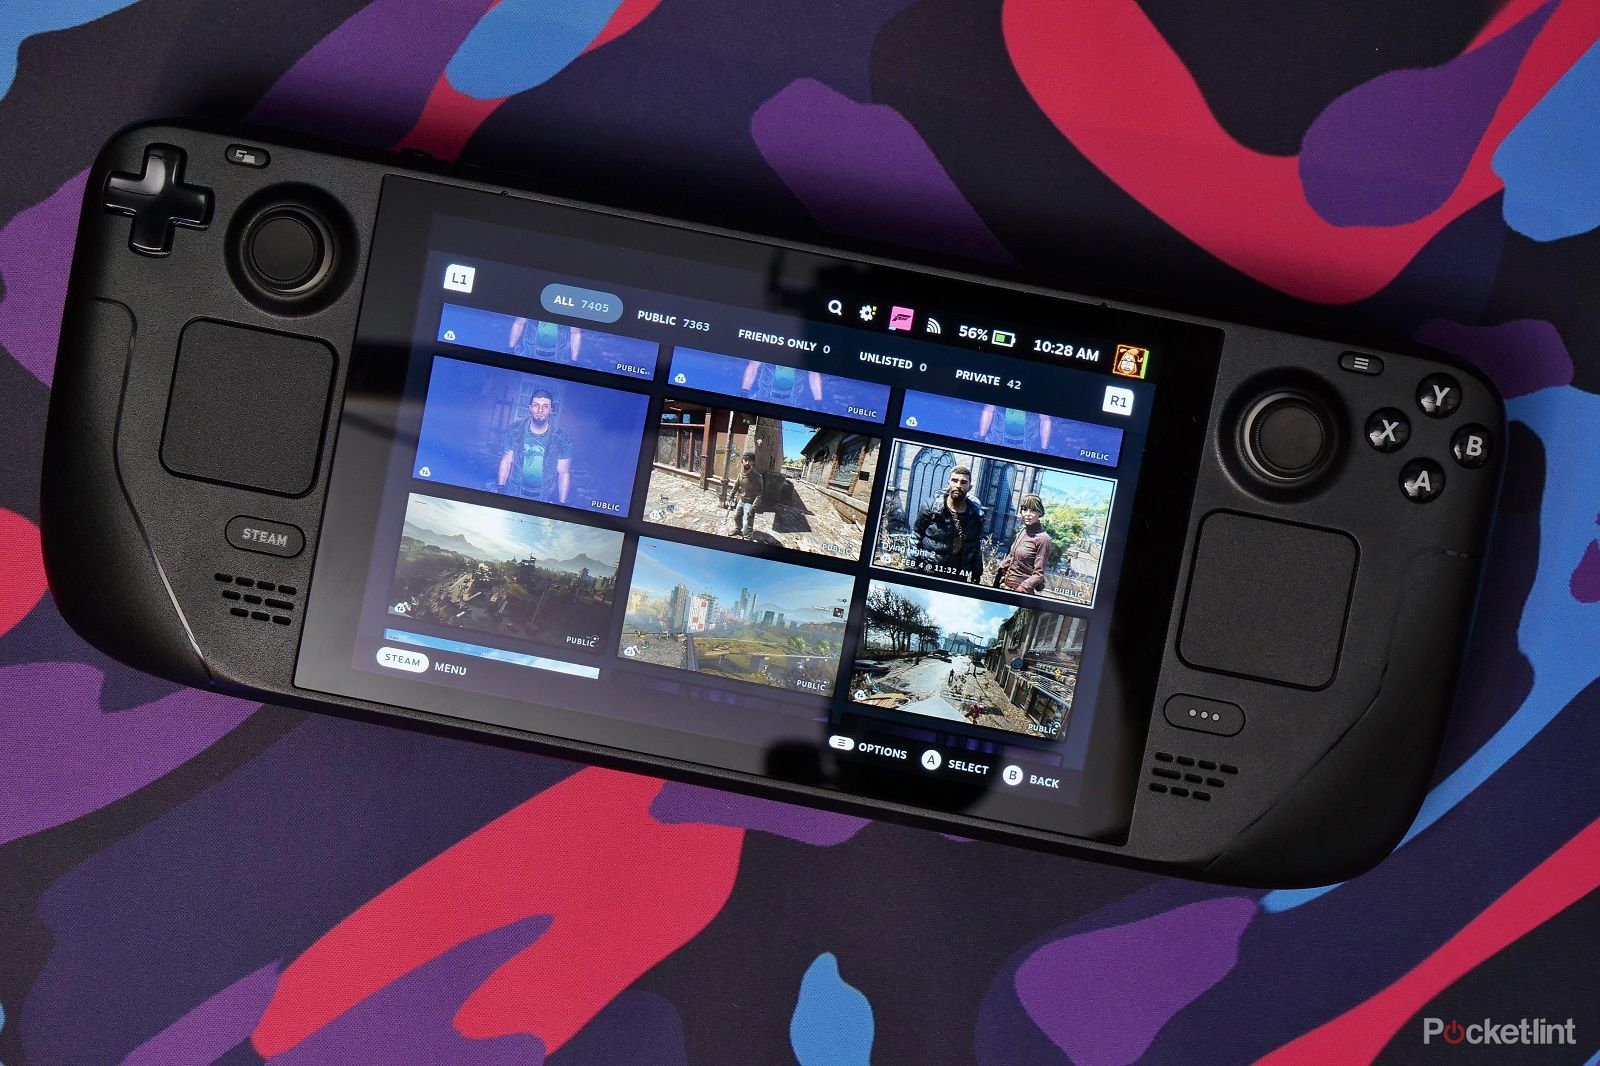
You can access them by pressing the Steam button to open that menu and look for “media” on the left-hand side. Clicking that will open the media library with all your screenshots. From here you can see all the screenshots you’ve taken locally but also on your PC that are then uploaded to the cloud.
Accessing your Steam Deck screenshots remotely
When you’ve taken a screenshot on Steam Deck the easiest way to access them is via Steam on your gaming PC. In order to do that we’d recommend uploading them to the cloud.
To do that press the Steam button and head over to the media library via the menu, find the screenshot you want to access and press the a button to select it.
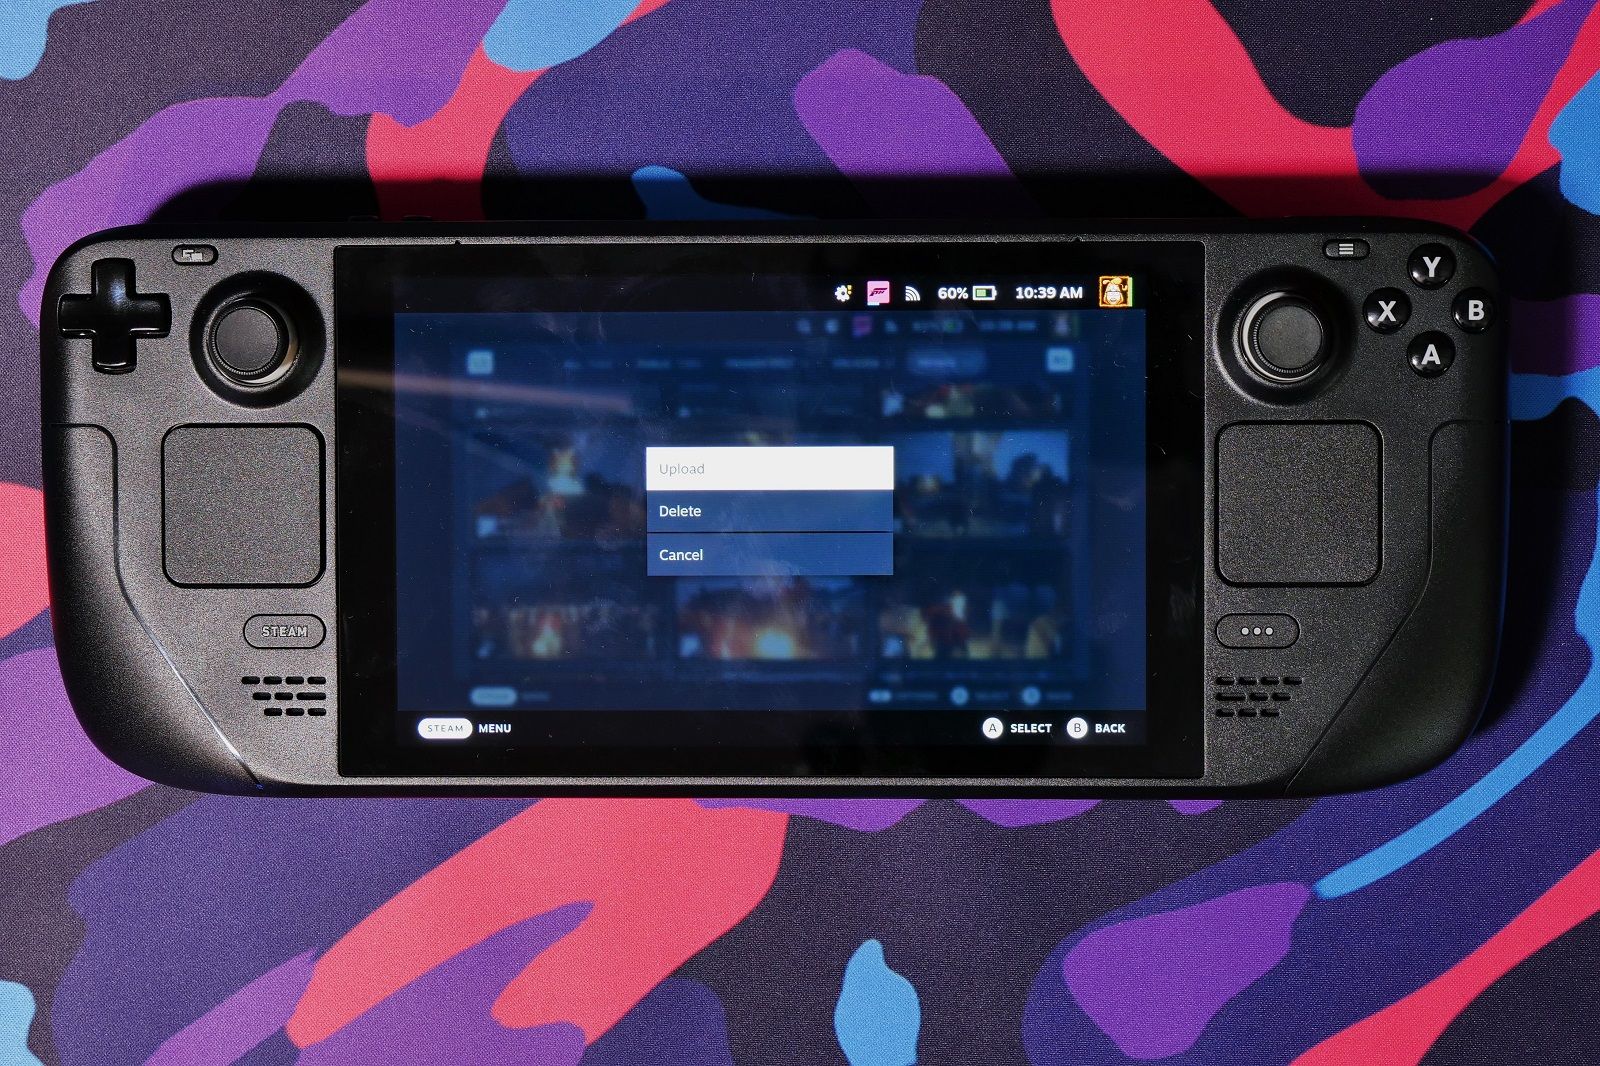
There’s then an option button on the right-hand side of the Steam Deck. Press that and you can then upload the screenshot:
Select that option and you can then choose to either upload it publicly or privately to your Steam account.
Follow those steps and upload the image you want, then pop over to your gaming machine and load Steam.
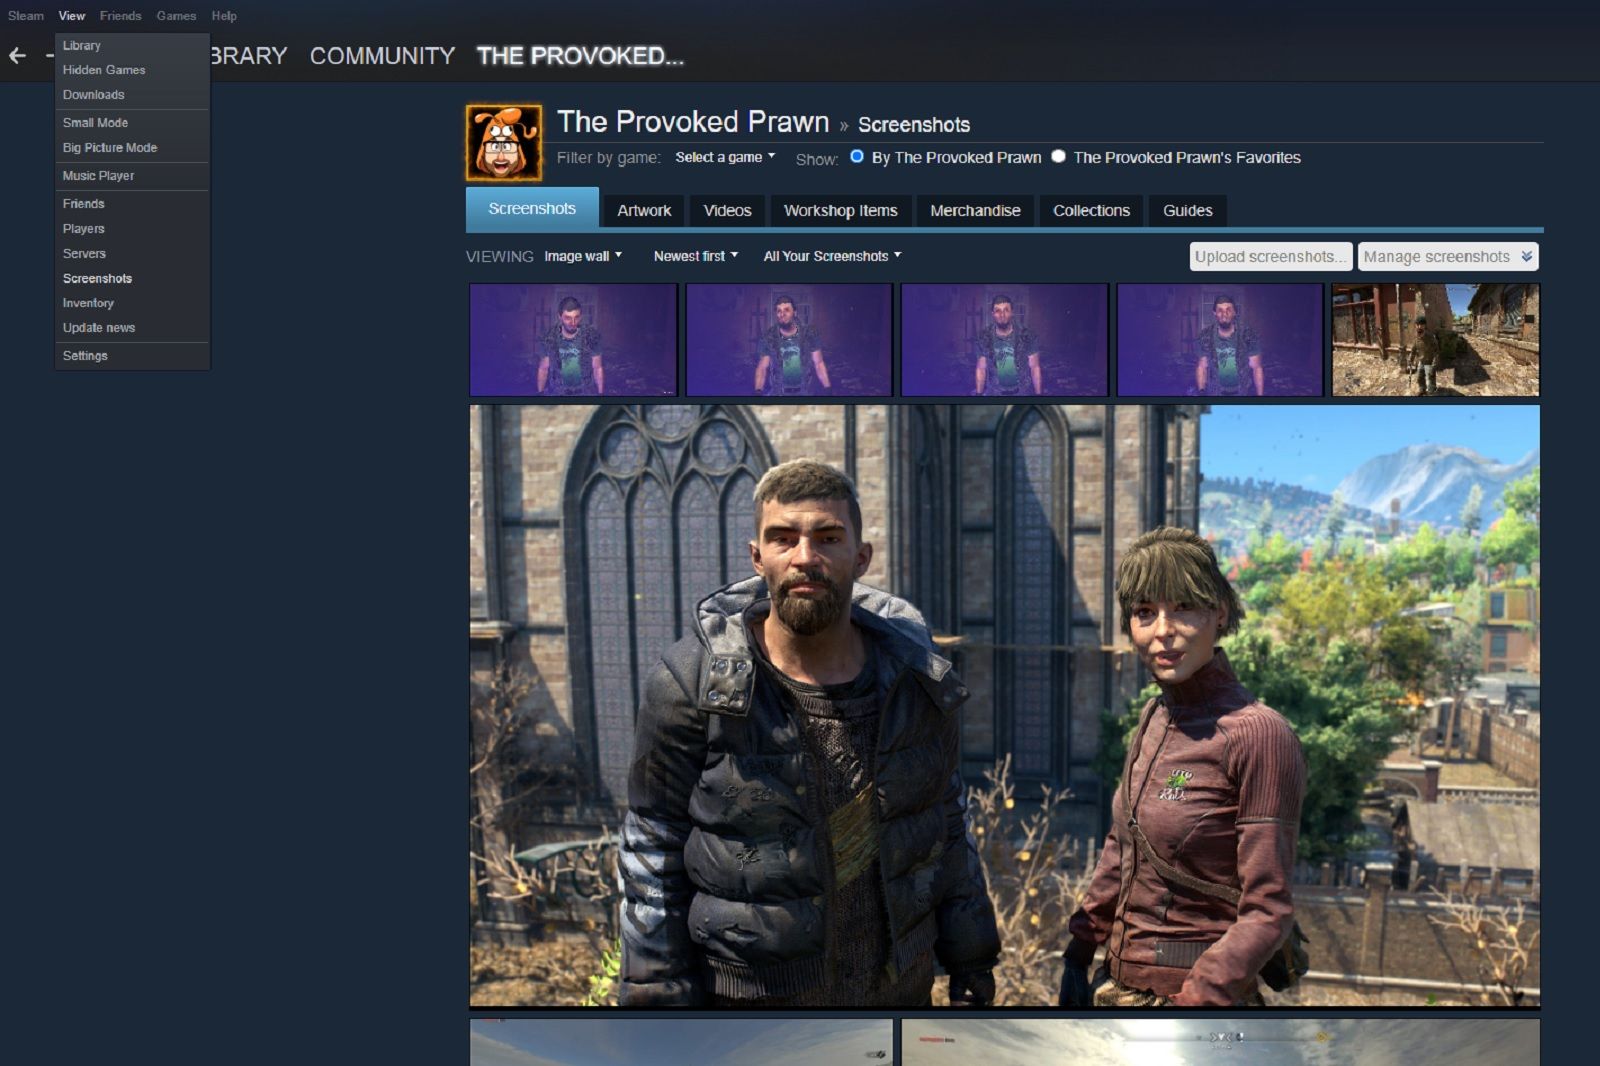
To access your Steam Deck screenshots on your PC:
- Click on view
- Click on screenshots from the drop-down menu
- When the pop-up appears click on “view online library”
- You should then see all the screenshots taken and uploaded to the Steam cloud
From this section of your profile, you can use the various menus to see public or private screenshots, delete them or filter them by a specific game. Right-click on the image and you can copy and paste it to whatever tool you want to use to edit it.
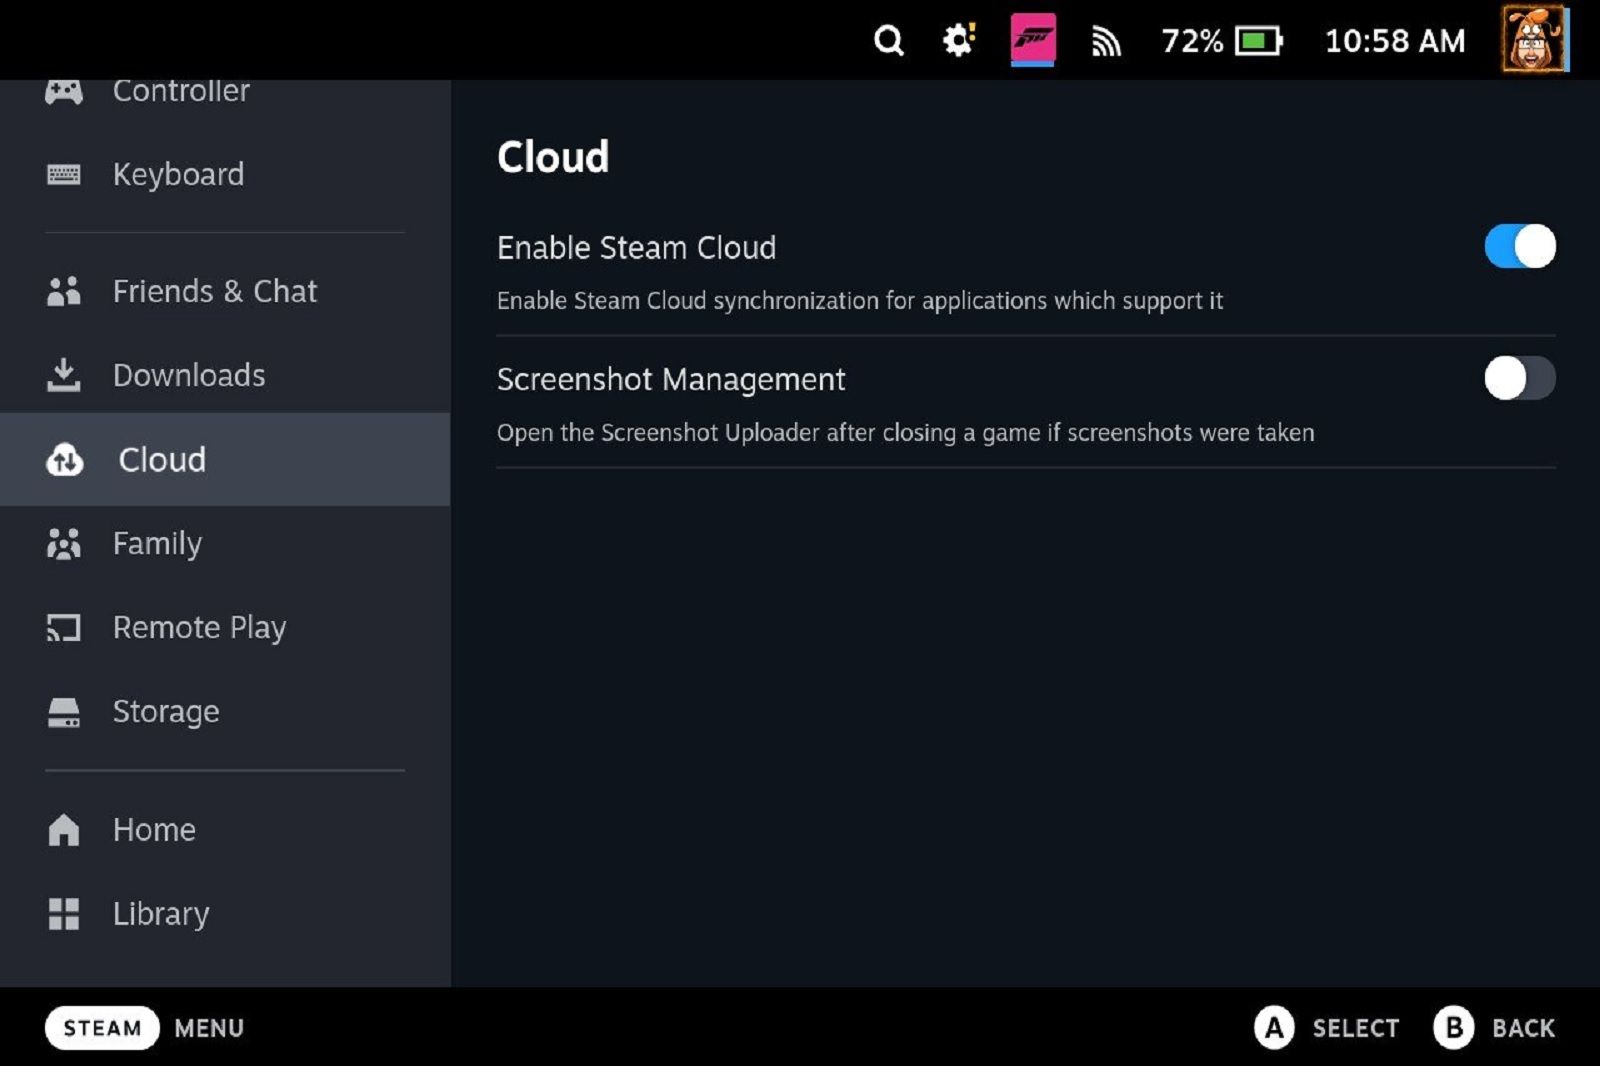
If you’re regularly taking screenshots you can also head into your Steam Deck’s settings to remind you about uploading them.
Press the Steam button and scroll through the menus, then click on Cloud. There you can turn on the screenshot management setting to load the screenshot uploader whenever you close a game that you’ve taken screenshots in.
This tool will then make it even easier to upload and access remotely.


