Modern gaming laptops have come a long way. They might be slim, powerful, and long-lasting, but they still can’t compete with desktop monitors in screen real estate. Even the largest gaming laptops with gorgeous 18-inch screens are still dramatically smaller than even the most modest of external gaming monitors.
But you can have the best of both worlds—by connecting an external monitor to your gaming laptop!
The way you connect a given monitor to your laptop will depend on your specific monitor and laptop combination, though. You can’t connect if you don’t have the right cables, and you’ll want to make sure your laptop is powerful enough for the monitor’s size and resolution.
Ready to jump in? Here’s what you need to know about using an external monitor with your gaming laptop (and tweaking its settings).
Further reading: The best gaming monitors to get this year
Which ports should you use to connect?
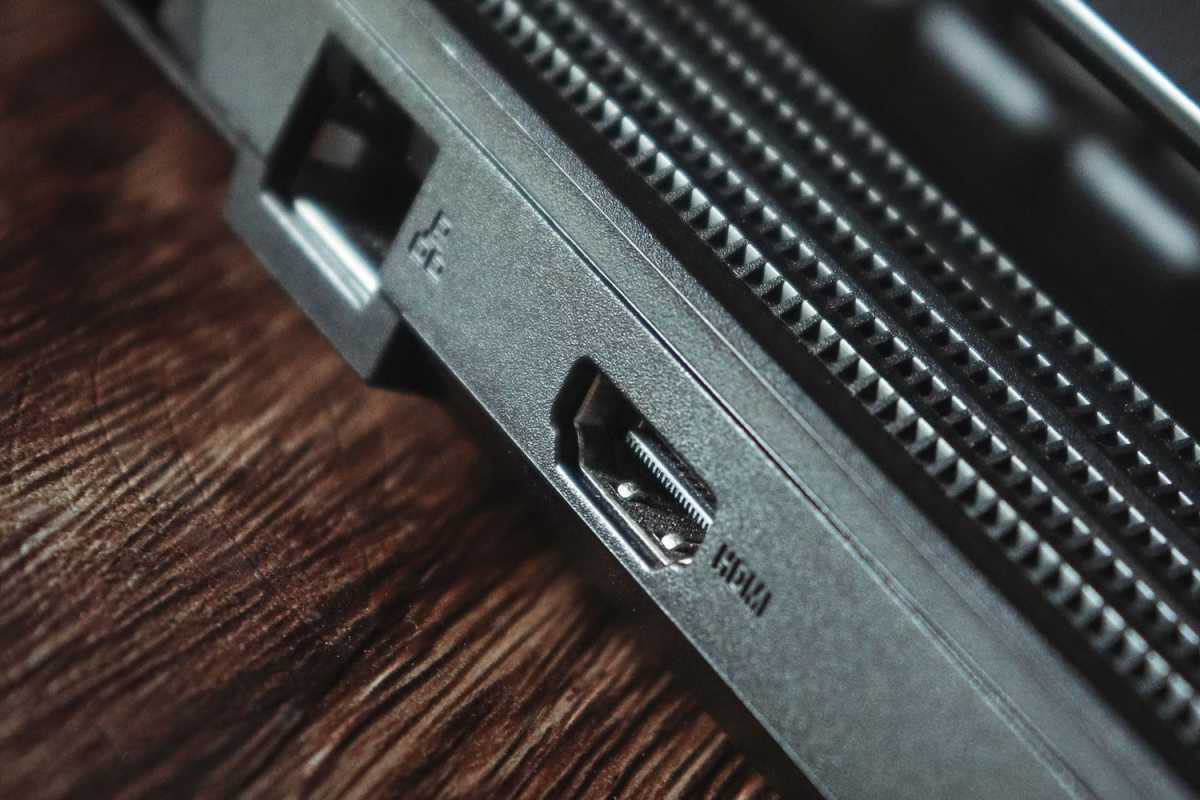
To use an external monitor with your gaming laptop, you really just need to plug it in. But which connector should you use? These days, you’ll want to use one of these two popular candidates:
Most modern gaming laptops come with one or both as connector options, so you have the flexibility to use whatever’s compatible with your monitor. HDMI support is more common than USB-C in monitors, but if yours supports USB-C, it’s worth considering.

Generation and cable choice are also important to consider. For example, an HDMI 1.4 connector is perfectly capable of running a 1080p external monitor but isn’t enough to deliver 4K at 120Hz. Likewise, some older USB-C connections may not support higher resolution external displays.
Be sure to check the specifications for your particular laptop—look in the manual or the manufacturer’s website for details—to see what generations of HDMI and/or USB-C ports your laptop has.
Then, make sure the cable you use matches the port generation. For example, if you plug an HDMI 2.0 cable into an HDMI 2.1 port, it can only operate at HDMI 2.0 speeds. Similarly, a USB-C 3.2 Gen 2 cable can’t handle the same bandwidth as a Thunderbolt 4 or USB4 cable.
Further reading: Why getting true USB4 speed is still a headache
Plugged in but it doesn’t work?
Generally, once you plug an external monitor into your gaming laptop, it should start working without having to do anything else.
Make sure the external monitor’s power cable is also plugged, then turn it on, then plug its HDMI or USB-C cable into your laptop. Turn on the monitor and it should automatically be detected as a secondary display.
If it still doesn’t work, here’s what you can do:

Joel Lee/PCWorld
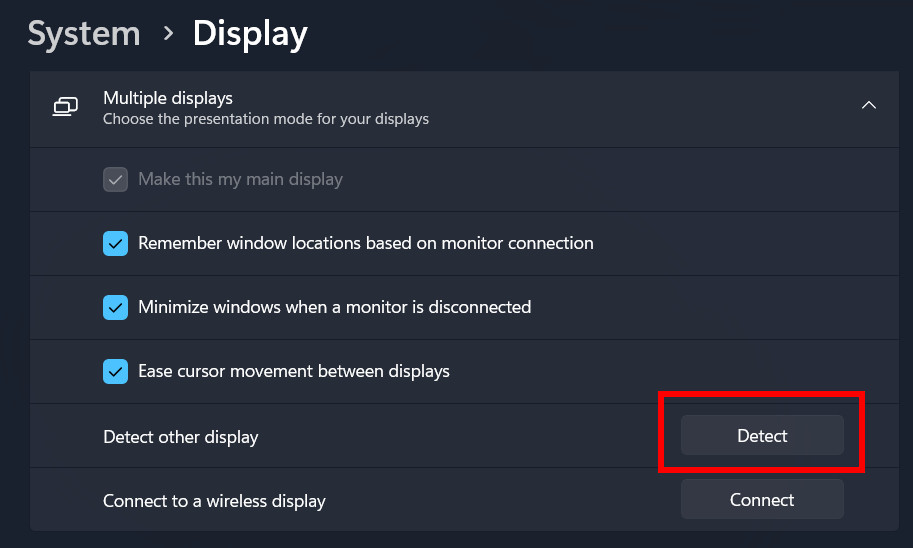
Open the Windows Settings menu and navigate to System > Display, then open the Multiple displays section (if it isn’t already), then click on Detect to find your additional display.
If your external monitor still isn’t detected, try unplugging the connecting cable on both ends and plugging both ends back in again.
Also, confirm that you have power to both the laptop and the monitor, and make sure that the monitor is set to the correct video input. (If the monitor has multiple HDMI ports, they’ll be labeled “HDMI 1,” “HDMI 2,” and so on. Make sure the monitor’s video input is set to the correct one. See your monitor’s manual if you don’t know how to do that.)
If that still doesn’t work, try plugging your cable into a different port on the monitor and/or a different port on your laptop. Sometimes the port itself might be the problem.
Still not working? You might just have an old, faulty, or improper cable that’s preventing your external monitor from being detected.
Further reading: The best HDMI cables
Once it’s connected and detected, you’re done! You can start gaming now. However, if you want to take full advantage of your external monitor, you should tweak some of it settings.
Configuring your external monitor
By default, your external monitor will likely show a duplicate of your laptop screen. If that’s what you want, no problem.
But chances are you plugged in an external monitor because you want more screen space, in which case you’ll need to set that secondary display to “extend” your screen rather than “duplicate” it.

Jon Martindale/PCWorld
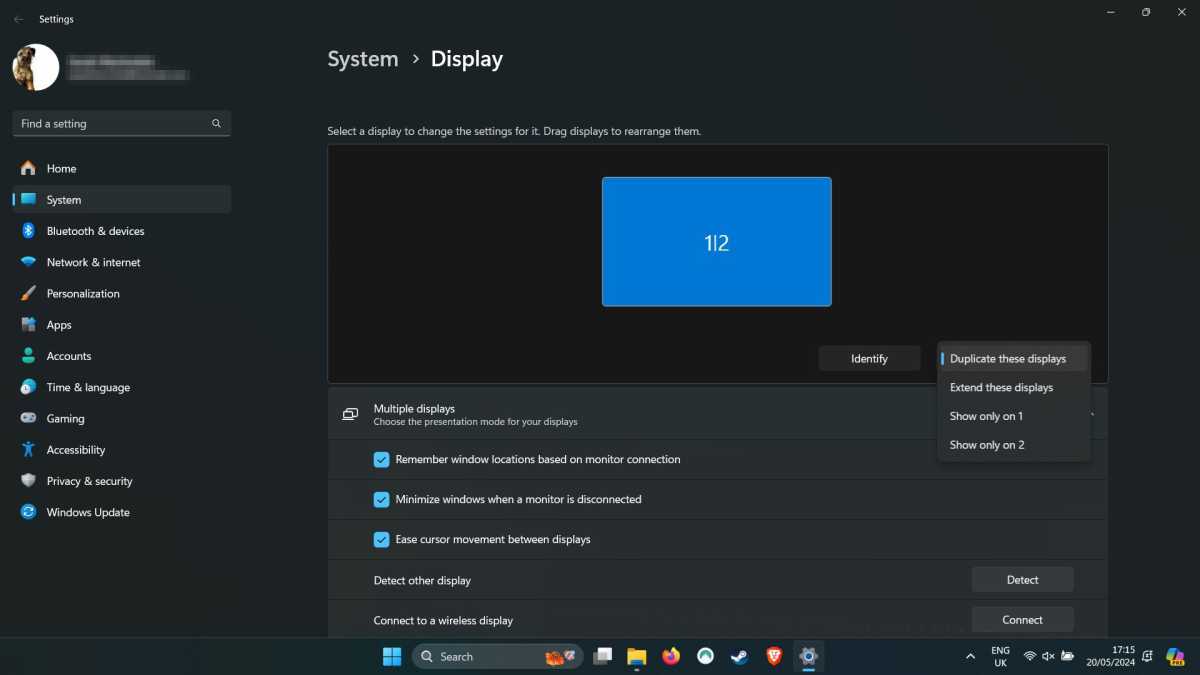
To do that, open the Windows Settings menu and navigate to System > Display, then look for the drop-down box that’s currently set to Duplicate these displays. Change it to Extend these displays.
Then, click whichever display you want to be your “main” display. Open the Multiple displays section below (if it isn’t already) and mark the Make this my main display checkbox. Then click Apply.
Note that extending your screen across multiple displays may give you more screen space, but is more taxing on your graphics chip.
After you’ve configured that, you may also want to double-check your monitor’s refresh rate and resolution while you’re here:

Jon Martindale/PCWorld
To make sure your external gaming monitor is running at peak performance, click on the respective display and scroll down to the Display resolution drop-down box, then select its native resolution.
If your monitor supports HDR, you may also want to toggle that on. Scroll to the HDR section and click for the associated settings.
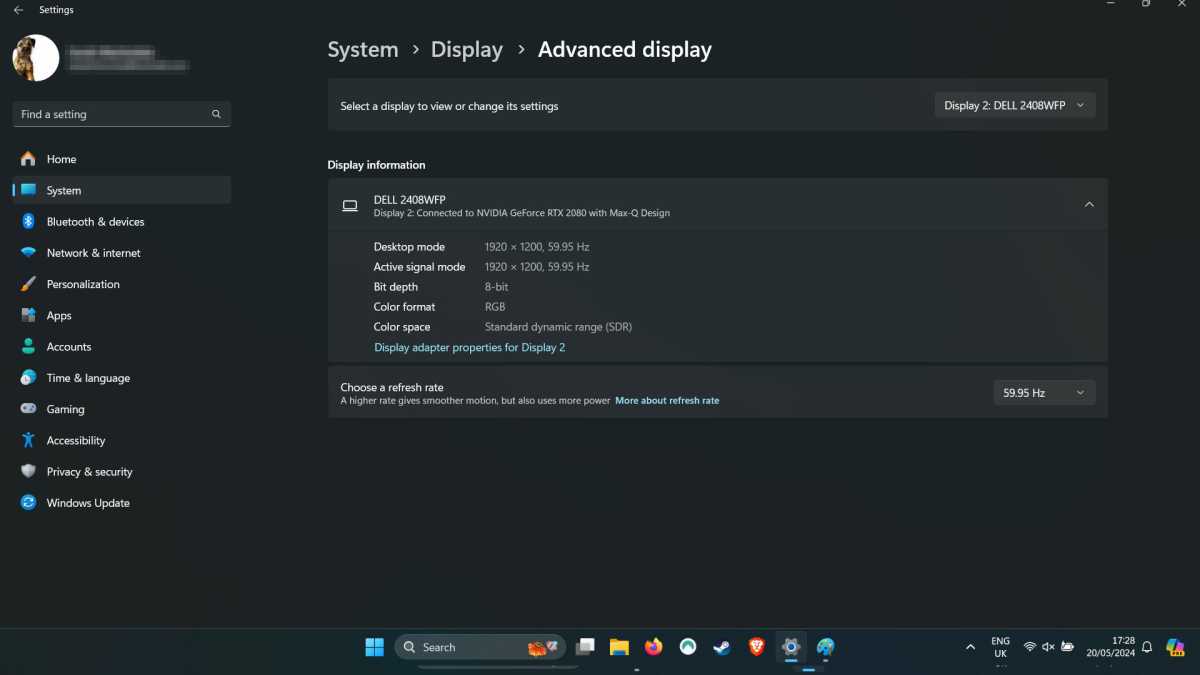
To adjust your monitor’s refresh rate for gaming, scroll down and click on Advanced display. Next to Choose a refresh rate, use the drop-down box to select the highest (or your preferred) refresh rate.
Want more monitor configuration tips? Check out our guide to how to calibrate your monitor to make it look its best.
Further reading: The best gaming laptops under $1,000


