AppleInsider may earn an affiliate commission on purchases made through links on our site.
While old Apple hardware is mostly long-gone, there are ways to run some of your antique software on your current Mac. Here’s how to get started emulating old Apple computers on your new machine.
At the dawn of the personal computer era in the late 1970’s and 1980’s, there were dozens of companies that made small PCs for home use.
As a new interest in these classic machines grows today, more and more emulators have appeared which allow you to run older operating systems on your Mac or PC. Hundreds of classic emulators now exist, far too many to cover here.
We’ll highlight the major ones and the most interesting ones.
The 1970s: Apple begins
The Apple II, released in 1978, was Apple’s first killer product created by Steve Wozniak and Steve Jobs, and it rocketed the company from a garage startup to billion-dollar corporation. There were several models of the Apple II: the original Apple II, the Apple II+, IIe, IIc, and IIgs. There were several other minor variants of each as well.
Most of the Apple II computers had a mere 4K-64K of RAM, although a wide range of third-party RAM expansion cards appeared, including one from Microsoft. The Z-80 Softcard also from Microsoft turned the Apple II into a Z80-based computer capable of running the CP/M OS.
Hard drives at the time were still a thing only for large mainframes and minicomputers, and were commercially rare for PCs, although they did exist. Instead, ’70s and ’80s computers used floppy disks – usually 5.25-inch and later 3.5-inch ones. Very early business minicomputers used 8″ variants.
The Apple II was no exception and Apple sold the Disk II Shugart-based drive along with the Apple II. Later several other 5.25-inch variants appeared, and when the Mac was released in 1984, Apple also released 3.5″ drives for later Apple II models such as the IIgs.
The first killer app for the Apple II was VisiCalc — the world’s first spreadsheet, sold on floppy disk, written by Dan Bricklin and Bob Frankston. VisiCalc gave accountants, business people, and mathematicians the ability to enter, and automatically recalculate large data sets with the touch of a button.
Suddenly, previous manual entry work such as keeping books and scientific simulations became automatic. Companies flocked to the Apple II in droves, and the personal computer revolution was born.
The Apple II sold close to five million units – unheard of for any PC of the time – and netted Apple billions in profits. An entire industry arose around the Apple II with vendors making add-on cards, printers, sound boxes, modems, and a wide range of other peripherals.
Apple was born out of the then-nascent home-brew computer scene in CA in the late 1970’s. Originally, most PCs were sold as kits by mail-order or in small computer shops. Hobbyists would order PC kits and assemble them. The Apple II’s predecessor, the Apple I was one such kit.
The Apple II was the first real home computer sold as a fully-assembled PC right out of the box. People loved it.
A huge number of video games also appeared for the Apple II series, and along with Atari, gave rise to the home video game market. Previously, video games were the stuff of coin-operated arcades with large arcade machines with quarter slots in the front for payment.
After Apple released the Macintosh in 1984, it also released a new GUI-driven version of the Apple IIgs operating system, giving that computer a Mac-like feel.
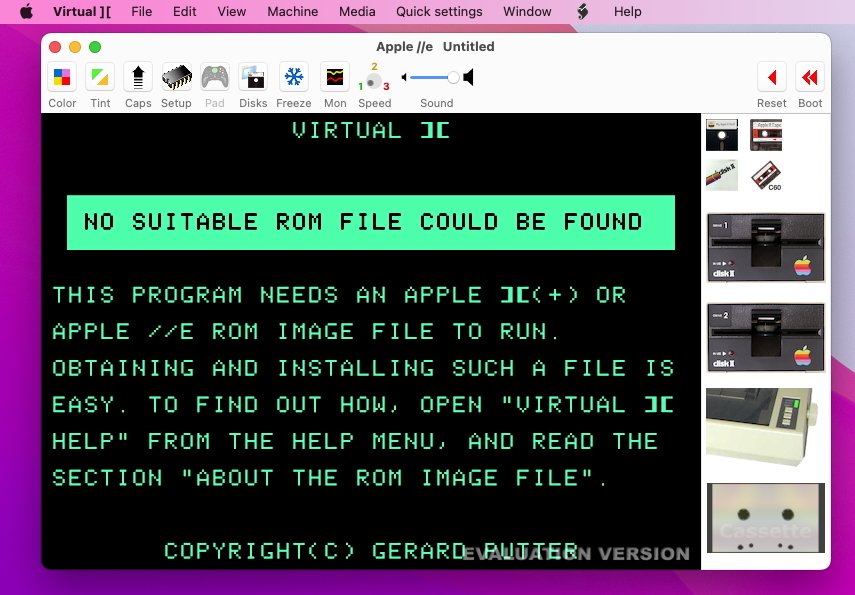
Today there are a number of Apple II emulators available, including some online ones. Chief among these are Virtual ][, and for the IIgs, GSPlus, KEGS, GSport, and XGS.
If you have Java installed, the Apple ][ Disk Browser allows you to inspect and peek into the contents of Apple ][ .dsk files.
For a really fun online Apple II emulator, check out AppleIIjs.
The incredible virtualapple.org is a site which allows you to play nearly every Apple II or IIgs game ever made.
For all of the Apple II emulators except the online ones, you’ll first need an Apple II ROM file for each particular machine. Be aware that all Apple II ROM code is still copyrighted by Apple, so in order legally use an Apple II emulator app, you must first actually own an Apple II ROM chip or an Apple II computer containing an Apple II ROM.
Apple III
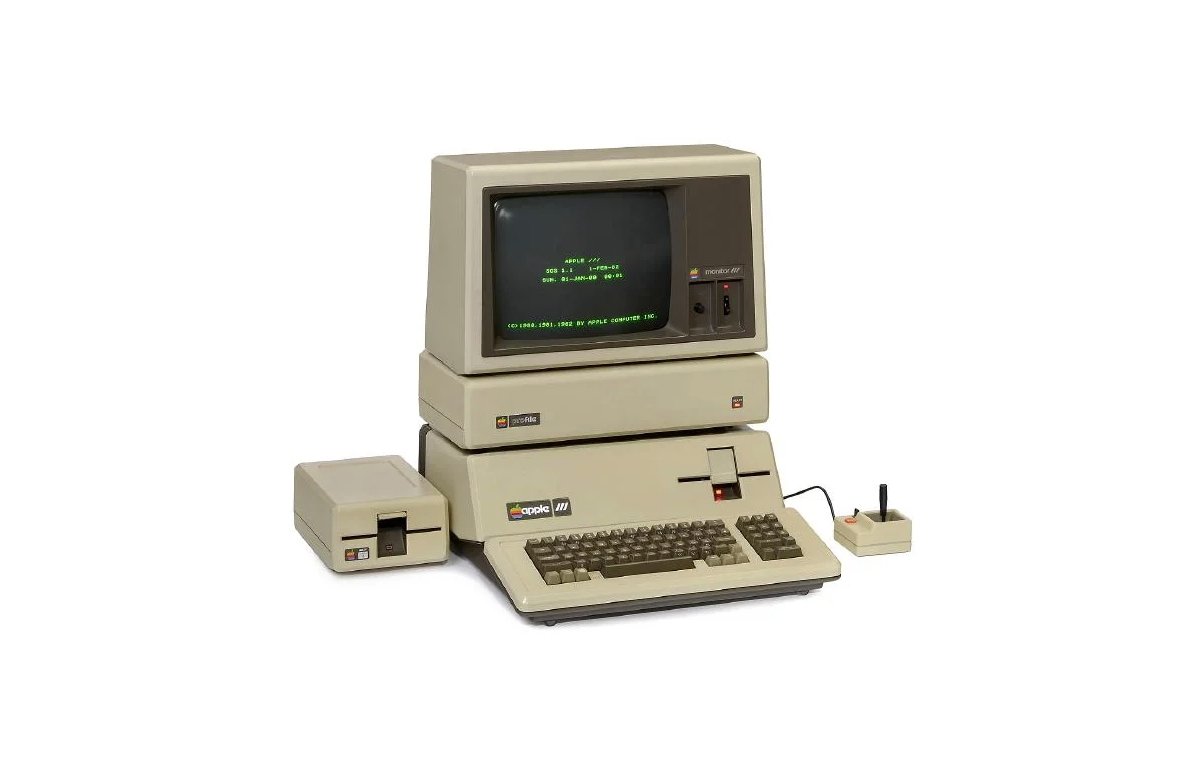
Later Apple released the Apple III – an all-in-one evolution of the Apple II, which was a commercial failure.
There is one definitive Apple III emulator, Sara, but sadly it’s only for older PowerPC-based Macs and has not been updated in close to fifteen years.
Also check out the apple3.org website which has host of info on Apple III computers.
mauseum.net has an interesting Apple III page, but it is German-only.
Kelvin Sherlock has a frontend for MAME featuring many Apple machines including Apple III, but it is still under development.
He also has a newer, partial port of the IIgs toolbox called Golden Gate.
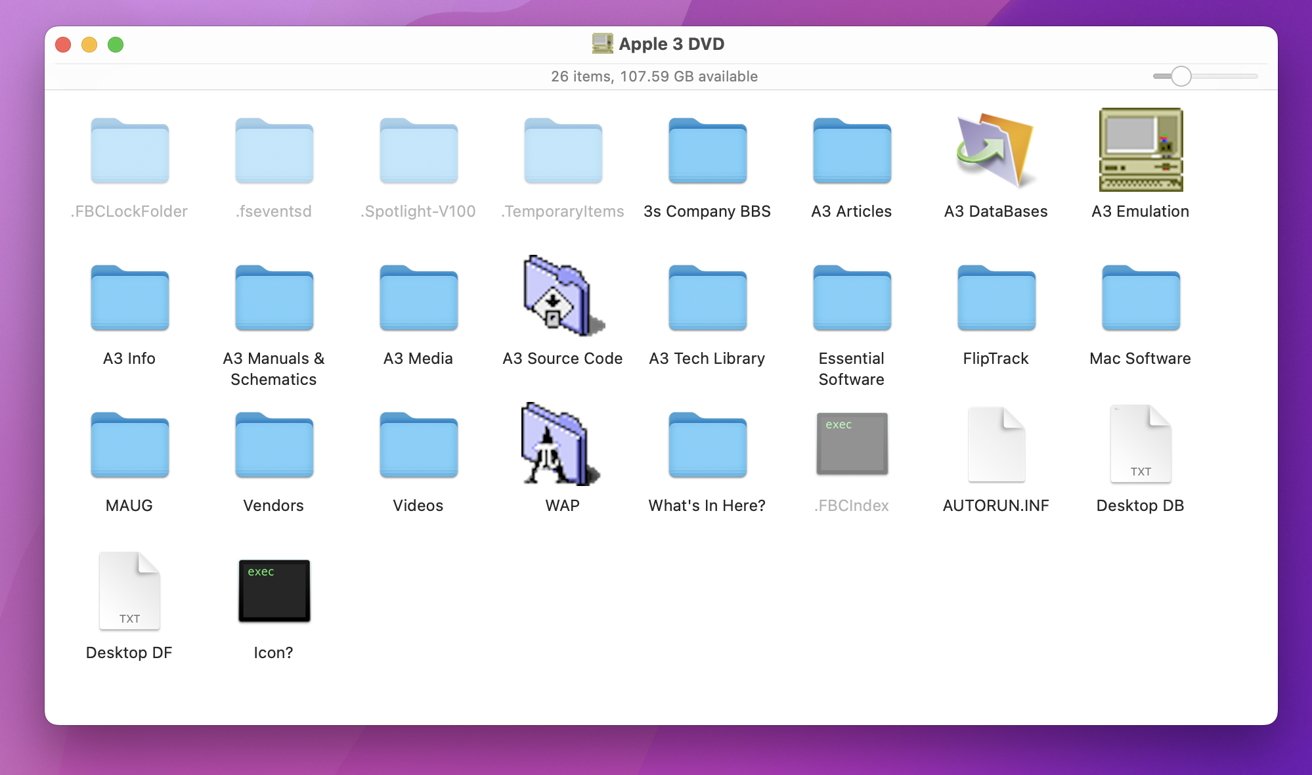
Hidden away on one of Apple’s little-remembered archive servers, ftp.asimov.net is an older Apple III archive now open-sourced called Apple 3 DVD, which includes a copy of Sara and a wide range of documents and utilities:
Apple Lisa
Named after Steve Job’s first daughter, Lisa Brennan-Jobs, the Lisa was too big, too expensive, and was a commercial failure. But its development and technology gave birth to the original Macintosh in 1984. Last week Apple open-sourced all the original Lisa source code and software, including its apps – the Lisa Office System. In fact, most of the Macintosh development at Apple originally was done on a Lisa.
On macOS, there is one definitive Lisa emulator app: LisaEm, by Ray Arachelian. Configuration is fairly easy, and once you have the original Lisa software, you can load it into LisaEm as a disk drive. Cursor movement is a bit sluggish, but this has more to do with the Lisa’s original software than LisaEm itself.
There is one additional Lisa emulator for macOS: IDLE, but it doesn’t appear to run on macOS Ventura.
NeXT
After Steve Jobs left Apple in 1985, he formed a new company, NeXT, which created new computers, and the NeXTStep OS. In 1997 Apple bought NeXT for $700 million and NeXTStep became the foundation for macOS and iOS.
Classic Mac OS
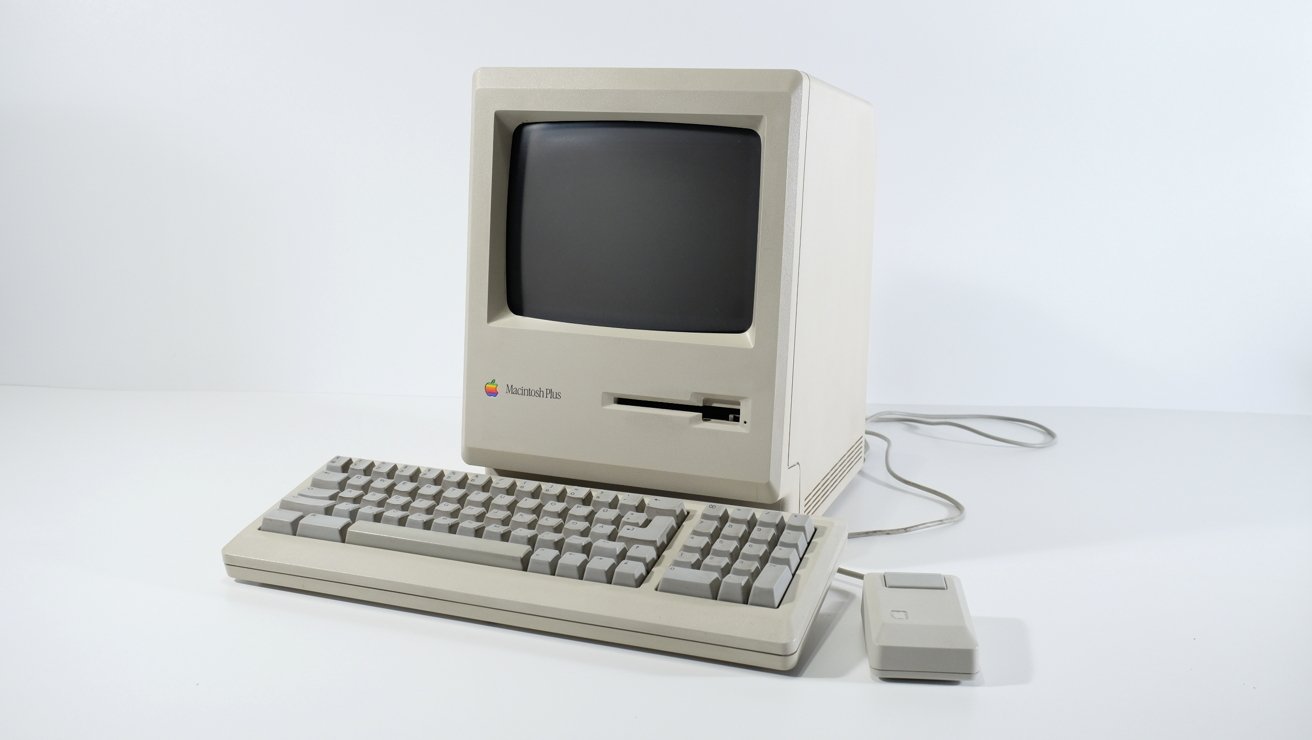
Before macOS and iOS, there was Mac OS 9, and before that Mac OS 8, and before that System 7.x. All of these ran on either 68K or PowerPC-based Macs. MacOS 9.2.x was the last version of Mac OS 9 before Mac OS X was released in 2000.
There are a variety of Classic Mac emulators, including:
Even before System 7 there was the black and white System 6.0.8. Mini vMac is a System 6 emulator, but you will need to find a classic Mac ROM image file in order for it to work.
Also be sure to check out the plethora of classic System 6 software at archive.org.
General Emulators
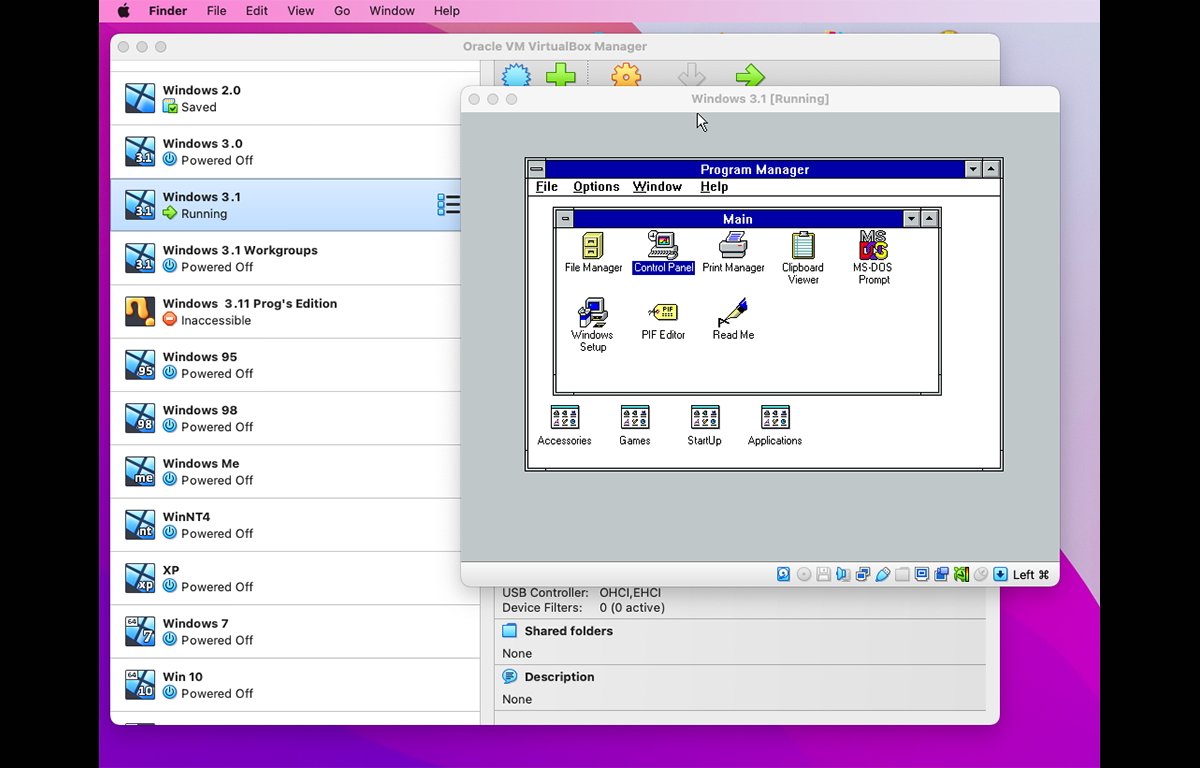
We’ve barely scratched the surface of what’s available in classic emulators for the Mac, but there are two other general emulators: VirtualBox from Oracle, and QEMU (pronounced “Q-ee-mu)”. Both are free, but QEMU is a little more difficult to set up.
VirtualBox is a breeze to use, but quality has declined in recent years and current versions are a bit buggy with missing controls, crashes, and other inexplicable behavior. Still, it’s worth using because it allows you to run a huge number of other OS’es on your Mac.
Using VirtualBox, you can run nearly any version of Windows, Linux, some versions of Android, such as the Android x86 project, old versions of NeXTStep, decades-old versions of BeOS and its modern equivalent, Haiku, some Raspberry Pi operating systems, and Sun‘s Solaris operating system, which is now also part of Oracle.
To use VirtualBox, after installation open it and click “New” at the top of the window. Here you’ll be asked to set up a location for the VirtualBox file for this machine, and to create a Virtual Hard Disk (.vdi) file. You’ll also be asked to choose what type of OS you want to install.
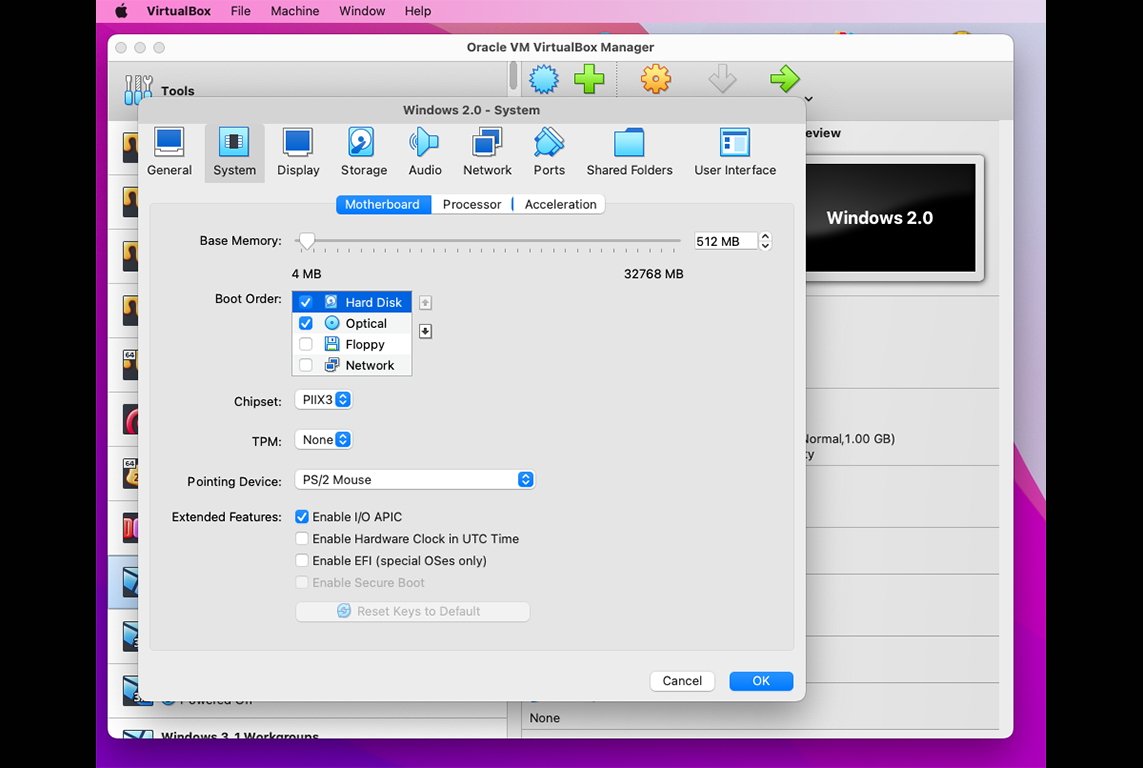
Once everything is set up you can set a downloaded install .iso image as that machine’s CD/DVD ROM drive, set it as the boot drive in “Settings->System”, then start the virtual machine by clicking the “Start” button. The .iso or CD image you selected will be booted and you can install from there.
Once installation is complete, power the virtual machine off, then change the drive boot order by clicking the “Settings->System” button again, then setting the new “Hard Disk” (.vdi file) as the top boot volume by dragging it to the top of the list. The next time you click Start, the machine will boot from the .vdi hard disk you just installed onto.
A few tech notes
Most retro floppy disk formats can now be read and written on most modern Macs and PCs, and there are a number of utilities to use them, or peek inside their contents.
If you have an actual Apple II computer you want to transfer files to, and a Mac, you can use ADTPro, which is software on both ends and which allows you to copy old Apple II files from your Mac to an Apple II over a serial cable.


