

The Google Pixel series comes with a batch of software features, including the handy Magic Eraser camera editing feature.
Taking the perfect picture can be very hard. Whether it’s an unwelcome photo bomber or an object that you just don’t want in the background, it can be hard to craft a photo that you’re actually happy with.
Magic Eraser aims to fix that problem. It was introduced with the Pixel 6 and Pixel 6 Pro and has been a mainstay since, featuring in the Pixel 7 range of handsets too. We also expect that it will make an appearance in the Pixel 8 range of handsets, but we will have to wait until Google’s official announcement to be sure.
So, if you have a compatible handset, then you will want to make sure that you take advantage of this nifty camera trick. If you have a compatible phone and want to learn how to make the most of the Magic Eraser feature then make sure you keep reading, as we’re going to be running through how to use it in just a few simple steps.
What we used
The Short Version
- Open the Google Photos app
- Tap Edit on the photo you want to change
- Tap on tools, and select Magic Eraser
- Either approve the suggested edit, or circle an object manually
- Once complete, save the photo by tapping Done
-
Step
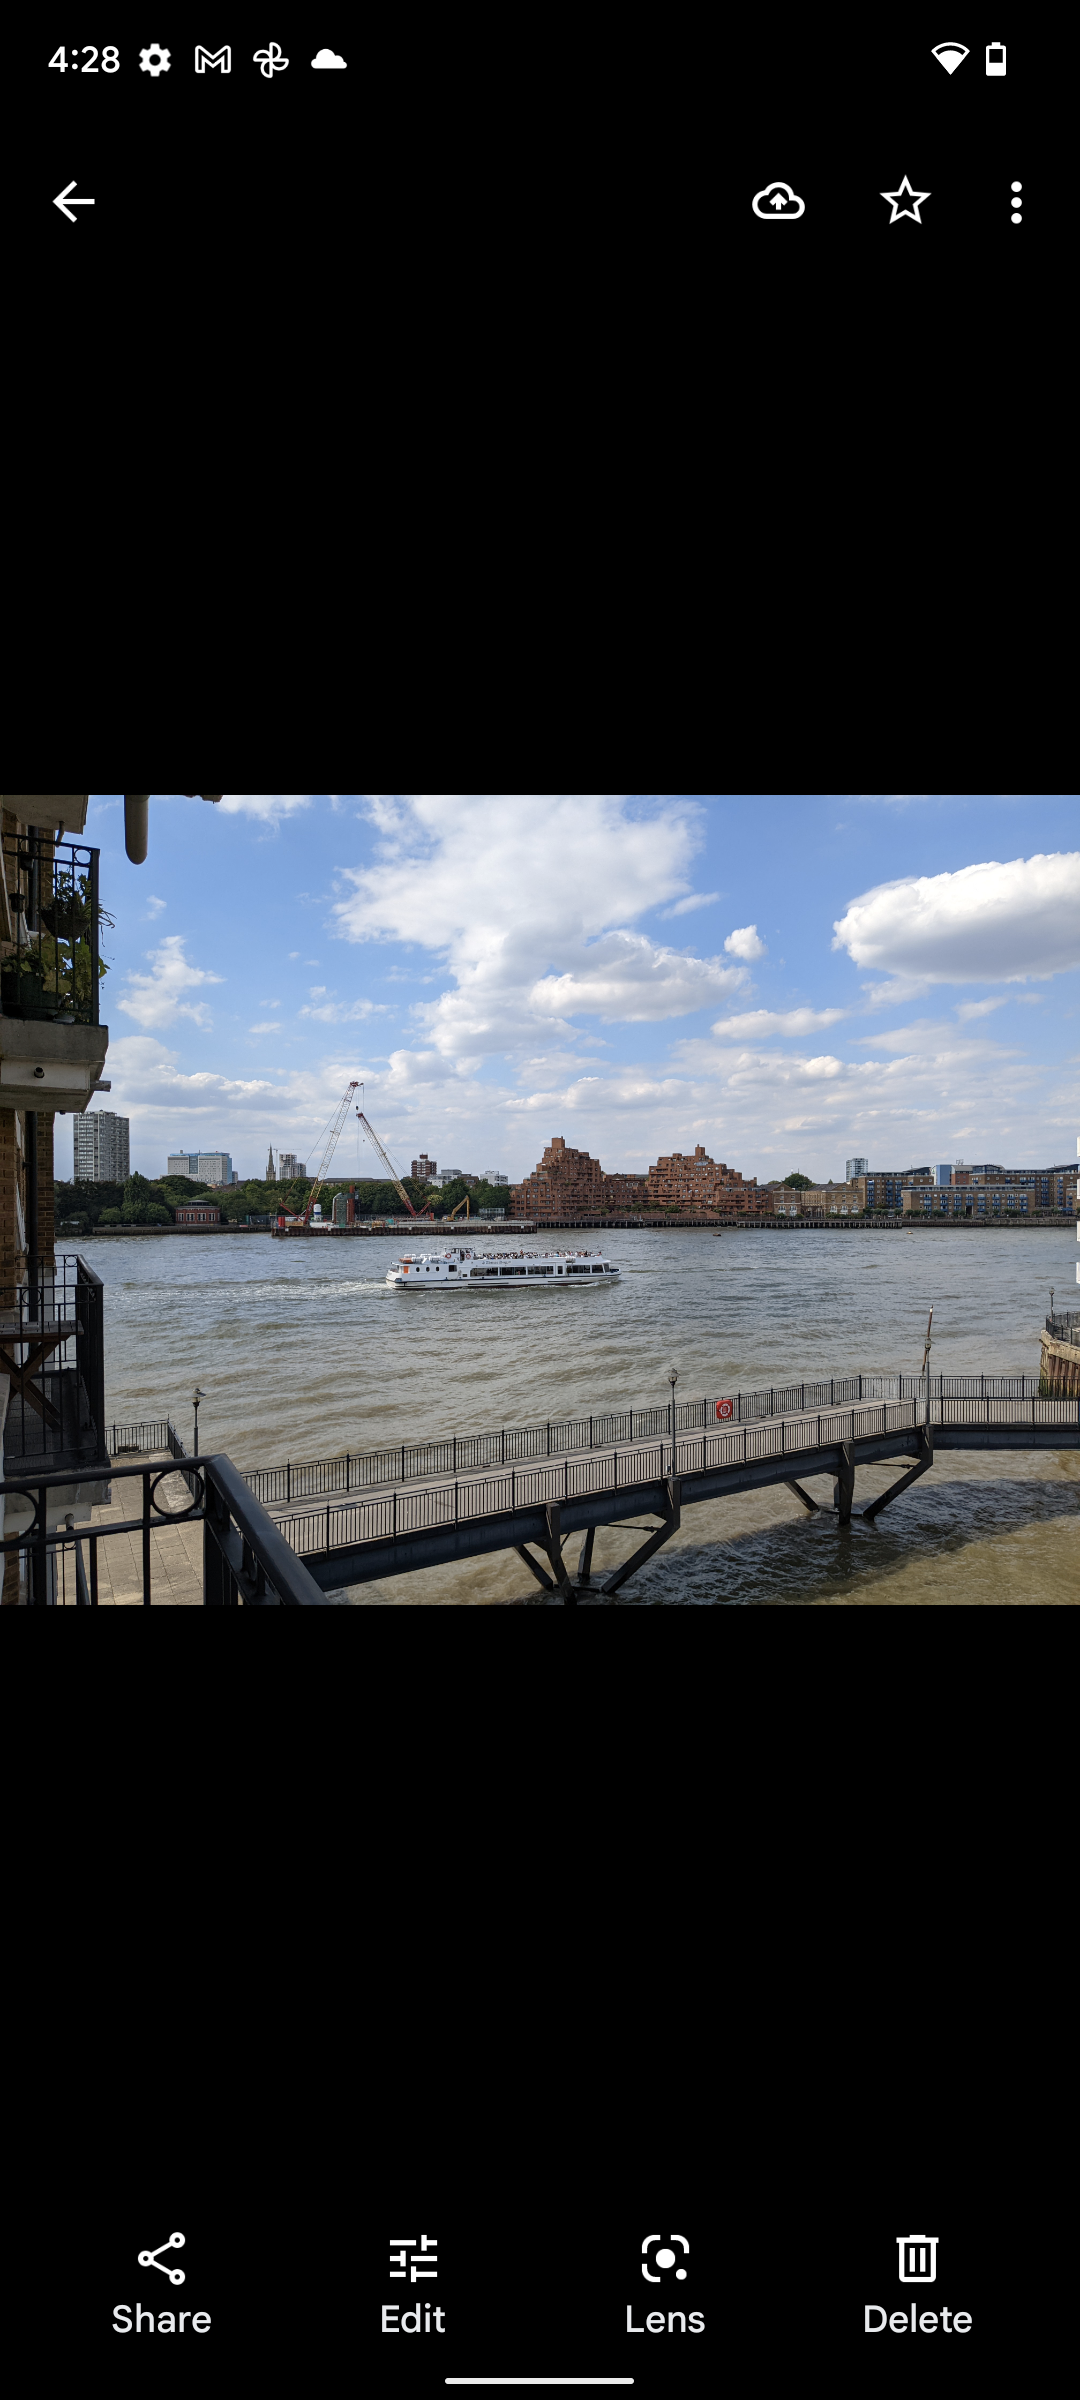
1Open the Google Photos app

First of all, open up the Google Photos app and select the photo you’d like to change. The Google Photos app resembles a paper windmill in colours of yellow, red, green, and blue.
-
Step
2Tap Edit on the photo you want to change
Tap Edit on the image in question, bringing up the editing menu.
-
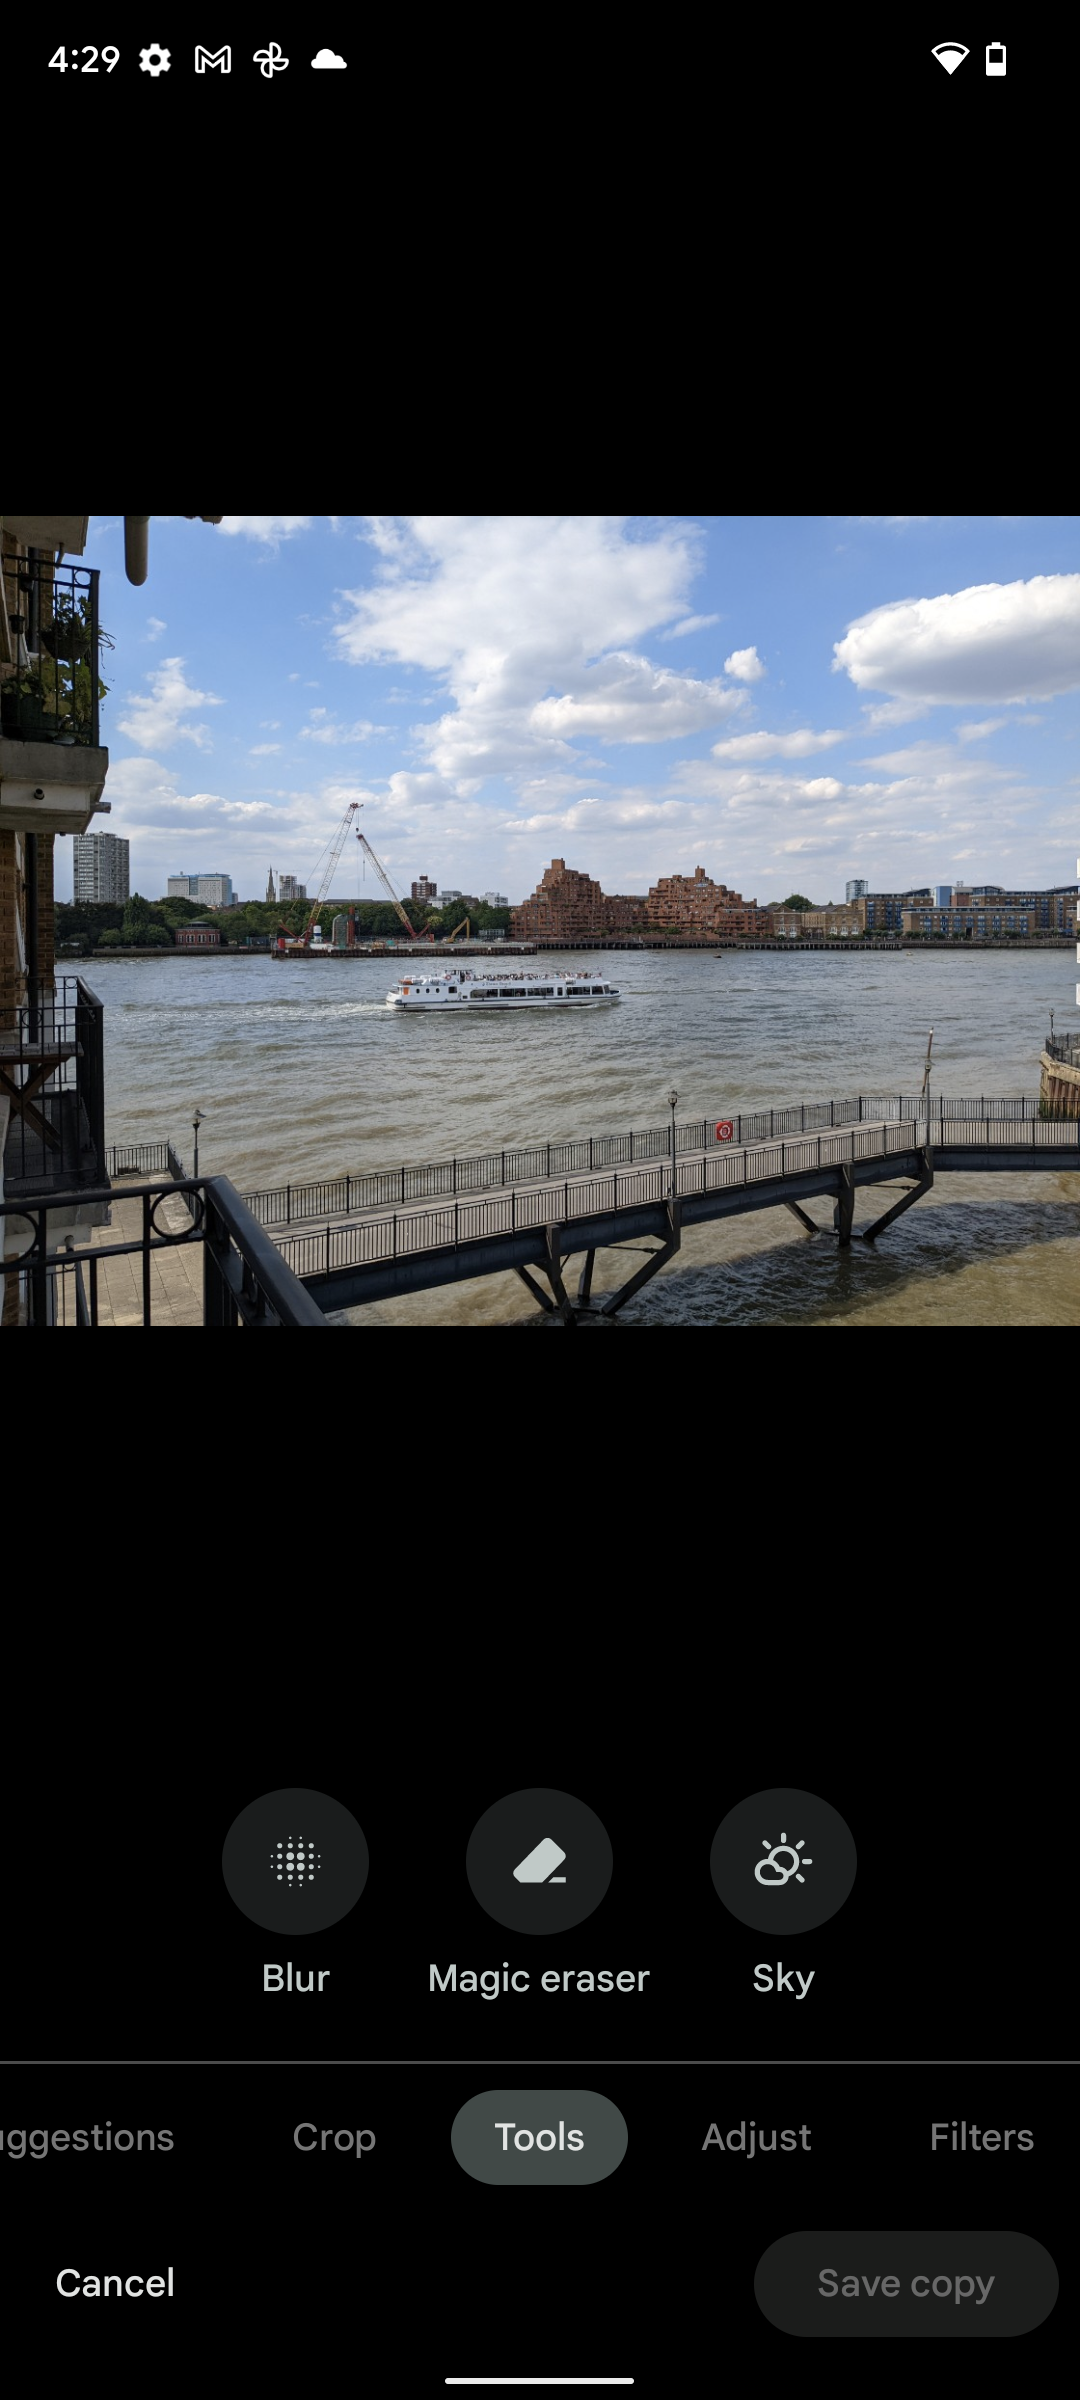
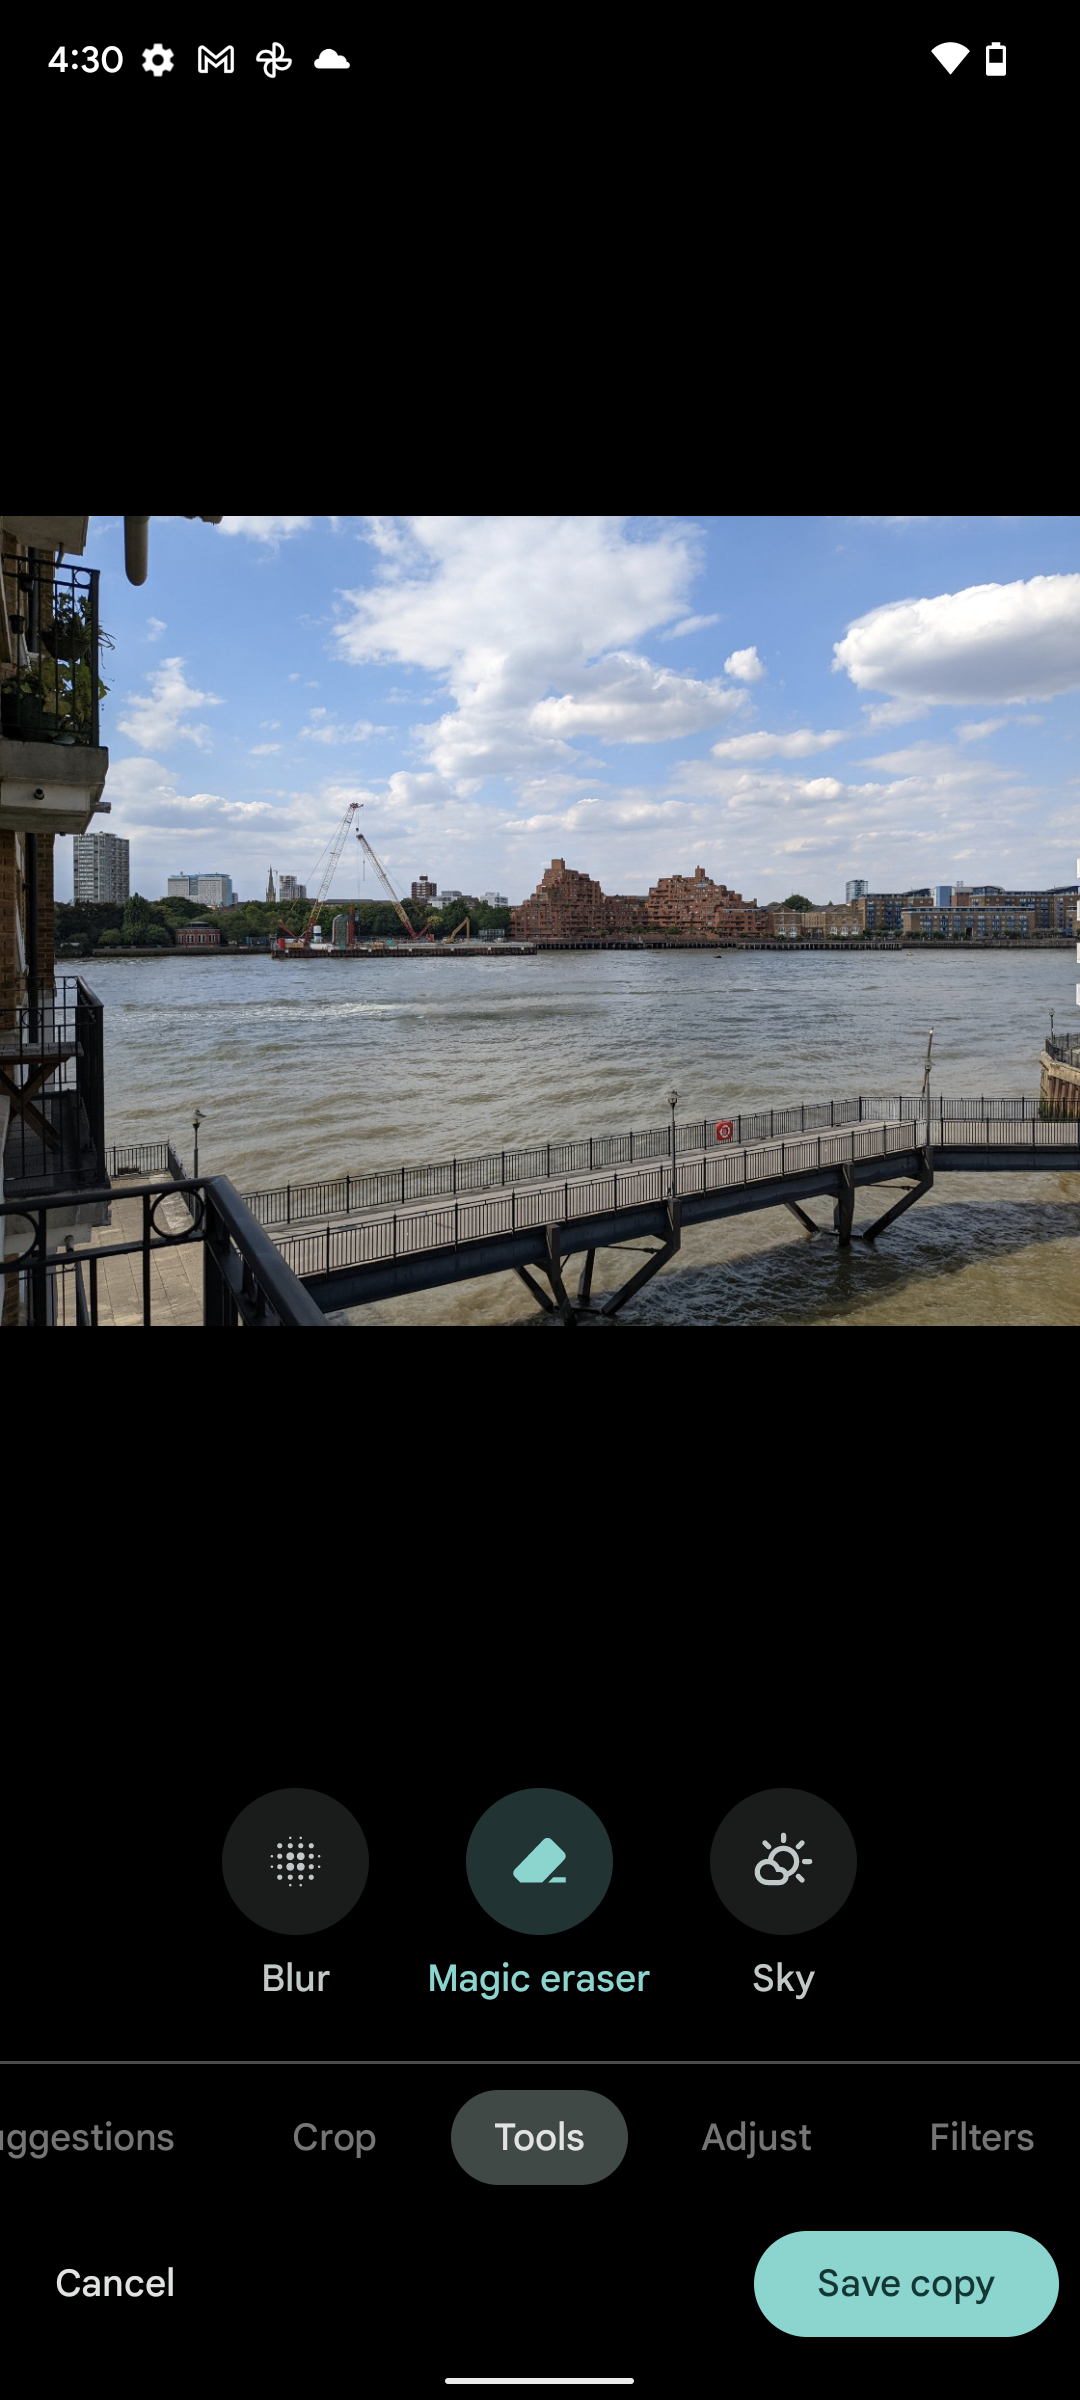
Step
3Scroll across the bottom of the display and you’ll see an option for Tools. Tap on this, and then on Magic Eraser.
-
Step
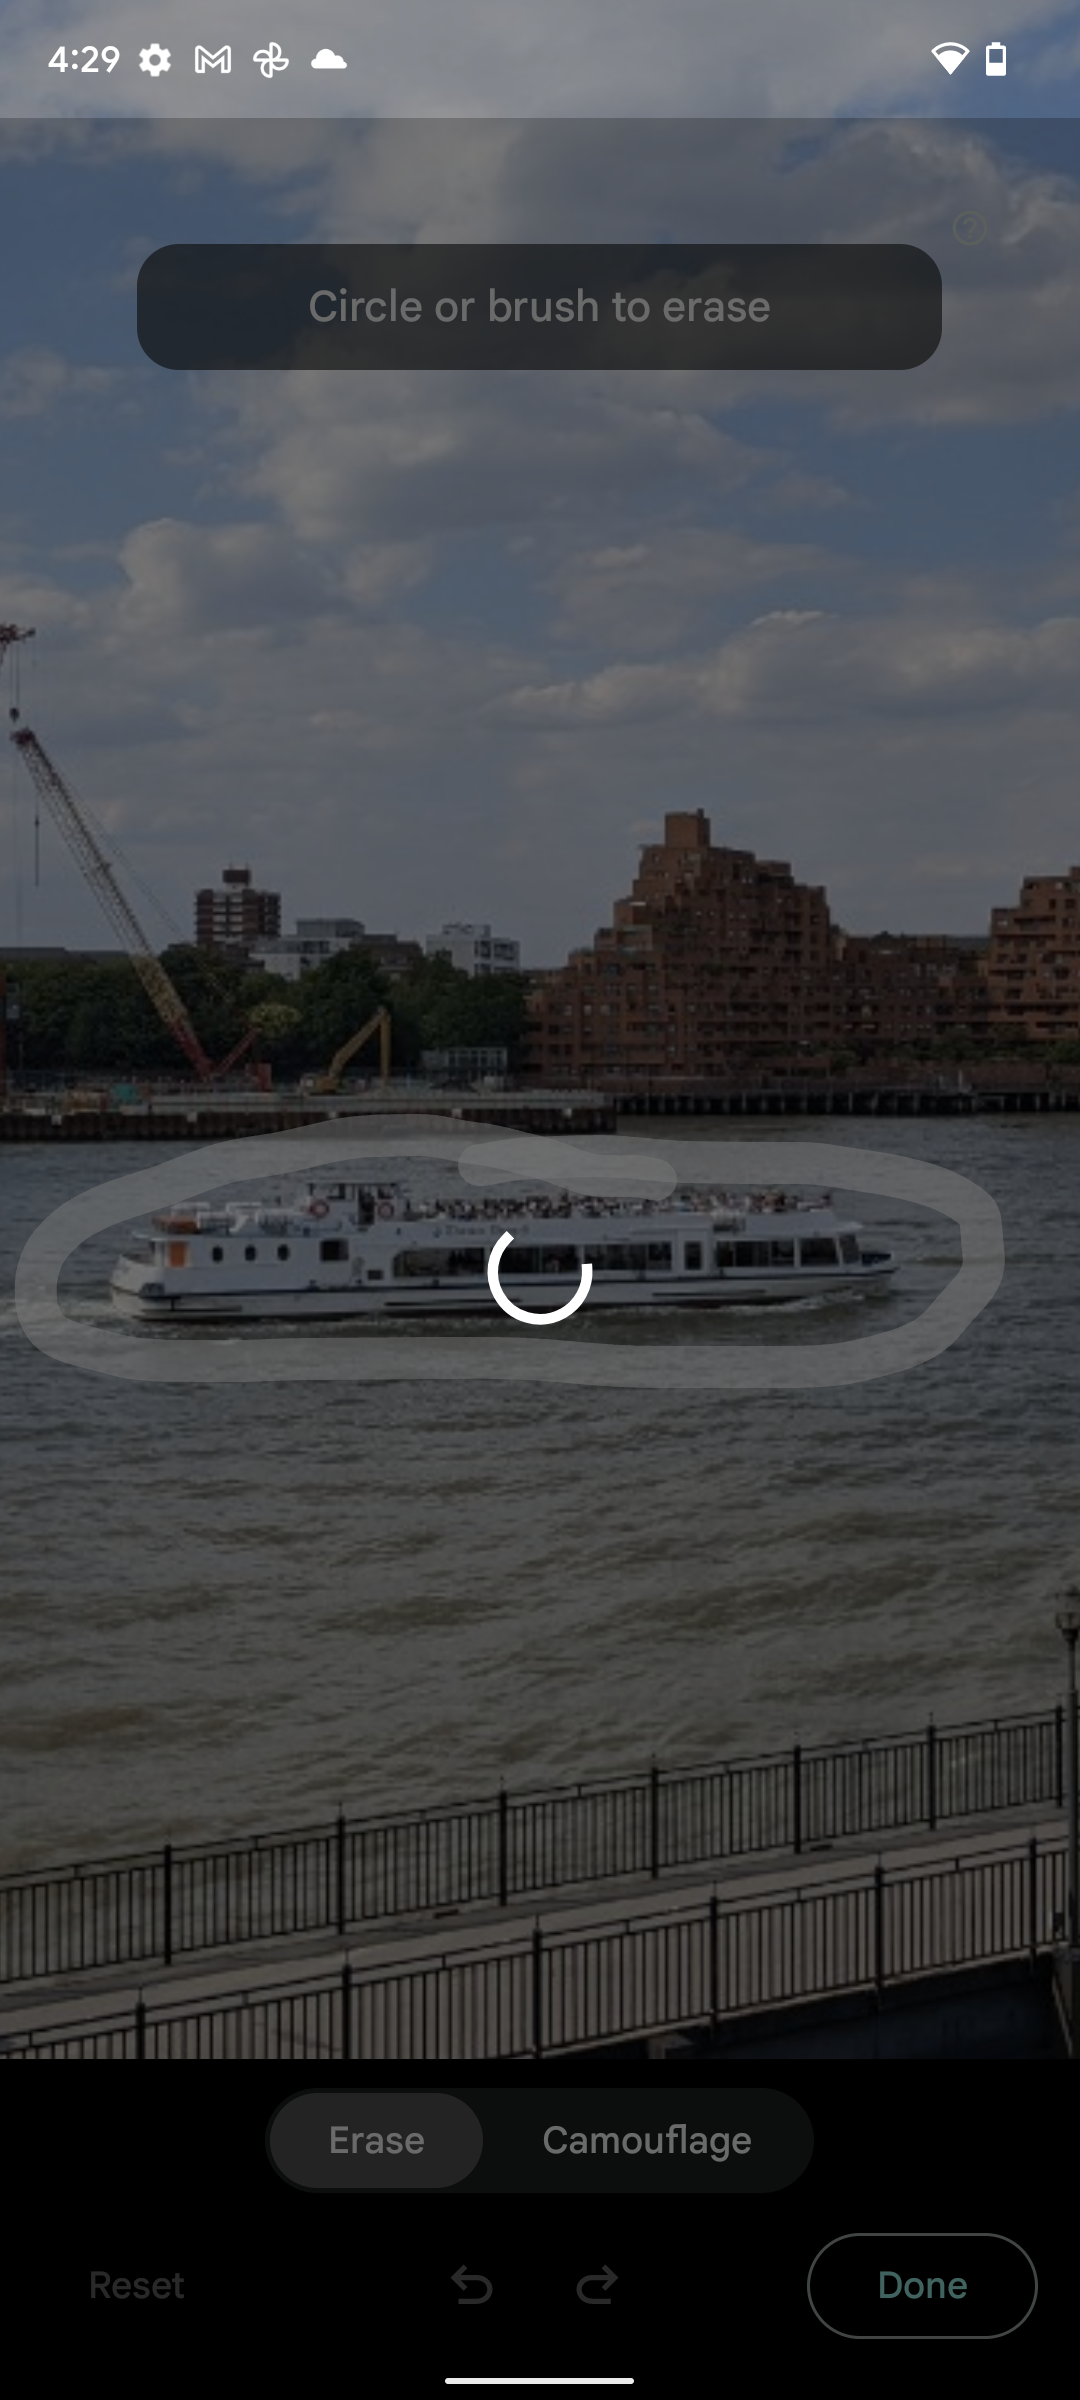
4Either approve the suggested edit, or circle an object manually
When you open the Magic Eraser, you may be given a pre-selected choice of objects to remove. If the object you want to get rid of is highlighted, then you can tap on the outline in order to get rid of it. However, if it’s not already highlighted then you’ll need to draw a circle around the bit you want to lose. This is best done with objects in the background or side of the frame, but we’ll use a large object as a visually clear example.
-
Step
5Once complete, save the photo by tapping Done
Now that the object has been successfully removed, tap Done and then Save Copy to save the new picture.
FAQs
No, currently it’s an exclusive feature to the latest generation of Google Pixel phones
By default, the edited picture will be saved as a copy, so it will not rewrite the original photo. However, if you delete the original picture then you cannot re-insert deleted aspects into the edited photo.


")