OpenAI has added a much-requested feature to ChatGPT that makes the AI chatbot even more useful. Projects in ChatGPT allow you to organize your chats, add project-specific custom instructions, and even upload files that project chats can access.
What Is a “Project” in ChatGPT?
Projects were added to ChatGPT in December 2024, and are a feature that many ChatGPT users have been requesting for some time. ChatGPT projects let you group chats in a single location rather than each chat being independent of all the others. Essentially, they are like folders where you can place chats, but they also offer two other very useful features.
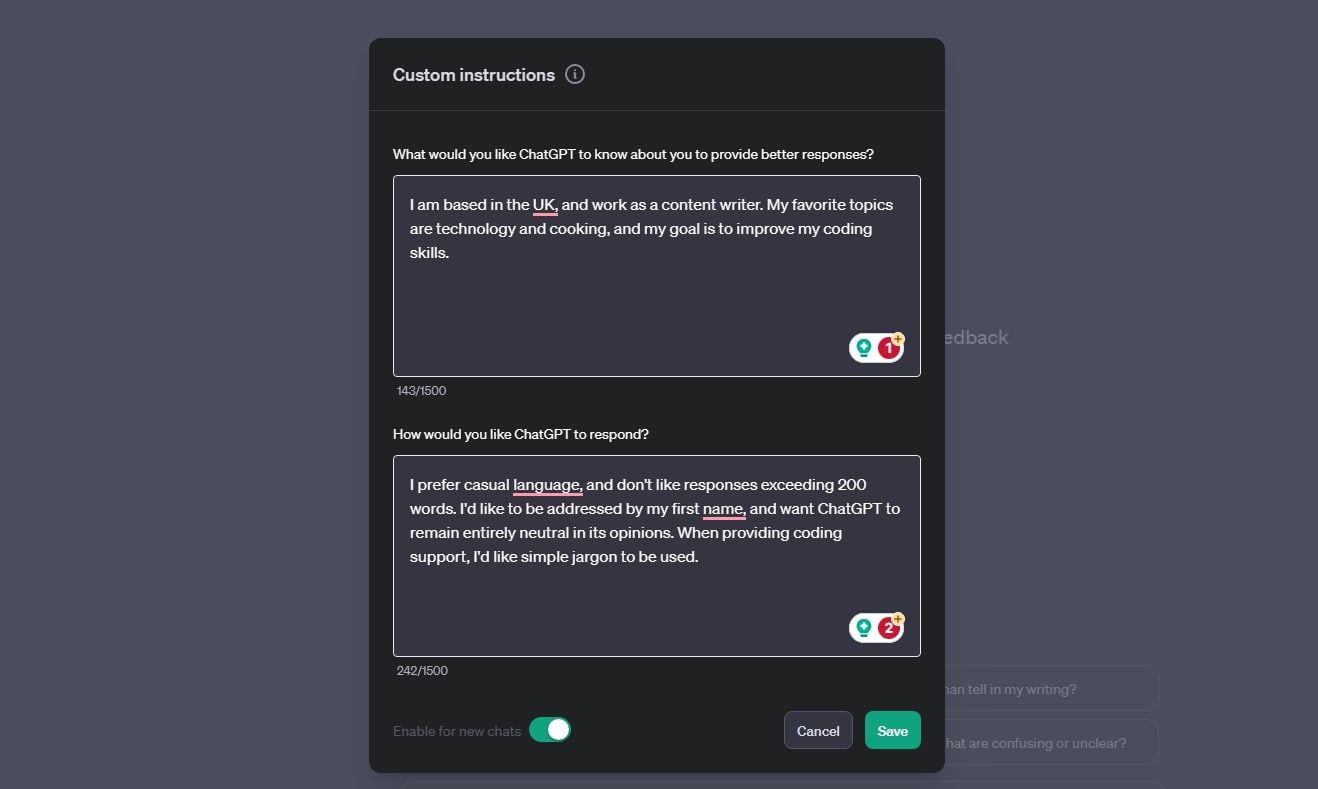
ChatGPT lets you create a set of global custom instructions that are applied to all of your chats within the app. However, you can also create custom instructions for each of your projects that only apply to the chats within that project. Each project can have its own set of custom instructions.
In addition, you can add files to a project which are accessible by all the chats within that project. You can add files such as PDF documents, images, or code files, and any new chats you open within the project will be able to access the content of these files.
Currently, ChatGPT projects are available for ChatGPT Plus, Team, and Pro users. The feature is coming to Enterprise users at some point in 2025. Free users don’t currently have access to projects.
How to Create a Project in ChatGPT
Currently, the only way to create a new project is by using ChatGPT in a browser or the ChatGPT Windows app. It’s not possible to create new projects in the ChatGPT mobile or macOS apps. However, once you’ve created projects, you can access them in any ChatGPT app.
Sign in to ChatGPT on the web or in the ChatGPT Windows app. Hover over “Projects” in the left-hand pane and click the “+” (plus) icon. Give your project a unique name and click the “Create Project” button. Your new project is created and will appear in the left-hand pane across all of your ChatGPT apps.
How to Add Custom Instructions to a Project
Once you’ve created your project, you’ll see the project page for your new creation. This is where all the chats for your project are found, and where you can start a new chat within the project. You also have two buttons that allow you to add files to the project and add custom instructions.
Custom instructions let you set up specific rules that only apply to chats within the project. For example, if you’re creating a project for vacation planning, you can add some instructions to tell ChatGPT to only consider options that are suitable for someone on a limited budget, and that you prefer locations that aren’t too touristy.
Click the “Add Instructions” button. Enter the instructions that you want all chats within your project to follow. You can add multiple instructions. Tap “Save”, and the instructions will be applied to all future chats within your project. You can edit the instructions at any time by clicking “Instructions” on the project page.
How to Add Files to a Project in ChatGPT
As well as adding custom instructions to a project, you can also upload files. These files can be accessed by any chats within the project but won’t be accessible to chats that are in other projects or general chats that are not part of any project. You can add multiple files to your projects.
Click “Add Files” on the main screen of your project. Drag and drop files into the “Project Files” window or click the “Add Files” button and navigate to the location of your file. You can repeat the process to add further files to your project. When you’re done, click the X icon to close the “Project Files” window. You can add further files or remove unwanted files at any time by clicking “Project Files.”
How to Add Existing Chats to a Project
You can add any chat from your ChatGPT history to a project. This is an effective way to keep your chat history organized and make it easier to find the chats that you want. Chats can only appear in one project at a time, and as with creating projects, you can only move chats into a project on the ChatGPT web or Windows apps.
Hover over a chat that you want to add to a project and click the three-dot menu icon. Hover over “Add to Project” and select the project that you want to add the chat to. The chat will now appear in the main project window.
To remove a chat from a project, or move it to a different project, hover over the chat, and click the three-dot menu icon. Select “Move to Project” to move it to another project, or “Remove from [Project Name]” to remove it from the current project and return it to the list of general chats.
You can also add chats to a Project by opening the Project and dragging and dropping the chats from the left-hand pane into the Project window.
How to Delete Projects in ChatGPT
If you no longer need a project, you can delete the entire thing, which will remove the custom instructions, any uploaded files, and all the chats within the project. If you want to keep any of the chats, you should move them out of the project using the instructions in the section above before you delete the project.
Hover over the project you want to delete in the left-hand pane and click the three-dot menu icon. Select “Delete Project.” If you’re sure you want to delete the project and all of its contents, click “Delete Project” to confirm. Your project is now deleted.
The Benefits of Using ChatGPT Projects
Using projects in ChatGPT is a great way to organize all your chats, especially if you use ChatGPT a lot. Finding previous chats can be a chore, but by putting them into projects it makes it easier to find them quickly.
Being able to add custom instructions to a project is also incredibly useful. You can create custom instructions for the whole of ChatGPT, but there may be some circumstances where you want a different set of instructions to be followed. Using projects lets you create as many sets of custom instructions as you want.
The ability to upload files to projects is also really helpful, since any chats within the project can access those files. Instead of having to upload the same files to every new chat, you can upload them once in a project, and all new chats will be able to reference those files.
What ChatGPT Projects Can’t Do
Projects in ChatGPT do have some limitations. Currently, it’s only possible to use GPT-4o for projects; you’re not able to select any of the other models. If you want to use OpenAI’s o1 model within a project, for example, then you’re out of luck; any existing chats that used other models that you add to a project will automatically use GPT-4o for any further conversation turns.
It’s also a little frustrating that you’re not able to create and manage projects from the mobile or macOS apps. If you don’t have the ChatGPT Windows app, your only option is to use the web app to create your projects. You can use the projects on mobile once you’ve created them, however.
The introduction of projects to ChatGPT is a very welcome addition. Not only is it a great organizational tool, but the ability to add custom instructions and files to projects makes it even more useful. You can in effect create your own custom GPTs for specific tasks that will follow different instructions and have access to different data to the rest of the app. Hopefully, support for creating projects on mobile and macOS will arrive in the future.


