

If you’re anything like us, then your smartphone is a huge part of your life. That unassuming oblong keeps you in contact with your friends, plays fun games, shows you videos, and so much more. But you can get too much of a good thing. If you’re beginning to think that some of the time you spend on your phone could be better spent elsewhere, then you’re certainly not alone.
Thankfully, there are now some easy ways to monitor and cut down on your smartphone usage, should you so wish. Since iOS 12, Apple has included a little tool called Screen Time. Hidden away inside your iPhone’s Settings menu, Screen Time keeps track of how much time you spend on your phone, how much is spent in specific apps, and even how many times you pick up your phone every day. Using Screen Time to its fullest potential can take a little willpower, but it’s easy to get started. Here’s how!
Setting up Screen Time and monitoring usage
Setting up Screen Time is really easy.
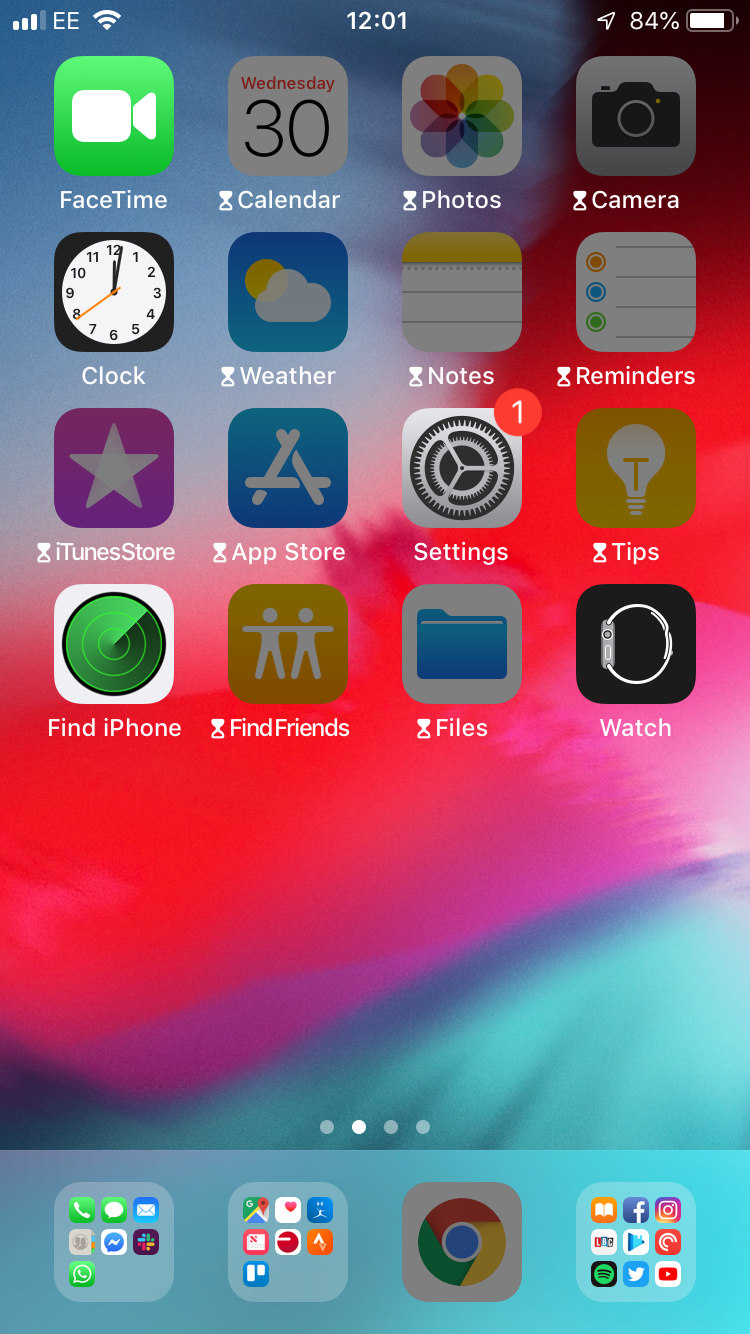
Step 1: Head to your Settings app.
Step 2: Scroll down and hit Screen Time.
Step 3: Select Turn on Screen Time, followed by Continue.
Step 4: You’ll be asked to confirm whether this is your own phone or whether it’s a child’s phone — we’ll cover parental controls later.
Step 5: That’s it — Screen Time is on, and it’ll start monitoring your usage from this point on. If you want to set up a passcode for your Screen Time settings, head back to Settings > Screen Time, then scroll down and tap Use Screen Time passcode. Then enter a four-character numeric code. You’ll then need to enter the code to change any limits you set.
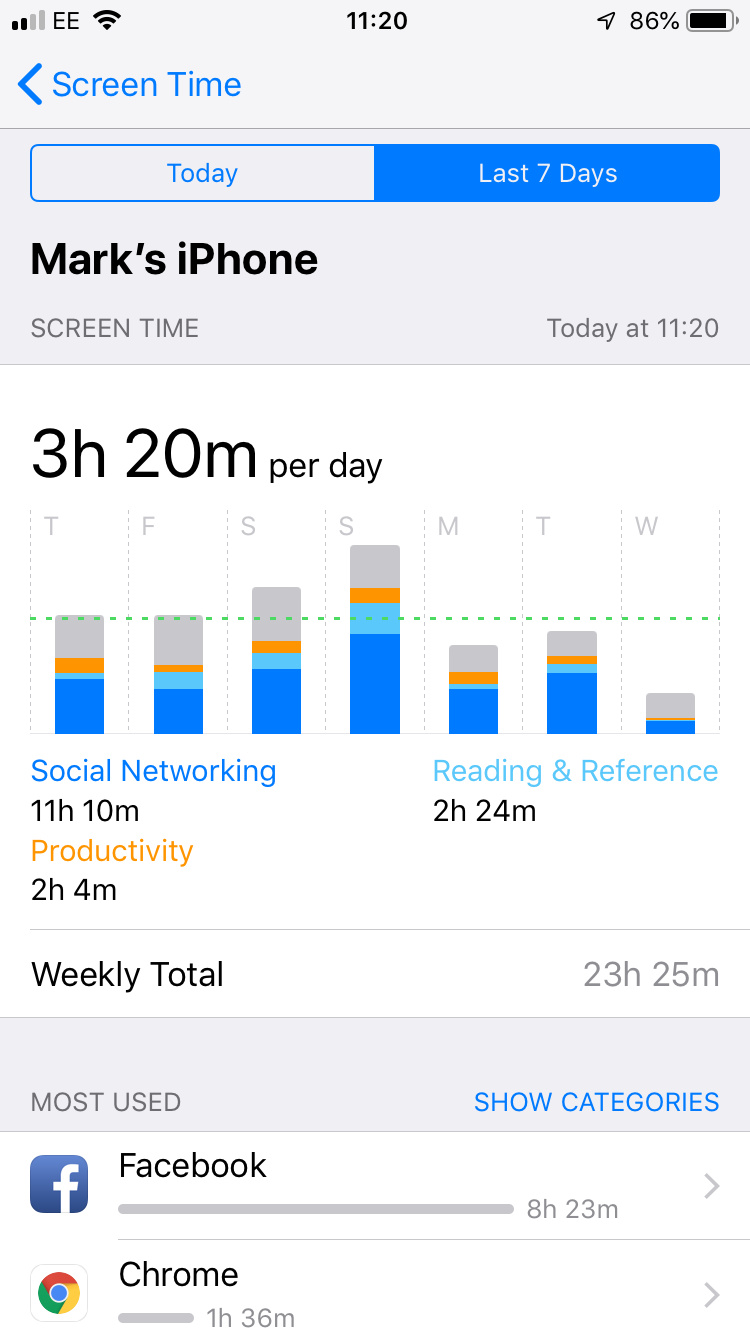
If you want to look at your Screen Time data, open Screen Time from Settings, and then tap See all activity to open the full report on your stats. From here, you can see when you used your phone, on which apps, and for how long. You can also see how the overall time you spent on your phone compares to the average. Scrolling down, you can even check how many times you’ve picked up your phone and how many notifications you received.
How to use Screen Time to limit specific app types
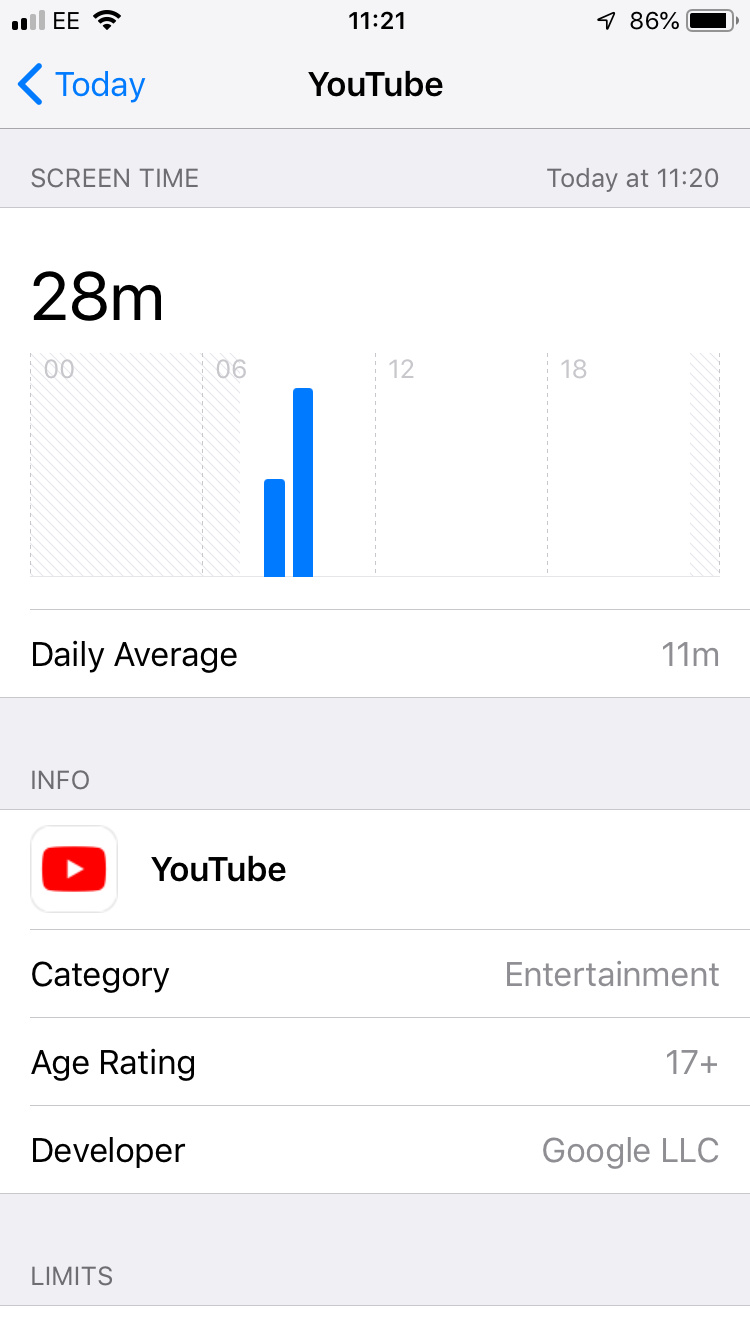
It’s all very well and good knowing you’ve wasted several hours of your life on YouTube, but what can you actually do with that information? Well, if you notice you’re spending too much time on social media, games, or any other sort of app, then you can use Screen Time to set a daily time limit on specific app categories.
It’s simple to set up app limits.
Step 1: Start by heading to your Screen Time app at Settings > Screen Time.
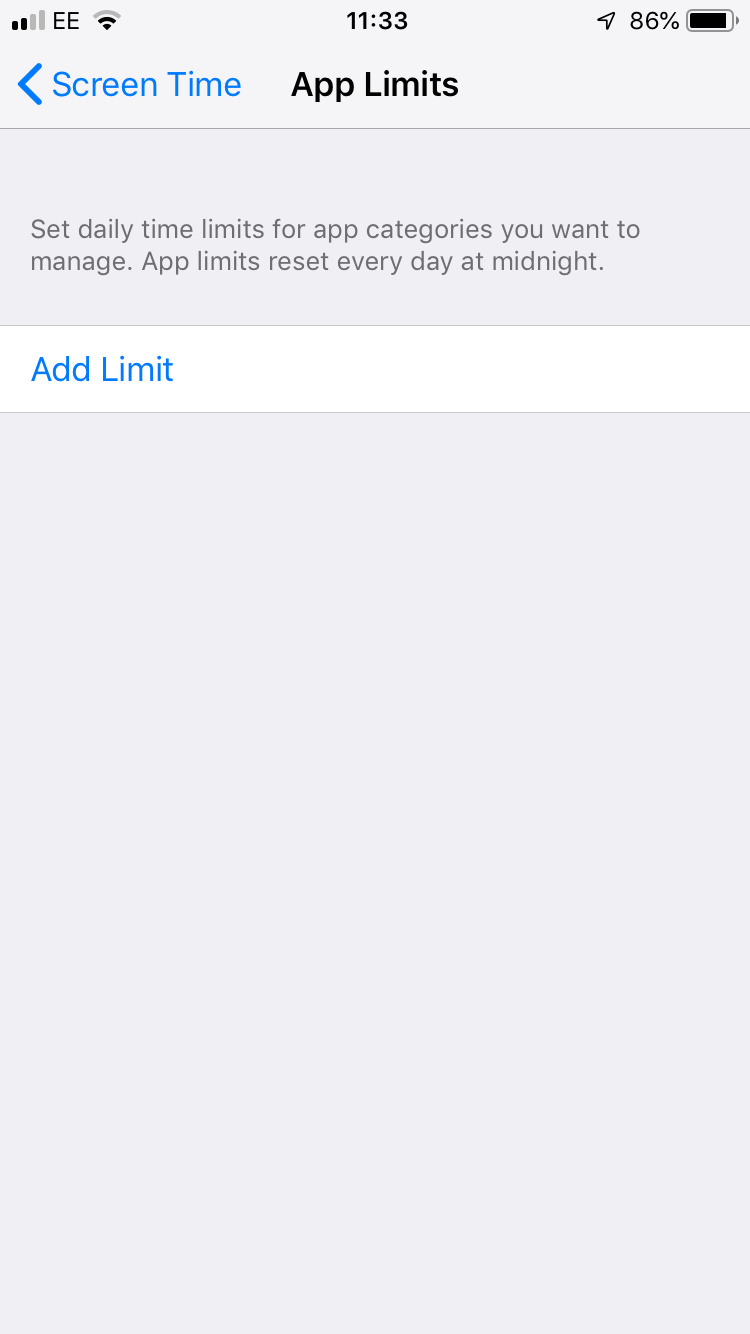
Step 2: Then select App limits, and then Add limit.
Step 3: From the list of categories available, choose the one you want to set a limit for, and hit Next.
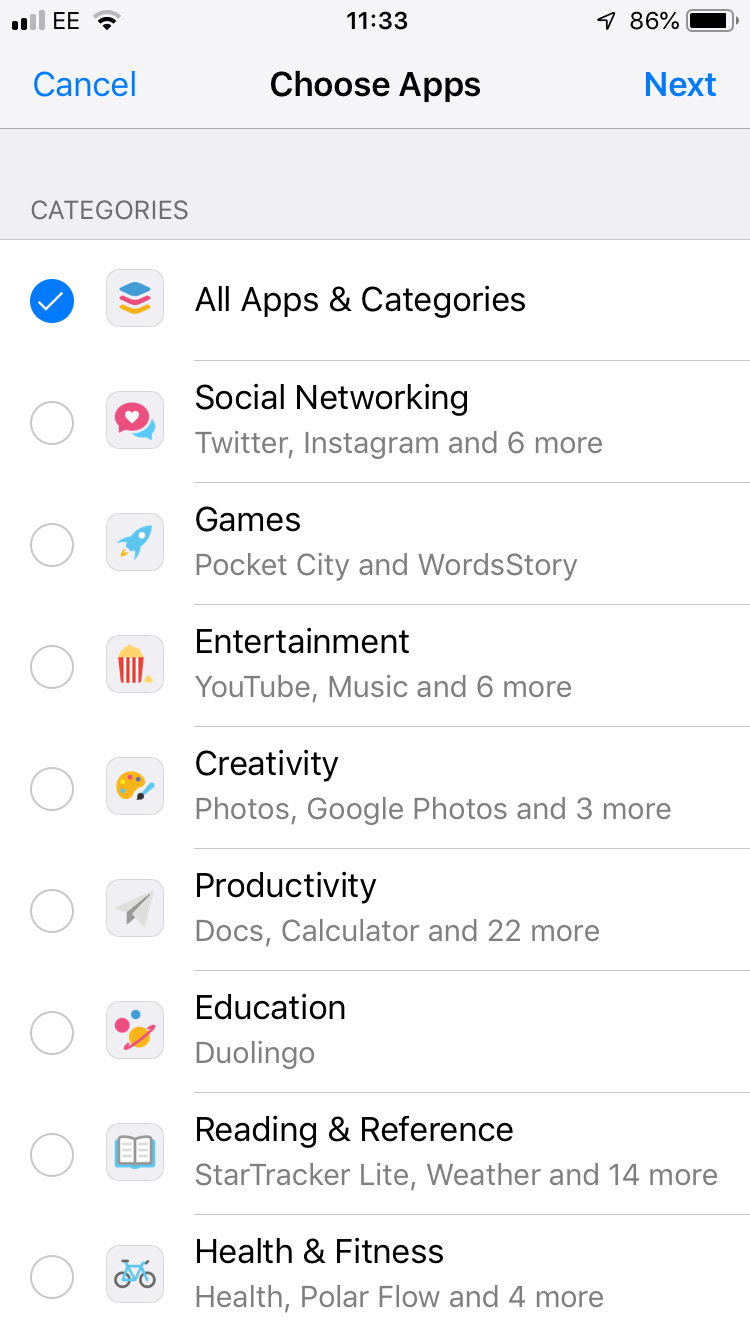
Step 4: Set your timer, and select Add.
Your timer now appears on the App limits list, and Screen Time will alert you whenever you’re approaching your daily limit for that category. When you hit the wall, Screen Time will let you know with a full-screen notification. Here’s where willpower comes in, though, because you can choose to ignore the limit for today or give yourself a 15-minute extension. Like Android’s Digital Wellbeing, Apple’s Screen Time allows you to set daily limits for specific apps and entire app categories.
How to use Downtime and Always Allow
Instead of applying a hard limit to your app usage, you can instead use Screen Time’s Downtime option to set a blanket ban on most apps during a certain time period.
Step 1: Again, your first step is to head to Settings > Screen Time.
Step 2: Then select Downtime, and toggle the switch to turn it on.
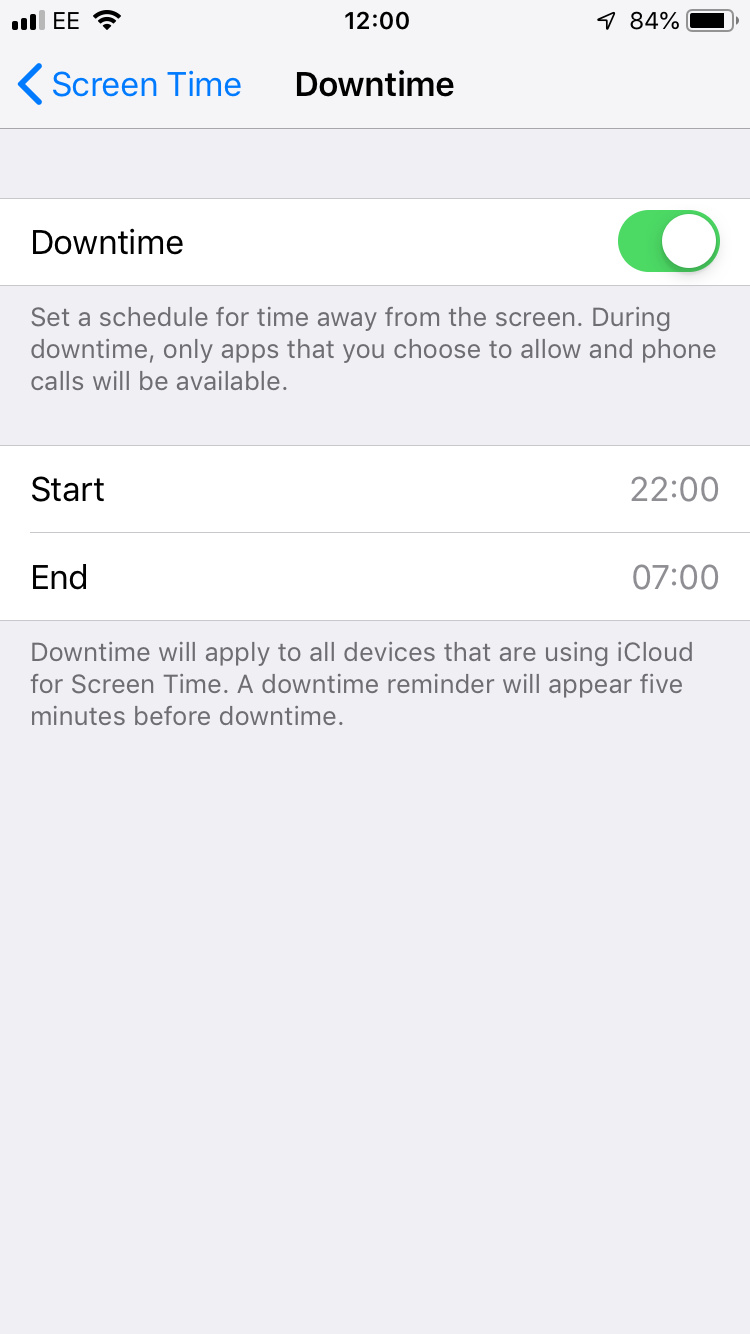
Step 3: Set your start and end times — whether that’s bedtime or a specific “no phone” time.
While Downtime is active, you will only be able to use a small number of stock apps on your phone. Phone calls will be allowed through, but you’ll need to manually flag apps as Always allowed to access them.
Step 4: Select Always allowed on Screen Time’s main menu.
Step 5: Find the app(s) you want to access during Downtime and select the green “+” icon to add it to the list of exceptions.
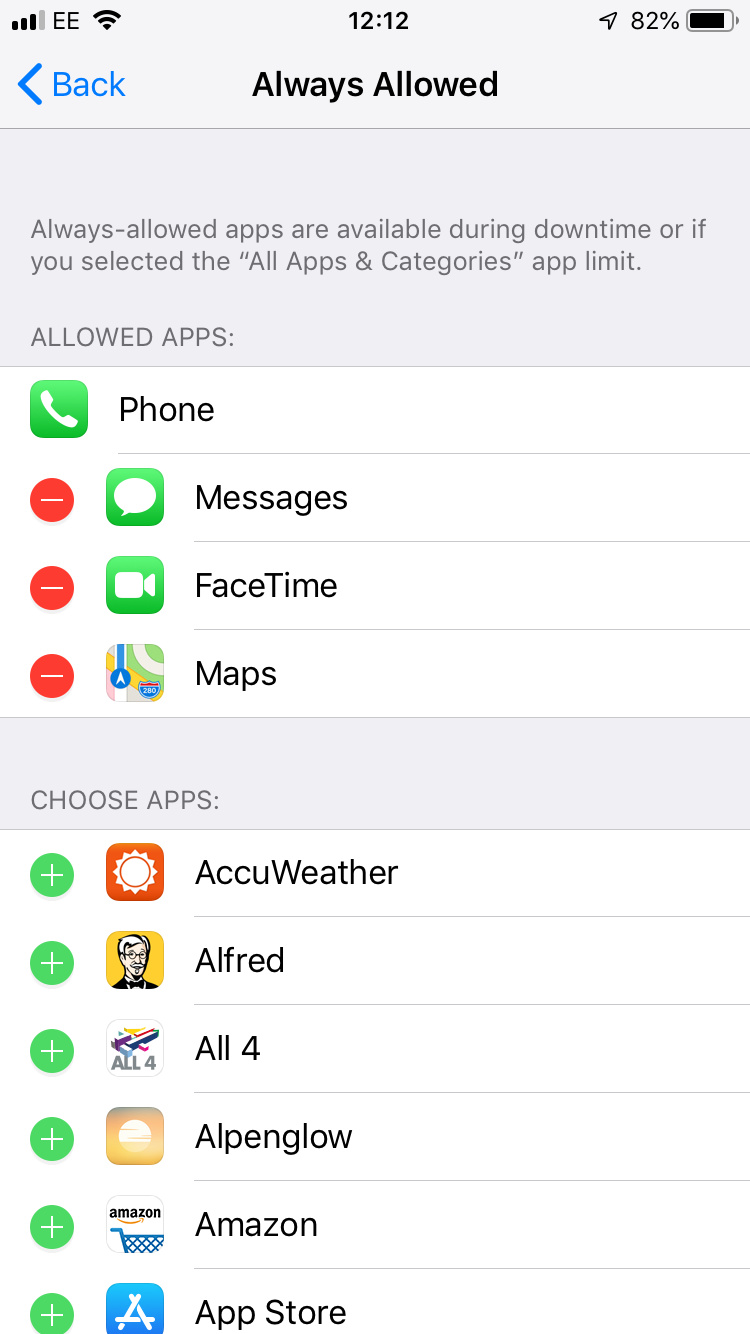
Step 6: To remove an allowed app, select the red “-,” then confirm by using the Remove button.
Creating and managing a child’s account with Screen Time
There are a bunch of great parental control apps out there, but Screen Time is a good way to keep an eye on how much your child is using their iOS device, what they’re using it for, and locking down unauthorized purchases or otherwise.
Step 1: Head to Screen Time, then hit Screen Time for family.
Step 2: You’ll then either have to sign in to your child’s existing Apple ID or create a new one.
Step 3: After you’ve done that, select your child’s name on your Screen Time menu. Enable Screen Time for your child’s account.
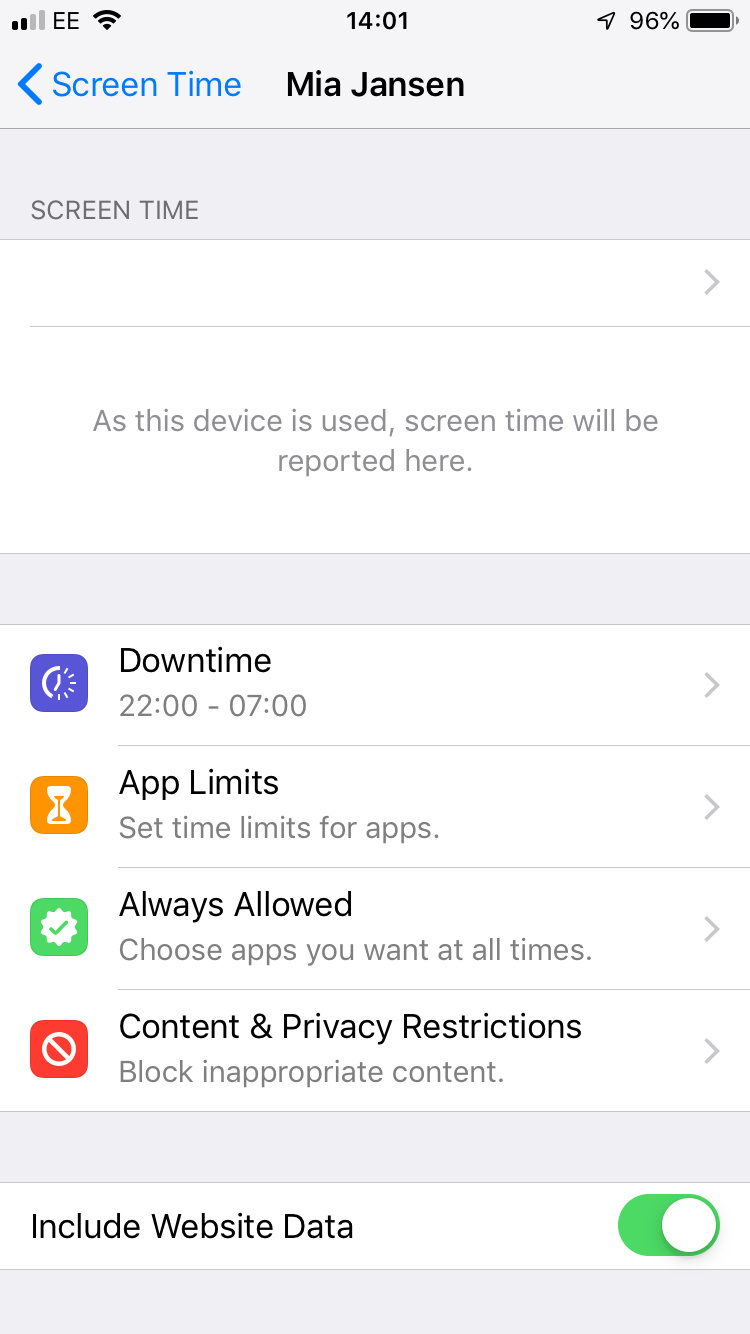
Step 4: From here, you will be able to use Screen Time to see the same stats you’re able to see in your own account, including the apps being used and how long for. You can set Downtime restrictions or daily limits. But rather than ignoring the request themselves, a child will only be able to request more time when a daily limit has been reached. That request will then arrive on a parent’s phone as a notification.
Step 5: One of the most interesting controls in Screen Time is found in Content & privacy restrictions. While there are too many options to really list, in short, this gives you control over whether your child is allowed to purchase from iTunes or the App Store, whether they can access explicit music, videos, or podcasts, and lockout movies, books, or TV shows above a certain rating. It even allows you to shut off multiplayer games or explicit web results. This is definitely worth looking into if you’re a parent who’s concerned about the internet.

Editors’ Recommendations


