

Adobe’s clone stamp is one of the easiest ways to retouch an image quickly and seamlessly. Keep reading to learn how to use this convenient Photoshop tool.
The clone stamp allows you to select an area of your image and copy those pixels before pasting them in a different spot. This makes it ideal for covering blemishes, removing unwanted objects and cloning small details – such as flowers or stars – to place them elsewhere.
You can even use the tool as a brush to replicate textures from one section of your image to another and fill larger areas with a few swipes.
Scroll down for our step-by-step guide on how to use the clone stamp in Photoshop.

Save up to £340 on an Anker portable power station
Anker is still offering huge savings of up to £340 on its portable power stations, but not for much longer.
- Anker
- Save up to £340
- Extra savings with cashback
What you’ll need:
- Adobe Photoshop
- A Creative Cloud subscription
The Short Version
- Open your image in Photoshop
- Select the clone stamp tool
- Adjust the size and settings of the stamp
- Hold Alt and click on the area you want to clone
- Click or brush over the area you want to stamp
How to use the clone stamp in Photoshop
-
Step
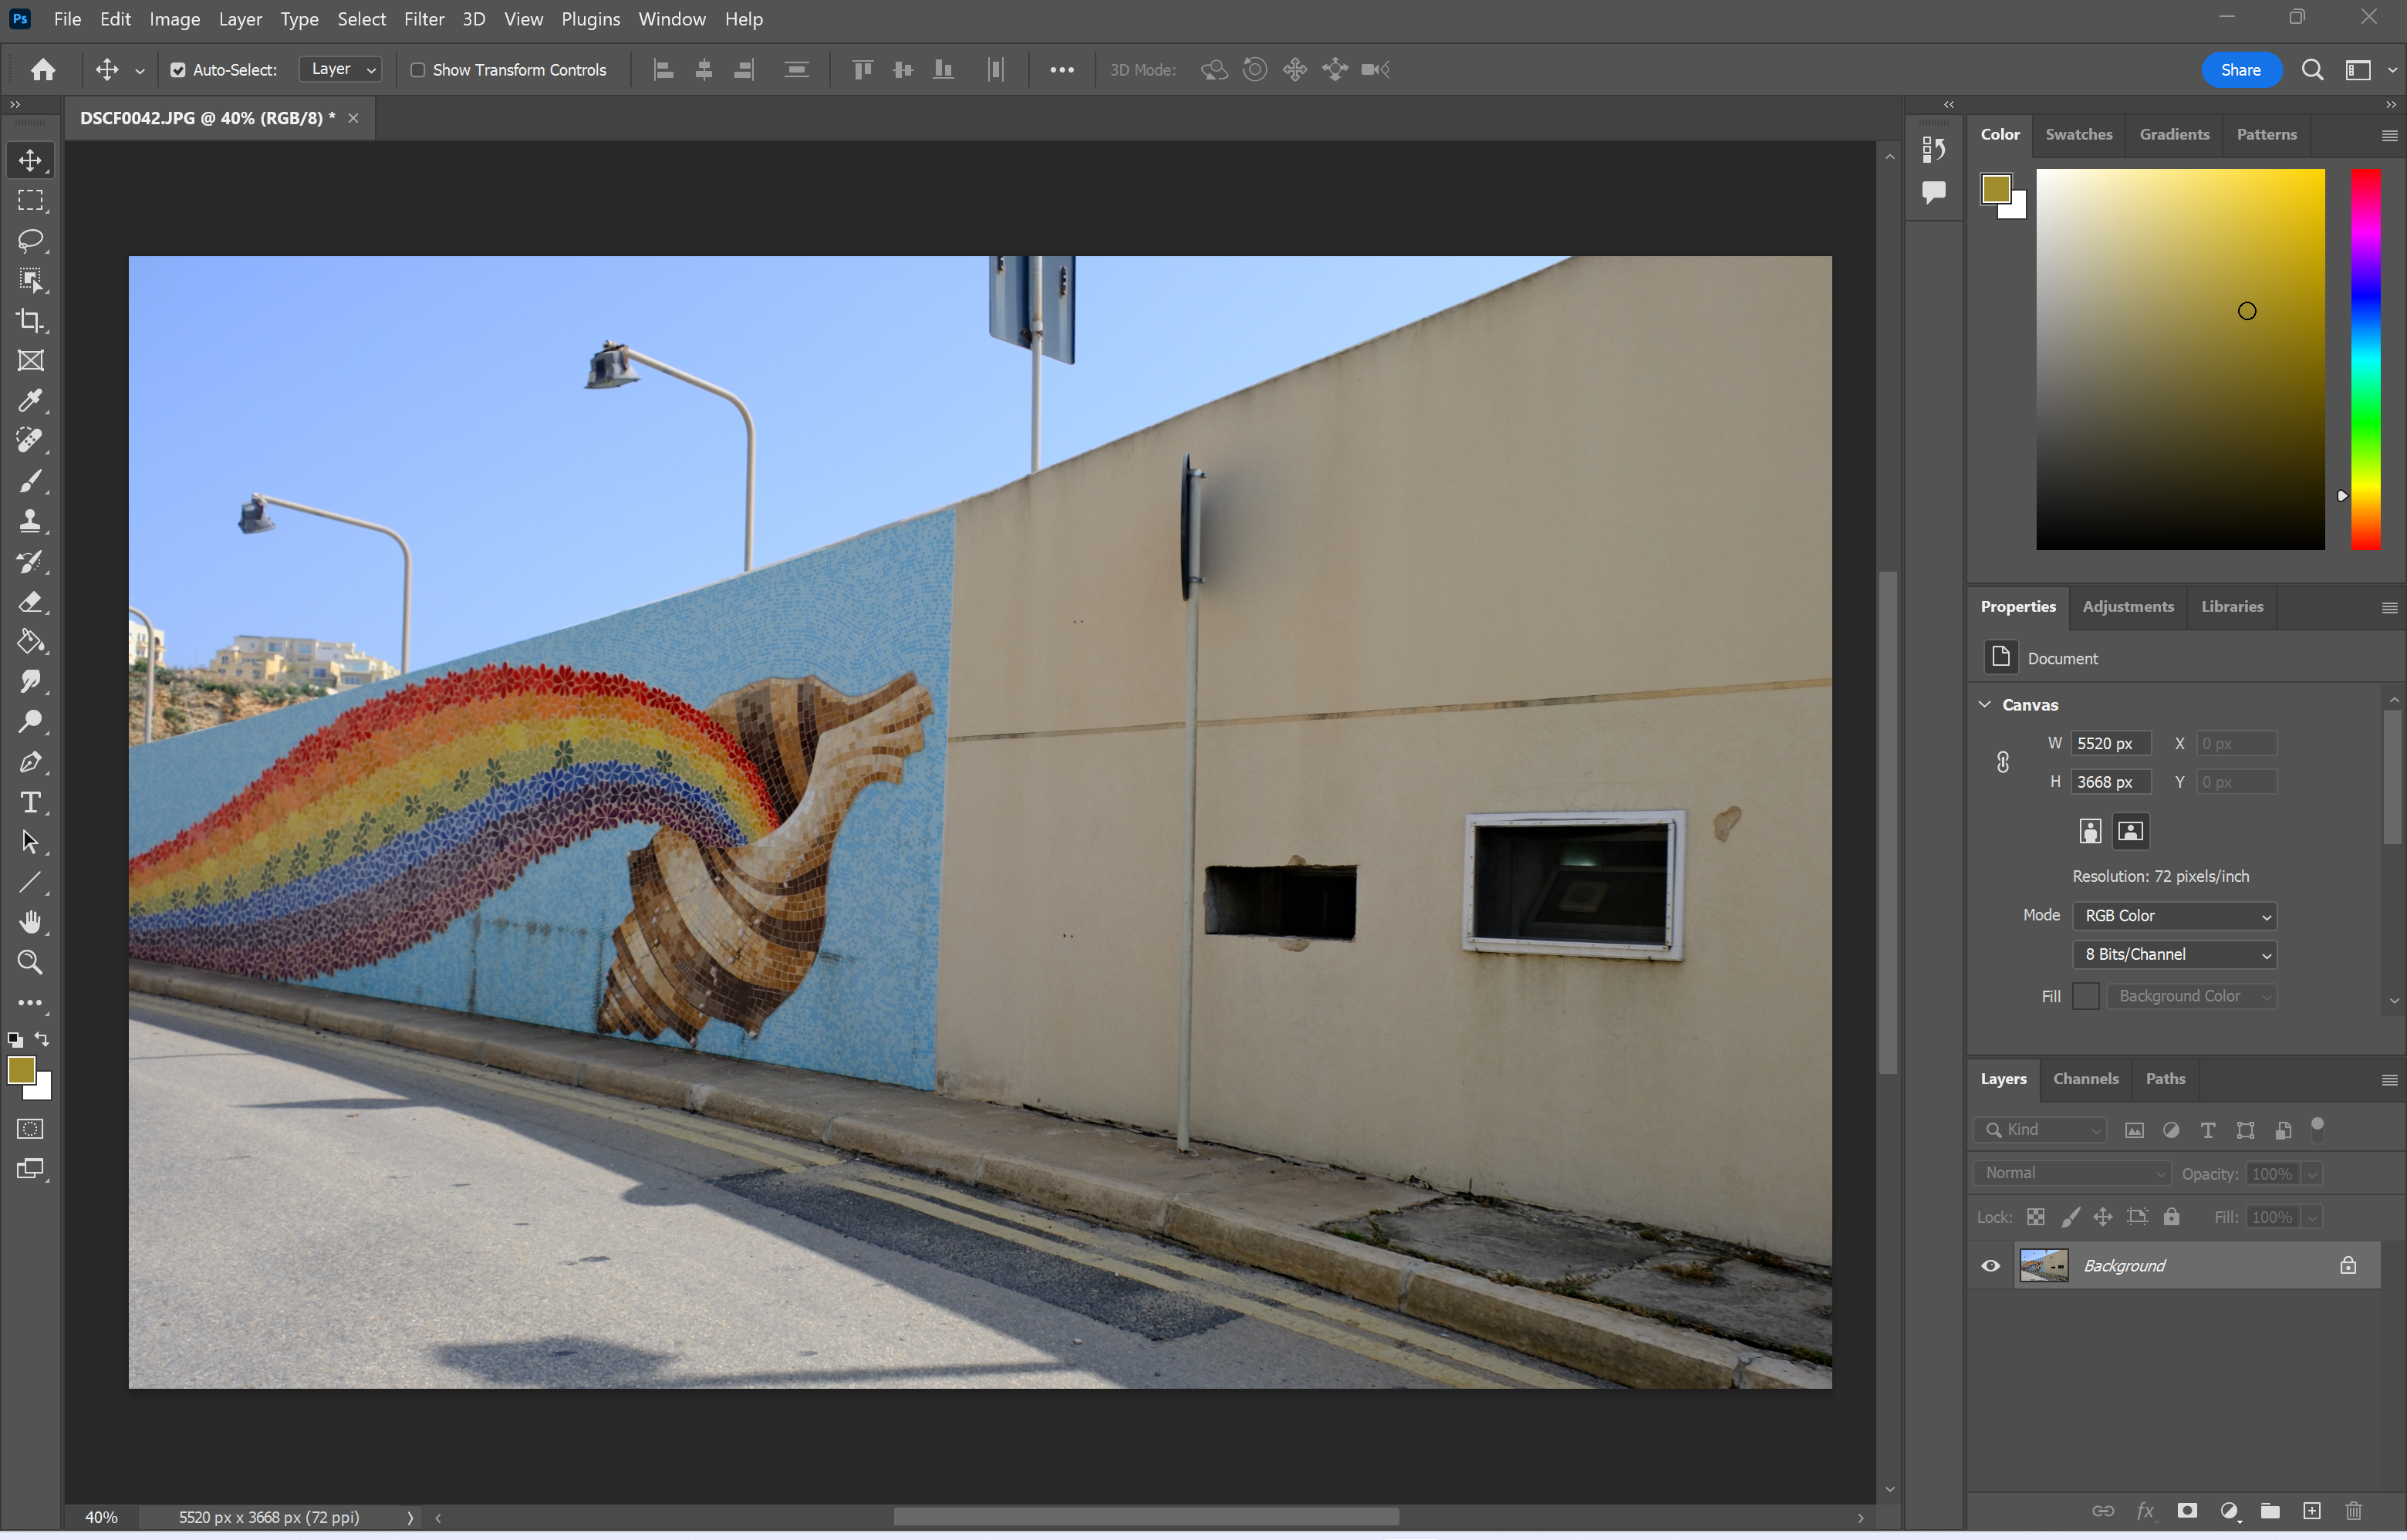
1Open your image in Photoshop

You can also duplicate the layer at this stage if you don’t want to make an permanent changes.
-
Step
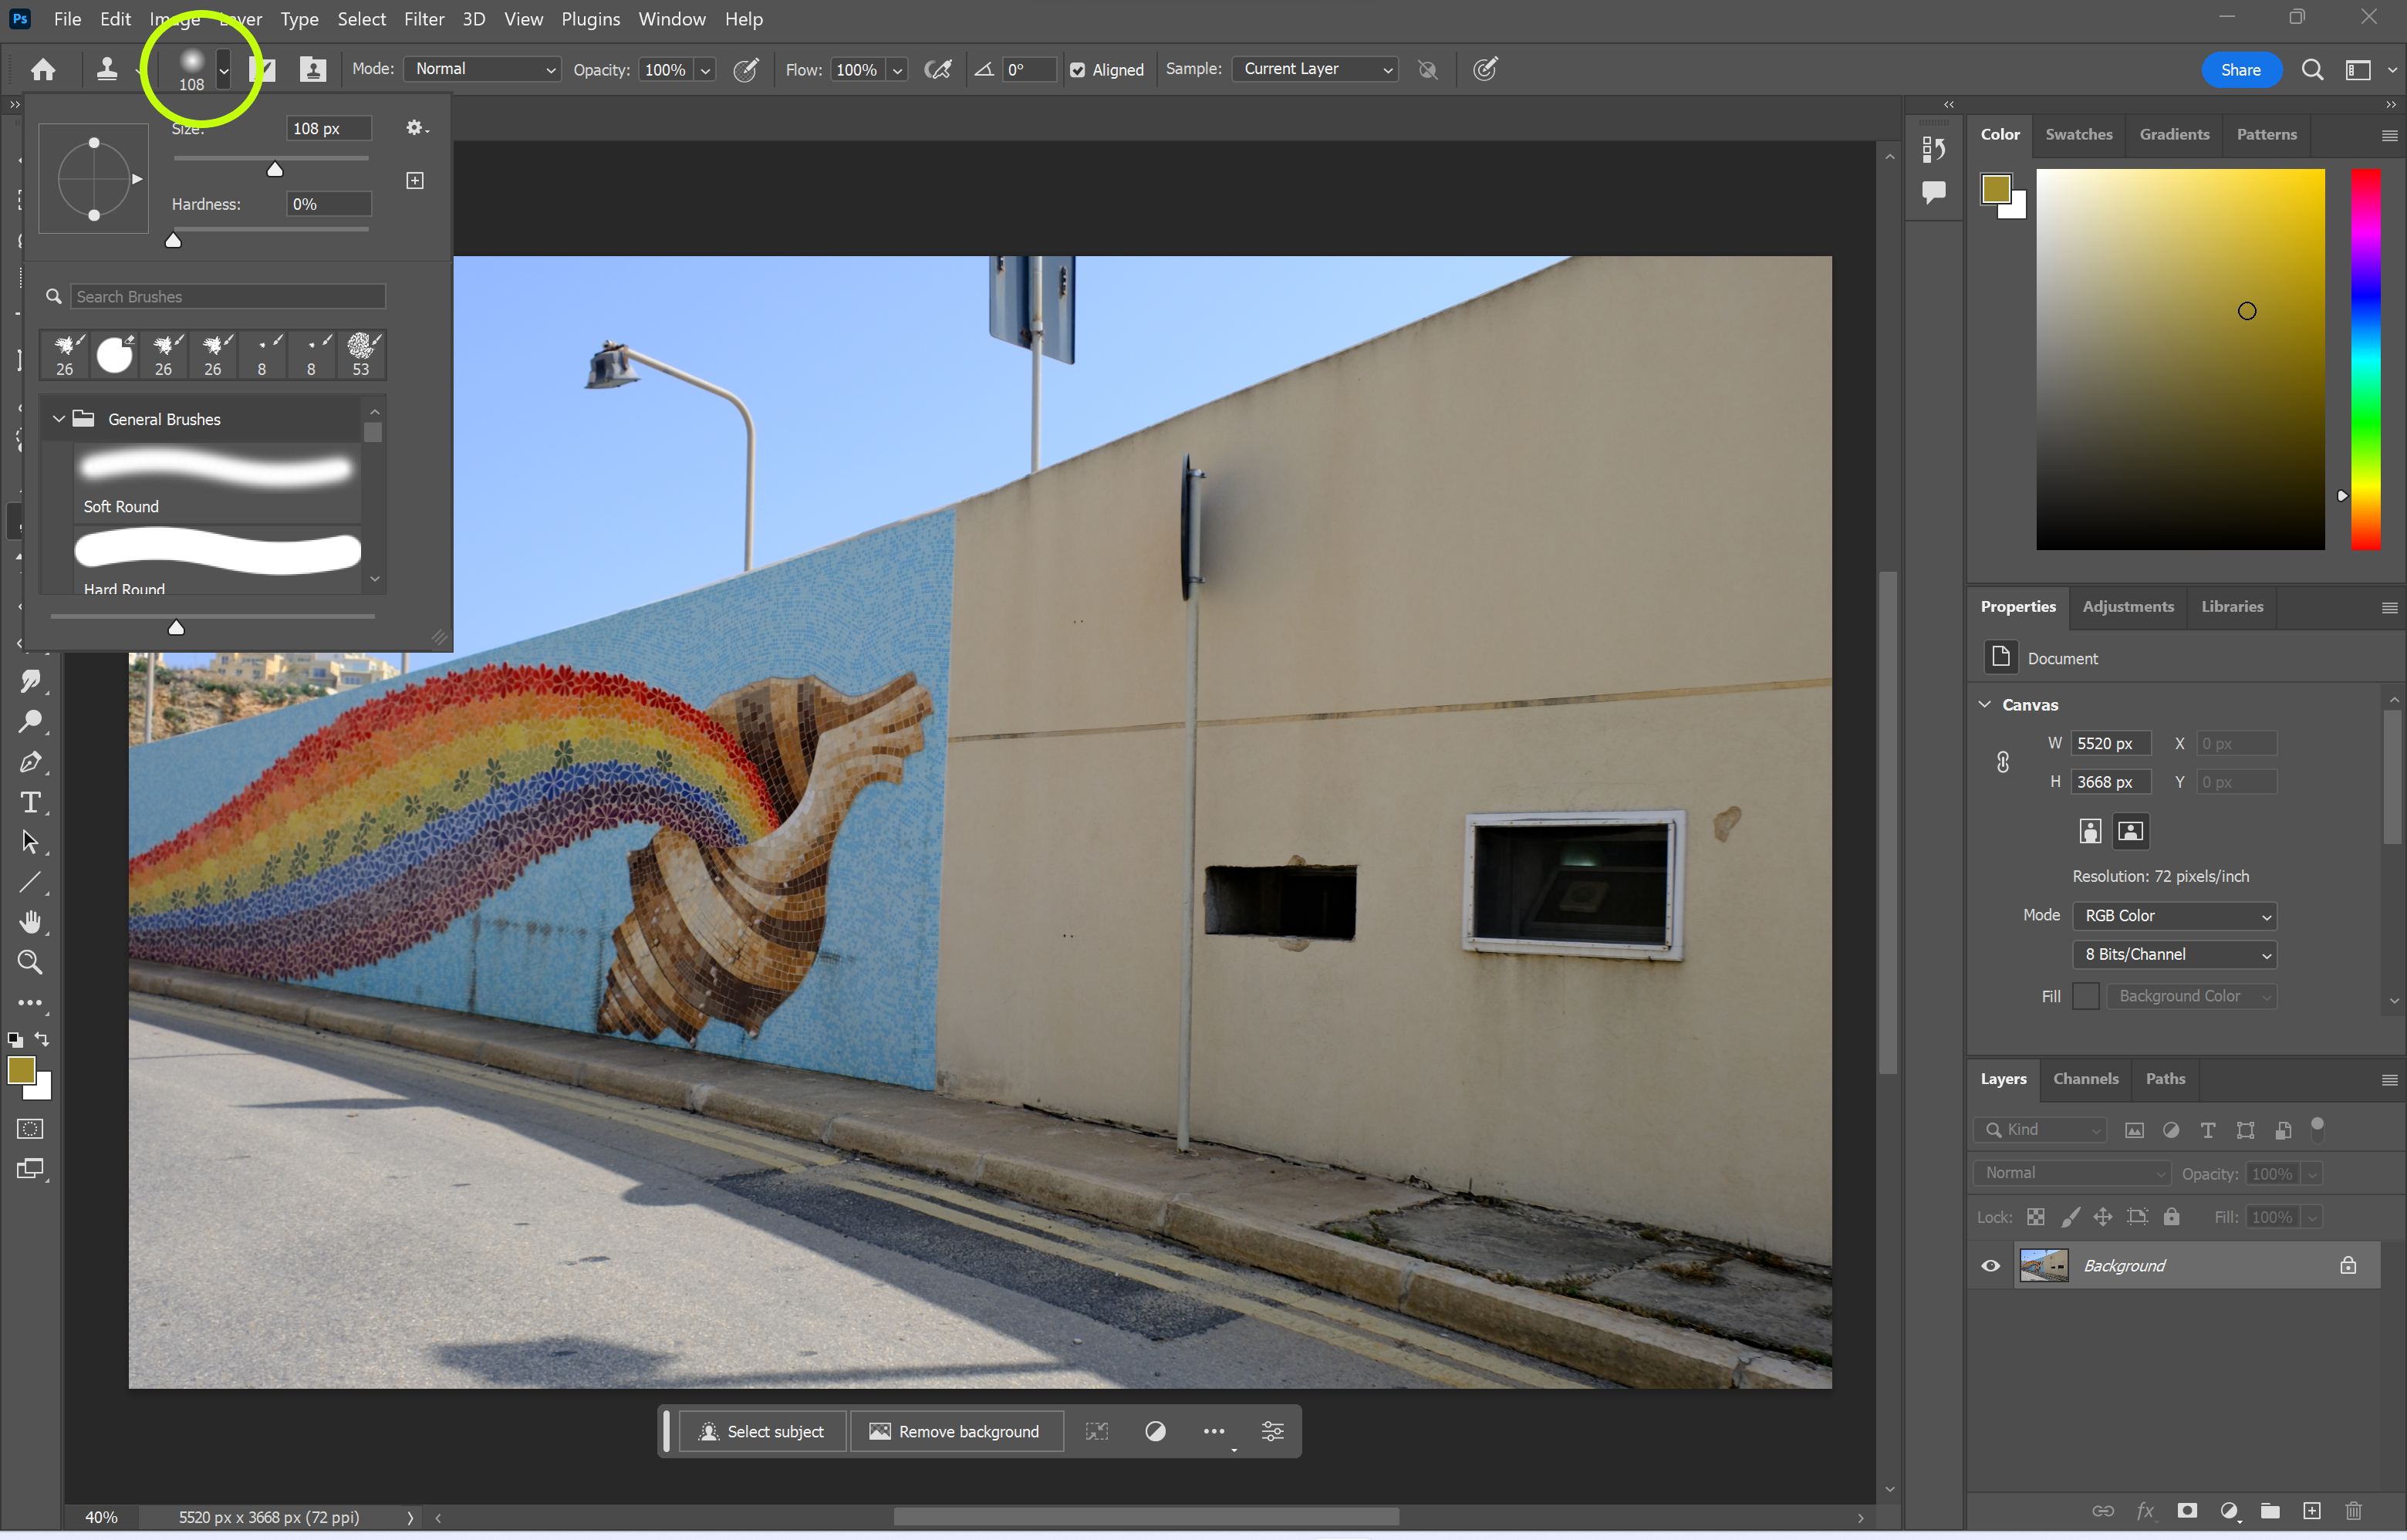
2This is the icon that looks like a stamp on the left side of the screen.
-
Step
3Adjust the size and settings of the stamp
The stamp needs to be big enough to cover the area you want to clone or hide.
-
Step
4Hold Alt and click on the area you want to clone
You’ll be able to see a preview of the area you’ve clone by moving the mouse around after this step.
-
Step
5Click or brush over the area you want to stamp
Let go of Alt and click or brush over anywhere on the image to stamp the cloned image over the desired spot.


Troubleshooting
You can make the clone stamp bigger or smaller by selecting the tool, clicking the icon circled in step 3 and dragging the size arrow to the left or the right.
You can undo any clone stamp edits made in Photoshop by pressing Ctrl/Cmd+Z or clicking Edit and Undo Clone Stamp.


