Key Takeaways
- Authenticate in the macOS Terminal with Touch ID is much quicker than typing your password every time.
- Edit a simple file in Terminal using the nano editor to enable Touch ID for all sudo commands.
- Test the setup by running a sudo command and never type your password again.
If you regularly use the macOS Terminal, you have no doubt been prompted to enter your password when running commands requiring elevated privileges (sudo). Follow this quick guide to skip the typing and use your fingerprint to authenticate instead.
Setting It Up
To configure your Mac’s Terminal app to authenticate with Touch ID, first open Terminal.app (you’ll find it under Applications > Utilities or you can search for it with Spotlight). Next, issue the following command and manually type in your password when prompted. It will be the last time you need to do so!
sudo nano /etc/pam.d/sudo
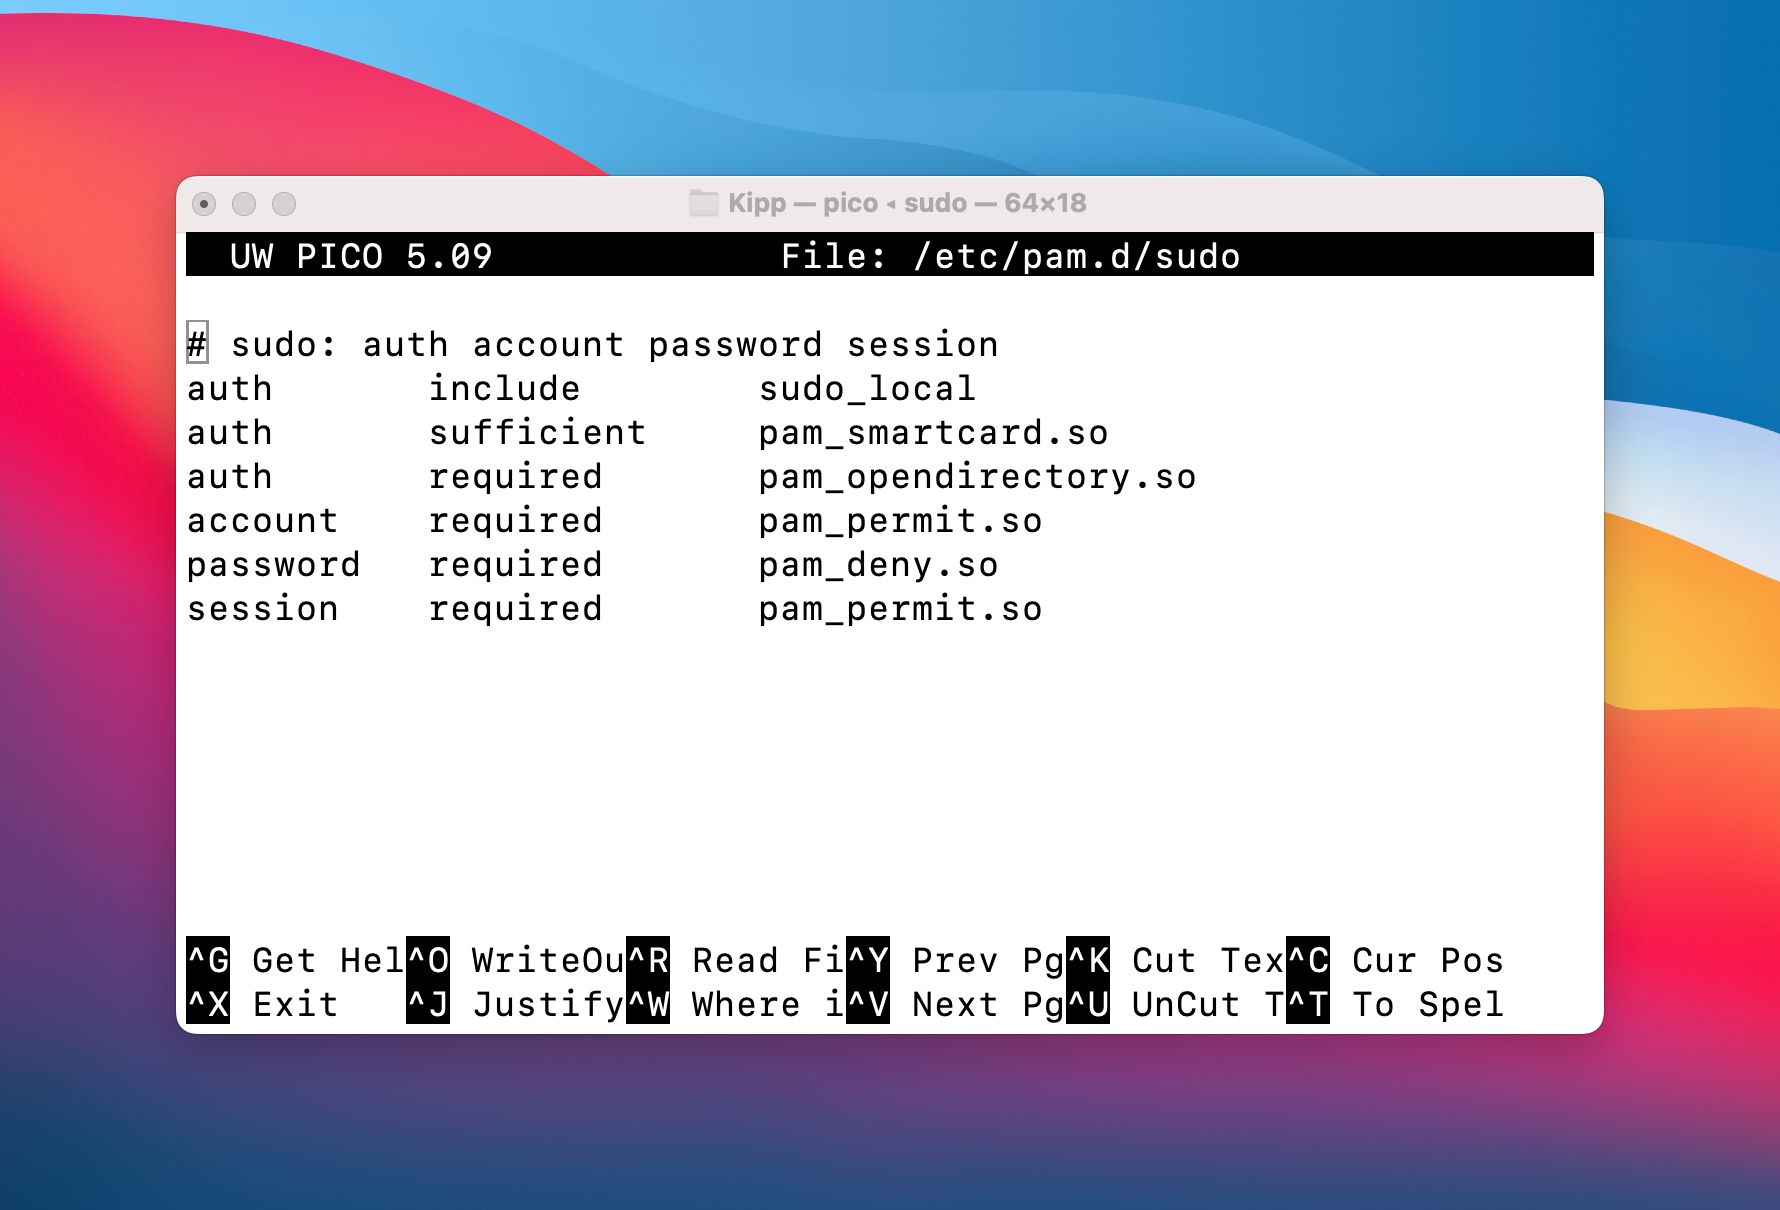
Once authenticated, you’ll be greeted with a nano interface. Nano is a simple command-line text viewer/editor. It should display the contents of a file that looks similar to the picture below.
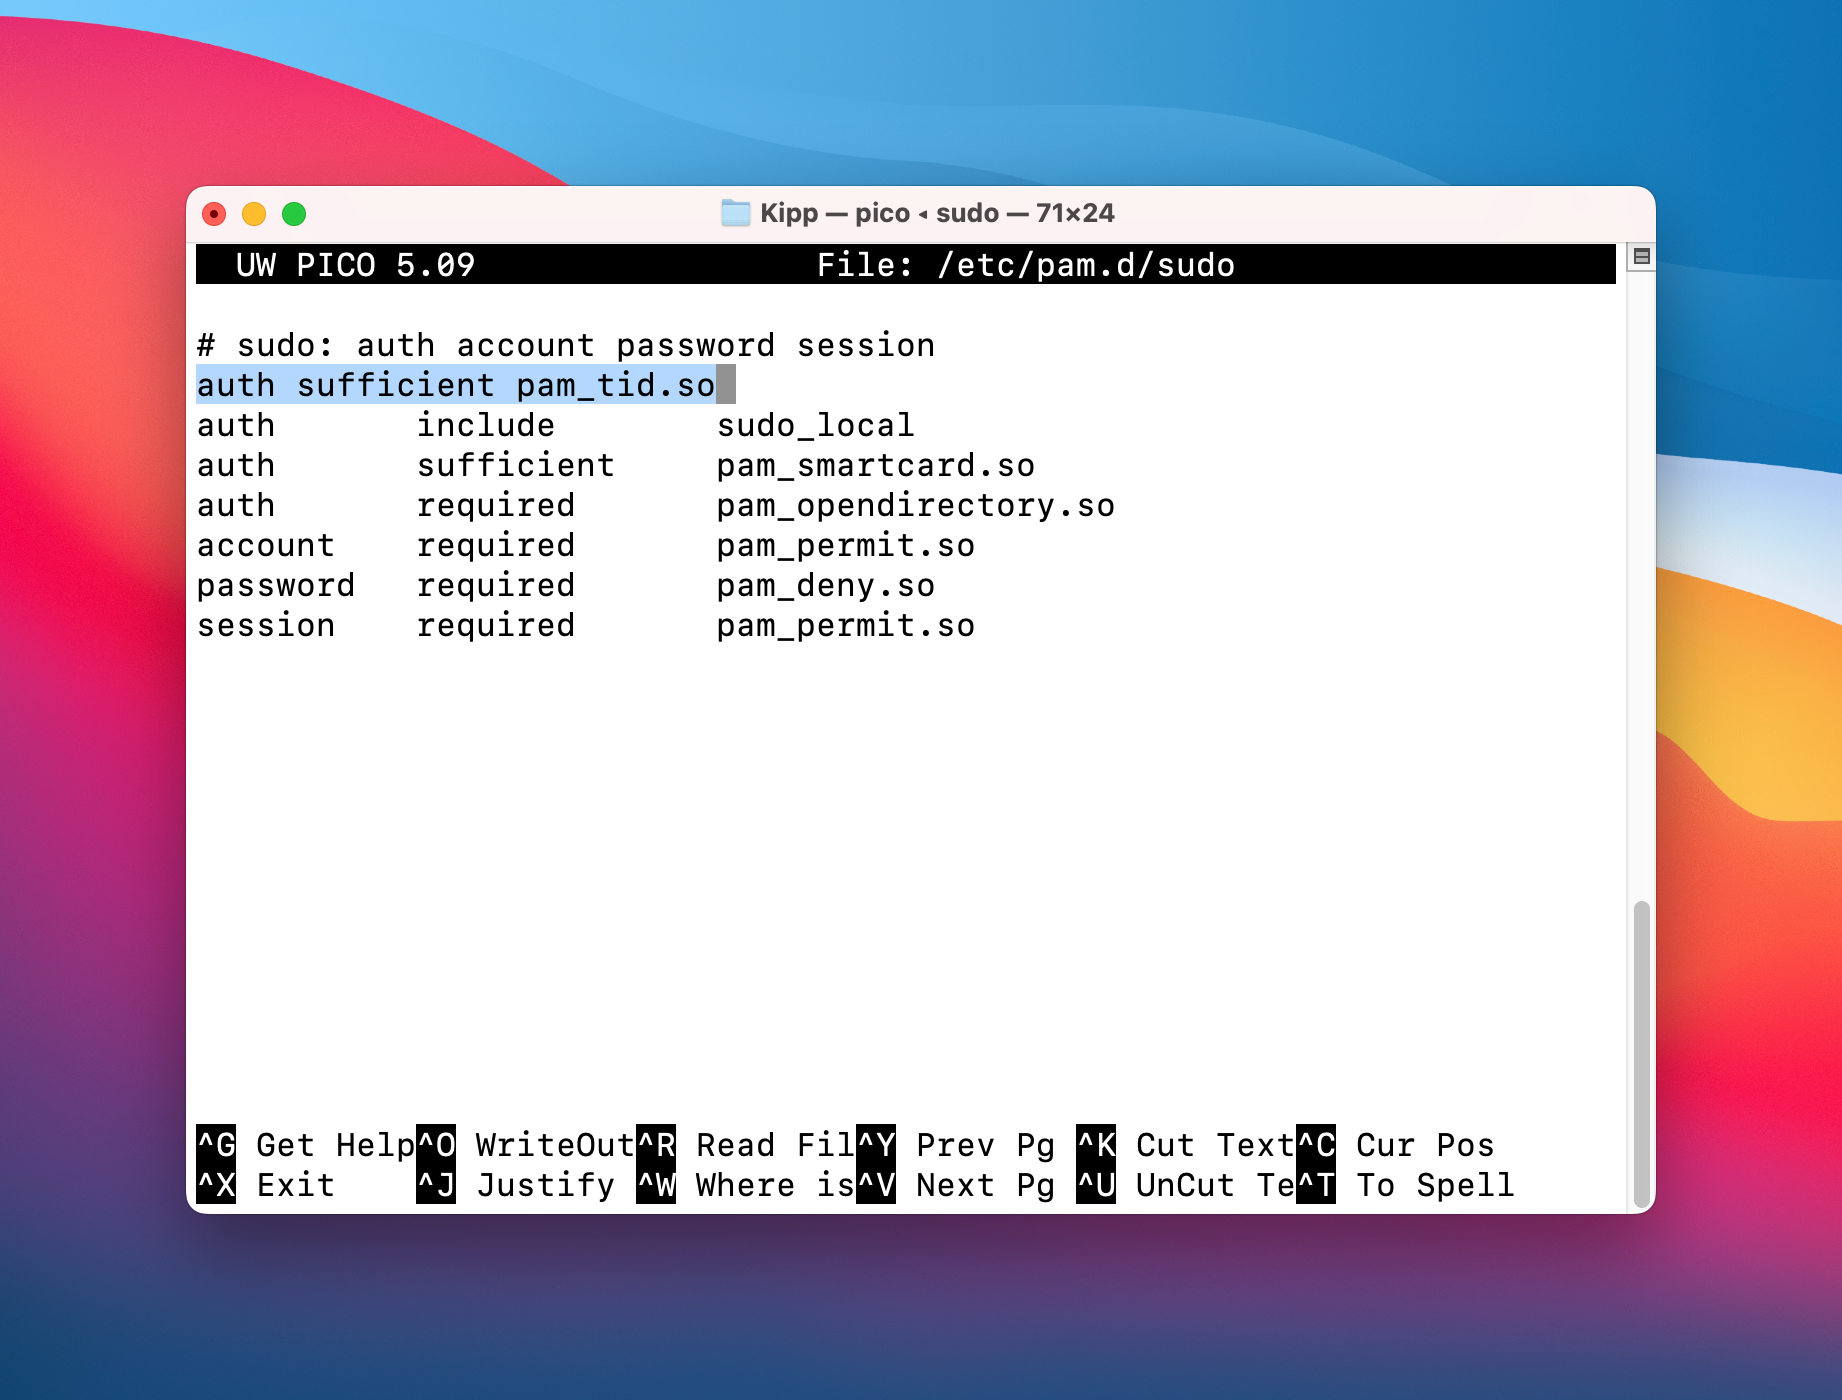
All we need to do to enable Touch ID is add a single line to this settings file. Make a space beneath the very top commented line and paste the following:
auth sufficient pam_tid.so
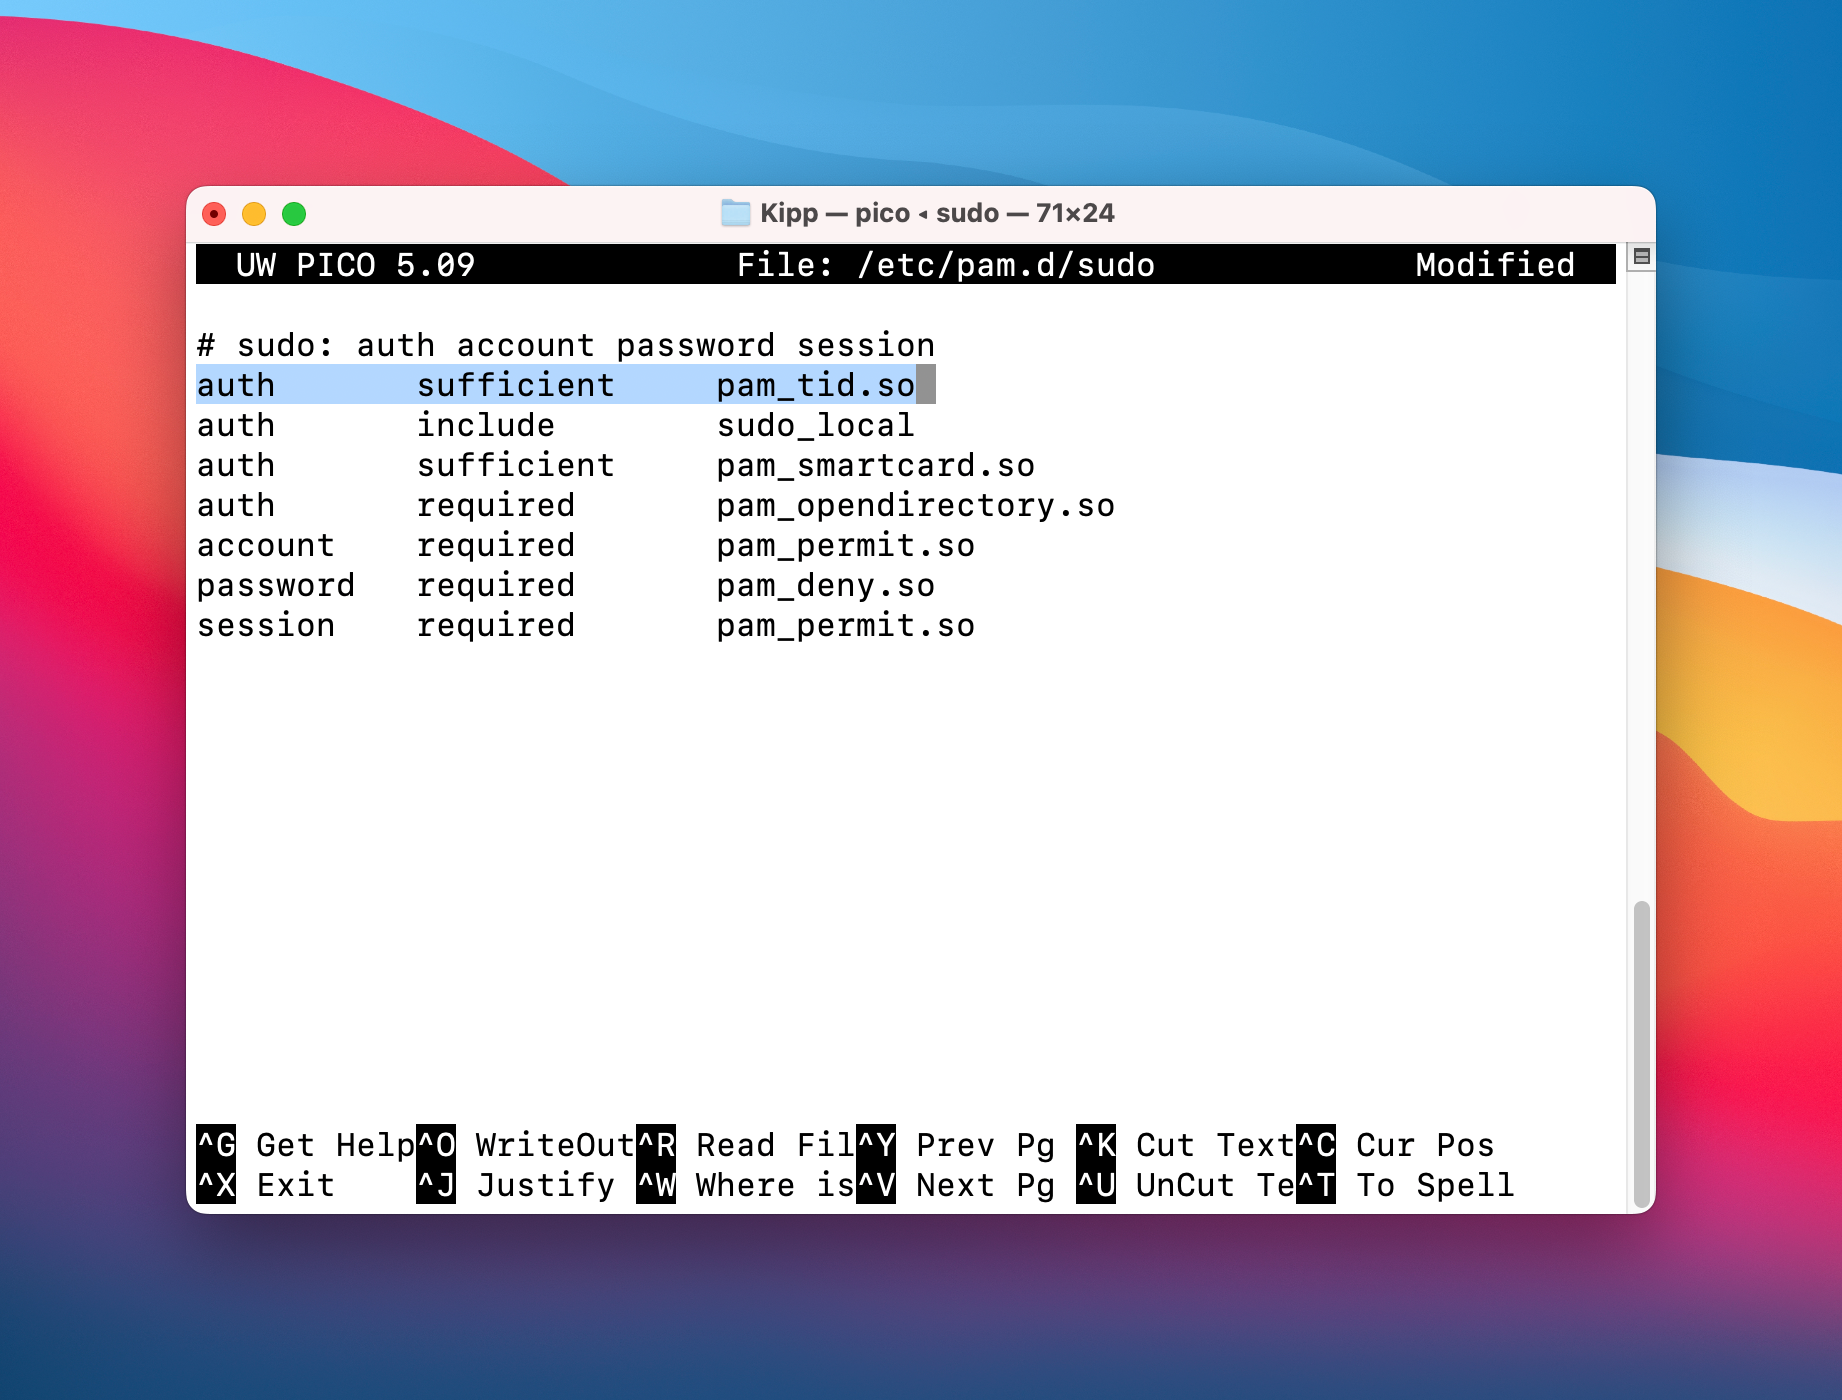
After you’ve pasted in the additional line to the settings file, it should look like the above screenshot. If you’re a stickler for formatting and consistency, you can instead use this command so all the columns are aligned (though this is not required).
authsufficientpam_tid.so
This will give your newly edited settings file a cleaner look that conforms to its default formatting.
Once you’ve added one of the above versions of the new line, save the file in nano with Controll+O. Then exit nano by pressing Control+X. Alternatively, you can exit with Control+X and then press Y for “yes” when asked if you want to save the modified file.
That’s it! That’s all you need to do in terms of setup. Now it’s time to test the changes you just made.
Testing It Out
To test out your new settings, first close and reopen Terminal. From your new window, let’s try a simple command to switch from your local macOS user account to the elevated sudo account.
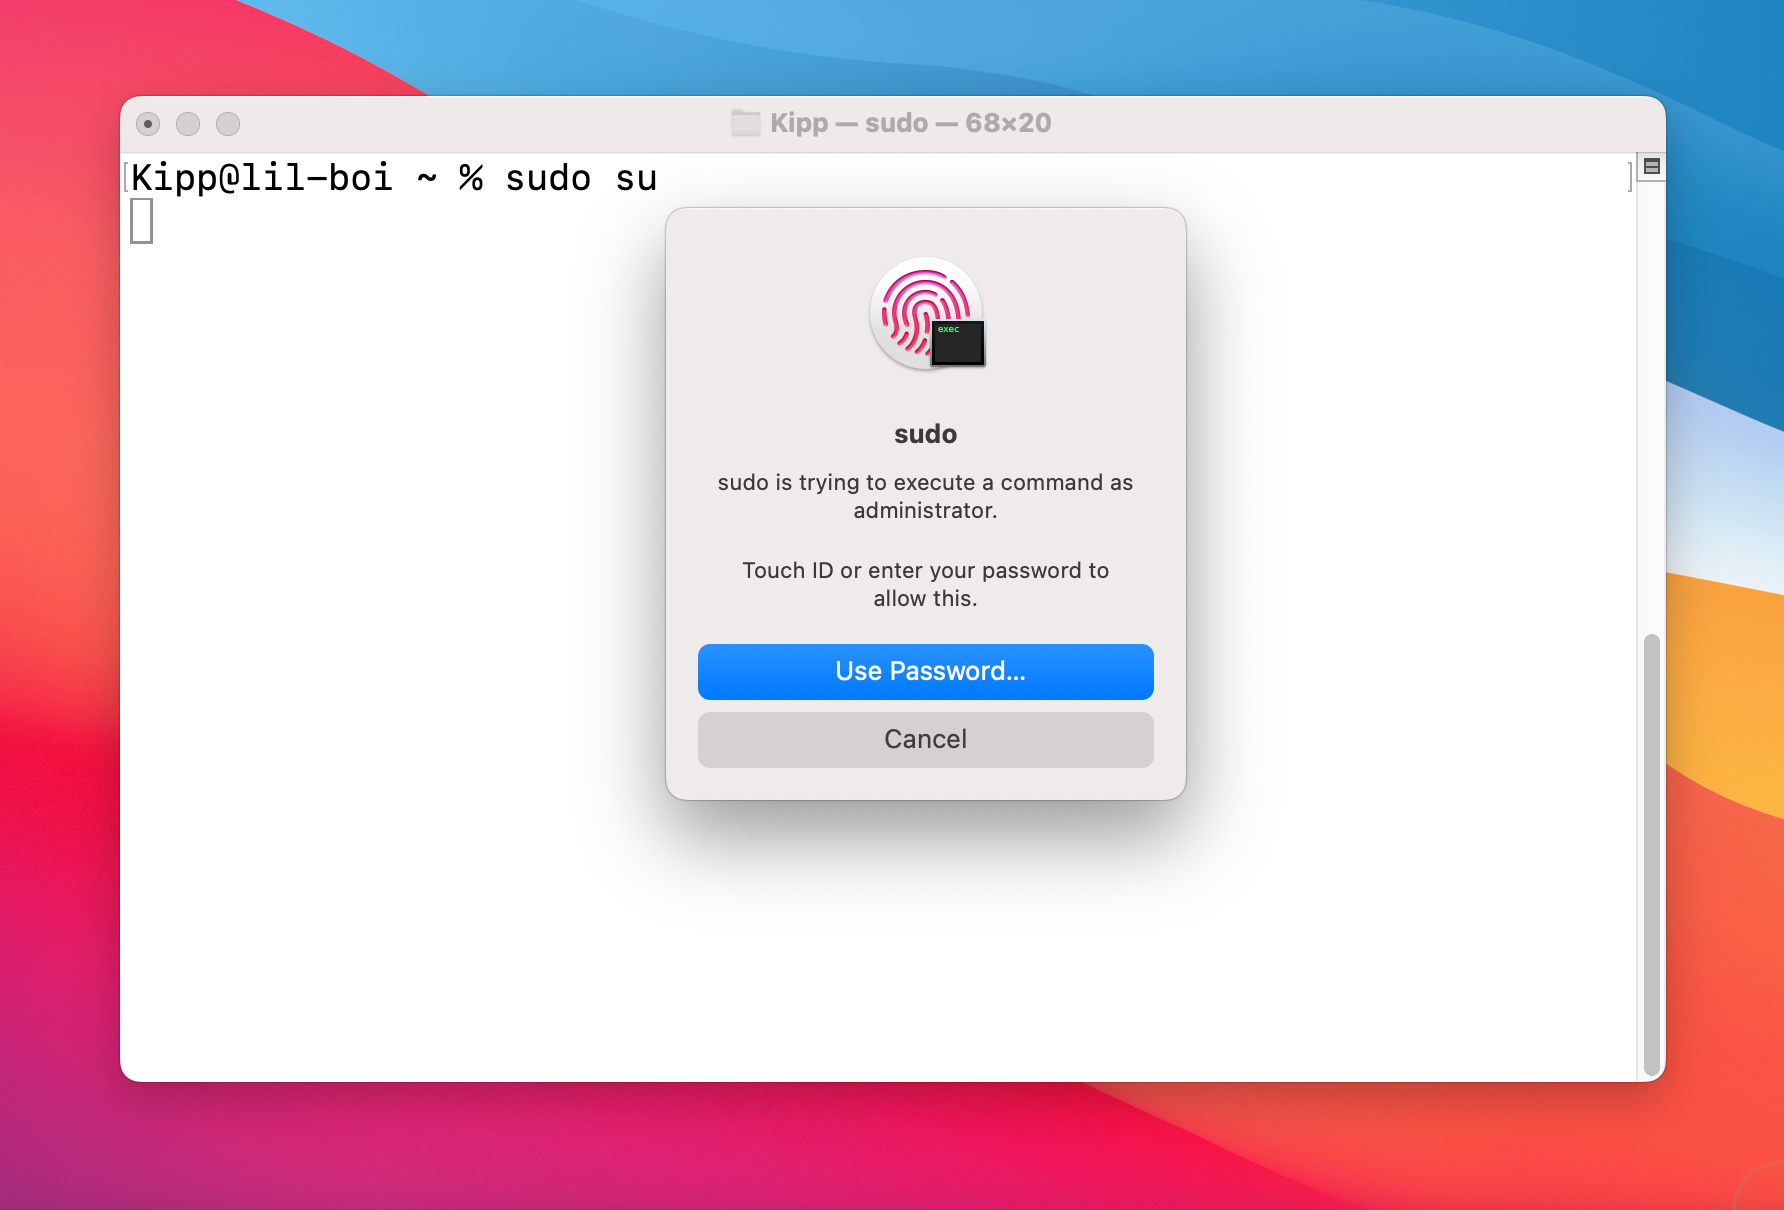
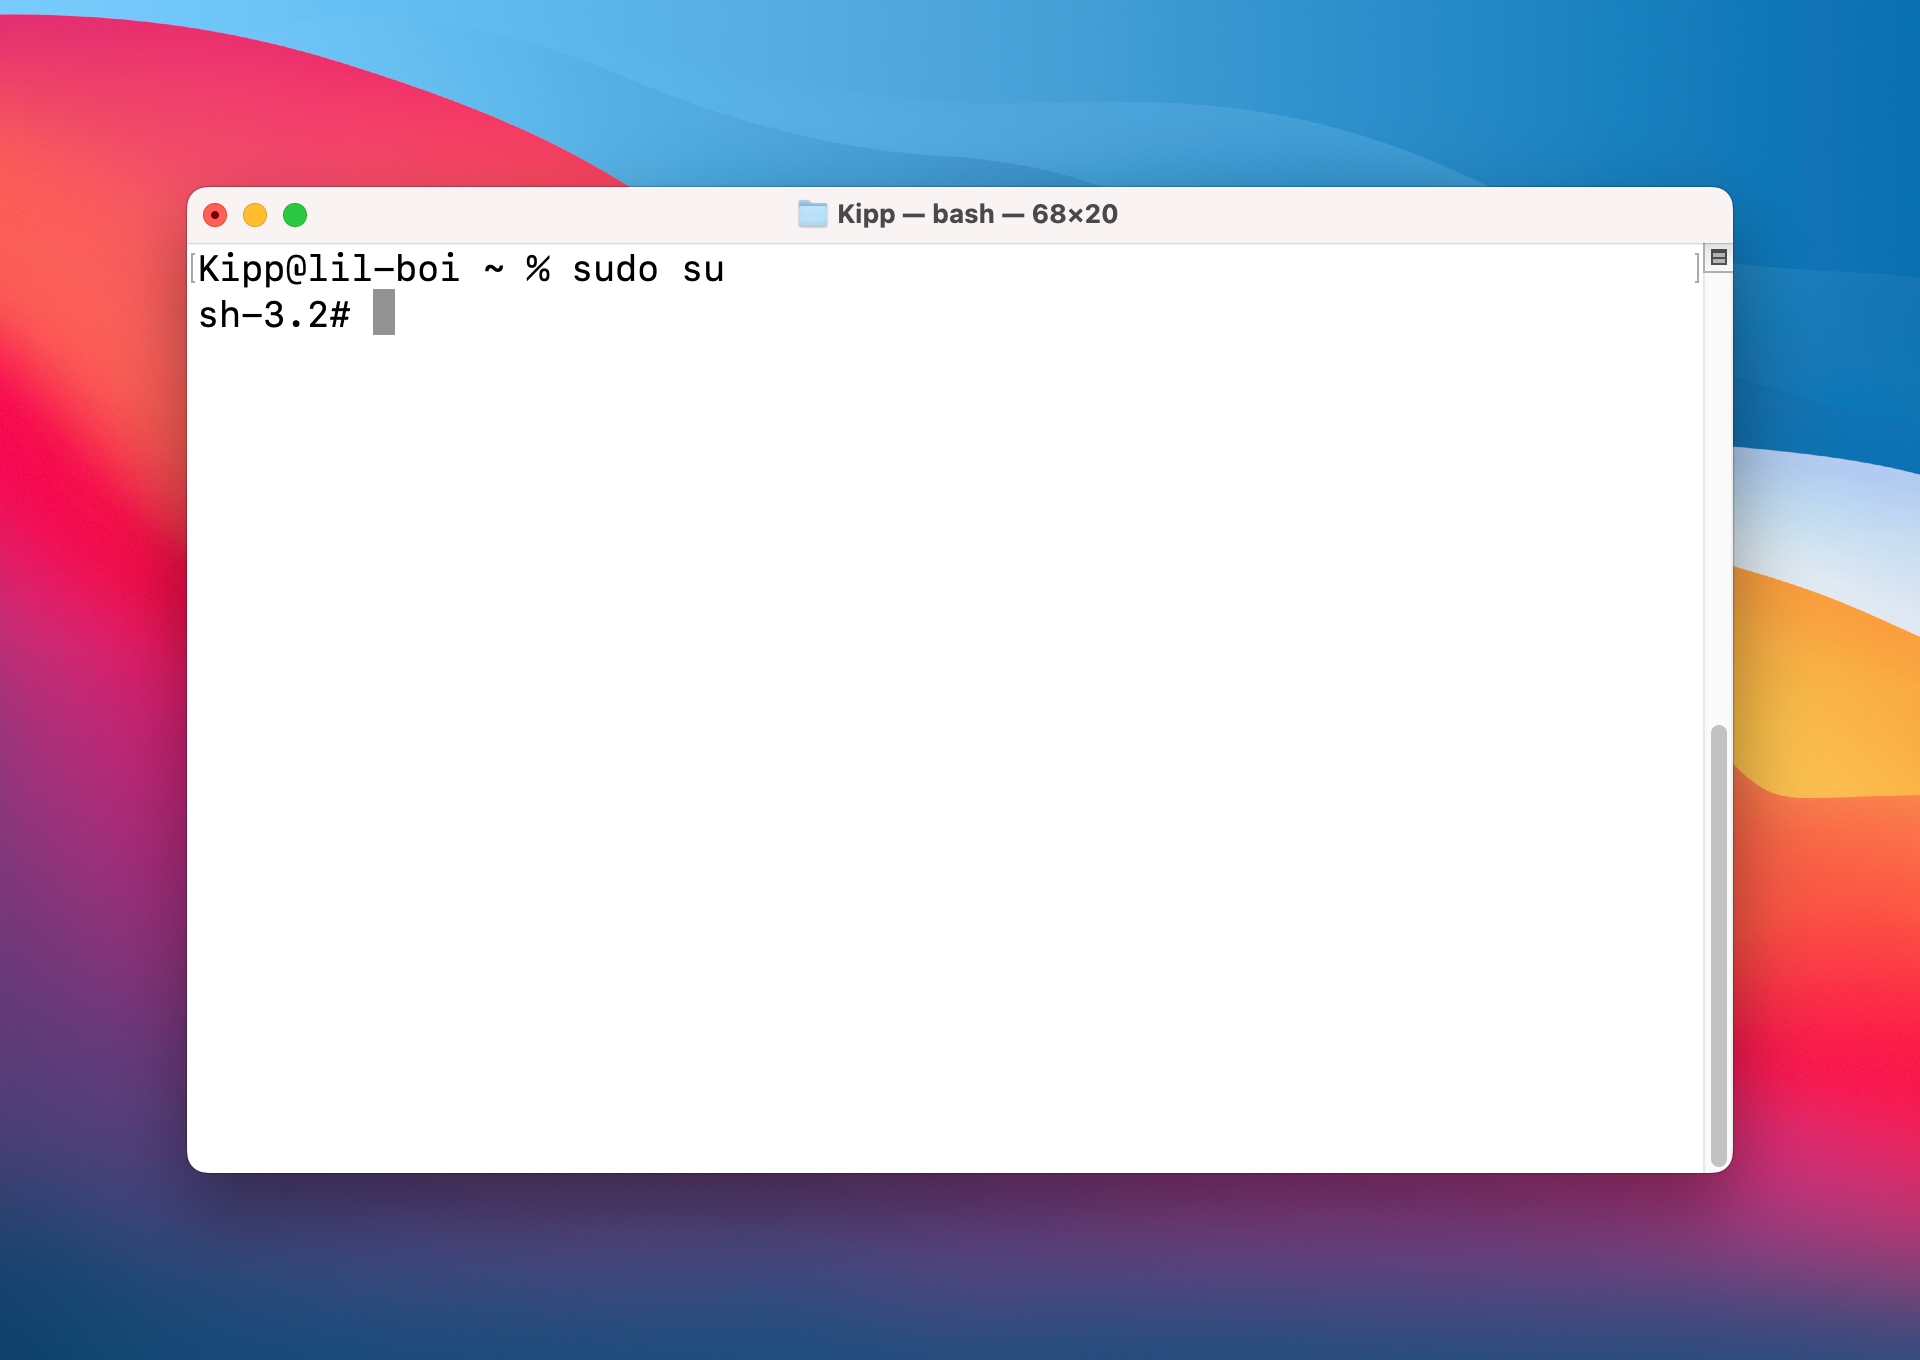
sudo su
Upon executing the command, you should be prompted by Touch ID to provide your fingerprint.
Go ahead and use the Touch ID reader as you normally would. You will know that everything is working if the username at the beginning of the Terminal prompt changes.
Success! You’re now free to use Touch ID with your fingerprint with literally any command requiring sudo privileges.
Constantly inputting your sudo password can be just plain annoying during regular usage. This becomes even more clunky if you’ve configured automations that use Terminal commands with elevated privileges. After completing this guide, you can bask in the glory of streamlined command line usage without compromising on security.


