Vertically mounting your graphics card rarely has a performance benefit, but who cares about that when it looks so much cooler facing out through your side panel? While flipping your GPU vertically used to be a complicated, costly, and time consuming process, it’s now super easy to do with the right tools and kit.
Here’s how to get started with vertically mounting your graphics card.

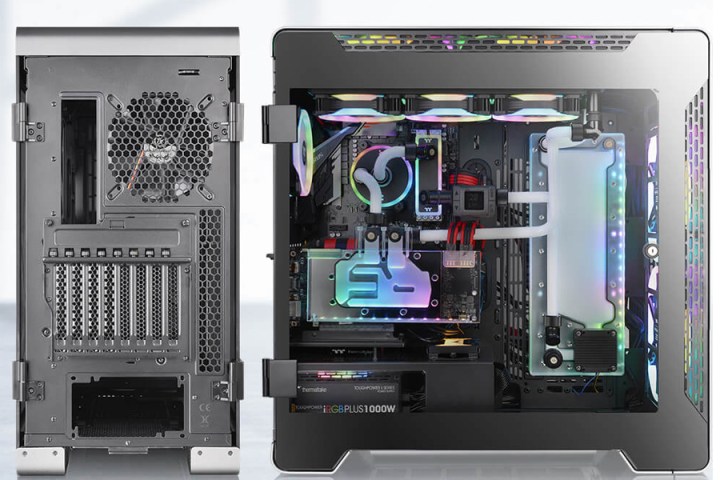
Thermaltake
Make sure your case is compatible
Before you vertically mount your graphics card, it’s important to consider whether you can do it all. Although most graphics cards can be vertically mounted, and most motherboards will work just fine with a riser cable connecting your GPU to it rather than it being directly mounted, not many cases support it natively.
There are some cases that are designed to offer vertical mounting as an option, and if that’s your case, then you can crack on and use it. However, if your case doesn’t support it, then you need to see if is compatible with any of the mounting kits out there. If it is, you’ll then need to check whether you will have the clearance to have your graphics card vertically mounted and still be able to get the side panel on.
Whatever case or kit you are considering, check that they support your graphics card, especially factoring in its length, breadth, and weight.
If all looks good, then proceed as planned, but if not, you may need to consider buying a different case or opting for a more DIY mounting solution.
How to vertically mount your GPU
When it comes to vertically mounting your graphics card, you have three options you can use:
- Using a case that has built-in native support for vertically mounting your graphics card.
- Using a vertical mounting kit from Cooler Master, Phanteks, Lian Li, or a range of other third-parties.
- Using a remote mounting bracket and riser cable.
The first option is the most straightforward, though the second isn’t overly complicated. The third is more involved and not every case will support it, but it remains an option.
Step 1: If your case supports vertical graphics card mounting, then simply find the appropriate section from your manual or the manufacturer website and follow the instructions to mount your GPU vertically. You will almost certainly need a graphics card riser cable, so locate that in your box of accessories if you have it handy.
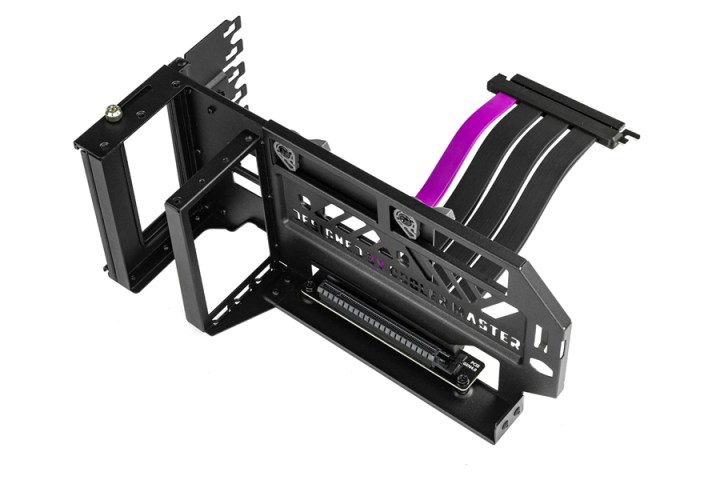
Step 2: For a third-party kit, remove your existing graphics card and any other add-in cards and PCI brackets that would be in the way of the new mounting bracket. Most designs are toolless, so you should be able to put the new bracket in place and then use your case’s thumbscrews to attach it.
Then you can plug in the riser cable, mount your graphics card, and attach the power and riser cable. At that point, you should be good to go. If in doubt, follow the kit’s instructions for more detailed steps.
Note, however, that when using a kit like this, you are often restricting access to other PCI Express slots, so you may not be able to use add-in cards with a GPU mounting kit.

Cooler Master
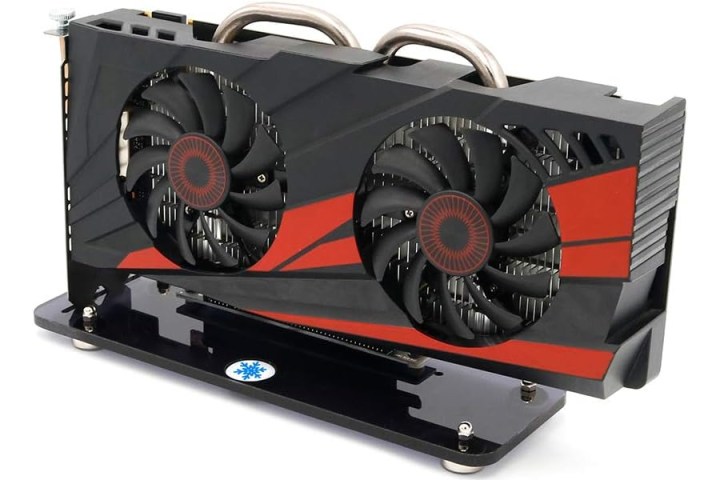
Step 3: For remote mounting kits, you will have to be a little more creative with running the riser and power cables. You may need to buy longer cables to reach, and you’ll want to consider how you plan to attach video cables, which depends on where you end up mounting your GPU. Some kits let you attach the GPU to the base of the case, others to 120mm fan mounts — there are all kinds of mounting kits out there, though not all of them are high in quality.
The actual installation should be relatively straightforward, though, once you have everything planned out.
Remove your graphics card from its slot on your motherboard, install the remote bracket securely, and attach your graphics card. Run the riser cable from the motherboard’s PCI Express slot to your graphics card and attach the power cables.
Note: If you’re using extended riser and power cables, it can be a good idea to test the GPU with both before mounting to make sure it all works.

HLT
Why do people mount their GPU vertically?
Wondering what all the fuss is about with vertically mounted graphics cards? There isn’t much of one, really. It’s mostly for aesthetic reasons. Very rarely will a case be designed where the airflow will be better with a vertically mounted graphics card. In fact, in most instances, vertically mounting your graphics card will typically lead to far worse airflow. That goes doubly so if you have a plexiglass or tempered glass side panel, since those don’t let any air in at all.
If you have a mesh case, however, then mounting vertically won’t make as much difference. With side-mount fans, it might actually improve things, but that’s going to be a rare case and shouldn’t be considered the norm.
It does look cool, though, and it can help with GPU sag — though you could always just add a GPU bracket if your card is dipping too much.
Editors’ Recommendations


